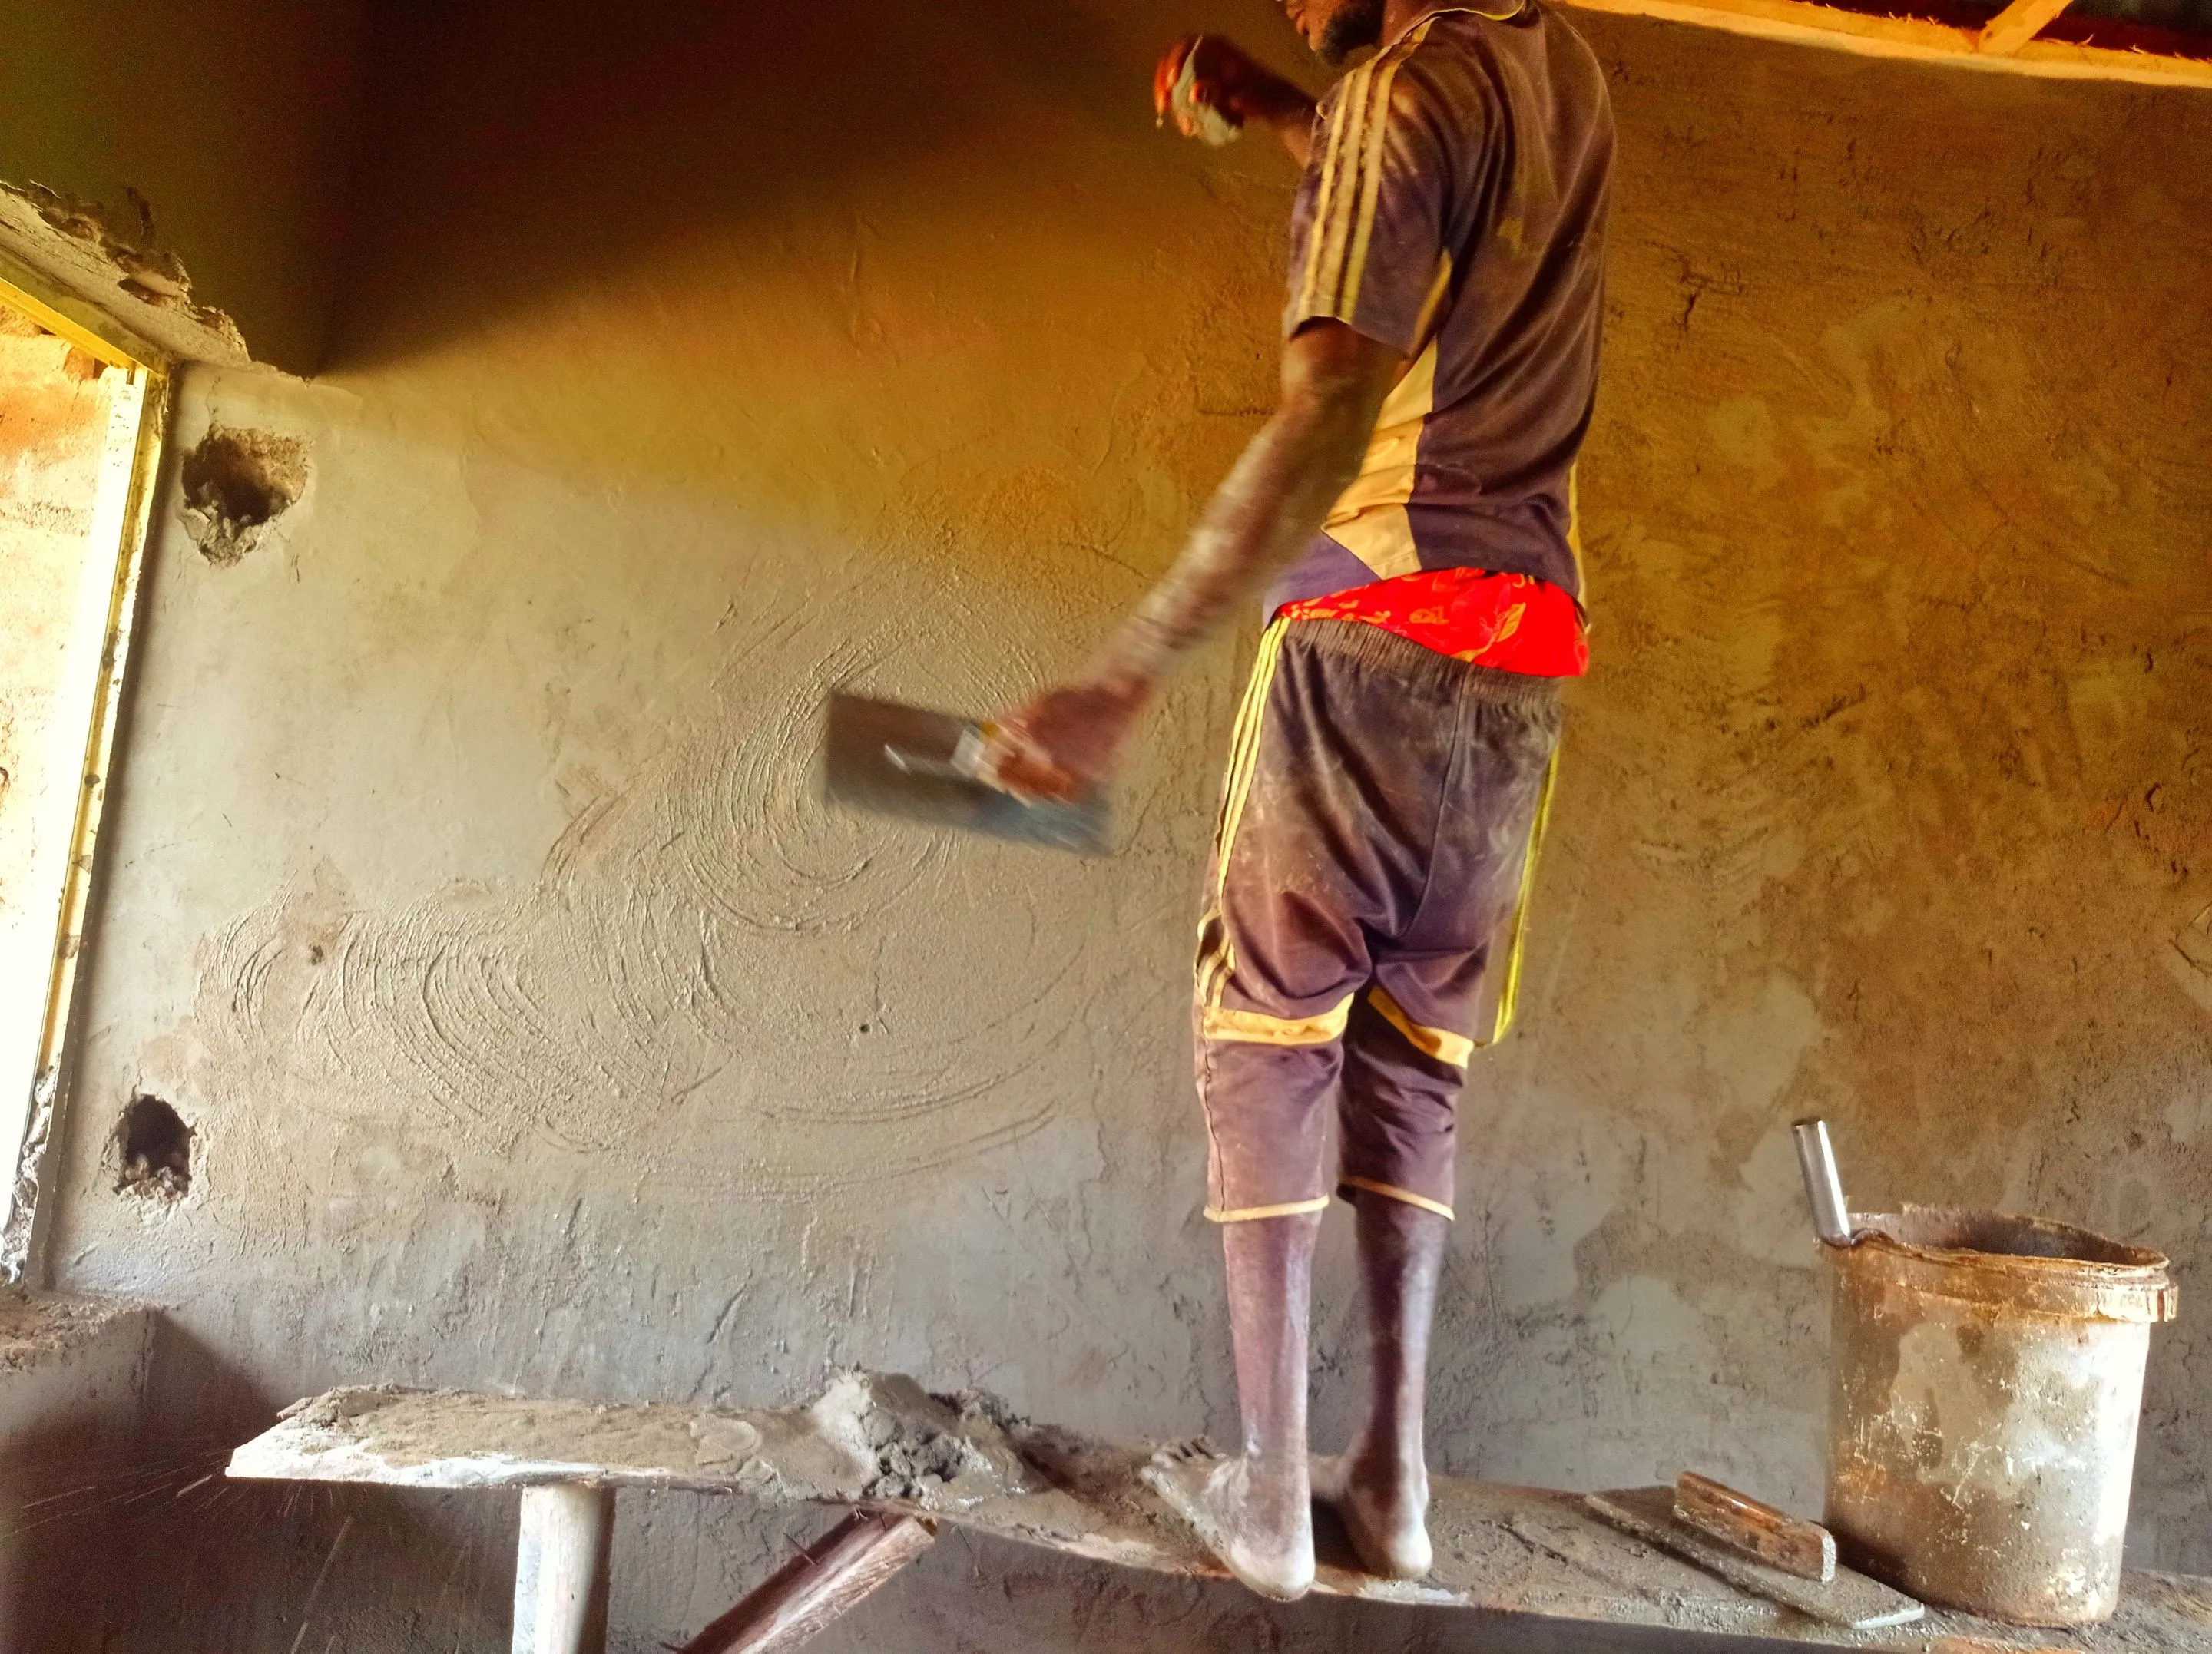
WHAT IS PLASTERING? Plastering is the process of coating the wall/house with the aim to beautifying and protect the wall against climate effect.
NEEDED TOOLS AND MATERIALS
- Hawk
- Hammer
- Trowel
- Bucket
- Shovel
- Brush
- Foam
- Plasterers float
- Step ladder
- Straight edge
- Metal Angle
- Cement
- Loamy sand
- Water
- Waterproof cement.
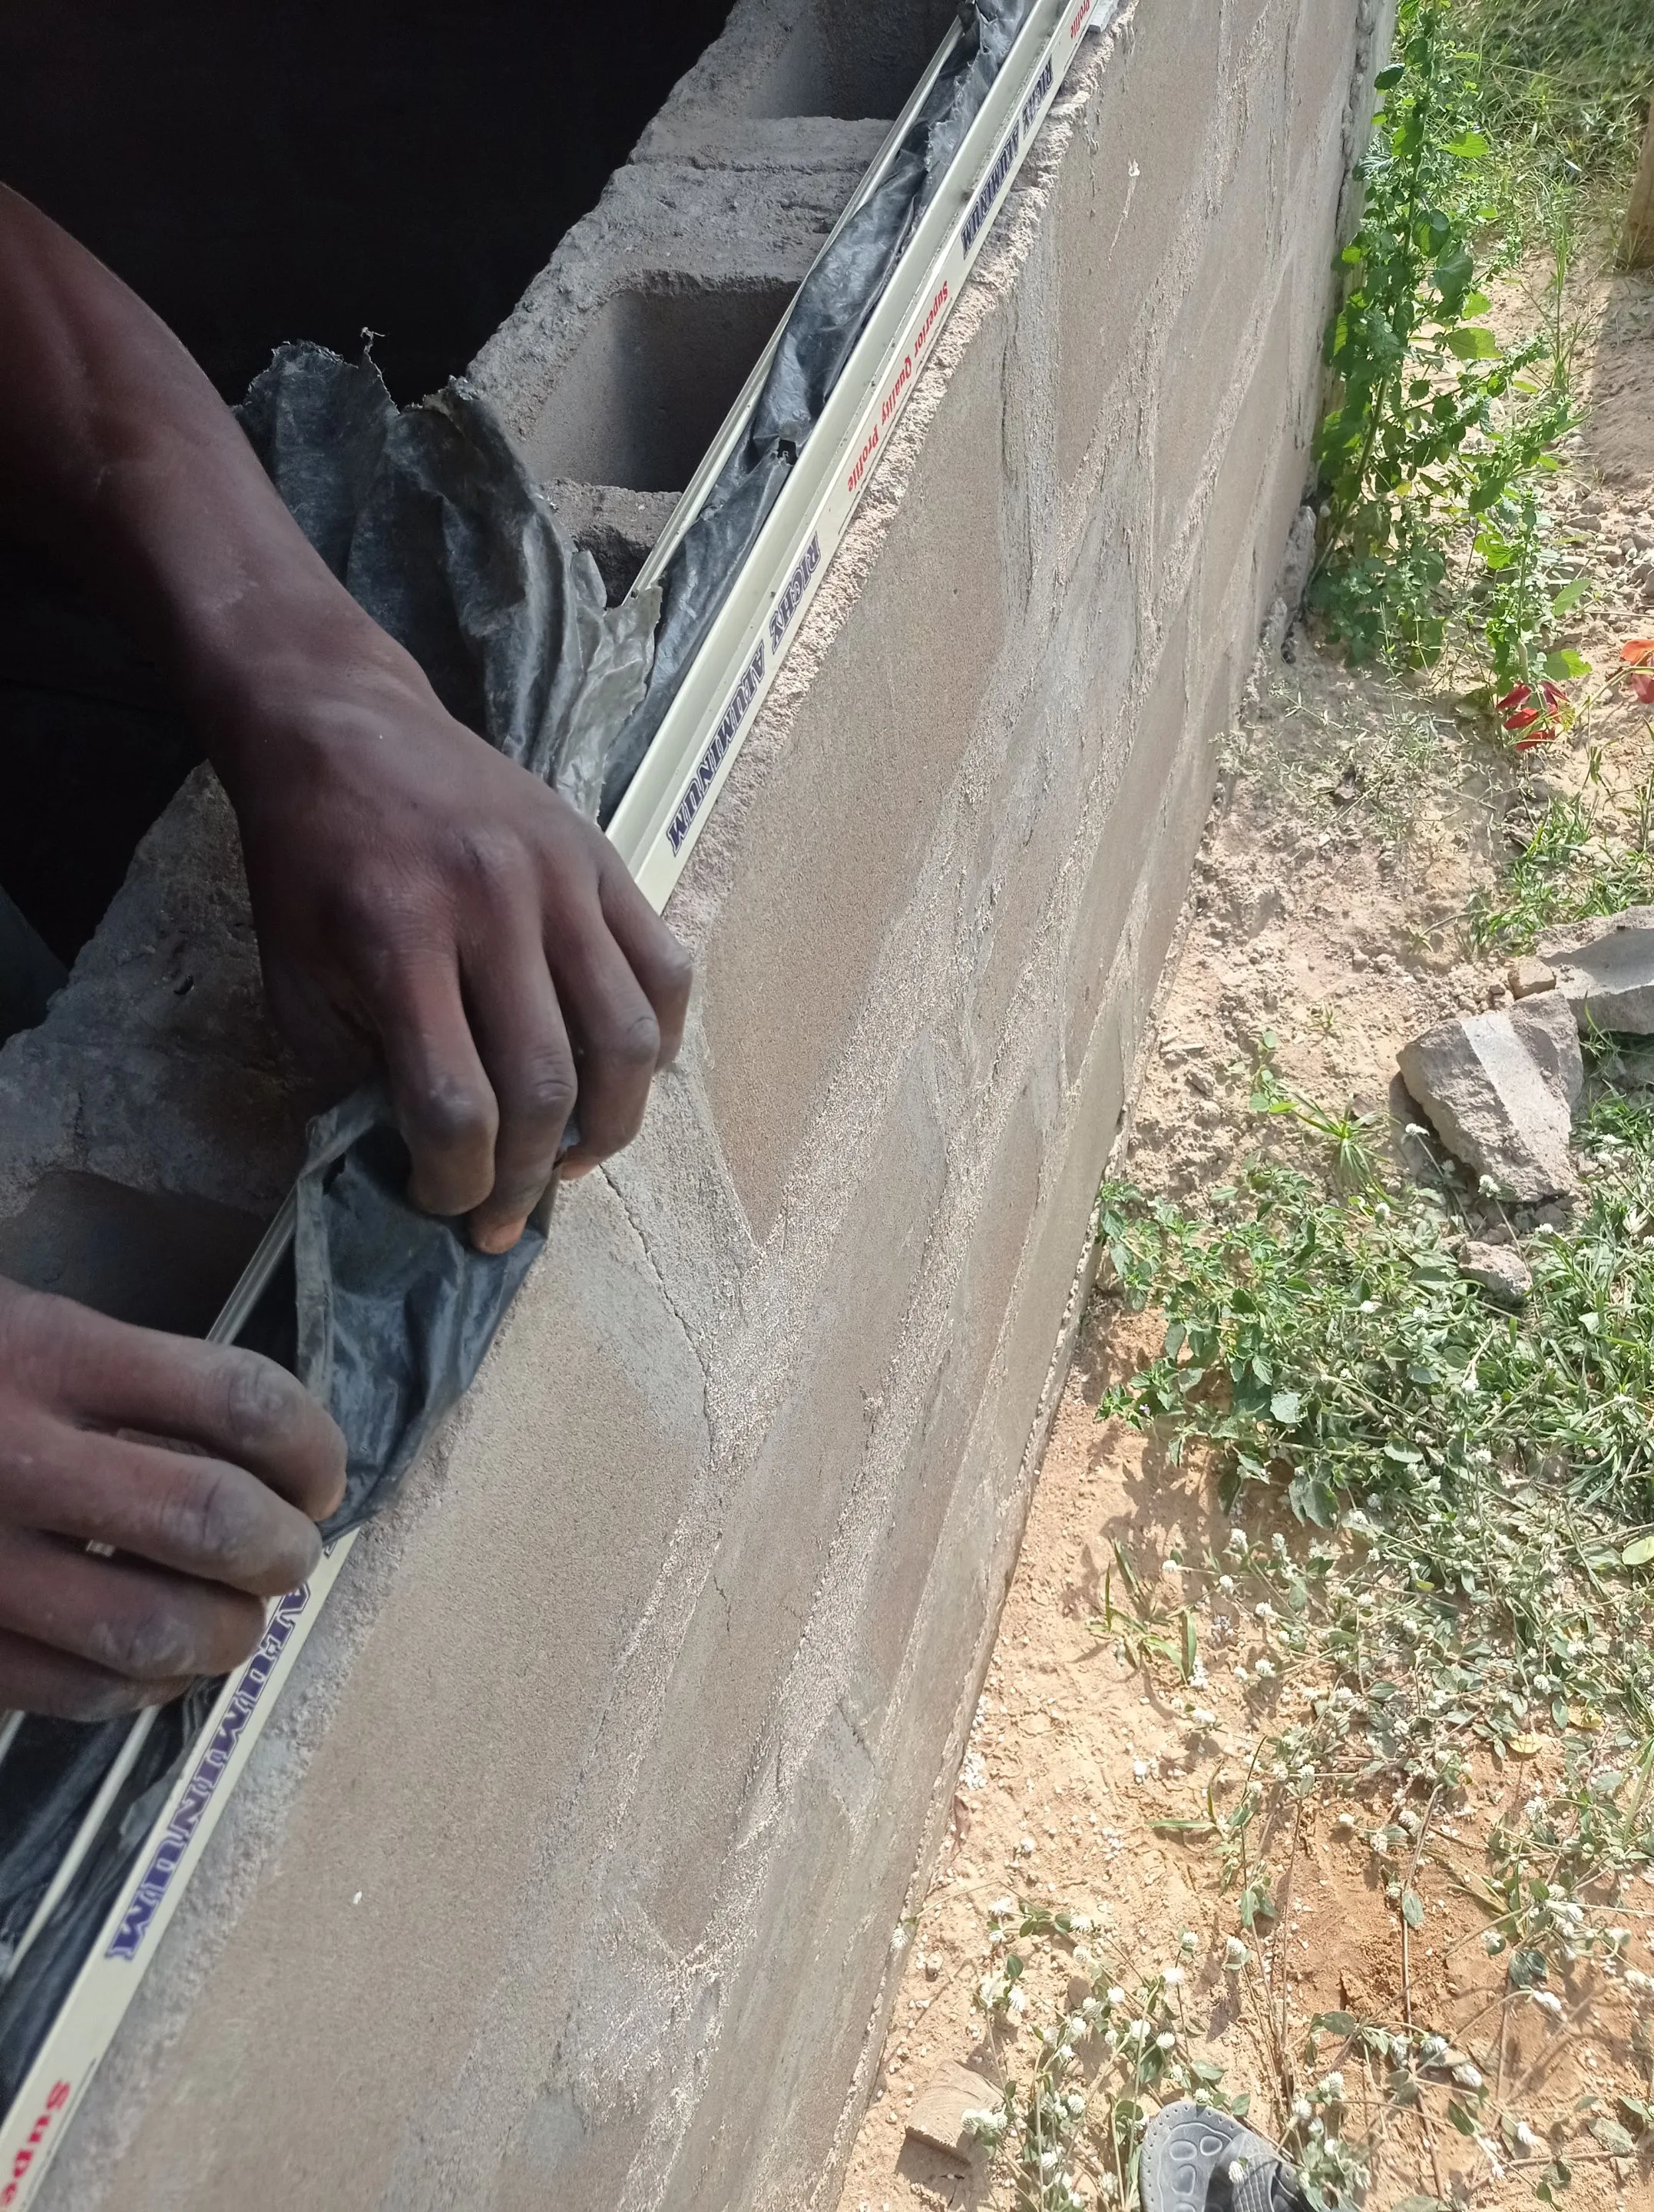
Before plastering/coating the house, First cover the window frames space with nylon or other material to avoid being blocked by cement.
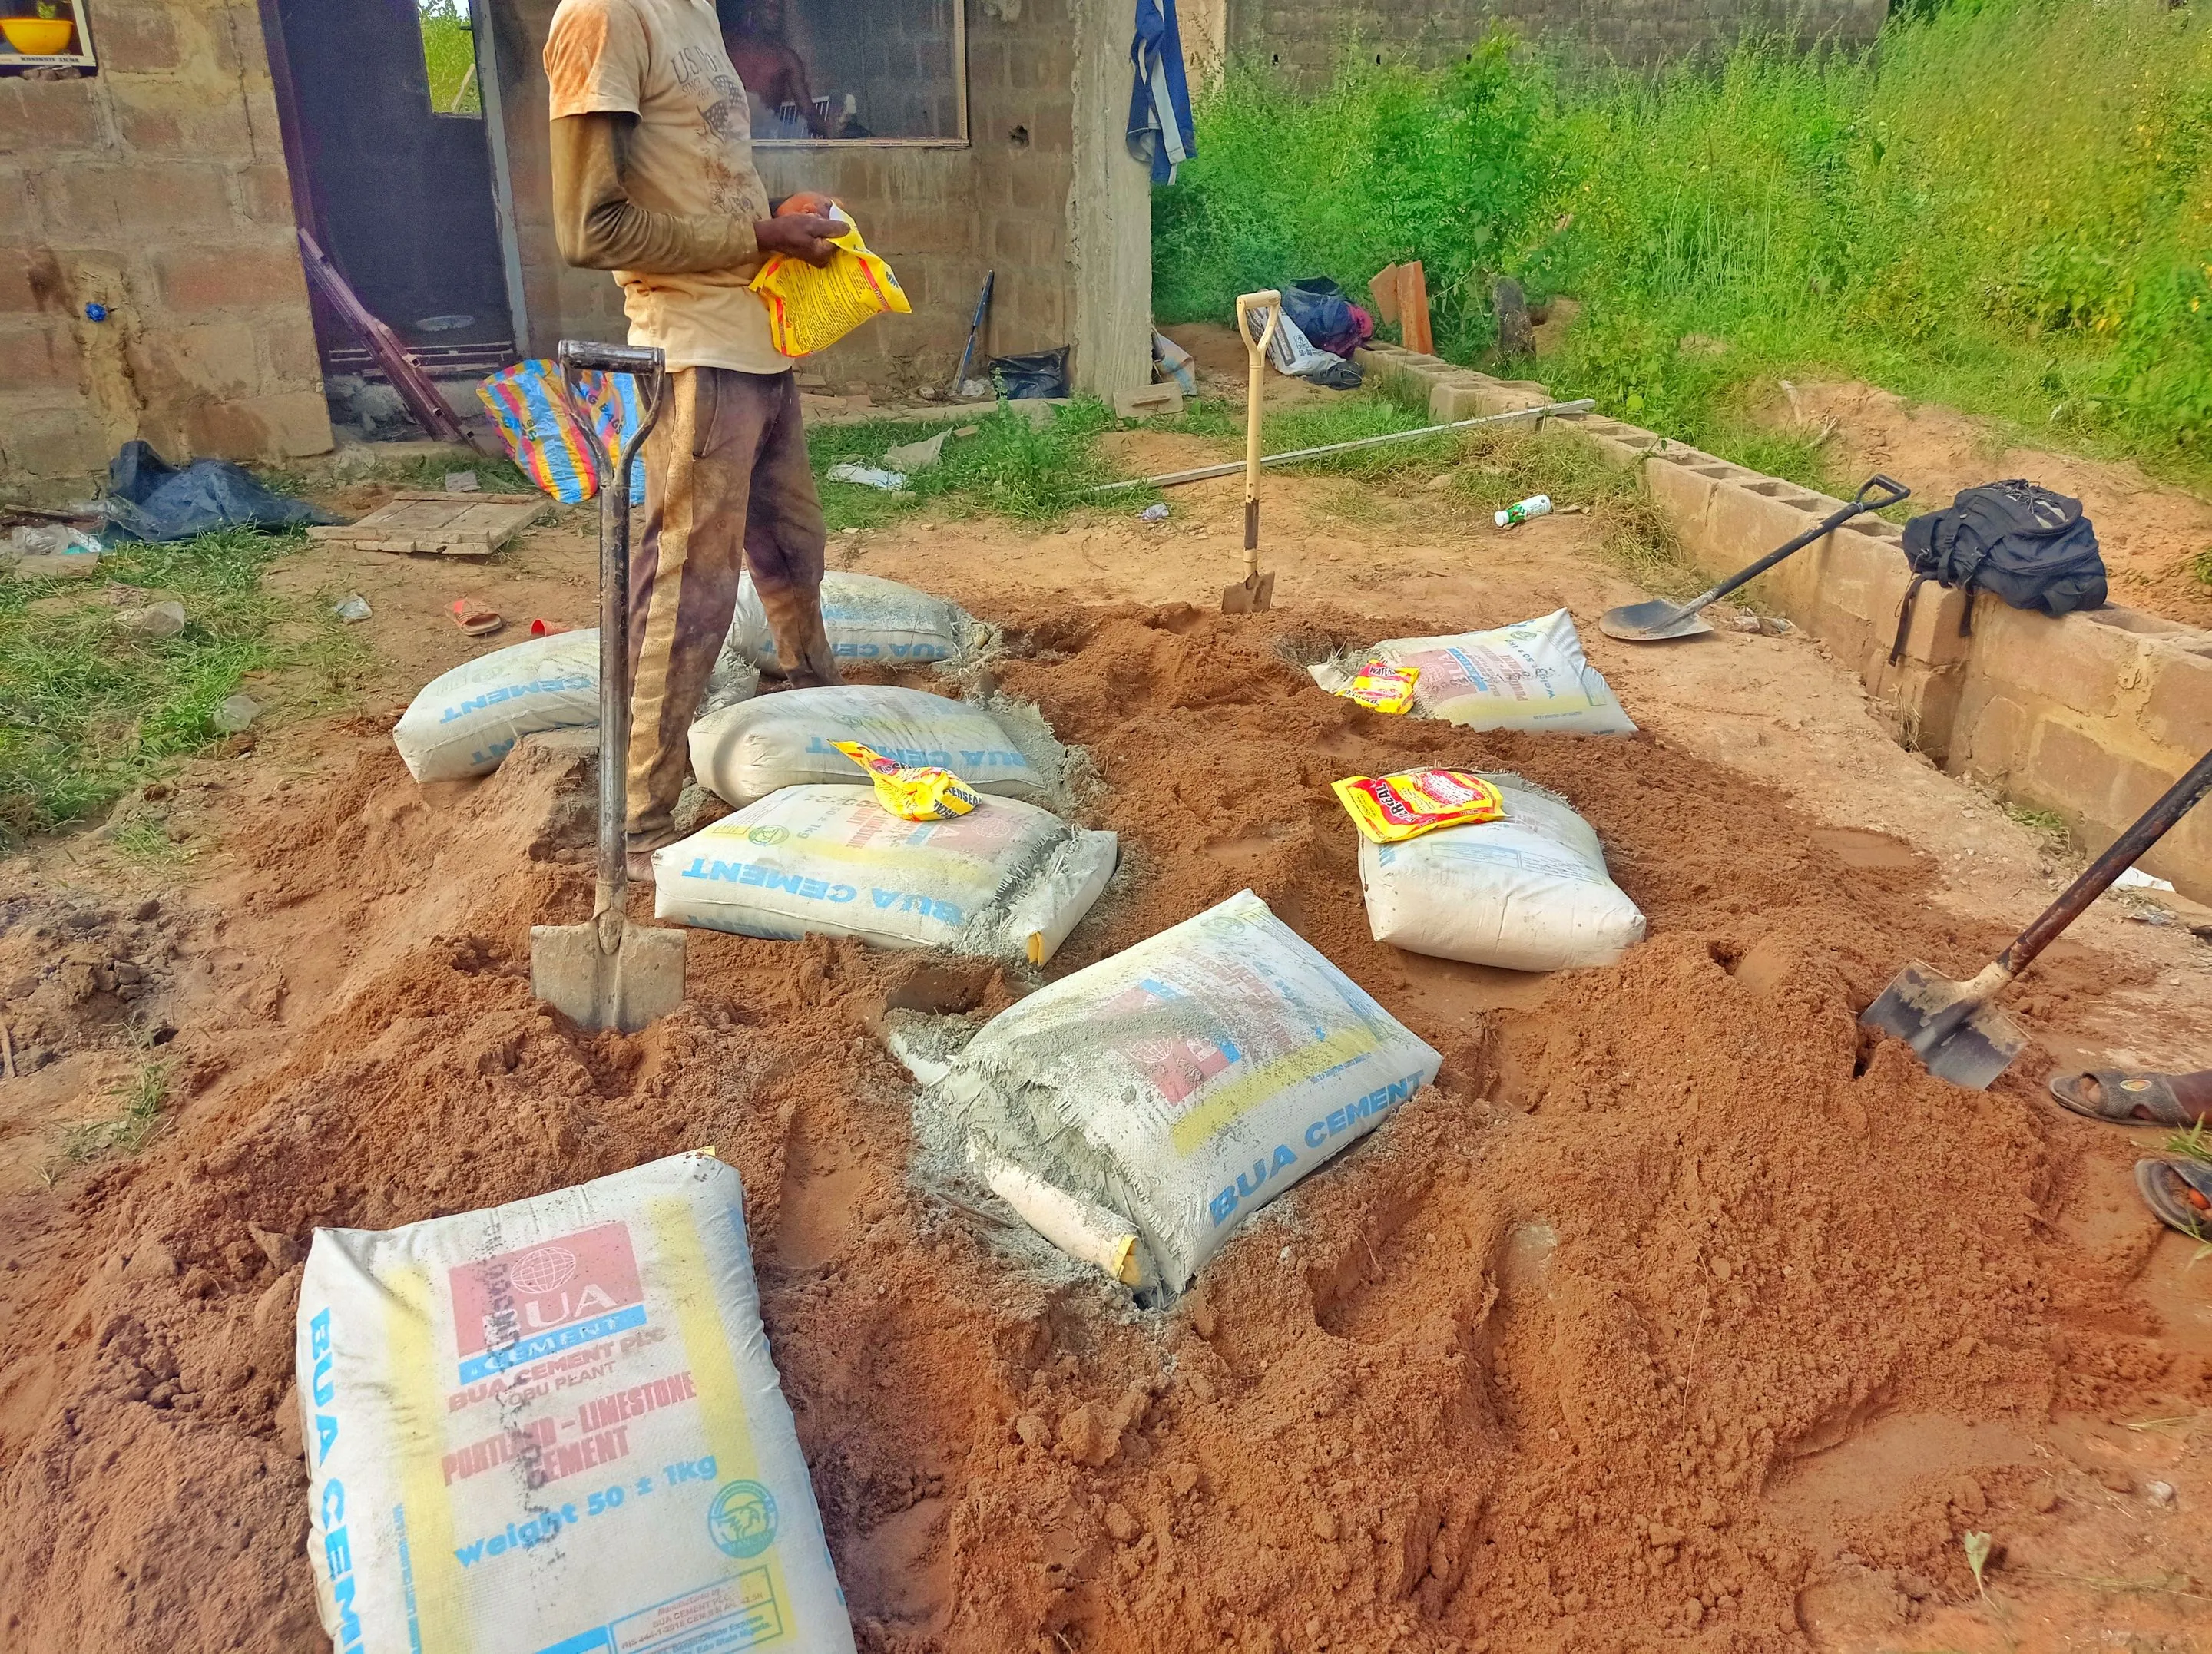
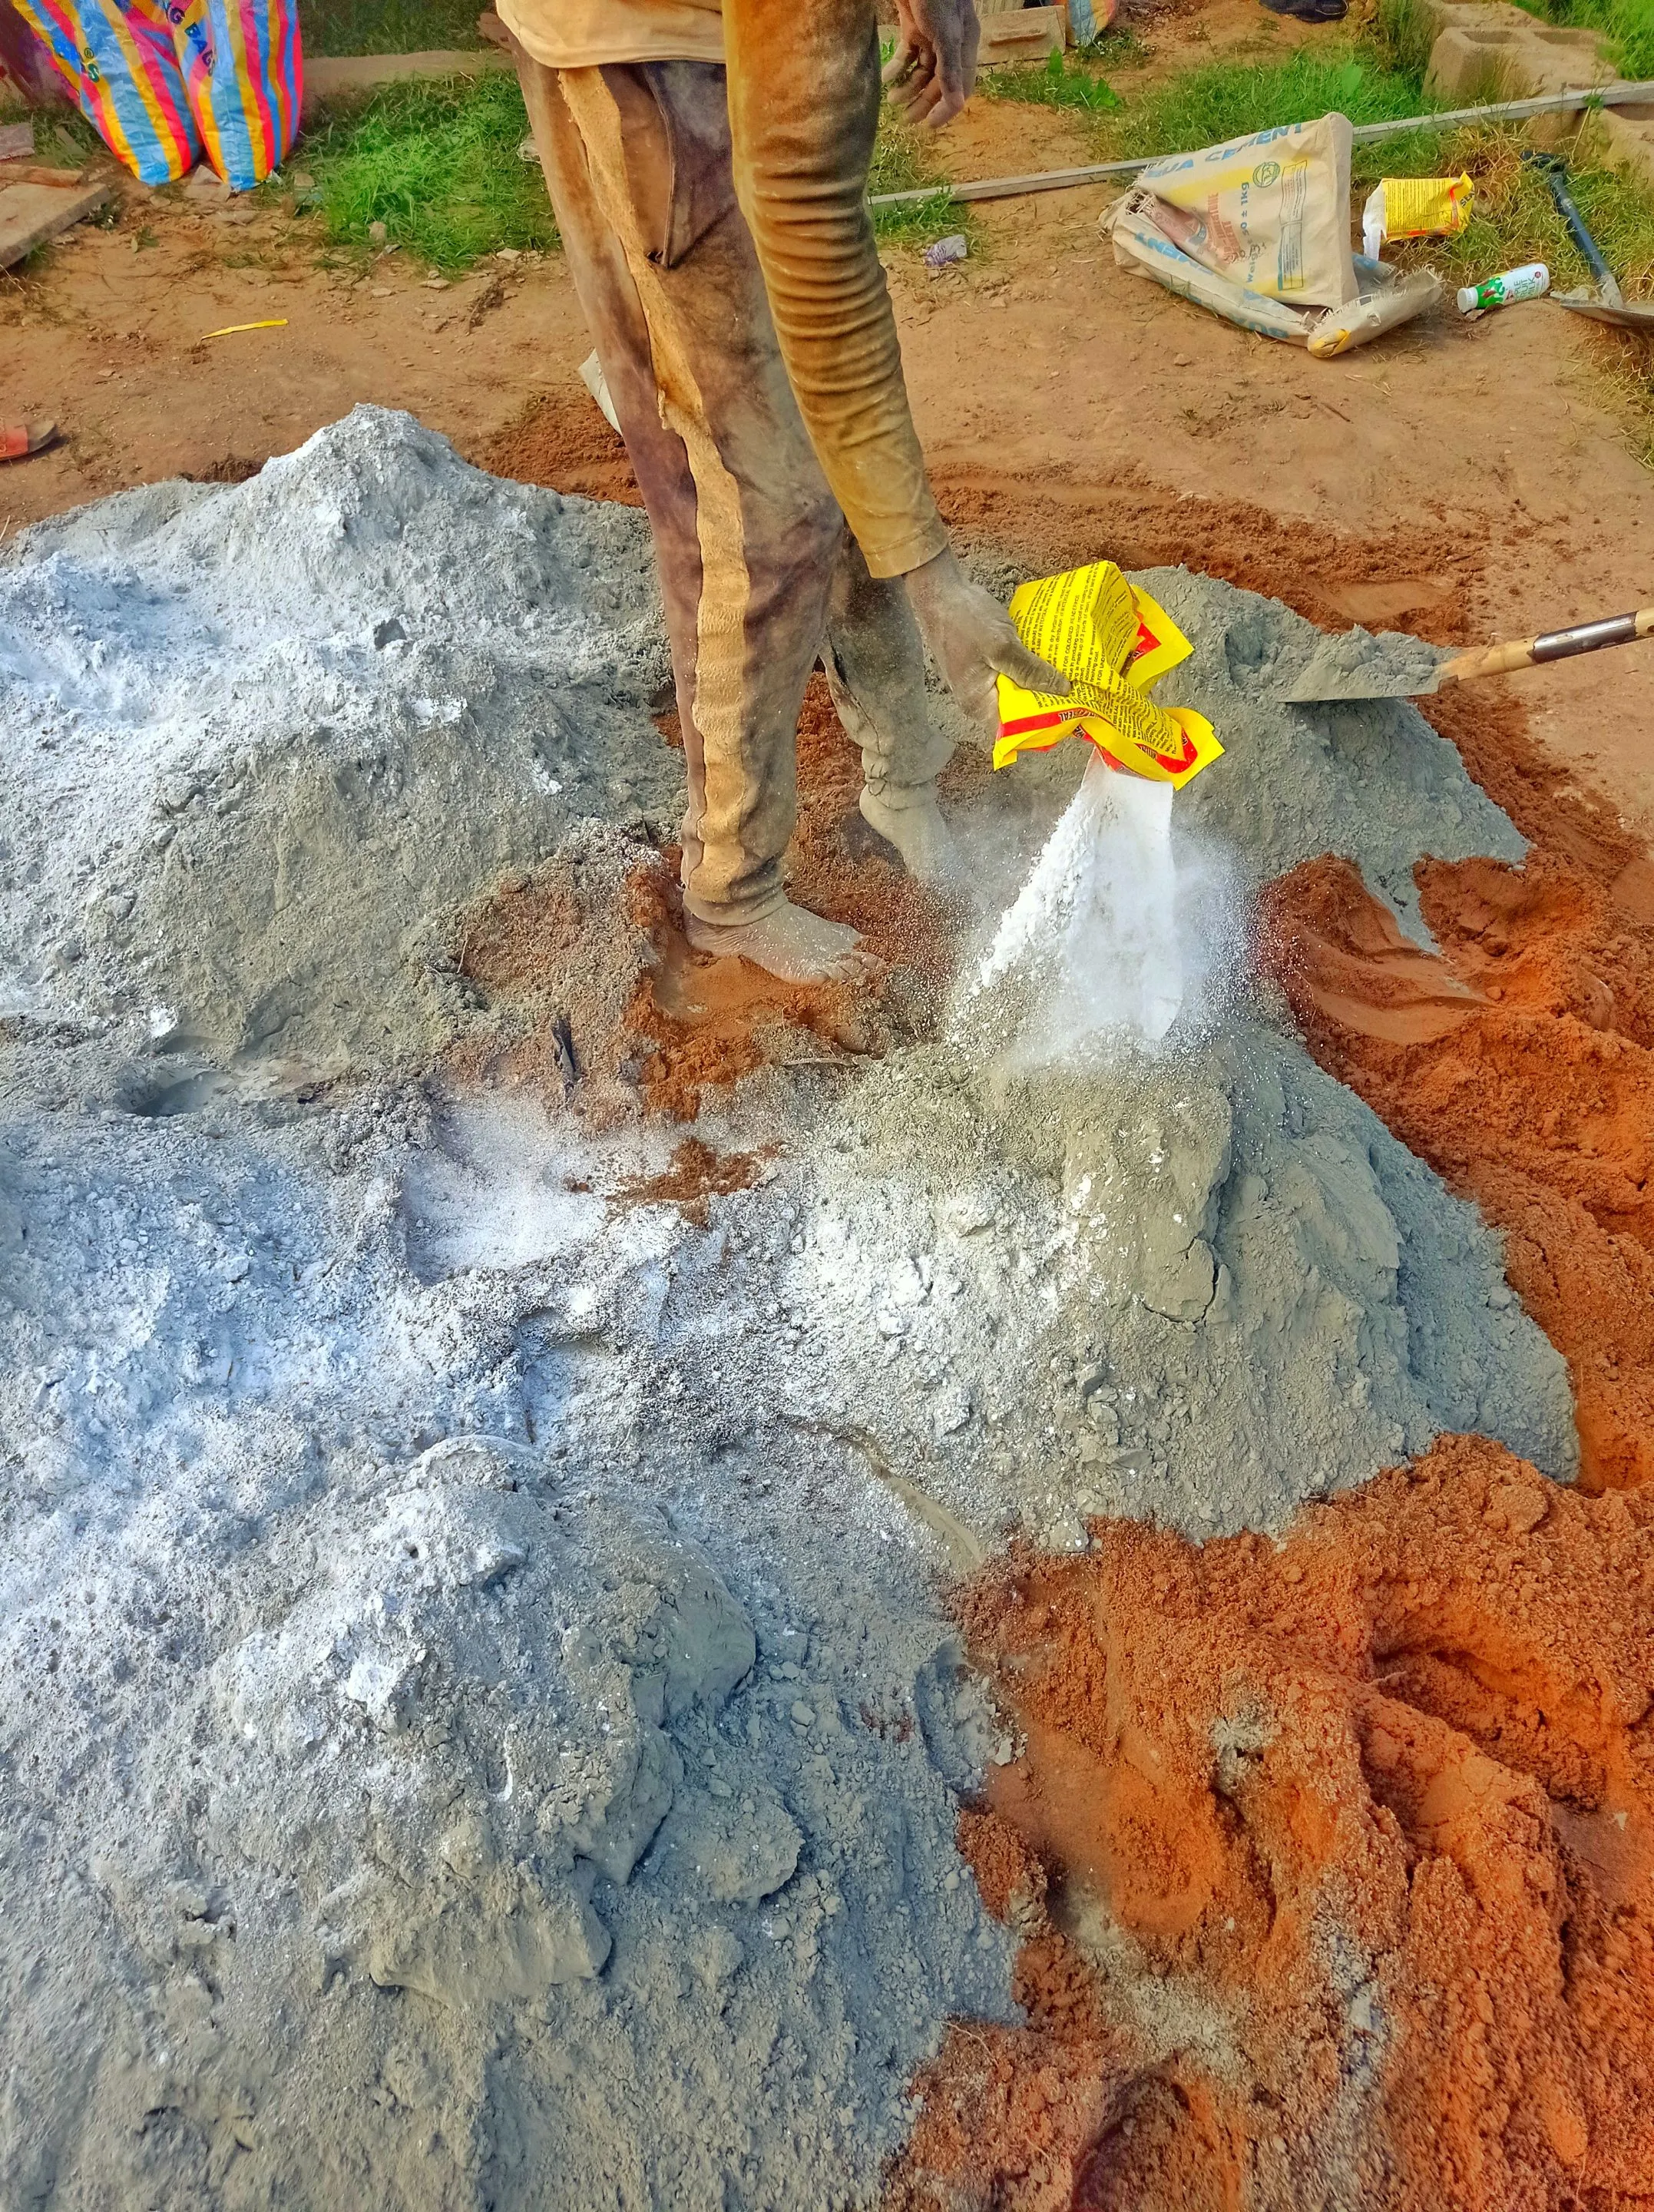
Step 1. Mix the loamy sand with cement and waterproof cement , and then apply add water and mix together.
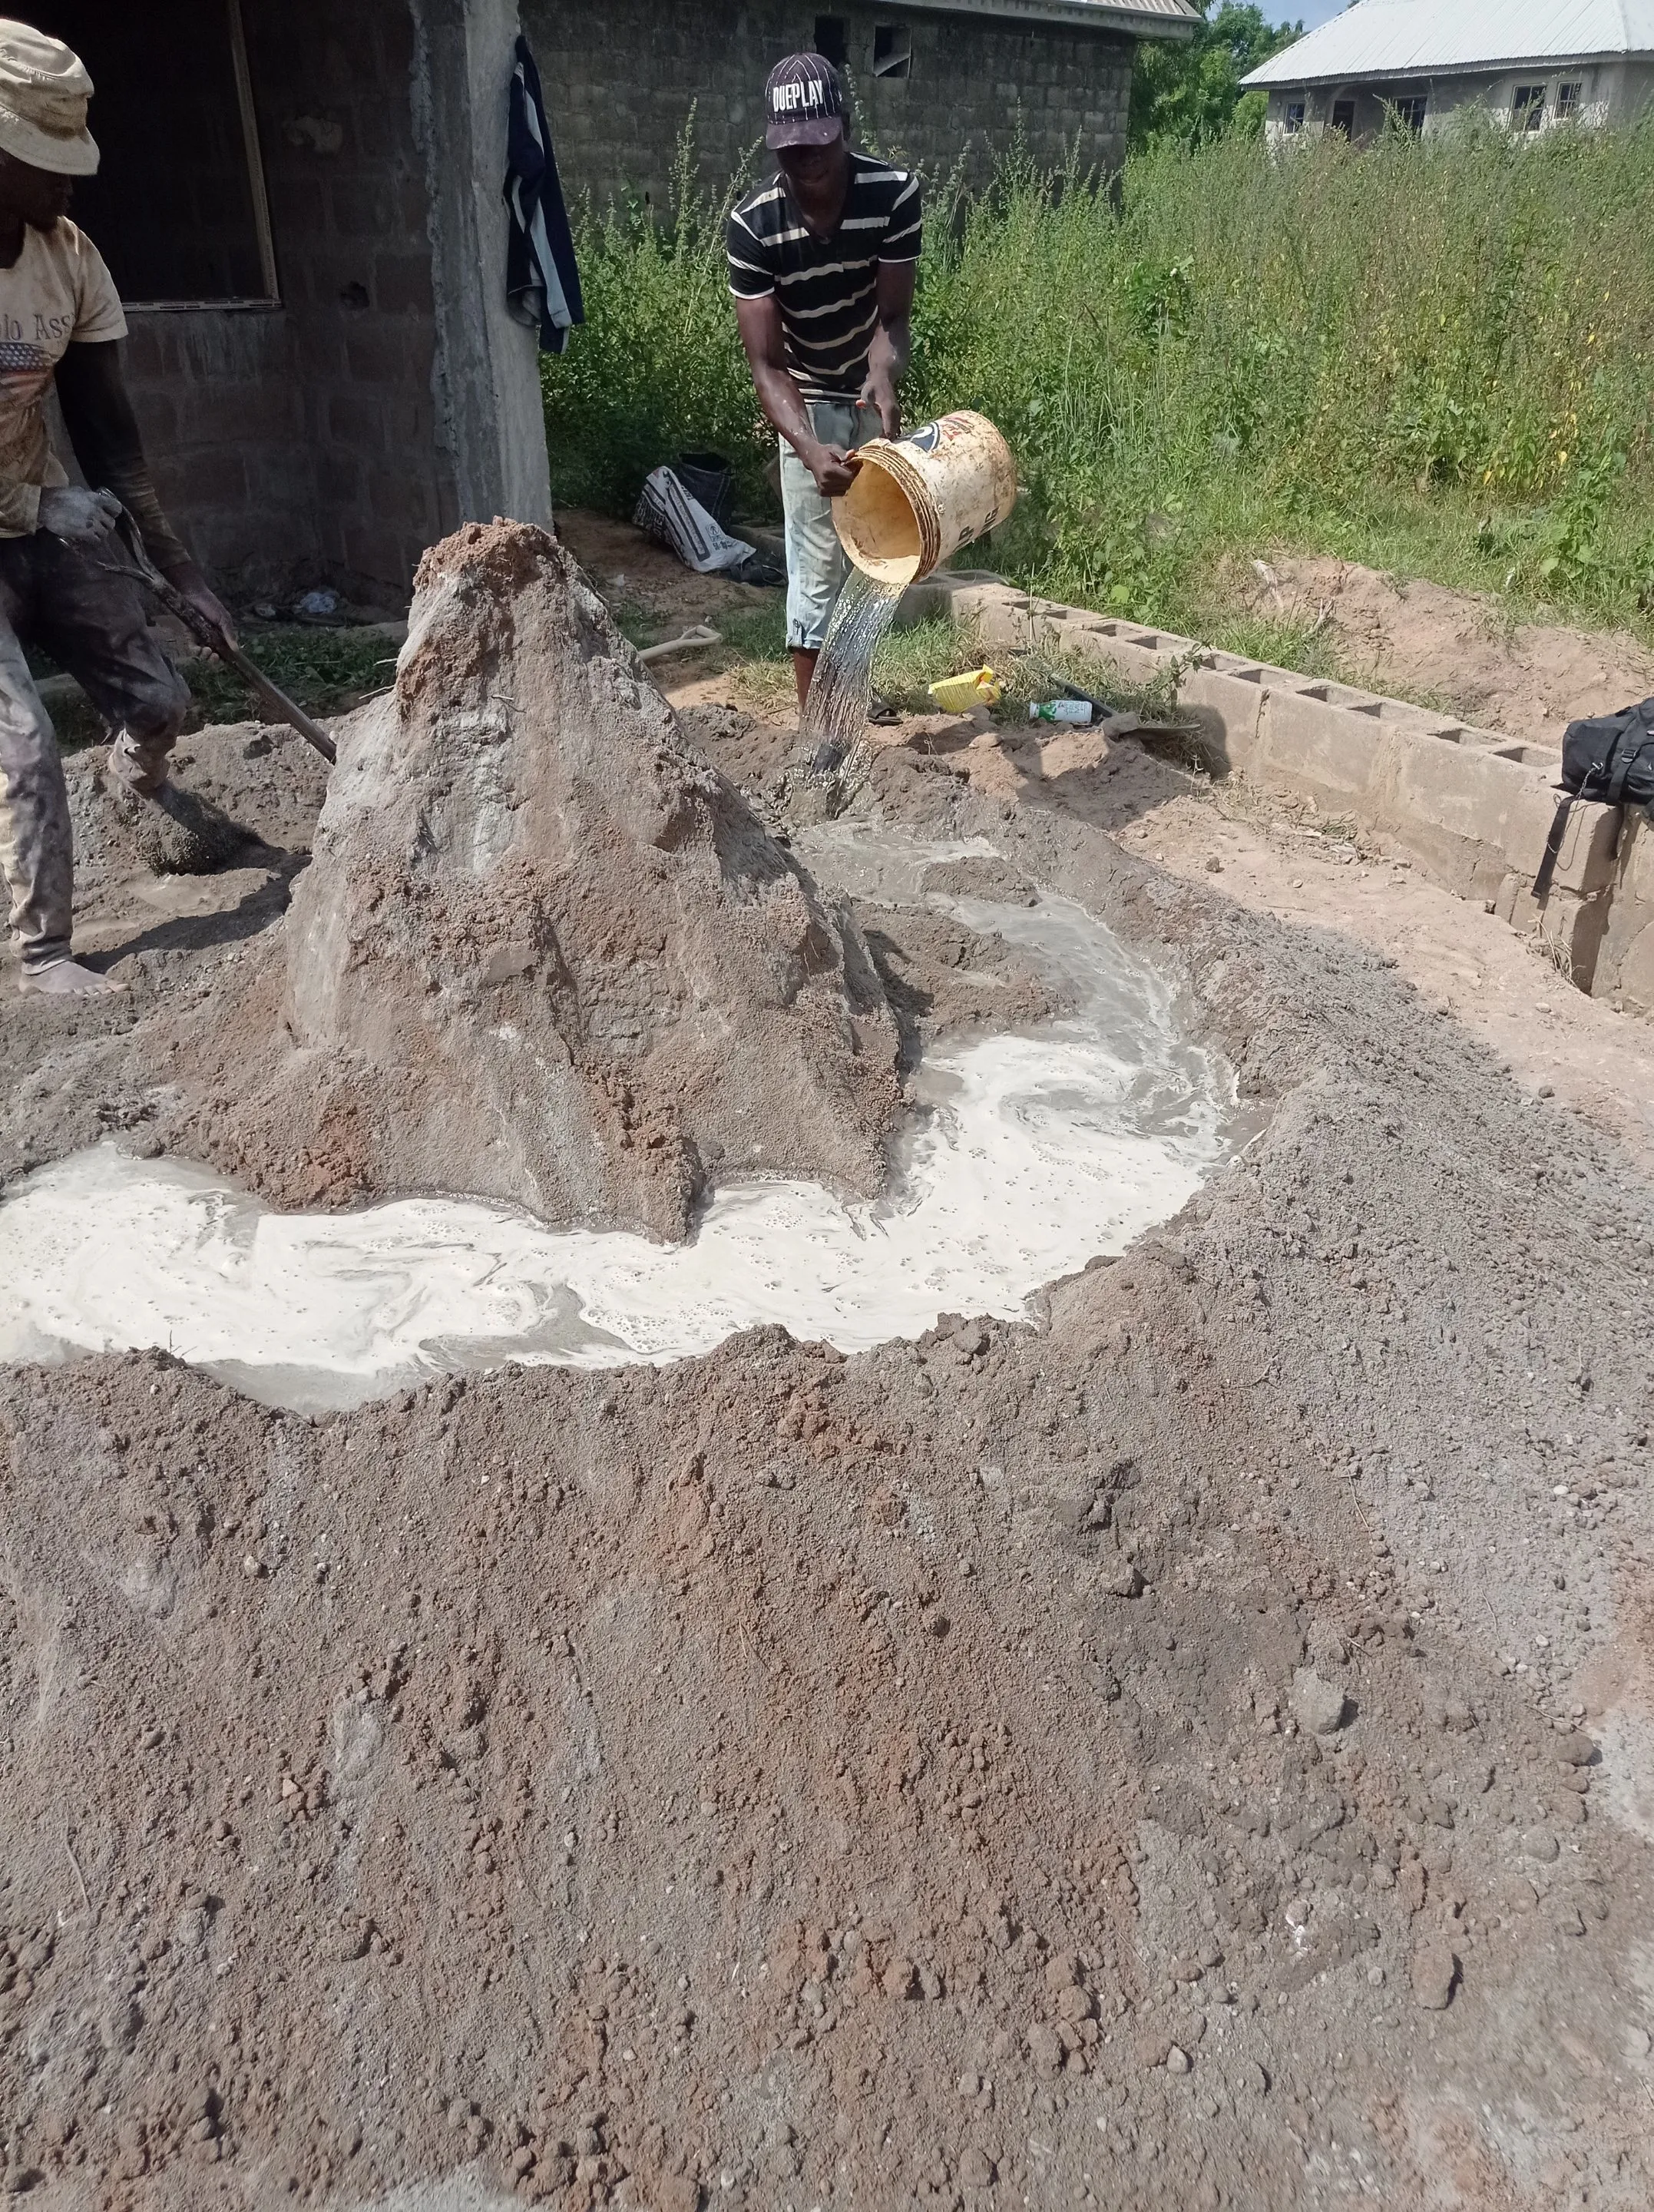
Also creating holes/channel where the edges of the Burglary will use in connecting with the house.
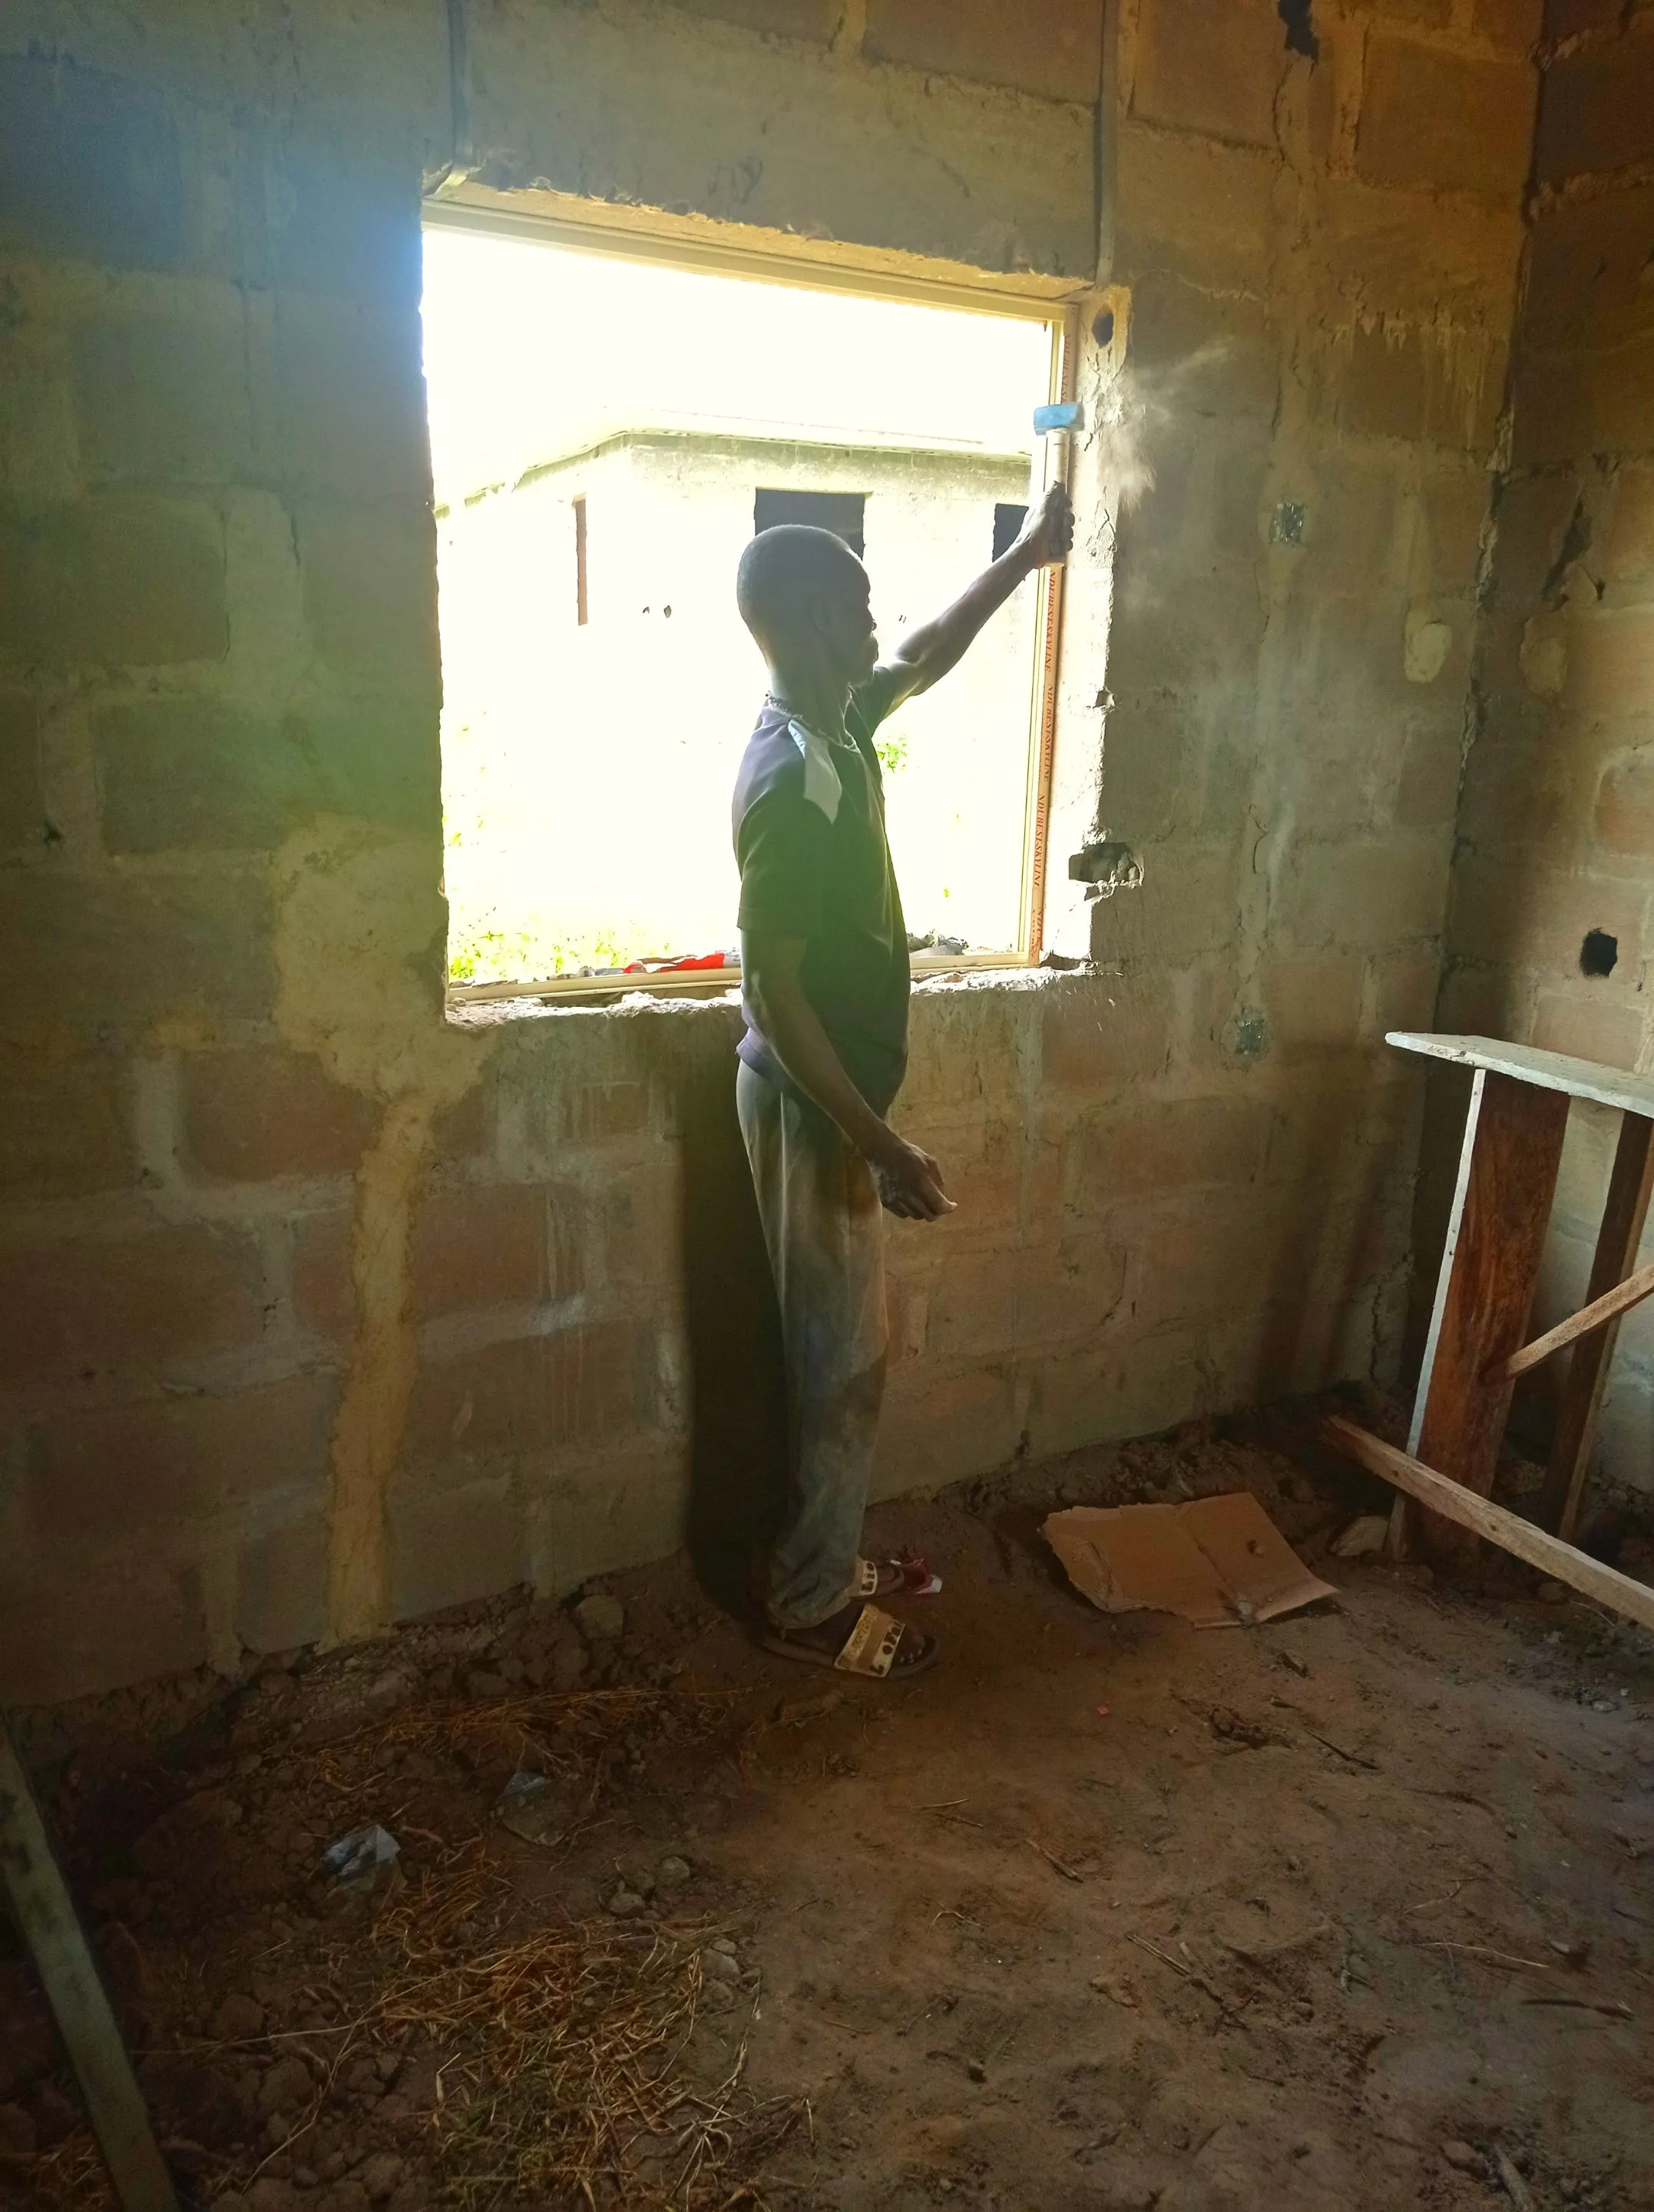
NB: The amount of sand use to each bag of cement shouldn't be much, though considering the owners budget then it may varies, but don't do anything substandard due to owners budget,(it's better not to build a house, than to build one that will collapse in few month) in this case I'm using 10 bucket of sand for a bag of cement. Step 2. Applying the mix cement on the wall(also known as First coat)
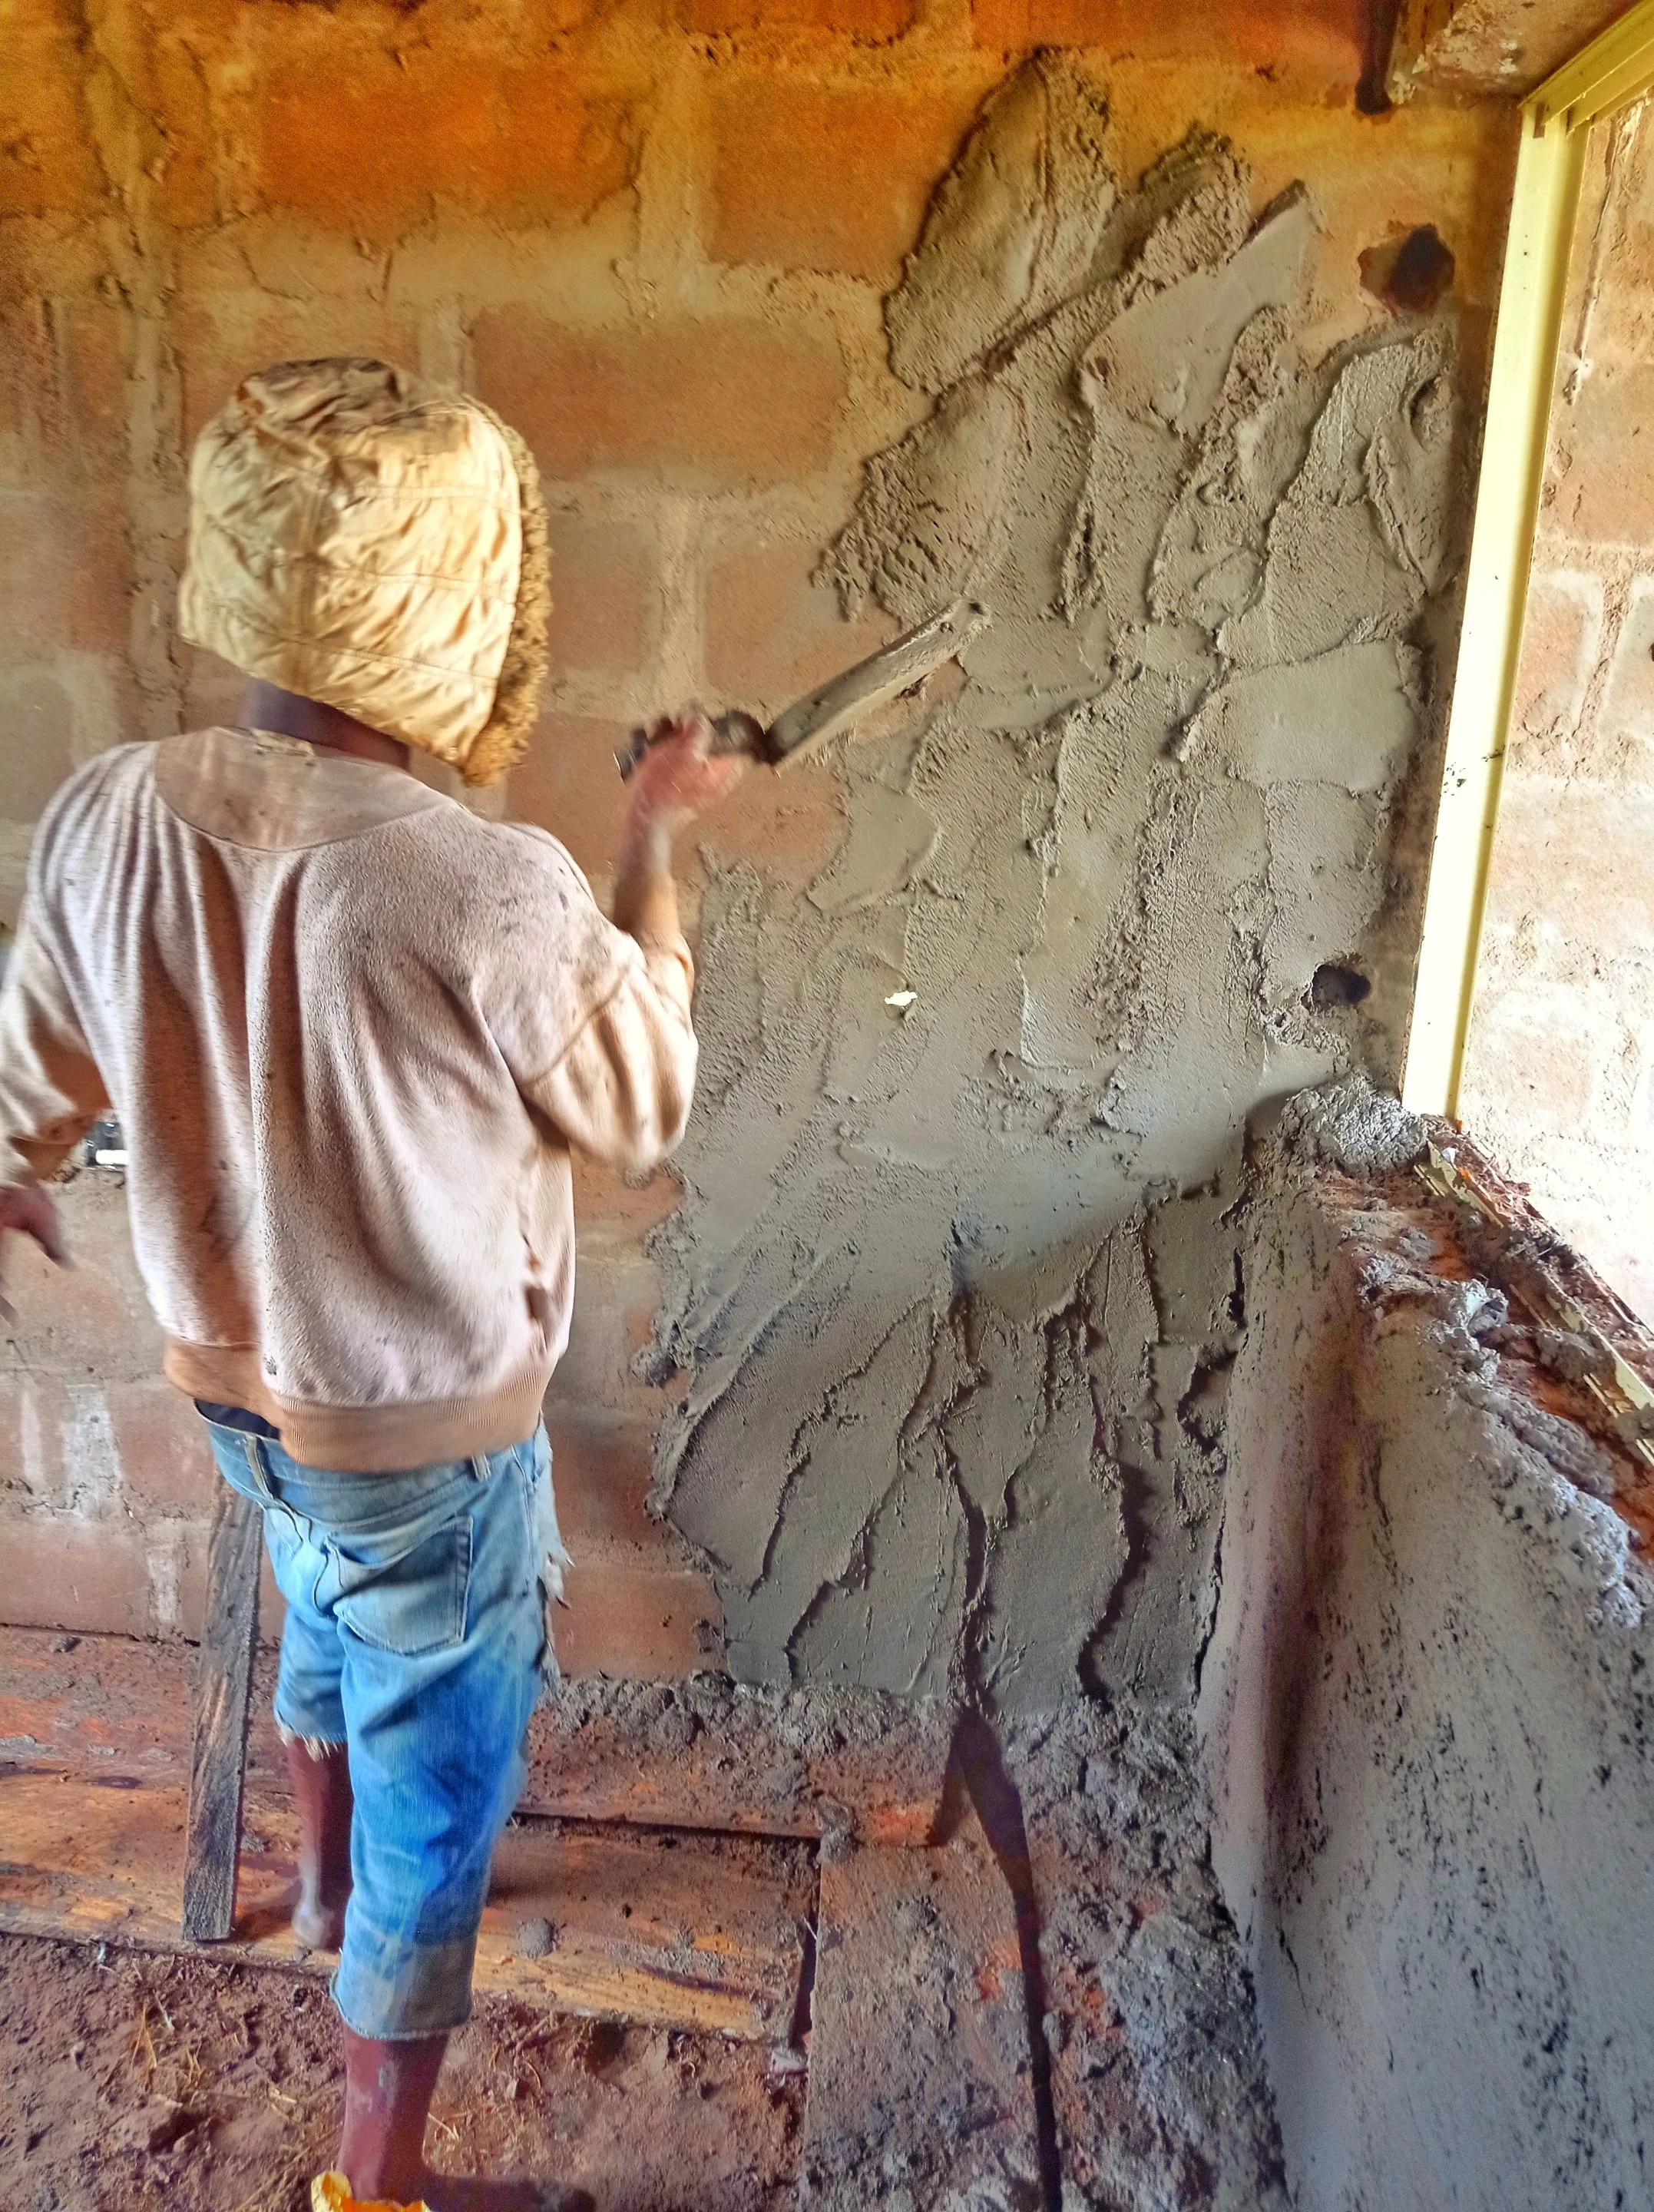
Step 3. Skim the applied plaster with your straight edge, smoothen and then scrap with the Plasterers float.
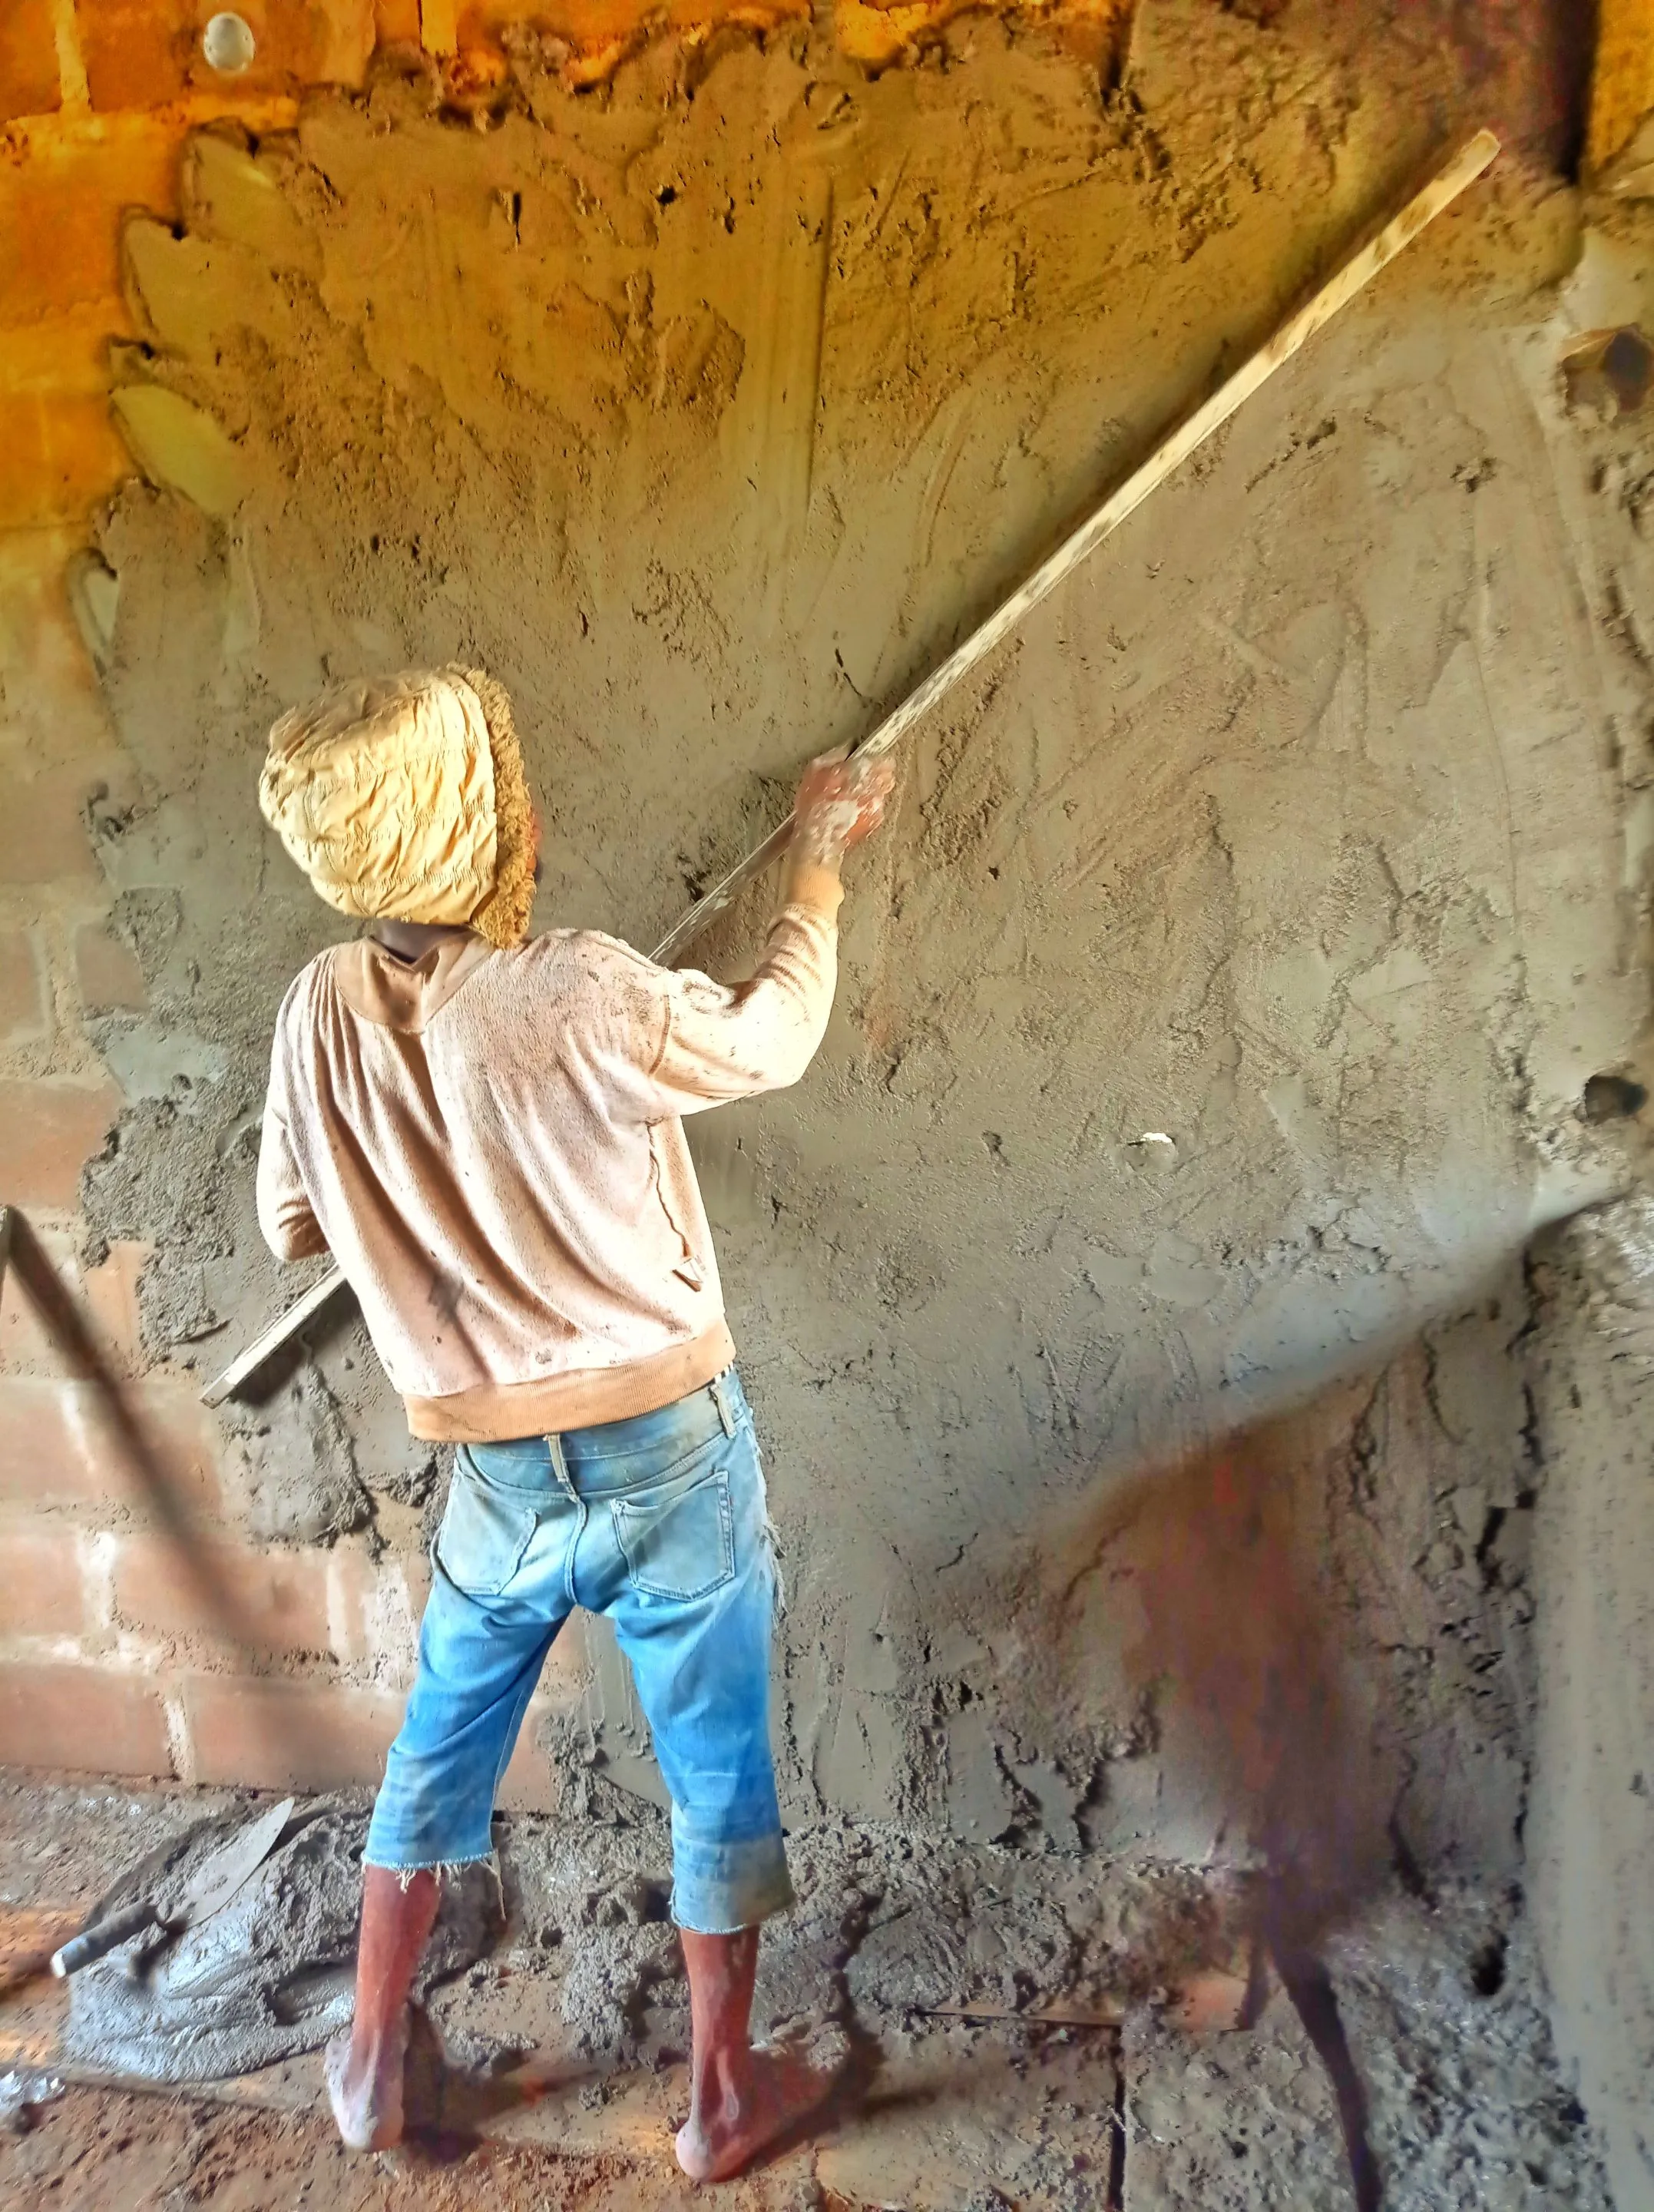
Step 4. Apply the mix cement again on the scrap wall(also know as second coat) NB: it's won't be as tick as the first coat.
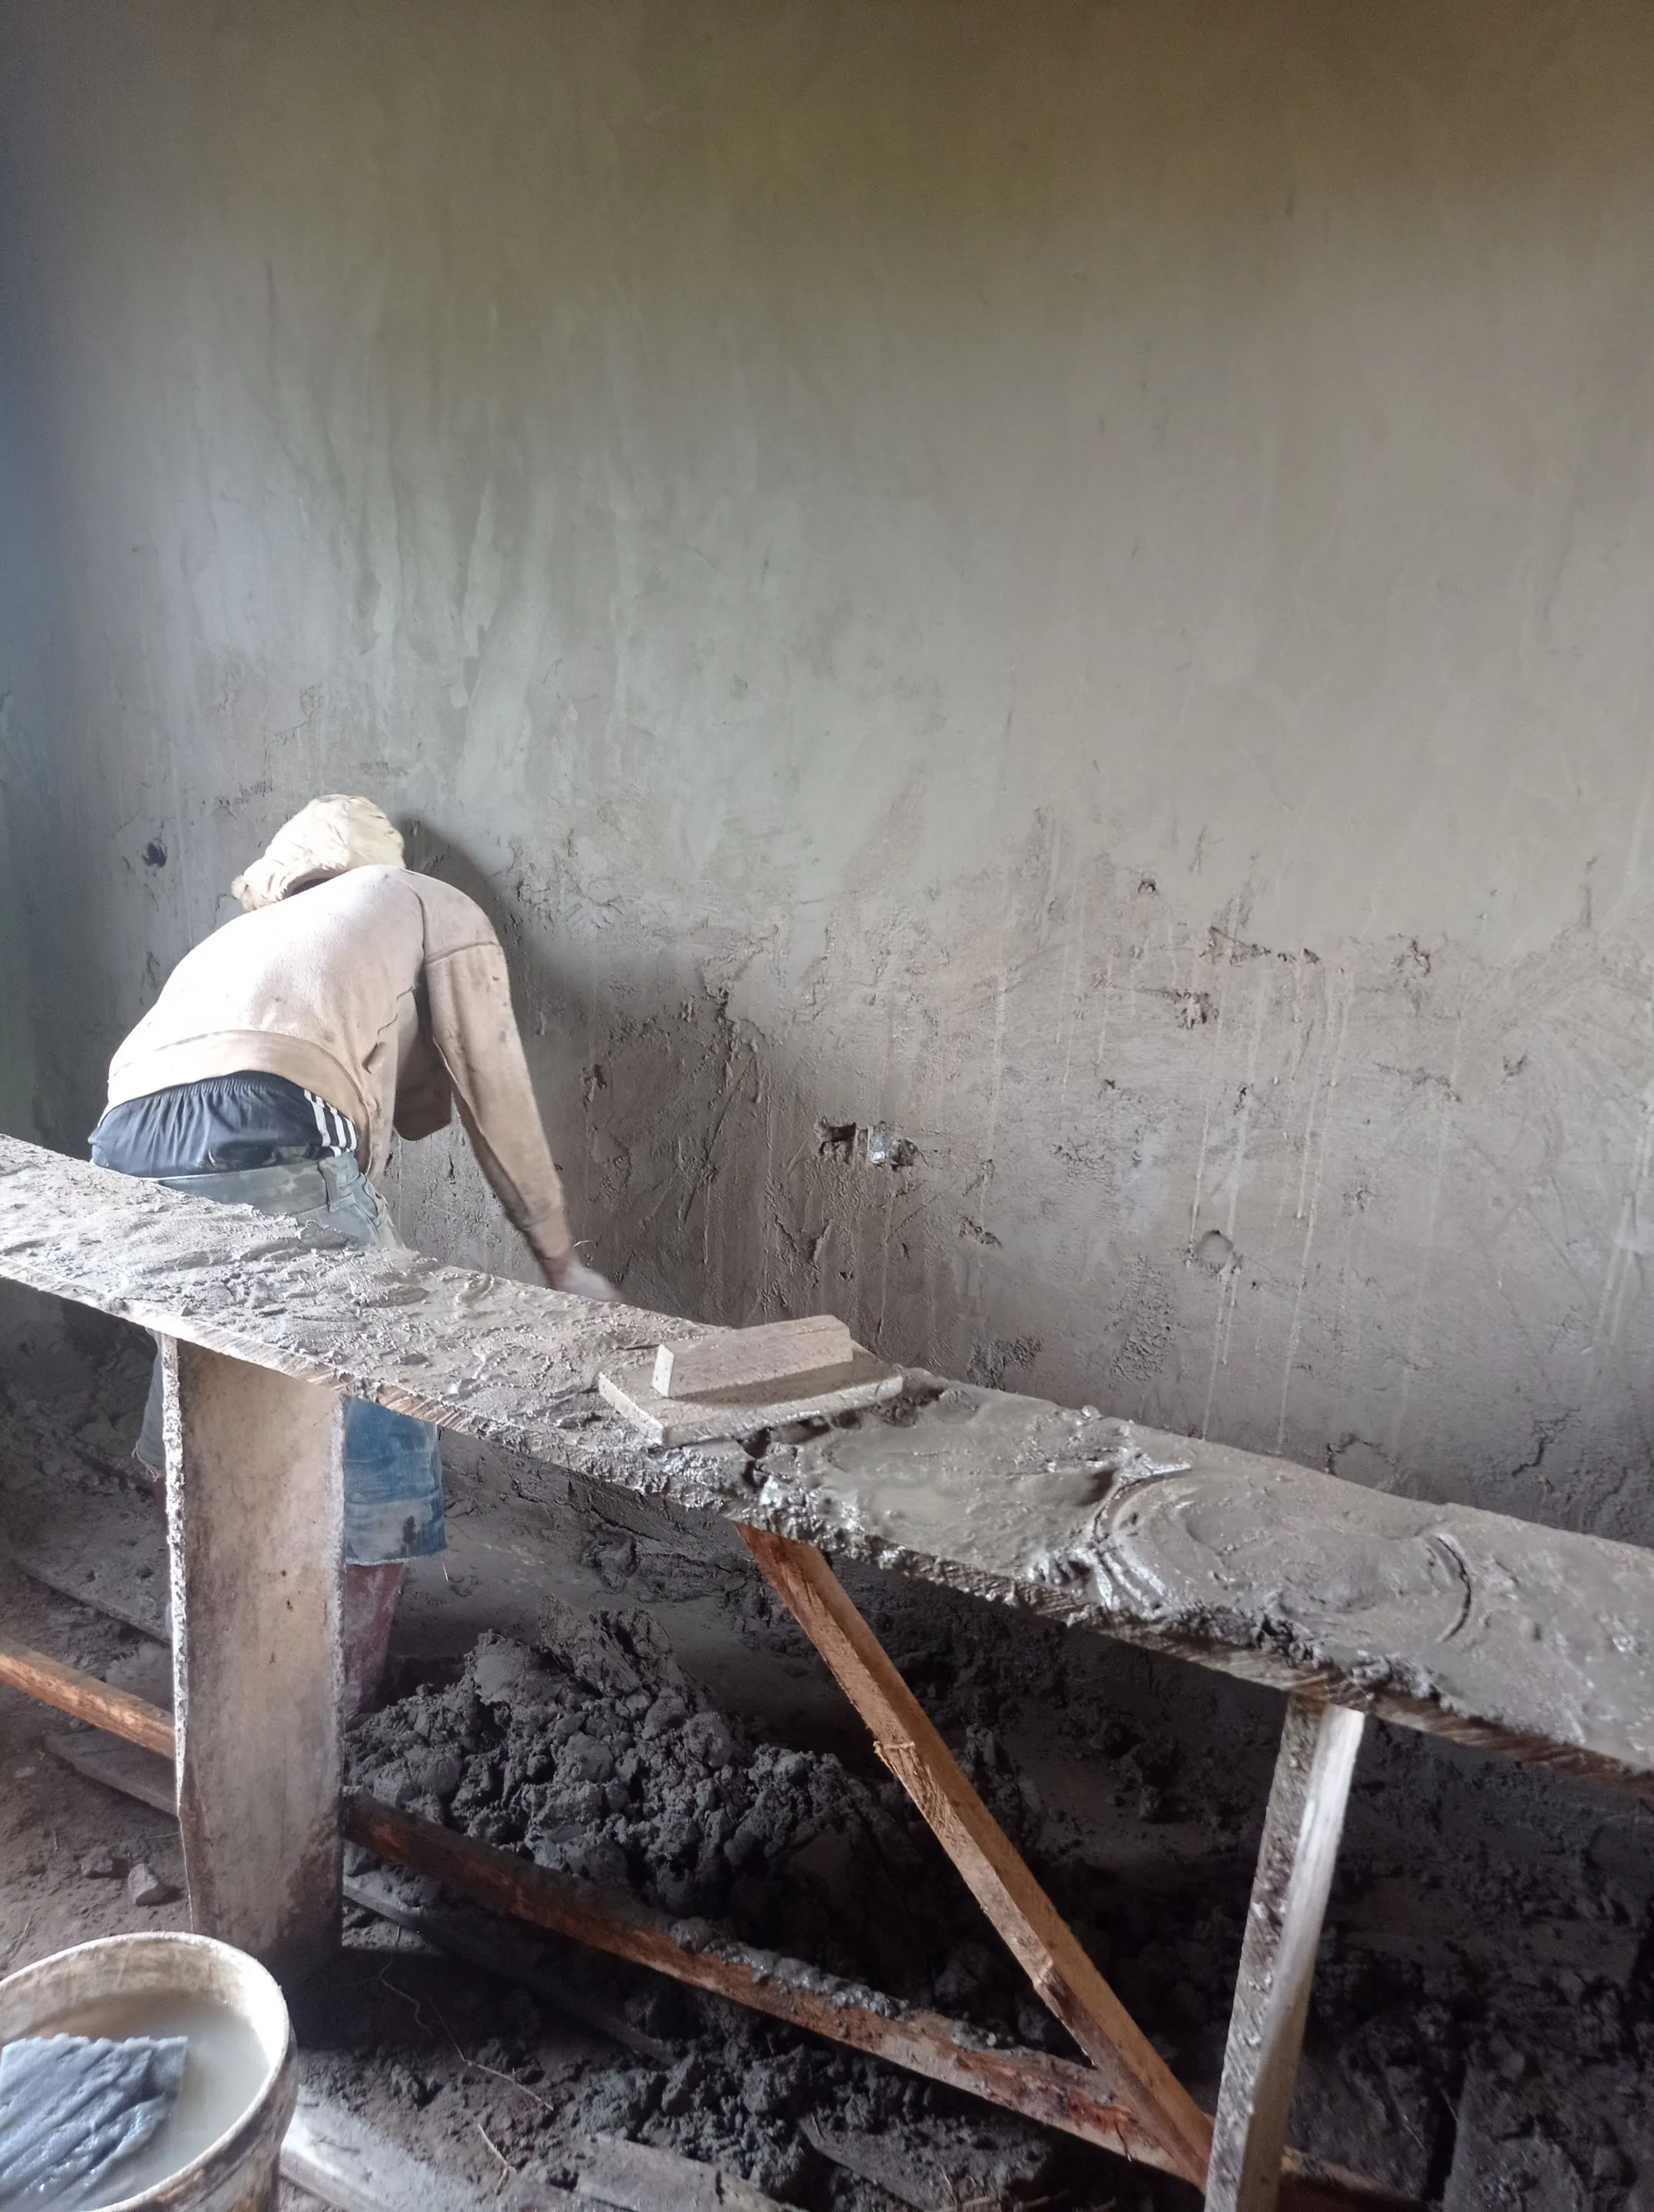
Step 5. Flick few water on the coated wall using the foam/brush and then skim it with your trowel while applying minimal pressure.
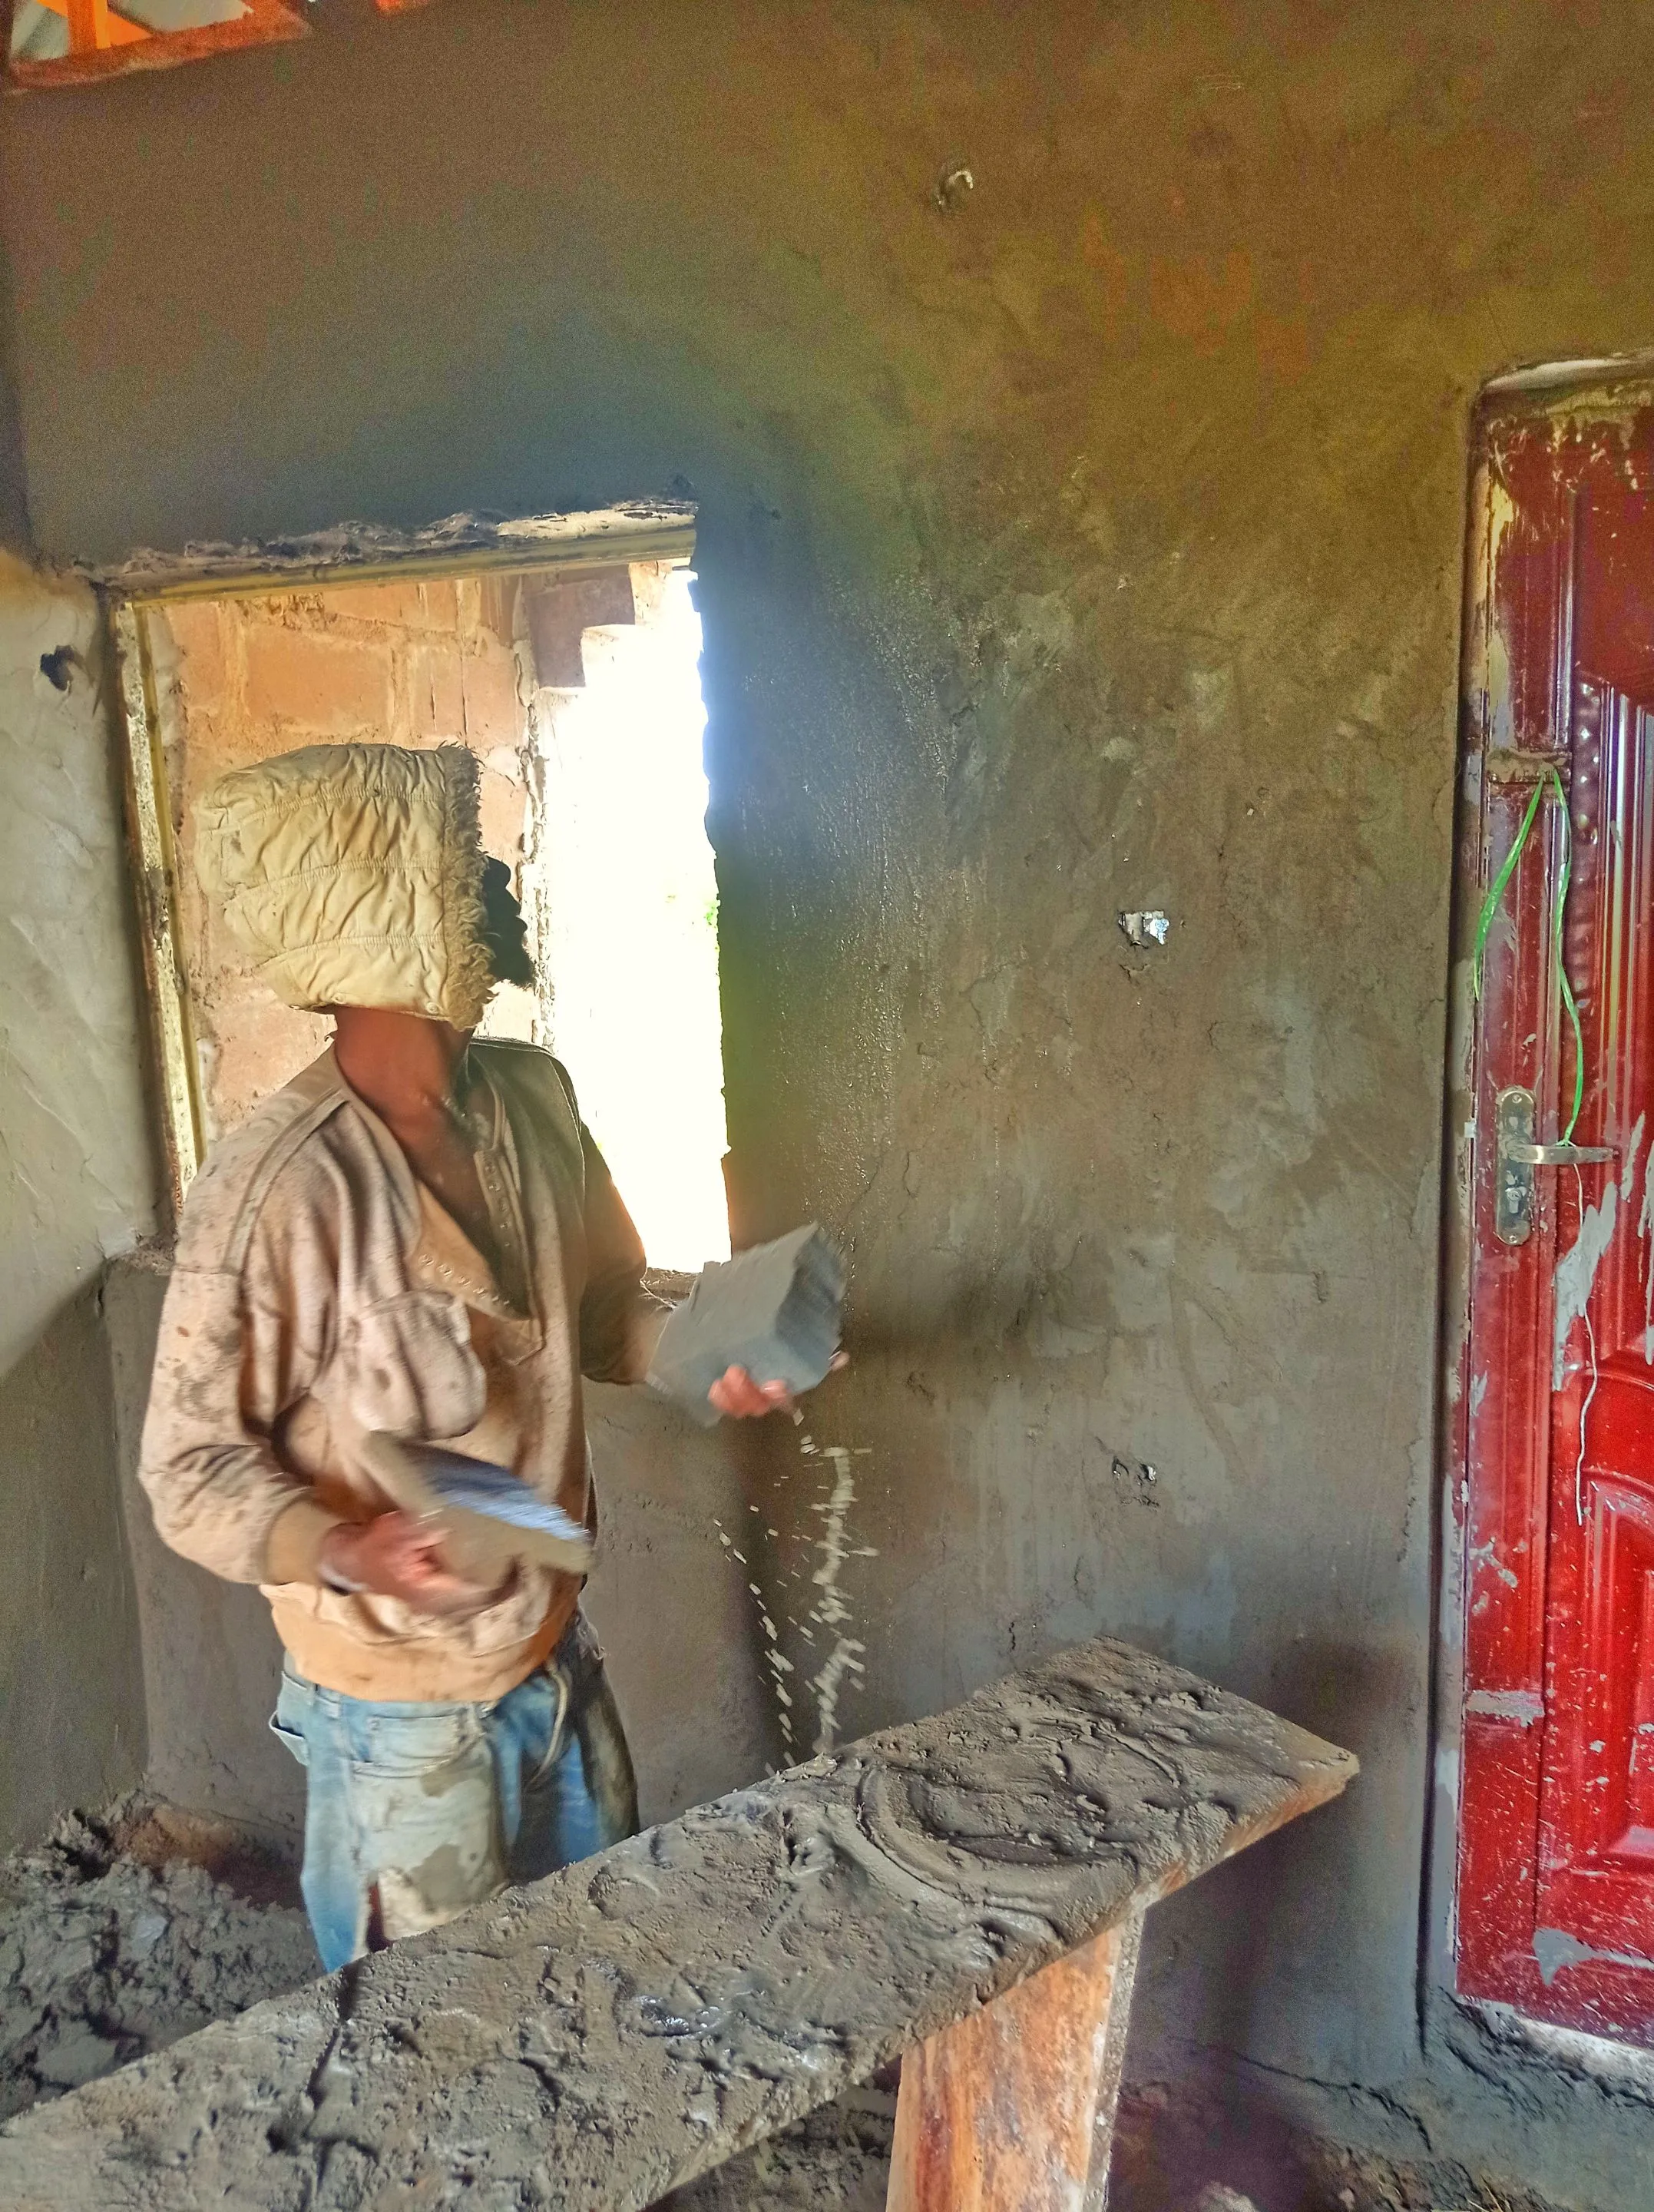
Step 6. Use your Metal Angle to create a smooth and neater edge in the four corners of your windows and doors.
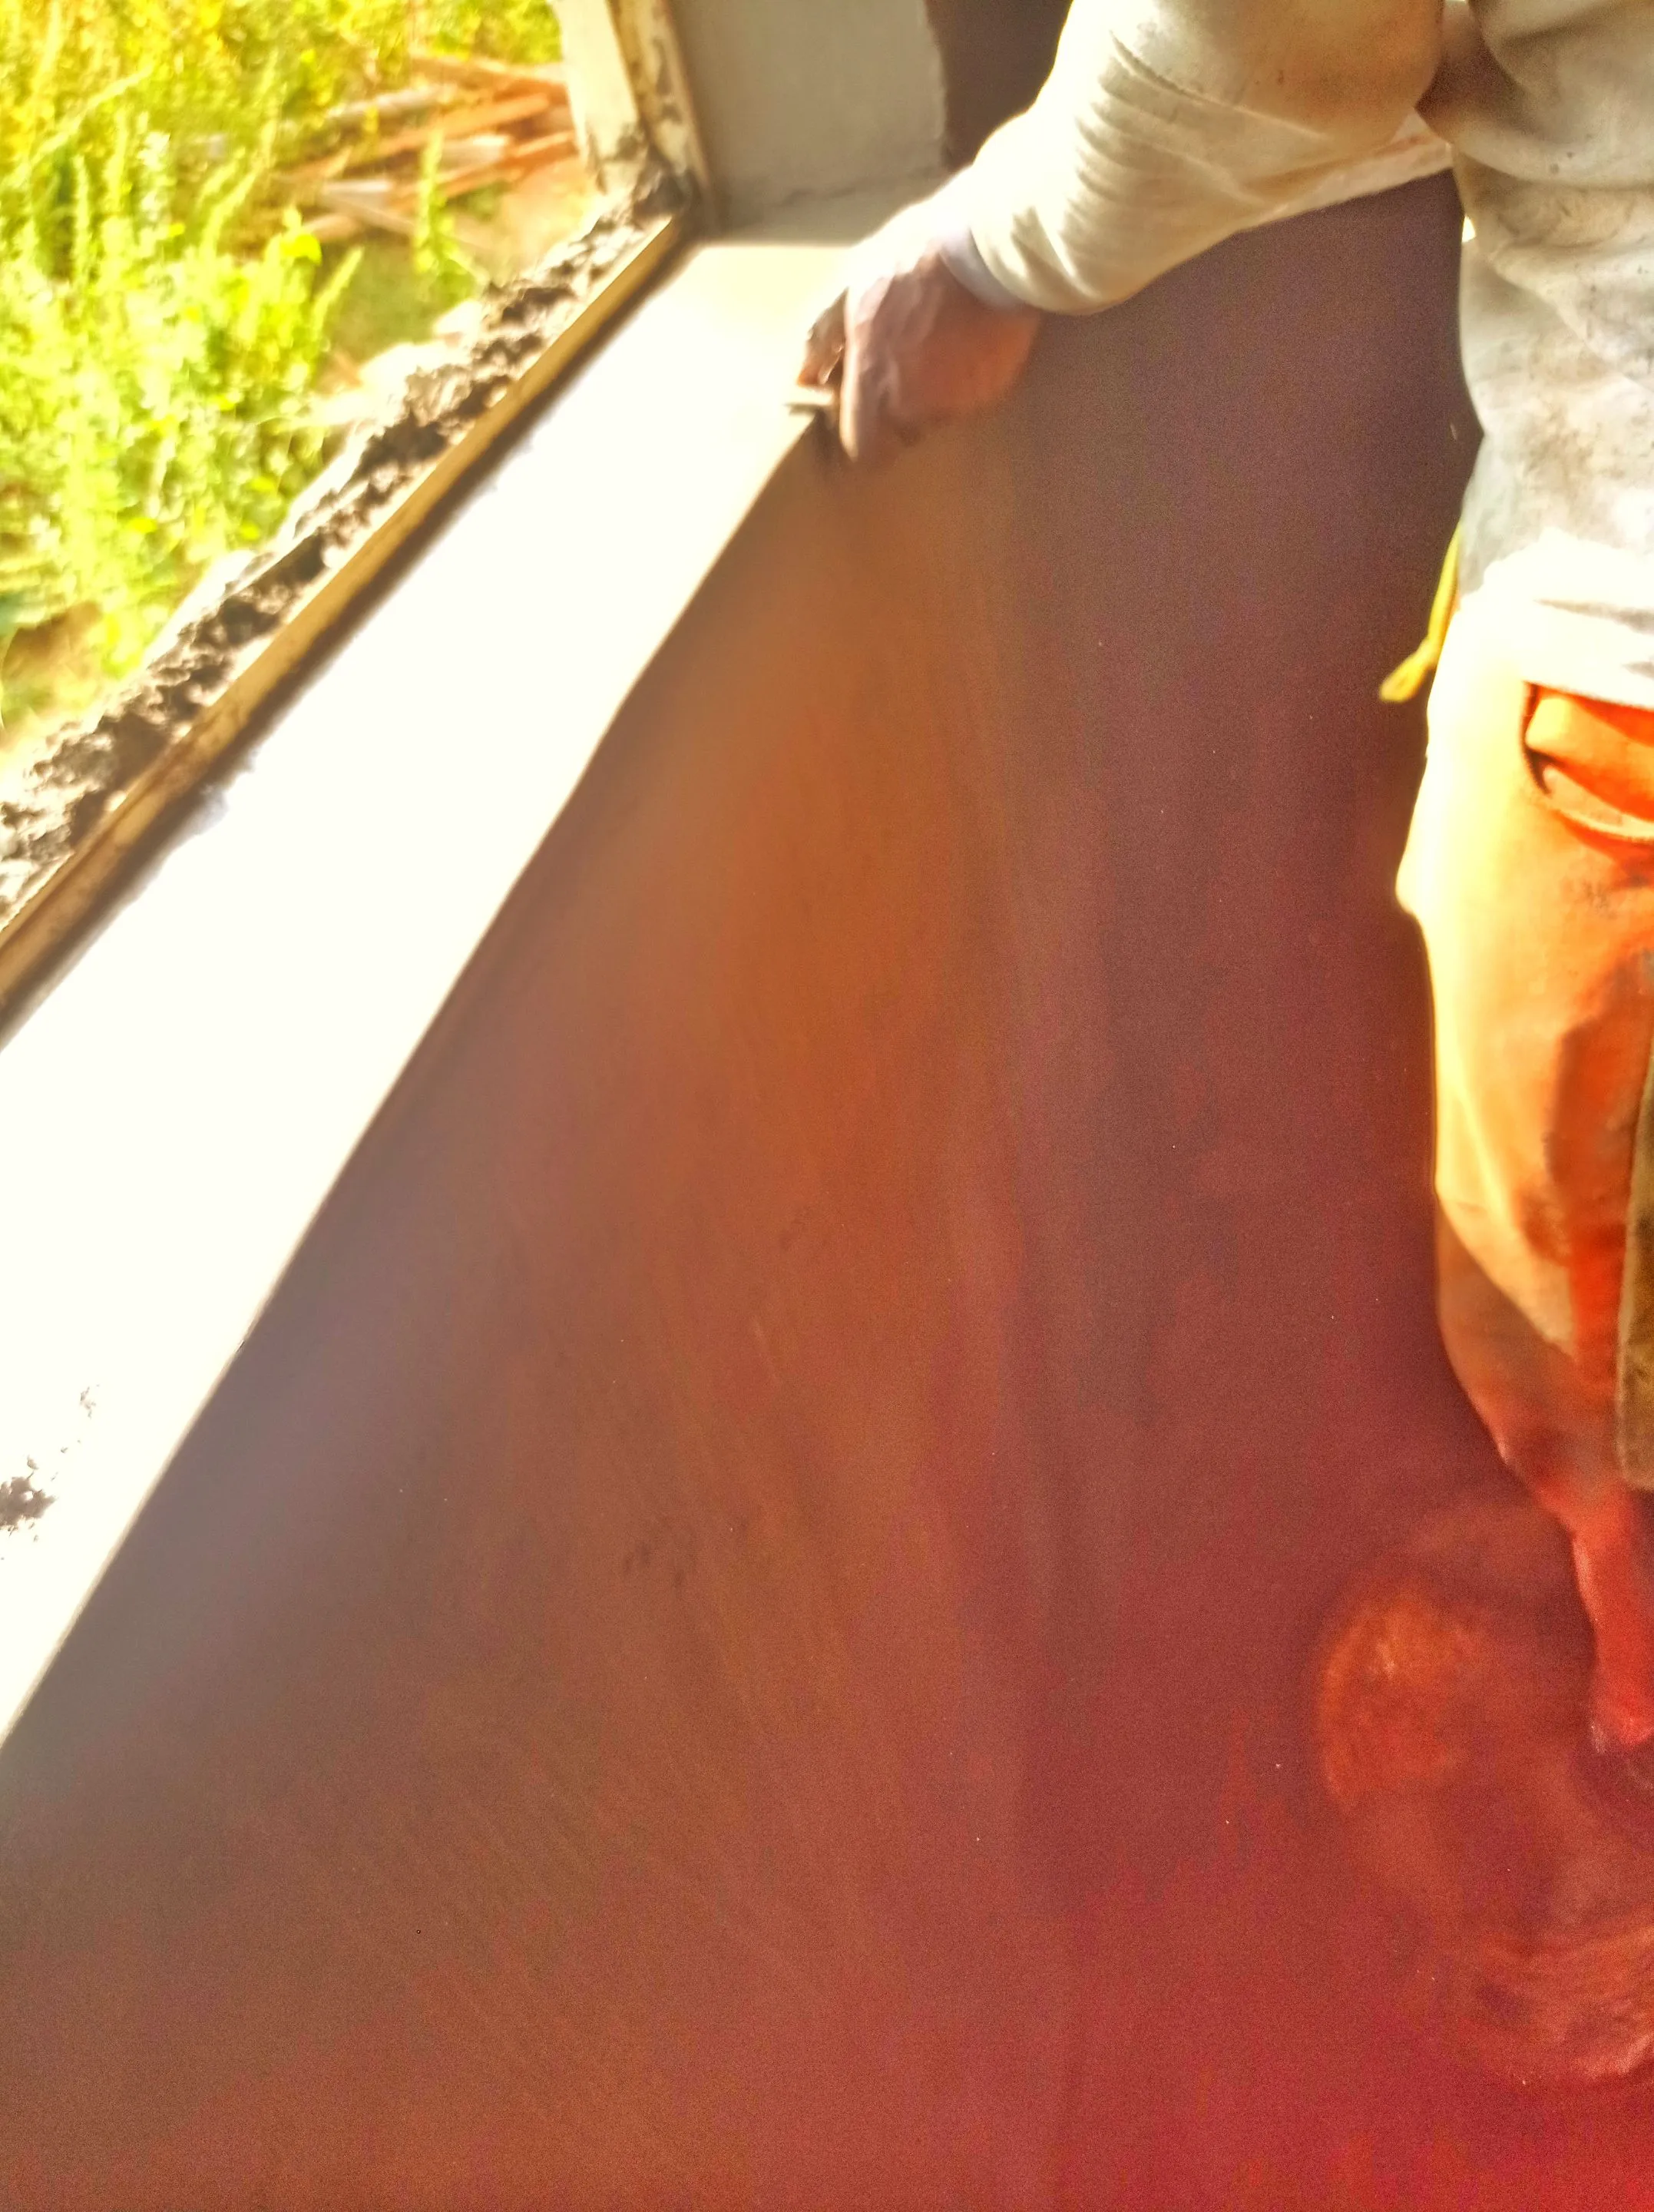
Then input the burglary if available, fix it into the created space on the window. then cover it's edges up with the cement.
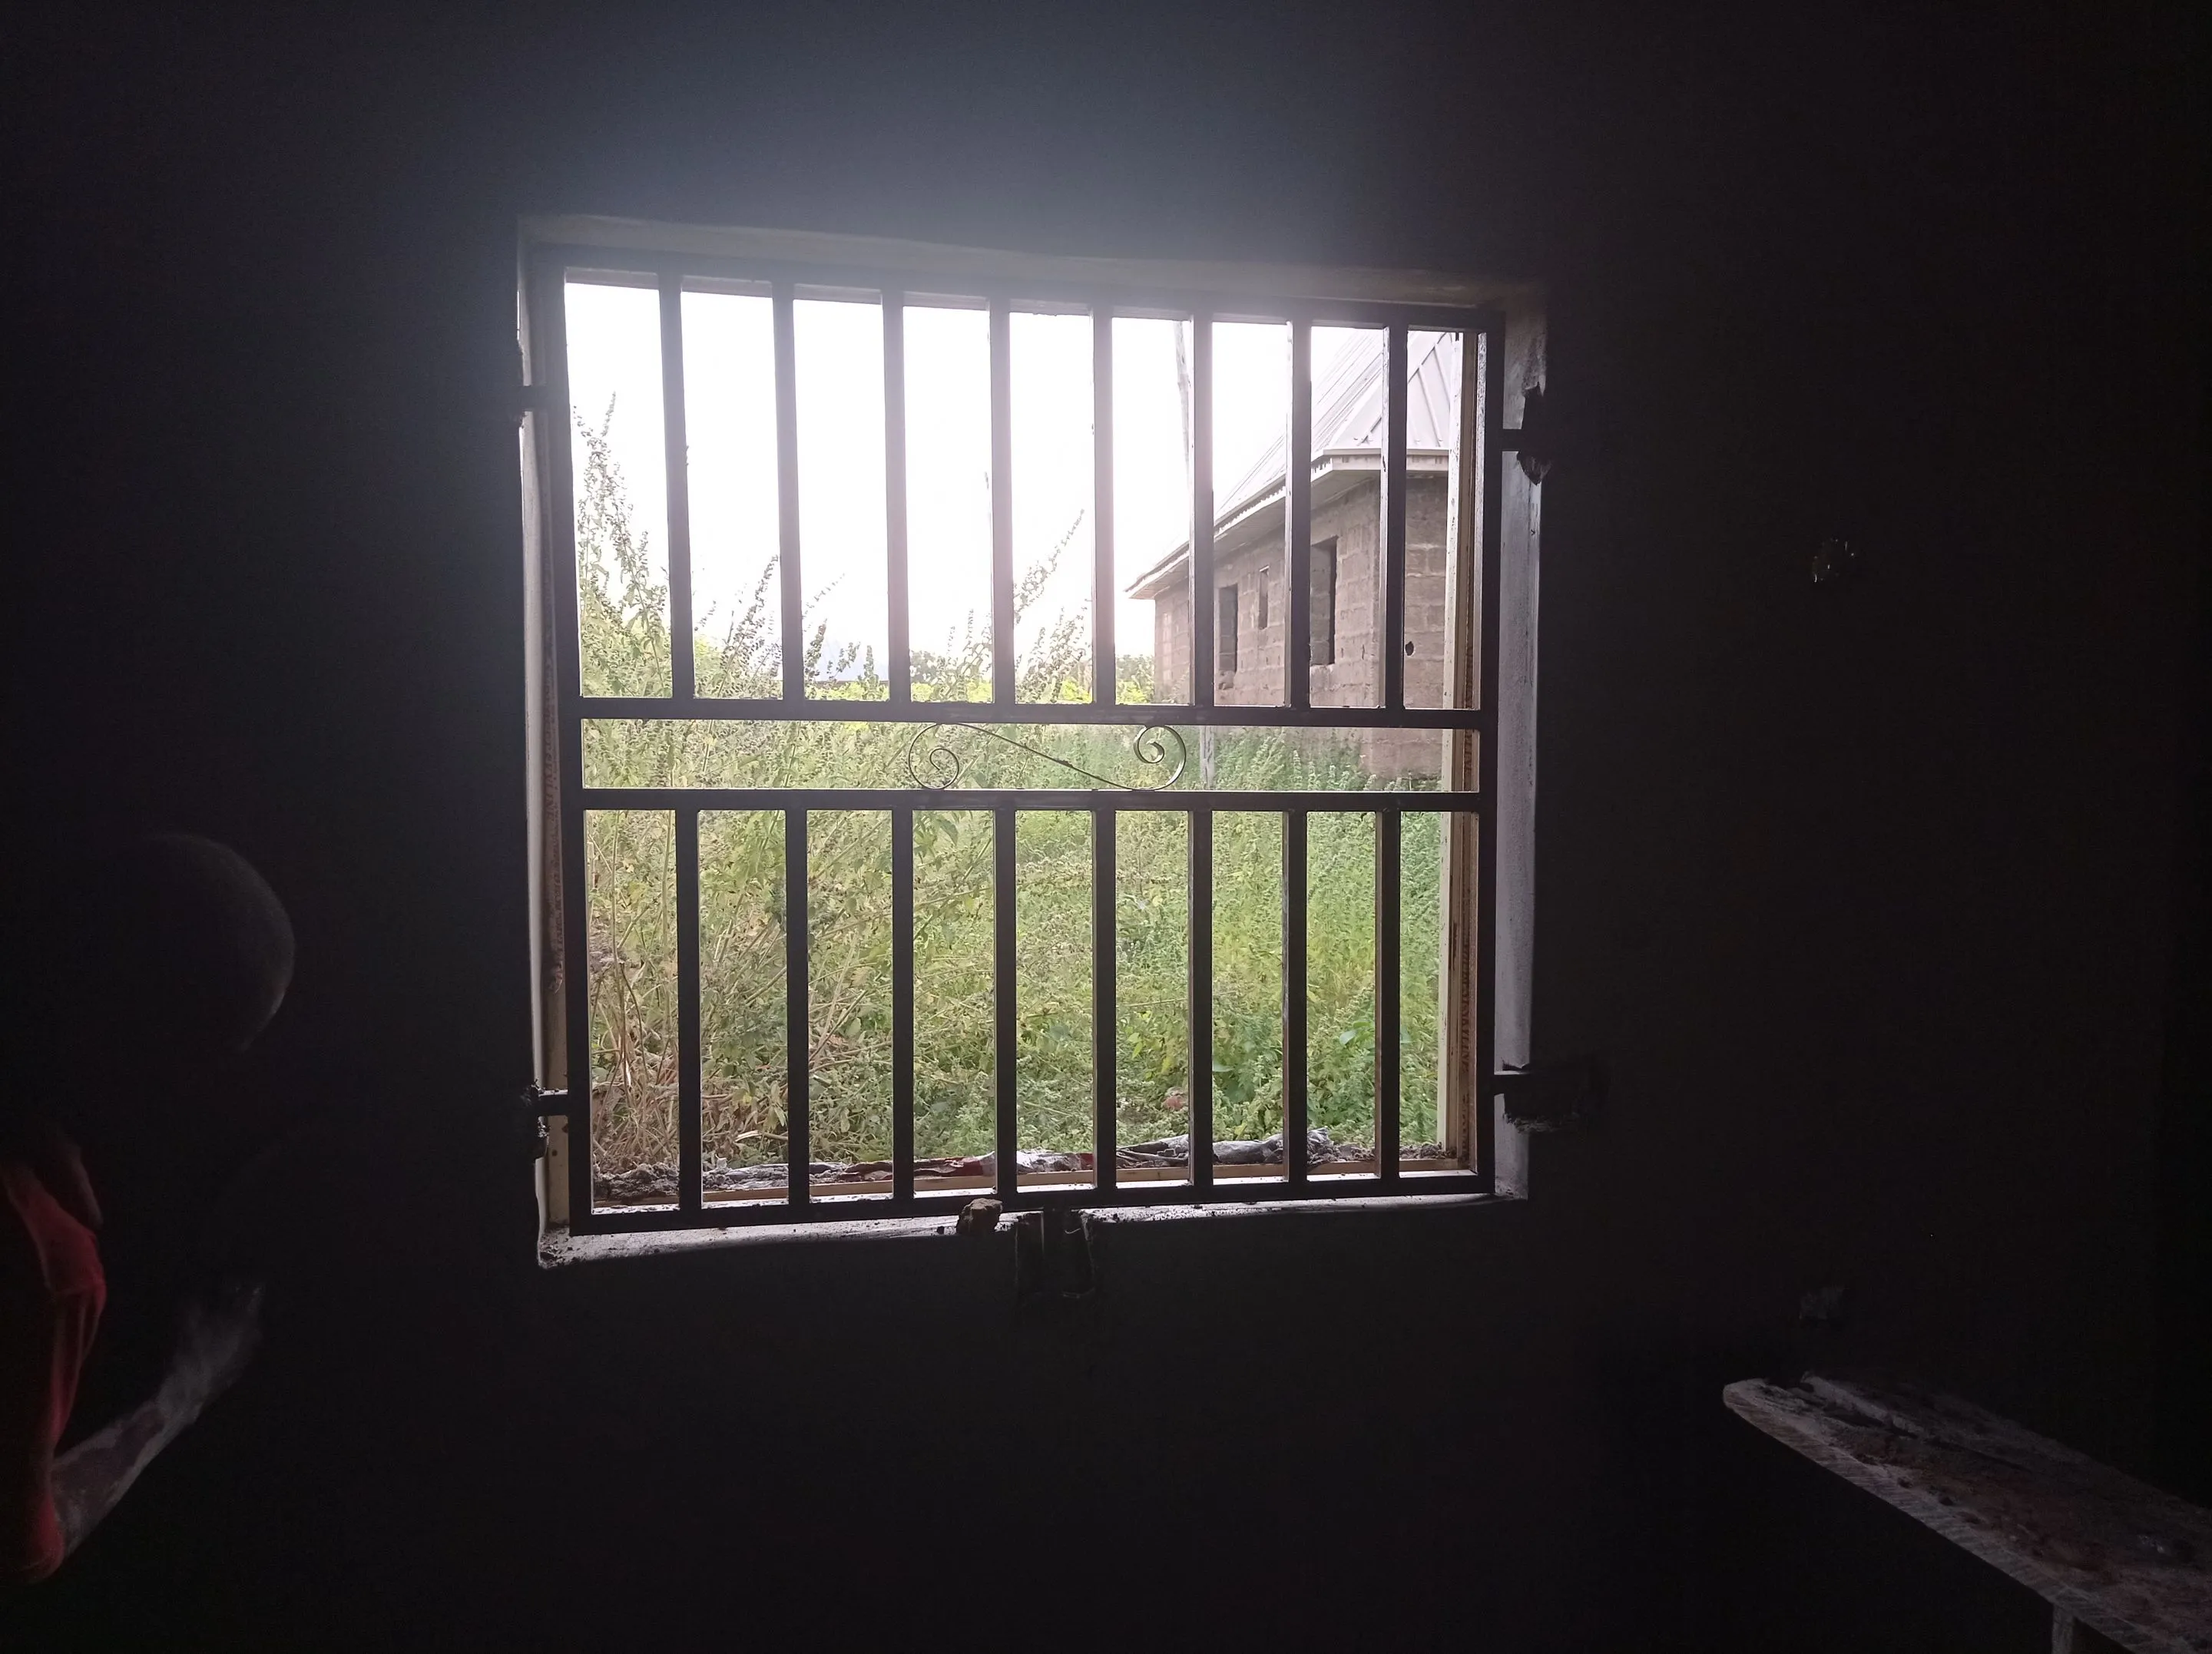
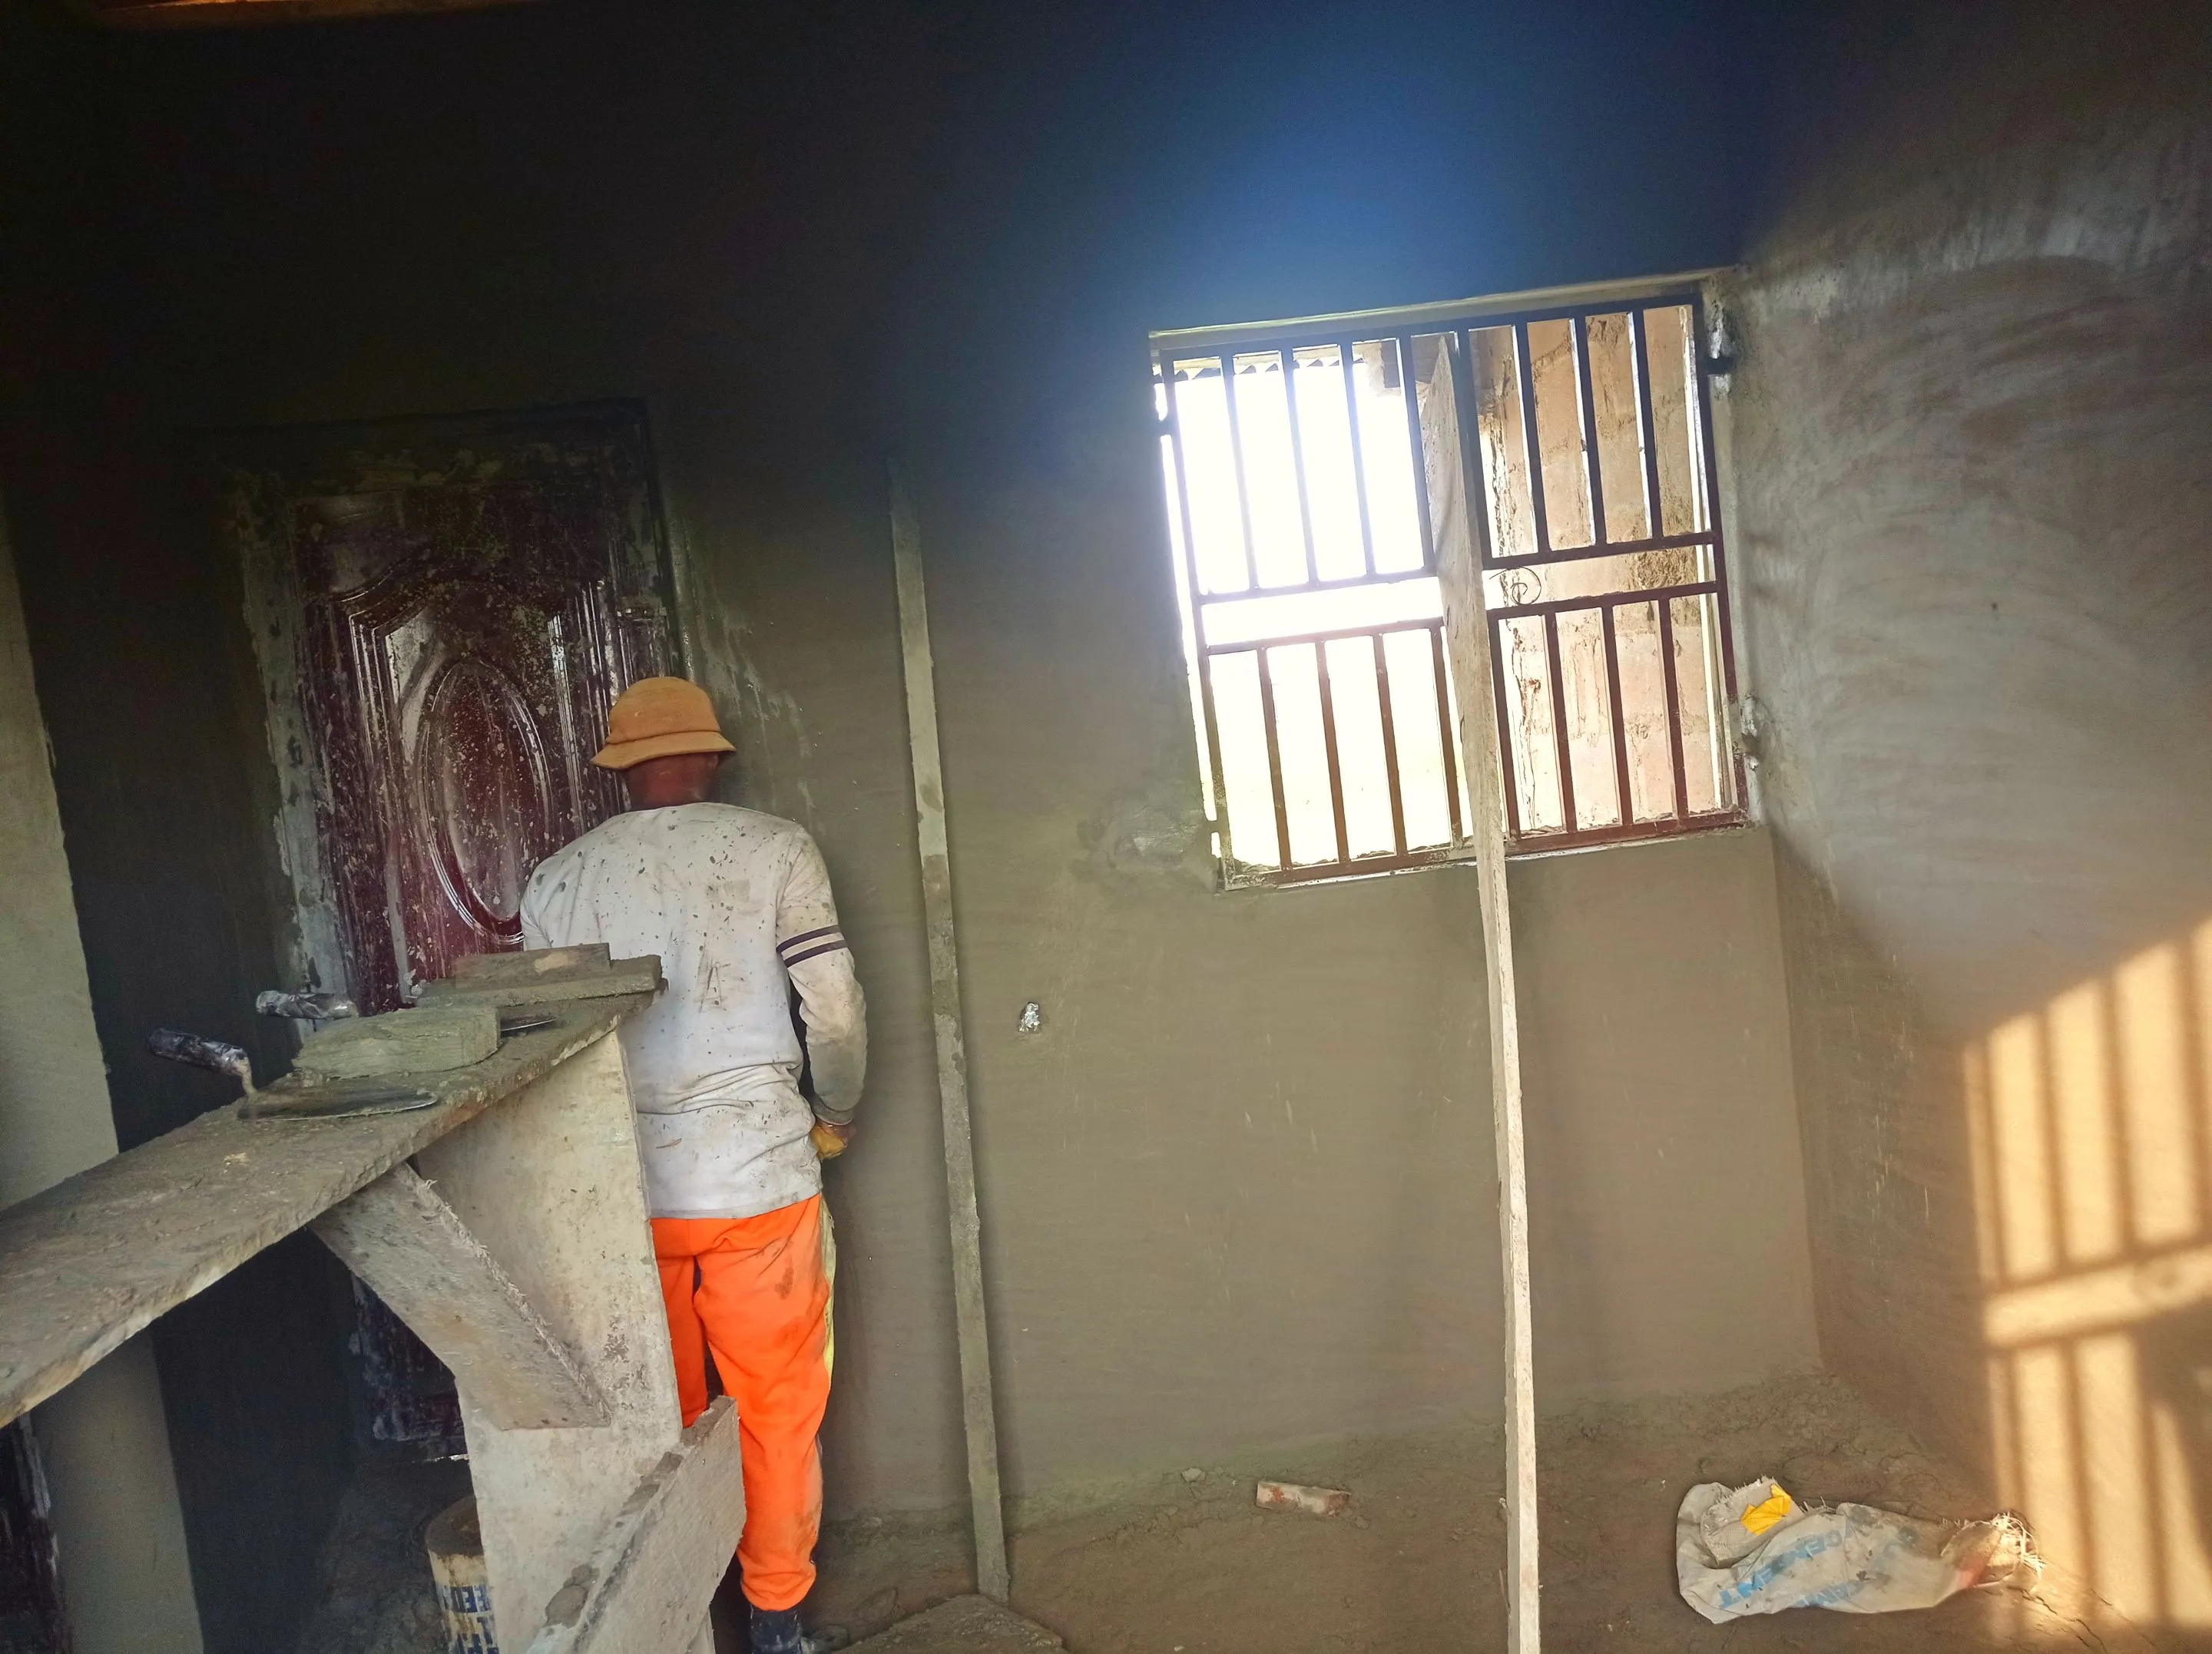
Step 7: Apply the Hawk with a firm pressure, this will make the wall looks polished.
Step 8: The final stage is the process of running the brush/foam around the surface of the plaster wall, to give it a cool.
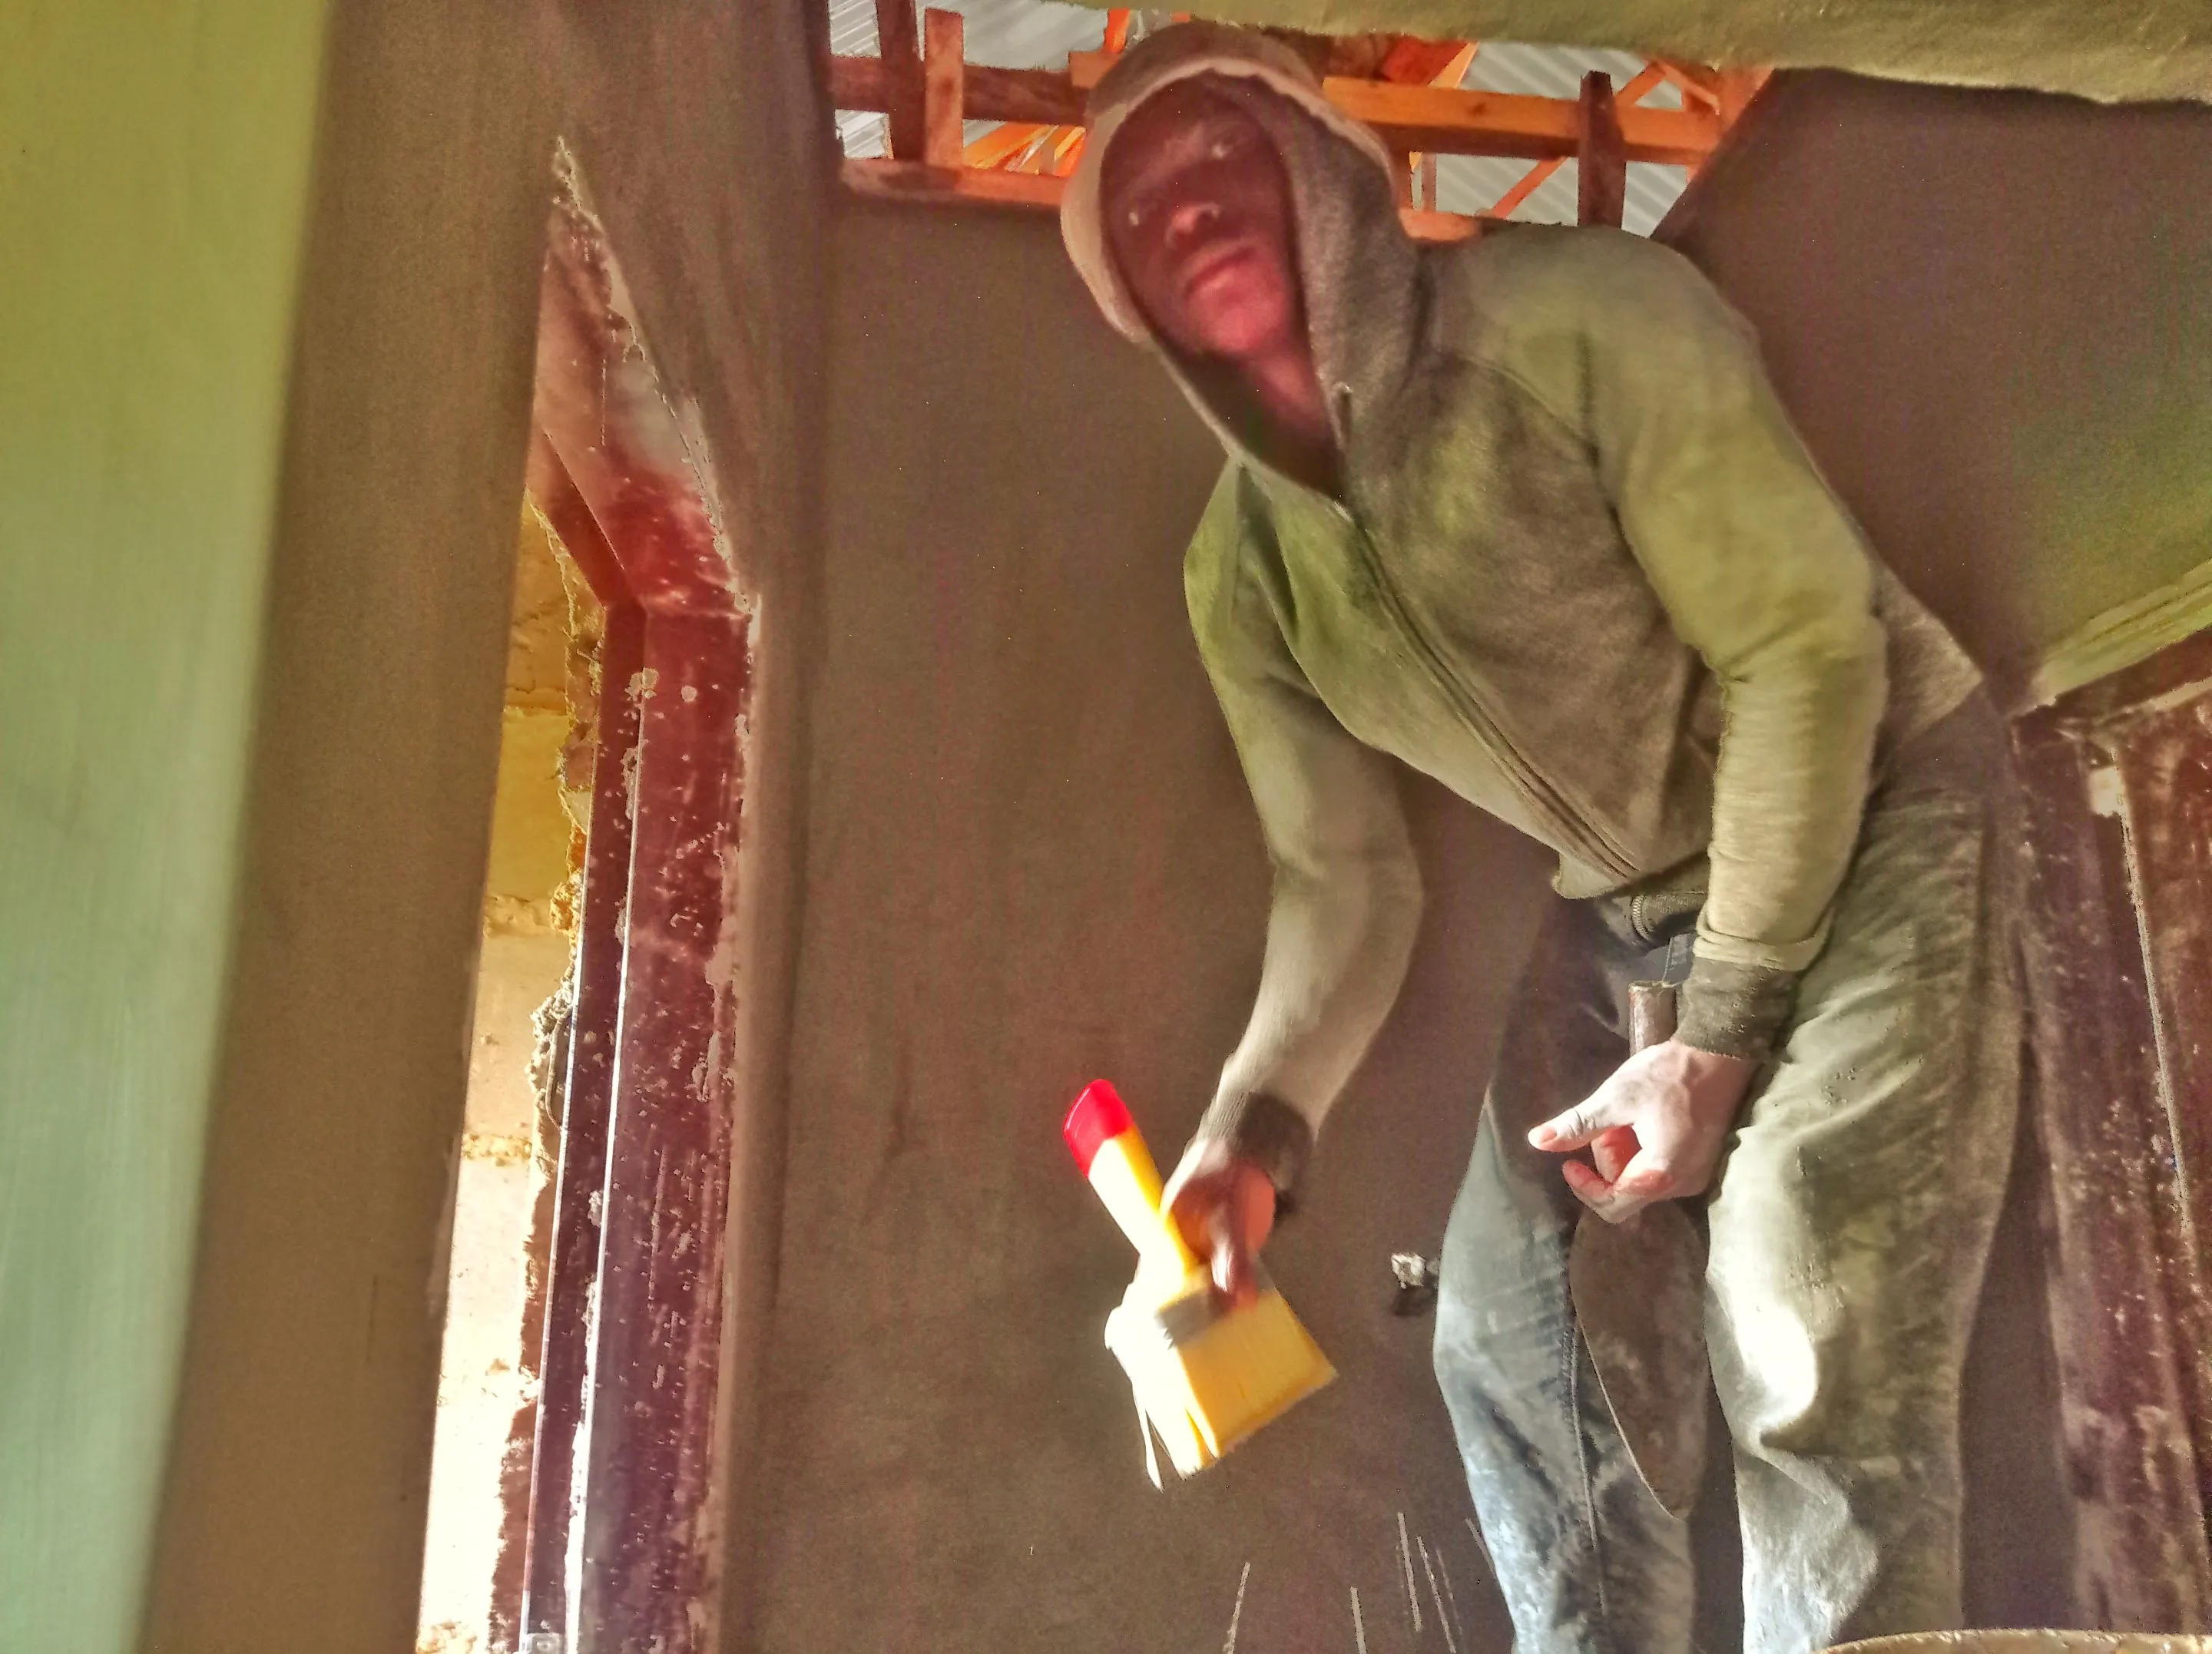
Congratulations your just plastered a wall.😉
NB: The picture shared are the internal part of the house, I'll be plastering the Outter part today. Thanks for your time and appreciation for the wonderful review/upvote of yesterday post.
See you soon, have a blessed day ahead Hive.
Return from THE STEP BY STEP PROCESS OF PLASTERING THE HOUSE to vickoly's Web3 Blog

