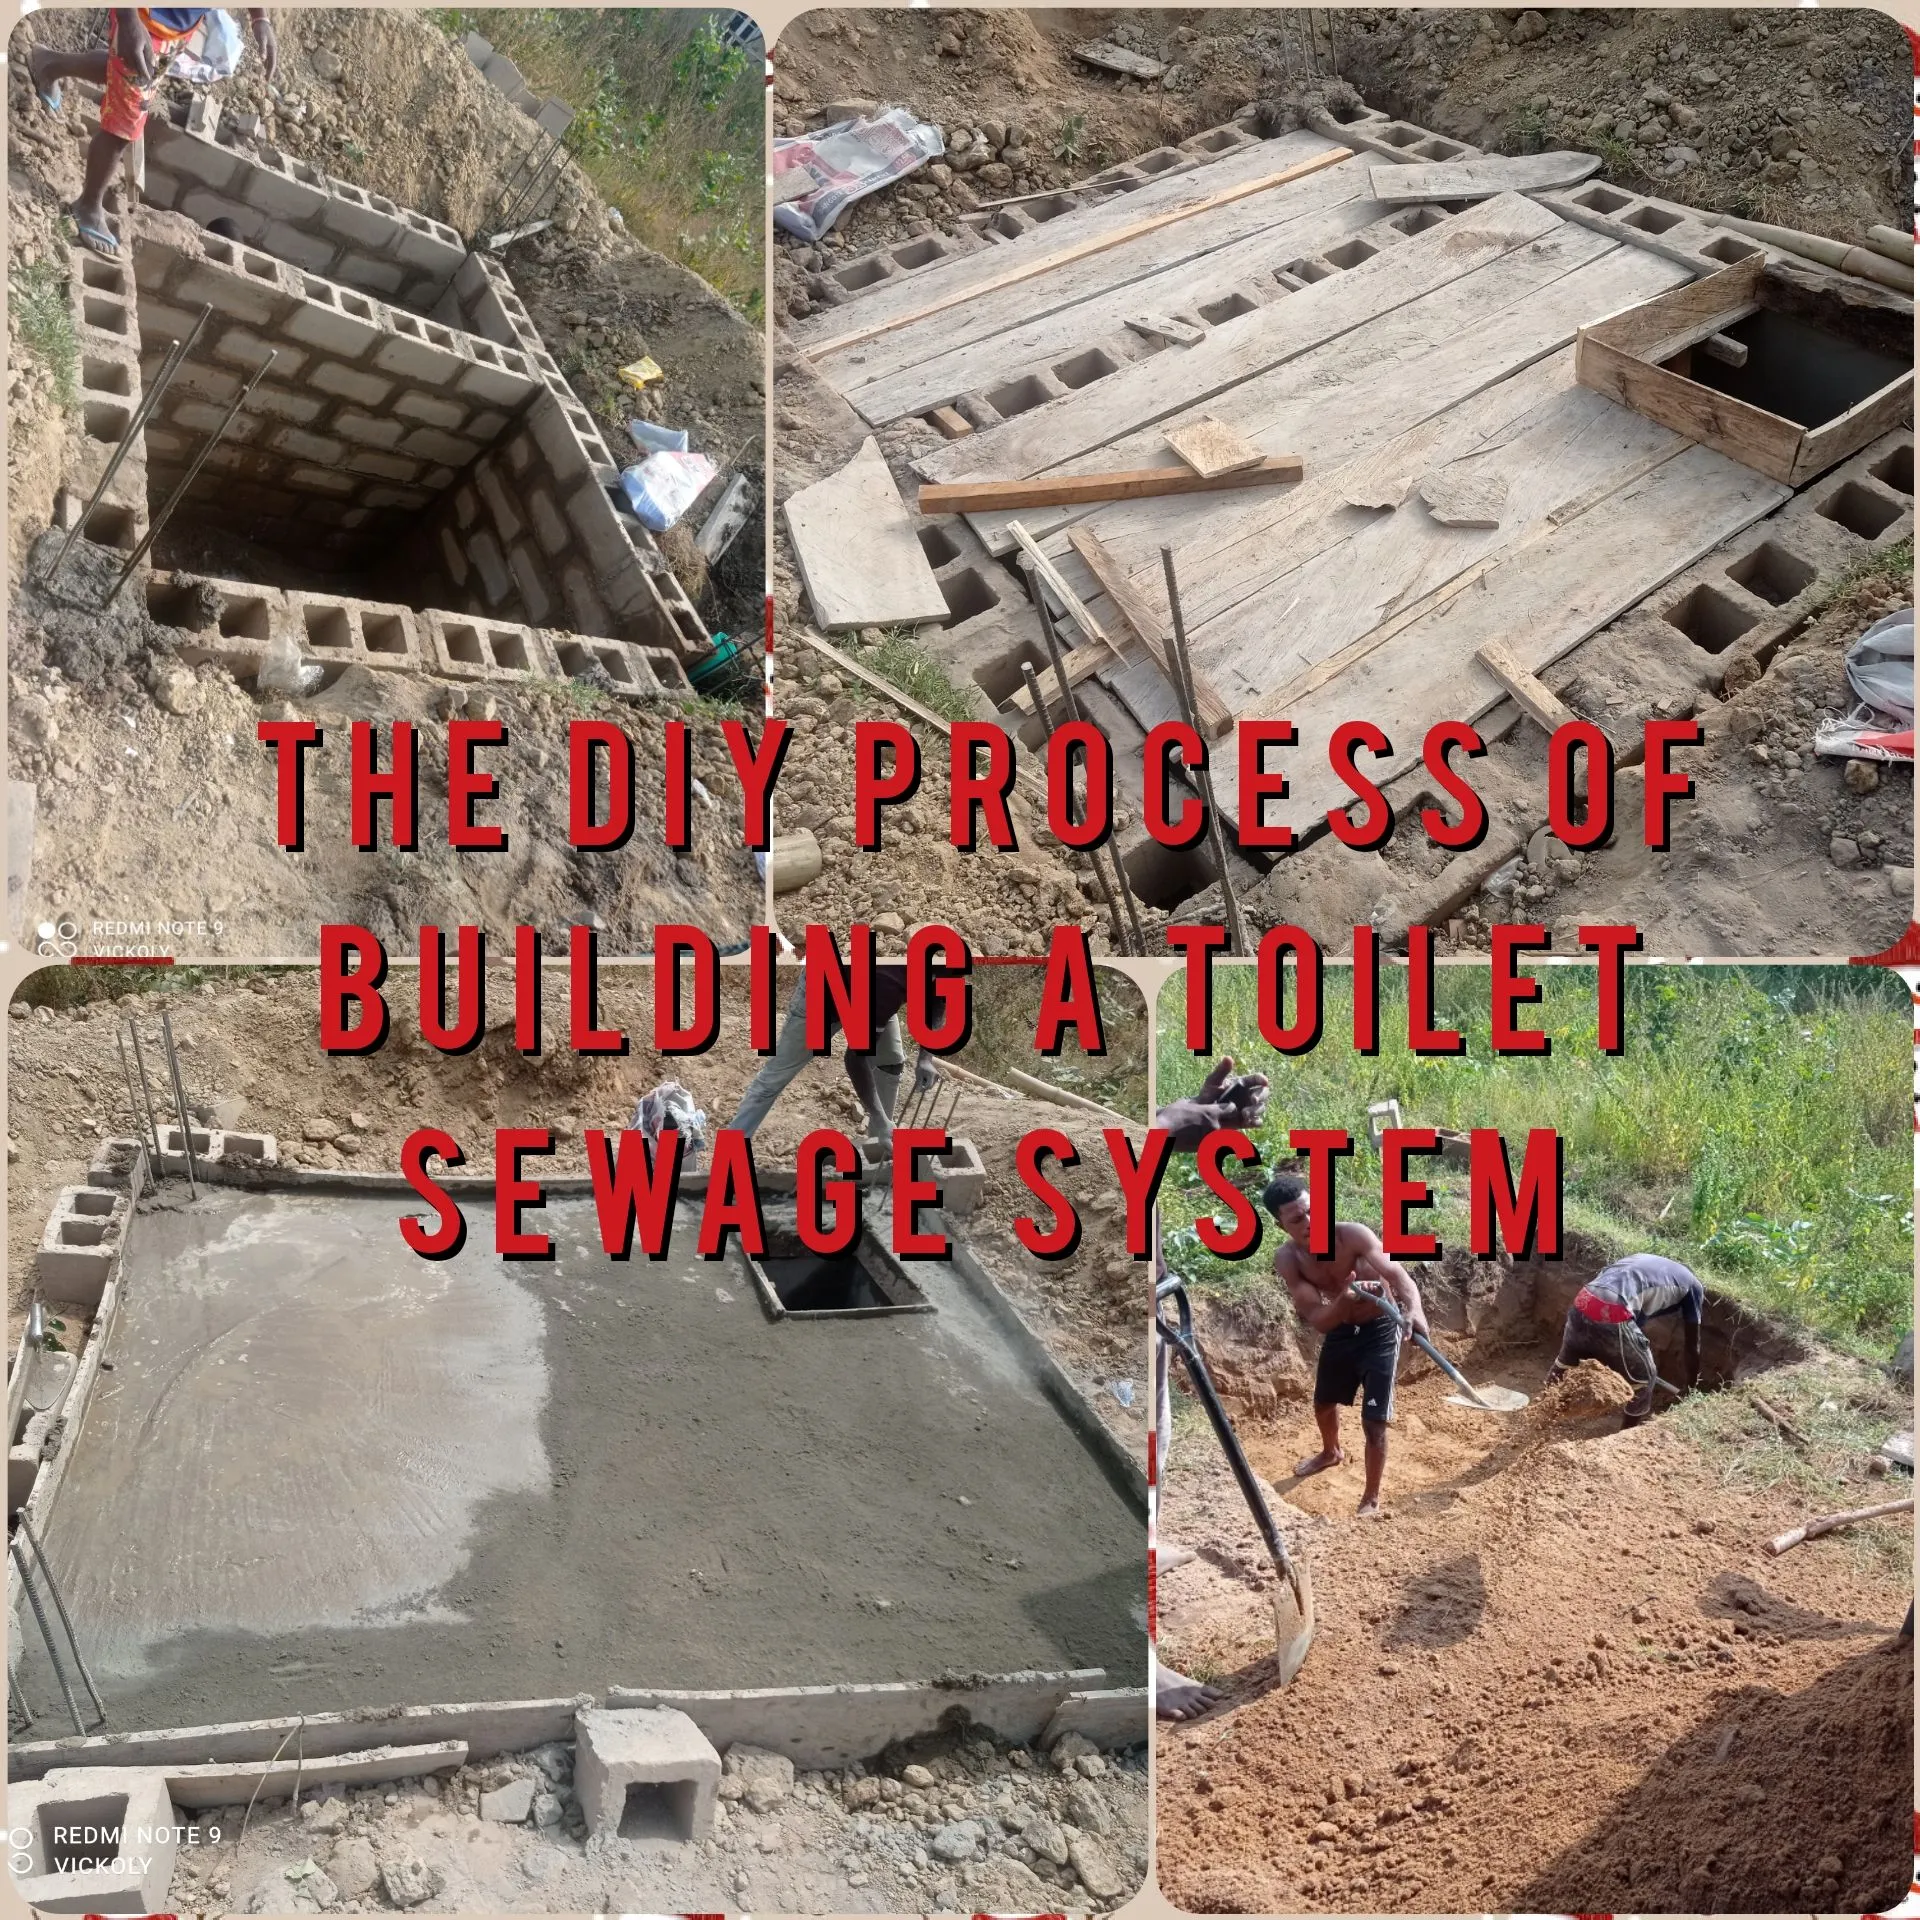
I'll love to share with us the Process of building a toilet sewage system, the toilet sewage system is one of the important aspect of keeping our environment and community clean and free from dirt, germs and open defecation which could lead to different outbreak of infection and co. So without further ado let dive into the ocean of how a sewage system is been built.
NEEDED TOOLS AND MATERIALS
- Cement
- sharp sand
- Blocks
- water
- waterproof cement
- lommy sand
- Granite
- Shovel
- hand trowel
- iron
- plank
- binding wire etc...
PROCESS
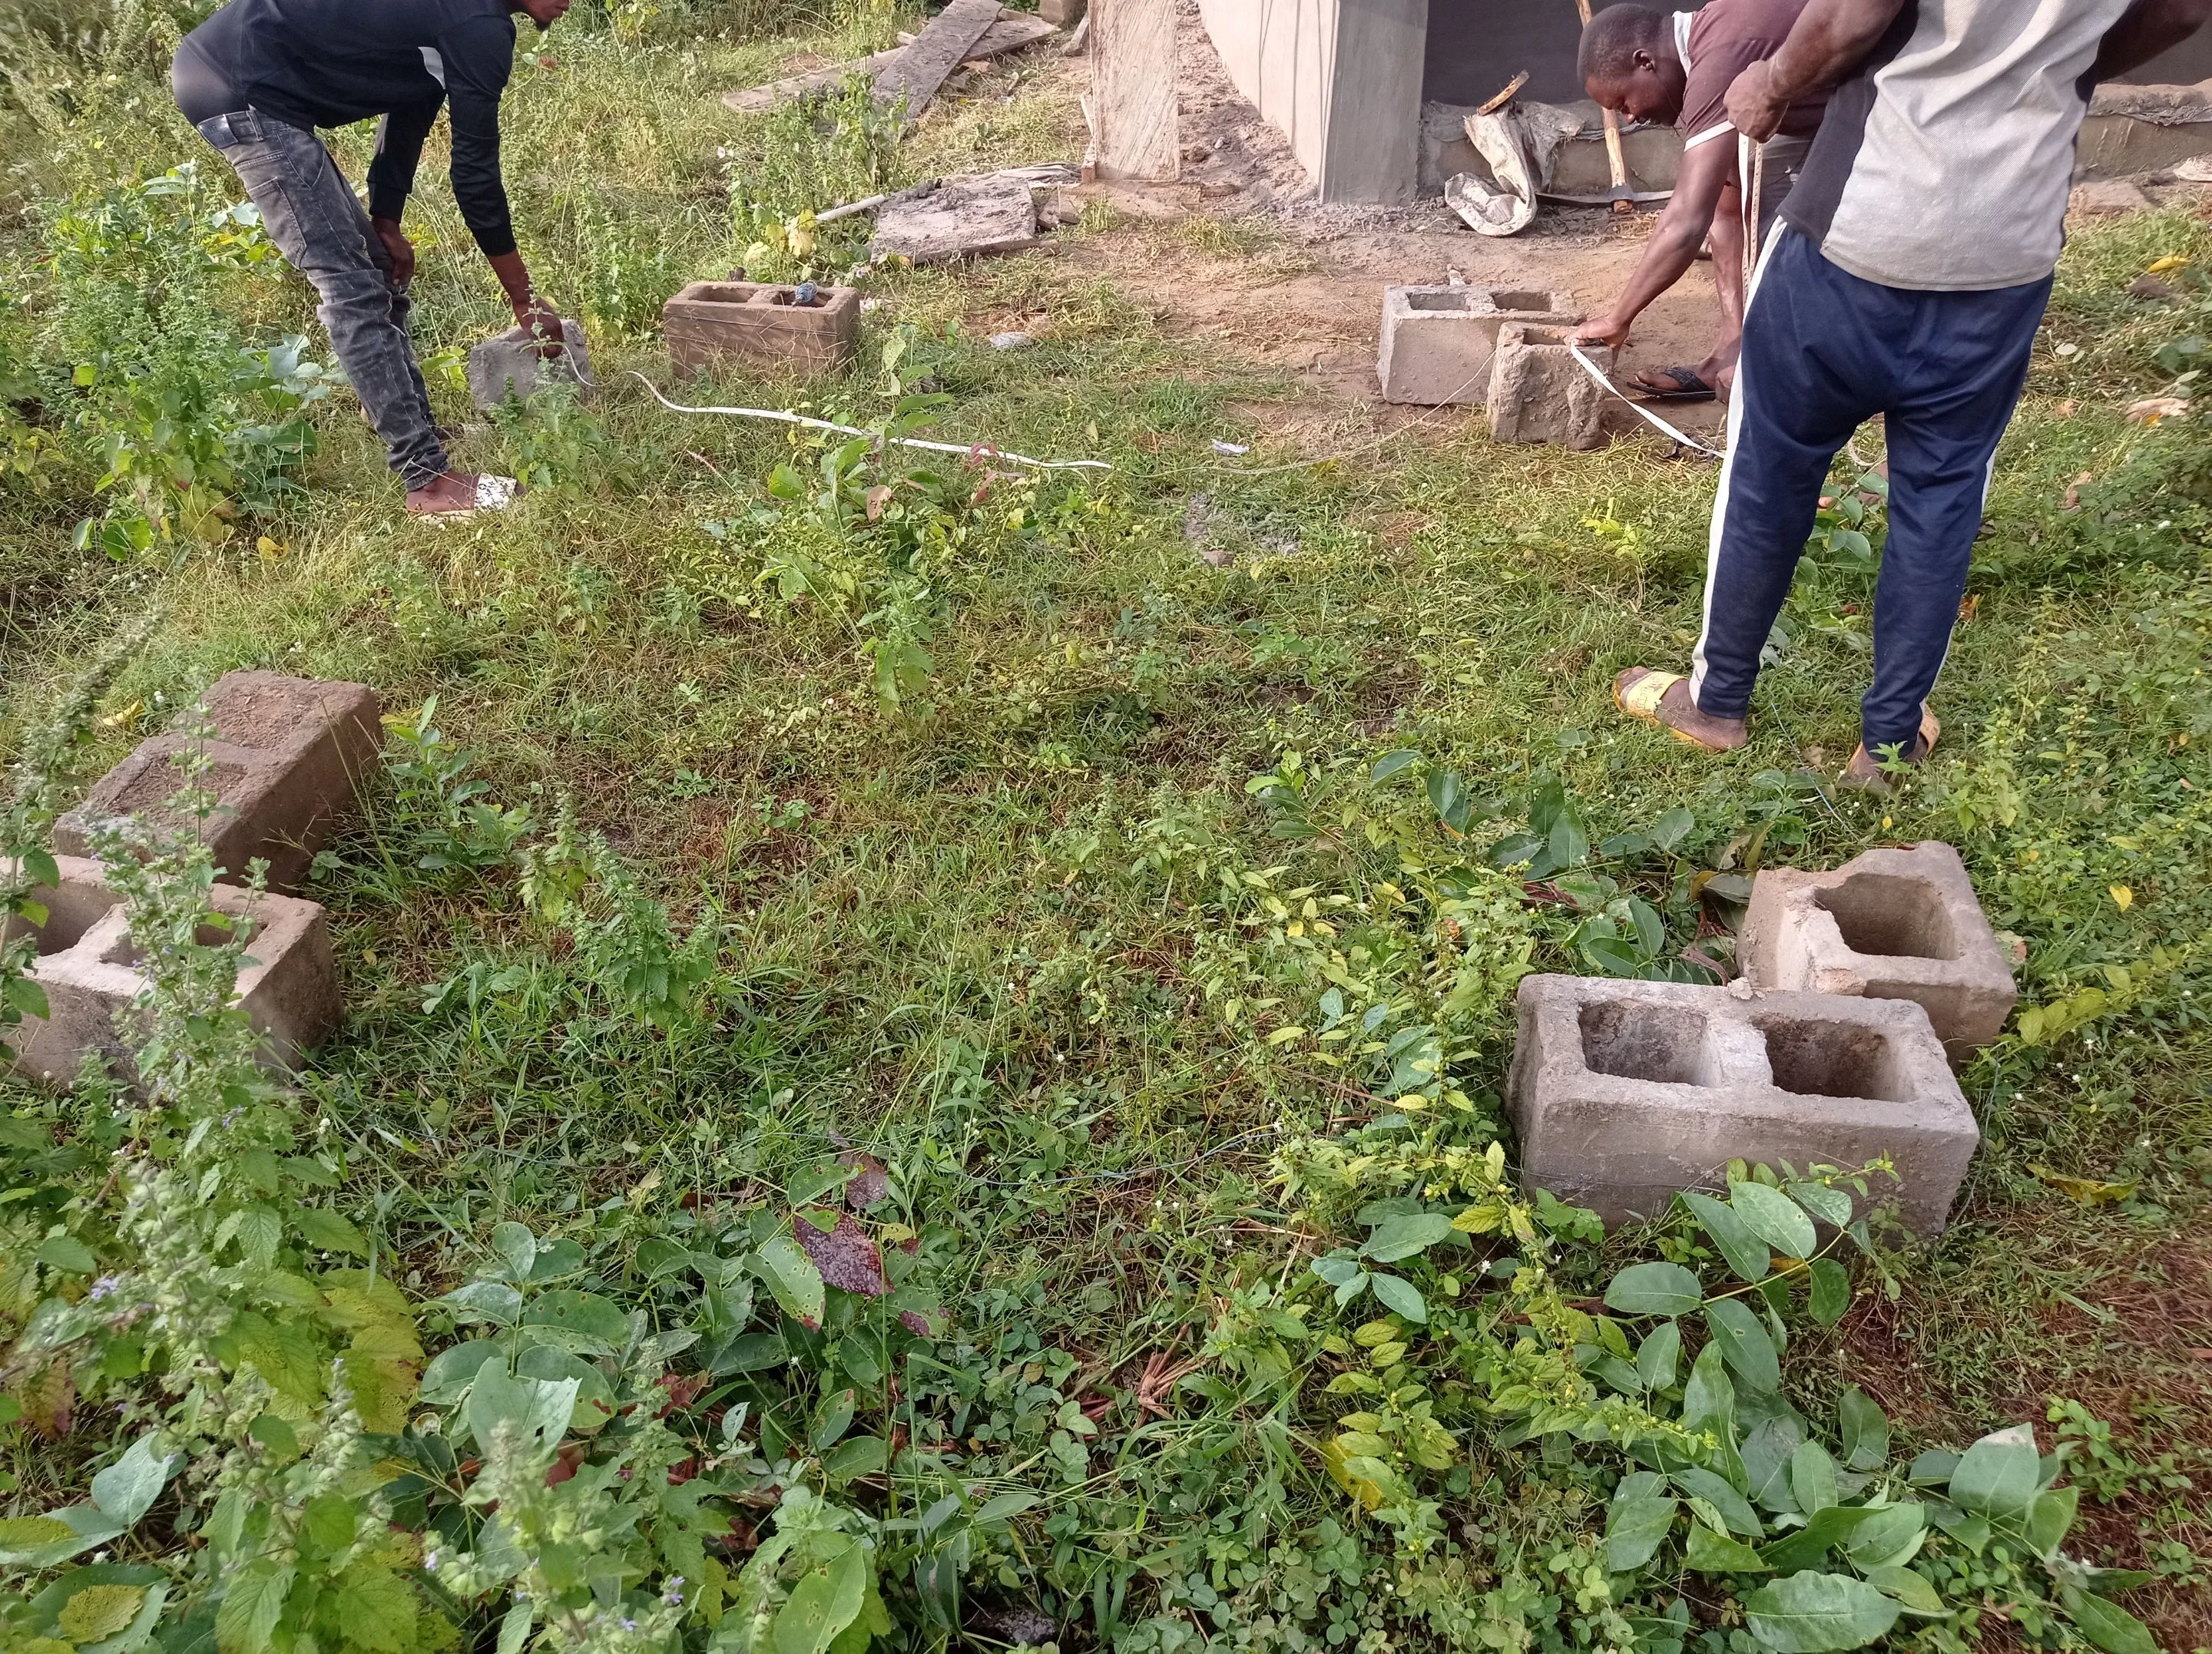
The first thing to do is the measurements, and in this particular one I use a 10ft length by 10breath with a depth of 8ft.
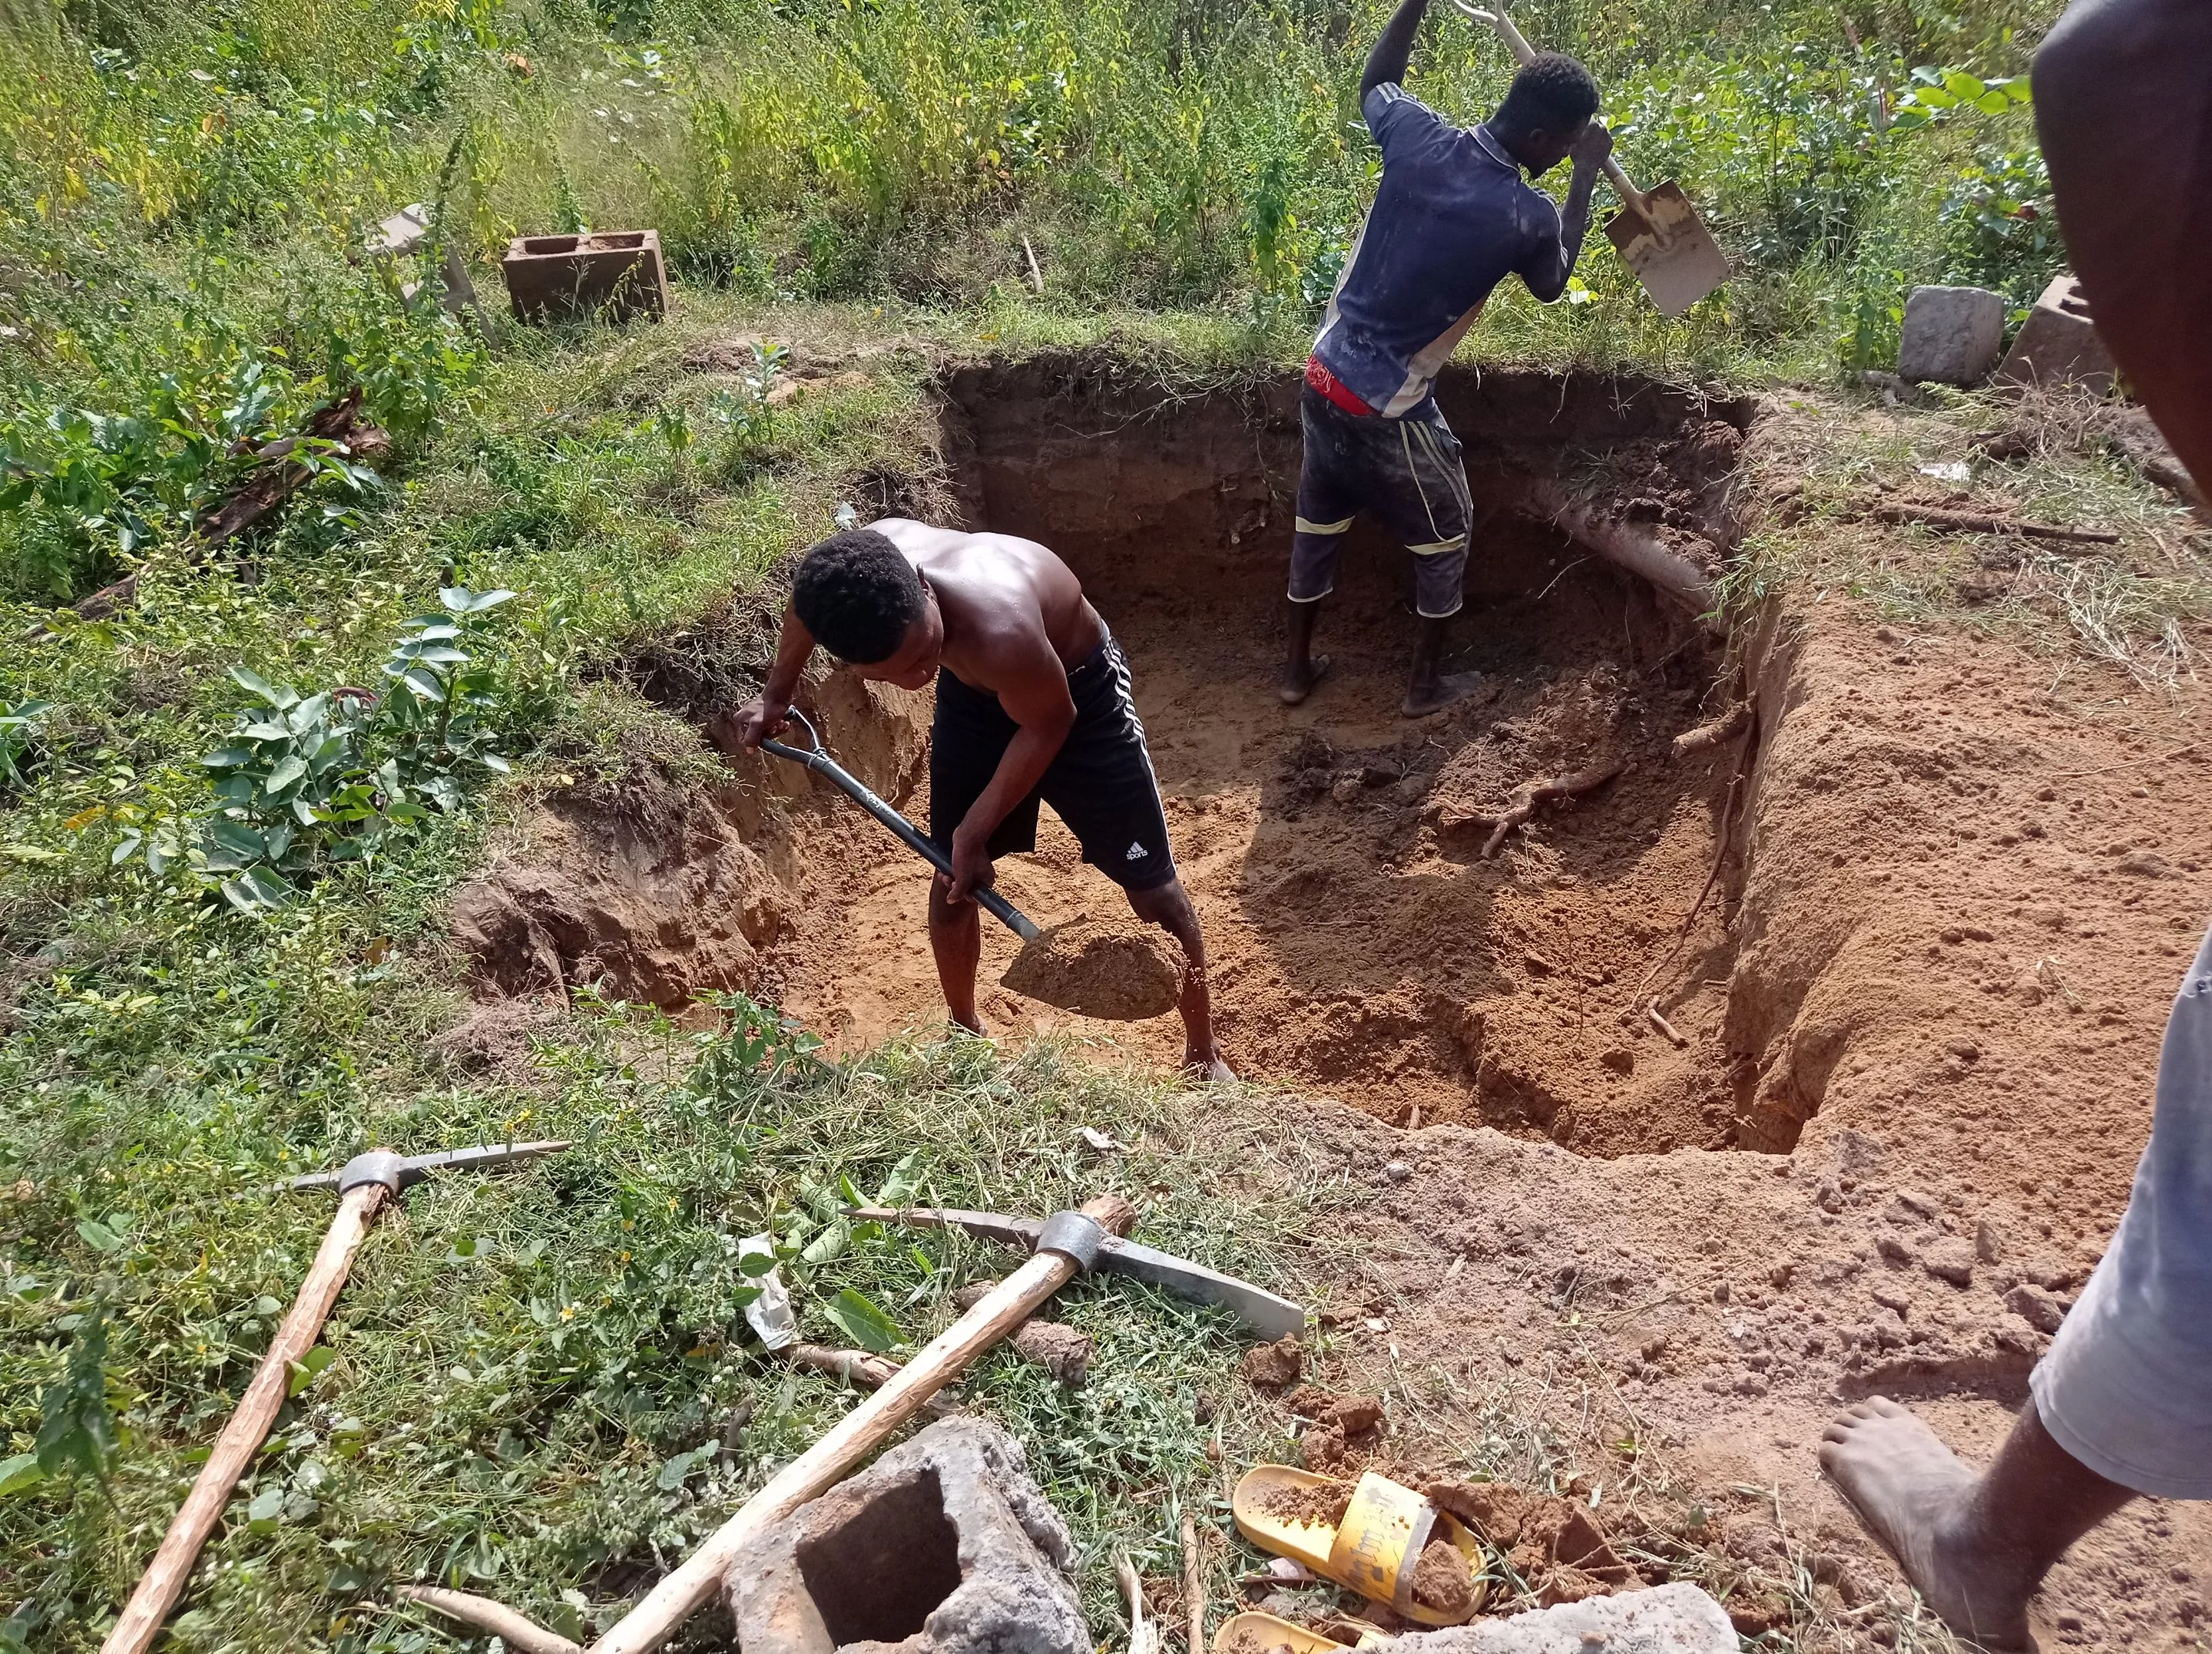
Then after getting our measurements and marking each point, we dig out the sand to attain our 8ft depth.
Once that is done we'll mix our cement with the lommy sand, and water and set the foundation of the sewage system and then build it to the set height. Then we can put the iron pillars into the four corners of the structure.
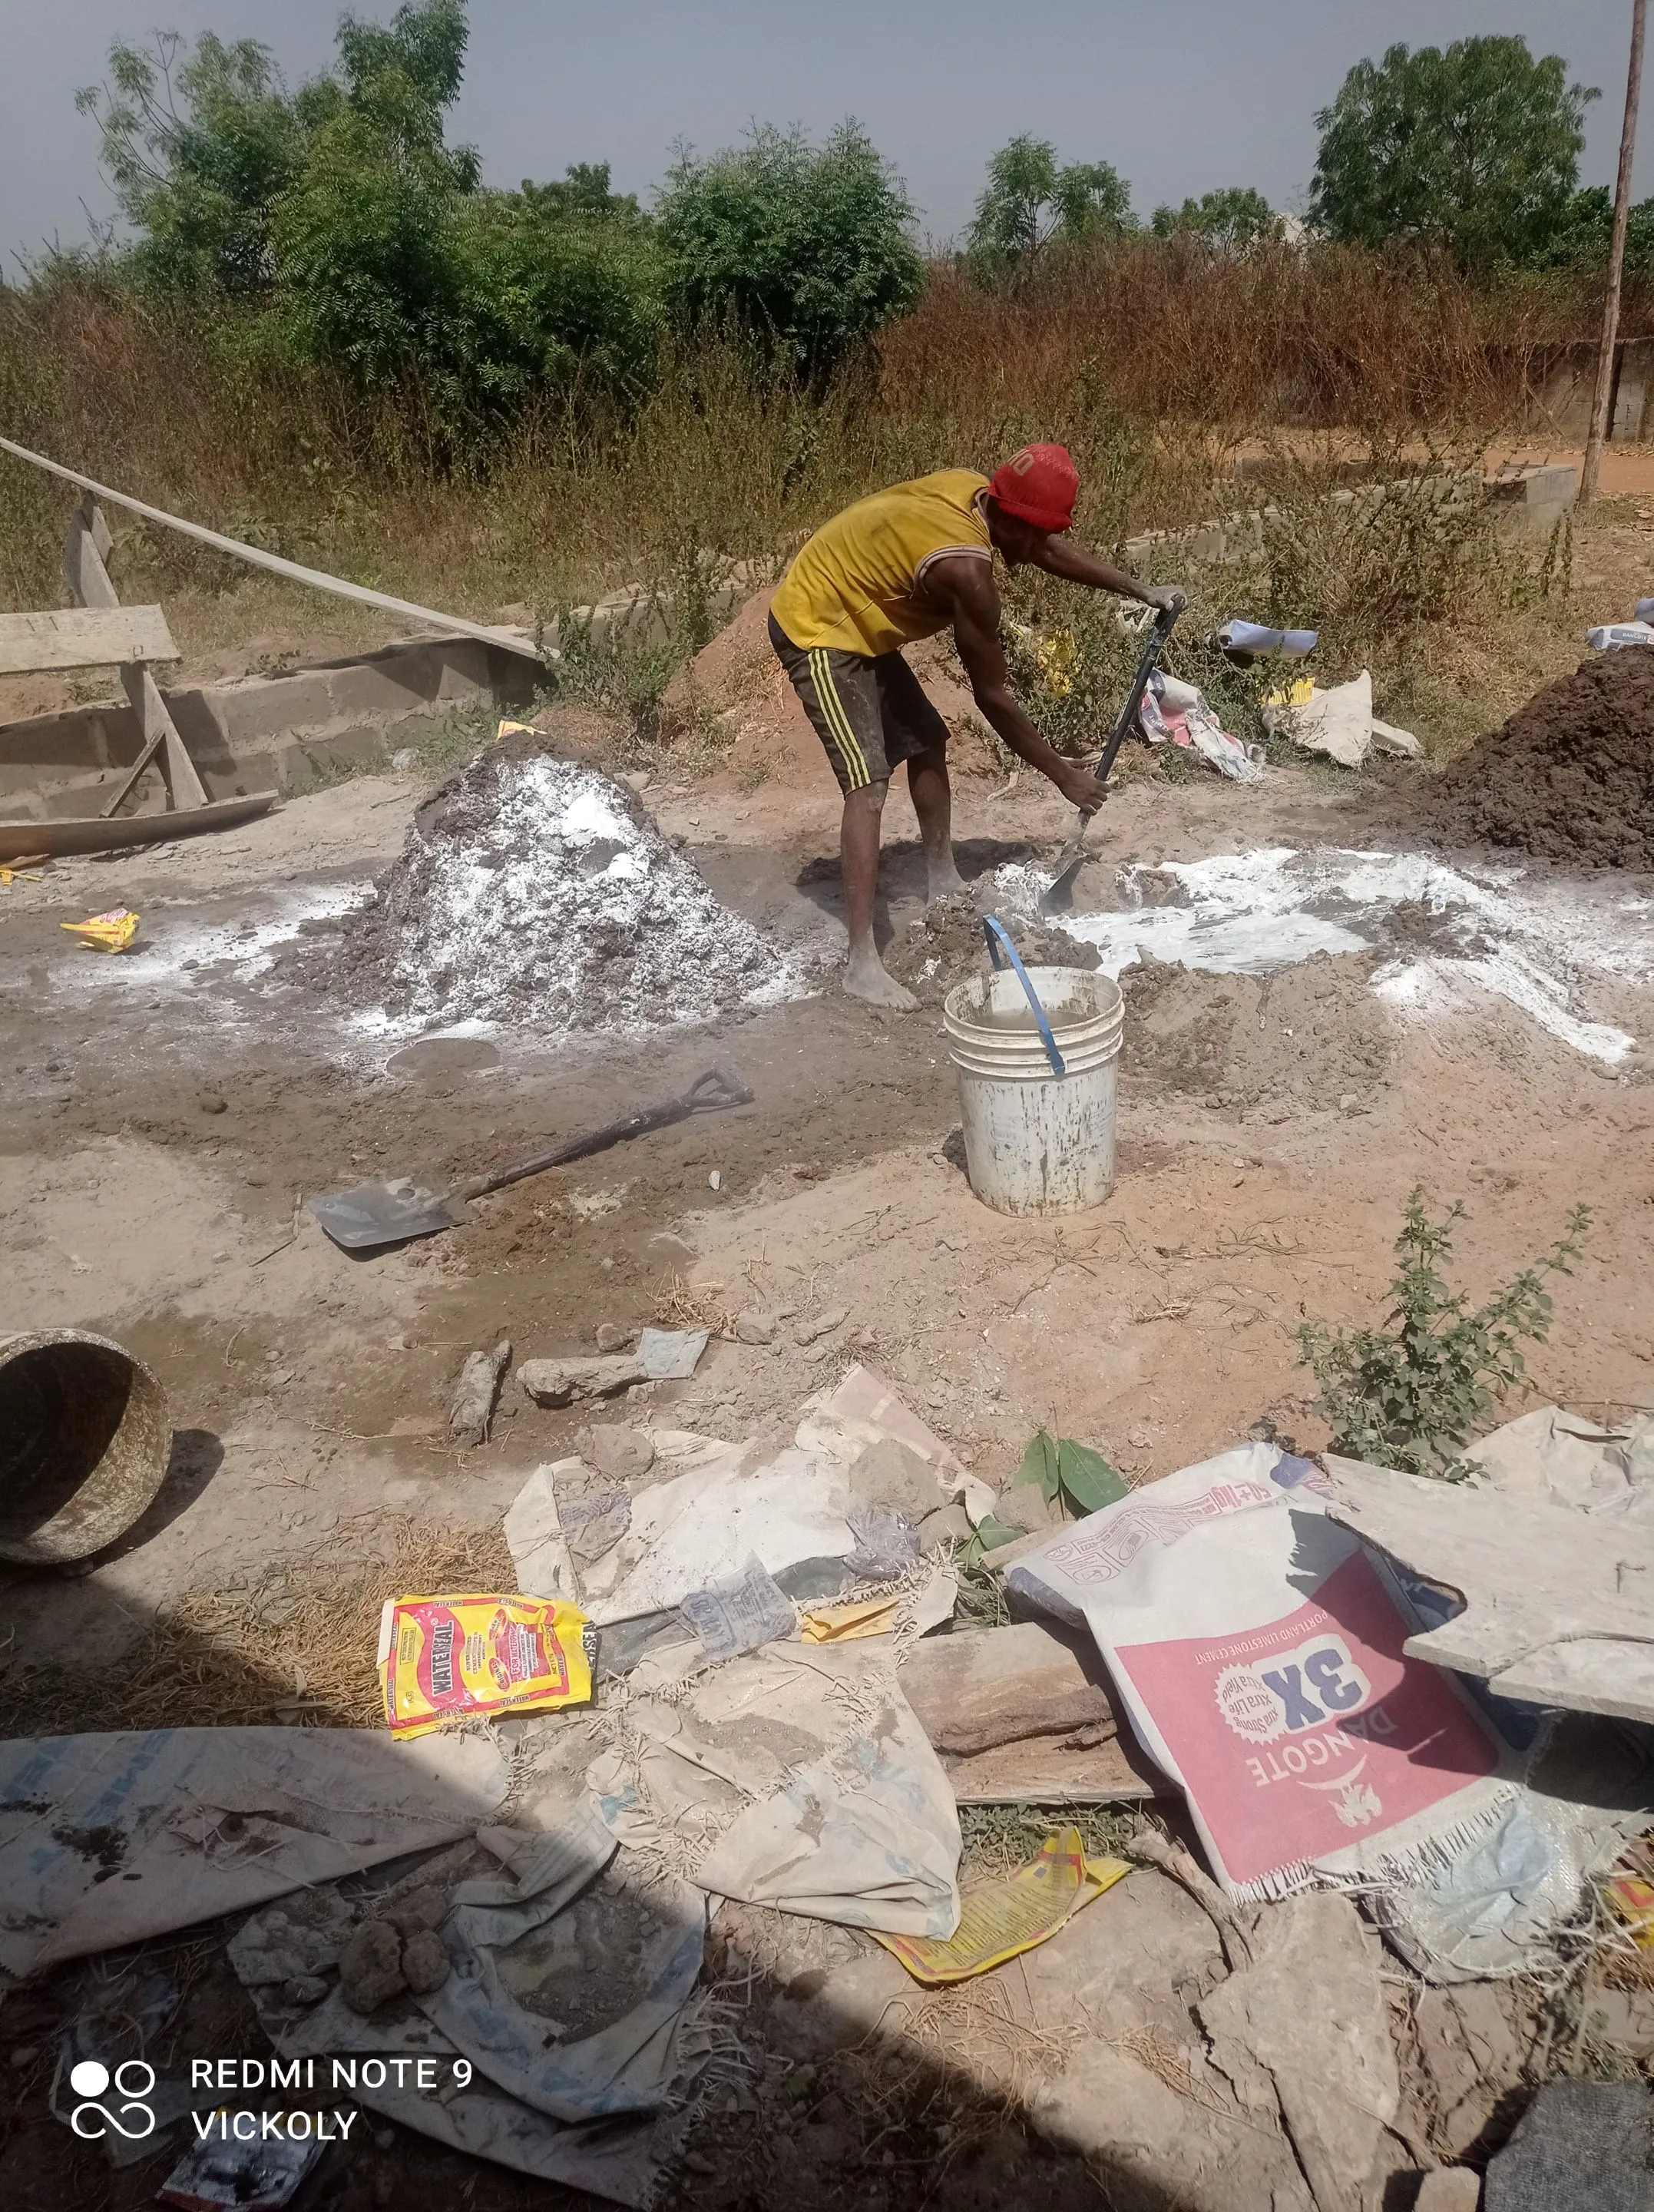
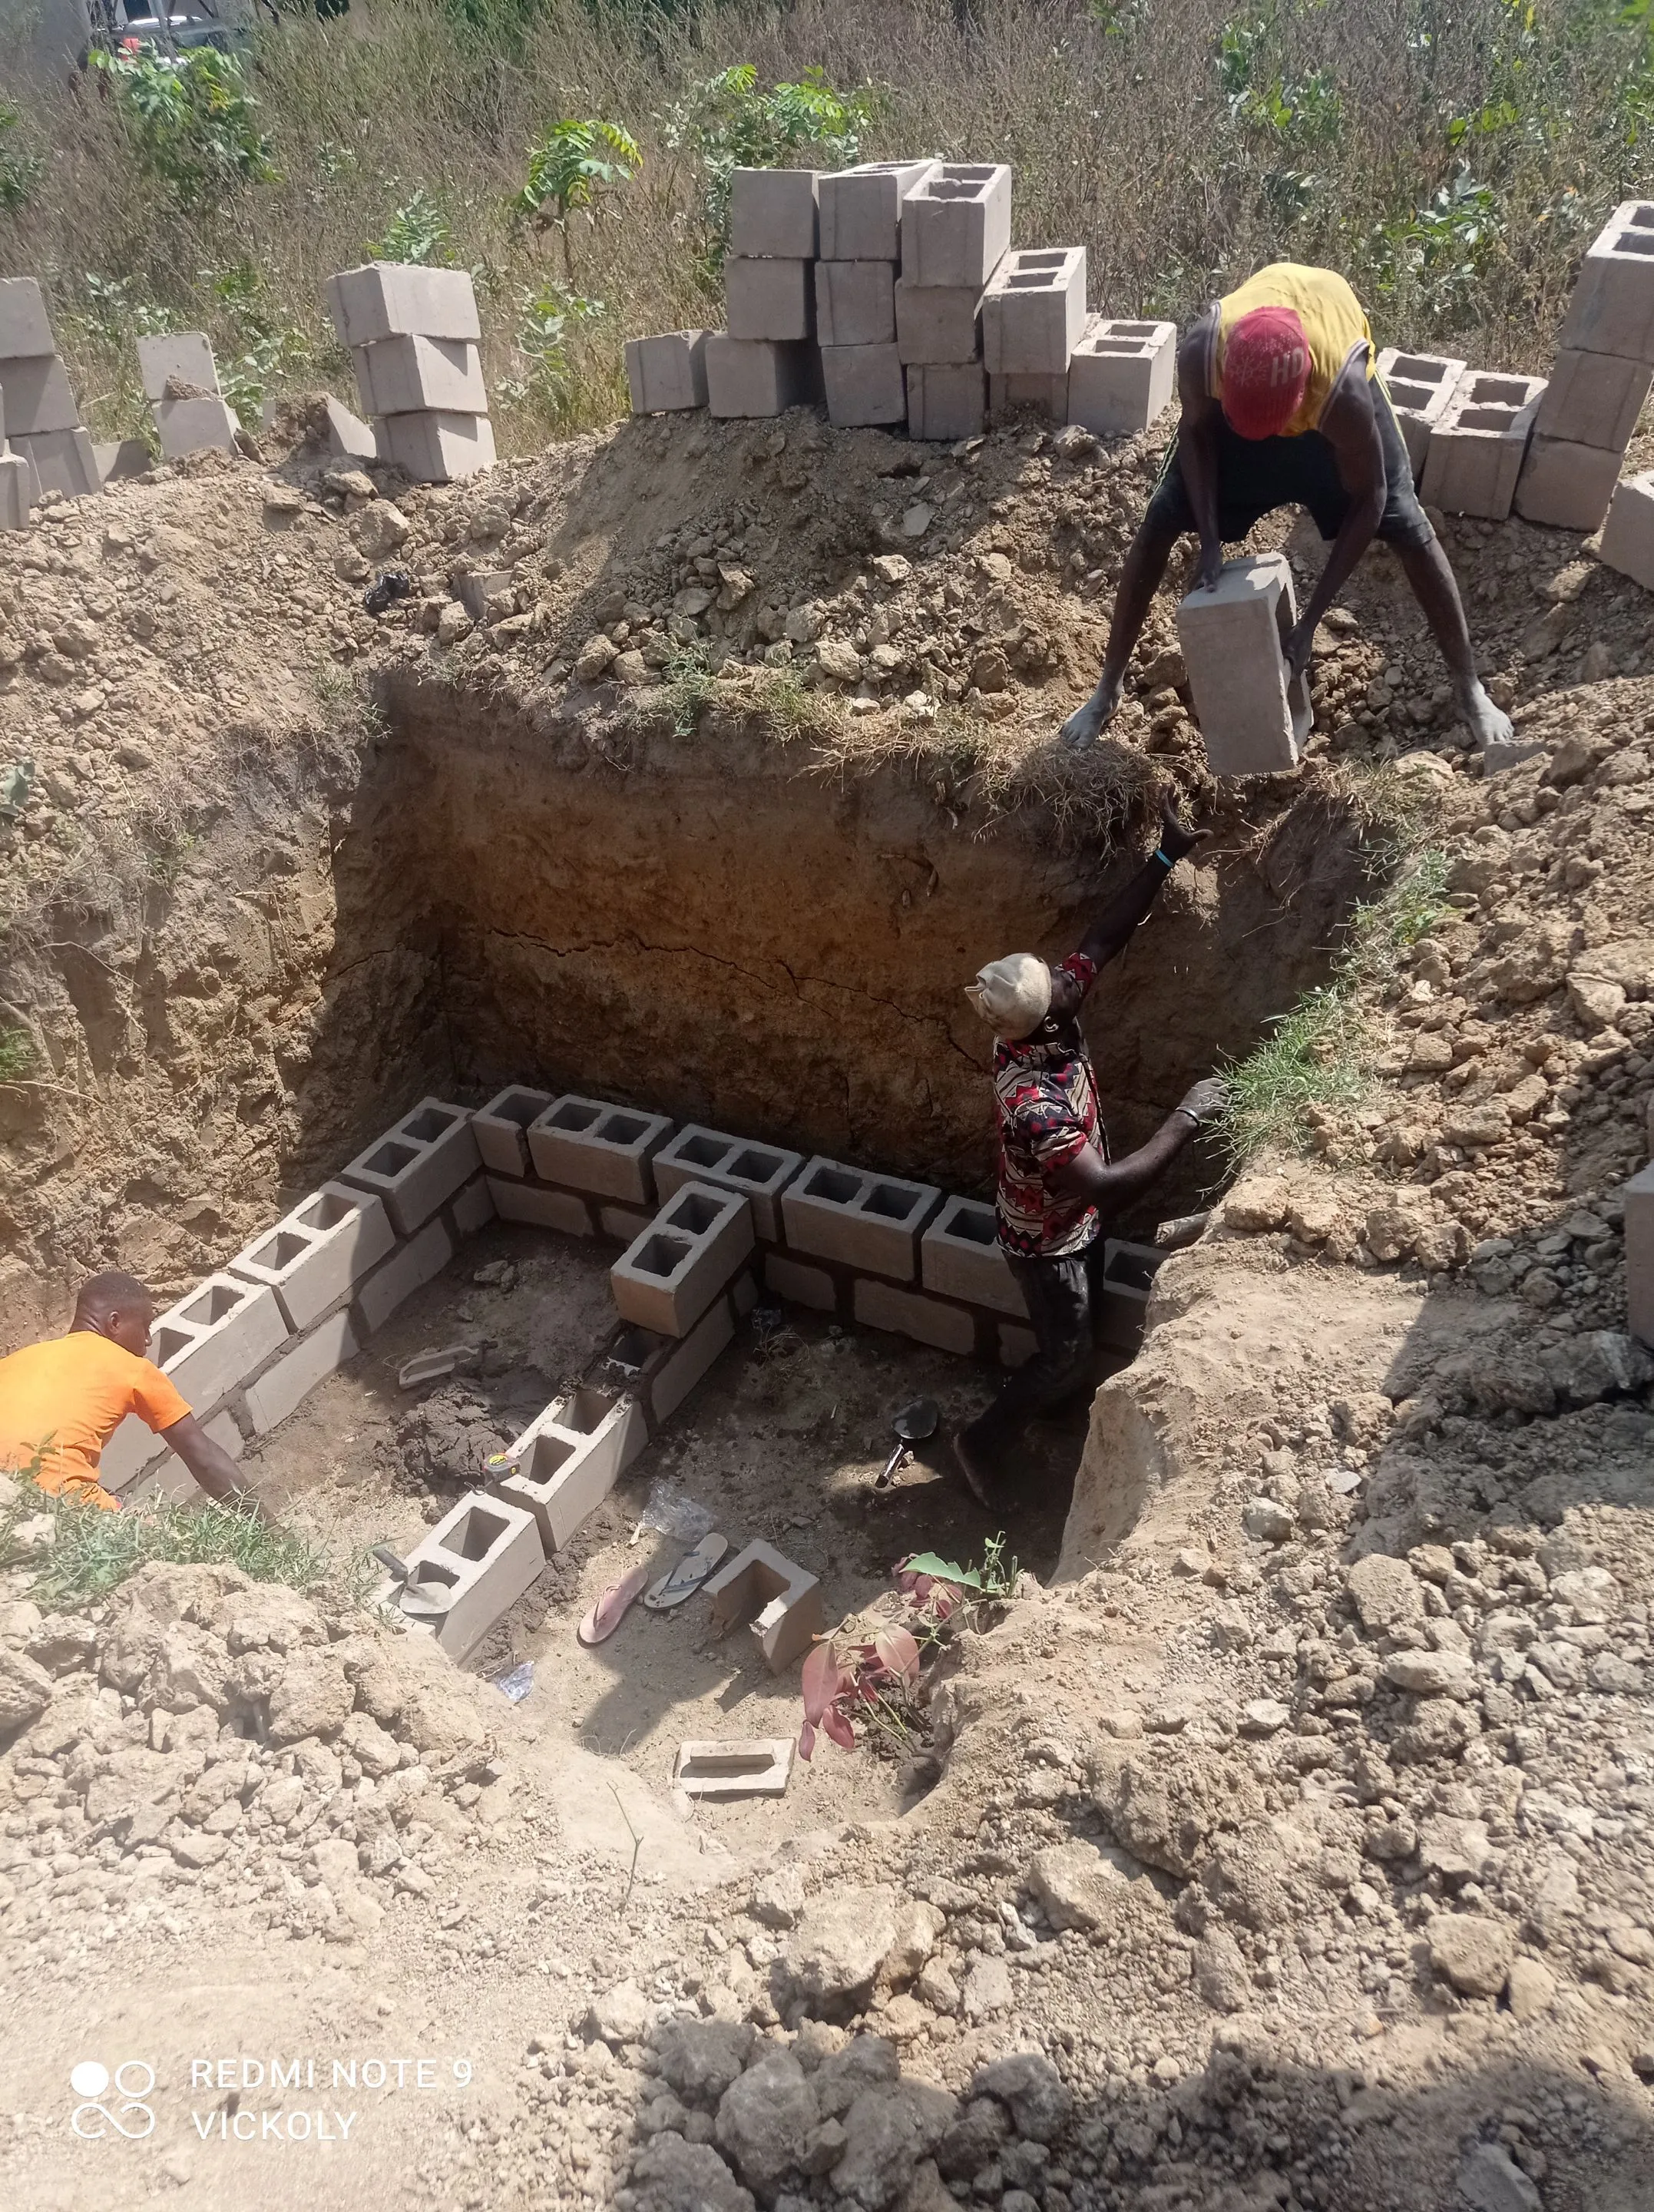
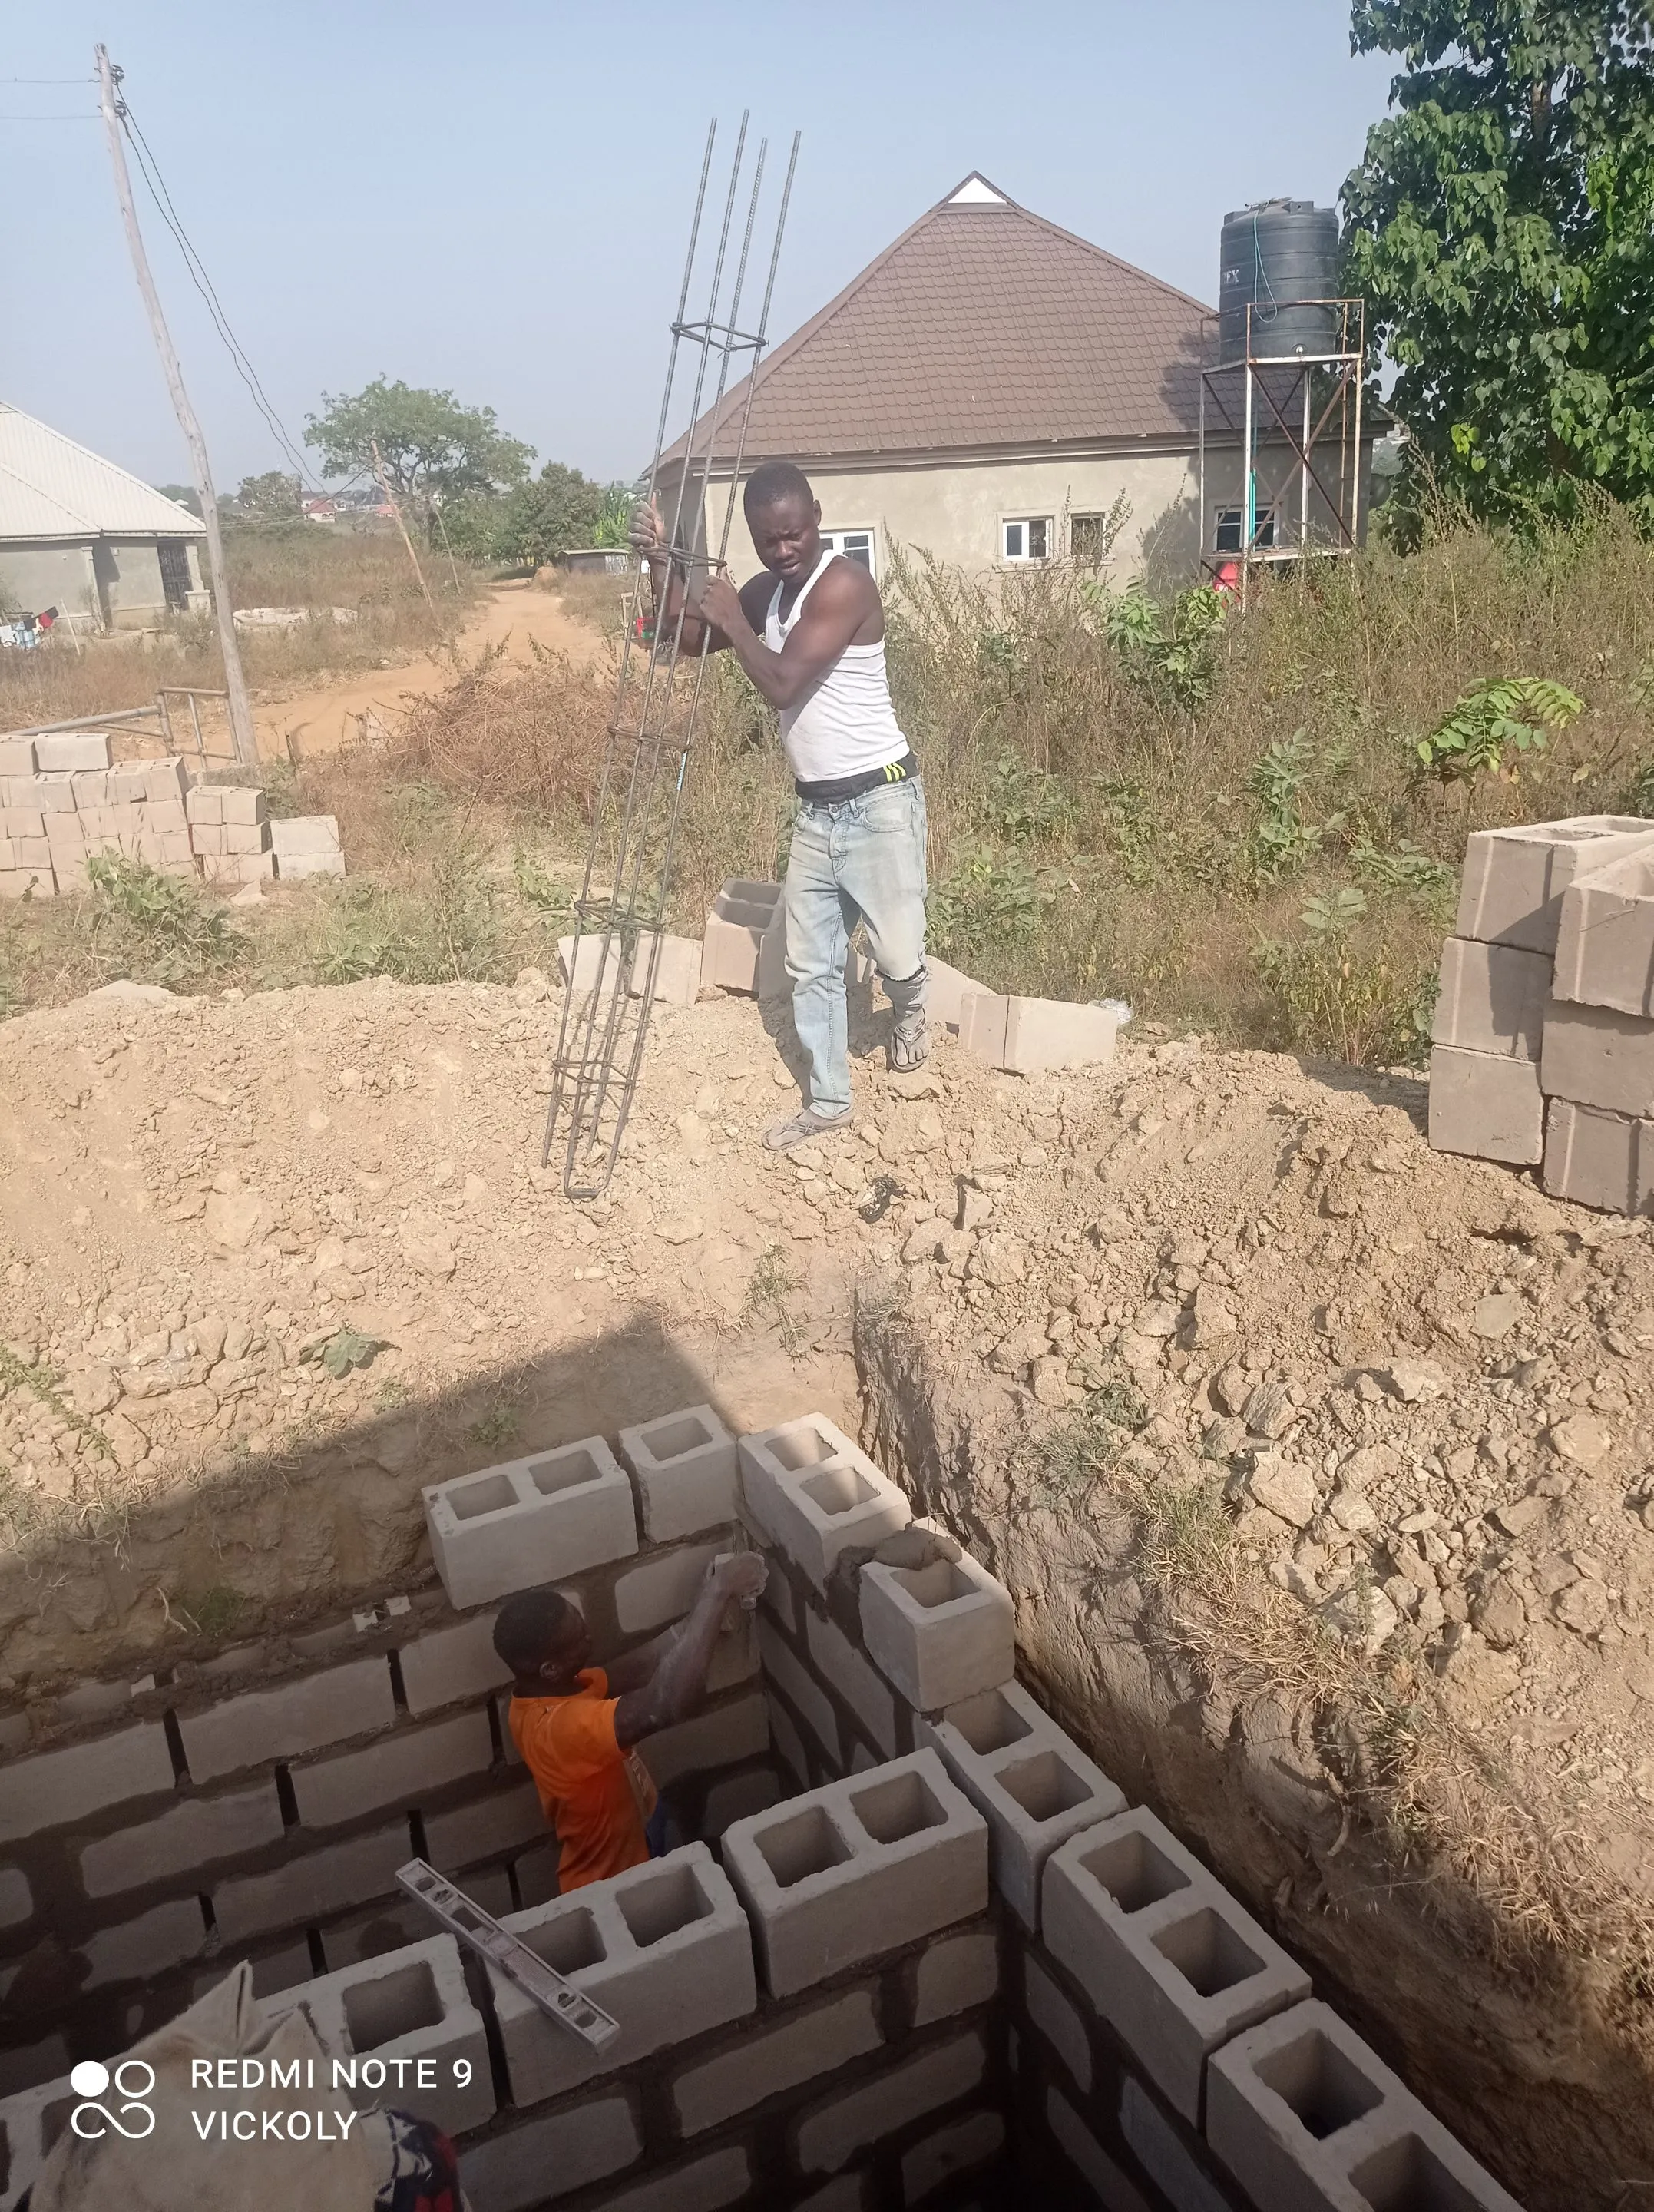
Once the building process as attain the desired height , we'll mix the sharp sand, with cement, granite and water, which will then be use to fill the pillars and flooring of the ground. The iron pillars are been built by the wider(iron bender).
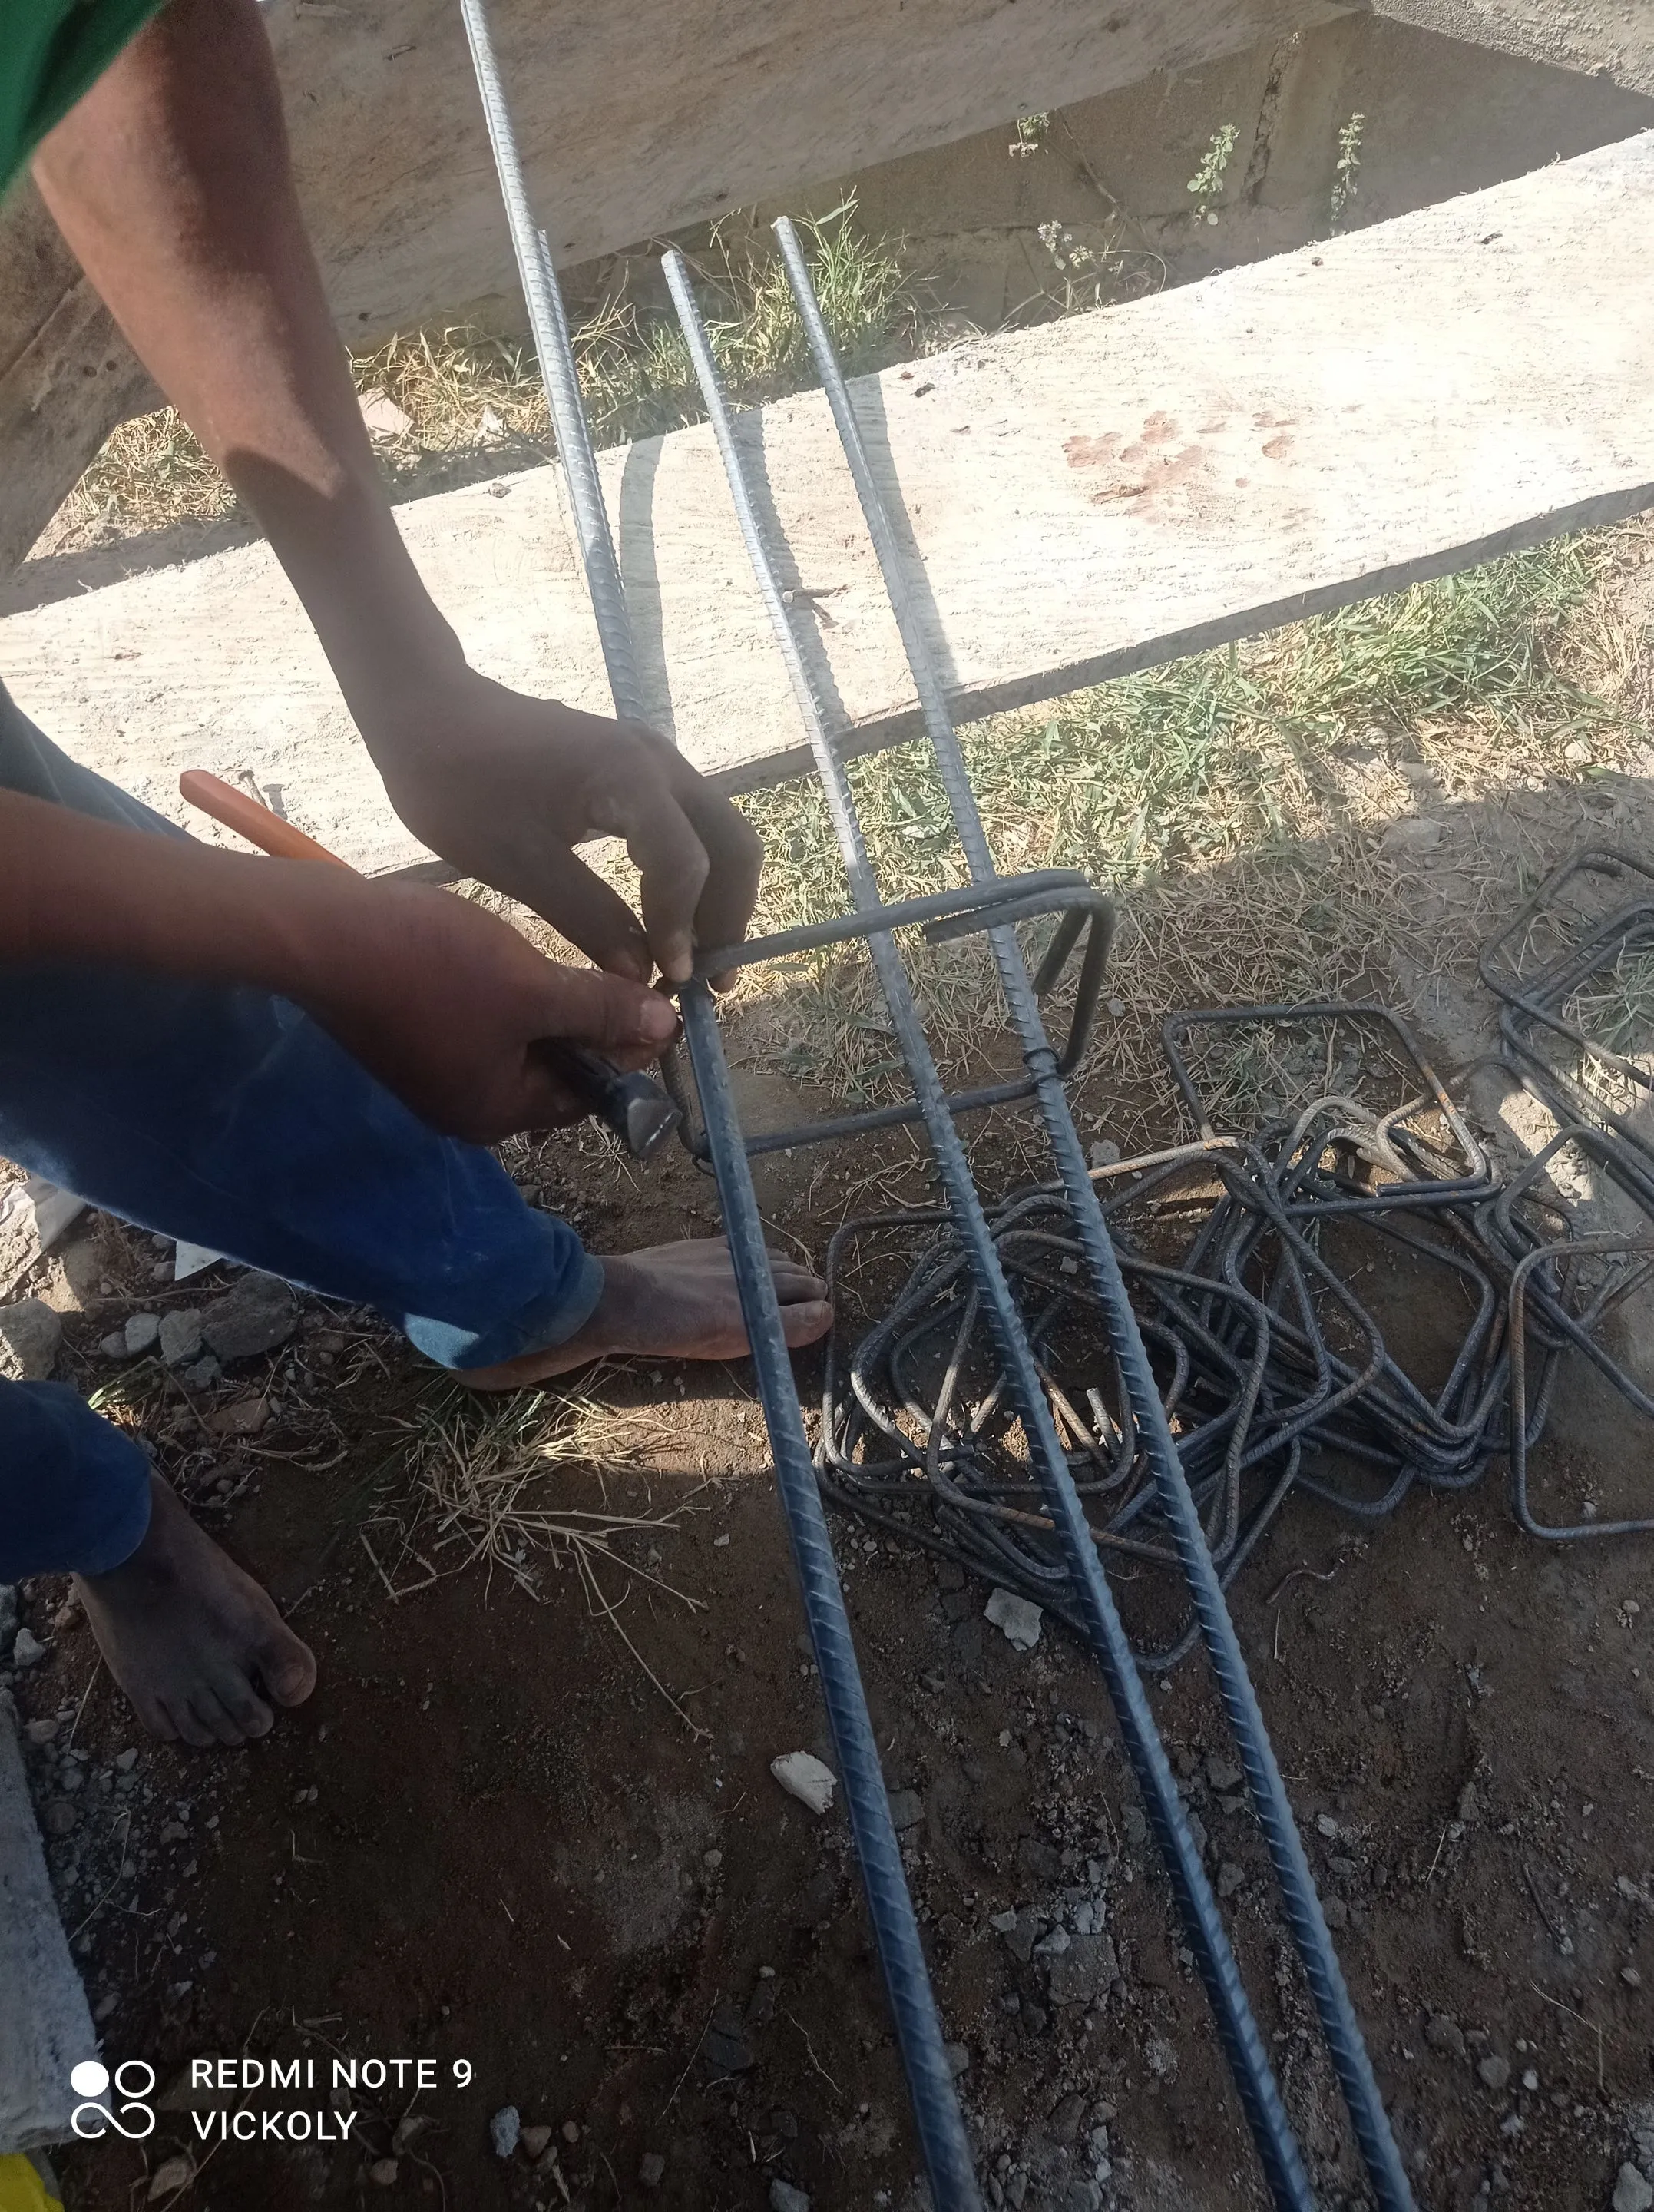
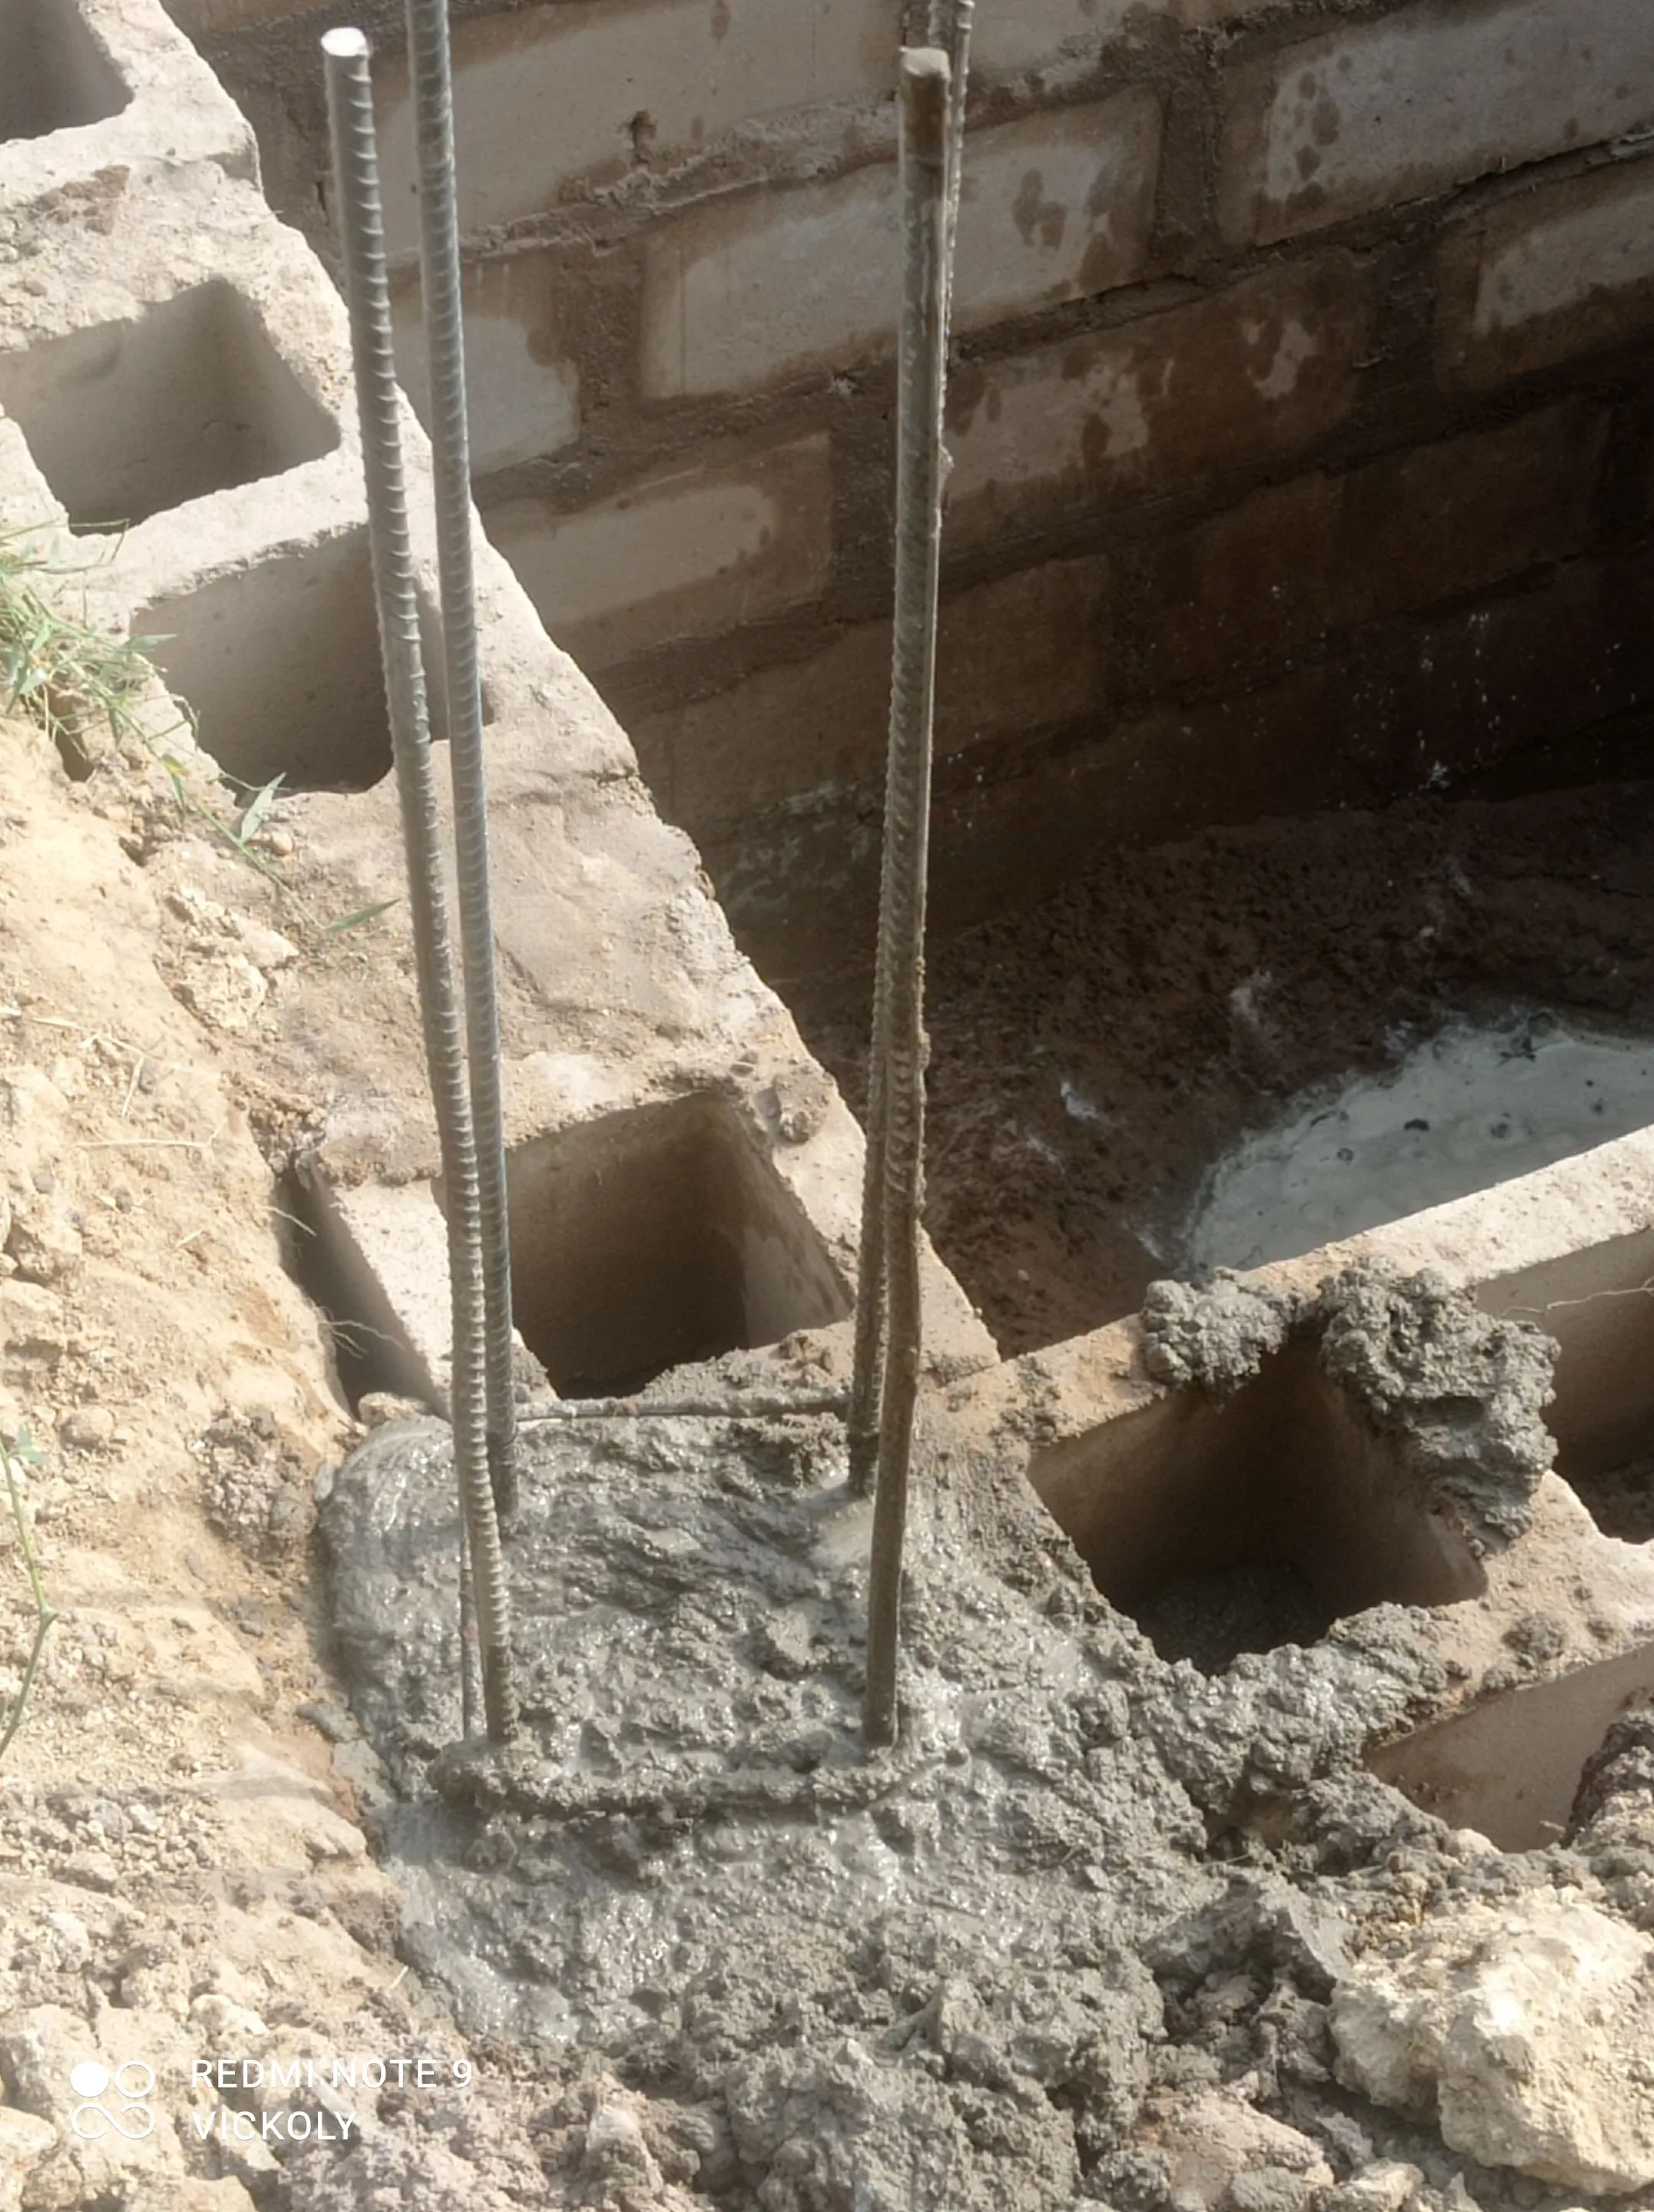
Then we can start plastering the inner part of the sewage system. NB: you'll notice that the sewage is divided into two, the smaller one with opening between the block is meant for waste waters coming from the kitchen and bathroom, and it as opening so that the ground can absorb the waters, while the bigger one is meant for the excretion. You can check my previous post on the step by step process of plastering the house .
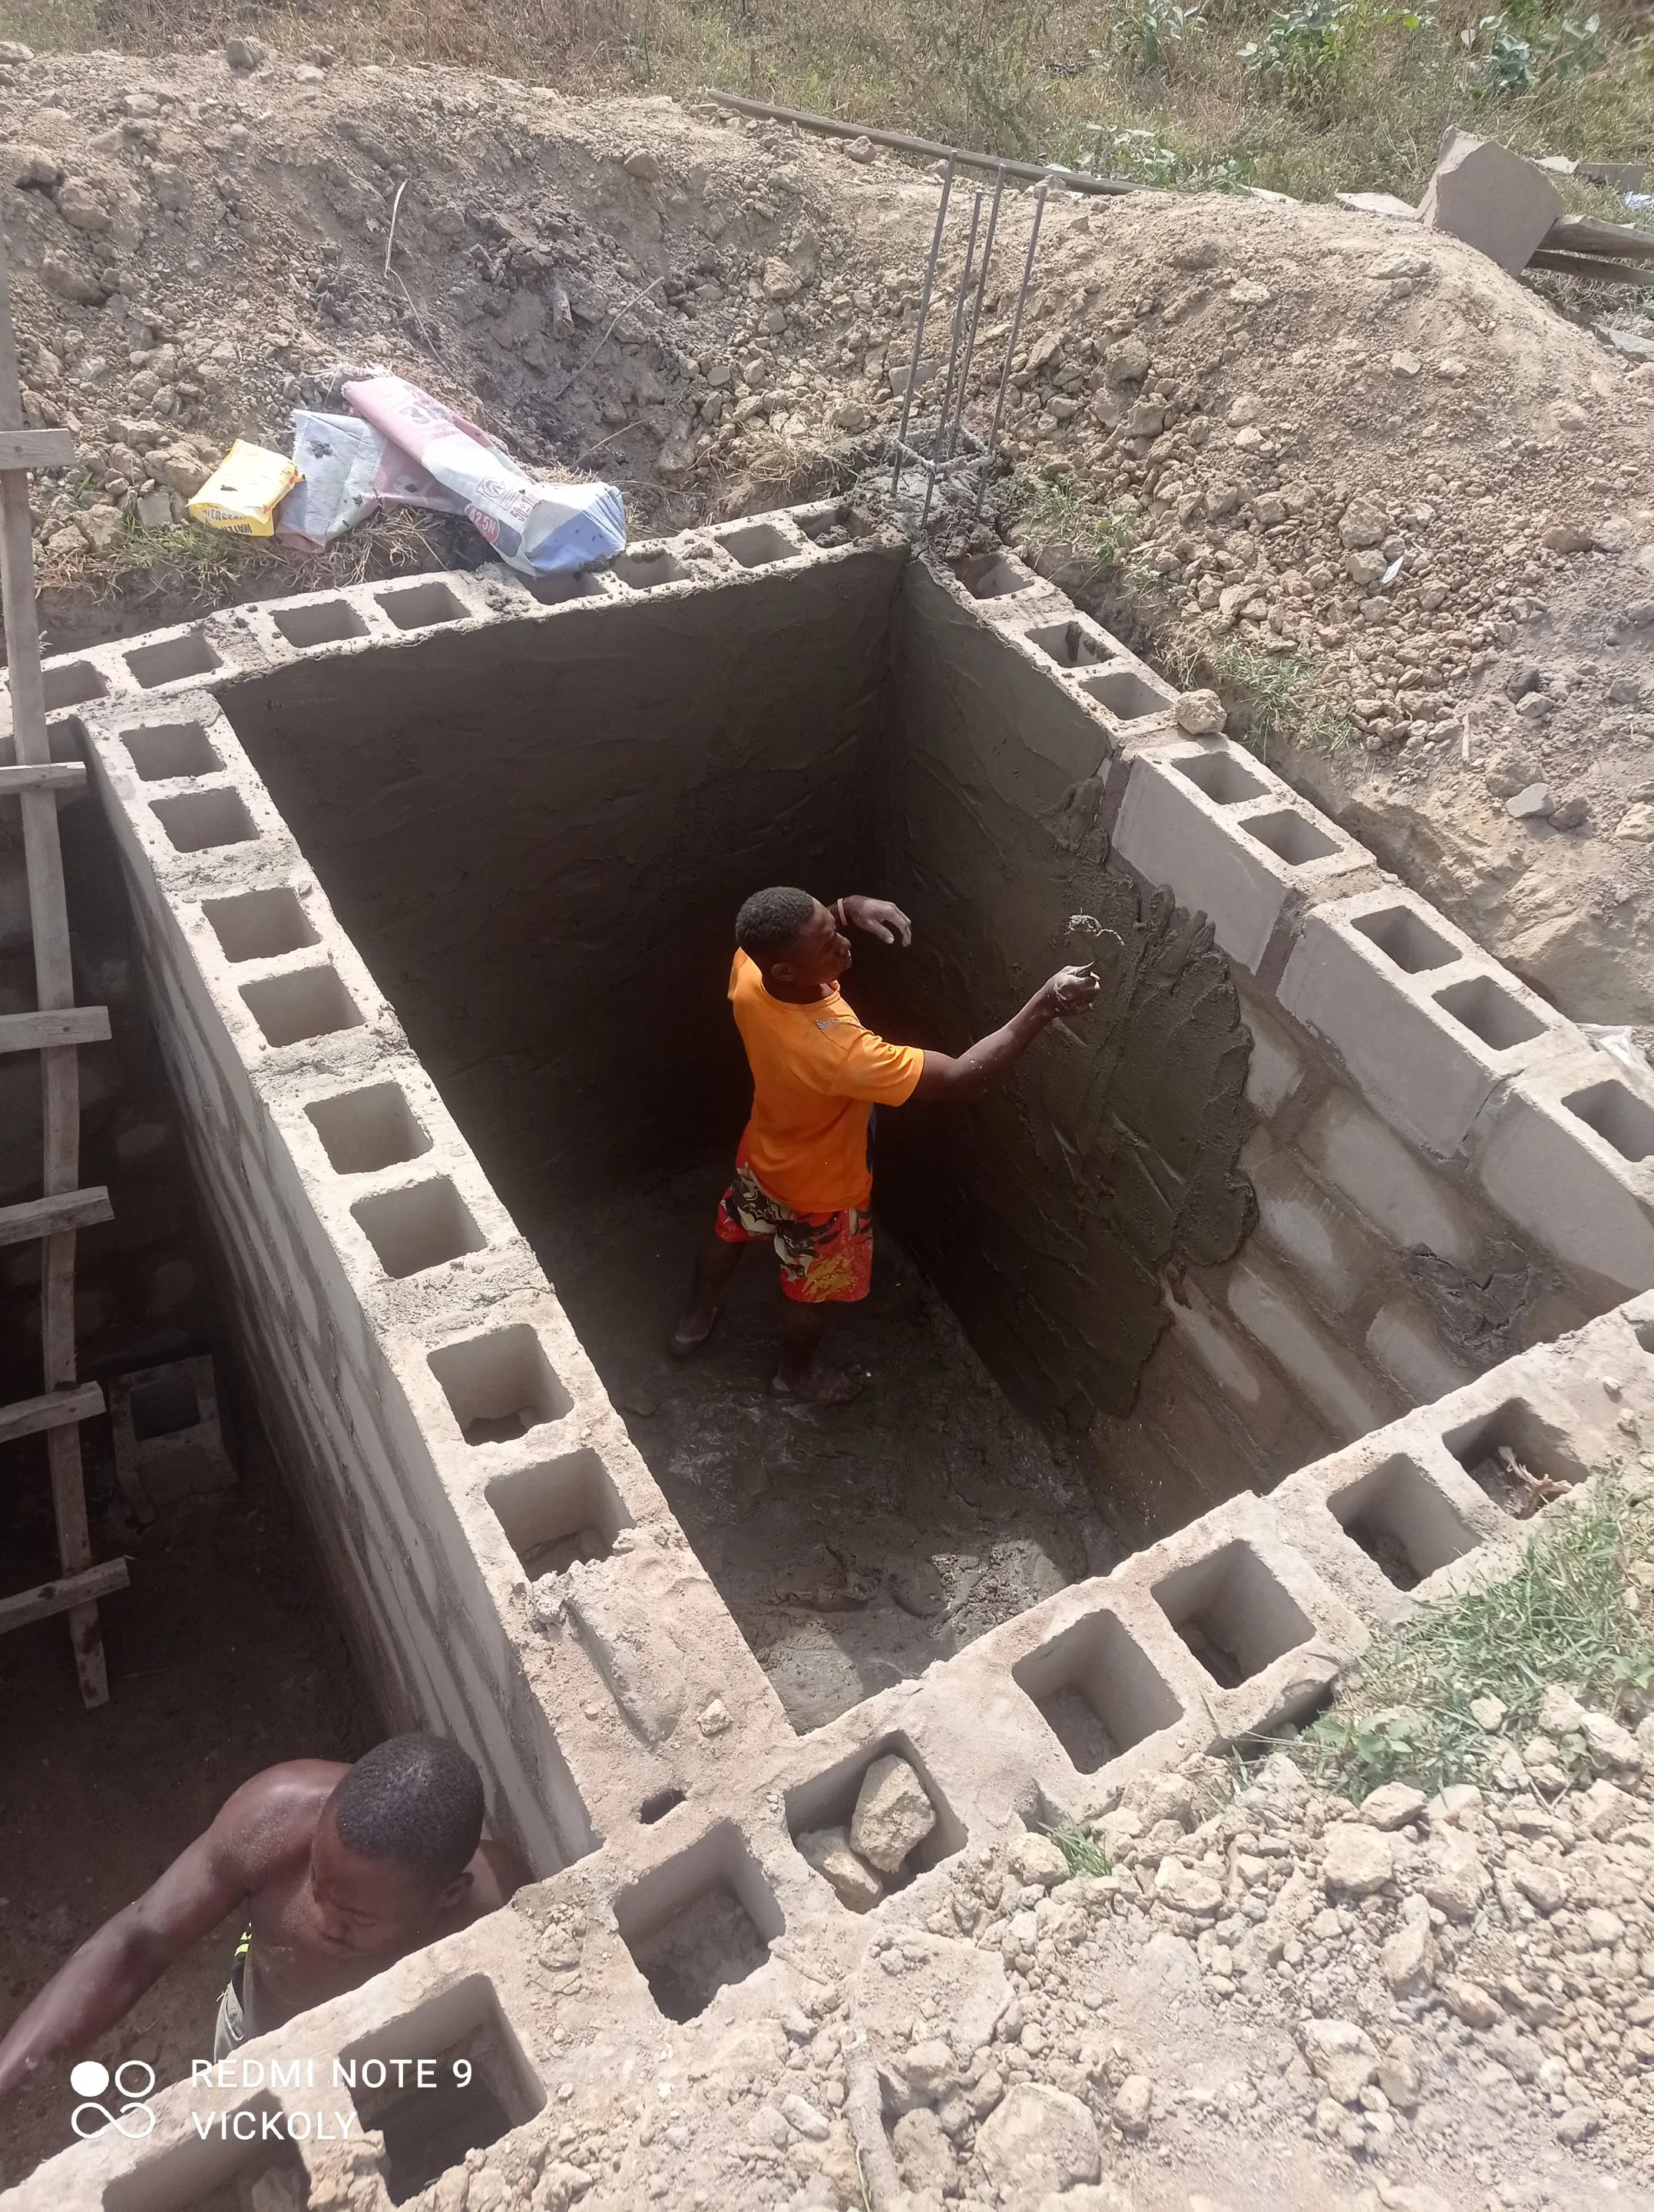
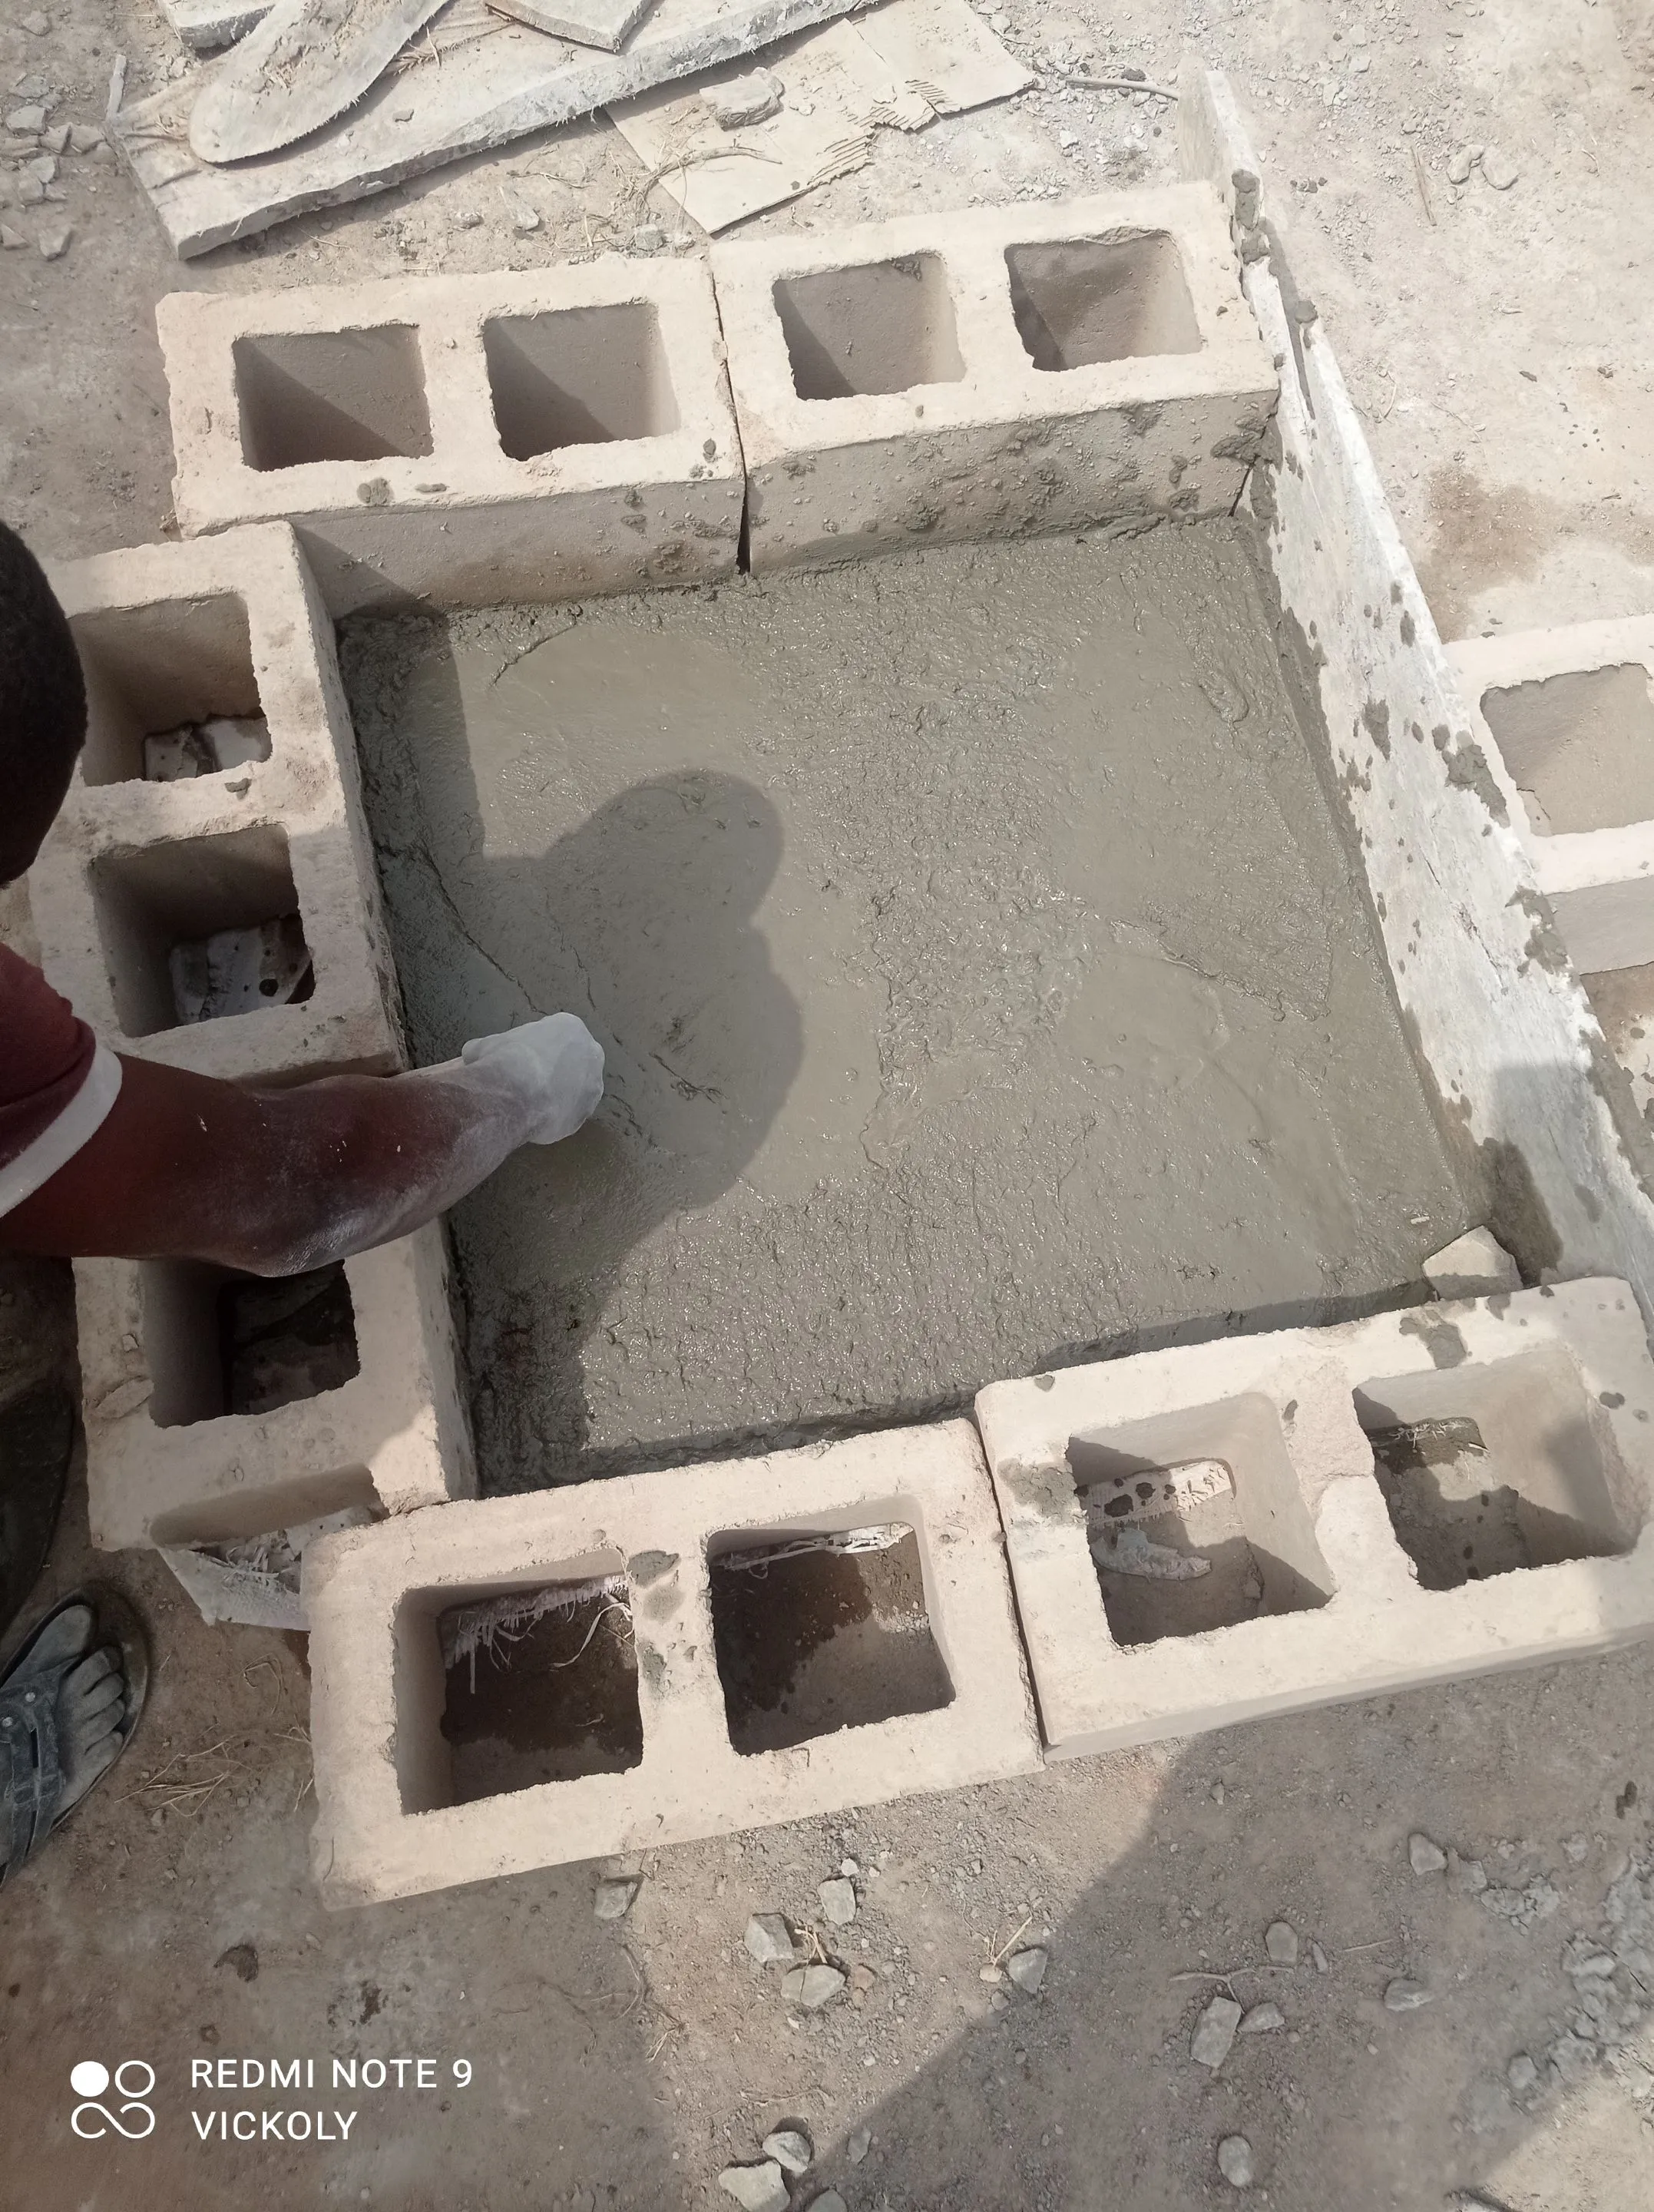
After the plastering, we'll use the remaining mix sharp sand with granite for the flooring of the ground.
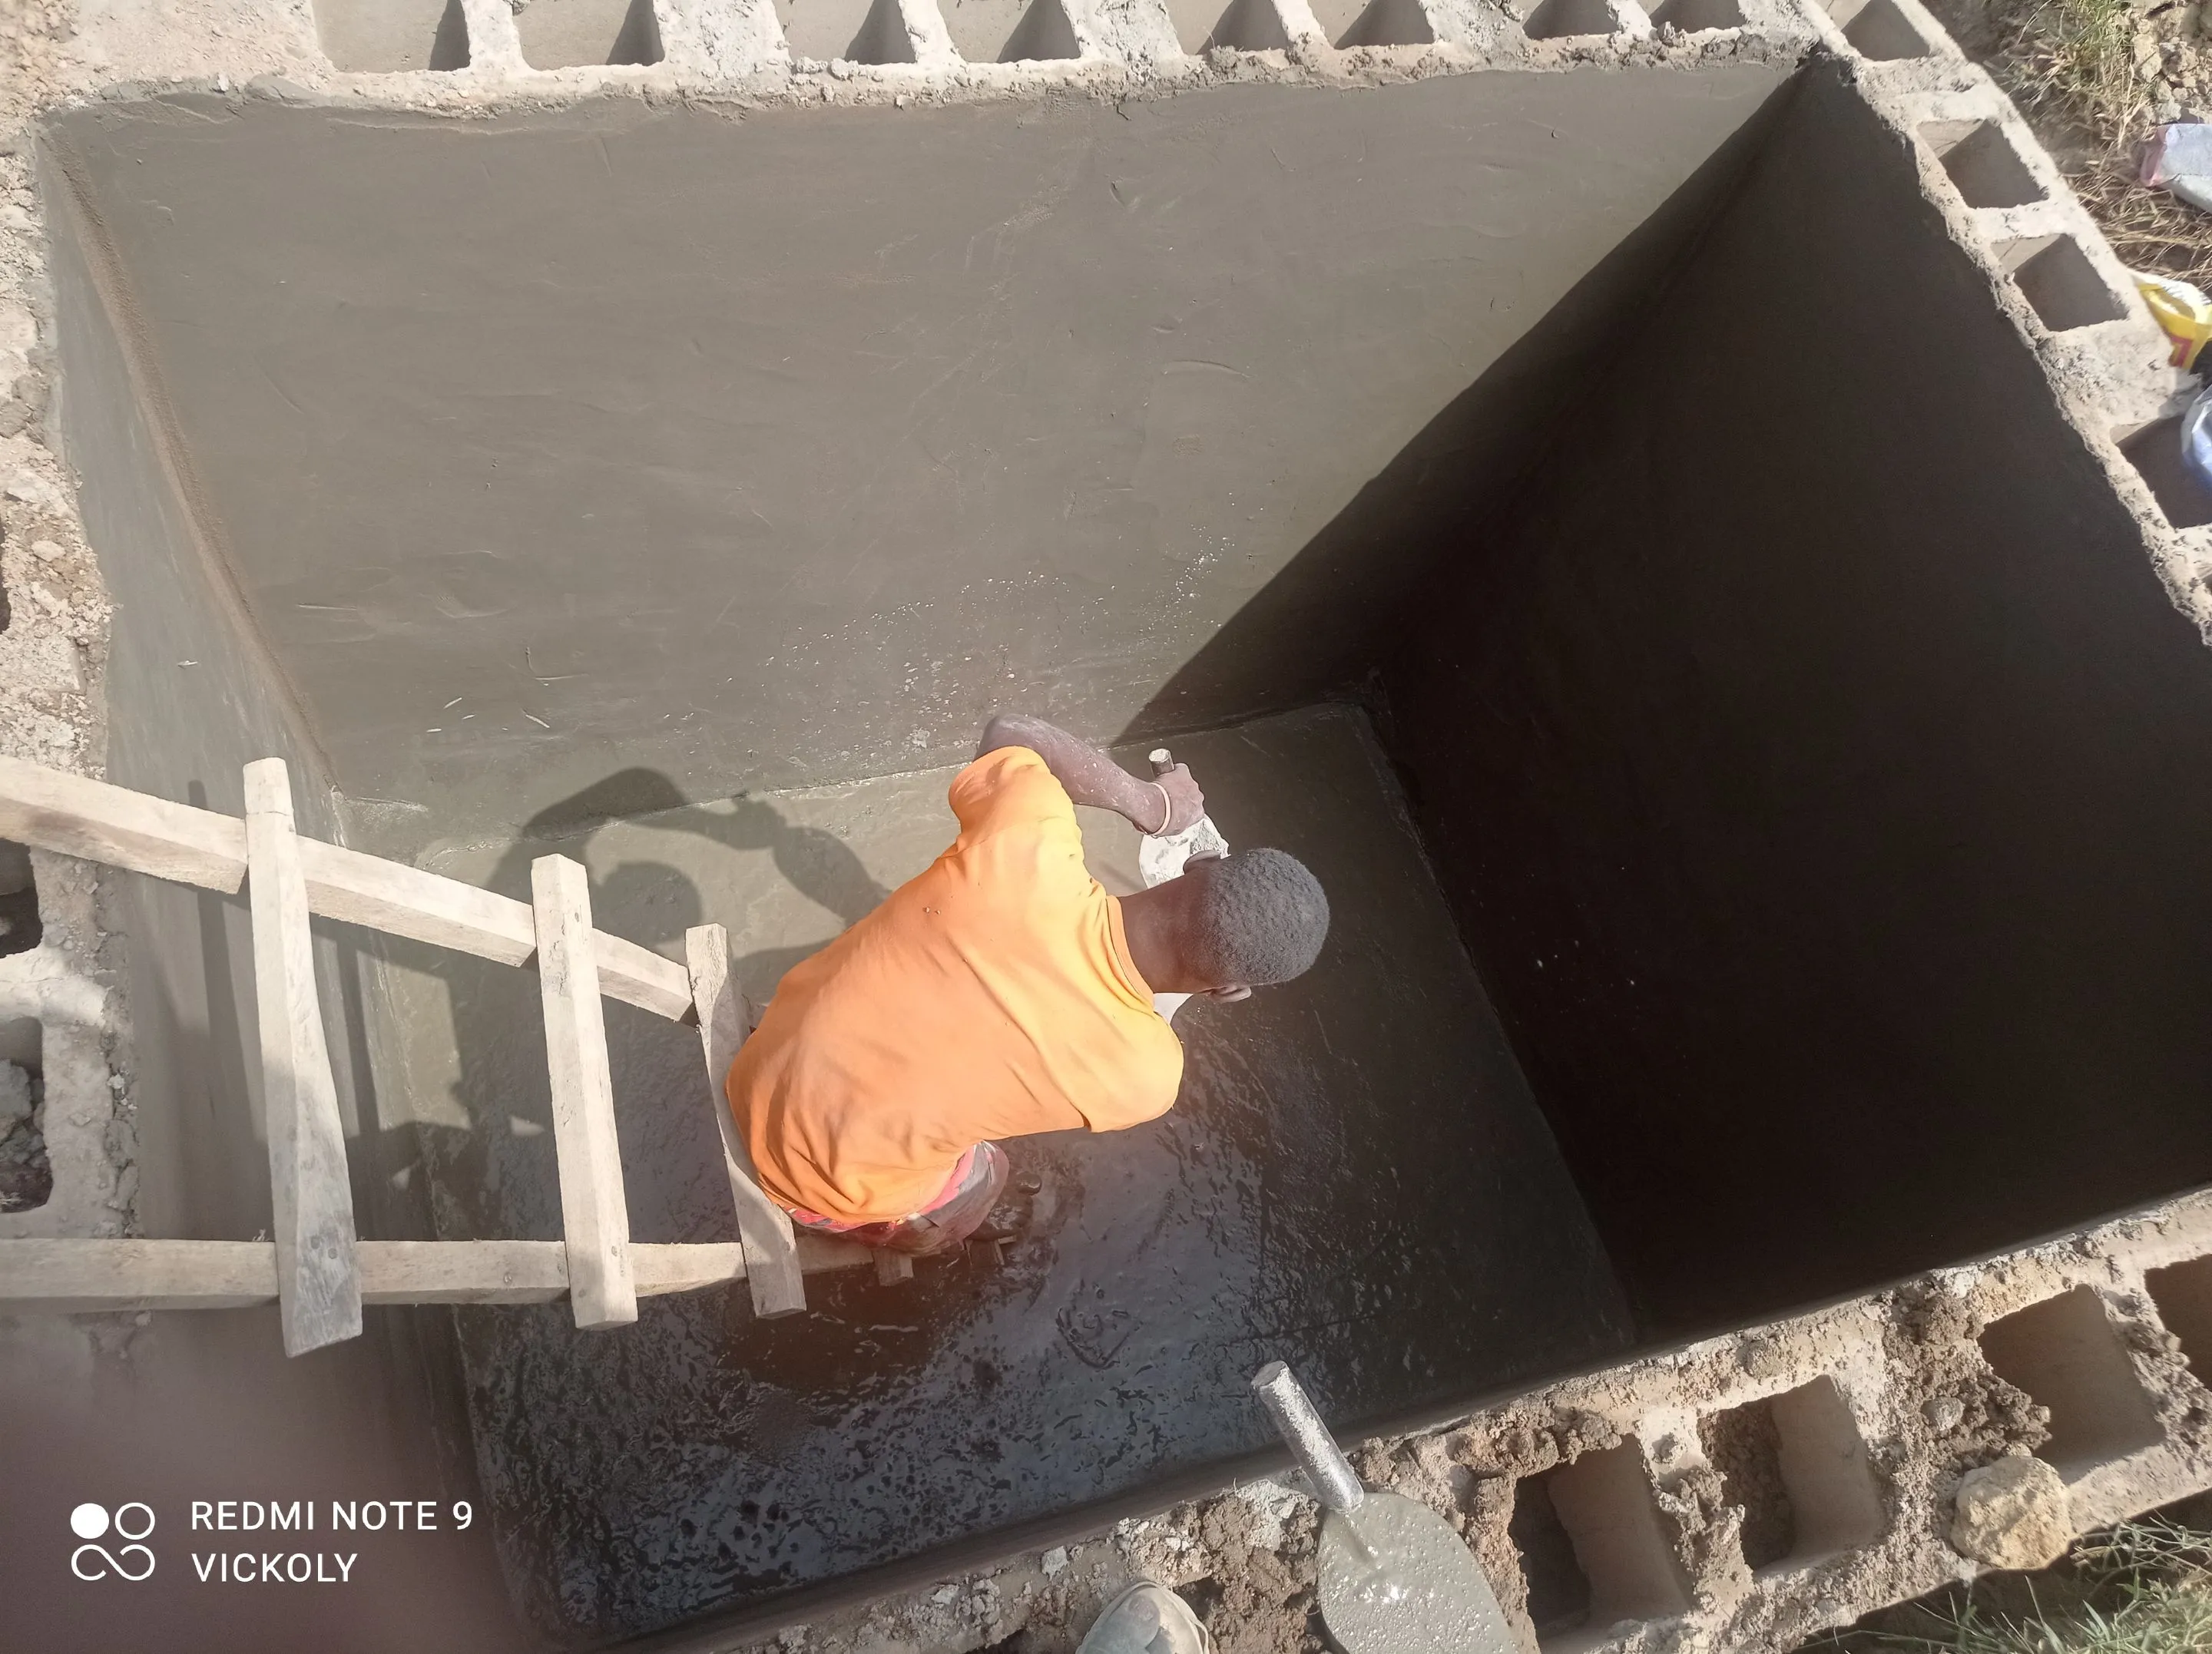
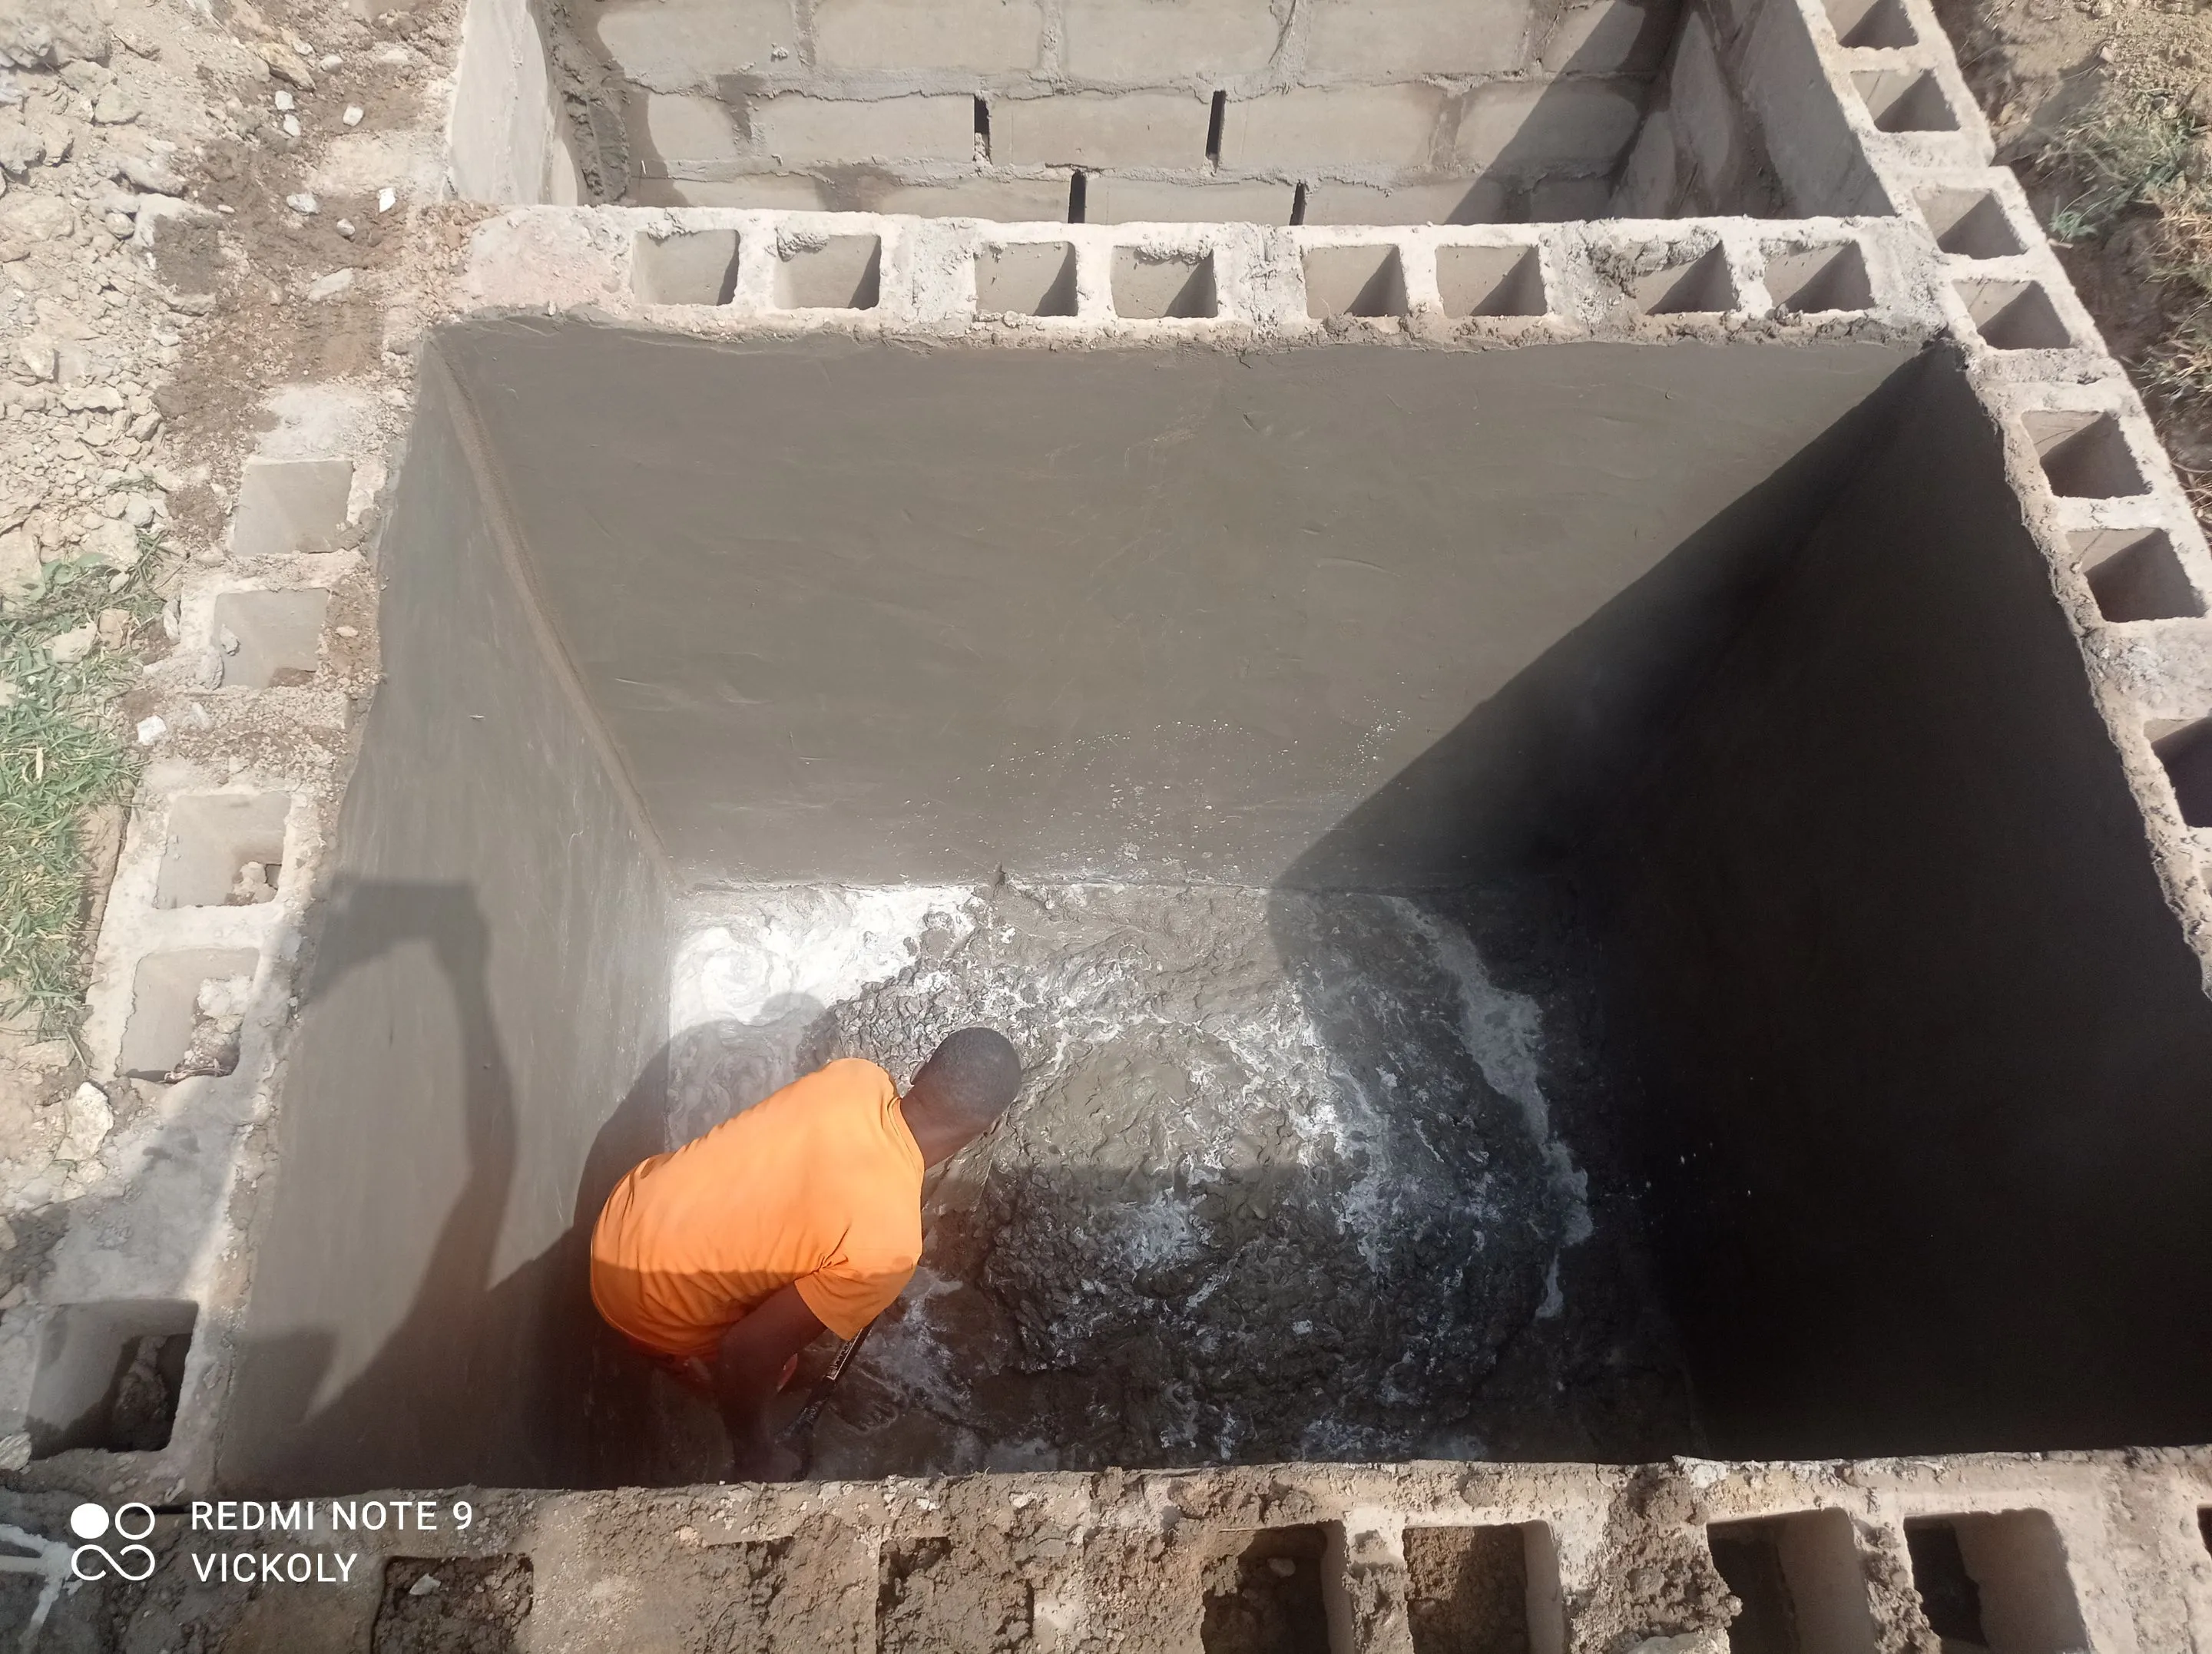
Then it's left for the carpenter to build a deking and the wider to build the iron pillars on it.
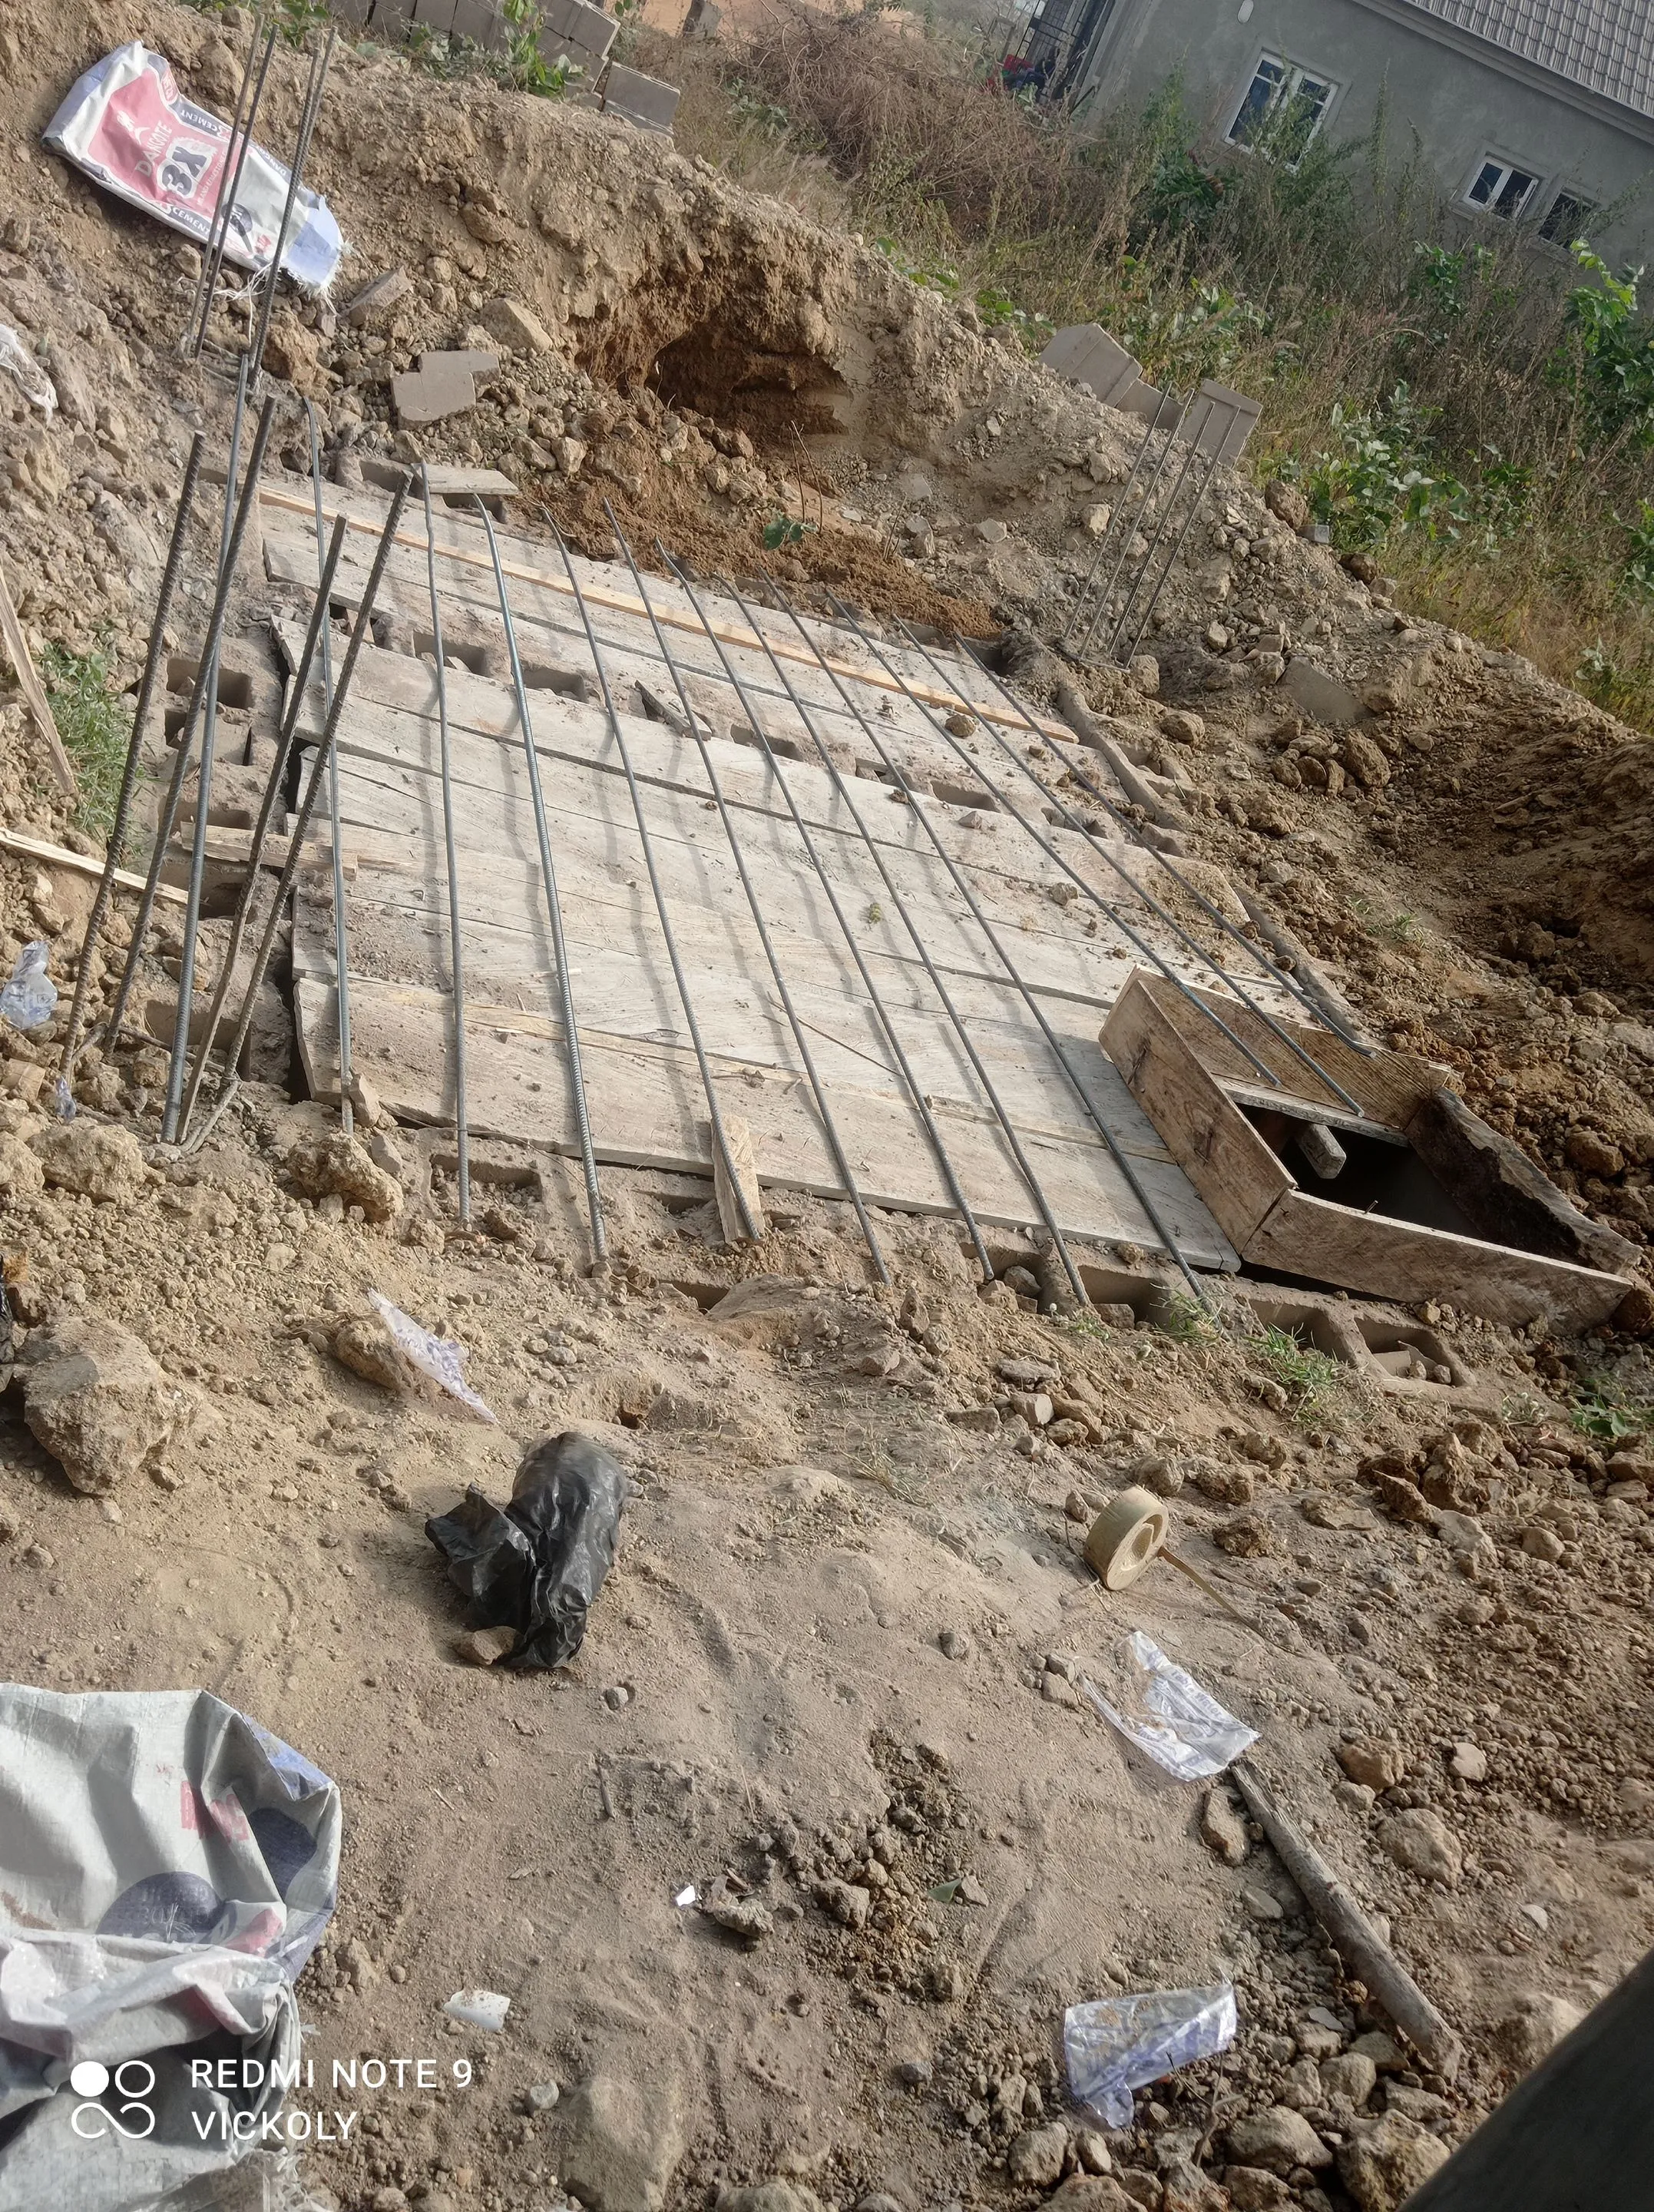
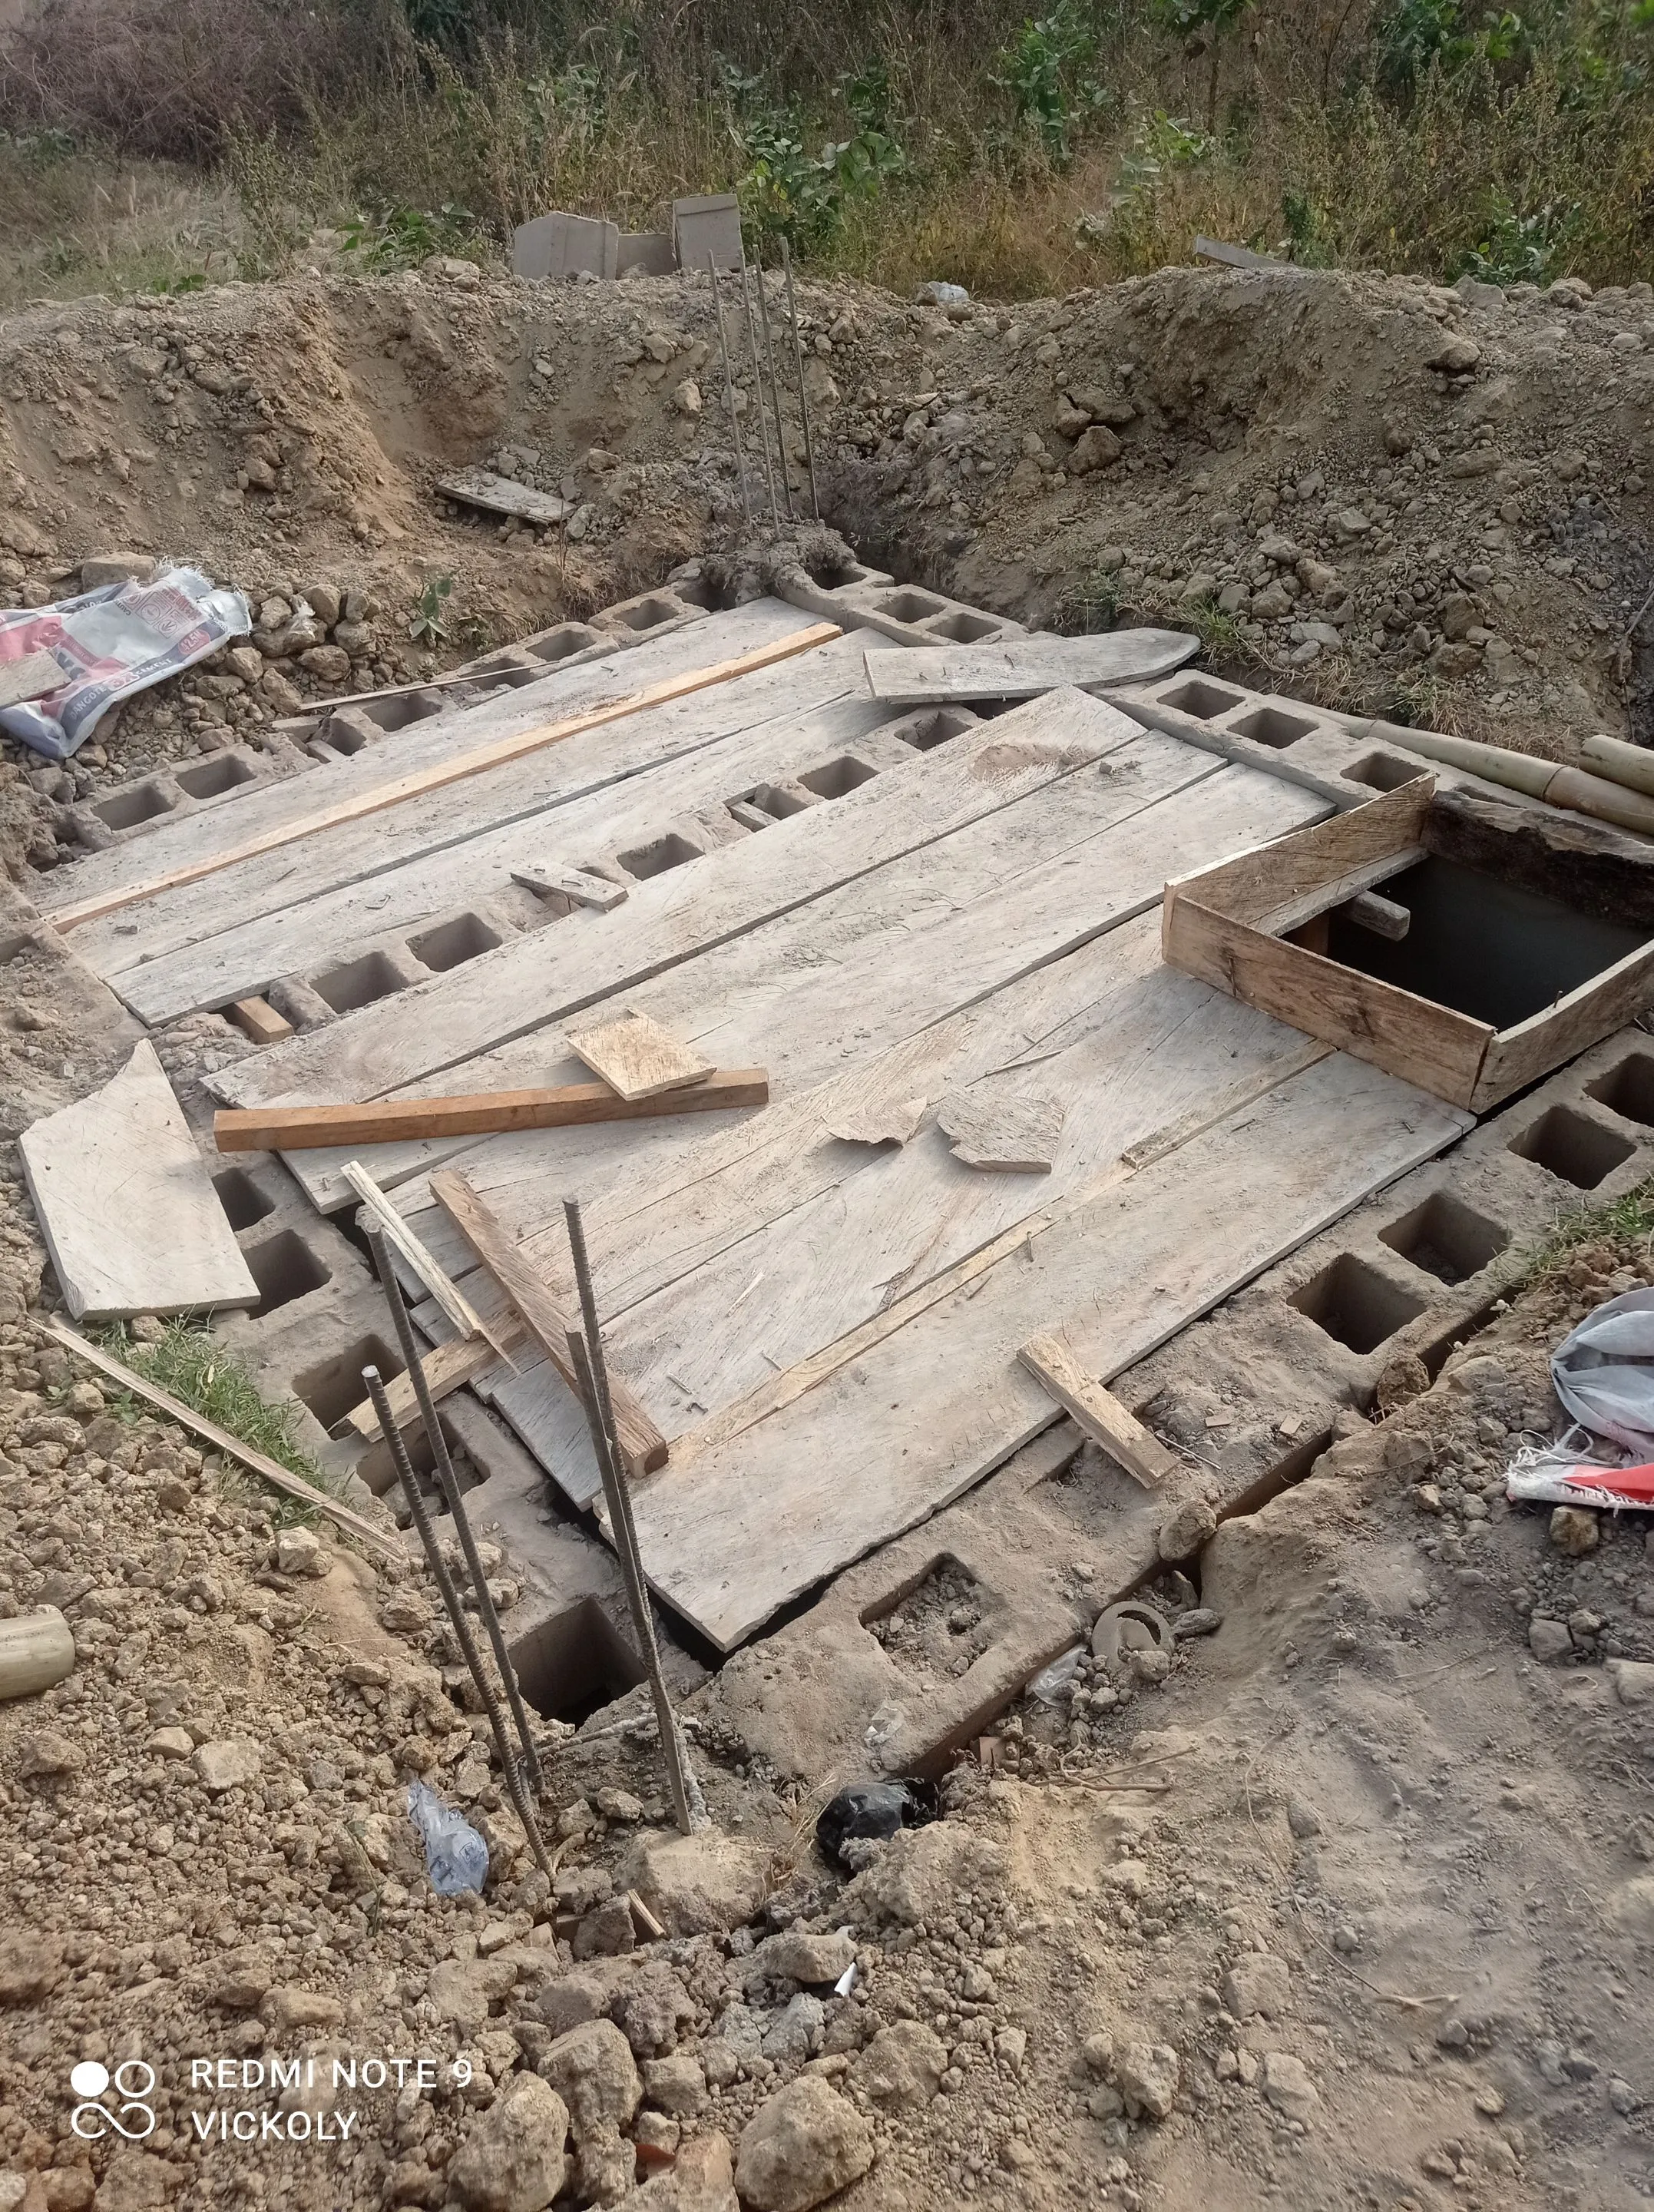
We'll then use the mixed the sharp sand with granite to fill the top of the sewage system.
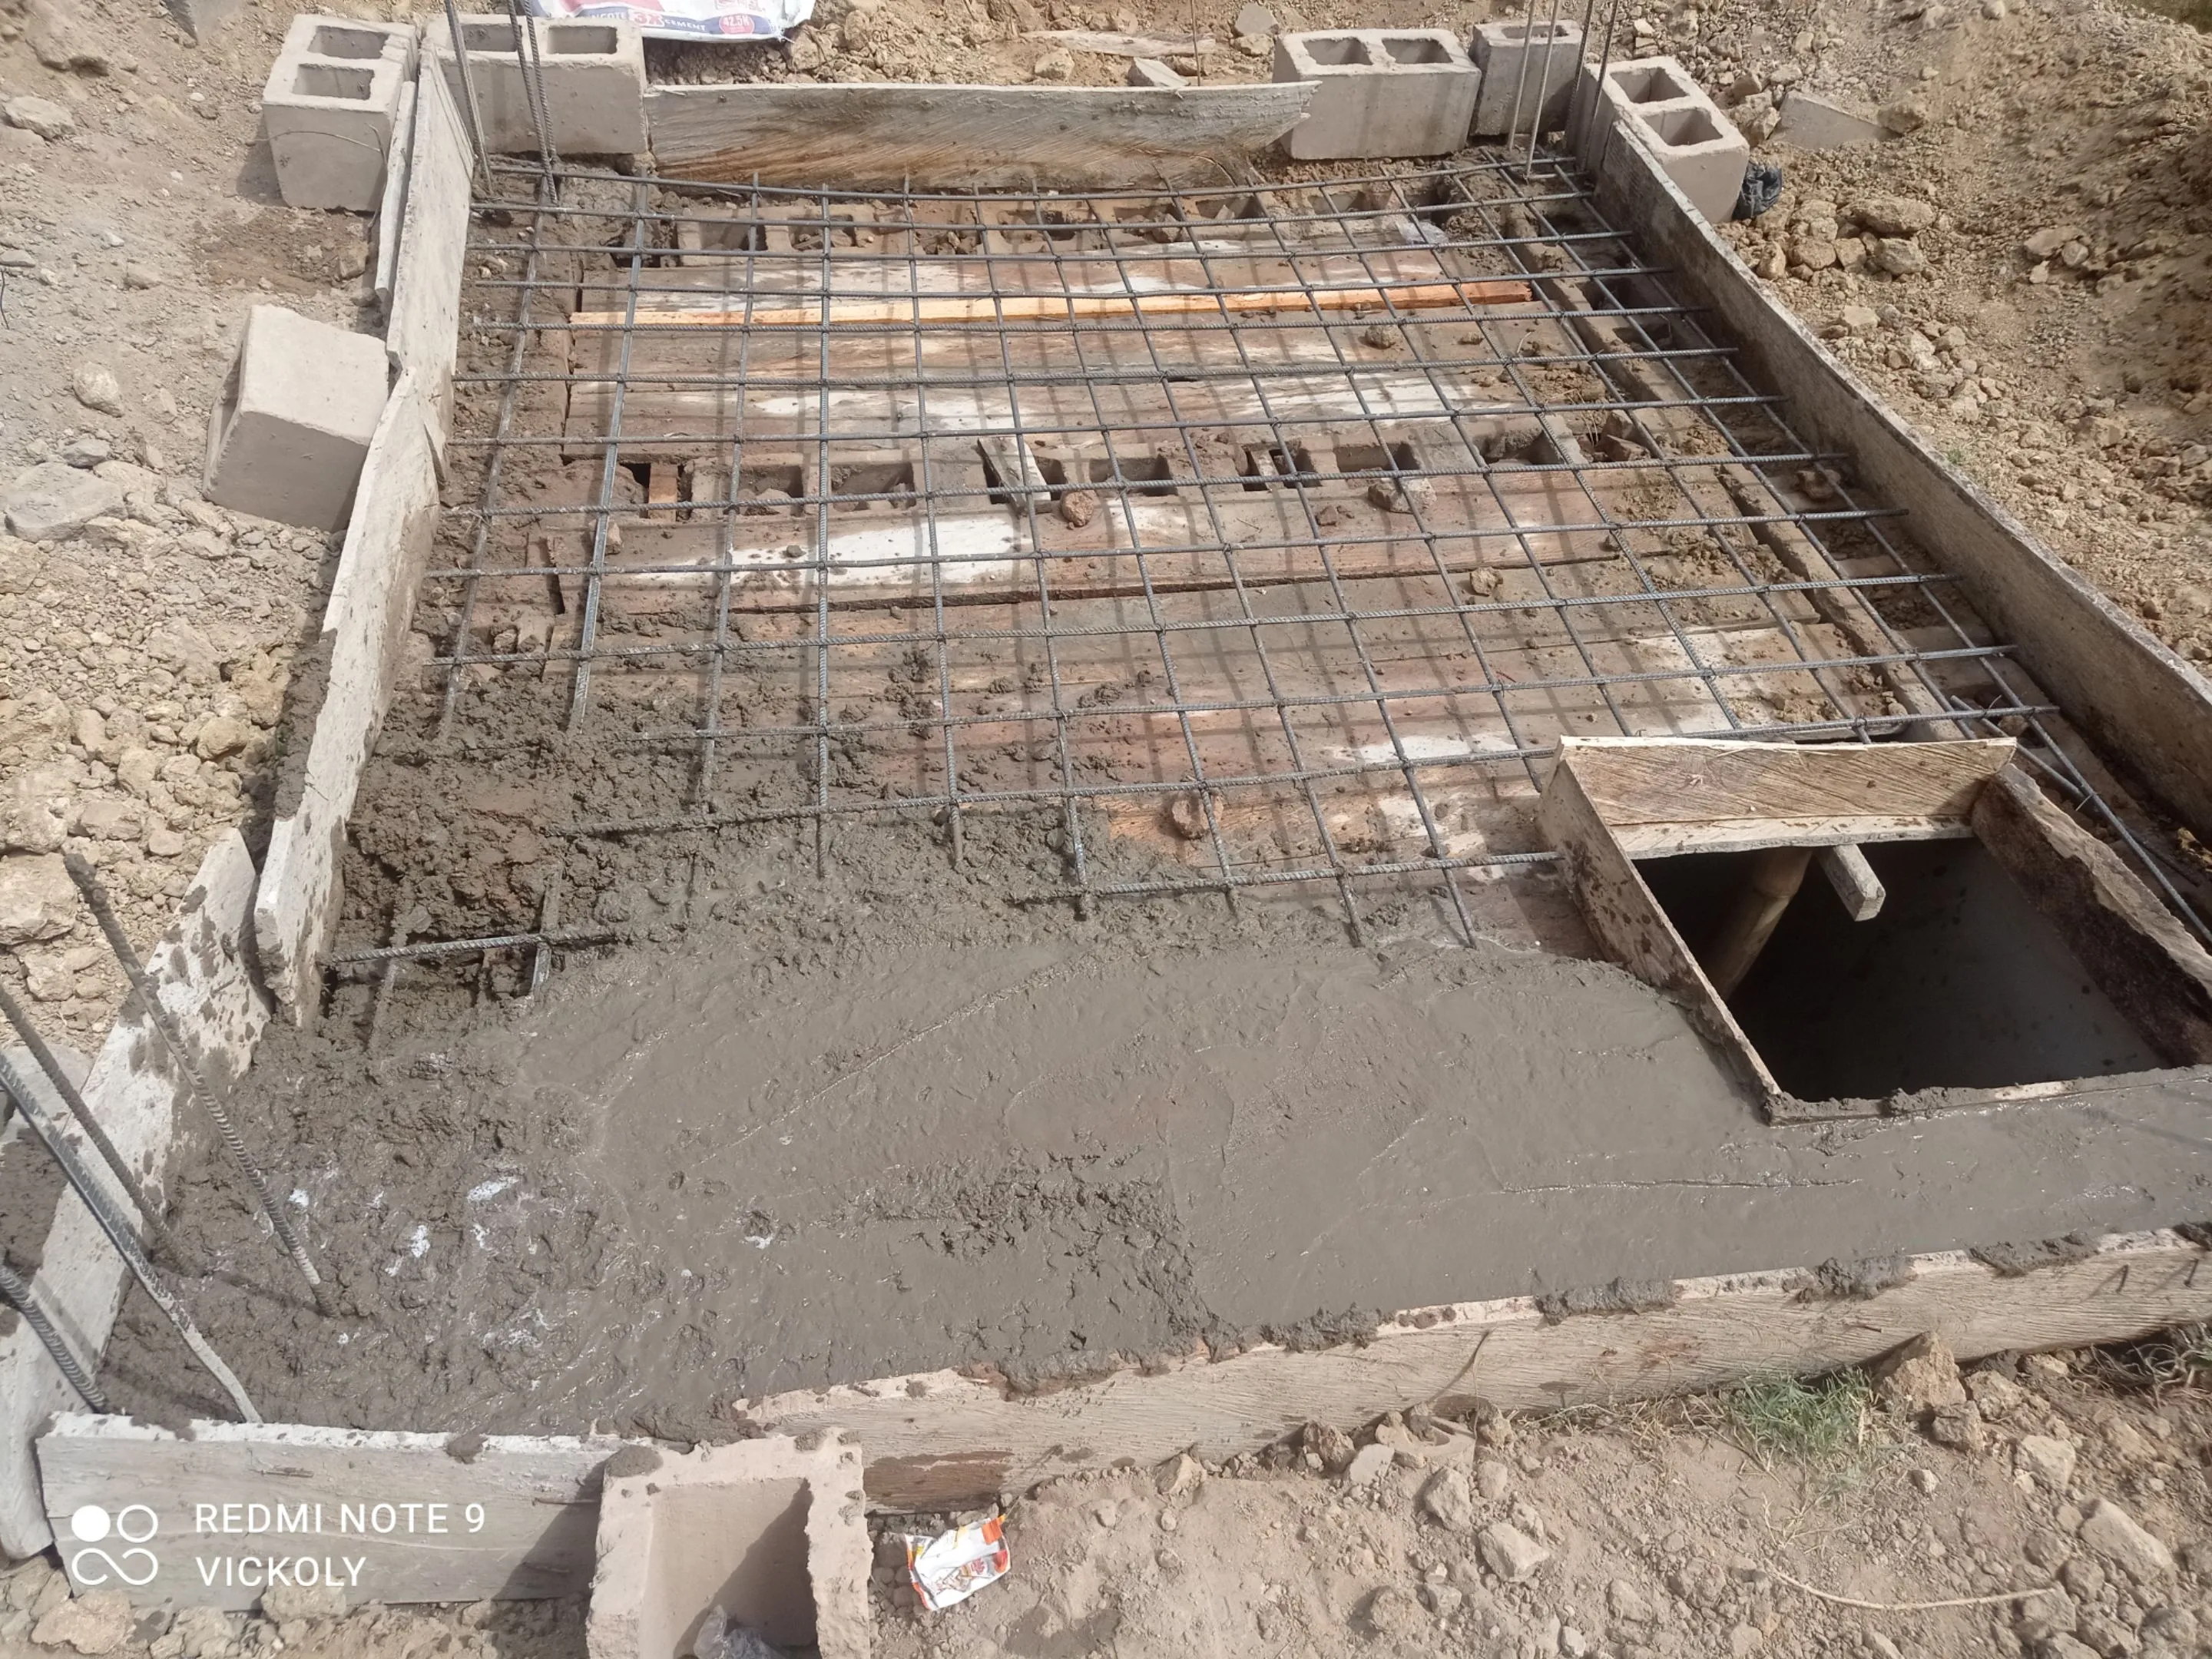
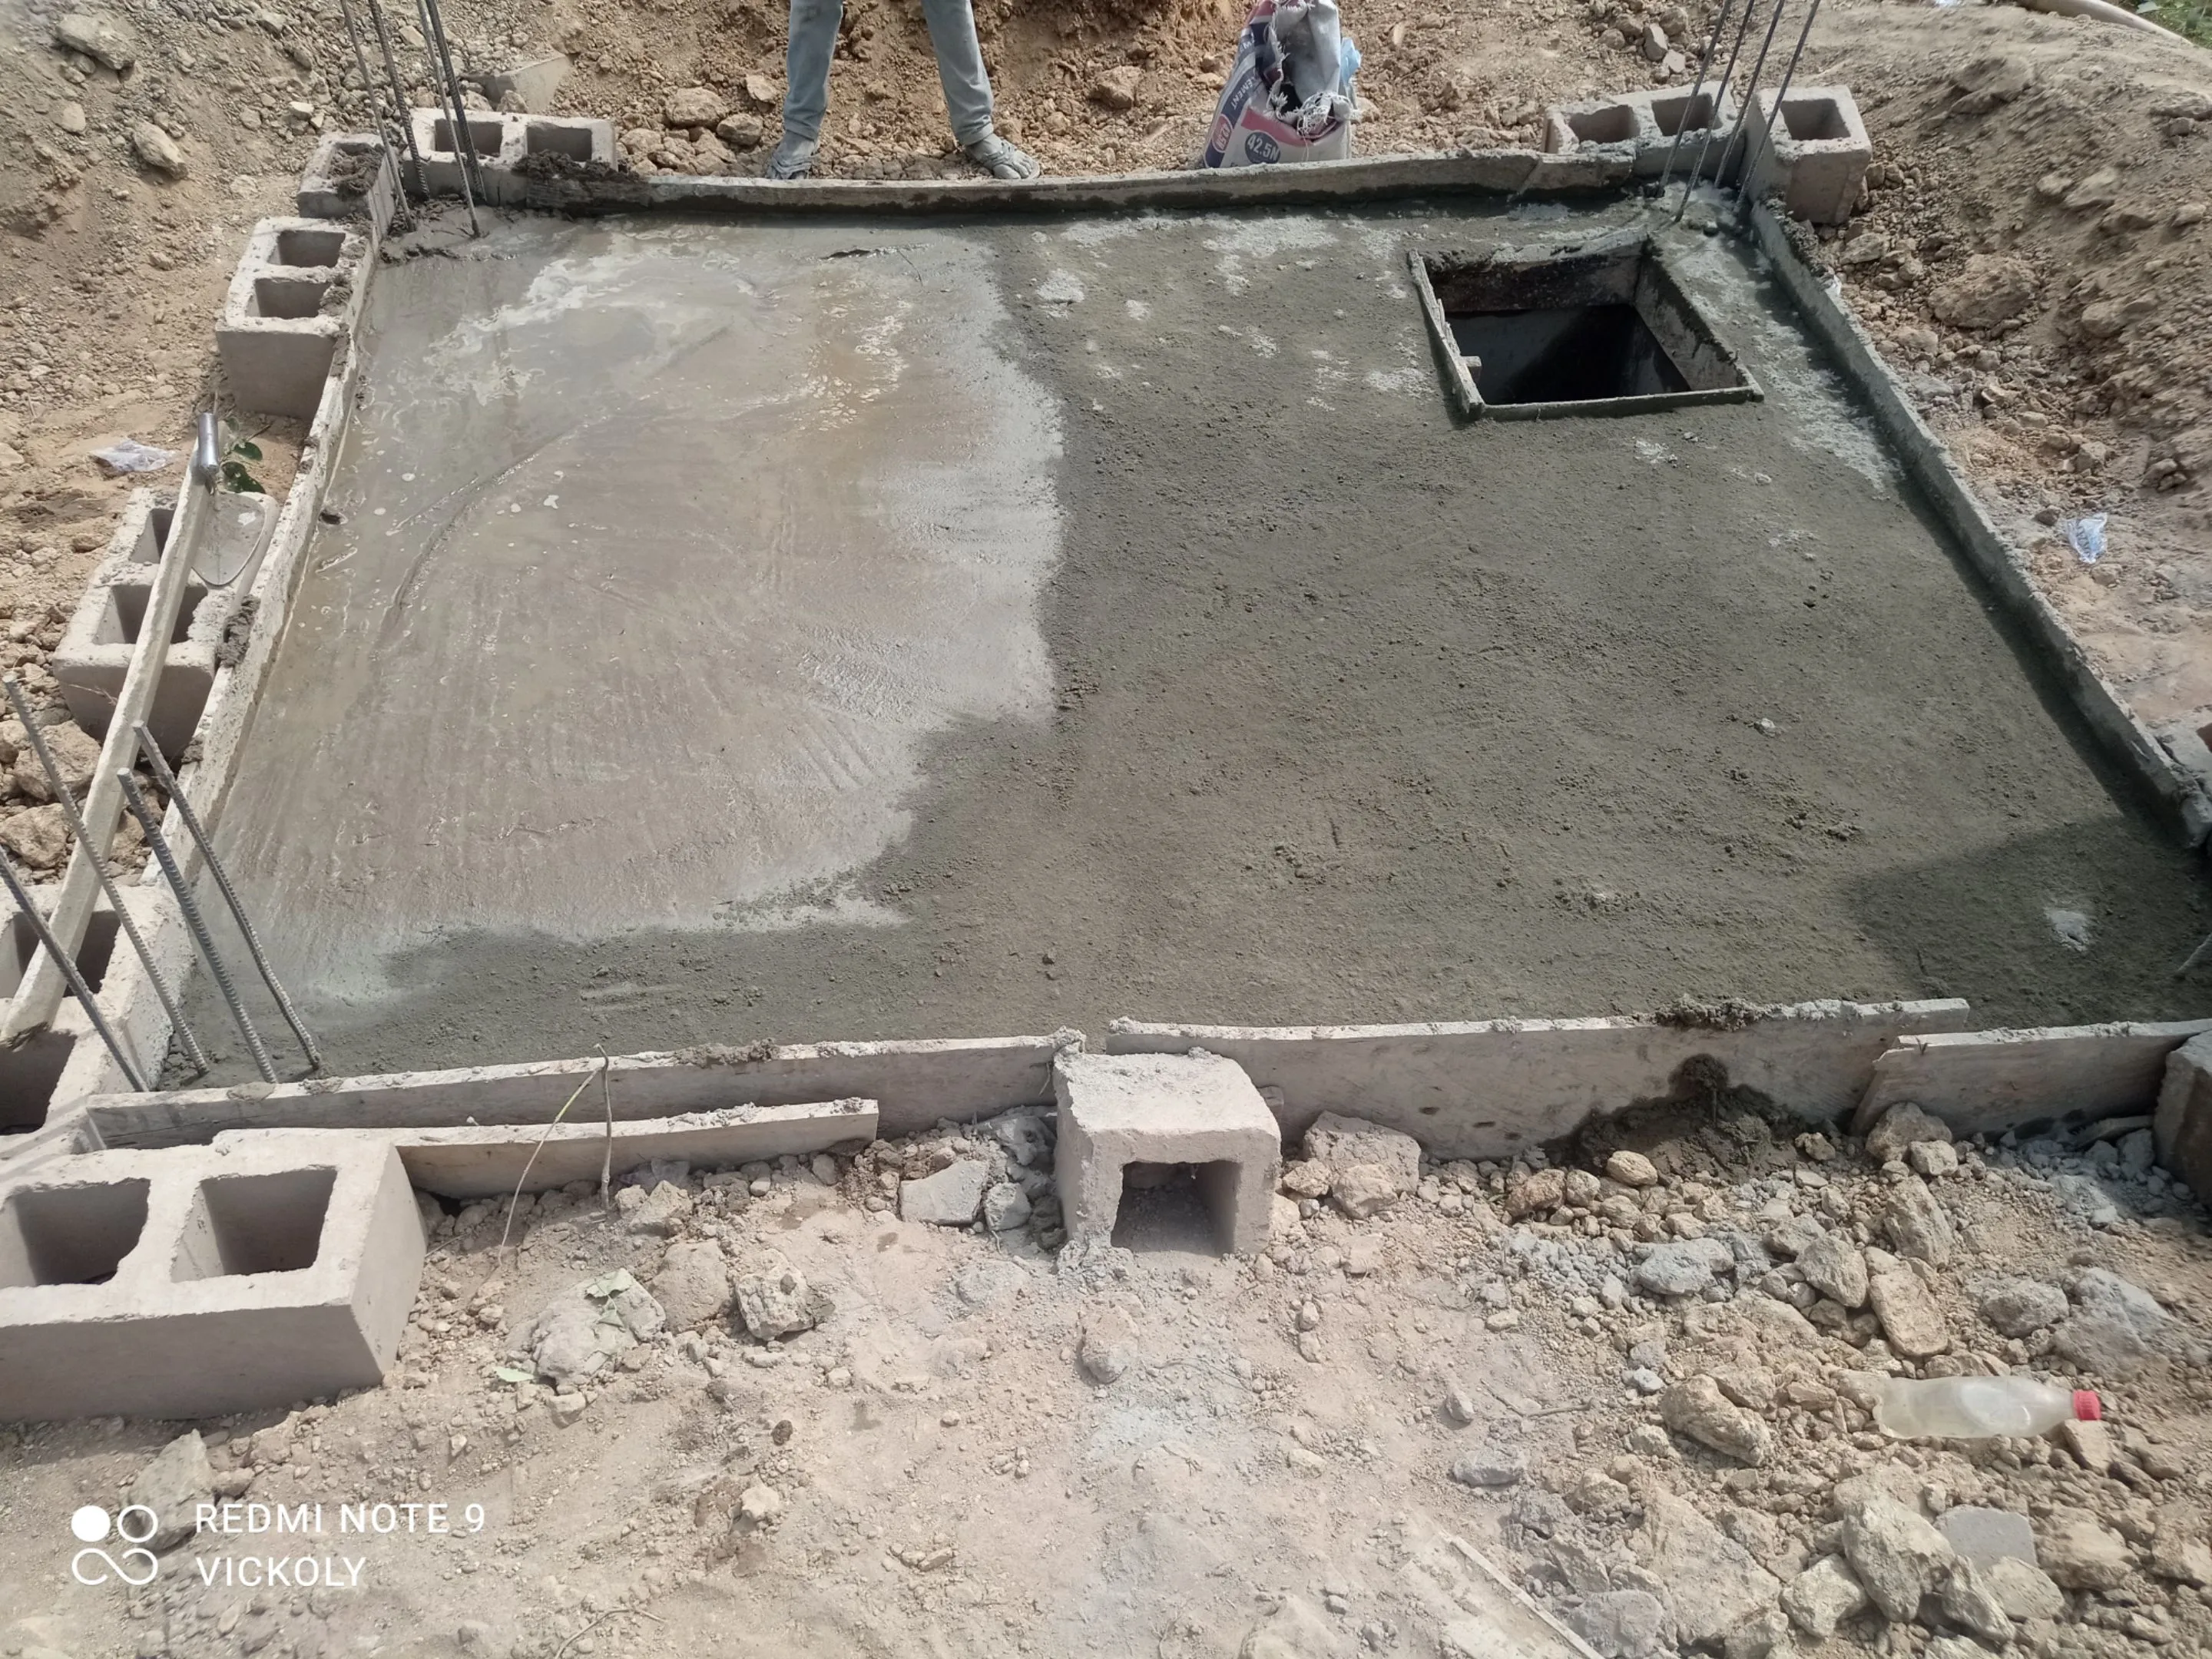
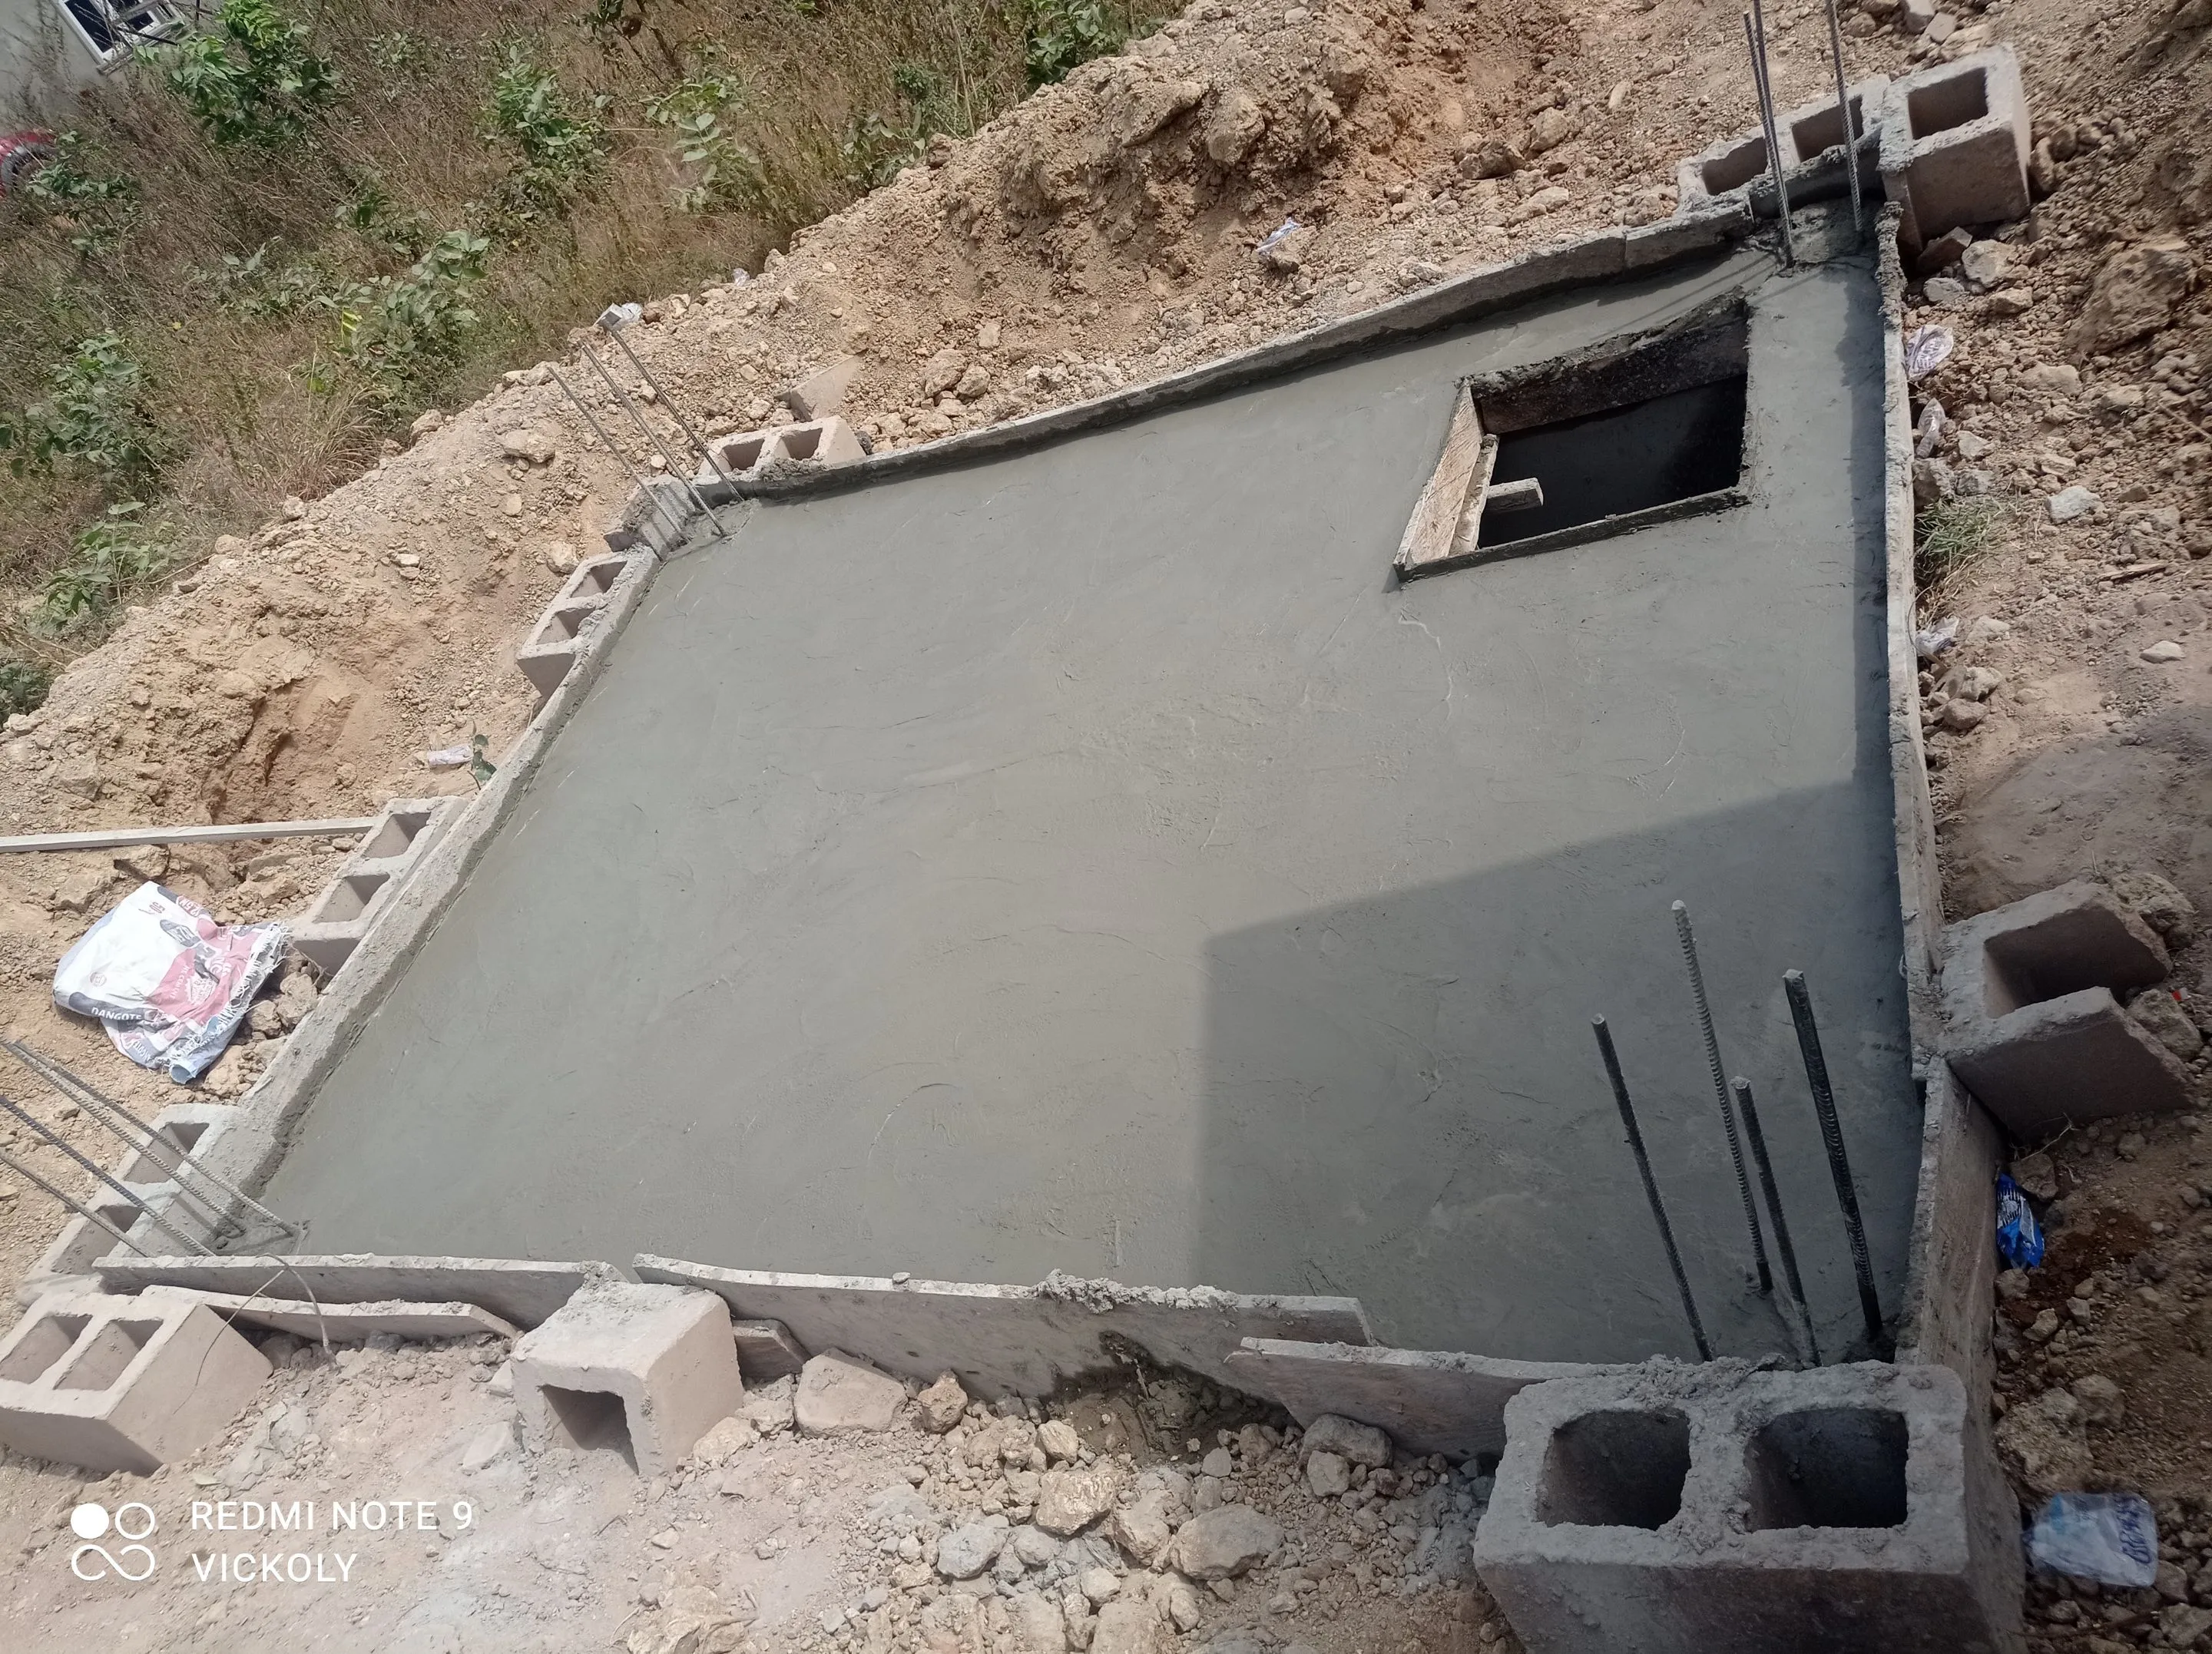 NB: Most sewage system don't have pillars, the reason this one is having pillars is because we want extend the pillars up to serve as a water tank stand.
And below is the final look of the sewage system and some pictures of when the granite and Sharp sand are been drop.
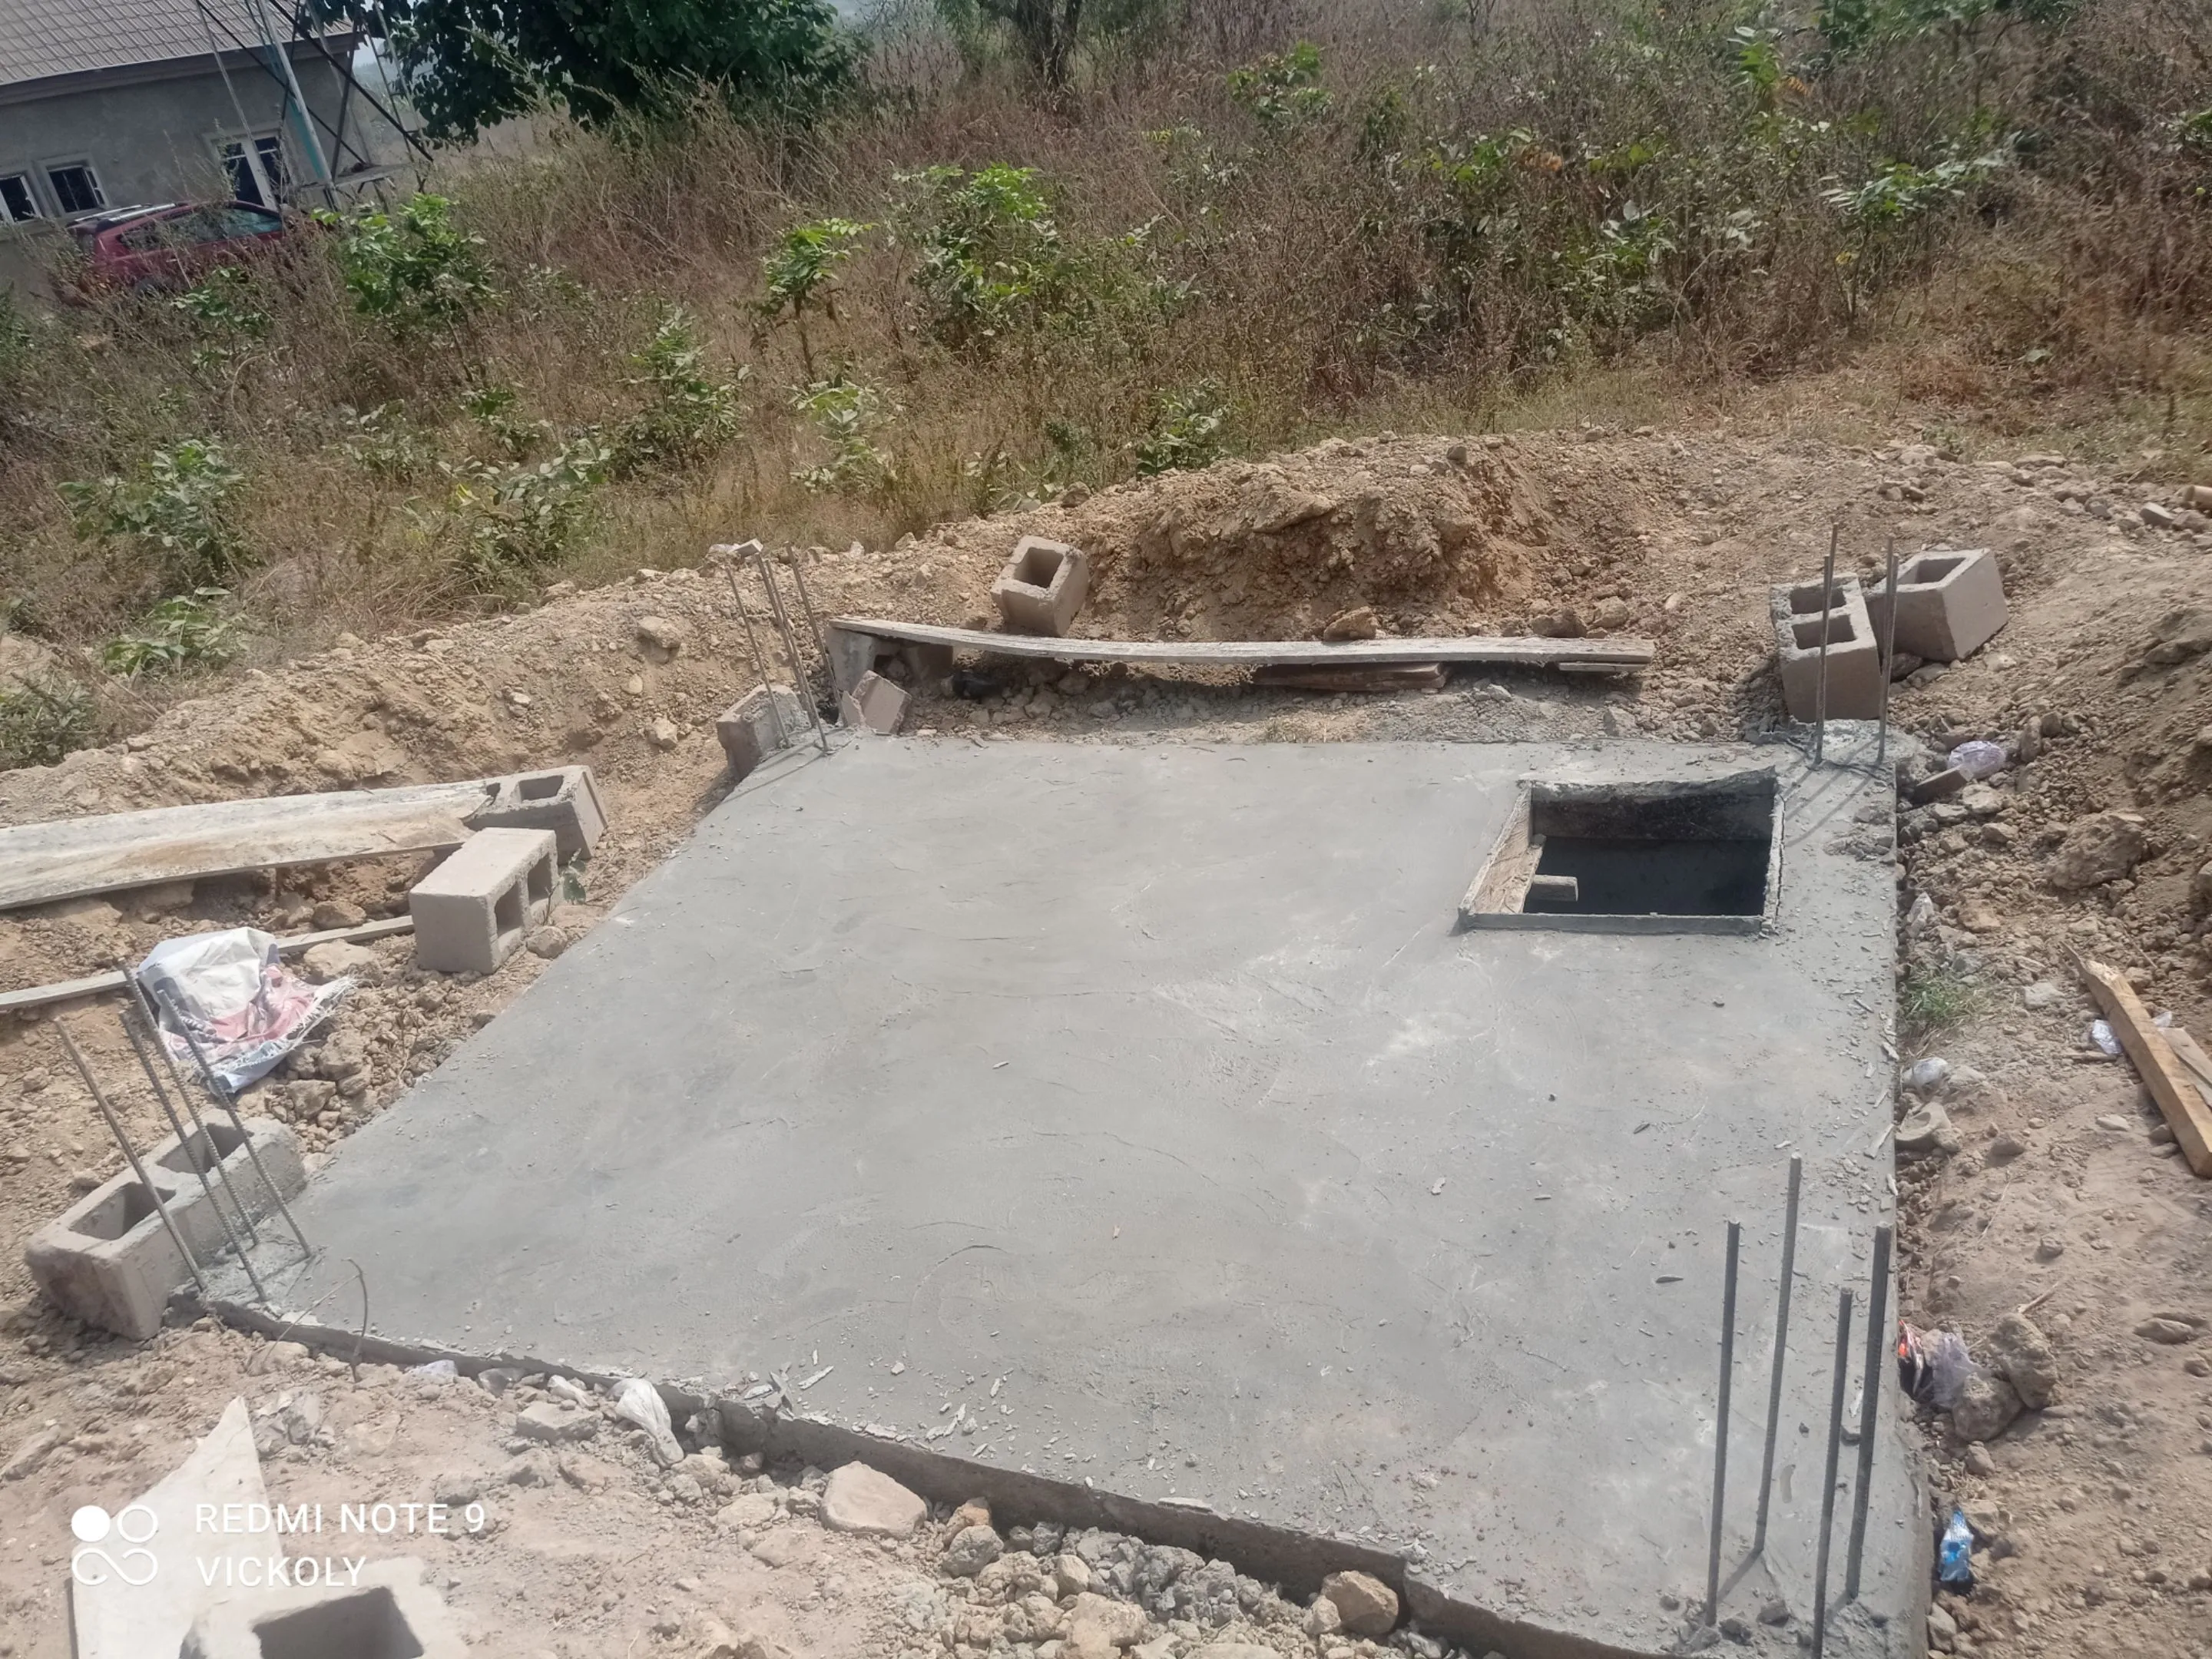
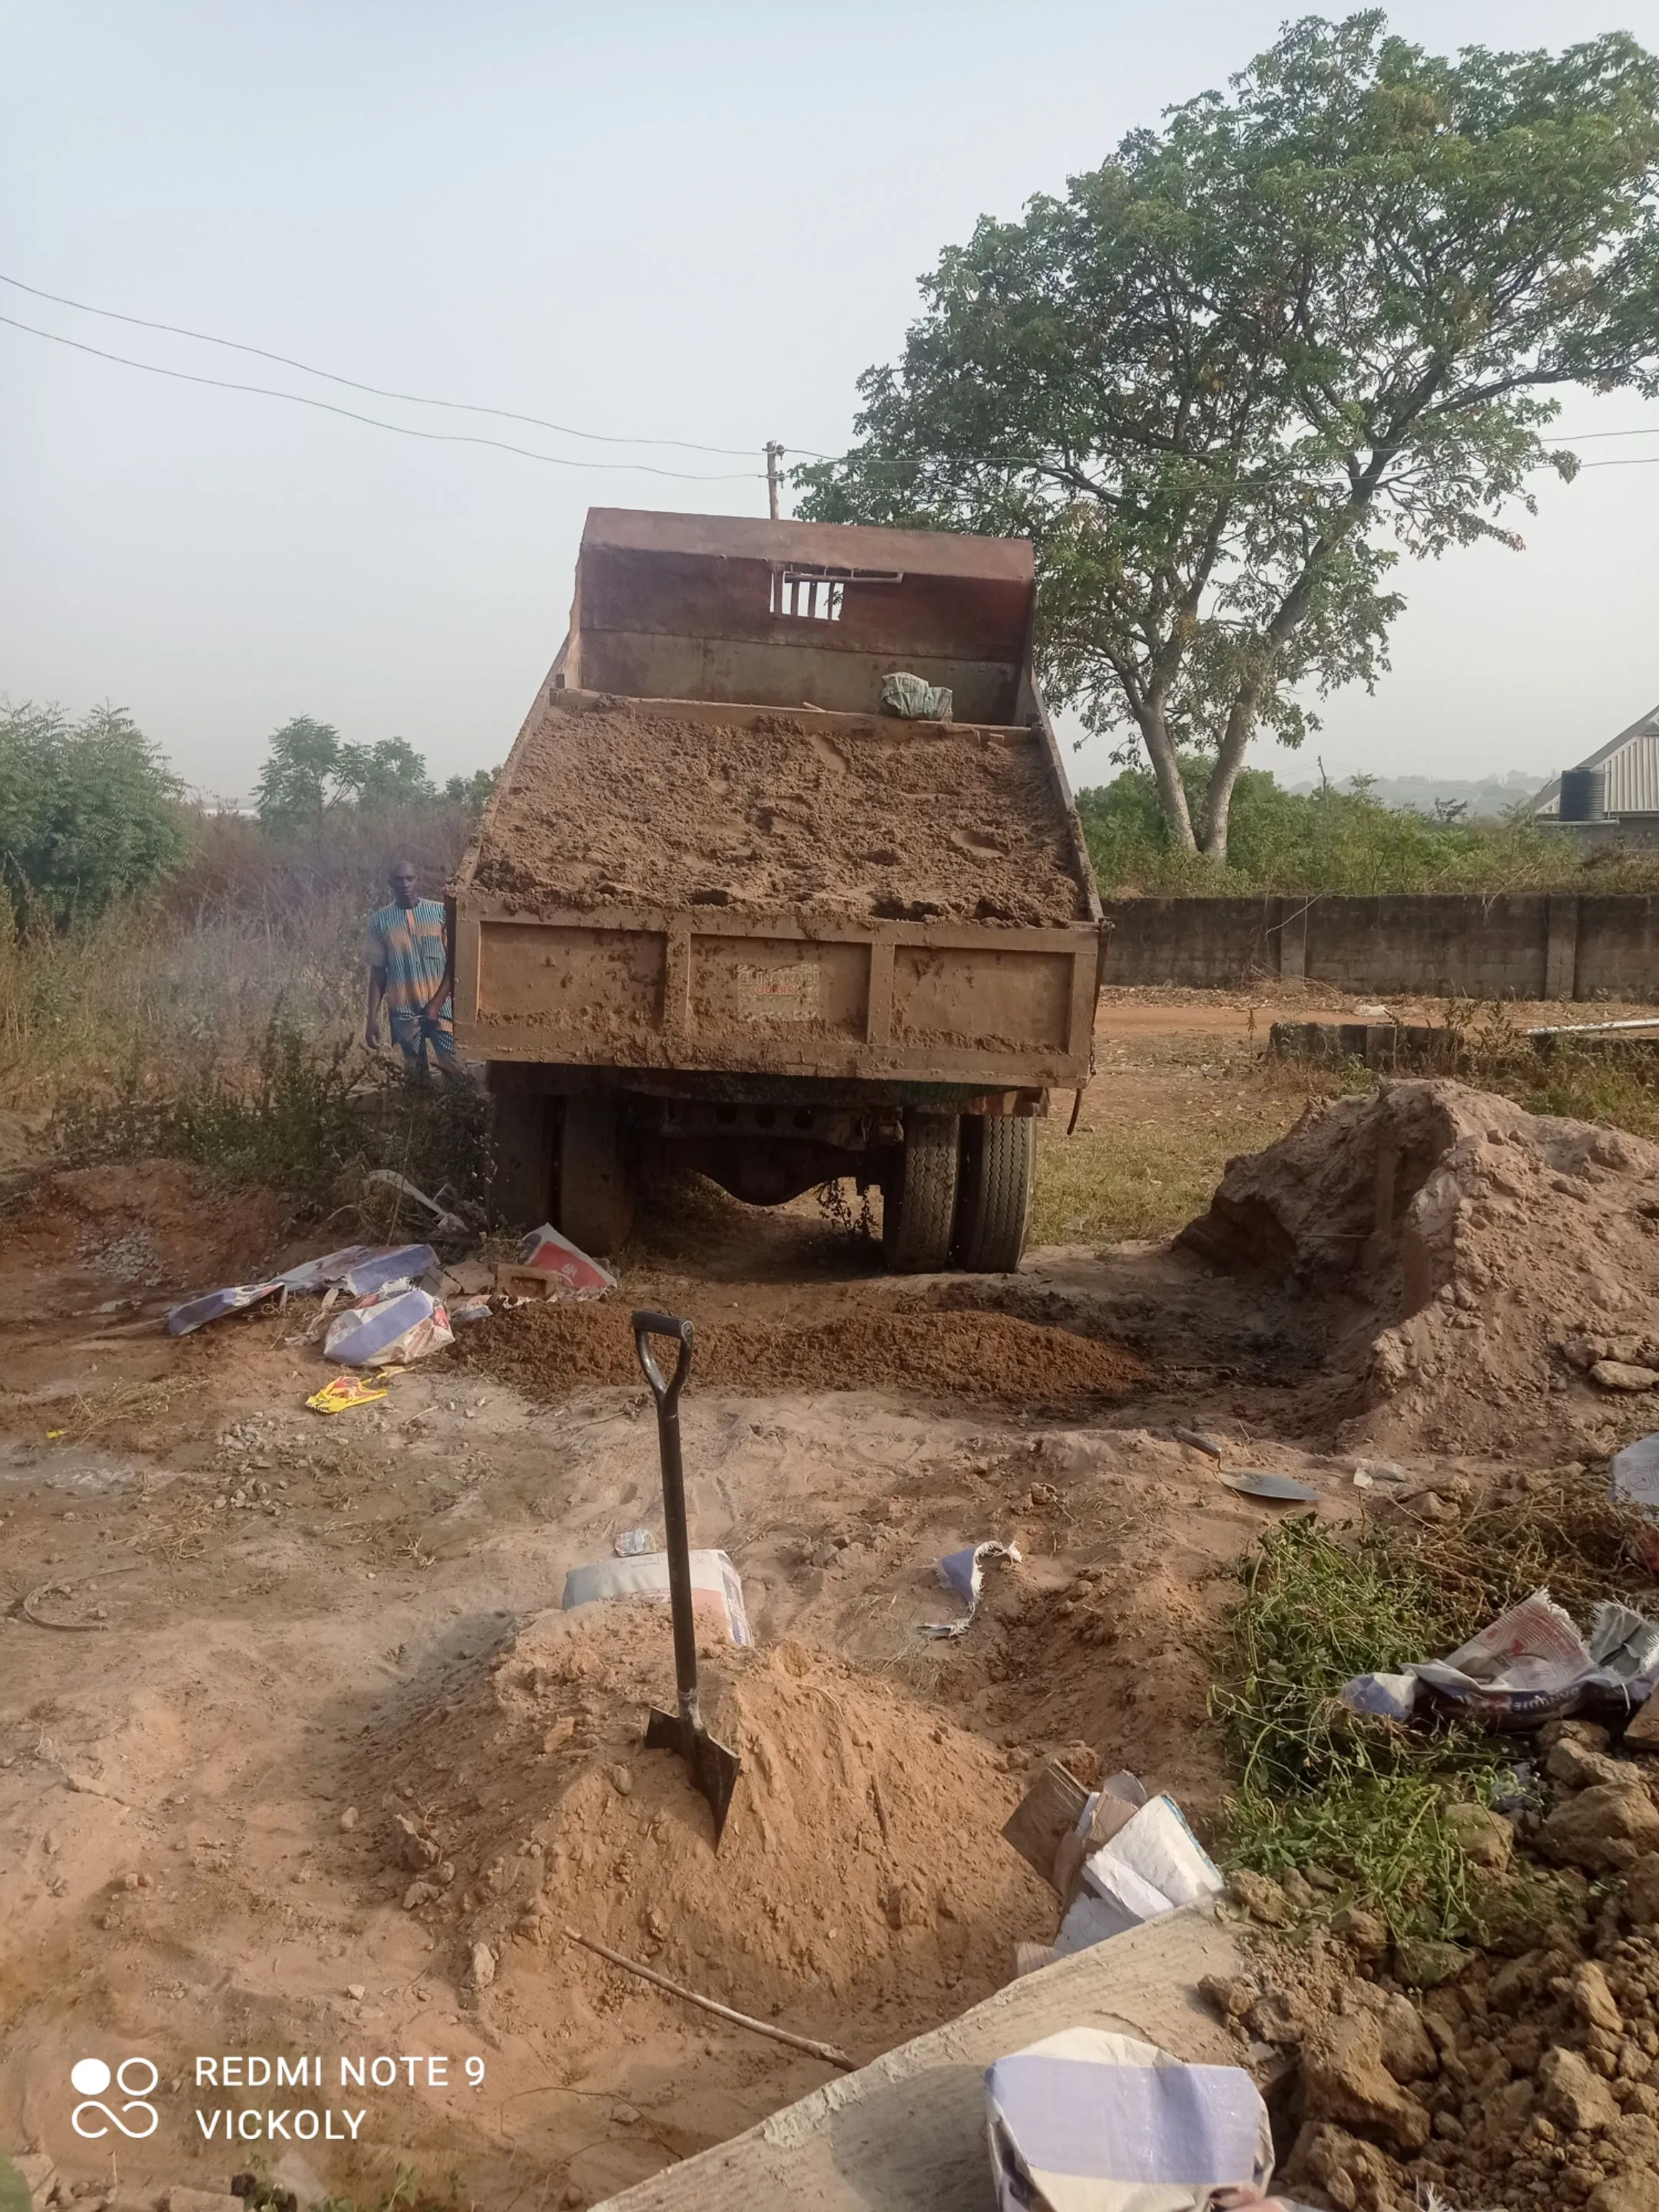
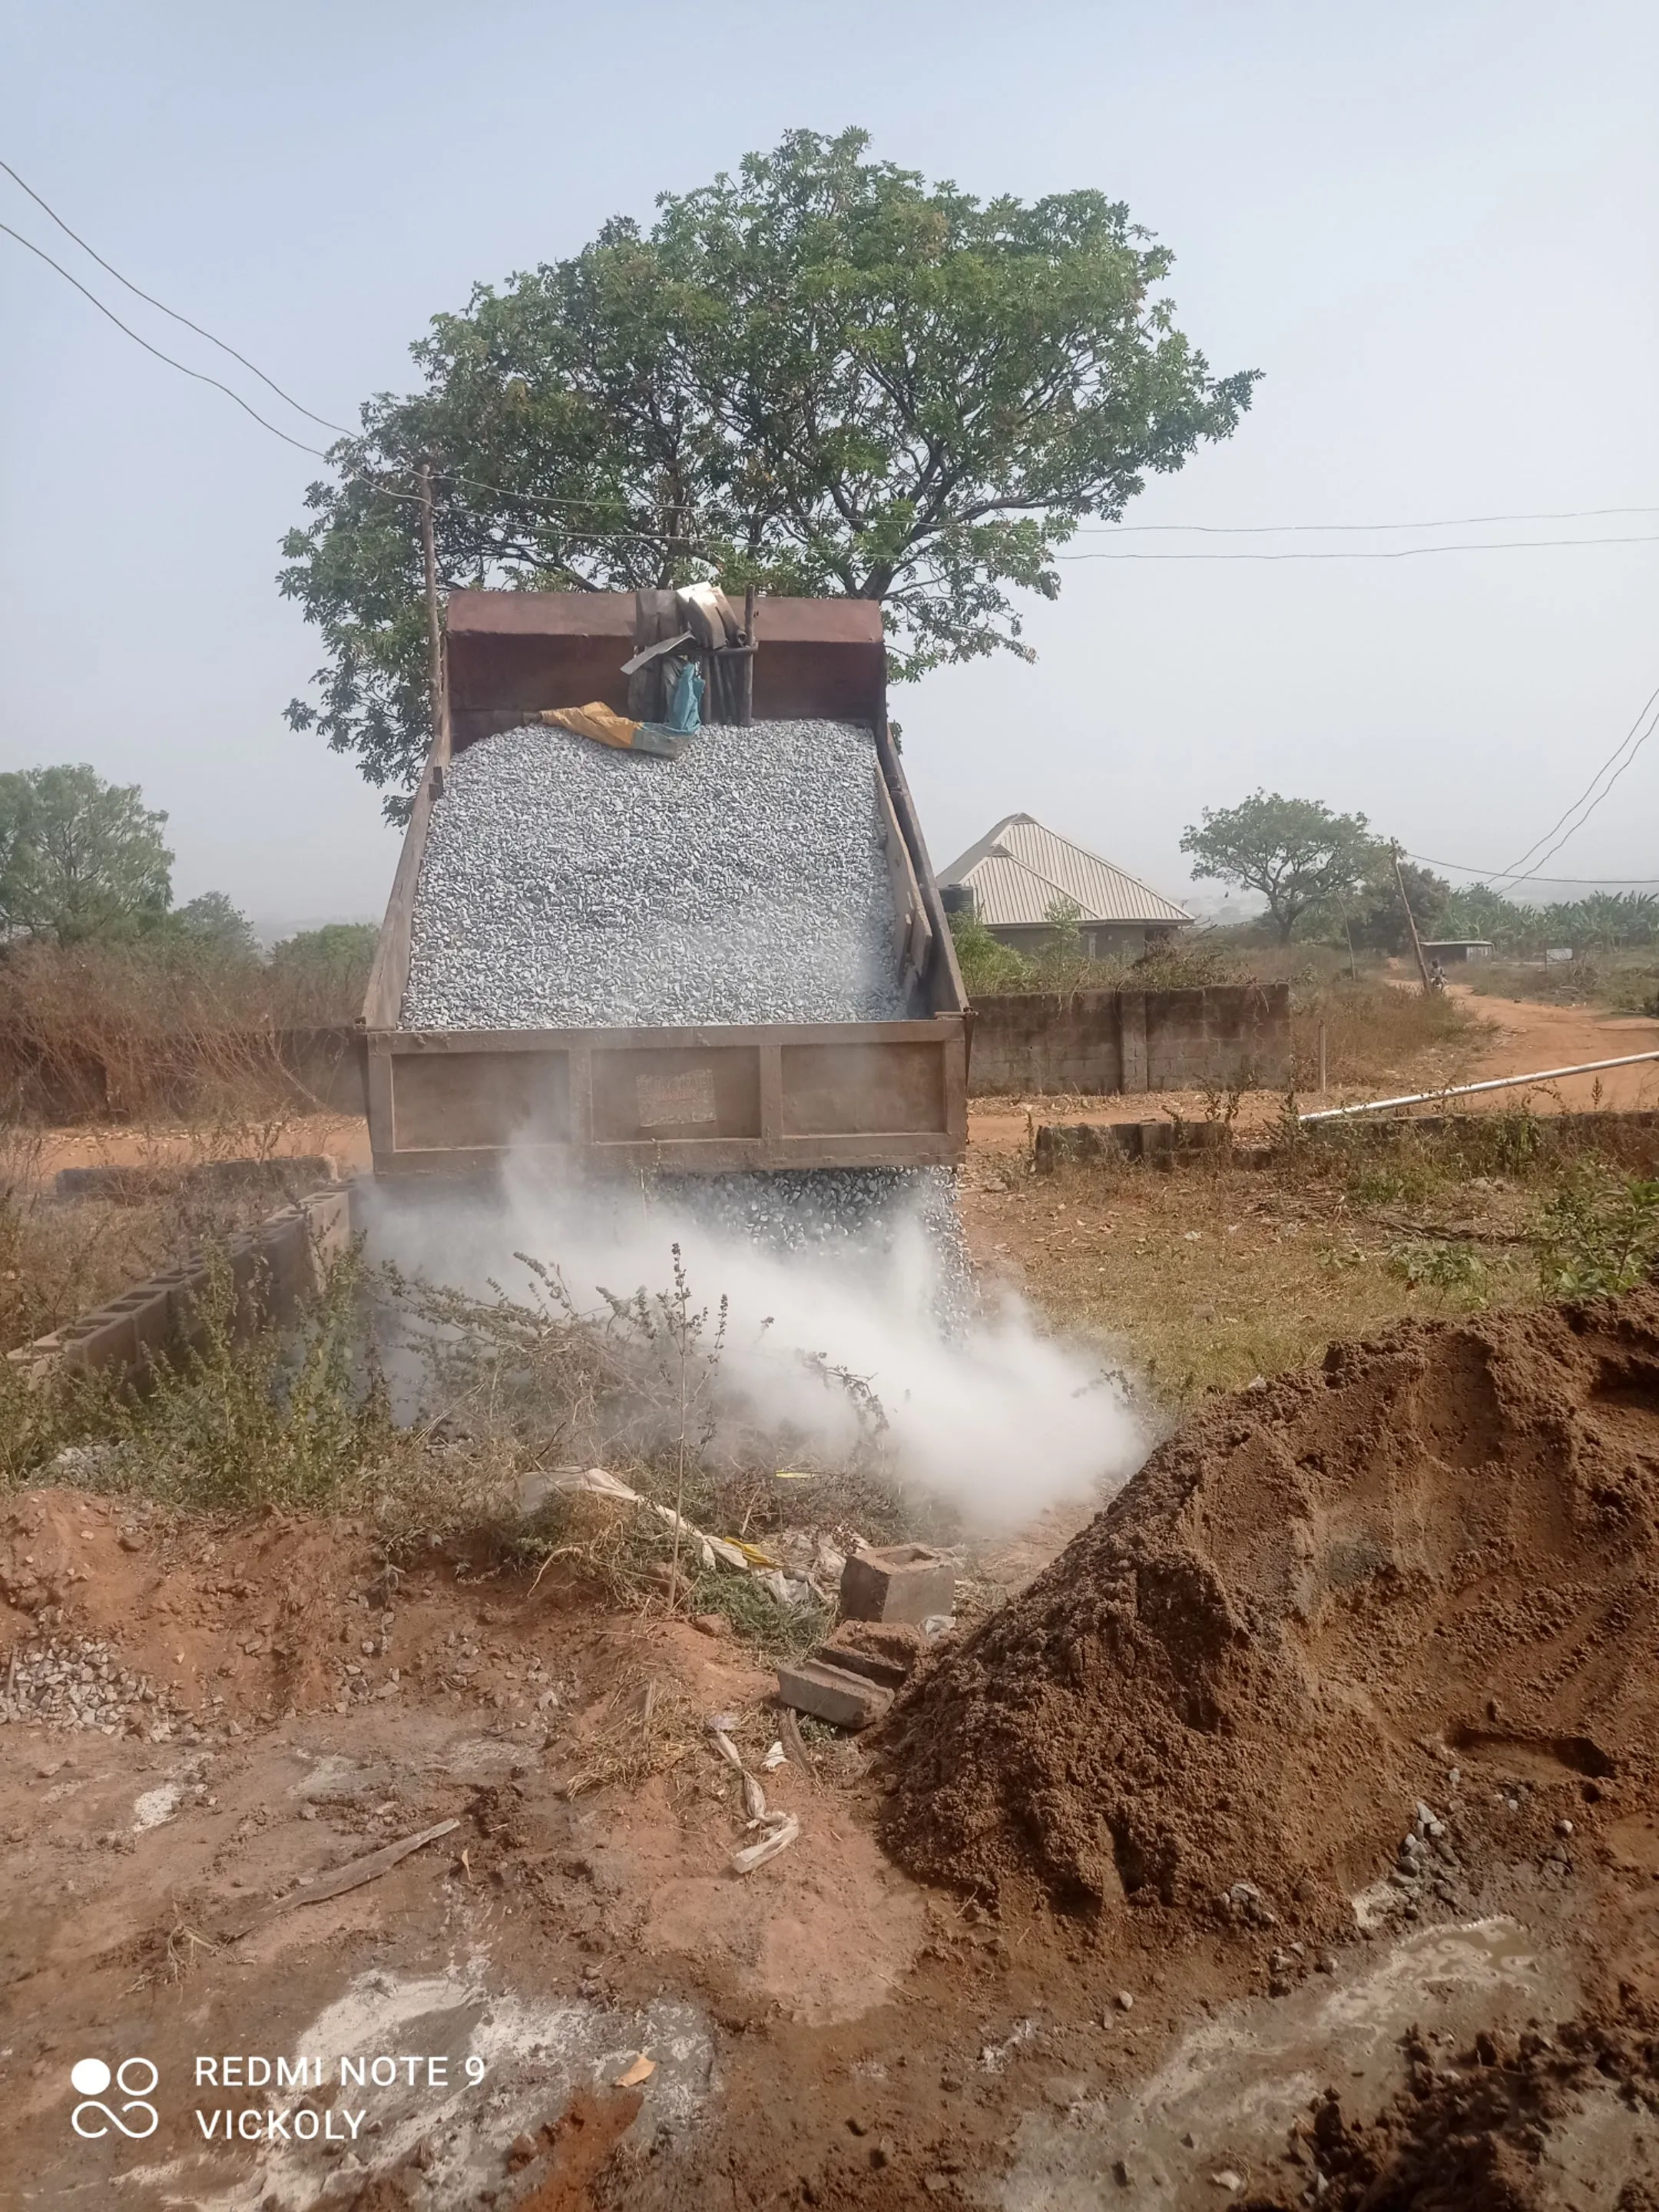
The small opening on the sewage system is meant for recycling purpose, should in case it get full, but it'll be covered to avoid smell and co with a slab like the one below.
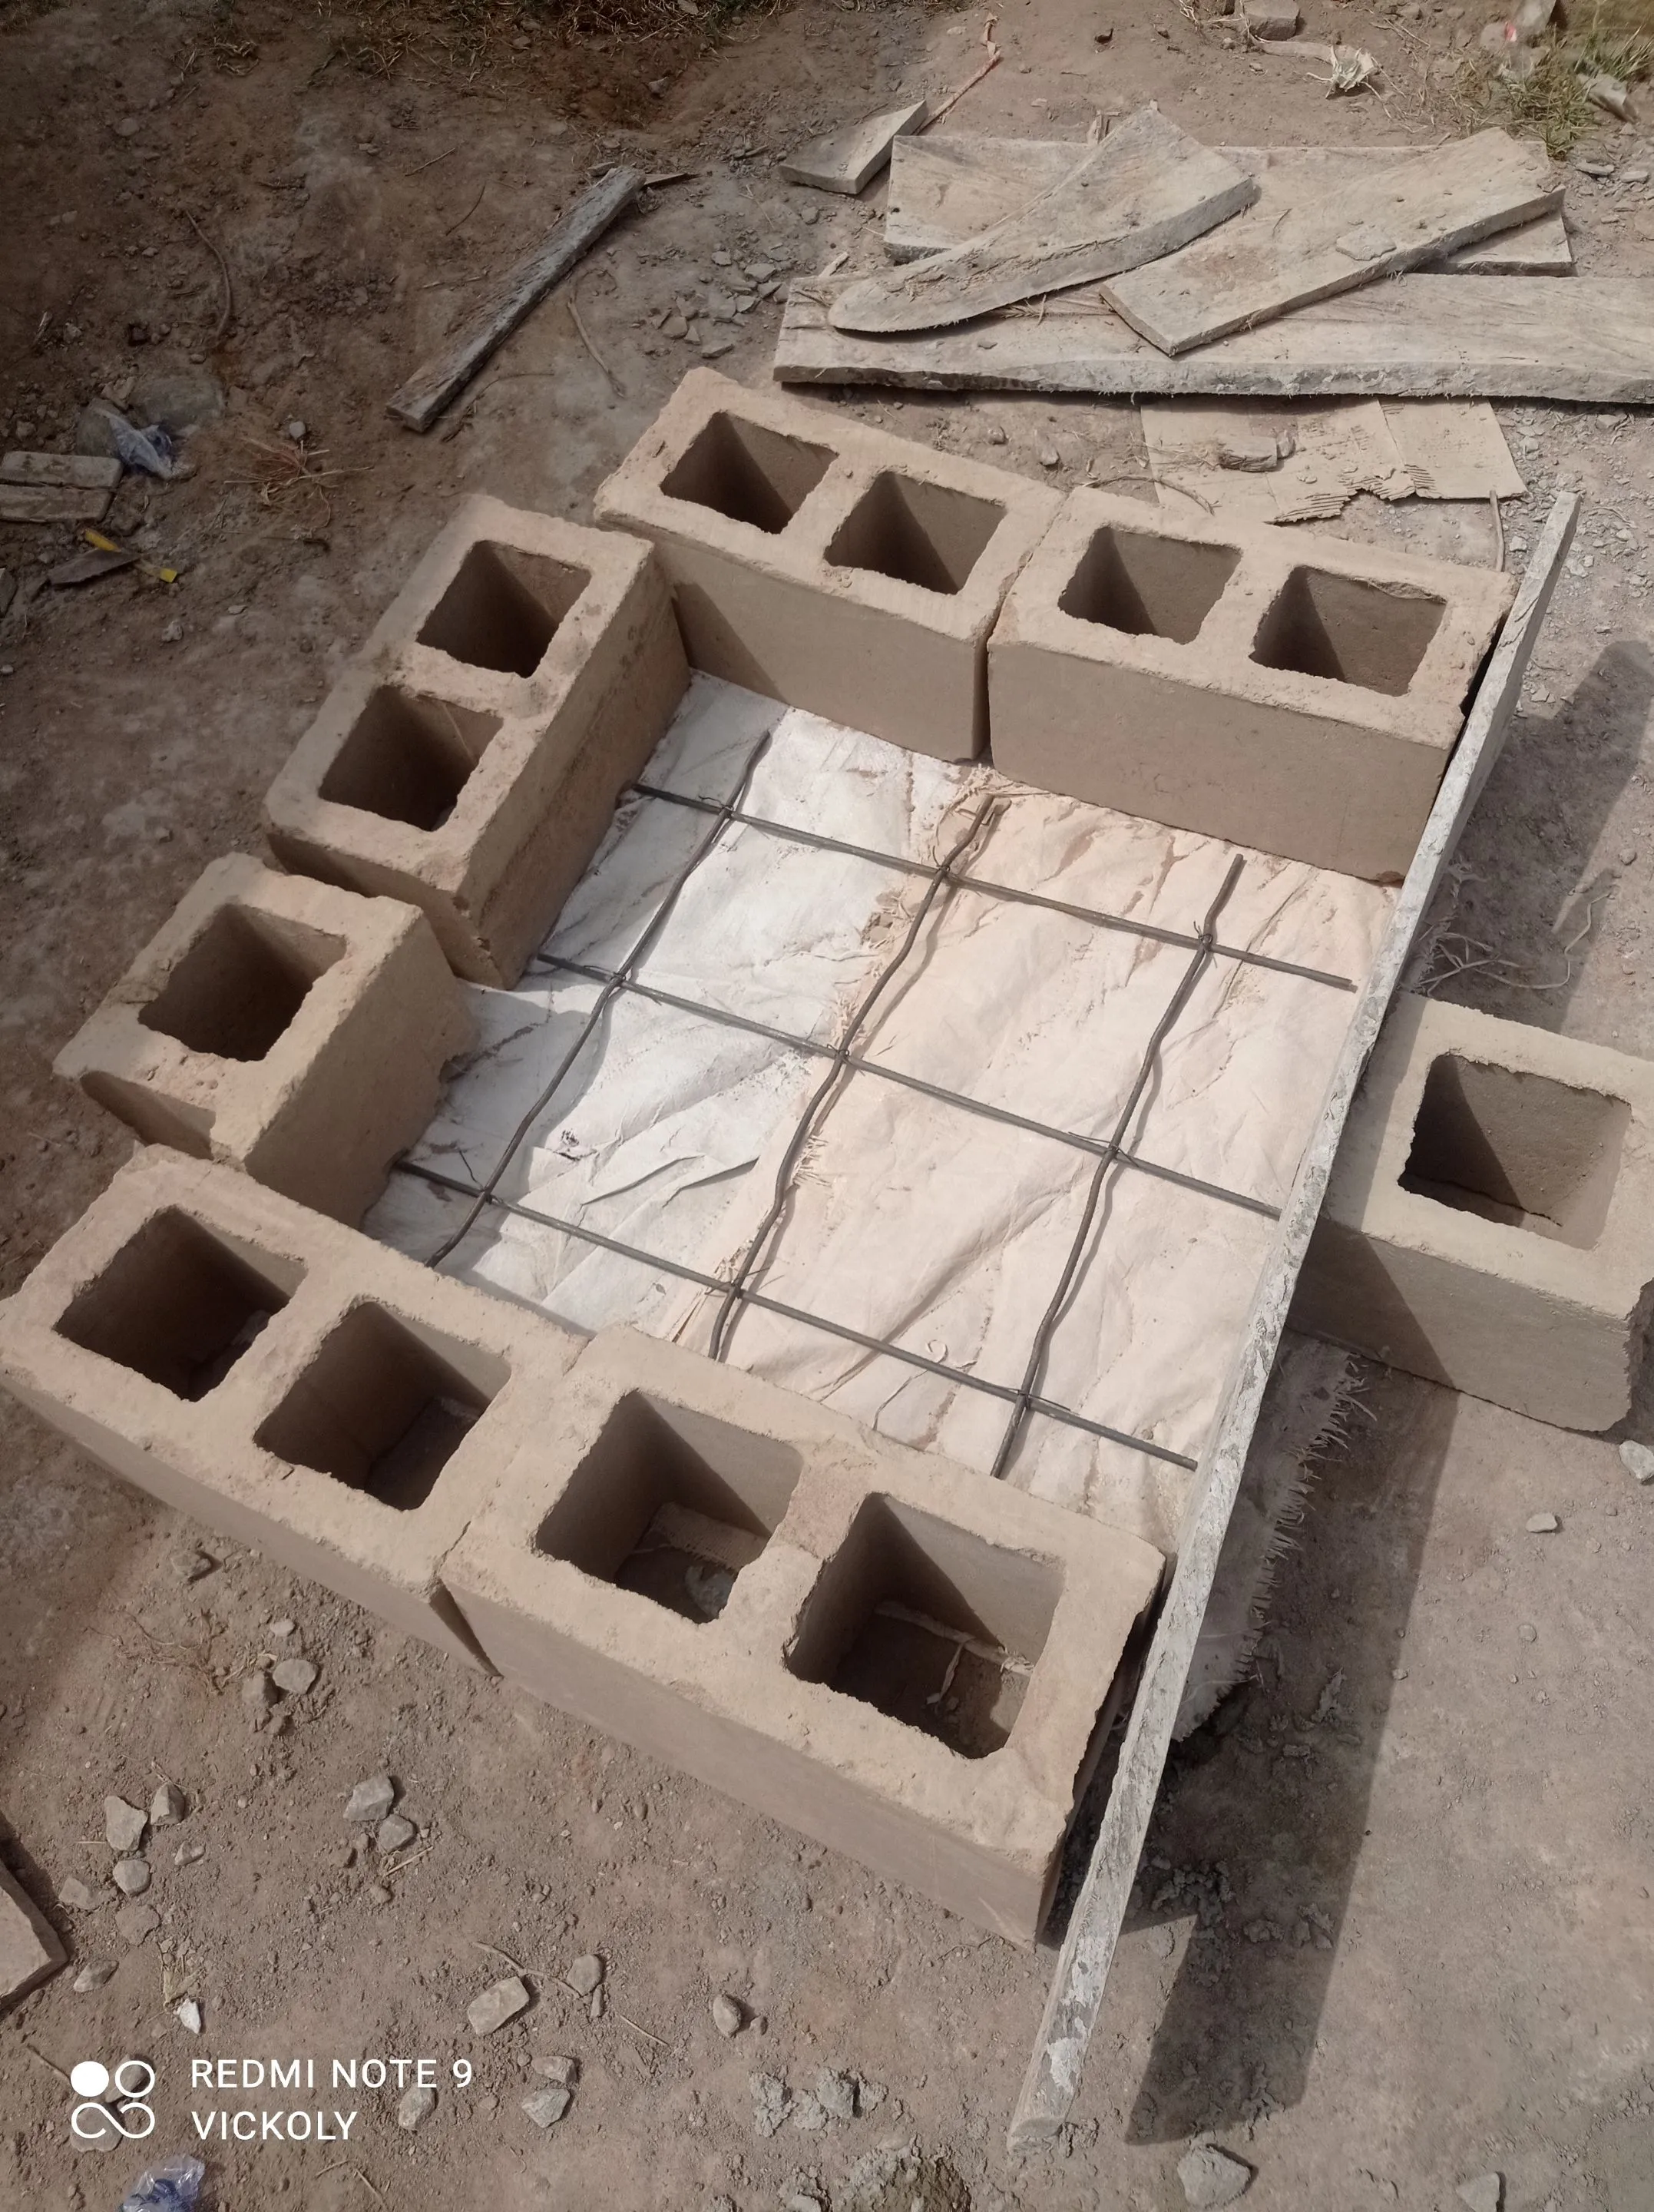
Feel free to check my previous post relating to my Bricklaying work below;
THANKS FOR CHECKING OUT MY POST, FEEL FREE TO DROP YOUR QUESTIONS AND SUGGESTIONS IN THE COMMENT SECTION, HAVE A PLEASANT DAY AHEAD.
Return from THE DIY PROCESS OF BUILDING A TOILET SEWAGE SYSTEM to vickoly's Web3 Blog

