####
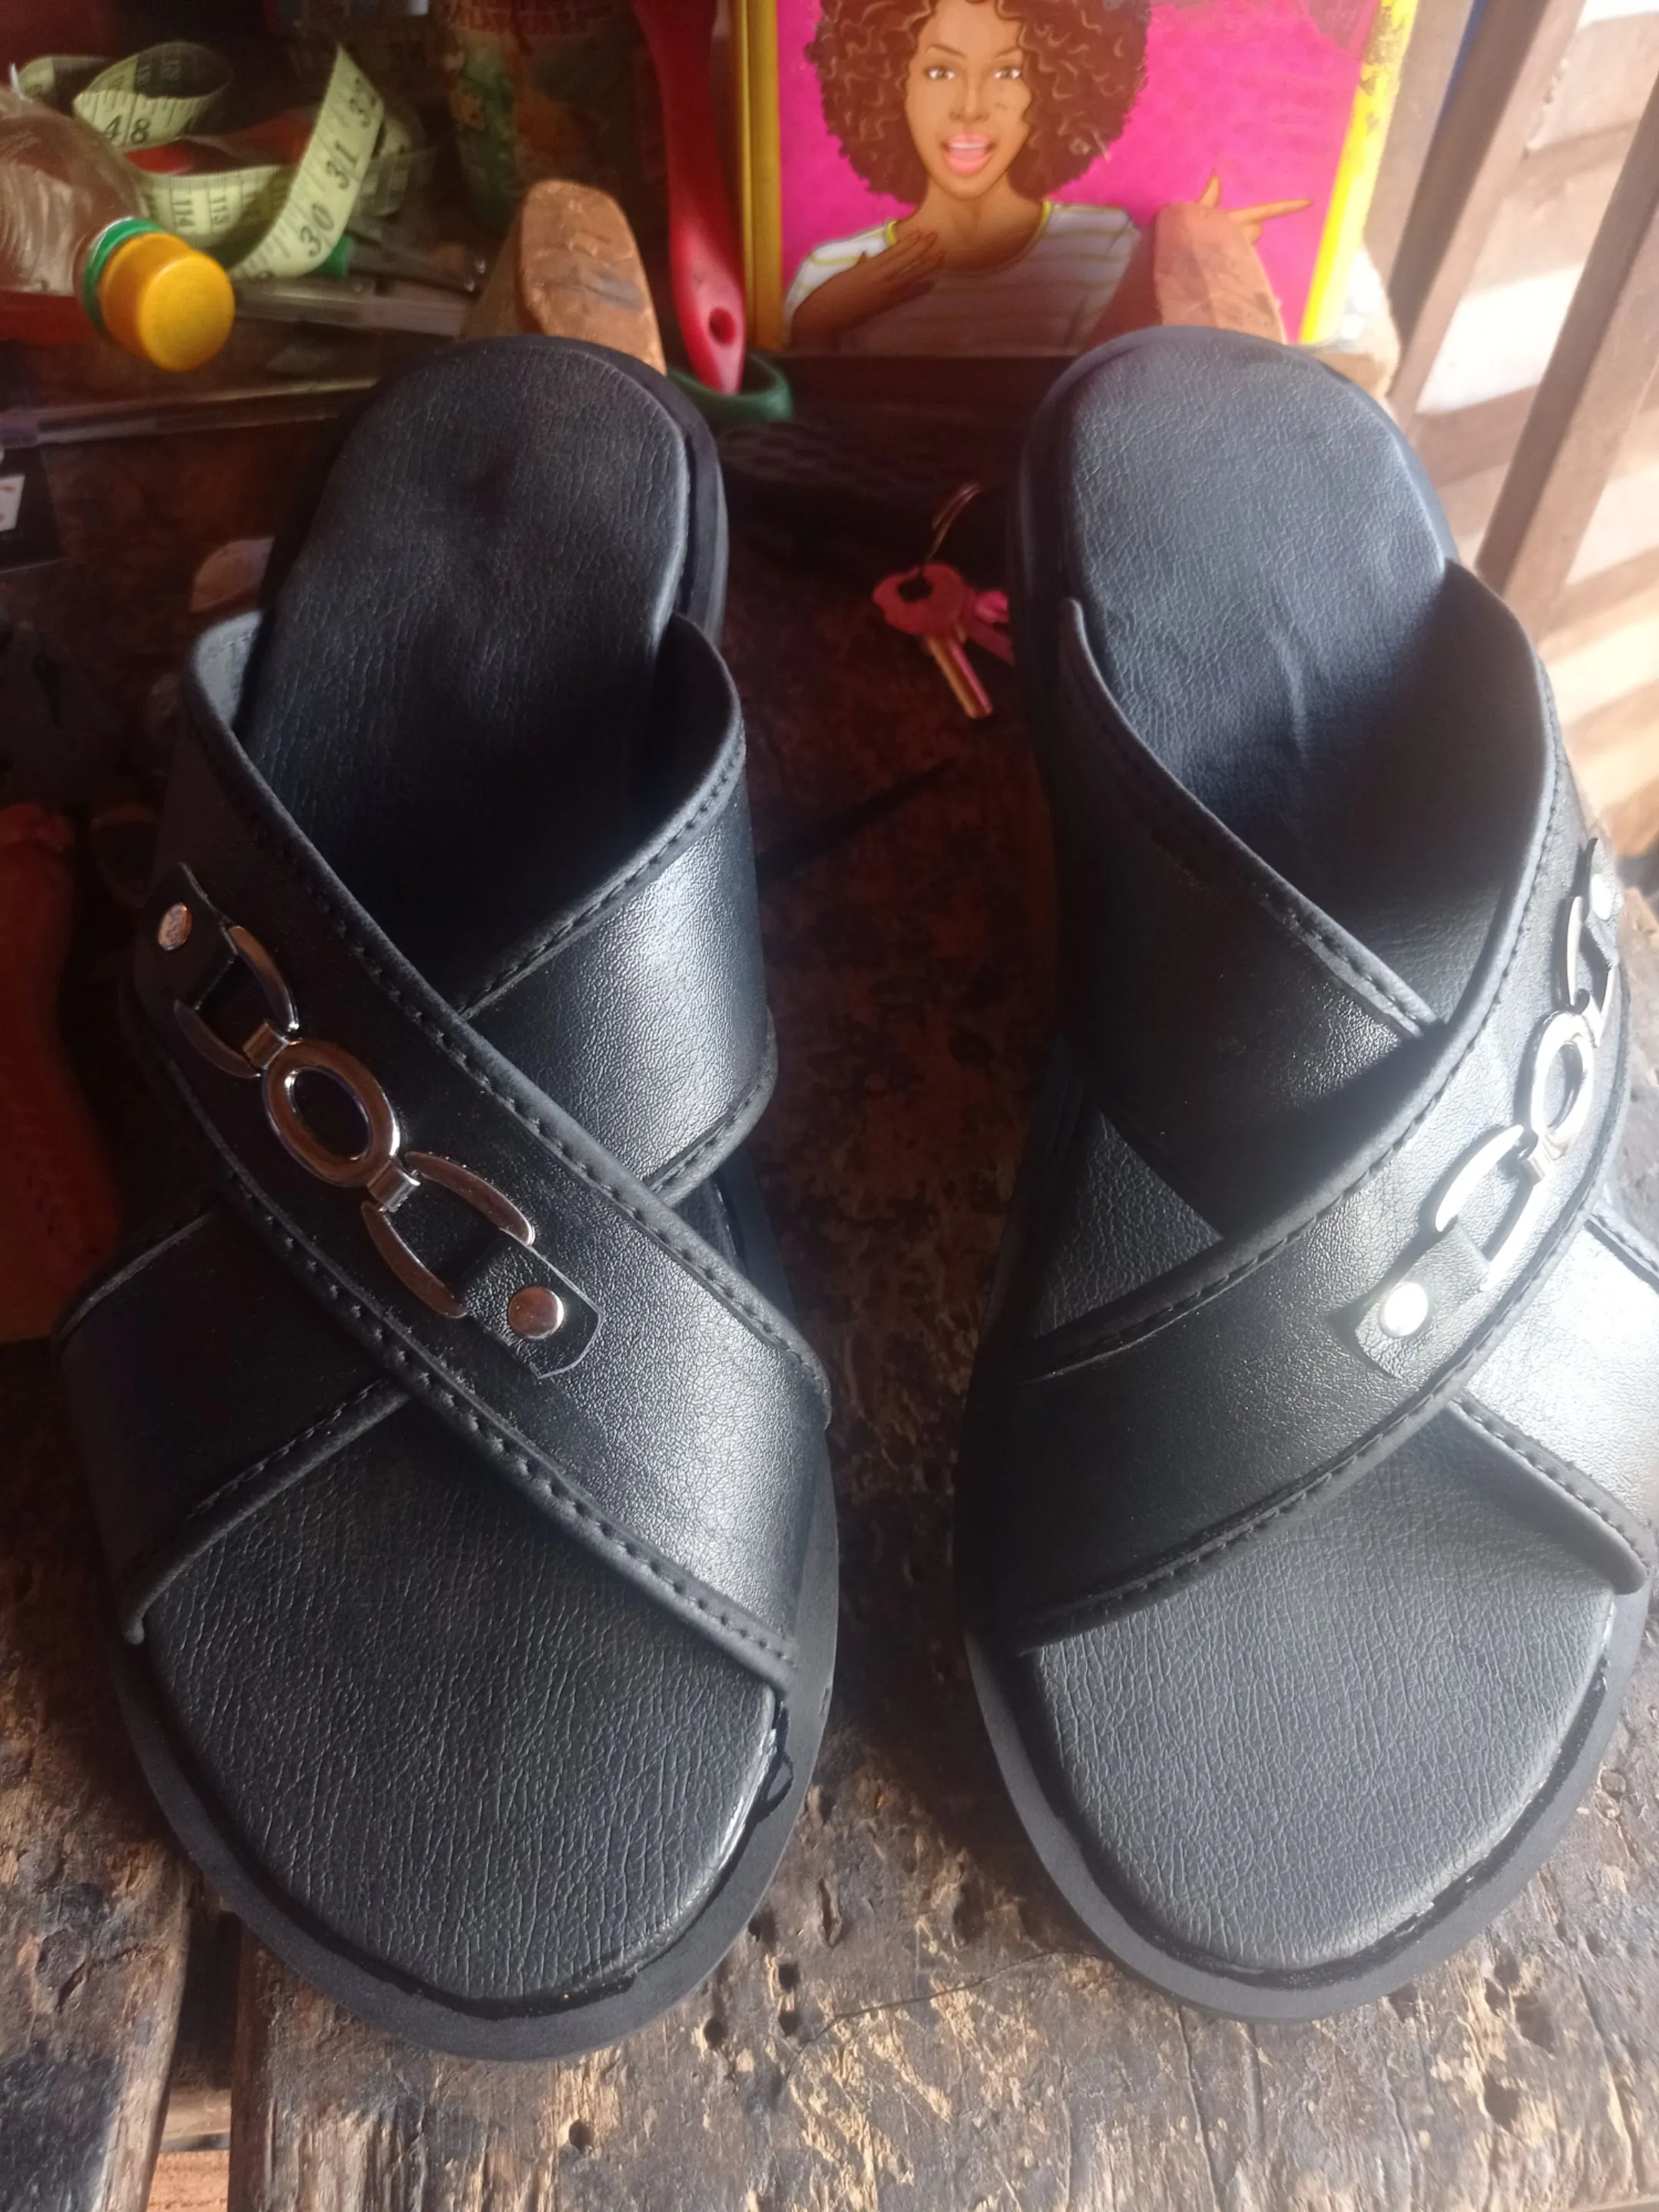
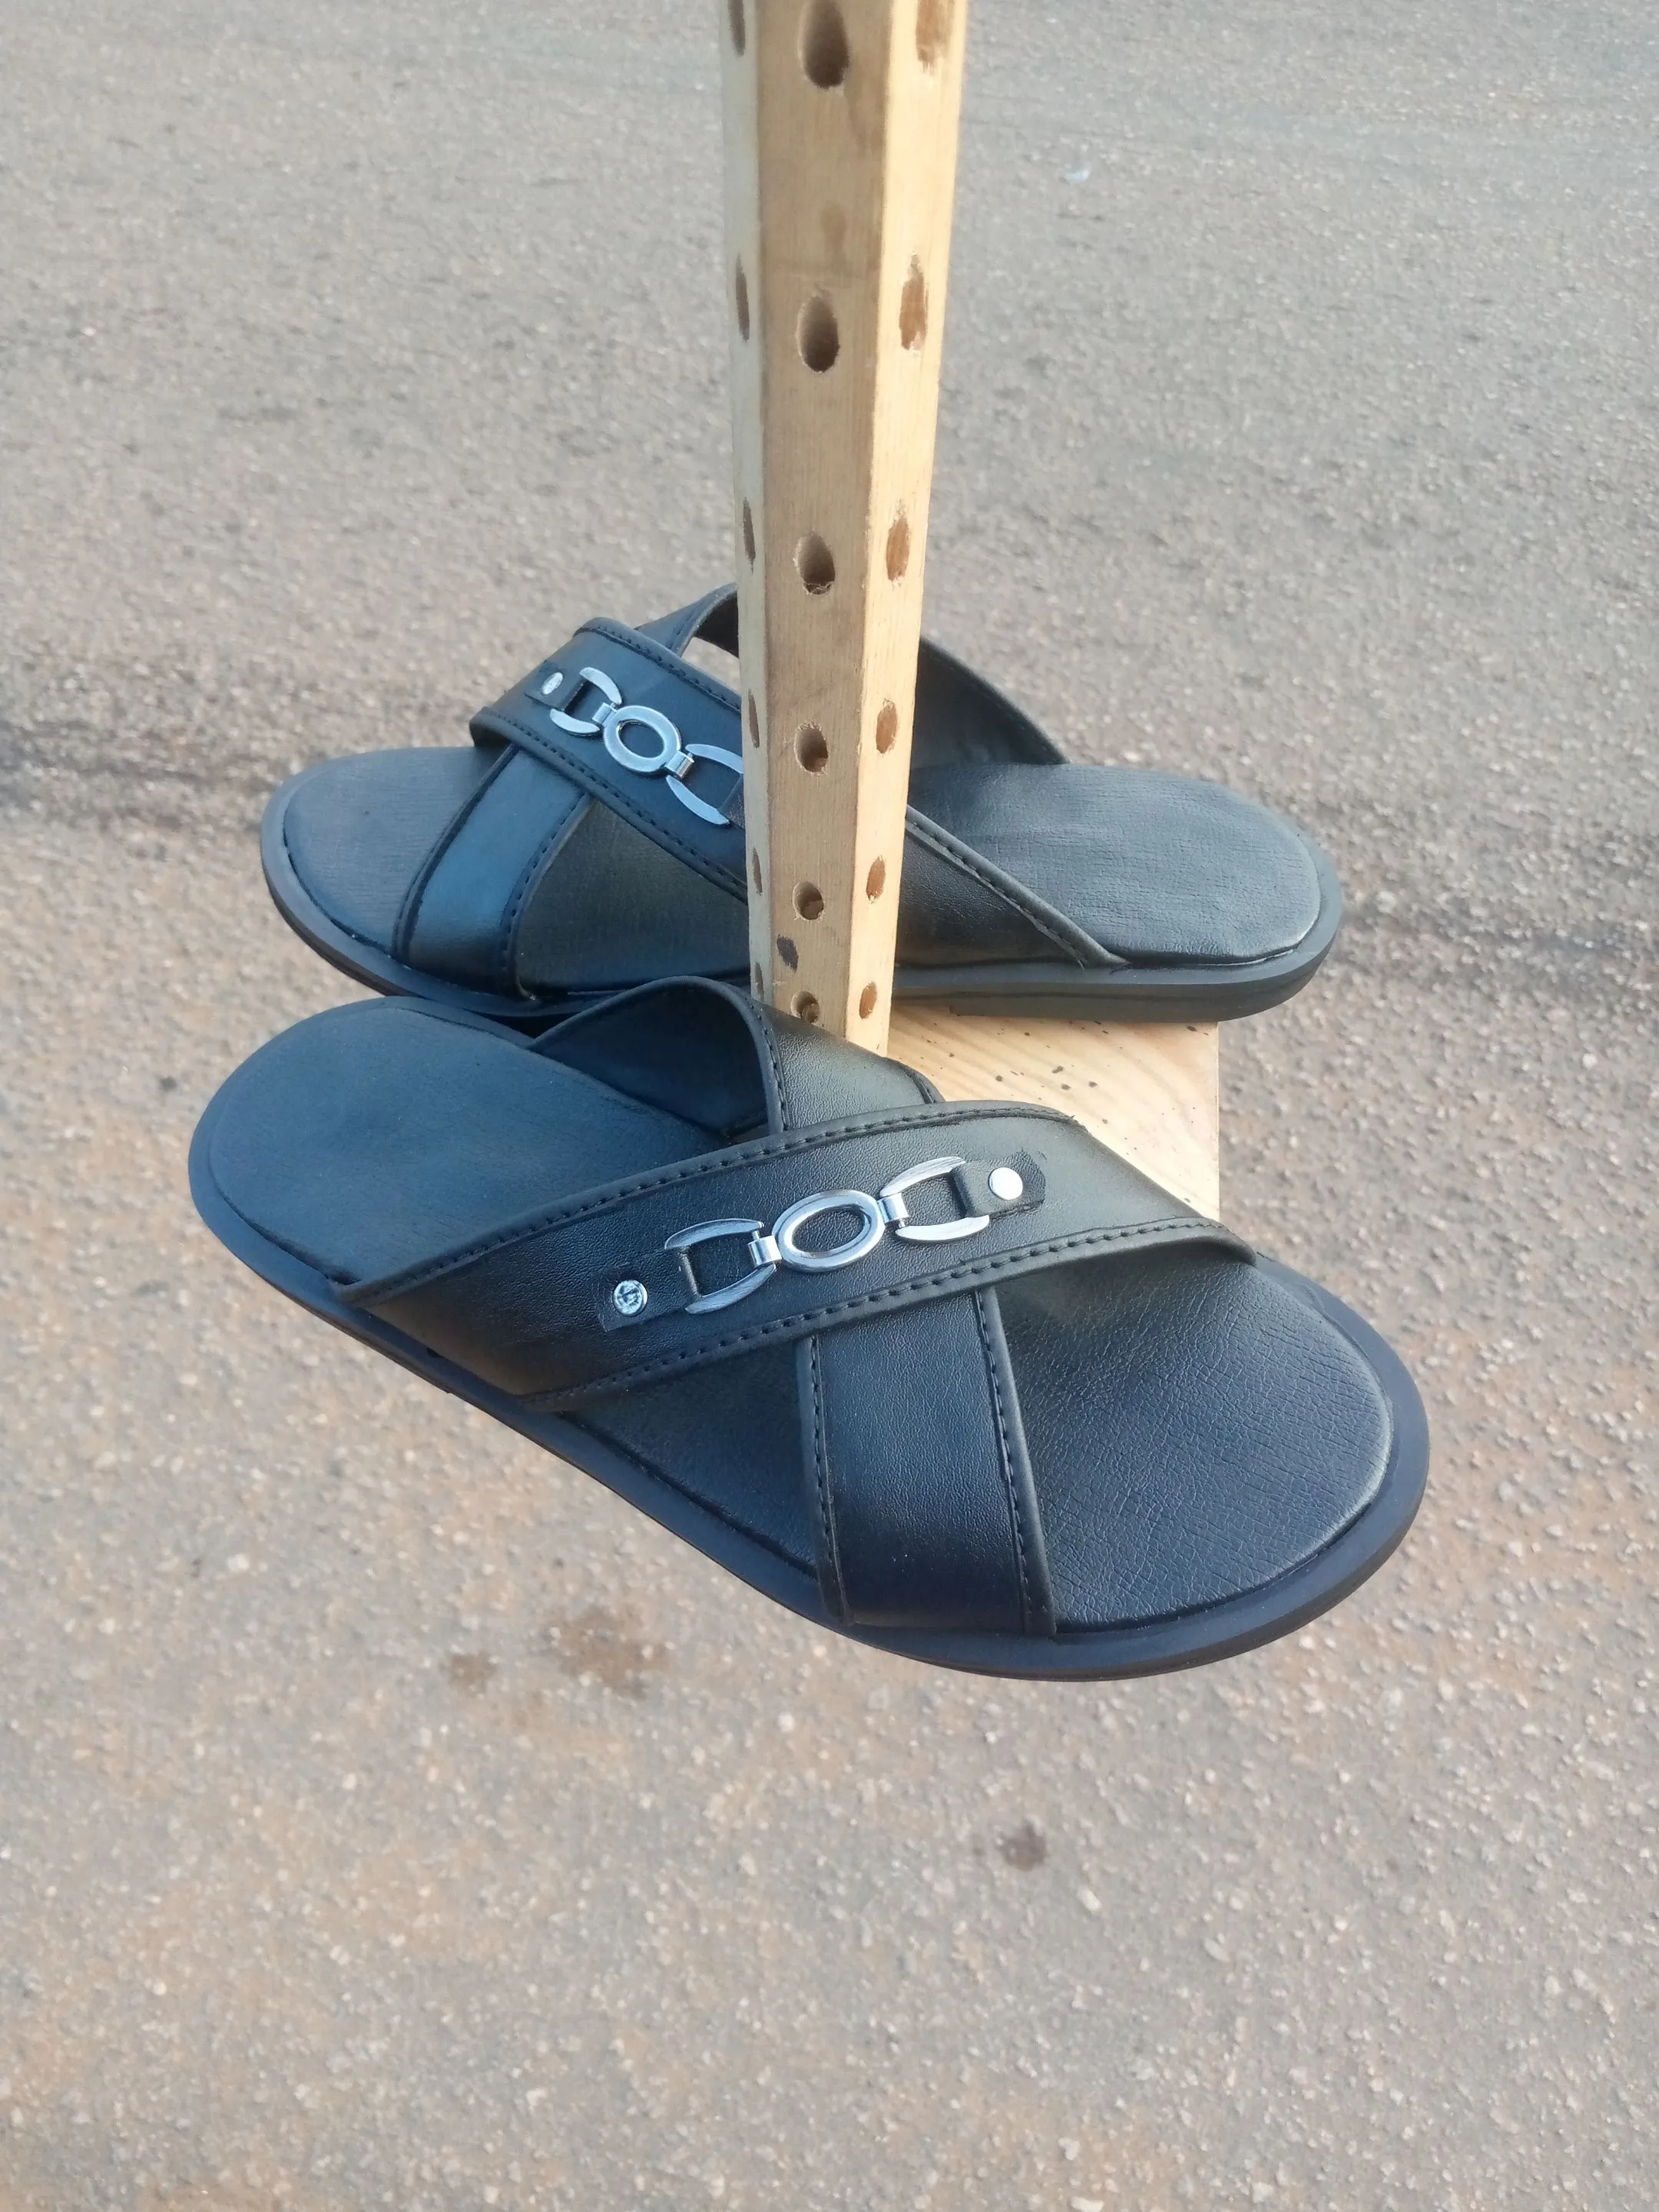
Greetings to everyone, I hope this met you well, in my today's content, I'll love to share a step by step guide on how to make this gorgeous black Pam Slippers from scratch as a newbie in the field of Shoemaking, and surely with this tutorial, and when thoroughly followed, you'll be able to achieve something as elegant as the one we have here.
But before we dive into the process, it'll be noted that I wrote here about a month ago, on how I needed a partner in Shoemaking business, we that together we'll craft out masterpiece, learn from each other and as most especially meet up with clients orders and deadline, without disappointing them or making something substandard in the process of trying to meet up with many orders.
I find the partner in person of @harhess who happen to be my friend since our university days, and now a co cobbler and partner, from now we'll be making mind-blowing Footwear's, he share his first post to the community, please kindly warmly welcome him.

https://files.peakd.com/file/peakd-hive/vickoly/23t7DKQuANApv95zLC7XkAX7EwRQi3ZwkcZ8cfH3SnE8cDgJWYMeNfF87sbhkw6PhSphY.png
MATERIALS/EQUIPMENT USED
- Skin material
- Linning
- Buckle
- Gum
- Heels
- Marco insole and outsole
- Brush
- Hammer
- Sewing machine1.
- Grinder
- Hook
- Super Glue etc...
Note: All this can be purchased at a store selling Shoemaking related items near you.
https://files.peakd.com/file/peakd-hive/vickoly/23t7DKQuANApv95zLC7XkAX7EwRQi3ZwkcZ8cfH3SnE8cDgJWYMeNfF87sbhkw6PhSphY.png
Step 1: To ascertain your foot size and that of the person you want to make the Slippers for, just place on foot on a piece of paper and use a picture to draw out the shape of your leg, you can then cut out that part, as it'll serve as the shape you'll work with in achieving your Slippers.
Step 2: Once the size as been discovered, you can then proceed to the cutting of the materials(Marco, upper, linning etc), but as a newbie you can first cut each parts on a paper as a pattern, and test it on your foot, so if it's perfect.
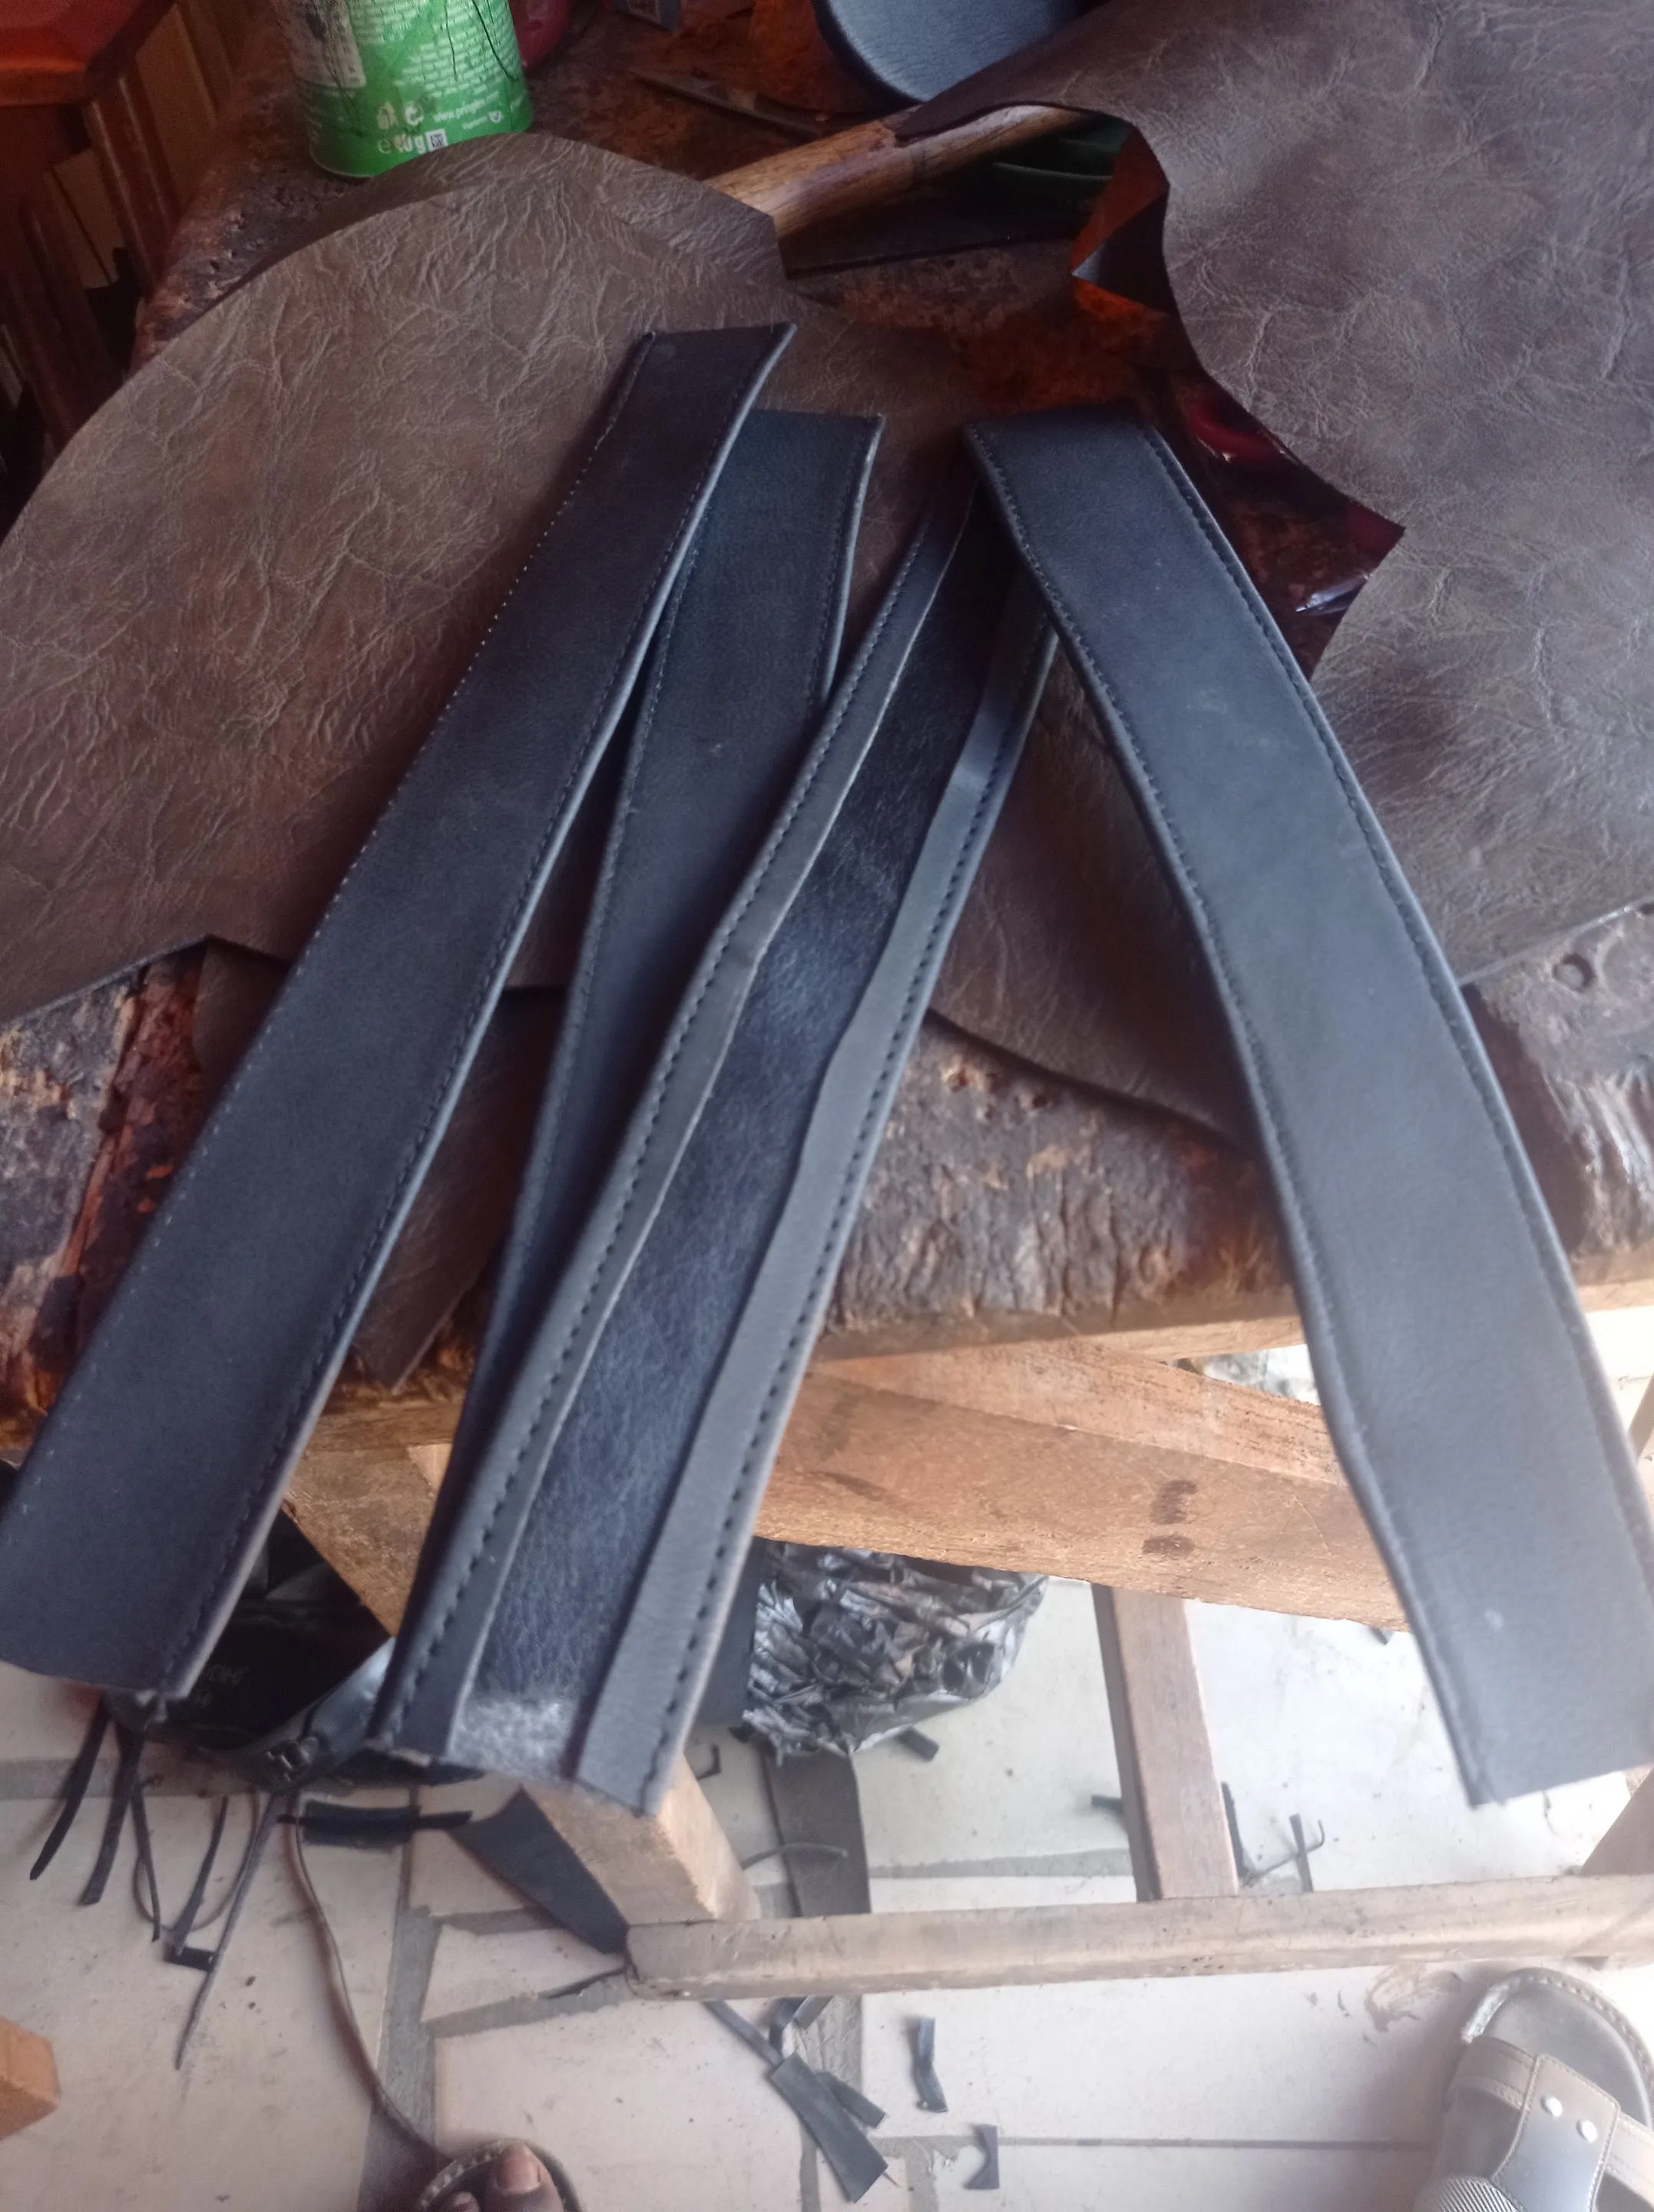
Then you'll apply gum on the upper and the lining and join them together, after which you'll see it on a sewing machine.
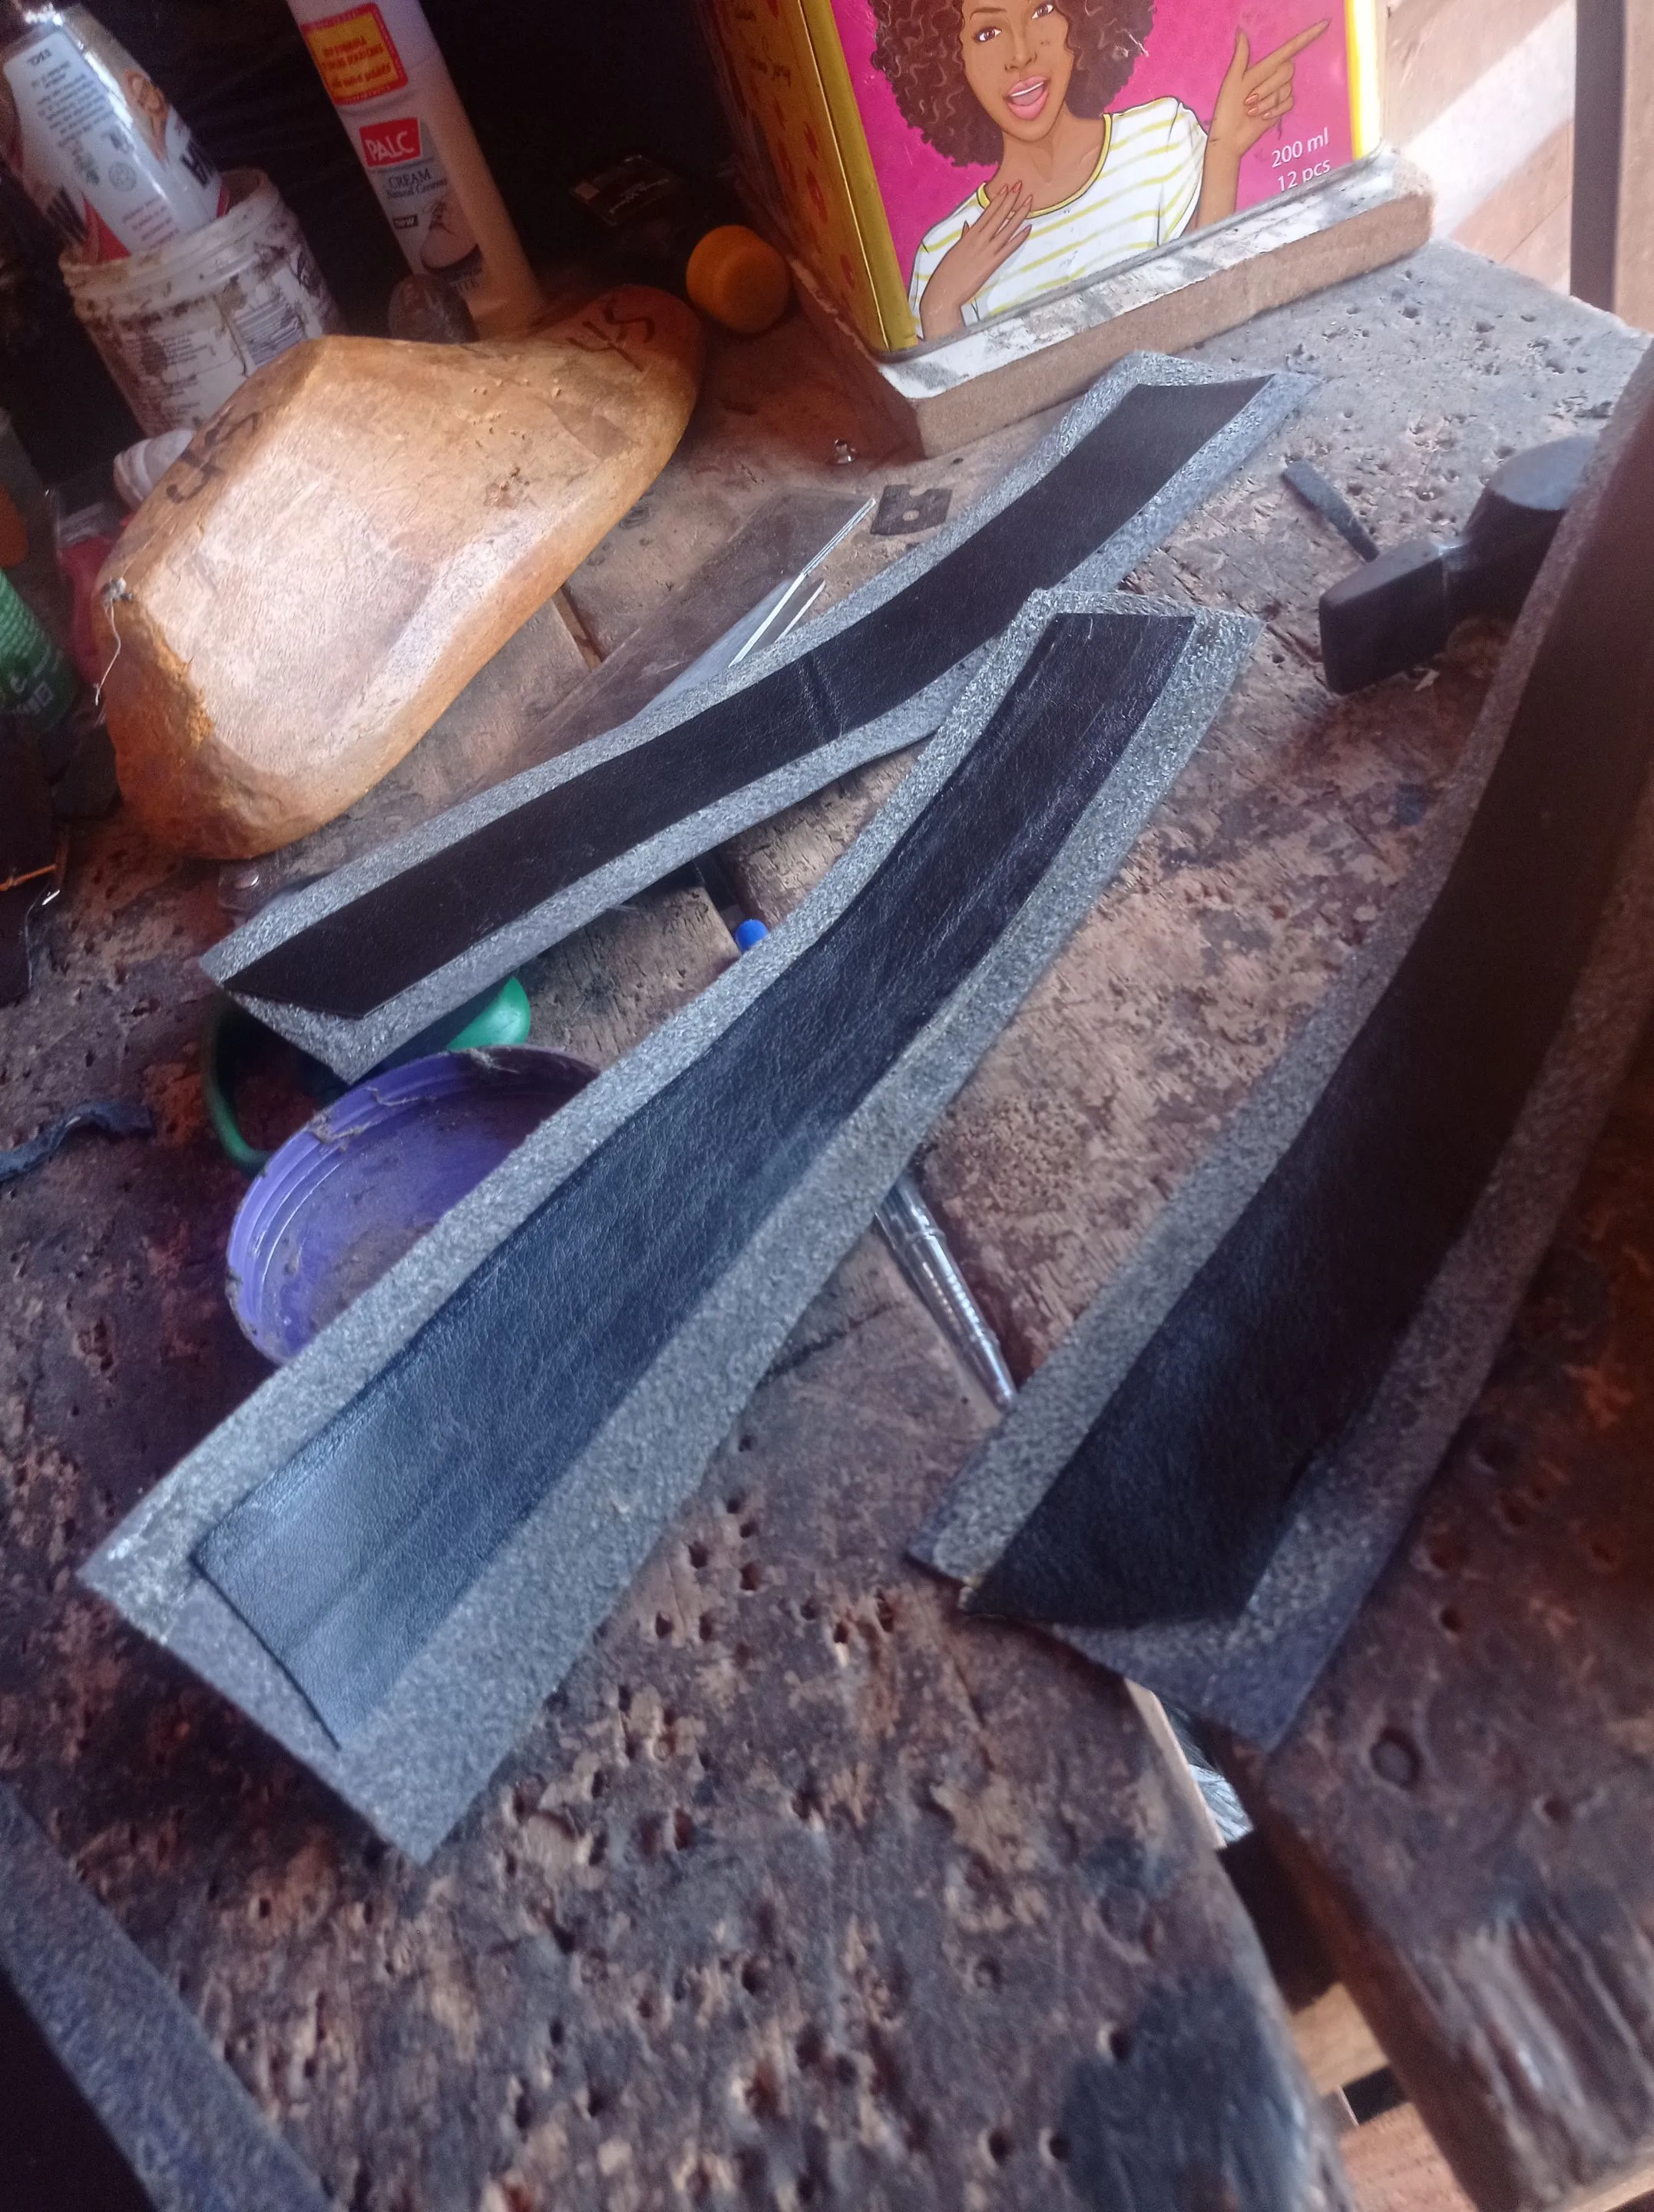
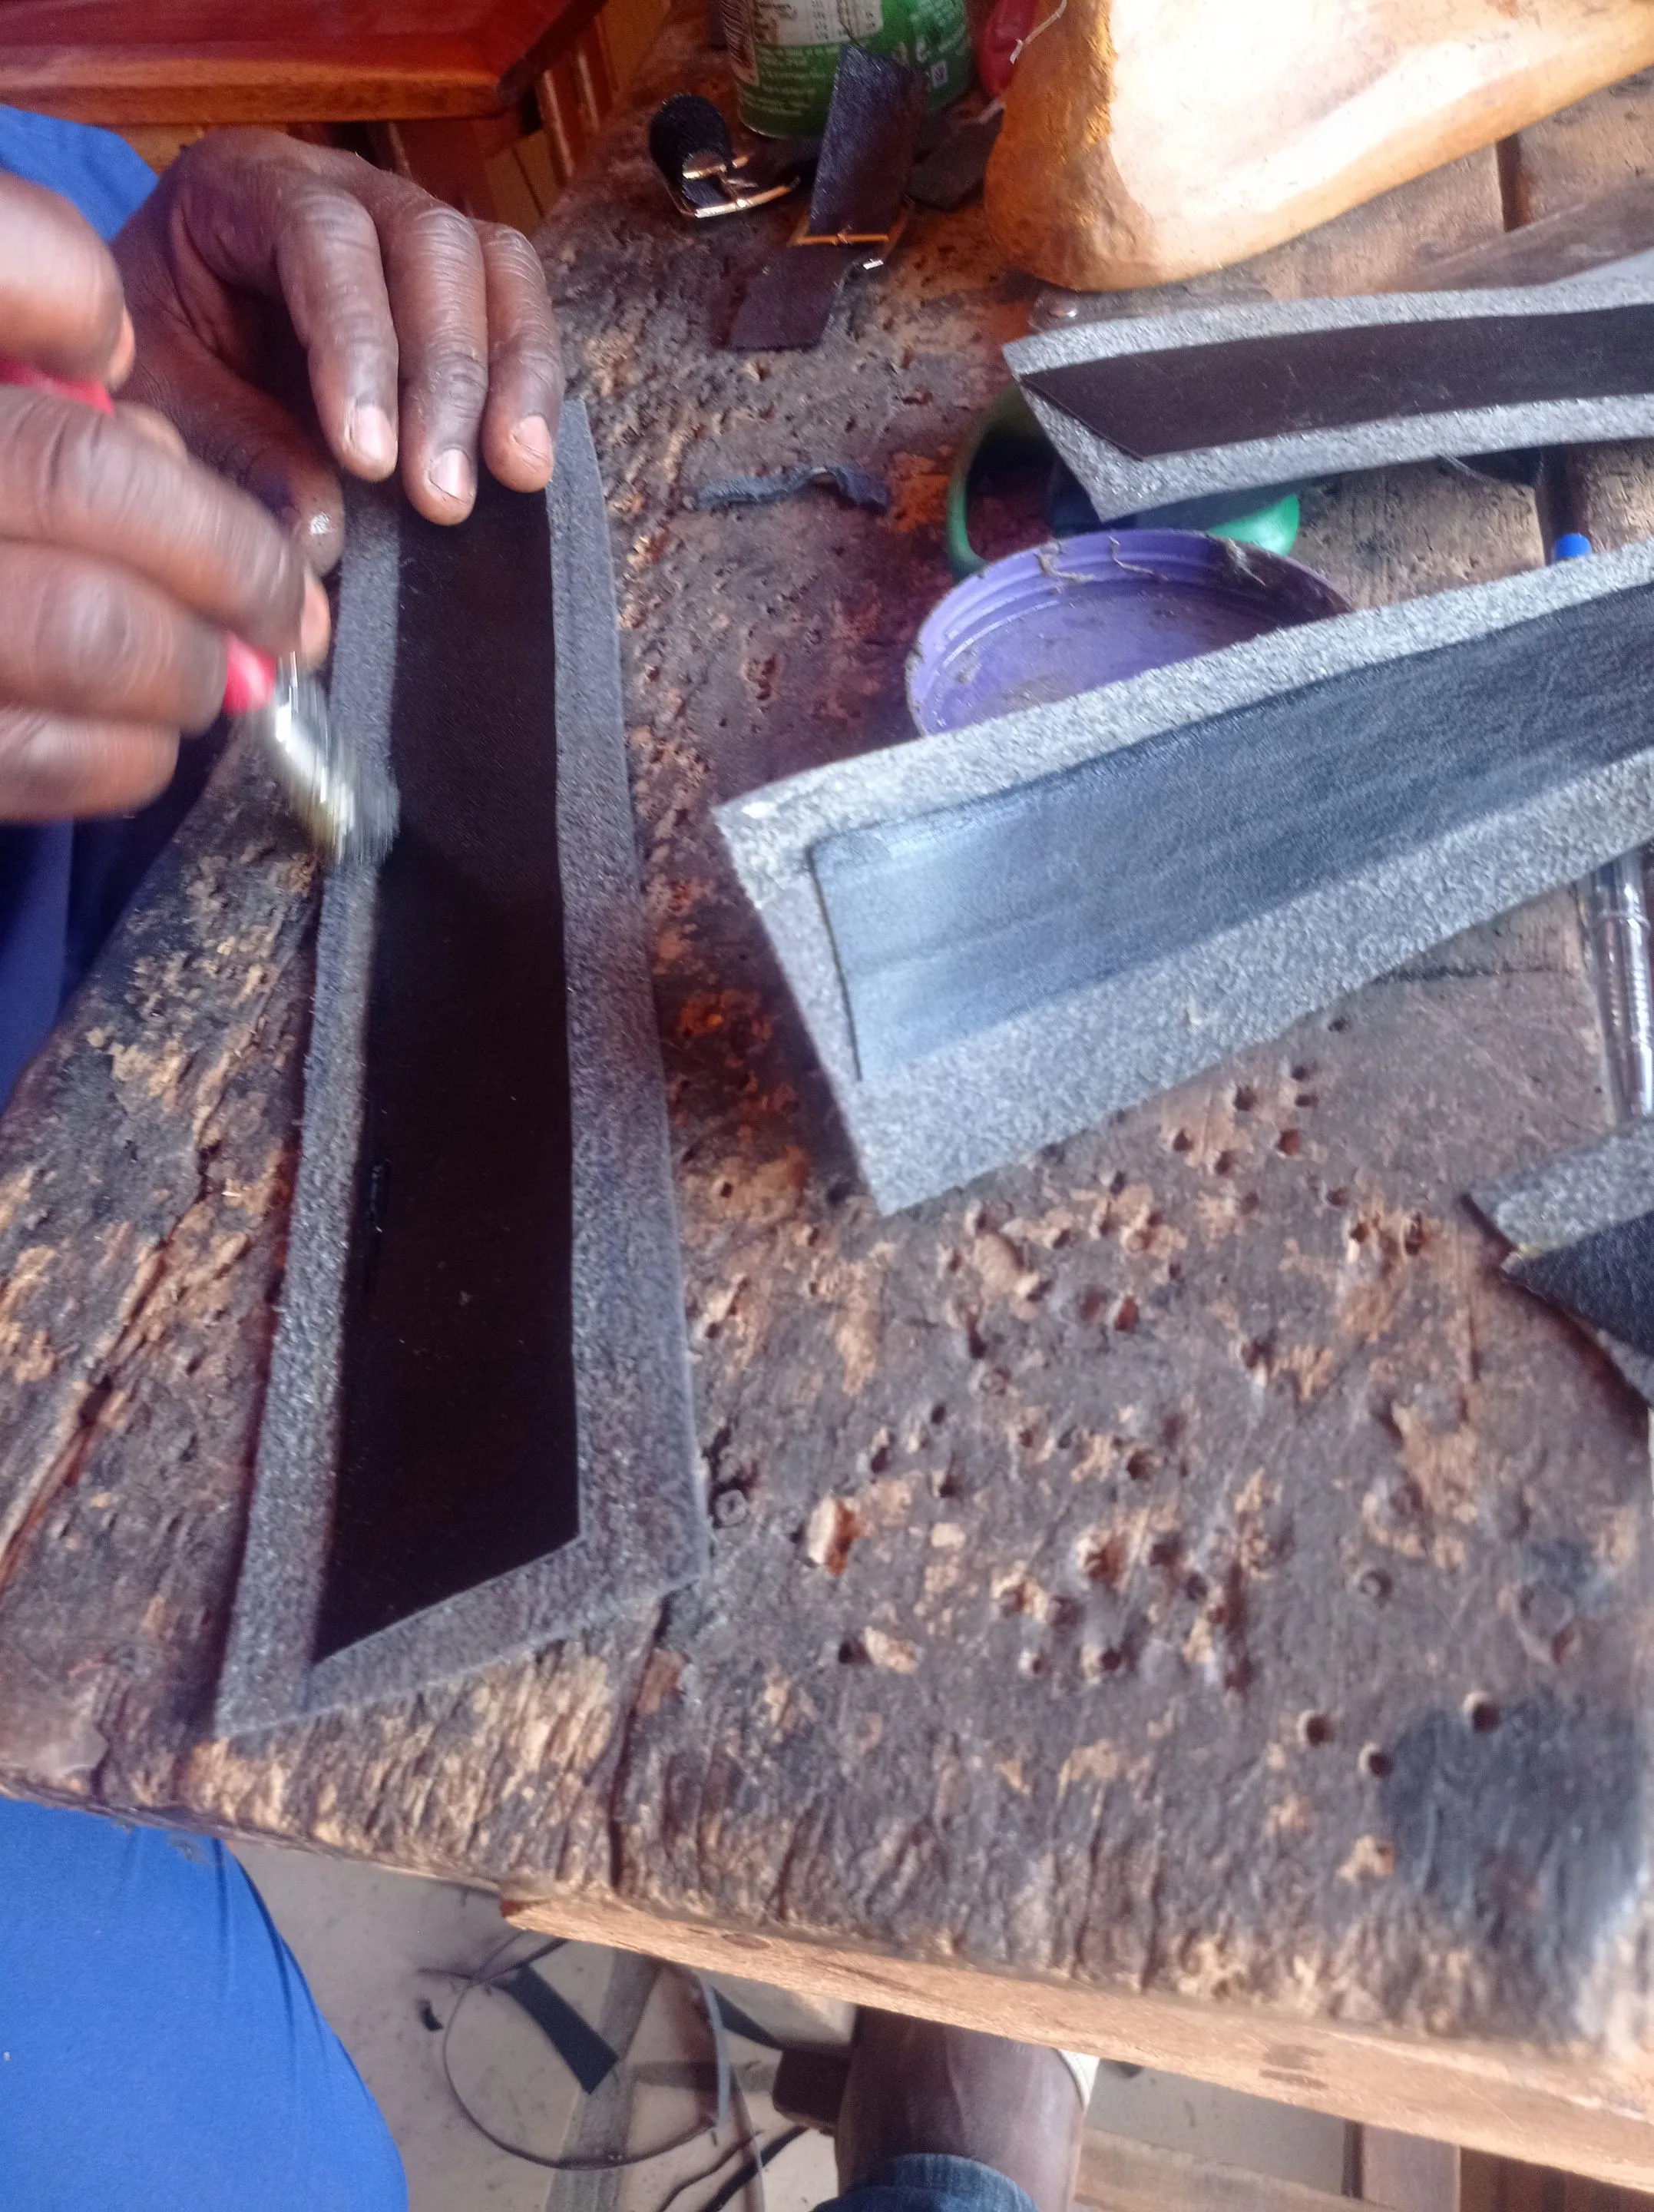 Applying gum and folding.
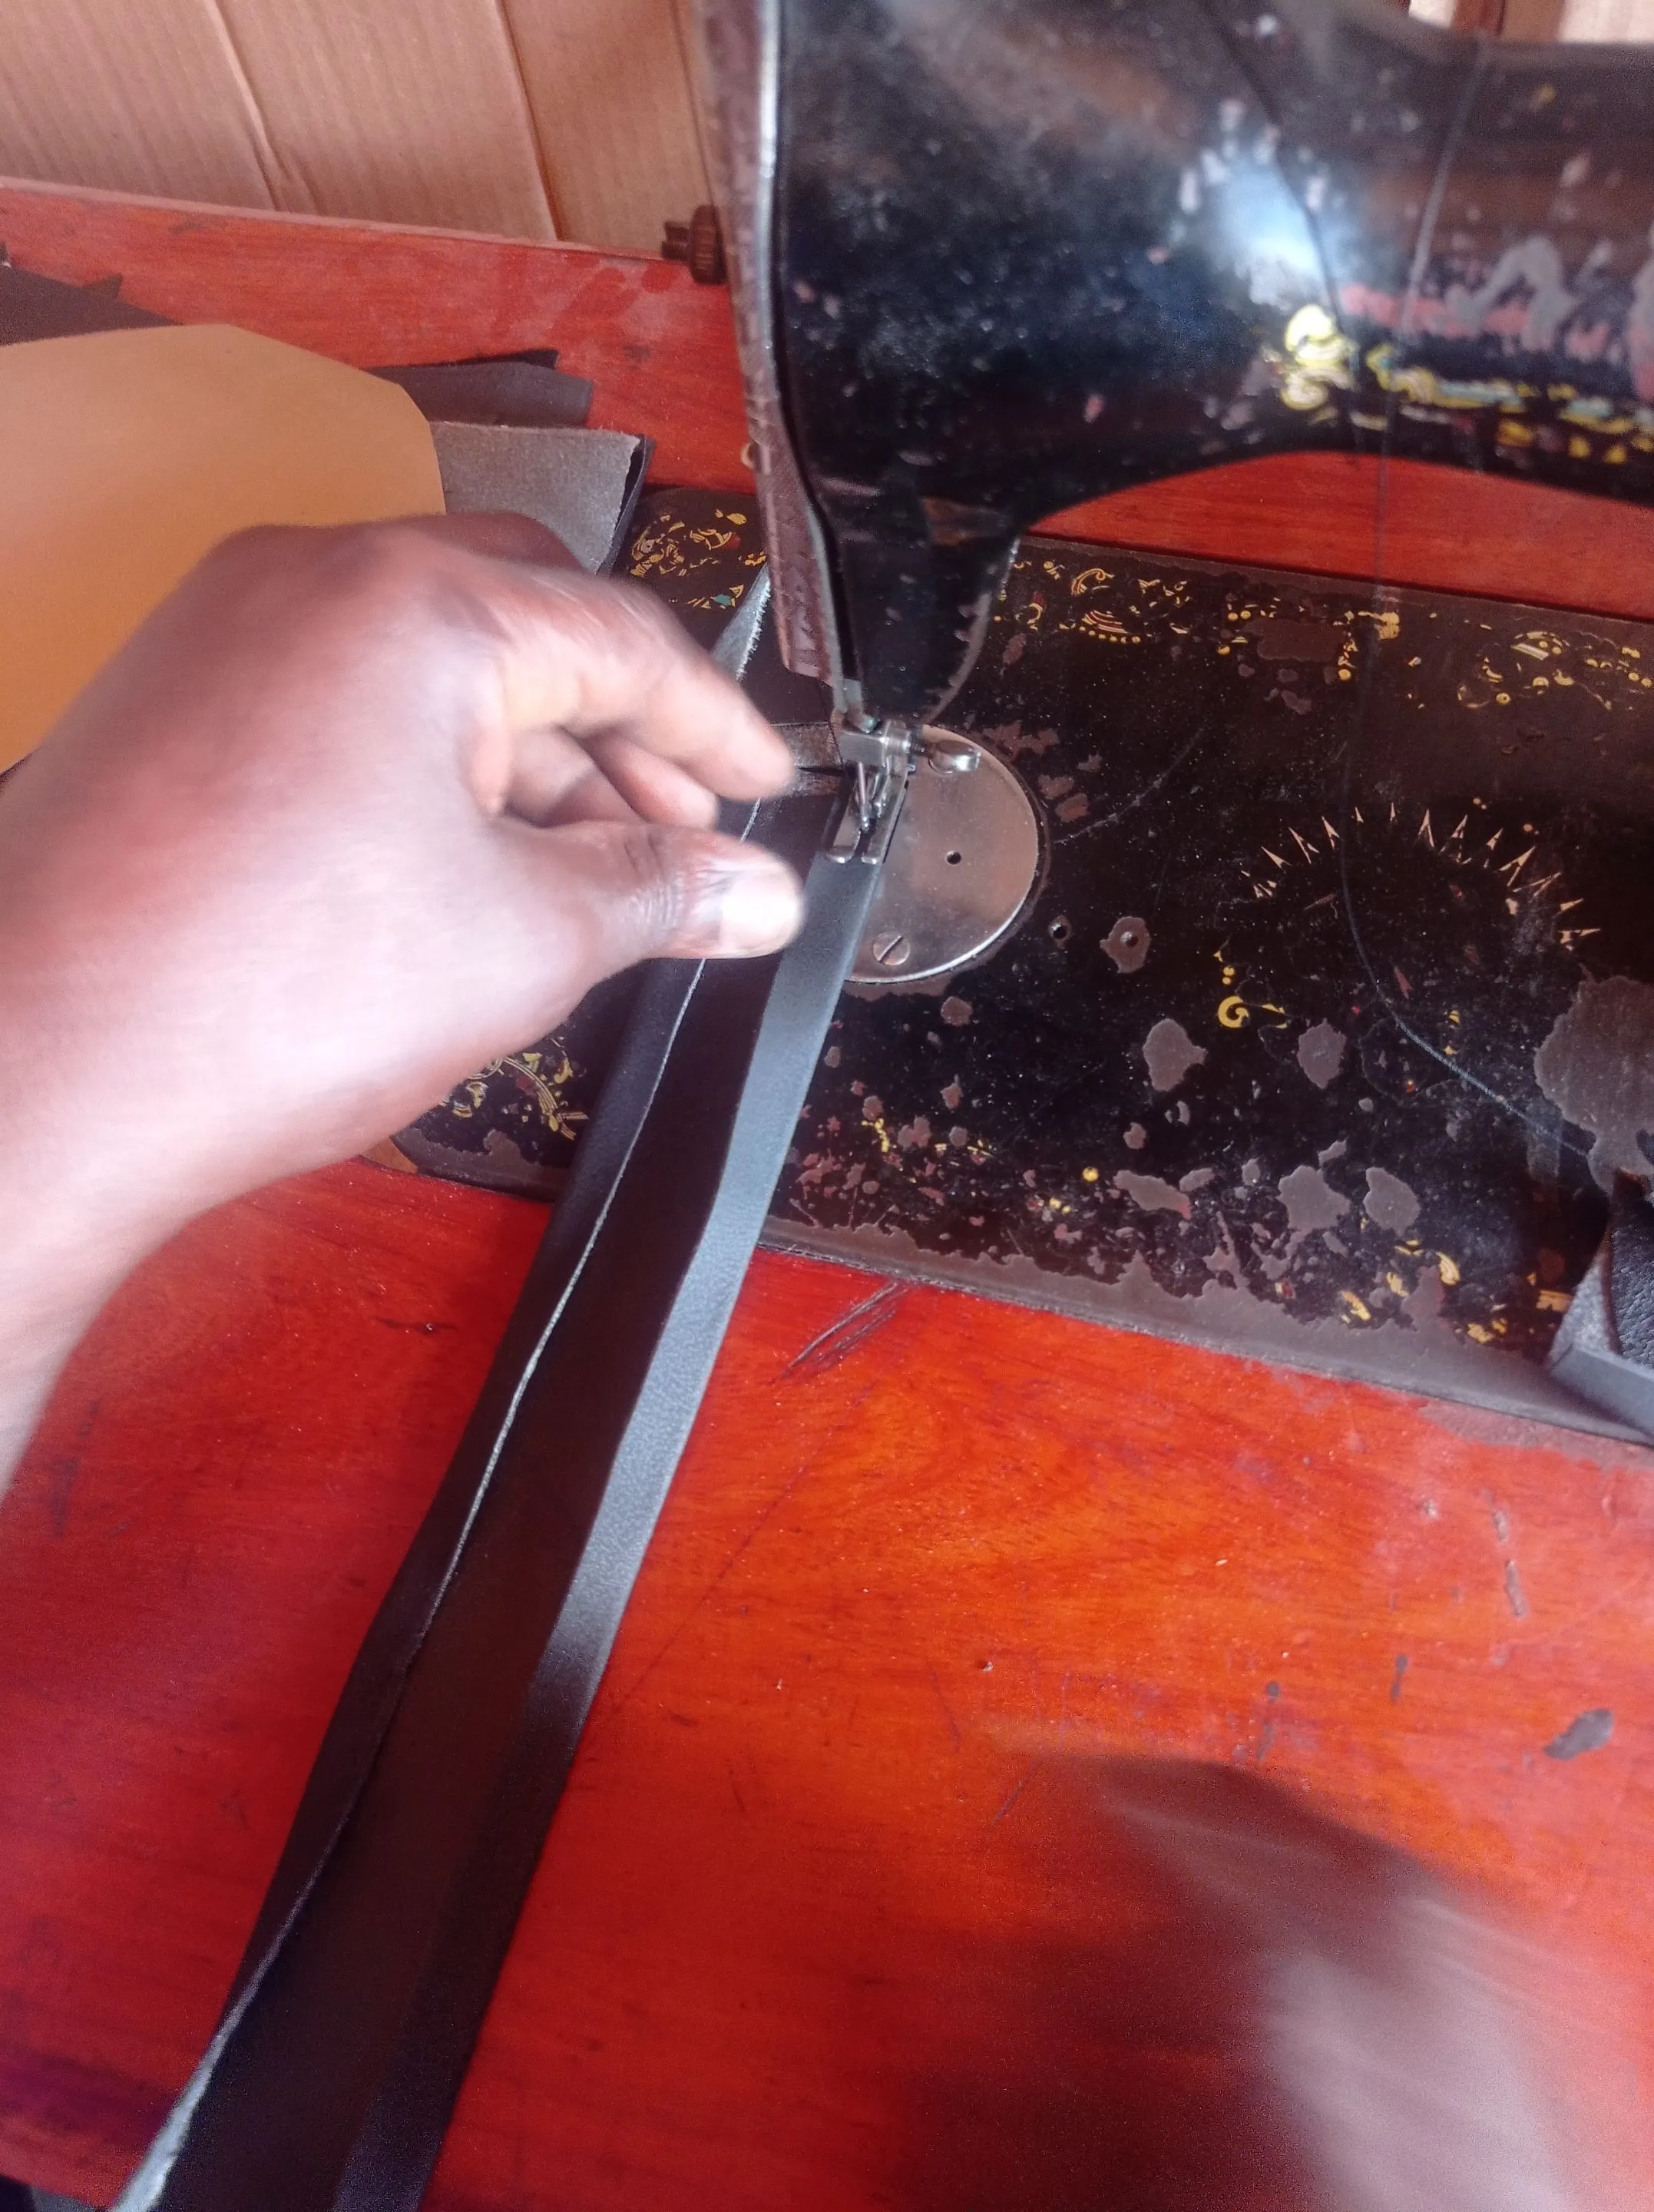 Sewing the edges on a sewing machine.
https://files.peakd.com/file/peakd-hive/vickoly/23t7DKQuANApv95zLC7XkAX7EwRQi3ZwkcZ8cfH3SnE8cDgJWYMeNfF87sbhkw6PhSphY.png
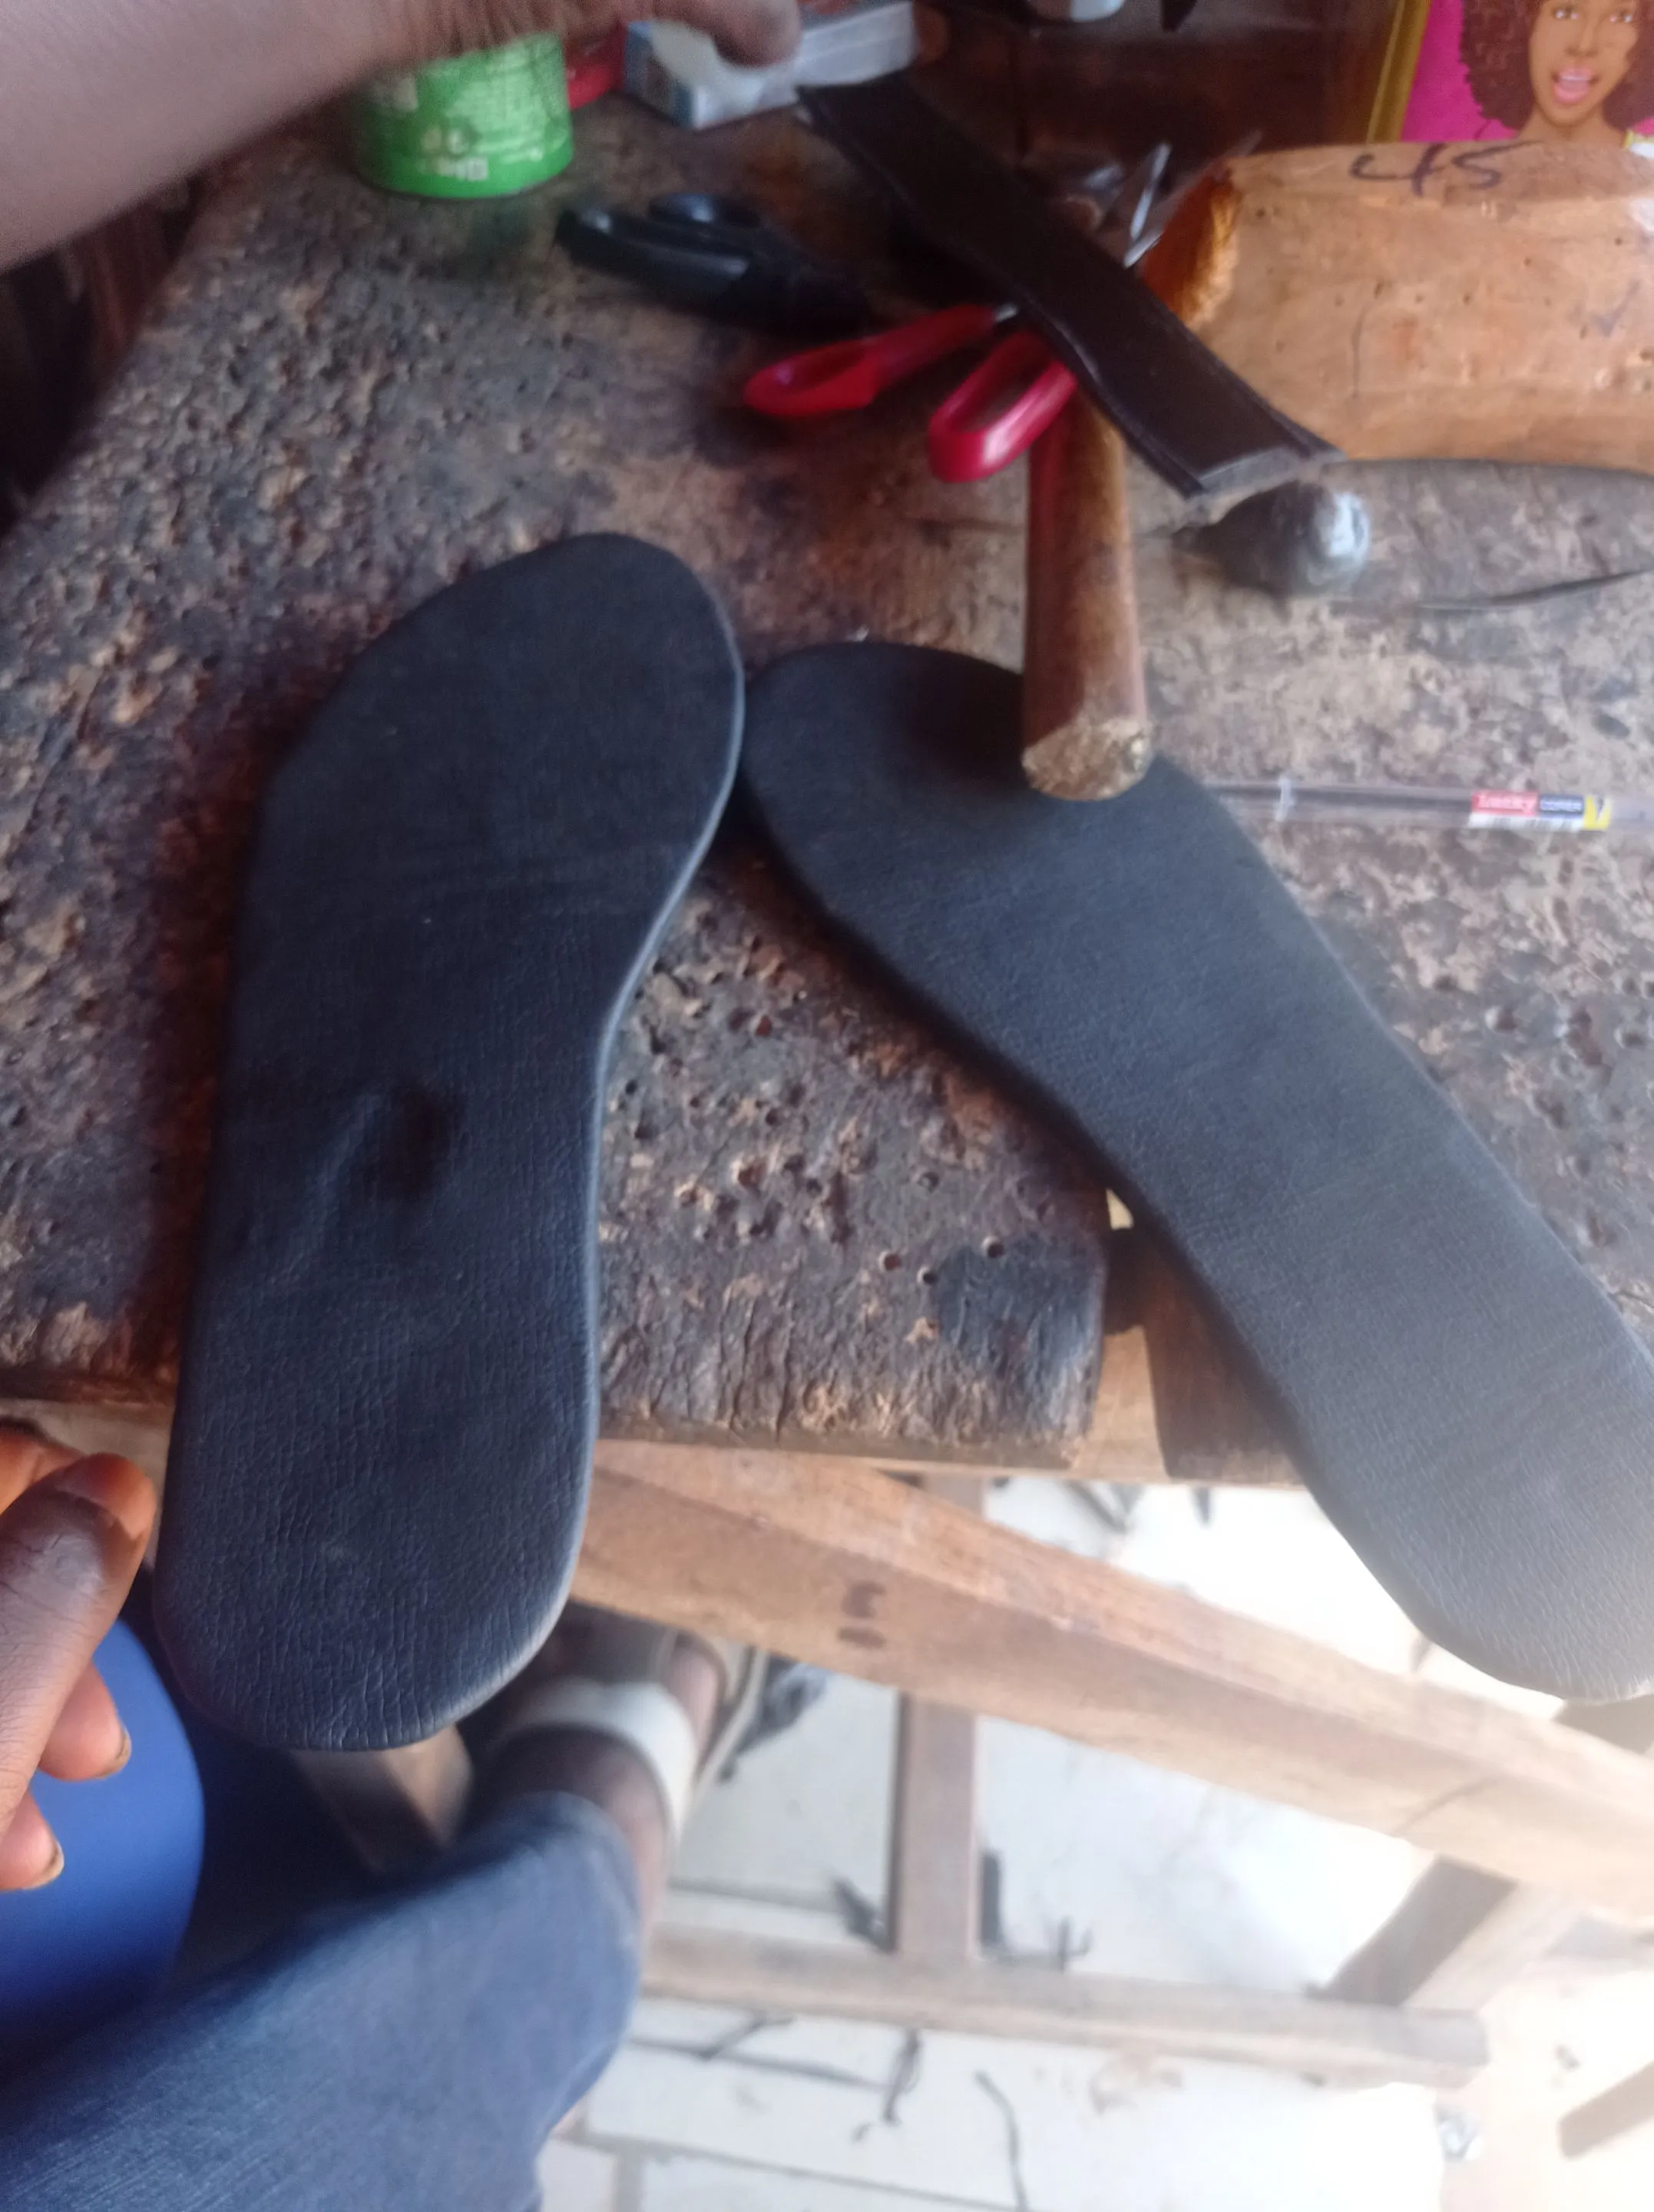
Step 3: you can cut the Marco for the insole and outsole into the size of the pattern you cut in step one, although it'll be better you add extra inches to the edges of the outsole for better fitting,
https://files.peakd.com/file/peakd-hive/vickoly/23t7DKQuANApv95zLC7XkAX7EwRQi3ZwkcZ8cfH3SnE8cDgJWYMeNfF87sbhkw6PhSphY.png
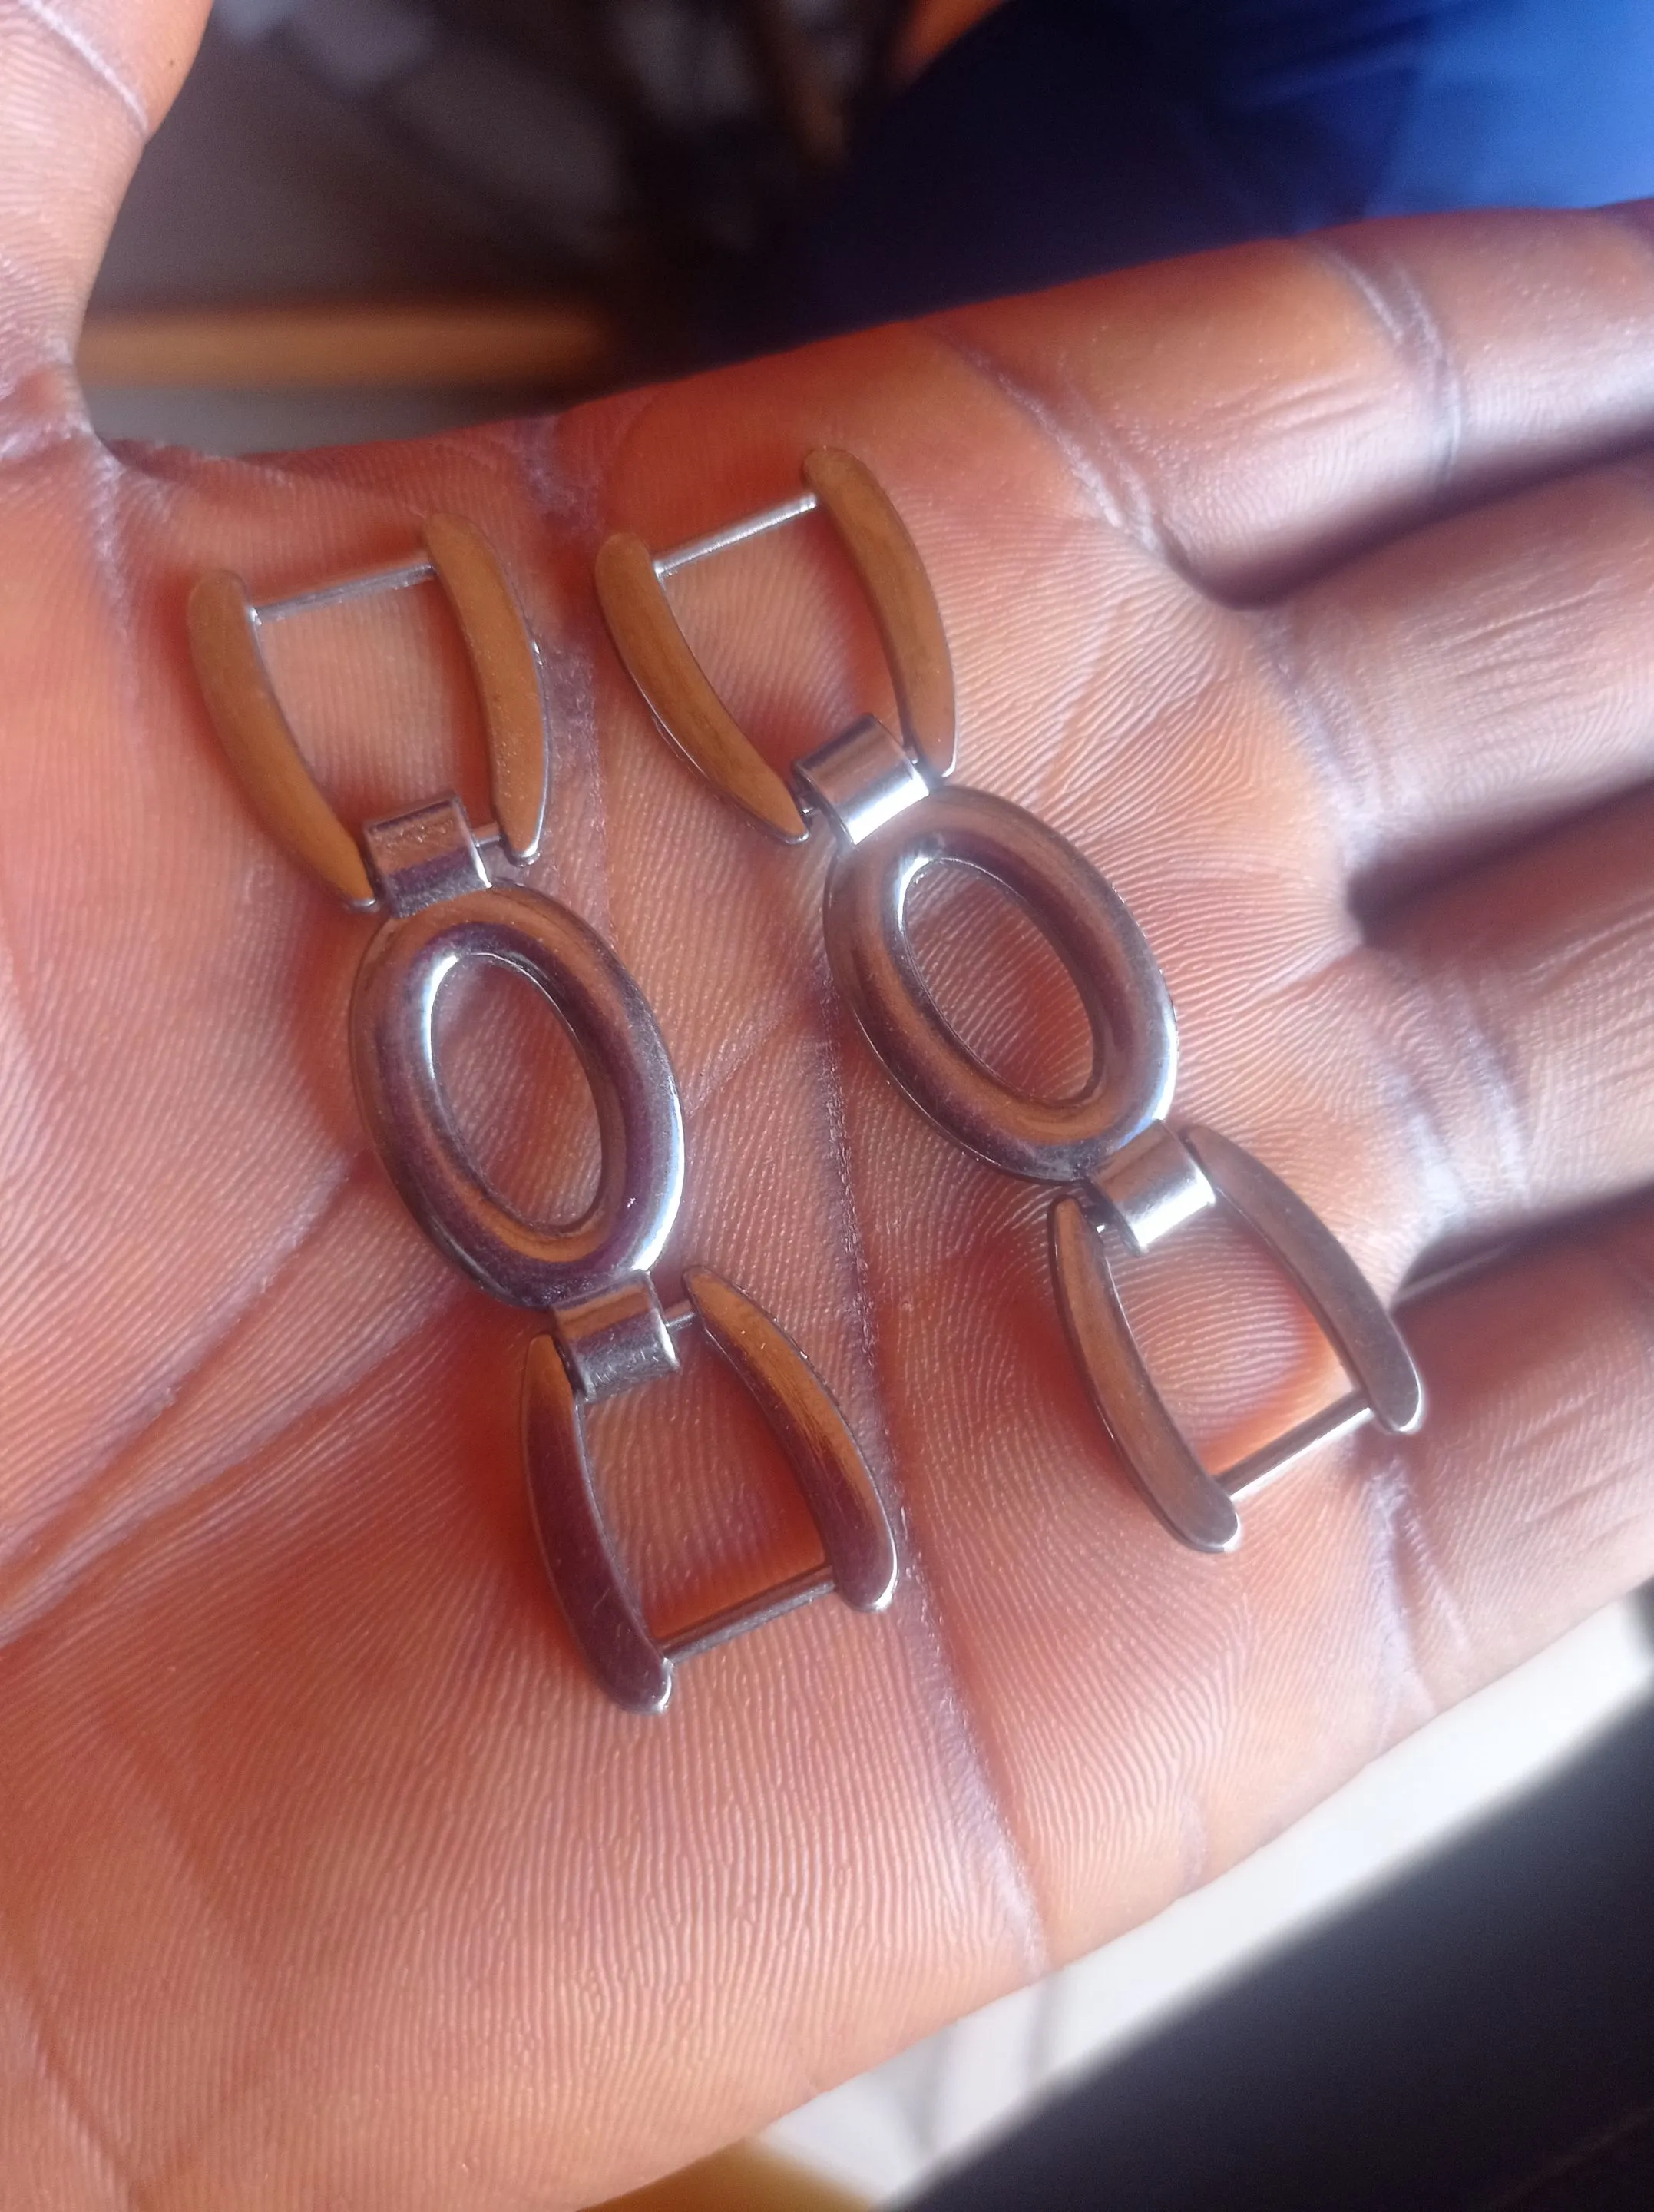
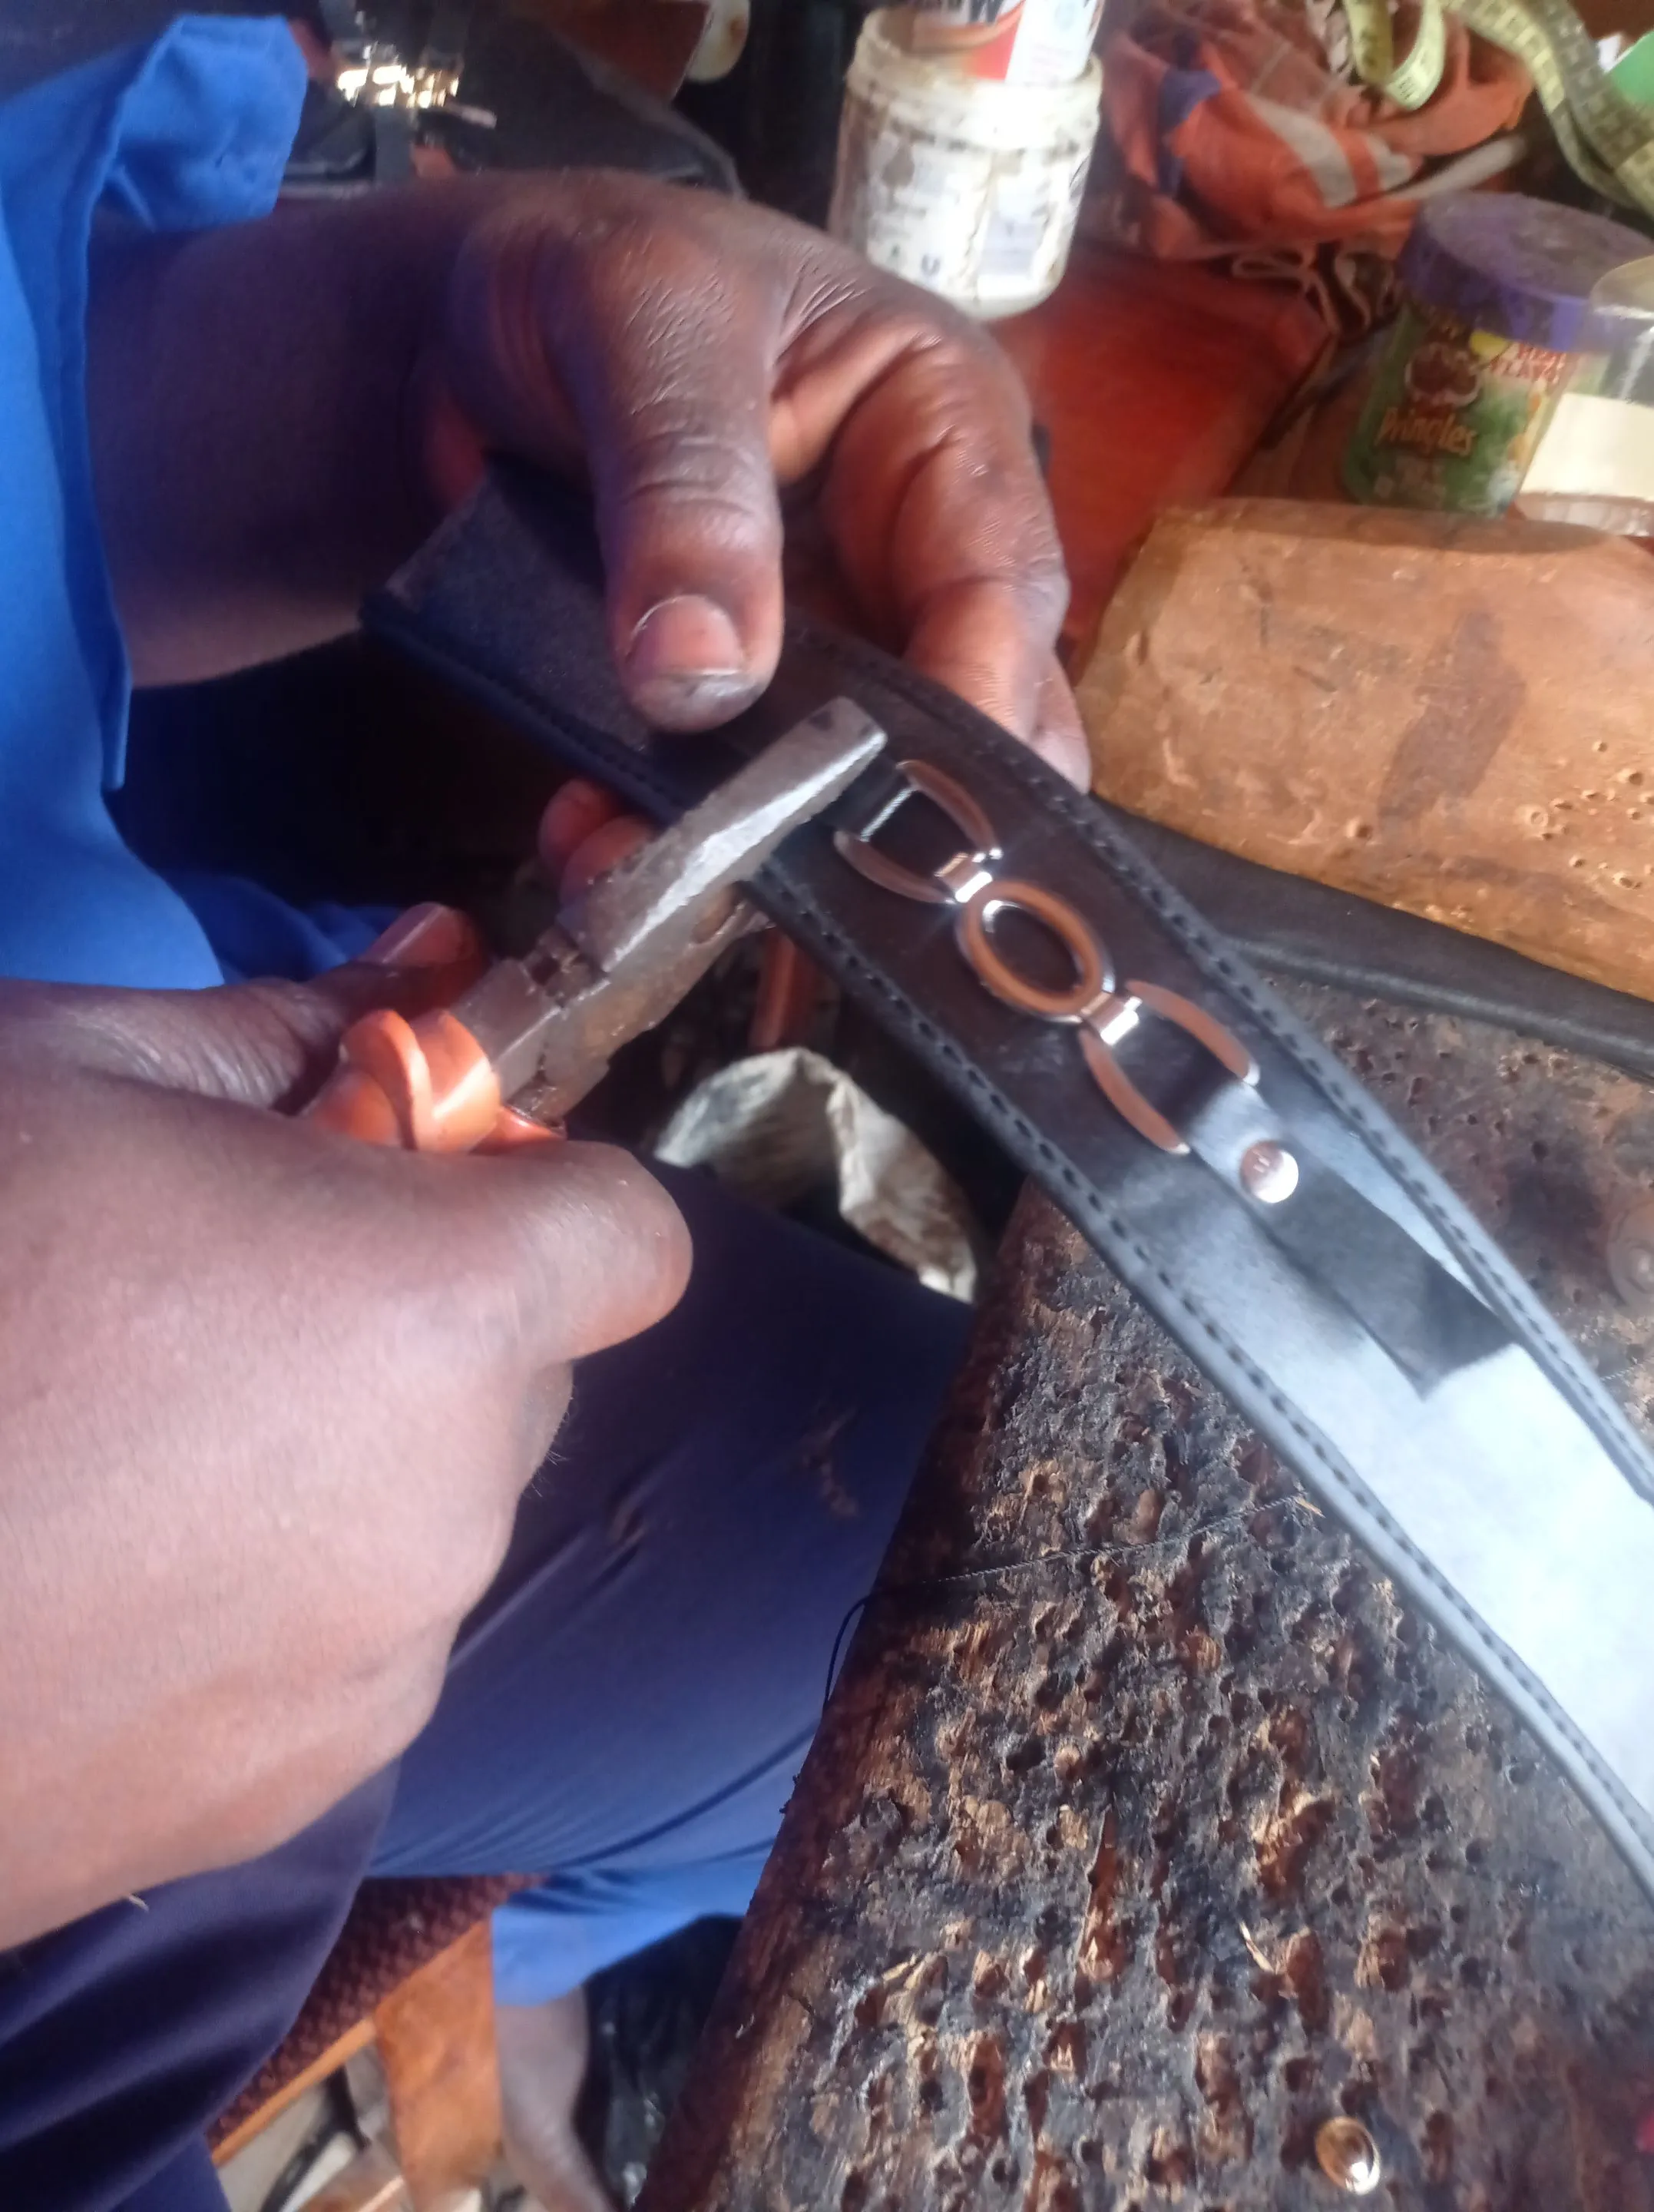
"Step 4:* Adding of buckle to the upper and Joining the upper to the insole buy applying gum to each edges and testing on a shoe last.
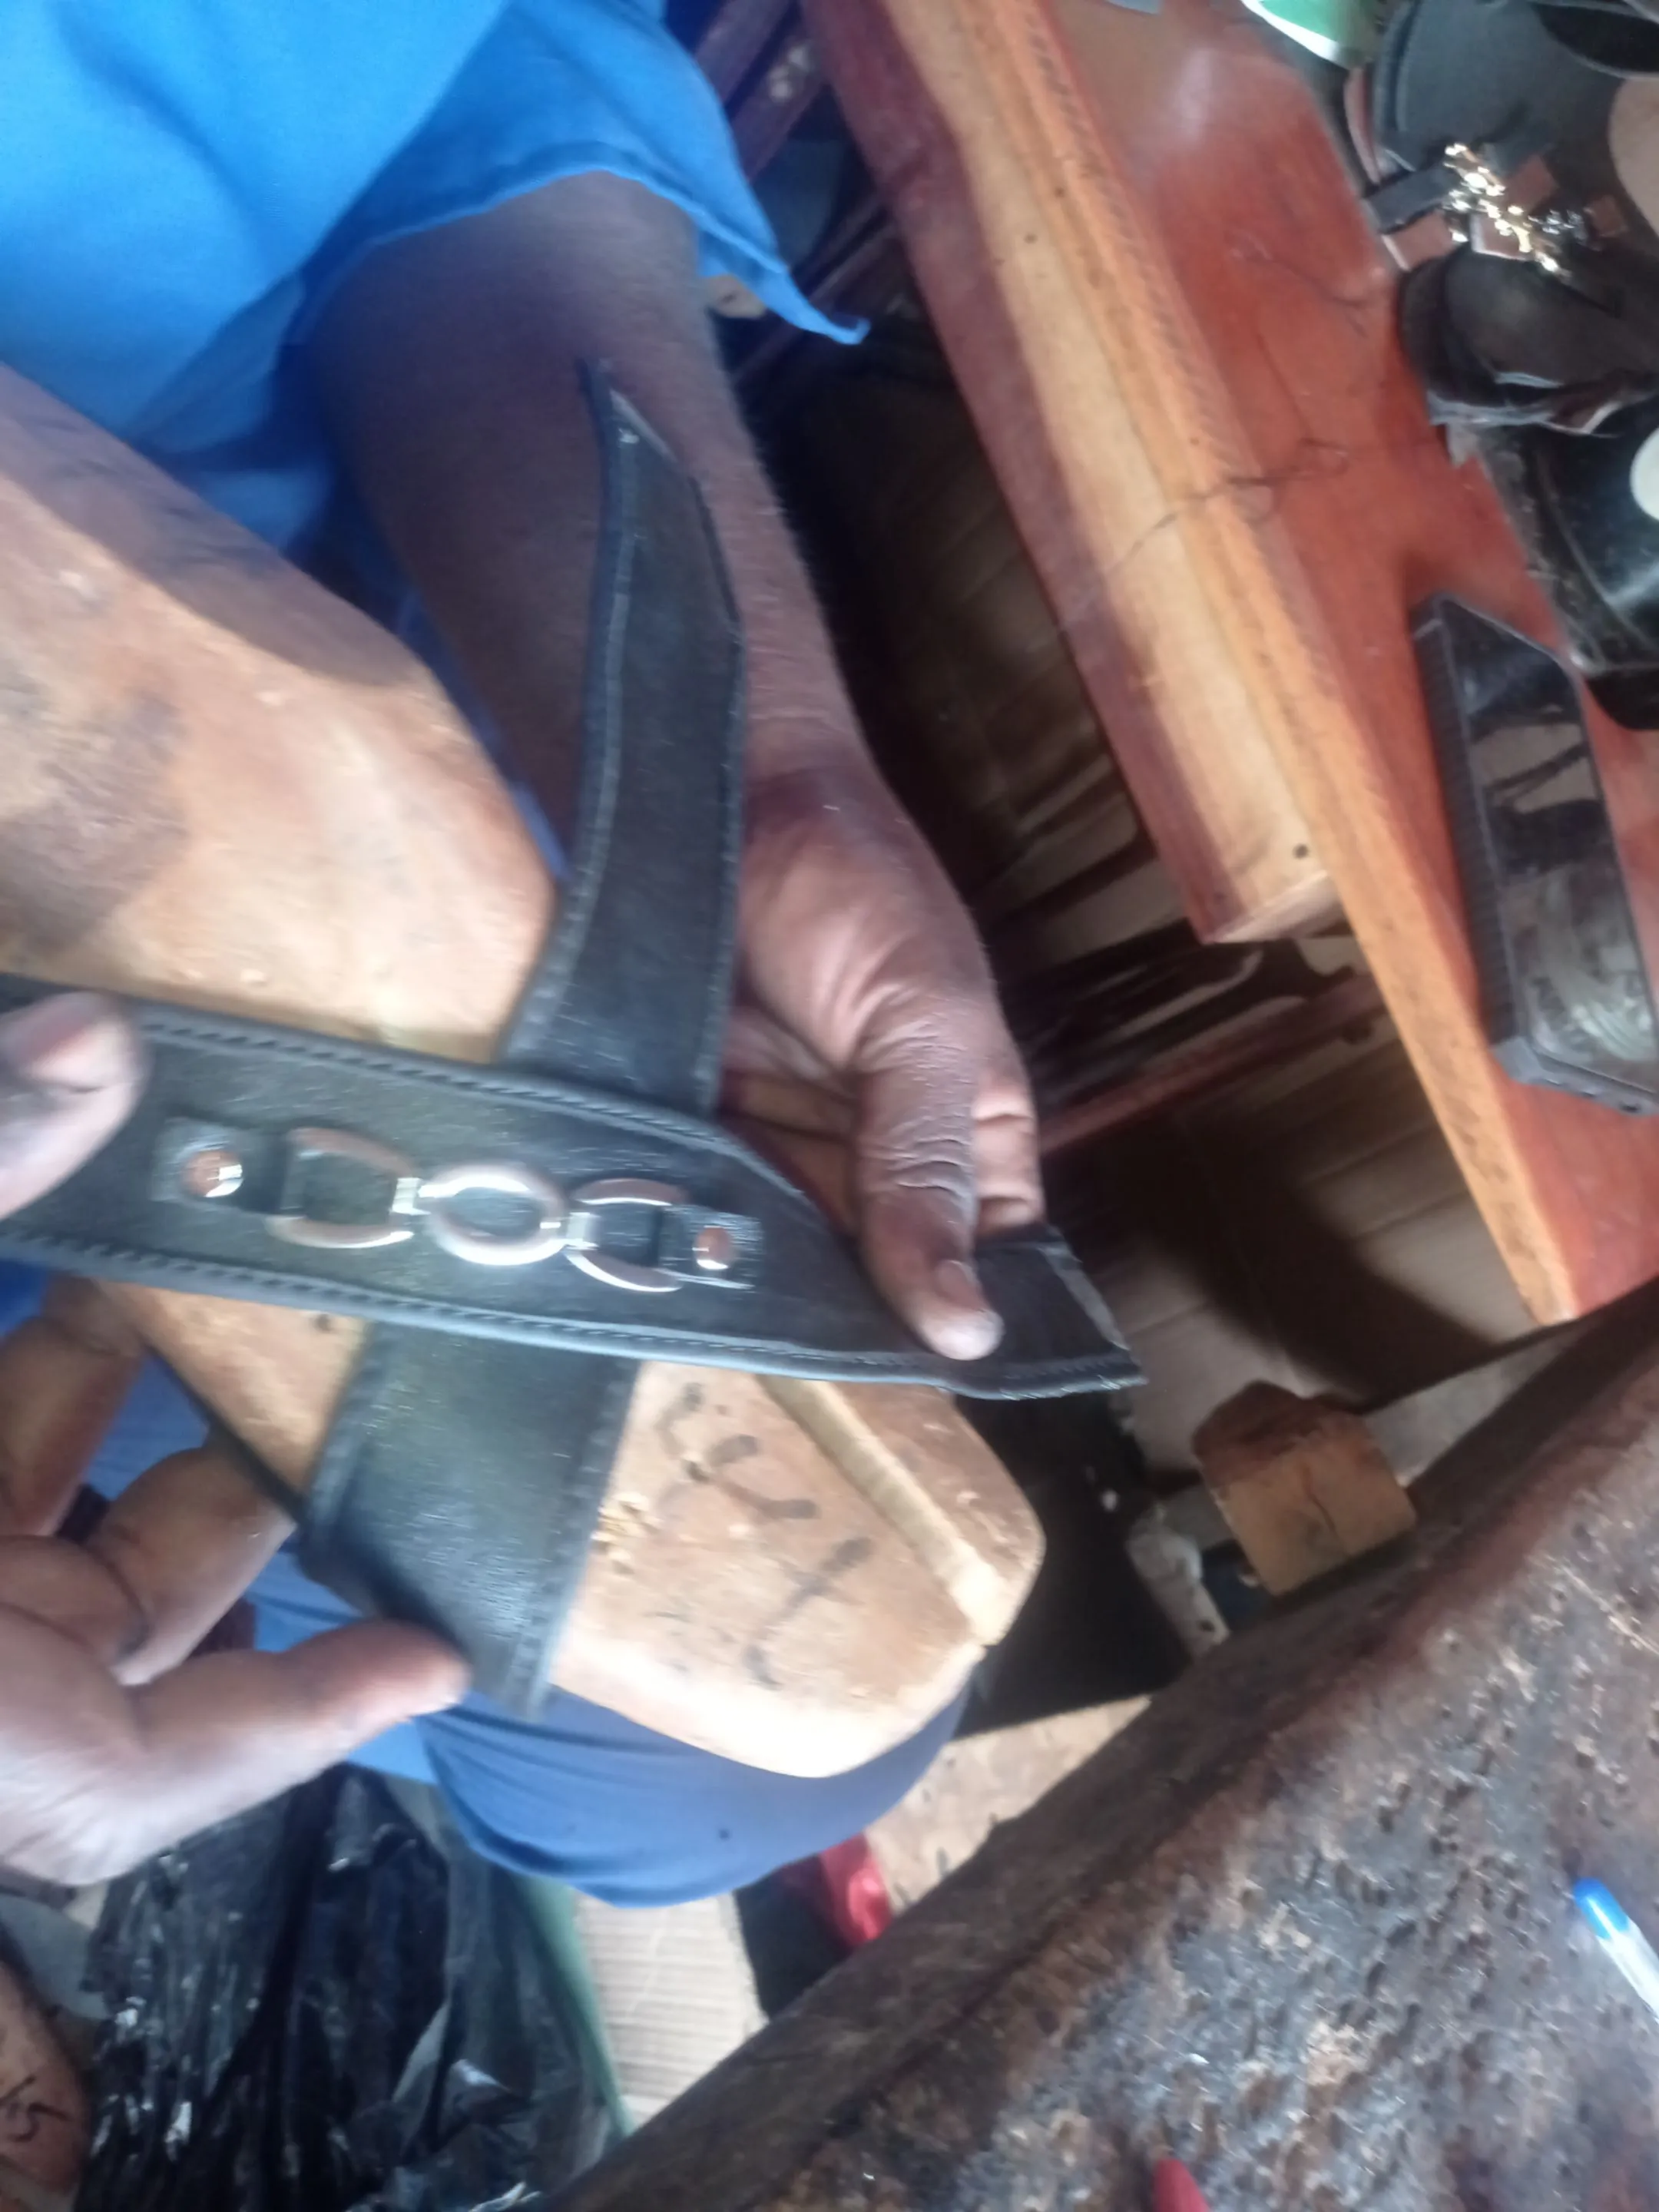
https://files.peakd.com/file/peakd-hive/vickoly/23t7DKQuANApv95zLC7XkAX7EwRQi3ZwkcZ8cfH3SnE8cDgJWYMeNfF87sbhkw6PhSphY.png
Step 5: Finally you can apply gum on the parts of the inner part of the outsole, and the back of the insole, let it dry for some minutes, and then join it together by,
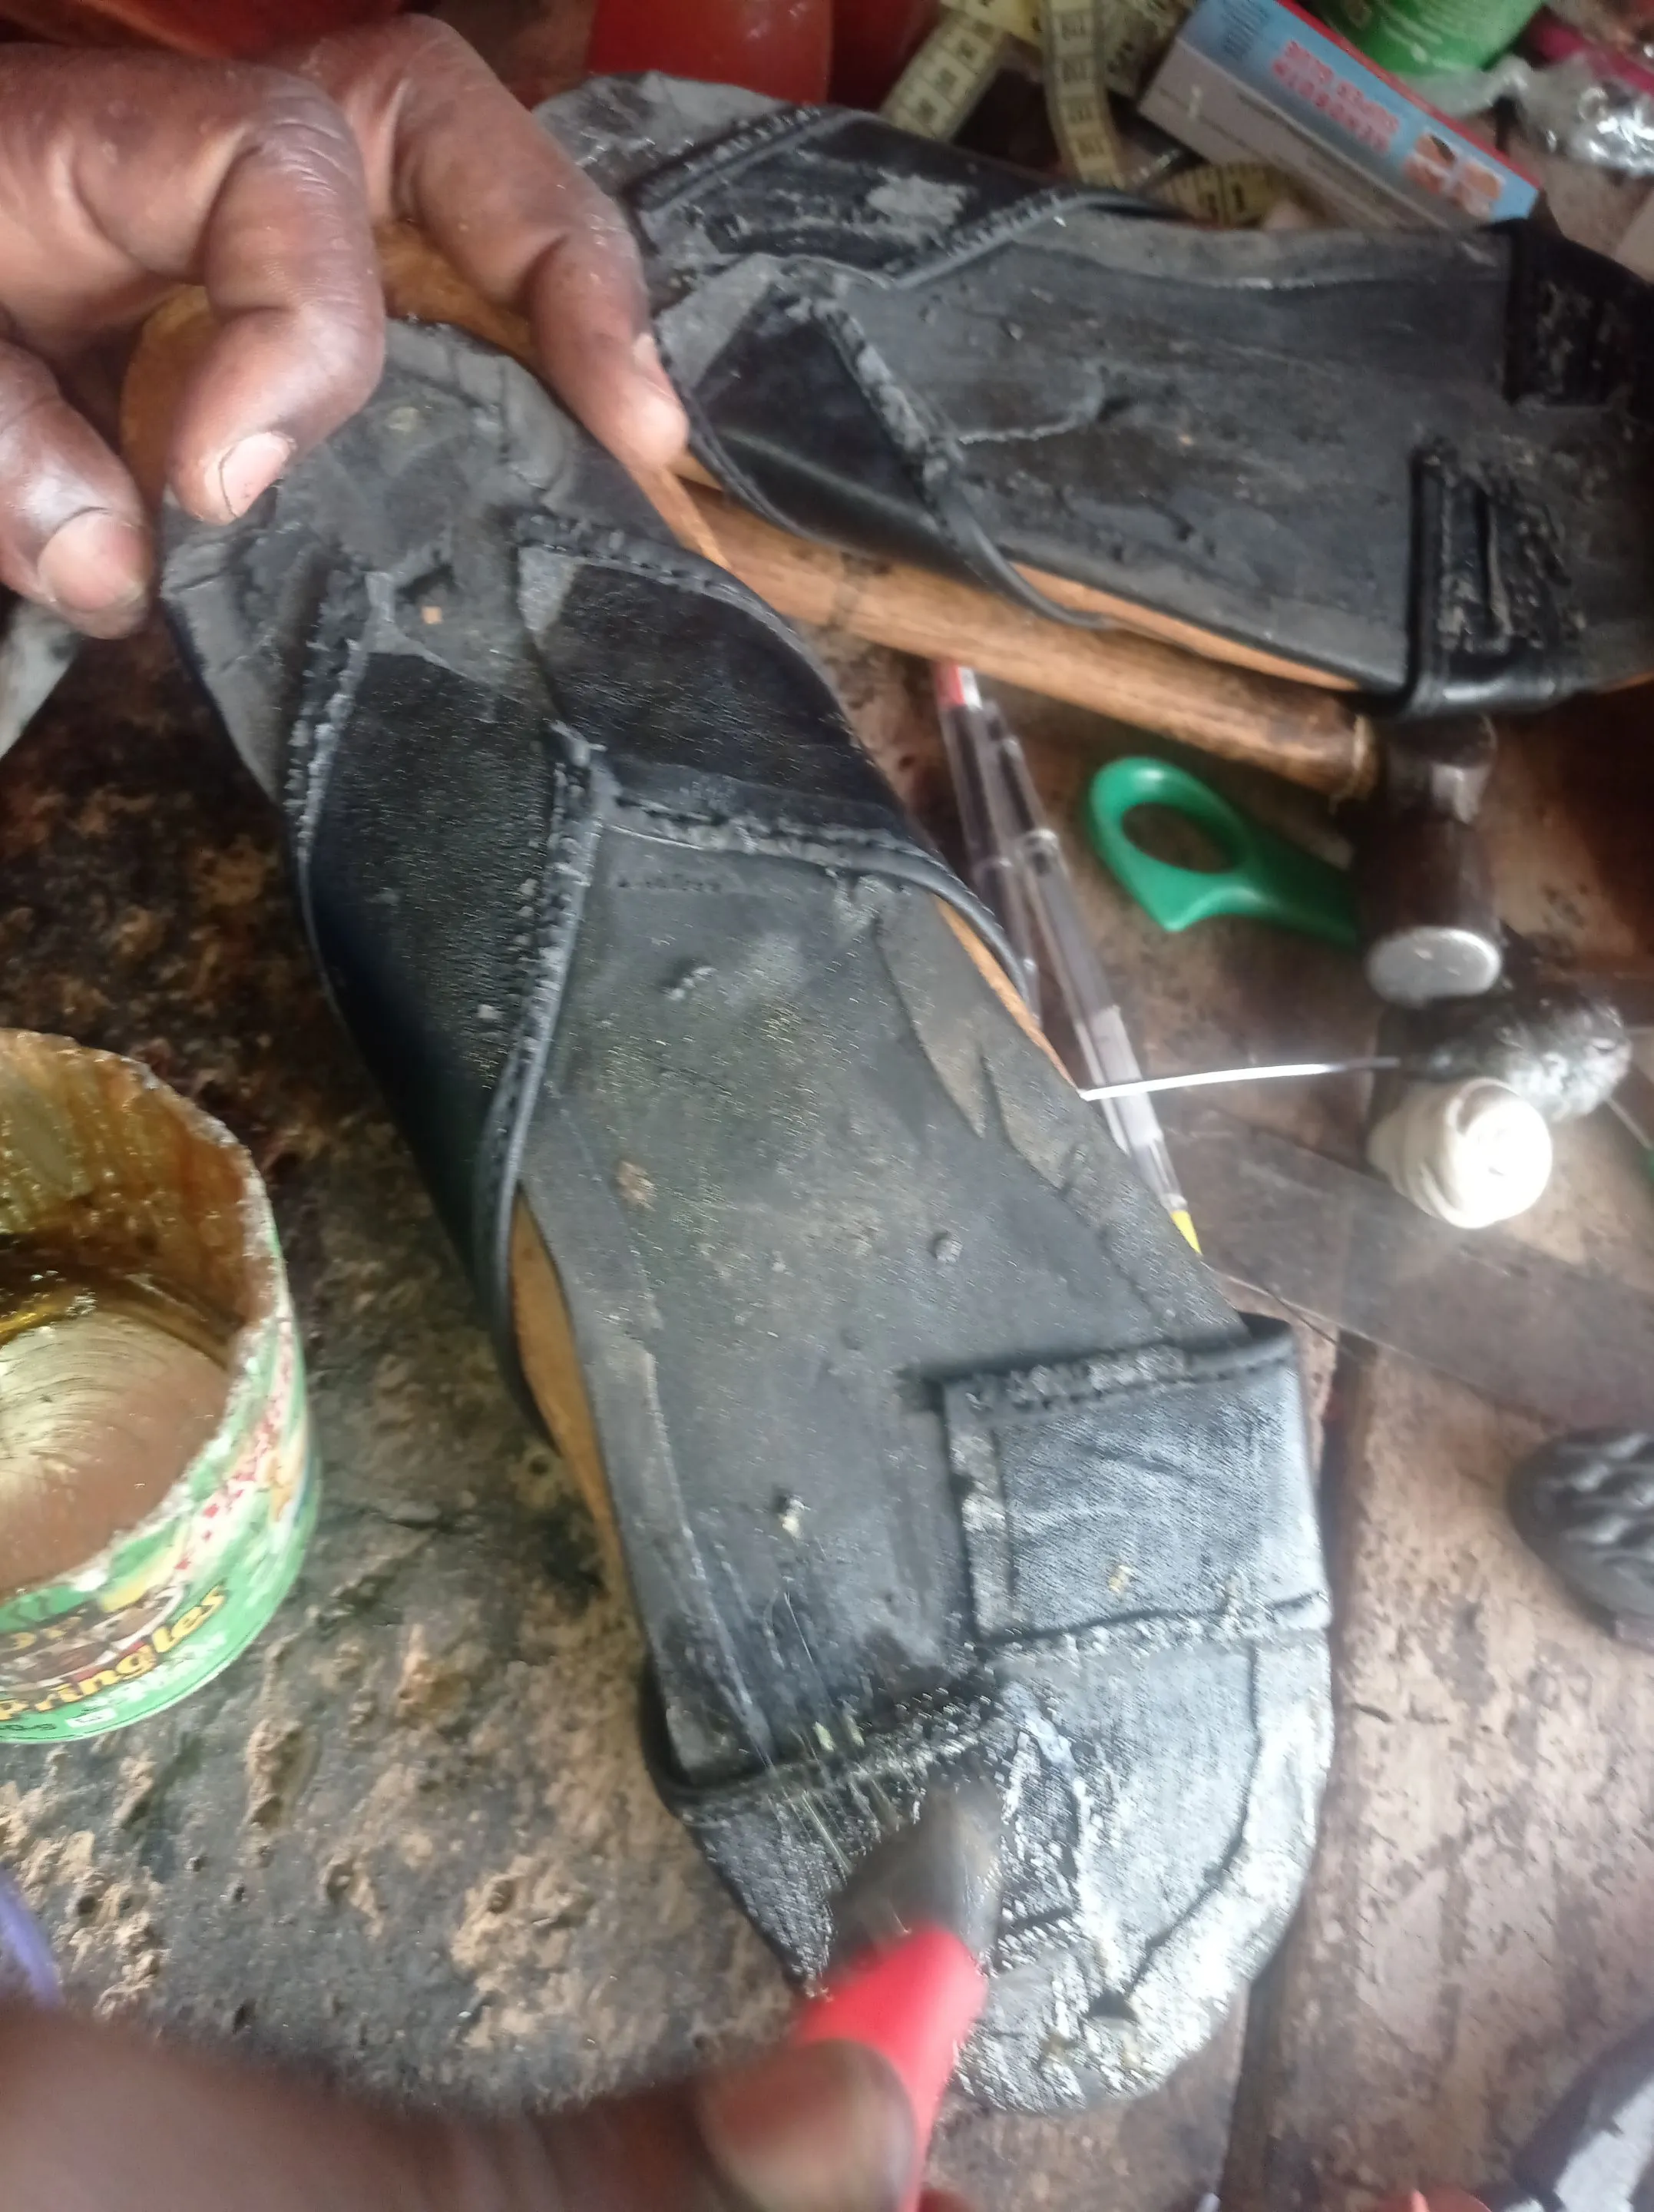
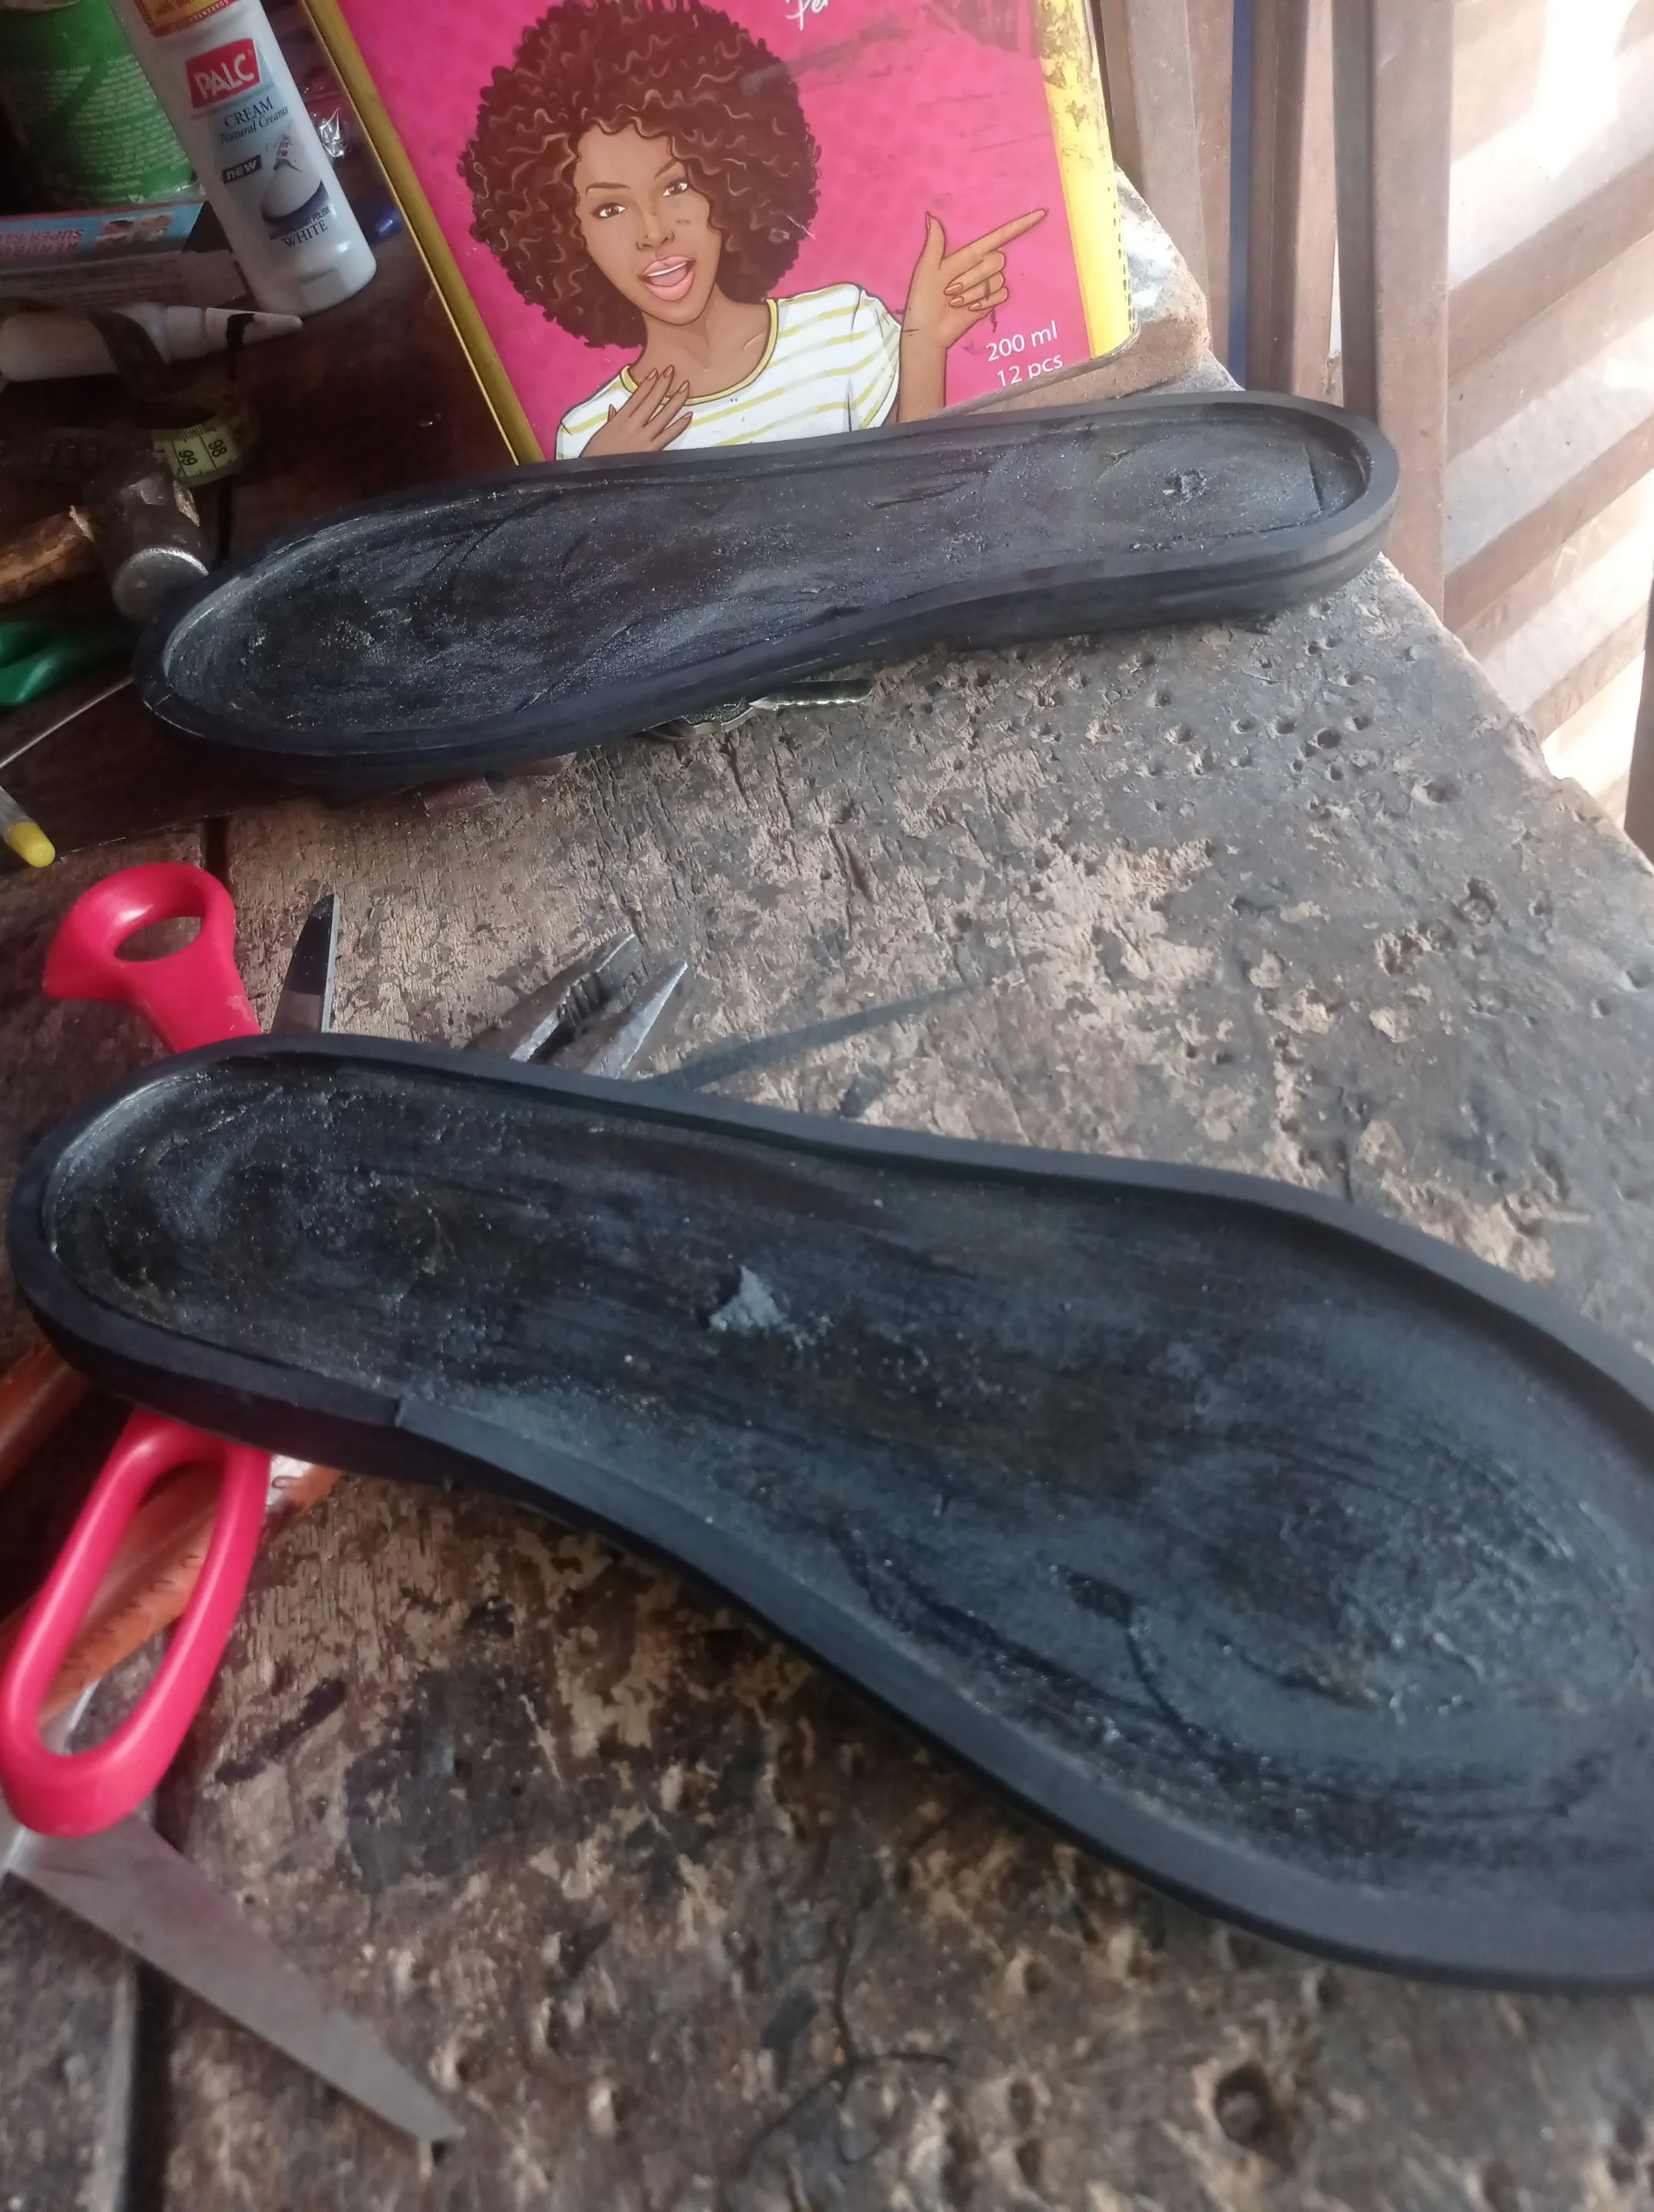
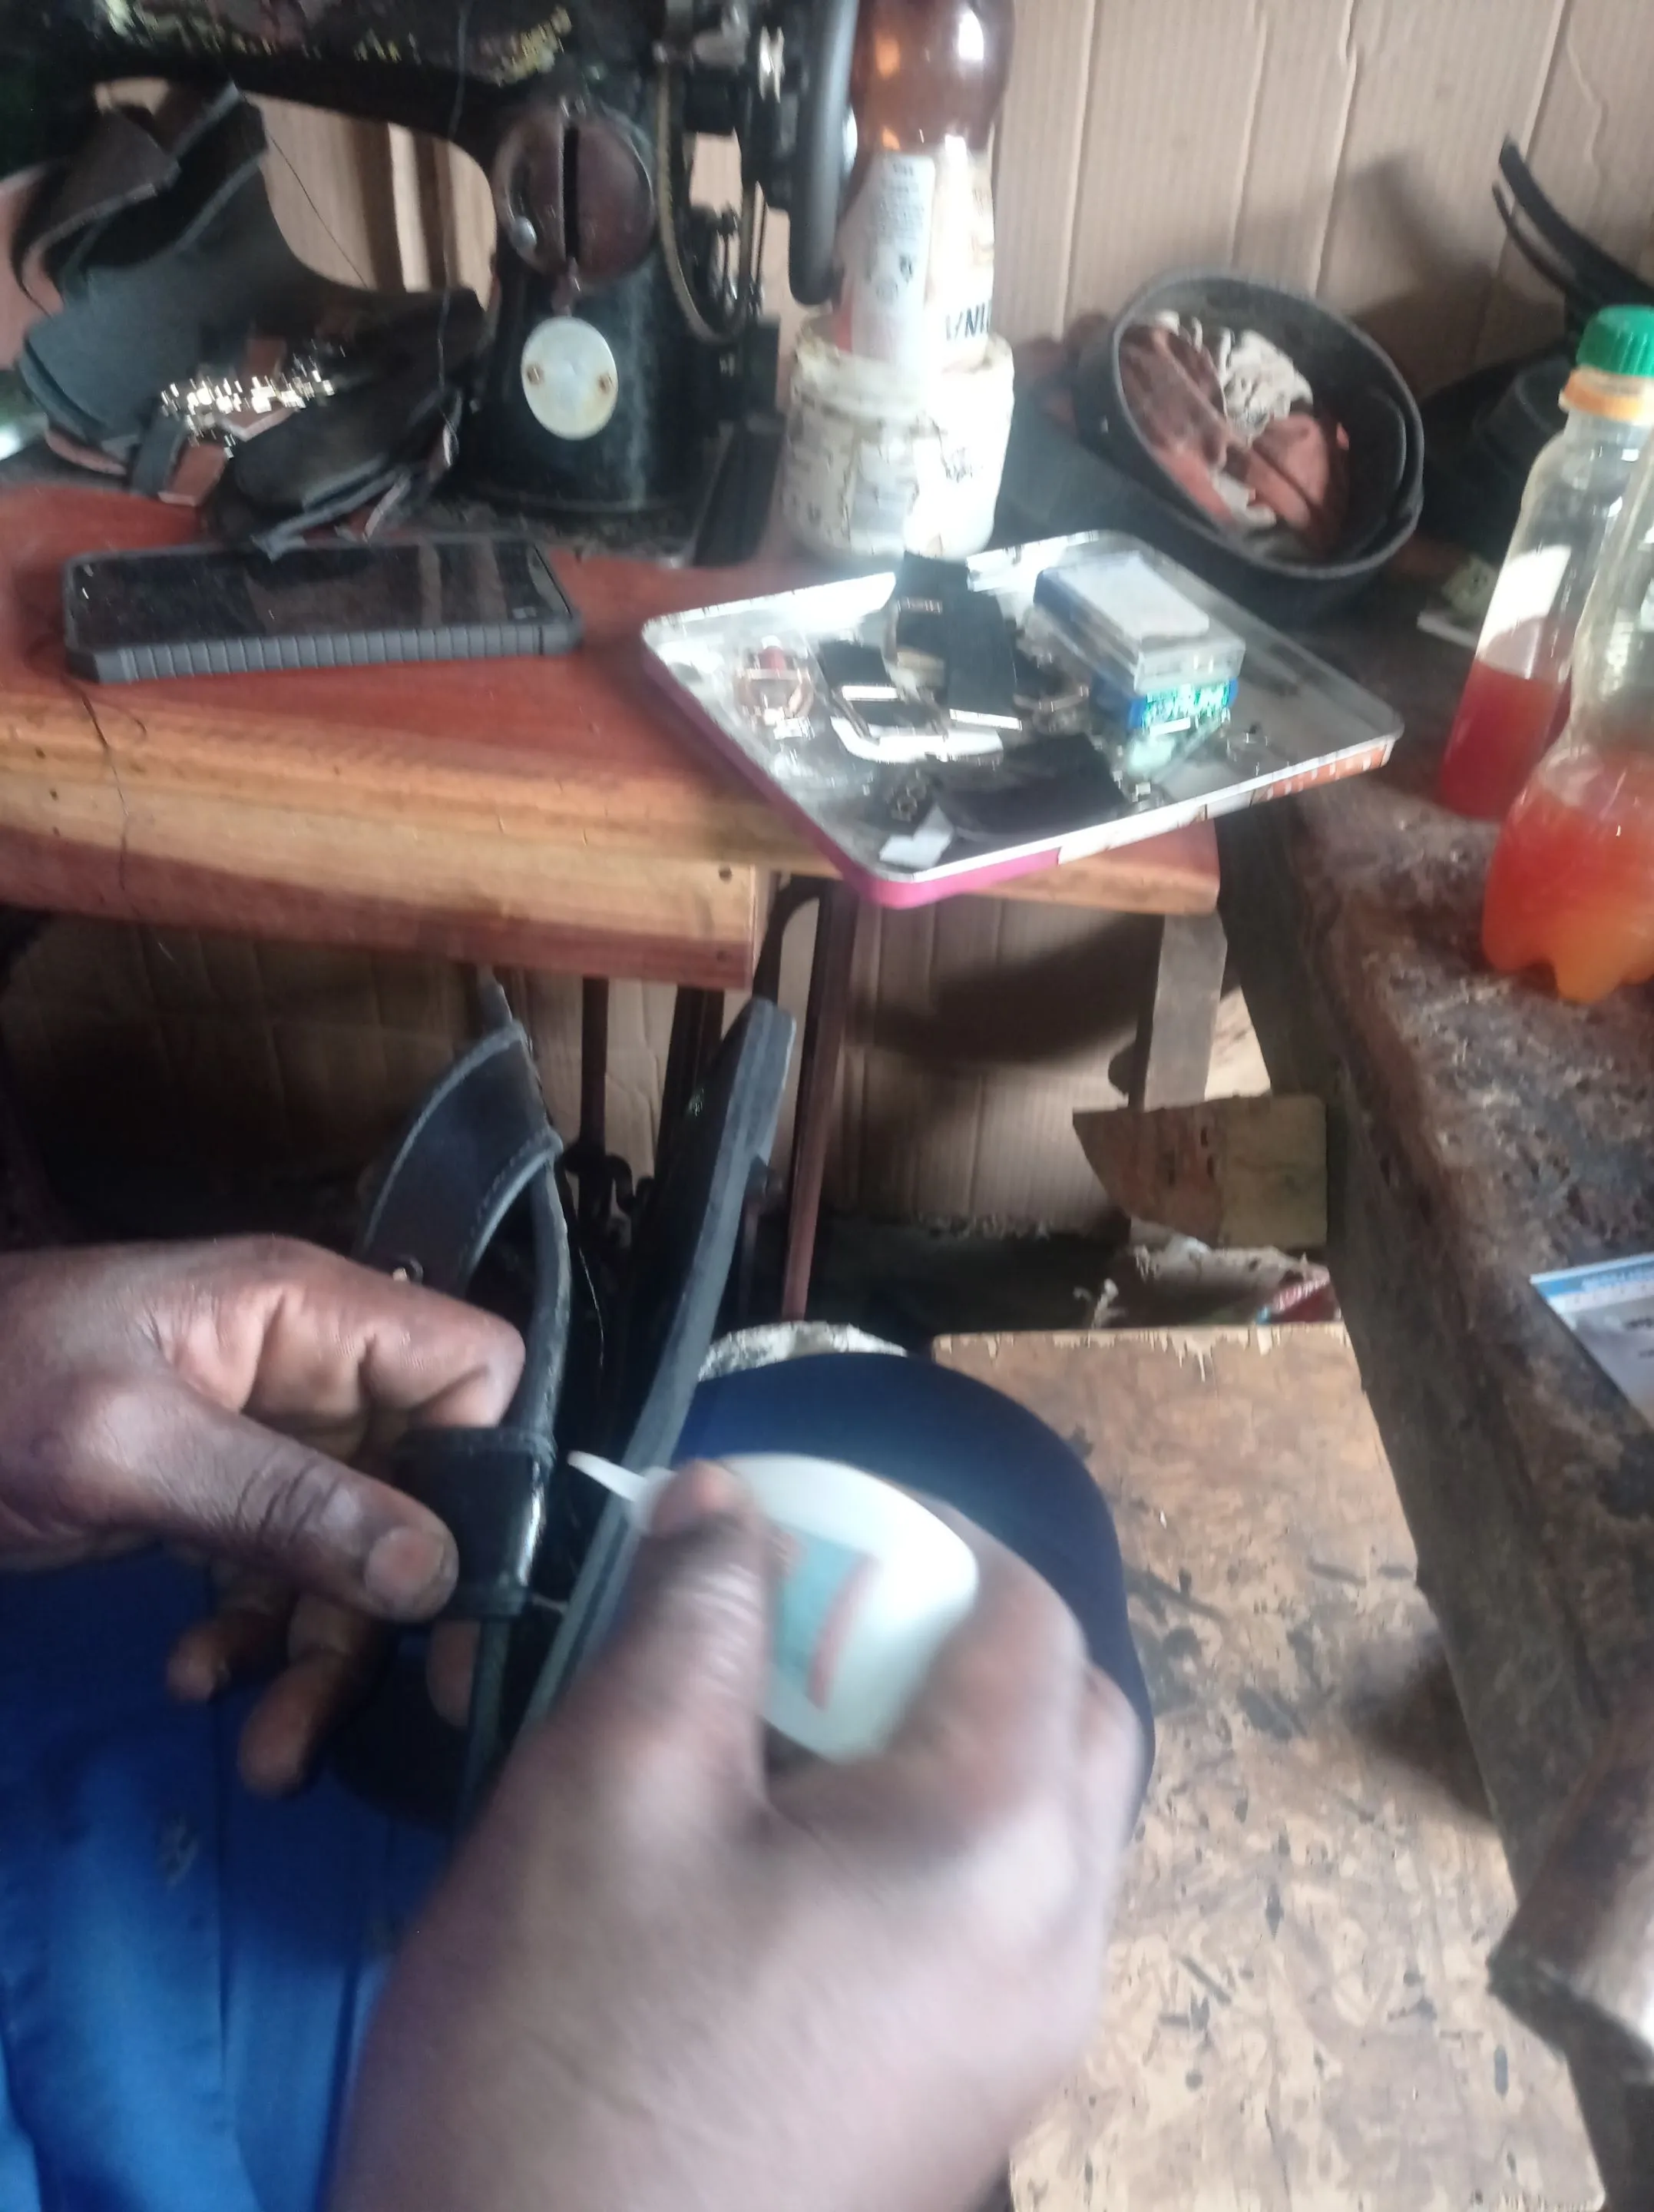
https://files.peakd.com/file/peakd-hive/vickoly/23t7DKQuANApv95zLC7XkAX7EwRQi3ZwkcZ8cfH3SnE8cDgJWYMeNfF87sbhkw6PhSphY.png
Once joined together, and being hit with hammer, here is how cute our Pam Slippers is gonna look like.
https://files.peakd.com/file/peakd-hive/vickoly/23wMYaGs3aLF28s7GdBry6WwQeB3cmSP8X8p8uRgPiWVvu8HL7jZPkzZ3uDmABagqwywC.jpg
https://files.peakd.com/file/peakd-hive/vickoly/23t7DKQuANApv95zLC7XkAX7EwRQi3ZwkcZ8cfH3SnE8cDgJWYMeNfF87sbhkw6PhSphY.png
Thanks for coming with me thus far, with the help of the above listed steps I believe you can do something like this, and if you have any questions, feel free to ask in the comments section.
Greetings from: @vickoly
Return from Step By Step Tutorial On How To Made A of Pam Slippers to vickoly's Web3 Blog

