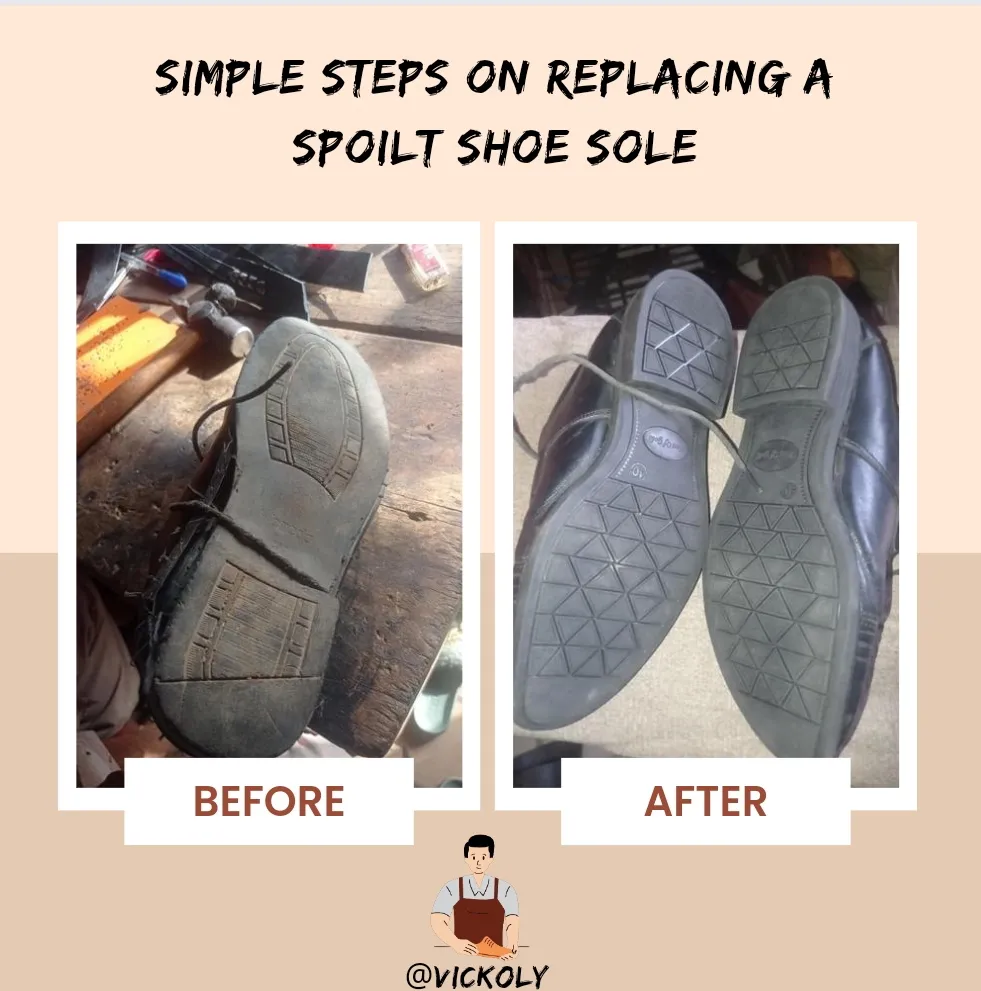
Hello everyone, welcome to my blog, I hope you're all doing great. Today I'd love to grace your sight with another of my shoemaking repair hacks; just like I shared on how to place the Birkenstock sole a few days ago, today I'll be showing the process of how I replaced the old sole of my customer's shoe with another new sole.

To help him replace the sole with something great that will last a long time, I paid a visit to the market and purchased a new sole, and after that, I returned to my store since I already had every other item needed to replace the sole. And I believe these steps will guide you in case you encounter such a problem with your shoe at any time.
https://files.peakd.com/file/peakd-hive/vickoly/23x1abcXk2RqBSvQFCTSyjYUtnF9iuT4h69CRd45vXCLbNJS2b6593xDrPS9a4HbdhNgp.png
USED MATERIALS
- Rubber sole
- Oci gum
- Brush
- Cutter
- Scrapper
- Super glue
https://files.peakd.com/file/peakd-hive/vickoly/23x1abcXk2RqBSvQFCTSyjYUtnF9iuT4h69CRd45vXCLbNJS2b6593xDrPS9a4HbdhNgp.png
REPLACEMENT PROCESSES
- The first time I did was to use my cutter to cut out the thread holding the old sole to the shoe, so after separating them from each other, I use my scrapper to scratch the new sole and the back on the shoe to remove all dirt and sand and has made make it surface rough.
https://files.peakd.com/file/peakd-hive/vickoly/EoyPwoYfLQwCKeBNqsUcG8oZRuR6hTRD348CzUANuh1P3dJm26VkedU57QuAcVA97bN.jpg
| https://files.peakd.com/file/peakd-hive/vickoly/23xek6fi8BMuMFAYt8kH5ZqTxgDCXGVEP7GXGq8SjwcfrLkULBJ2N1k3KcXUSxe2uh4zq.jpg | https://files.peakd.com/file/peakd-hive/vickoly/EpCAupfBtS2UPHvwuhXHPNPzoXYdrTpVENKHXVwWeYPeZ9gJdLFM6m1Gai5TBpGsRdB.jpg |
- I pick the new sole and use my brush to rub the oci gum on it, I also did the same for my shoe upper part, and by the time I was done applying the gum, I out them down for some time.
https://files.peakd.com/file/peakd-hive/vickoly/EokdX6P87FckEdqZ7z8AccVeEvW9cgQF7saf6hR8oAinpEBjDPCE3nDD6gxTGcziw1w.jpg
| https://files.peakd.com/file/peakd-hive/vickoly/EqYsmWVqnj3fMsSR4Y6rUgucUXQeMJCnD29DFAqHb2nFLVcSb2MhT8JjLuXWFvMC35V.jpg | https://files.peakd.com/file/peakd-hive/vickoly/23zRxwHEarBM9iZg2VSLYnY5RwkjnK625oxgV6EwJ2eHMKZz5hL6CoWgLPG4TzaSm3yzk.jpg | https://files.peakd.com/file/peakd-hive/vickoly/EpXK4NX4EezGV4G9UnDb7DrLQsxTuYQJu7xA3gNhMpmKjnvnfjCKLP4zNPDxWHwRHTu.jpg |
- When it was dry enough, I pick my super glue and apply it around all the angles of the rubber sole, and after than I join the runner sole to the upper of my customer shoe.
| https://files.peakd.com/file/peakd-hive/vickoly/EopsyQM319ytuPXTXKzHTXMwKDfzc6Xr7iAyXhjnNE3iHyt5eAGqGH3vU3AR9u4YKEo.jpg | https://files.peakd.com/file/peakd-hive/vickoly/EpJY58vfuugsfEKCZiRnGLGzqLB2aUuvXtYdYTCb1P3Afr1Fr9oiBtyAb83x3iYMgcP.jpg | https://files.peakd.com/file/peakd-hive/vickoly/Eokcbv5VhNjV48VPsNrdL3pFDr4NHmmZrTPj3ejpCN4zjvkDvHFbF7Rw9RvbmHfnhKM.jpg |
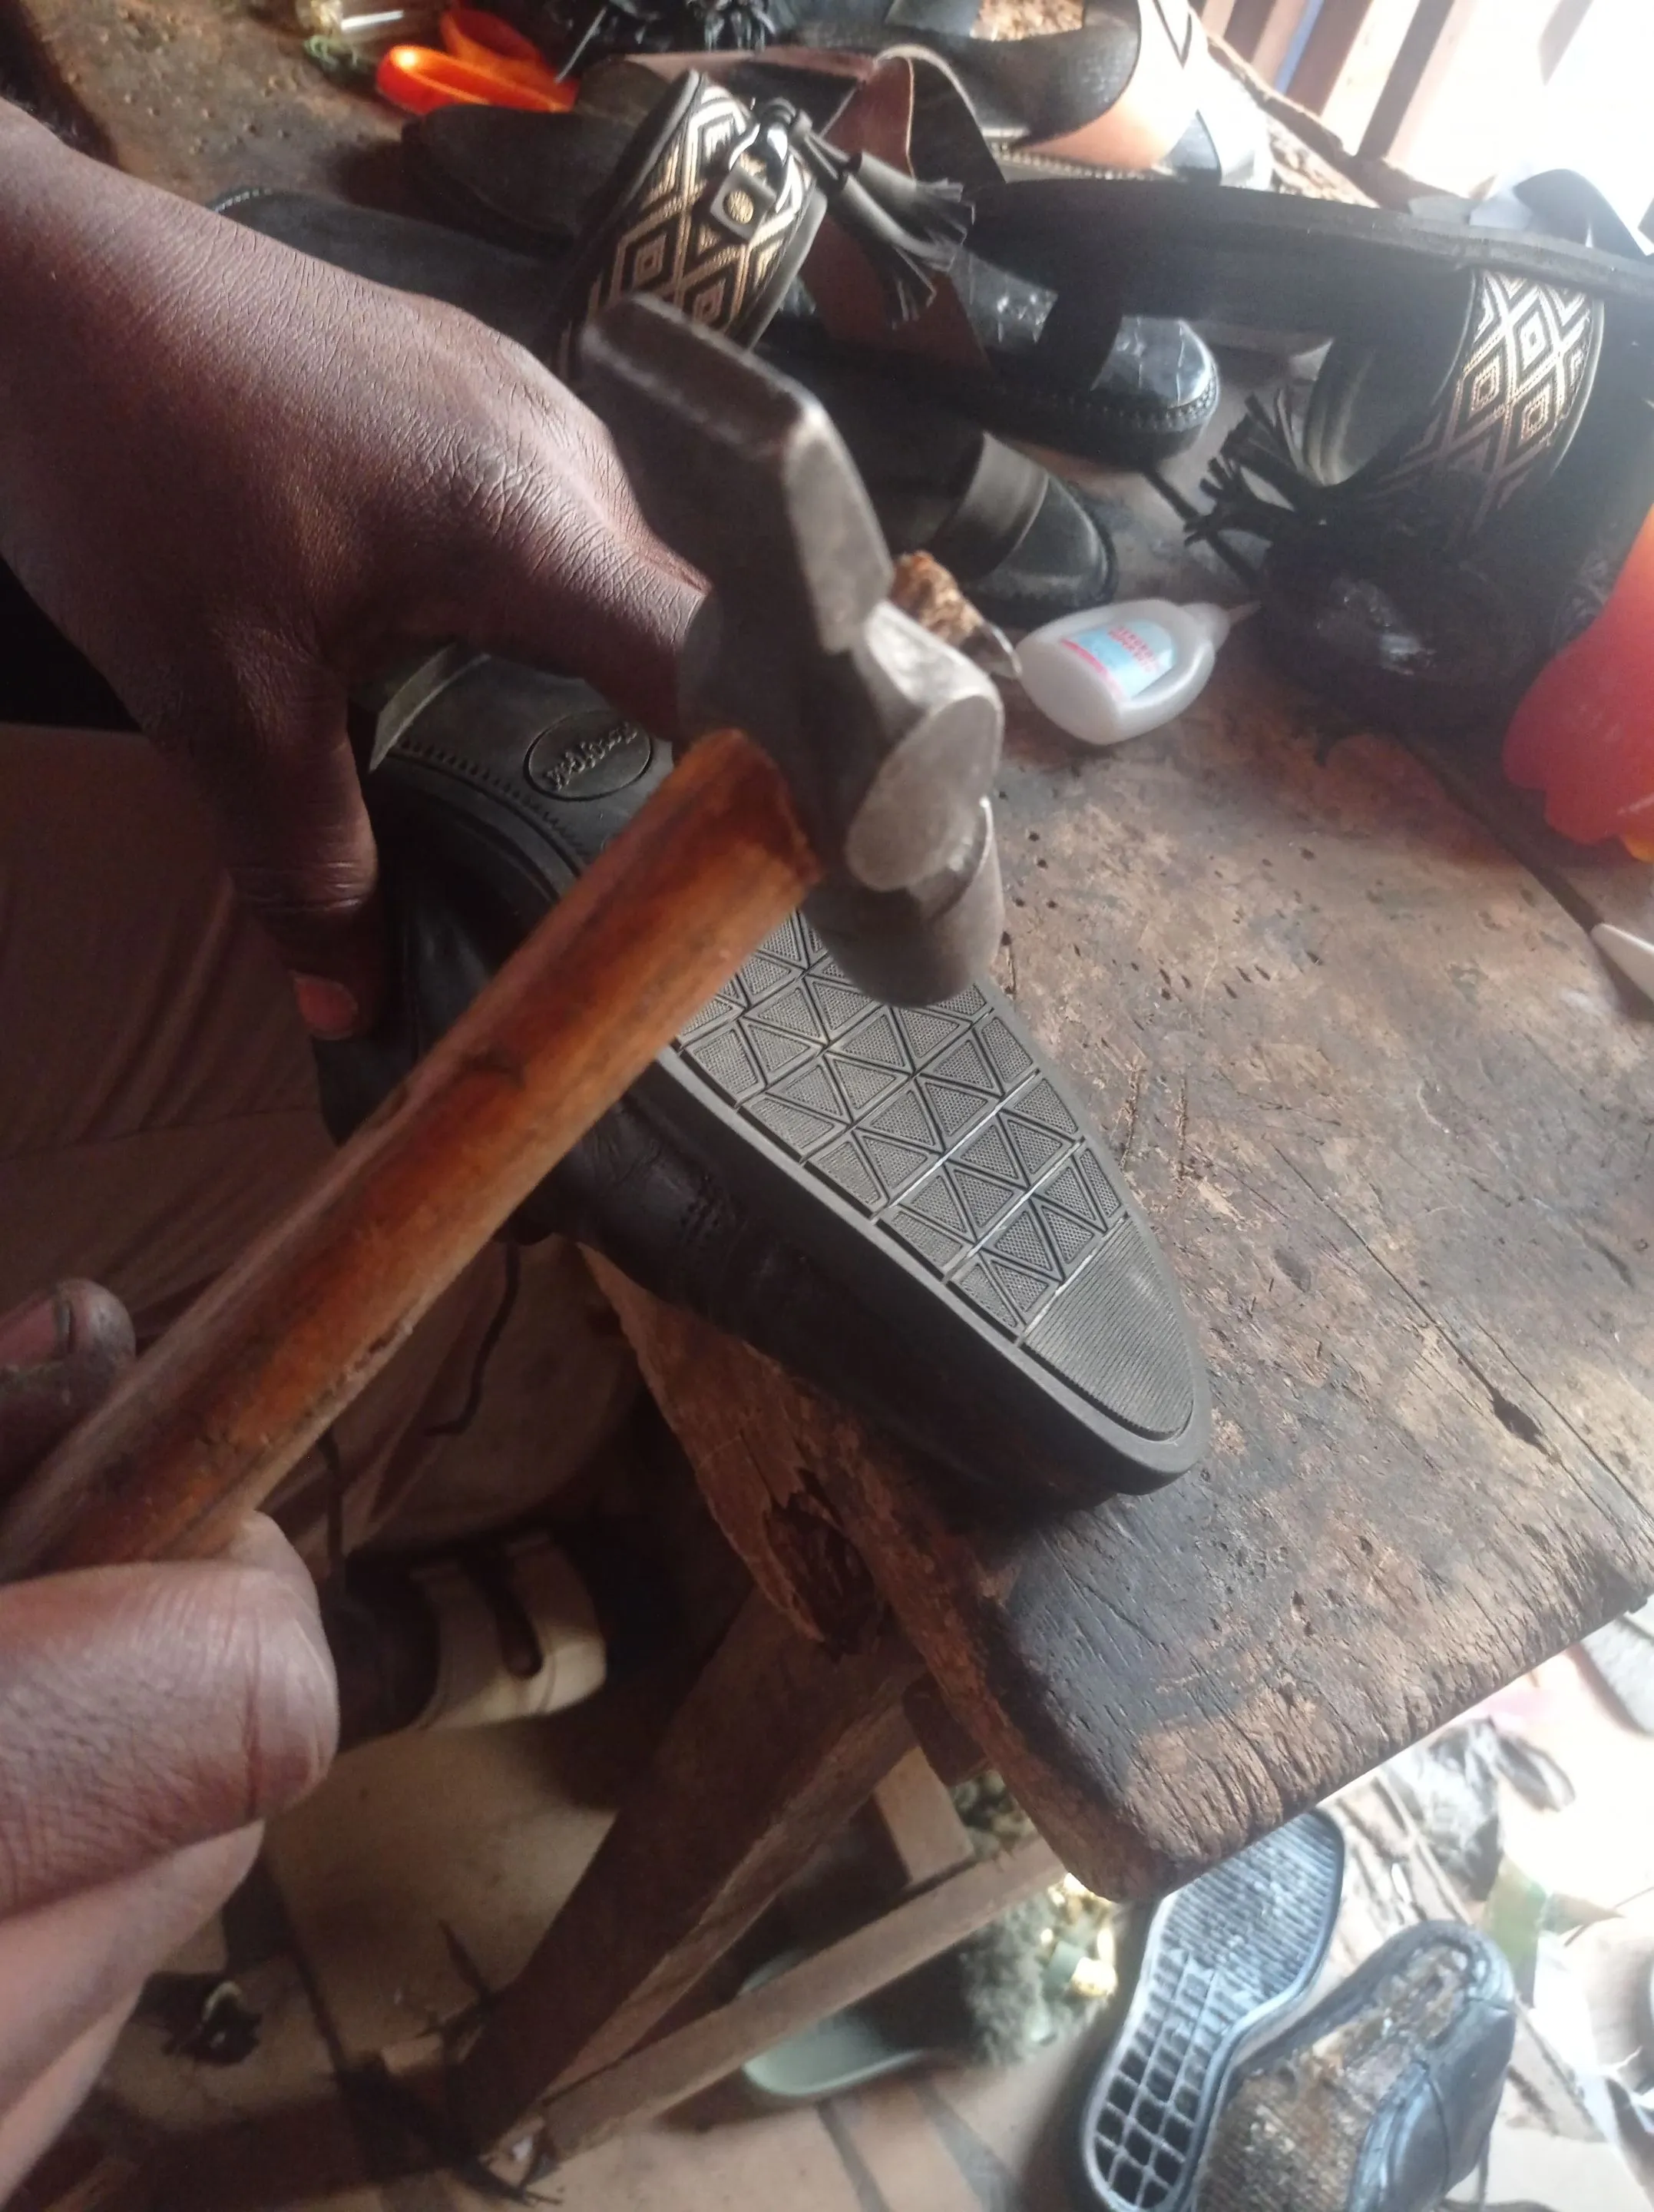
- immediately that was achieved and I see that's it's good, I pick up the hammer and hit around the new rubber sole I just joined to the shoe.

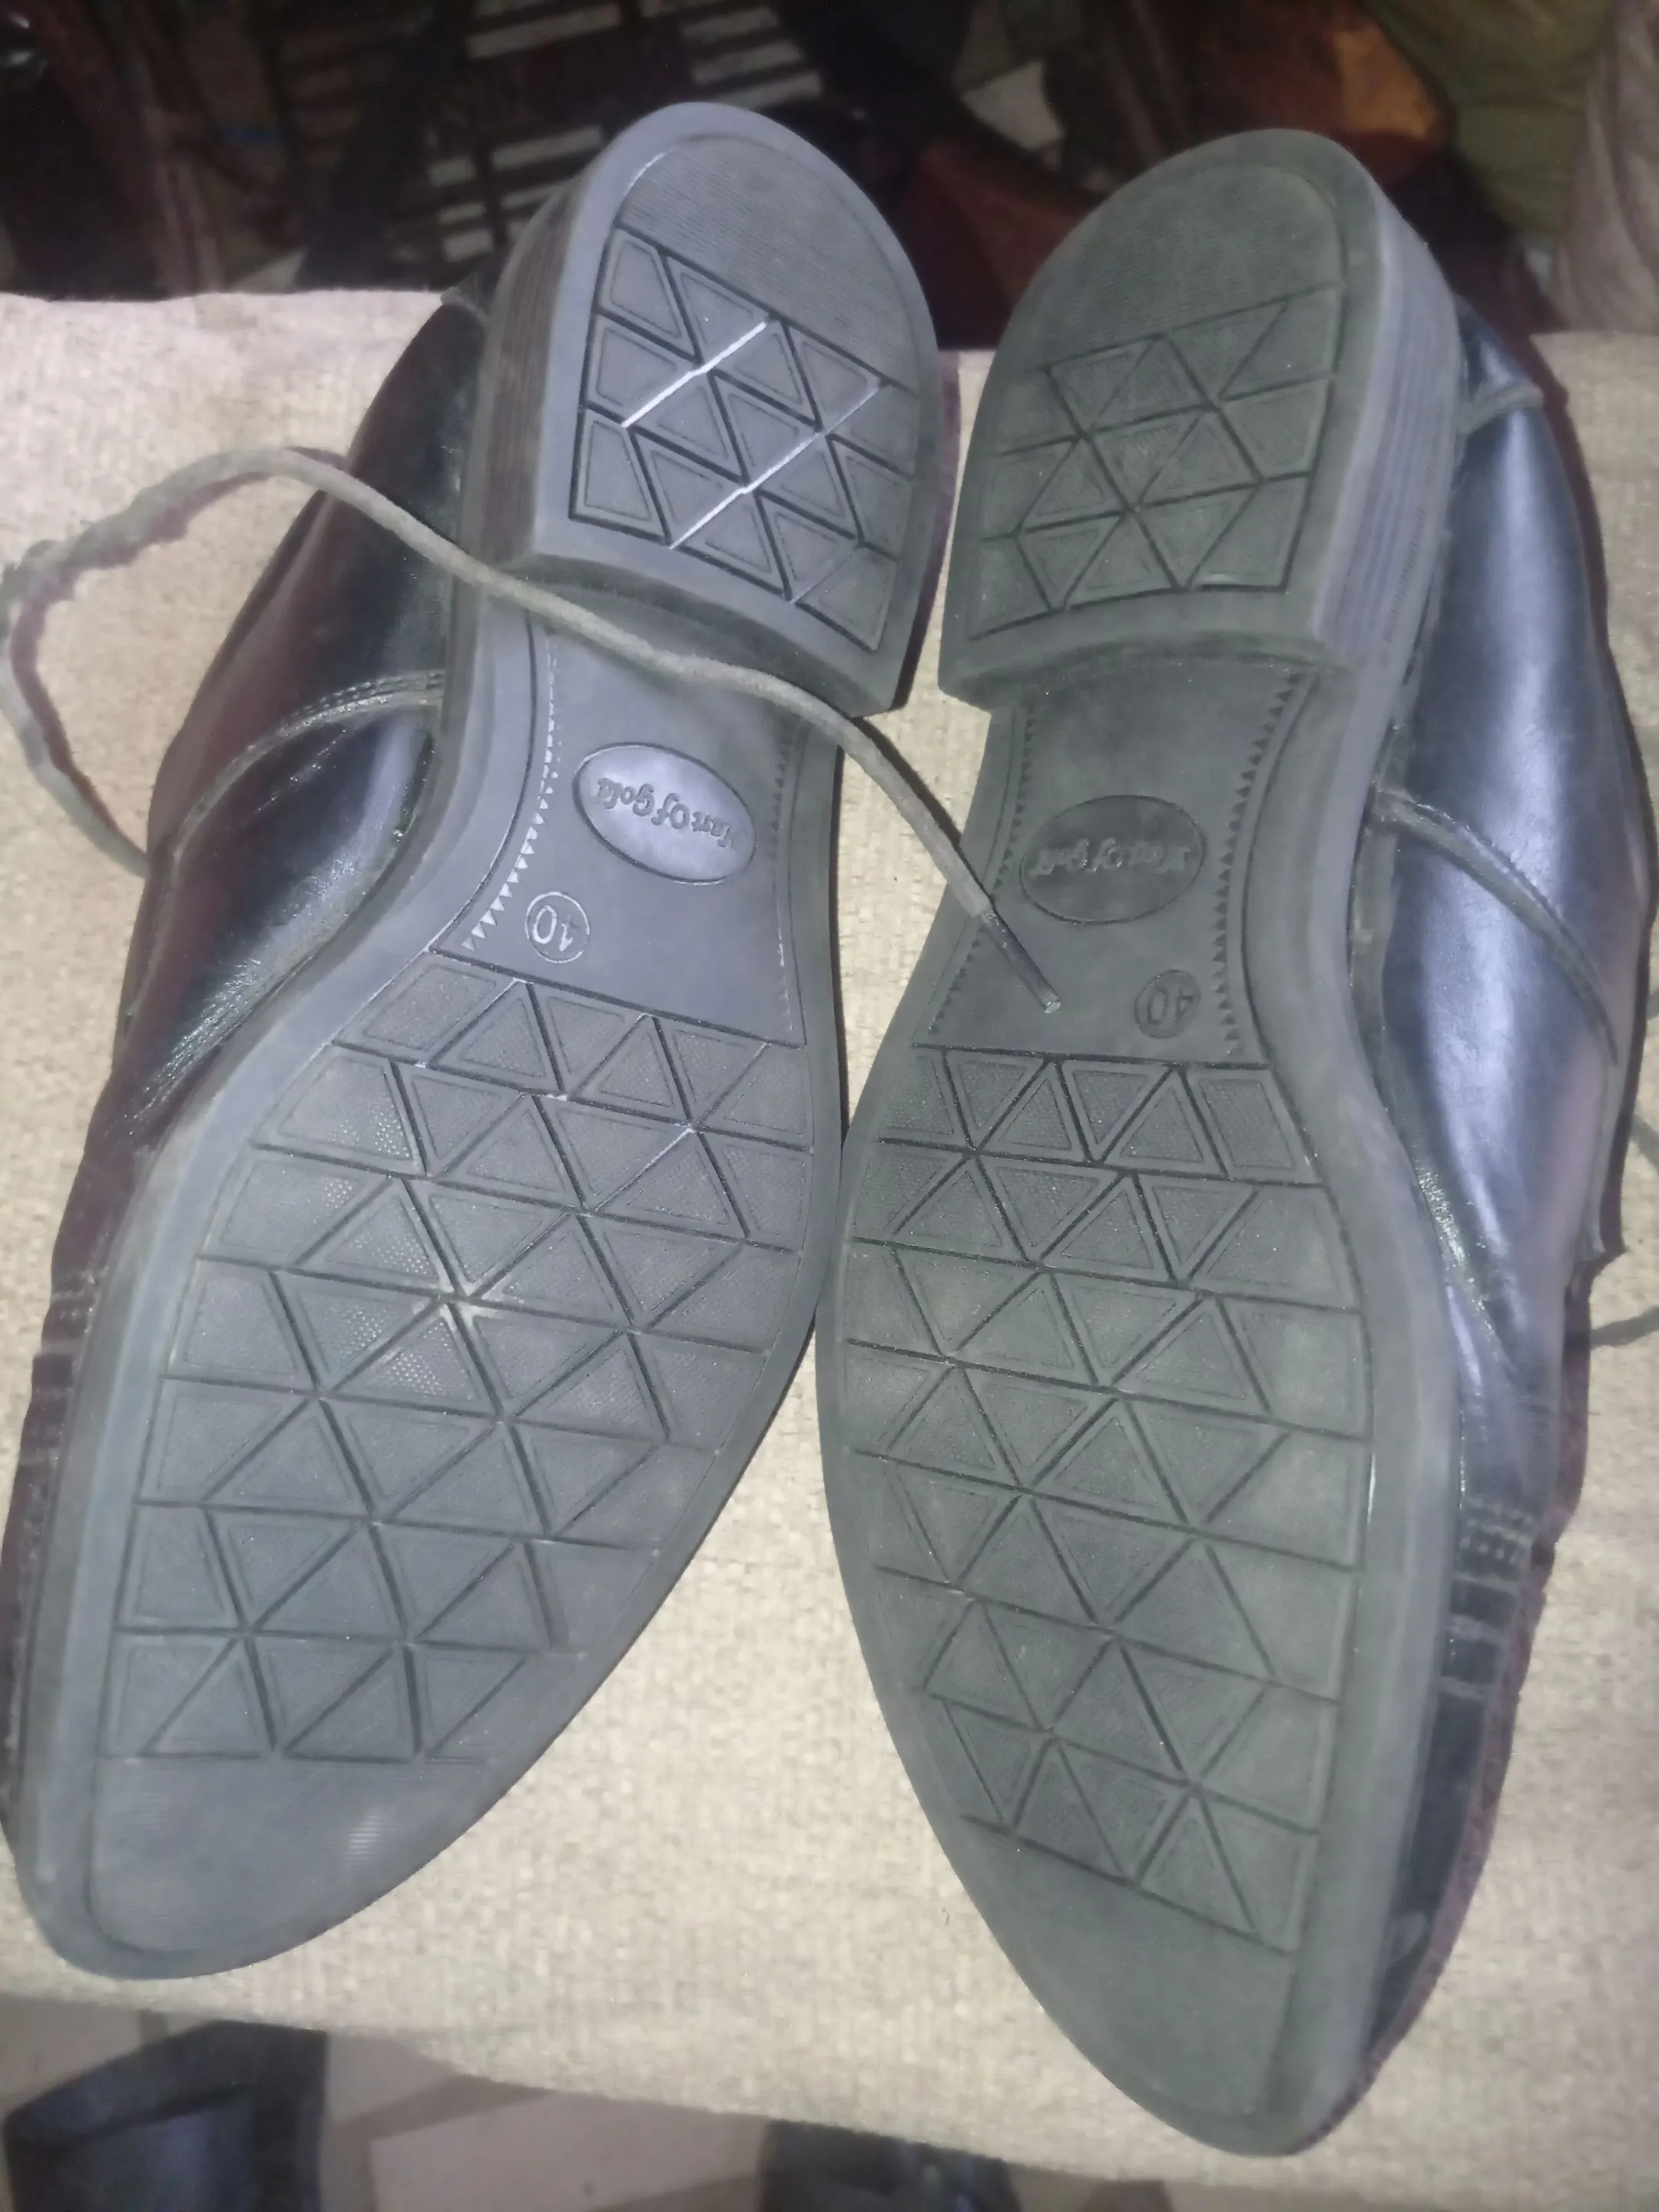
- After joining the new rubber sole to my customer shoe, here is how it now look.

https://files.peakd.com/file/peakd-hive/vickoly/23x1abcXk2RqBSvQFCTSyjYUtnF9iuT4h69CRd45vXCLbNJS2b6593xDrPS9a4HbdhNgp.png
This is a simple do-it-yourself guide that I'm hoping will be of great value to you and help you in the future in case you decide to fix or replace the sole of your shoes whose former sole ain't that good anymore.
Thanks for your time, have a blessed and productive day ahead.
Return from Simple steps on replacing a spoilt shoe sole to vickoly's Web3 Blog

