Top of the morning to everyone in the Needleworkmonday Community and hive blockchain at large, it's Monday, that's the beginning of another week filled with many possibilities and goodies, and I'll love to take your through a simple illustration of making a Slippers from scratch.
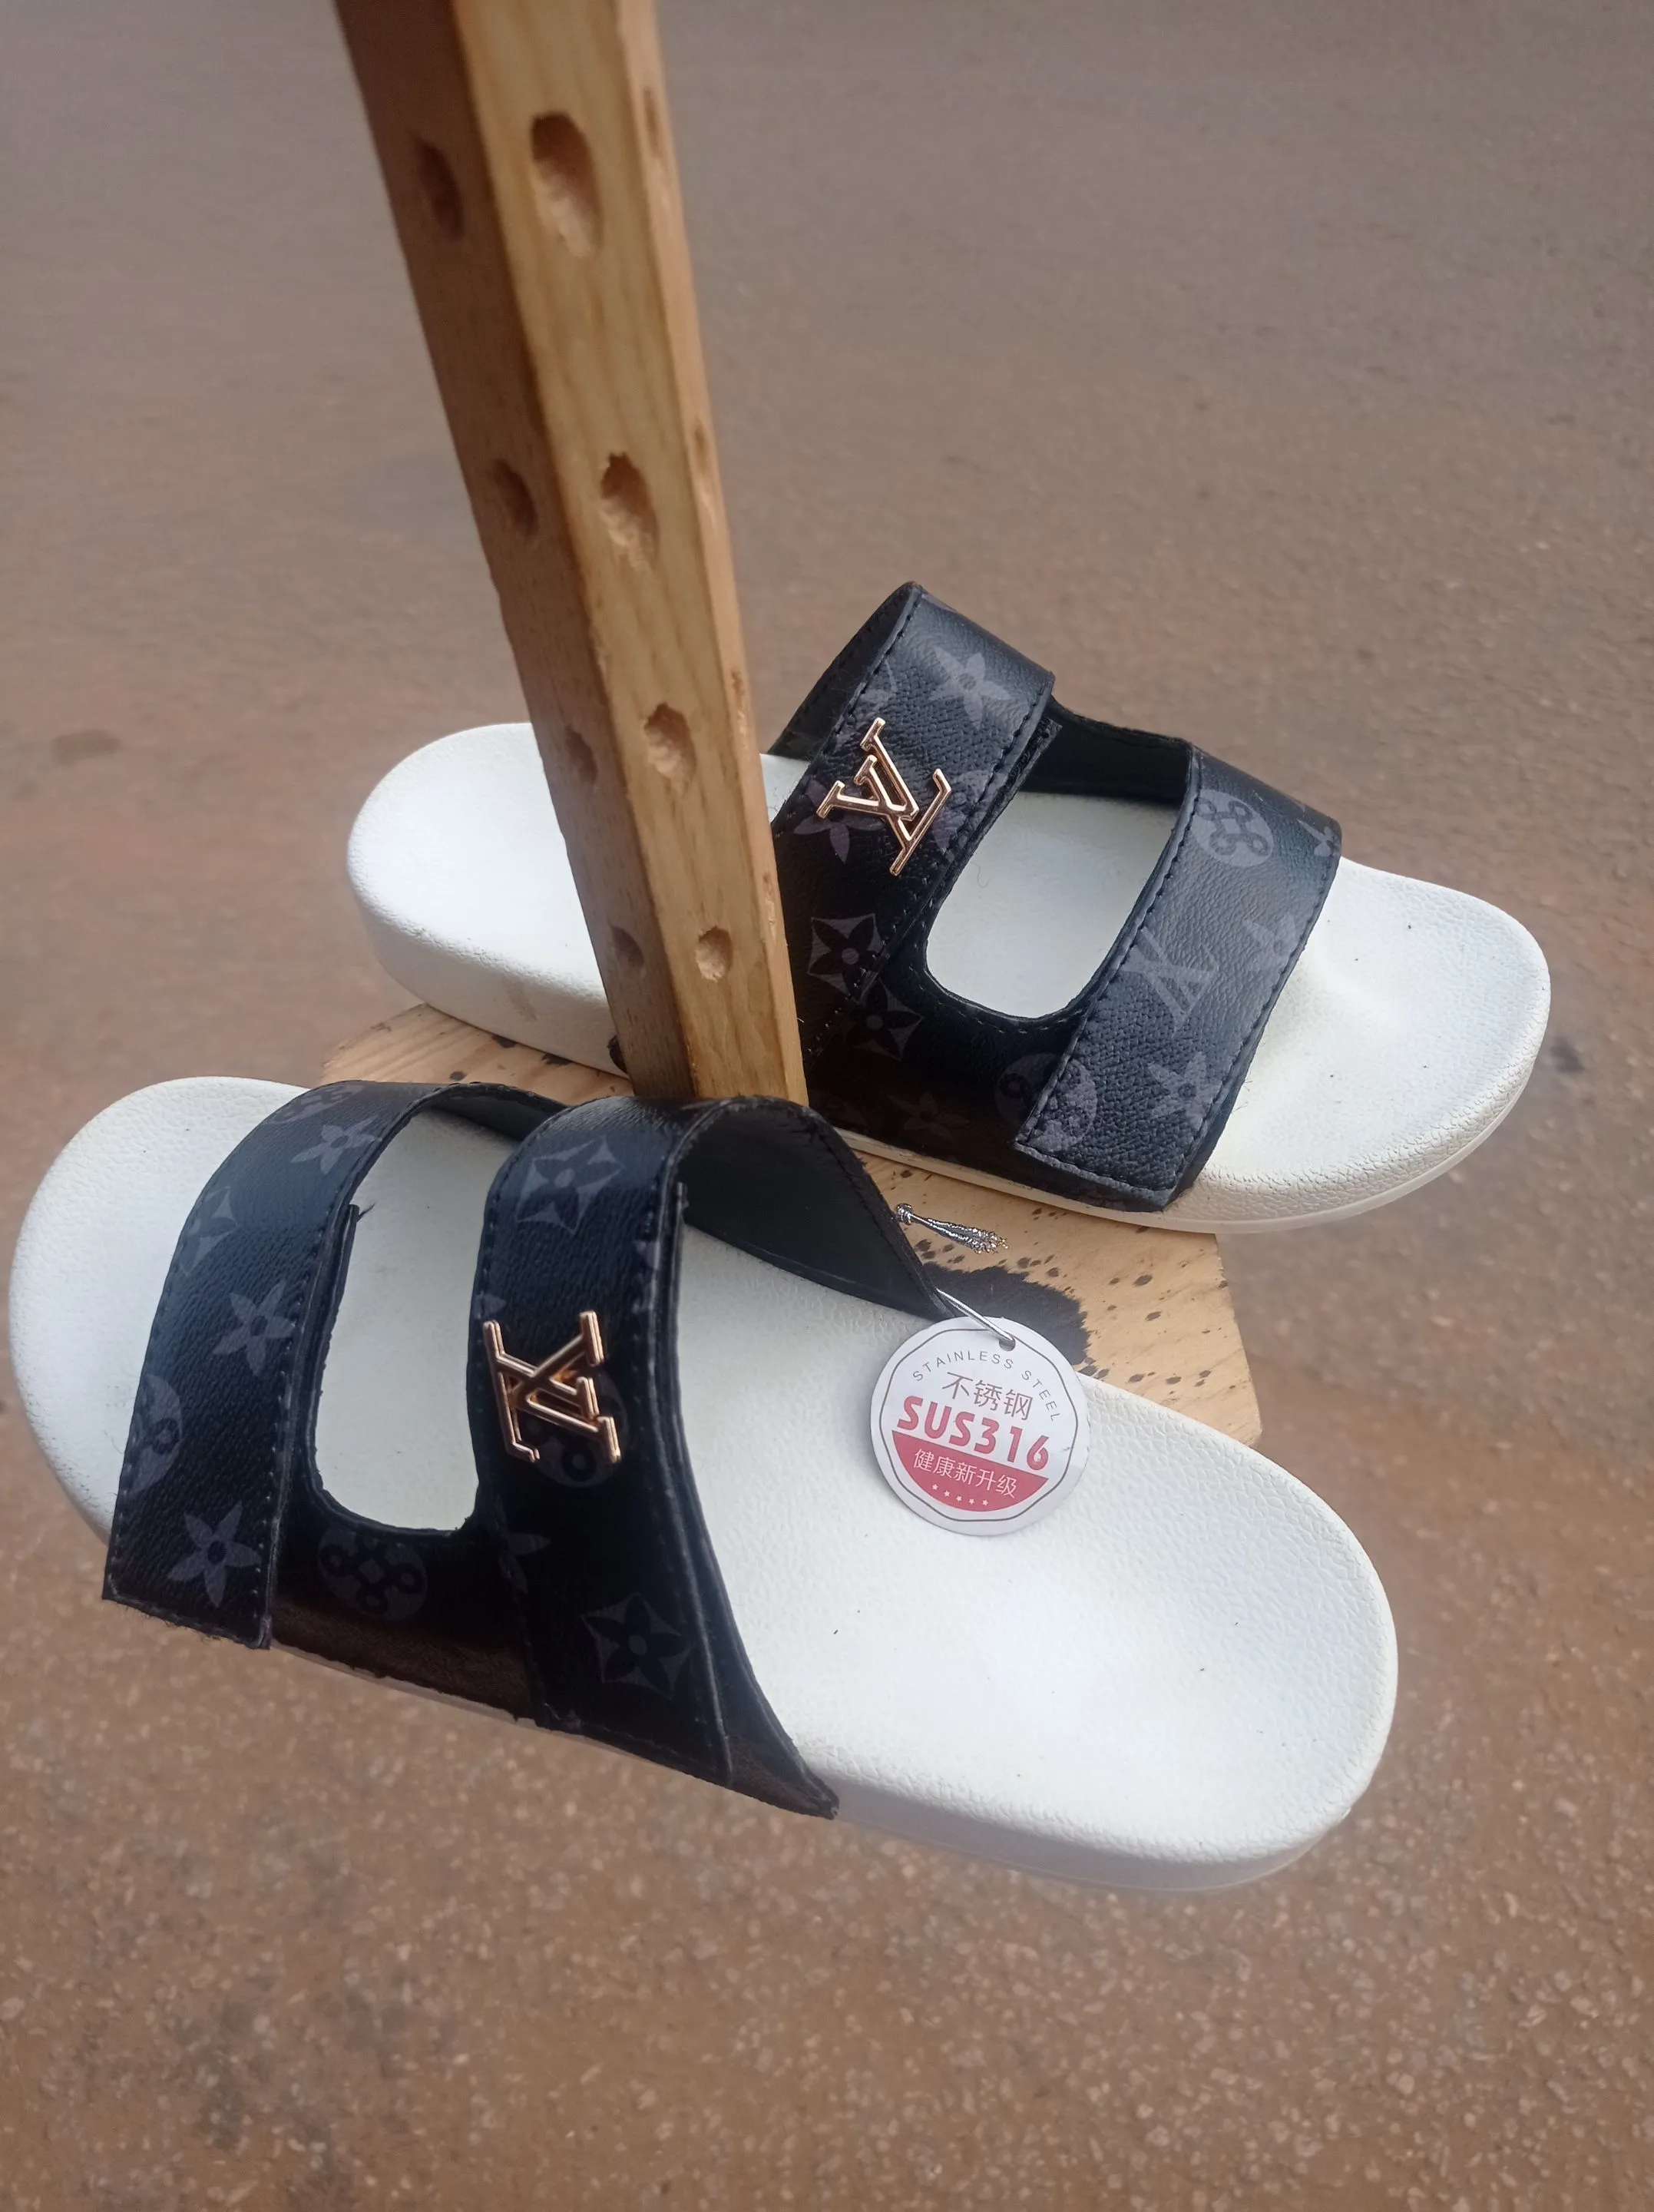
But before we gat to the illustration part, I'll like to take your through the occurrence that lead to me making this footwear, it happen that a very close friend of mine, who has a great taste for luxury and style called me over the phone that he recently purchased a Luis Vuitton brand clothing, and would love to have a footwear of the same brand to wear to an upcoming event.
This he did because he can't afford the real Luis Vuitton footwear, so he felt he should patronise a handmade footwear maker to help him craft a footwear with the brand logo, which will look good and hard to differentiate from the actual once made by the brand, so we while still on the phone, we discuss price, and when we come to a consensus, and I began work on this project, which is as stated below;

MATERIALS USED
- Luis Vuitton branded leather material
- Linning
- OCI Gum
- hook and loop fastener
- Luis Vuitton logo
- Super Glue
https://files.peakd.com/file/peakd-hive/vickoly/23tGY9WyptPC1AUJJ1sKjgZ6AqU1cnRBPHbJVVqKLMcSTEg8iuX4Hvi65u2xBB7G94znb.png
ILLUSTRATION OF MAKING THE SLIPPERS
- In making a footwear for a complete novice or someone who's just learning how to make Footwear, this type of readymade sole is what is advice to be used by such person, because there won't be a need of cutting the shape of the Insole or outsole, cause the sole consist of both, and a space as been shape out to easily guide you on where to attach the upper of your Slippers.
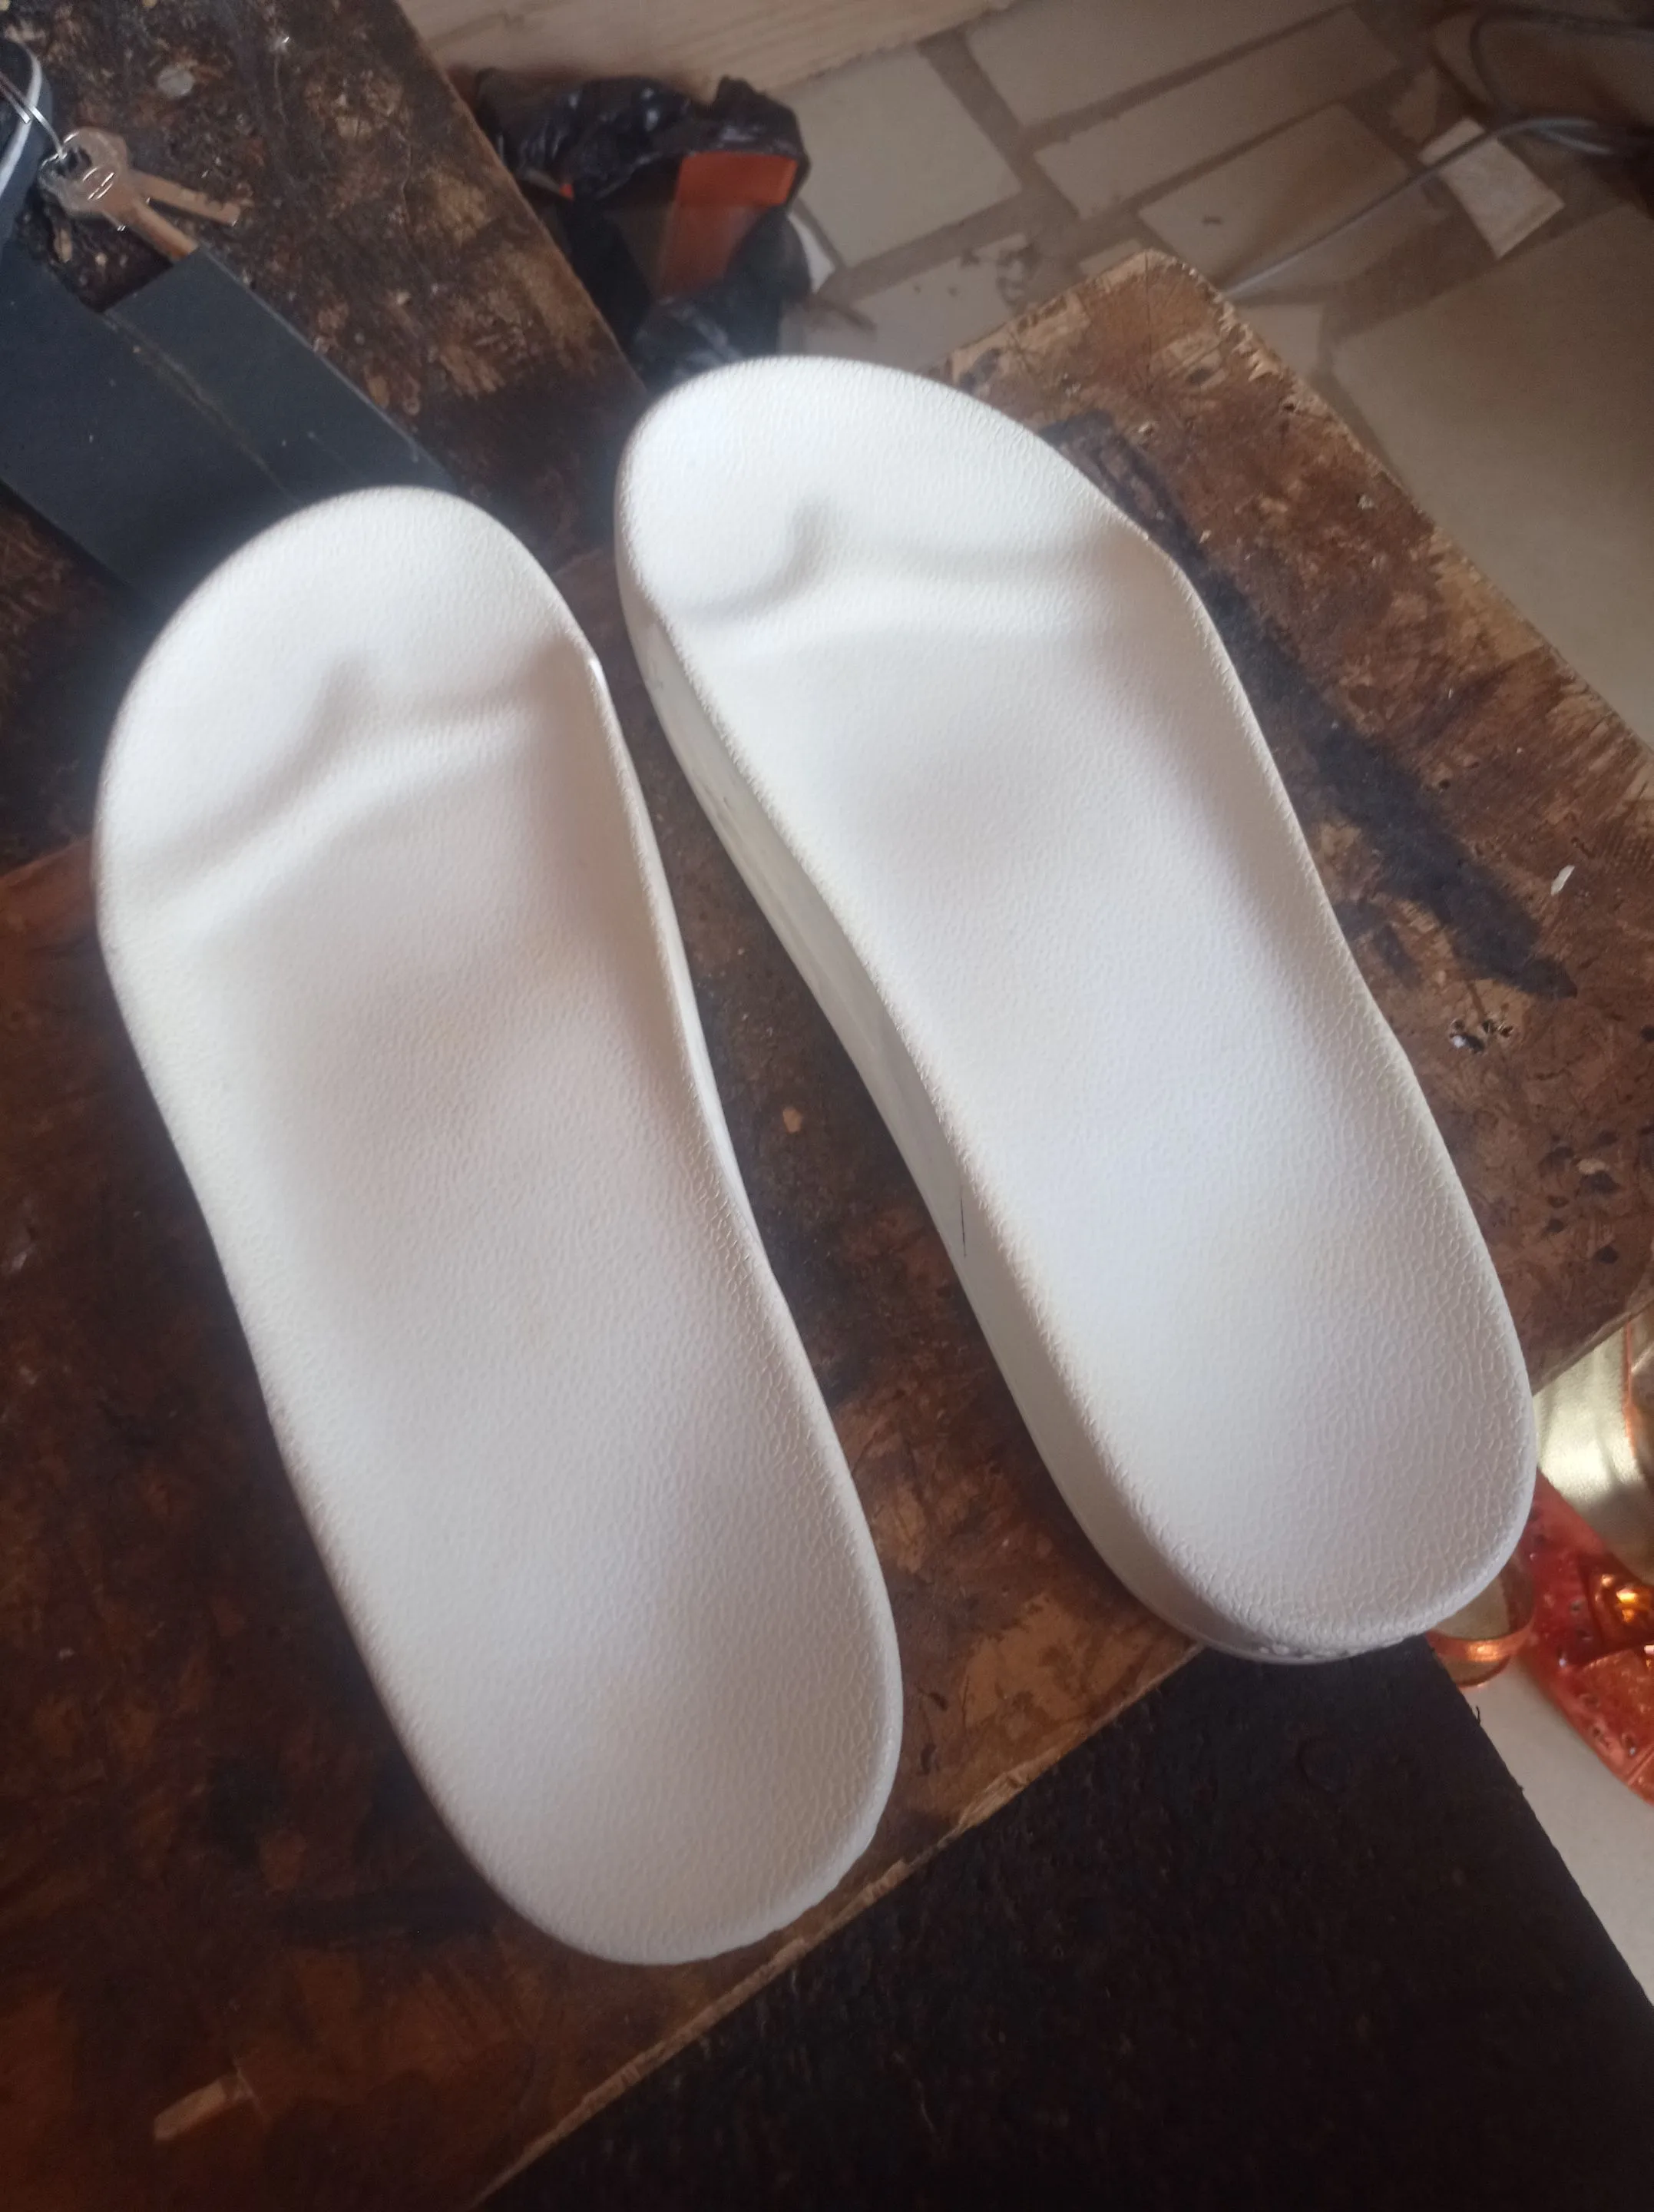
So this sole obviously made our work easier, and all your have to do is cutting other the upper into your desired shape and attaching it to the stipulated parts that as already been engrave on the sole.
https://files.peakd.com/file/peakd-hive/vickoly/23tGY9WyptPC1AUJJ1sKjgZ6AqU1cnRBPHbJVVqKLMcSTEg8iuX4Hvi65u2xBB7G94znb.png
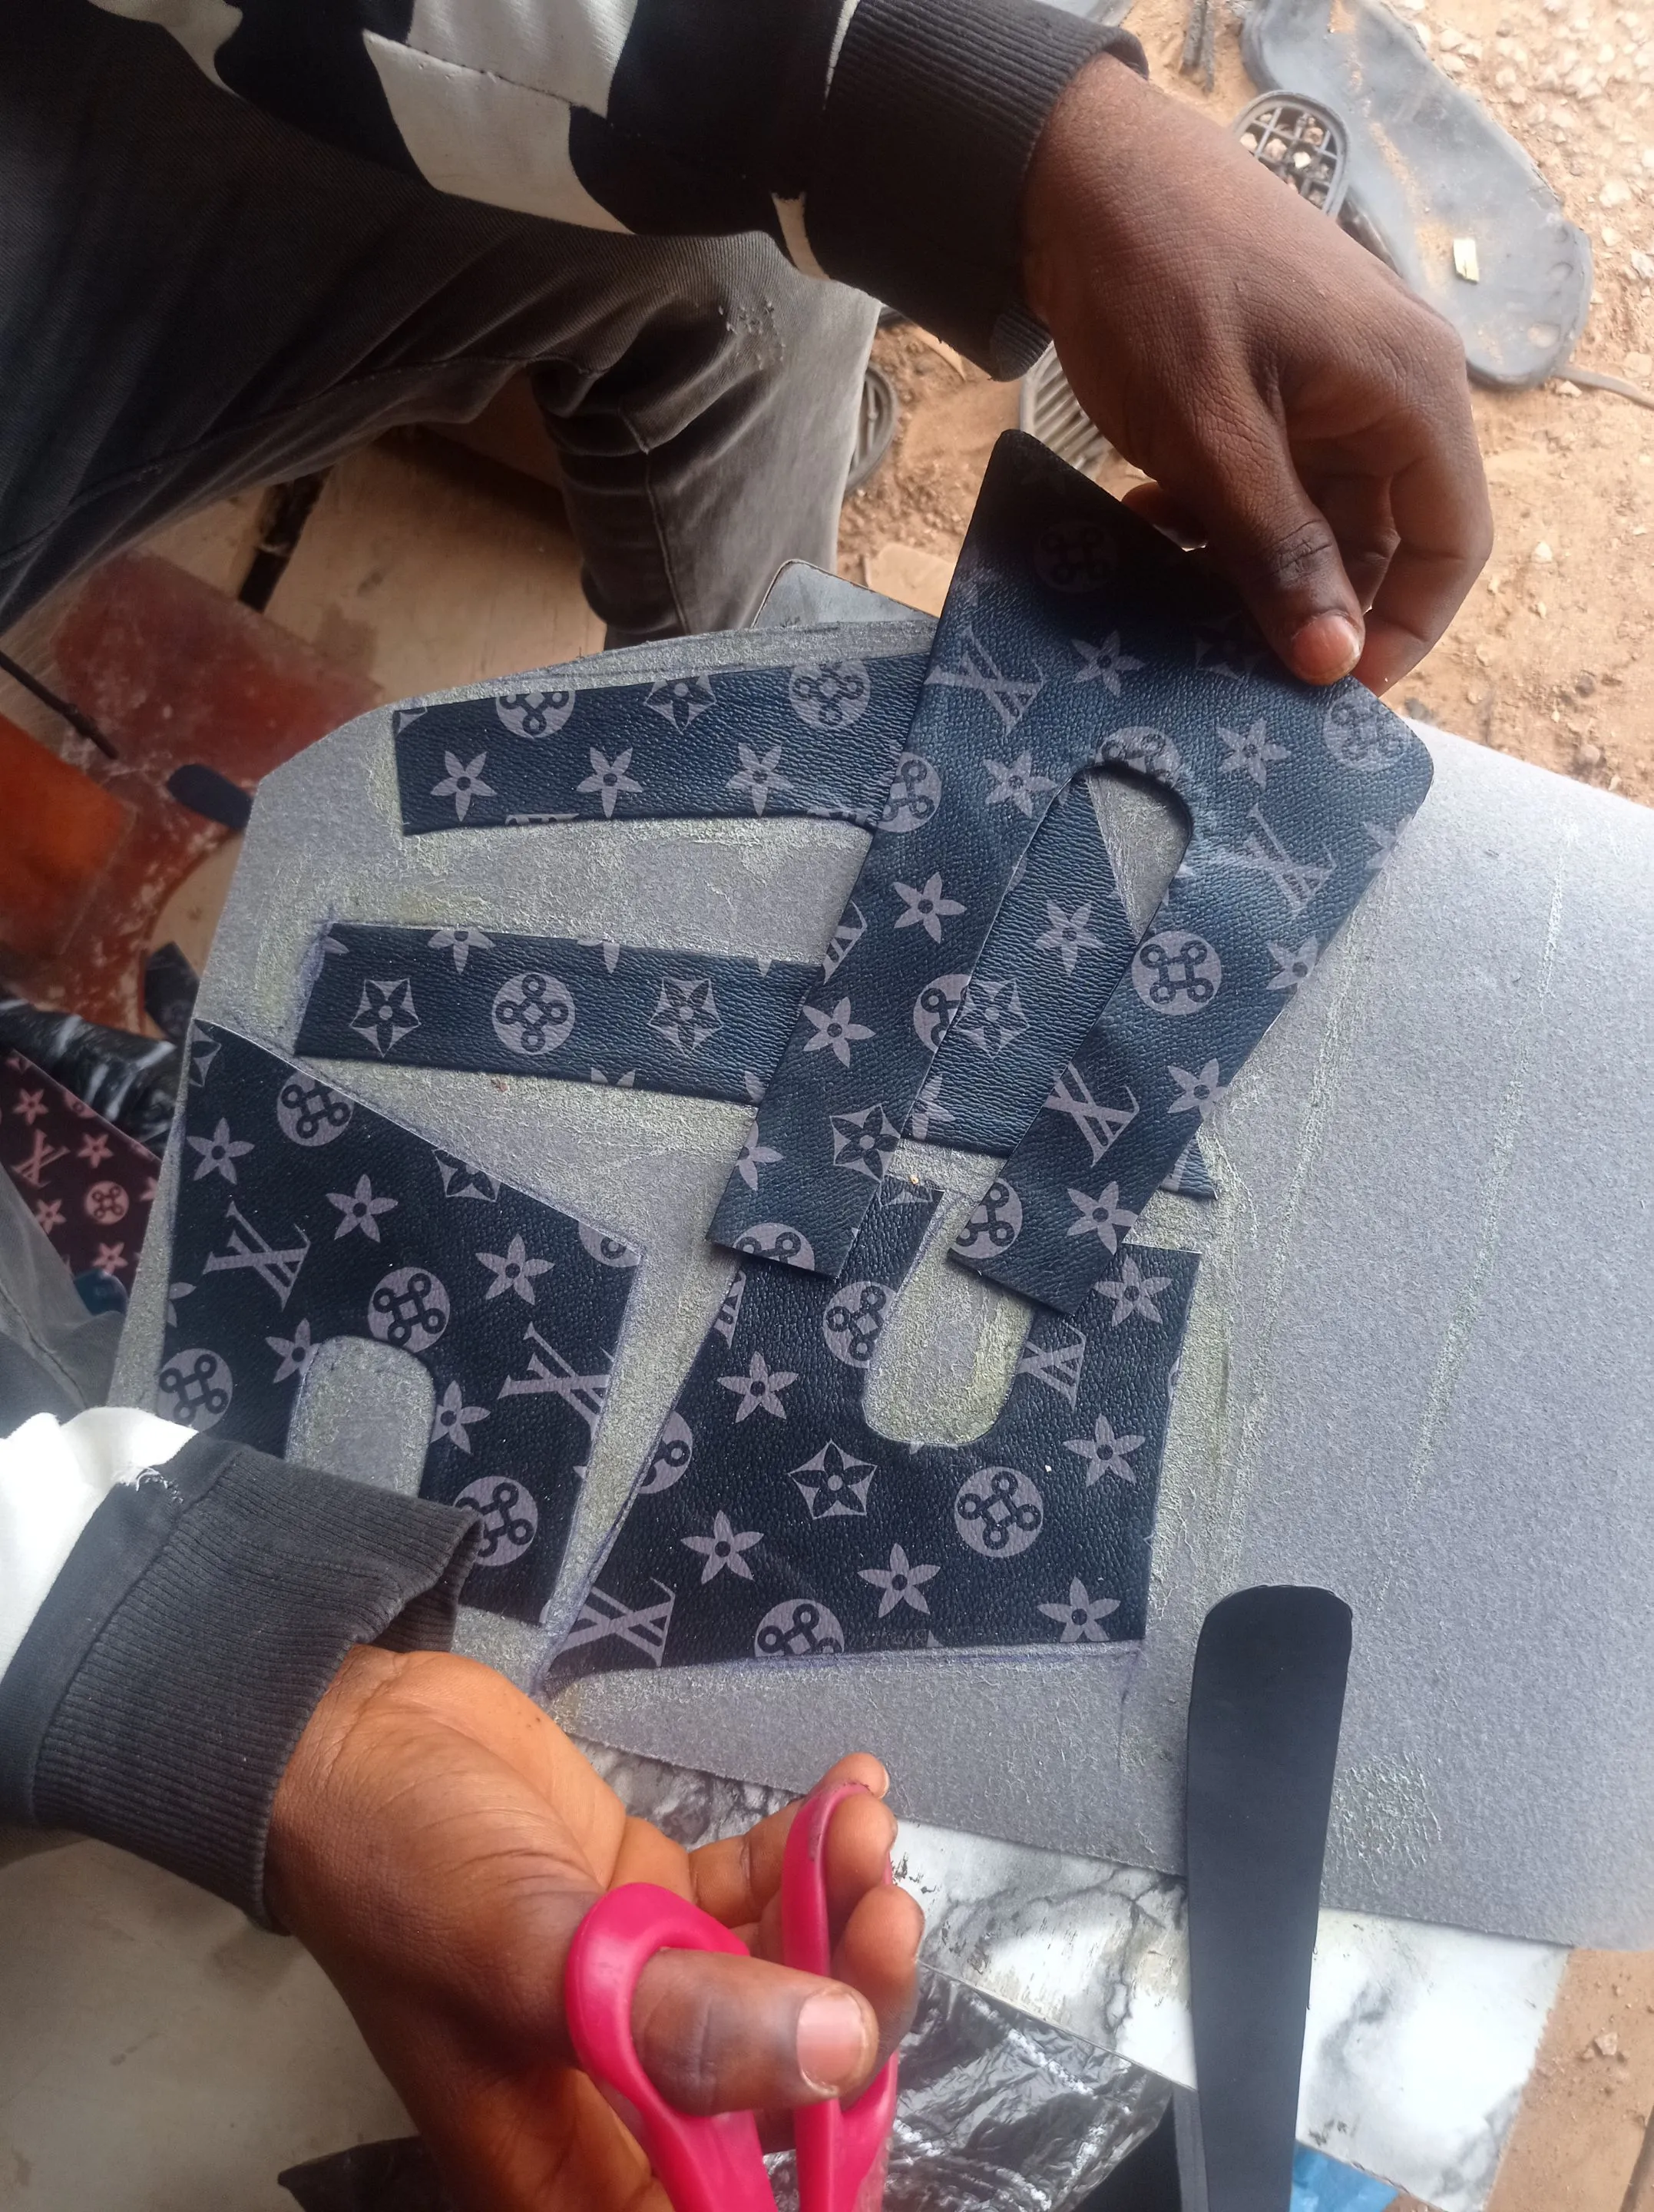
- So the first thing to do after purchasing the sole and other materials, is to cut the shape of your upper, map it out in a linning, rub gum on both, them cut it out.
https://files.peakd.com/file/peakd-hive/vickoly/23tGY9WyptPC1AUJJ1sKjgZ6AqU1cnRBPHbJVVqKLMcSTEg8iuX4Hvi65u2xBB7G94znb.png
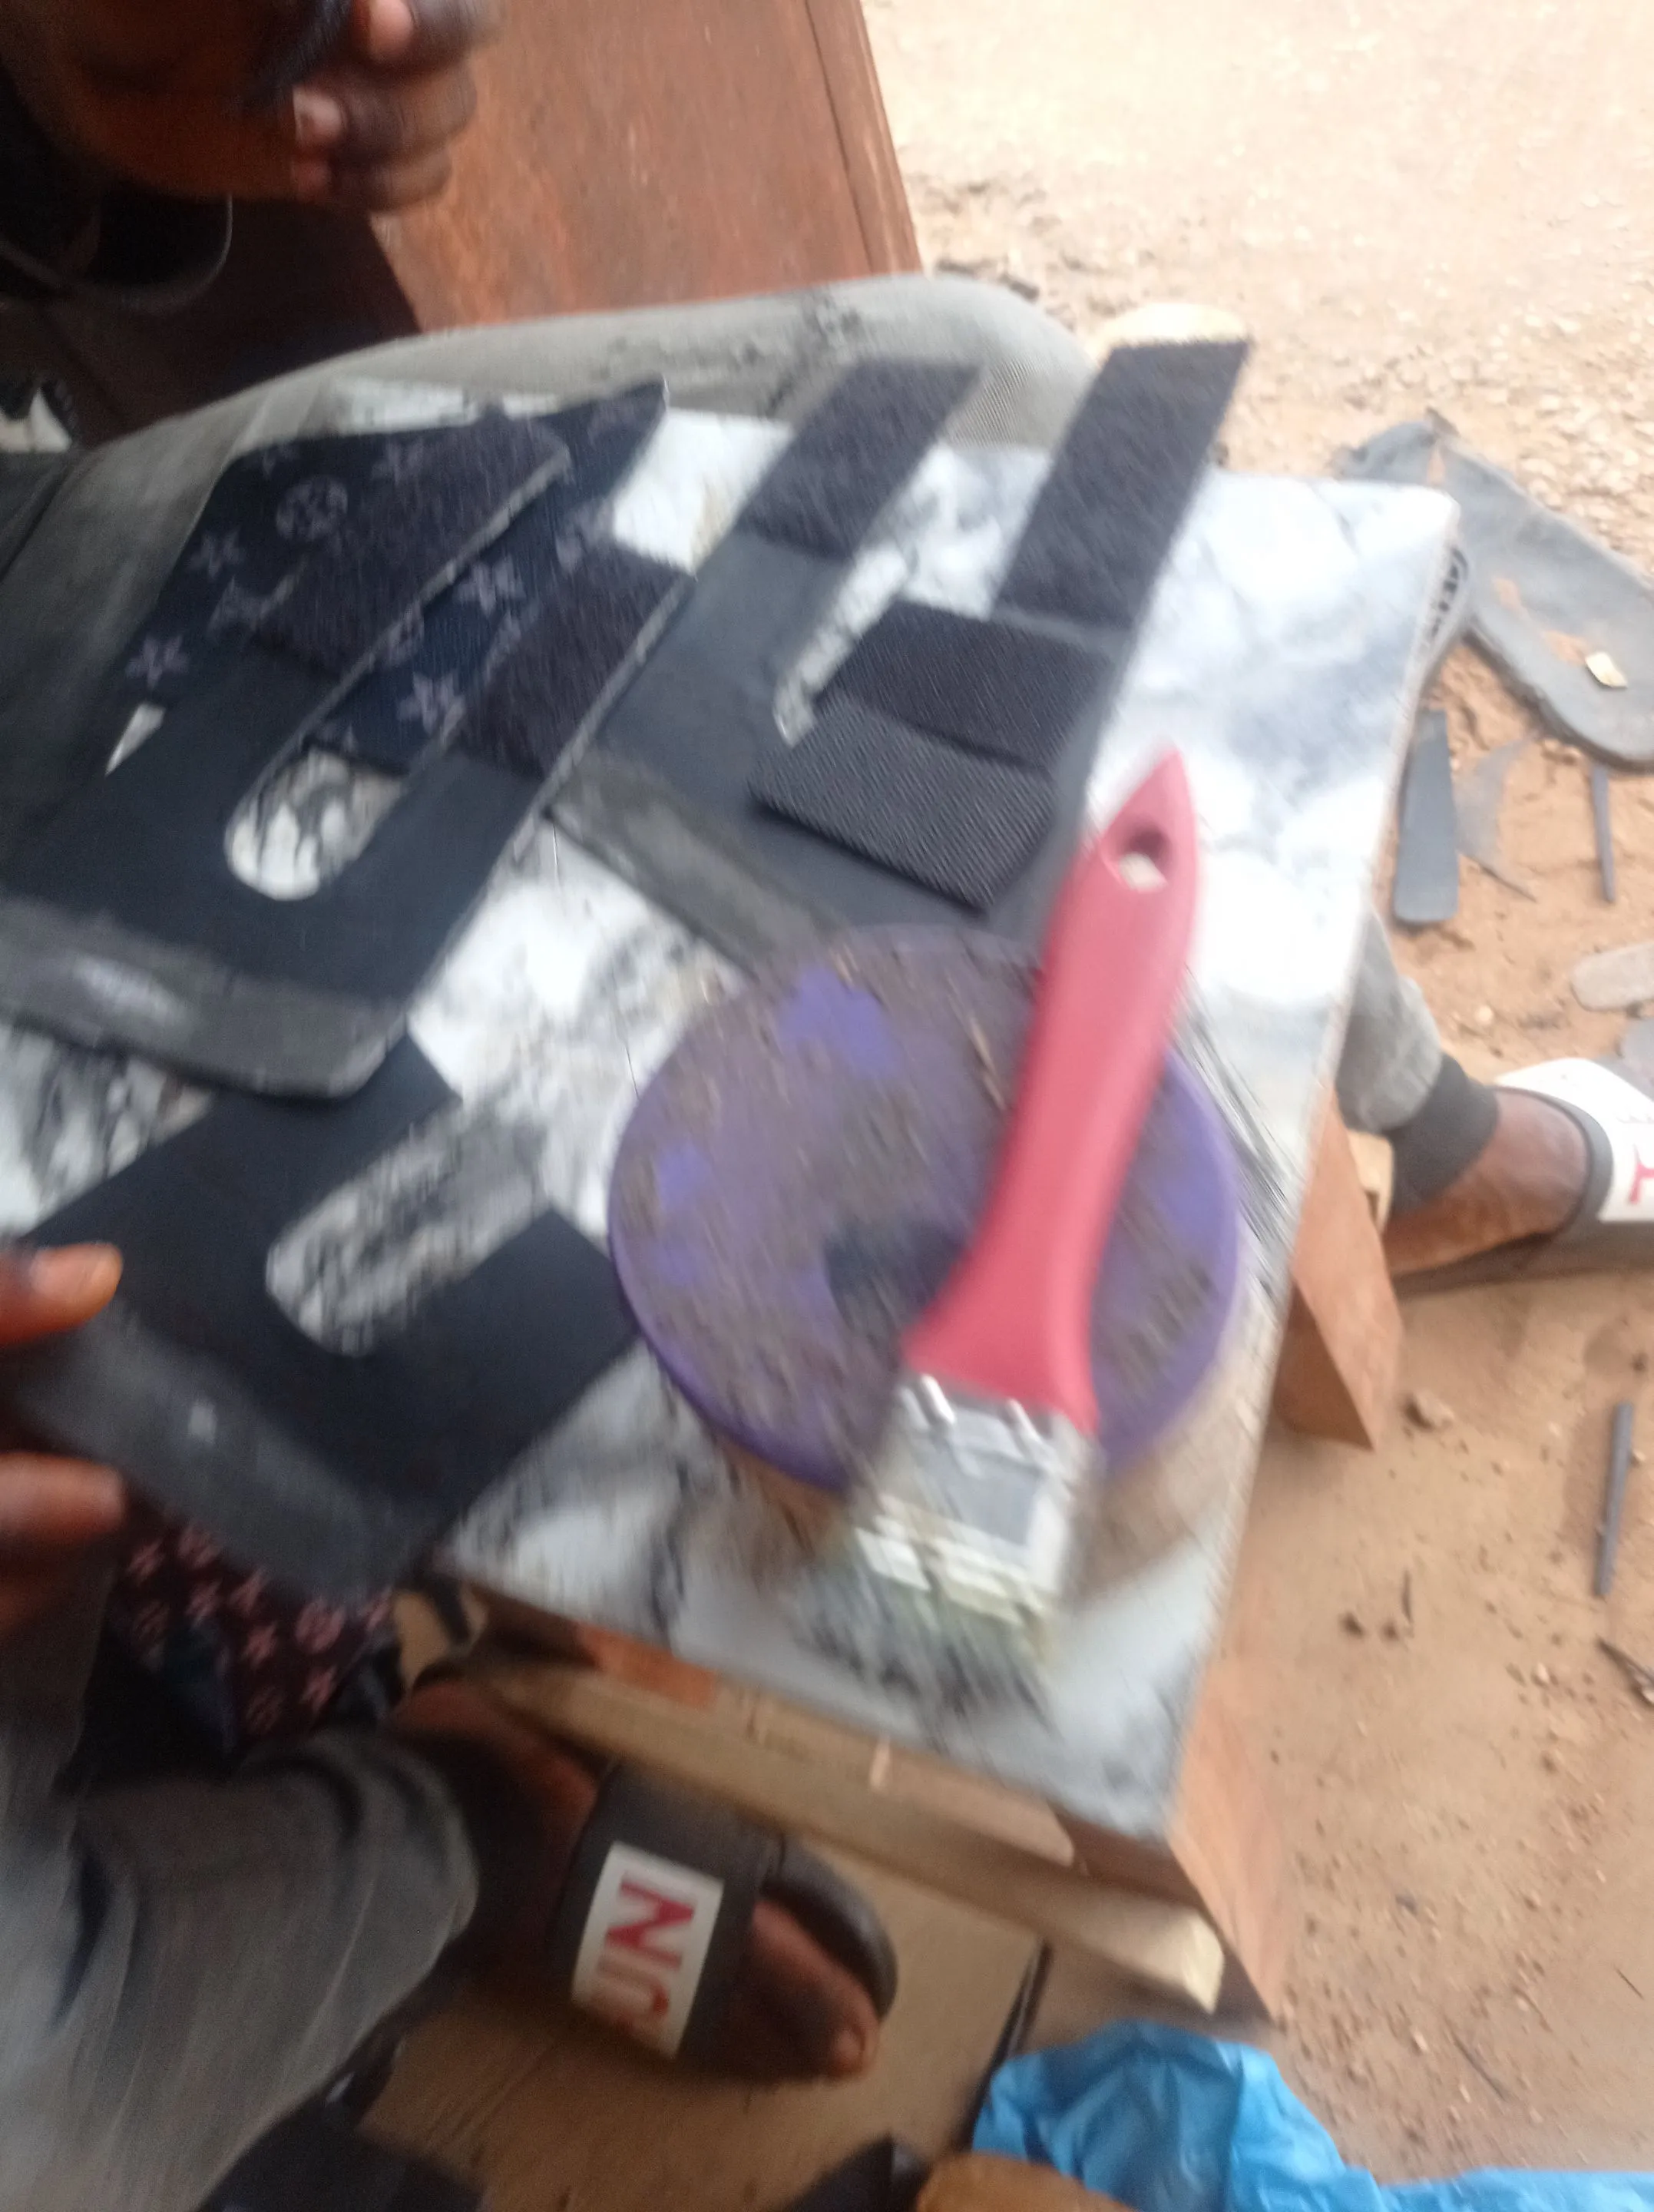
- Cut your hook and loop fastener in the shape of the front side of your upper, then apply gum on it and join it to the upper of the upper.
https://files.peakd.com/file/peakd-hive/vickoly/23tGY9WyptPC1AUJJ1sKjgZ6AqU1cnRBPHbJVVqKLMcSTEg8iuX4Hvi65u2xBB7G94znb.png
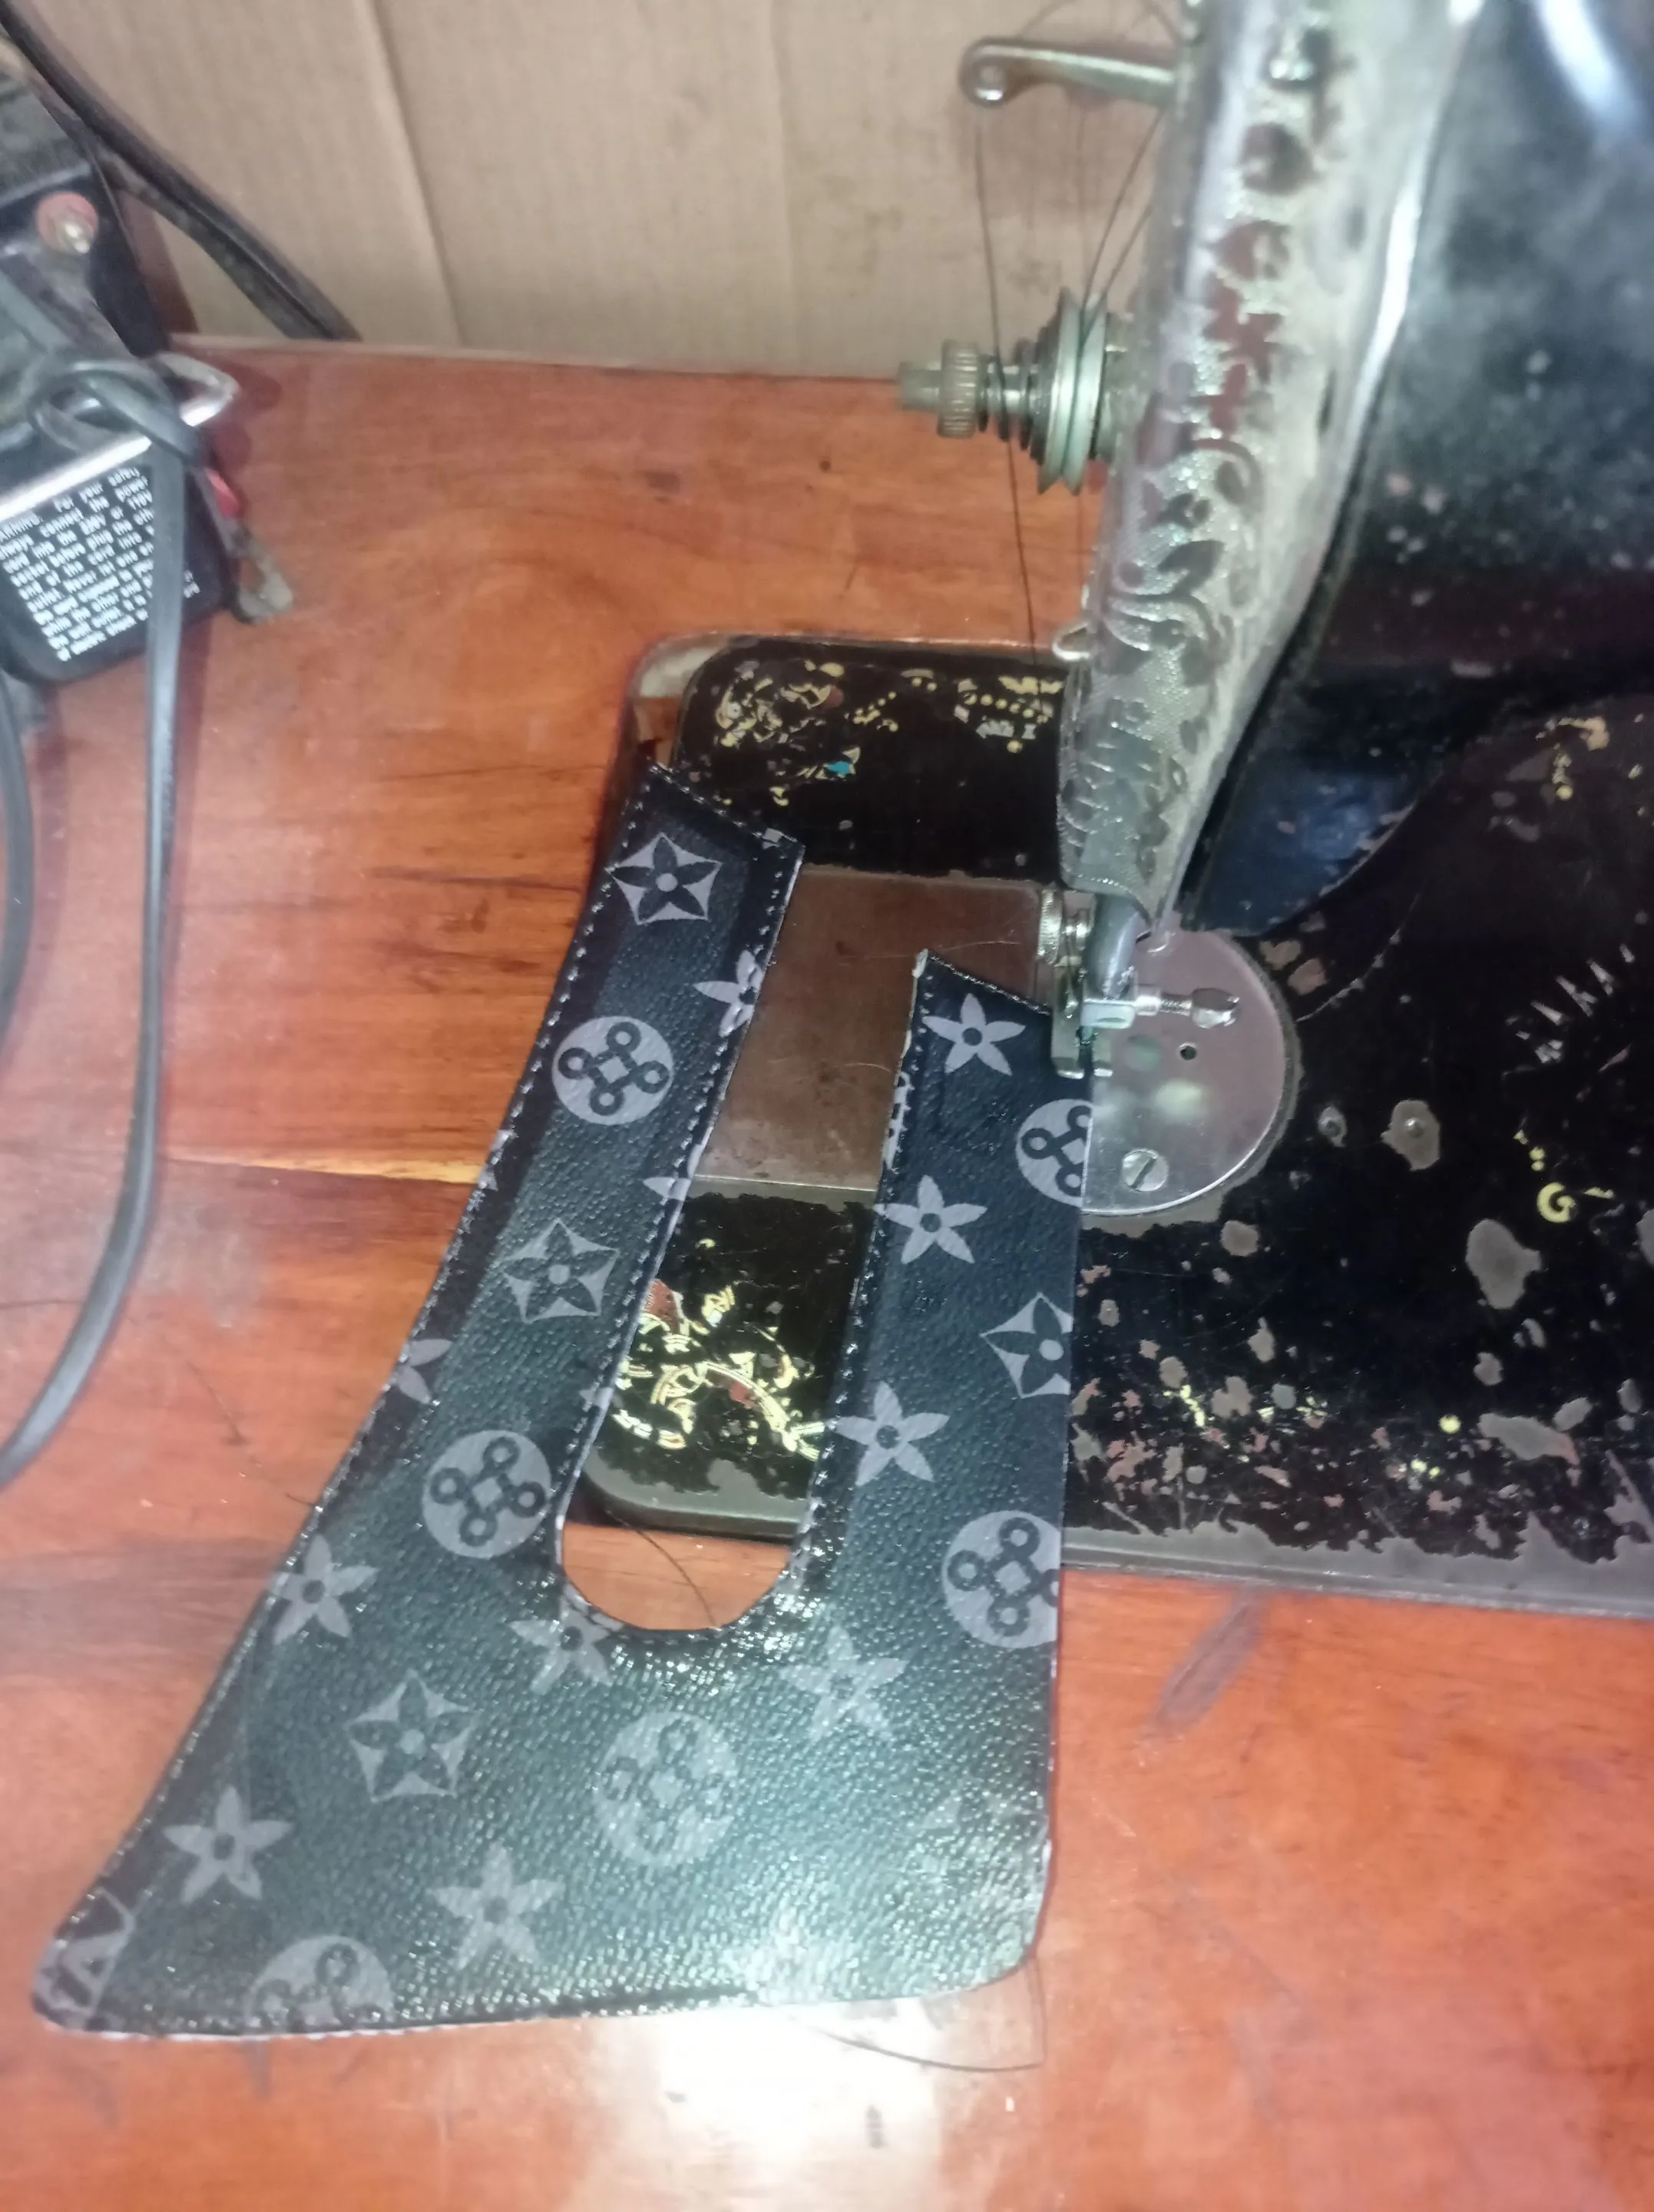
- Then you can proceed to sewing of the edges of your upper, which will also tighten the hook and loop fastener cause the sewing will pass over it as well.
https://files.peakd.com/file/peakd-hive/vickoly/23tGY9WyptPC1AUJJ1sKjgZ6AqU1cnRBPHbJVVqKLMcSTEg8iuX4Hvi65u2xBB7G94znb.png
- After Sewing, we can then attach our Logo to the upper, by punching a hole on the part you want it to be, then put the pin or the logo through it and lock together.
| https://files.peakd.com/file/peakd-hive/vickoly/EoeFt4CRUdo9K3ssAoUmroSAjNPqghpGC9XXRdAWoGRNaaDcwevB5zCfXqpfQF6DWos.jpg | https://files.peakd.com/file/peakd-hive/vickoly/EpXJyZLinNdK8xoSySoJYnJ9GG1SAvm3B9QzVd6kY7X2D4ivMovbpTbKybY1873DWHn.jpg |
https://files.peakd.com/file/peakd-hive/vickoly/23tGY9WyptPC1AUJJ1sKjgZ6AqU1cnRBPHbJVVqKLMcSTEg8iuX4Hvi65u2xBB7G94znb.png
- Getting to the final process, all you need to do is rub gum and super glue on the edges of the upper, and the part that as already been shape out on the sole, then join your upper to those parts.
| https://files.peakd.com/file/peakd-hive/vickoly/Eos1o4uVxXoAAdGSCY5uXrVZogbxVQqAr4HJeWLqwjtQae5XBtzck68kvMpofkjSqfZ.jpg | https://files.peakd.com/file/peakd-hive/vickoly/Ep3ep1xABPFZmRtxG926C2HCWZ8bDHdzRTuLxd9x7oWU3eWVwmc3Ah1vNKKCiEAroCh.jpg |
- Because the slippers as a hook and loop fastener, that mean it can be adjusted to be tight or loose as much as you want in your foot.
https://files.peakd.com/file/peakd-hive/vickoly/EoCifPzYP2sYuz1kyPsfPzdGGJKjXhewWeebtAPgtrBP7xPTAcQsNKdrvL2yZoJ7hTX.jpg
https://files.peakd.com/file/peakd-hive/vickoly/23tGY9WyptPC1AUJJ1sKjgZ6AqU1cnRBPHbJVVqKLMcSTEg8iuX4Hvi65u2xBB7G94znb.png
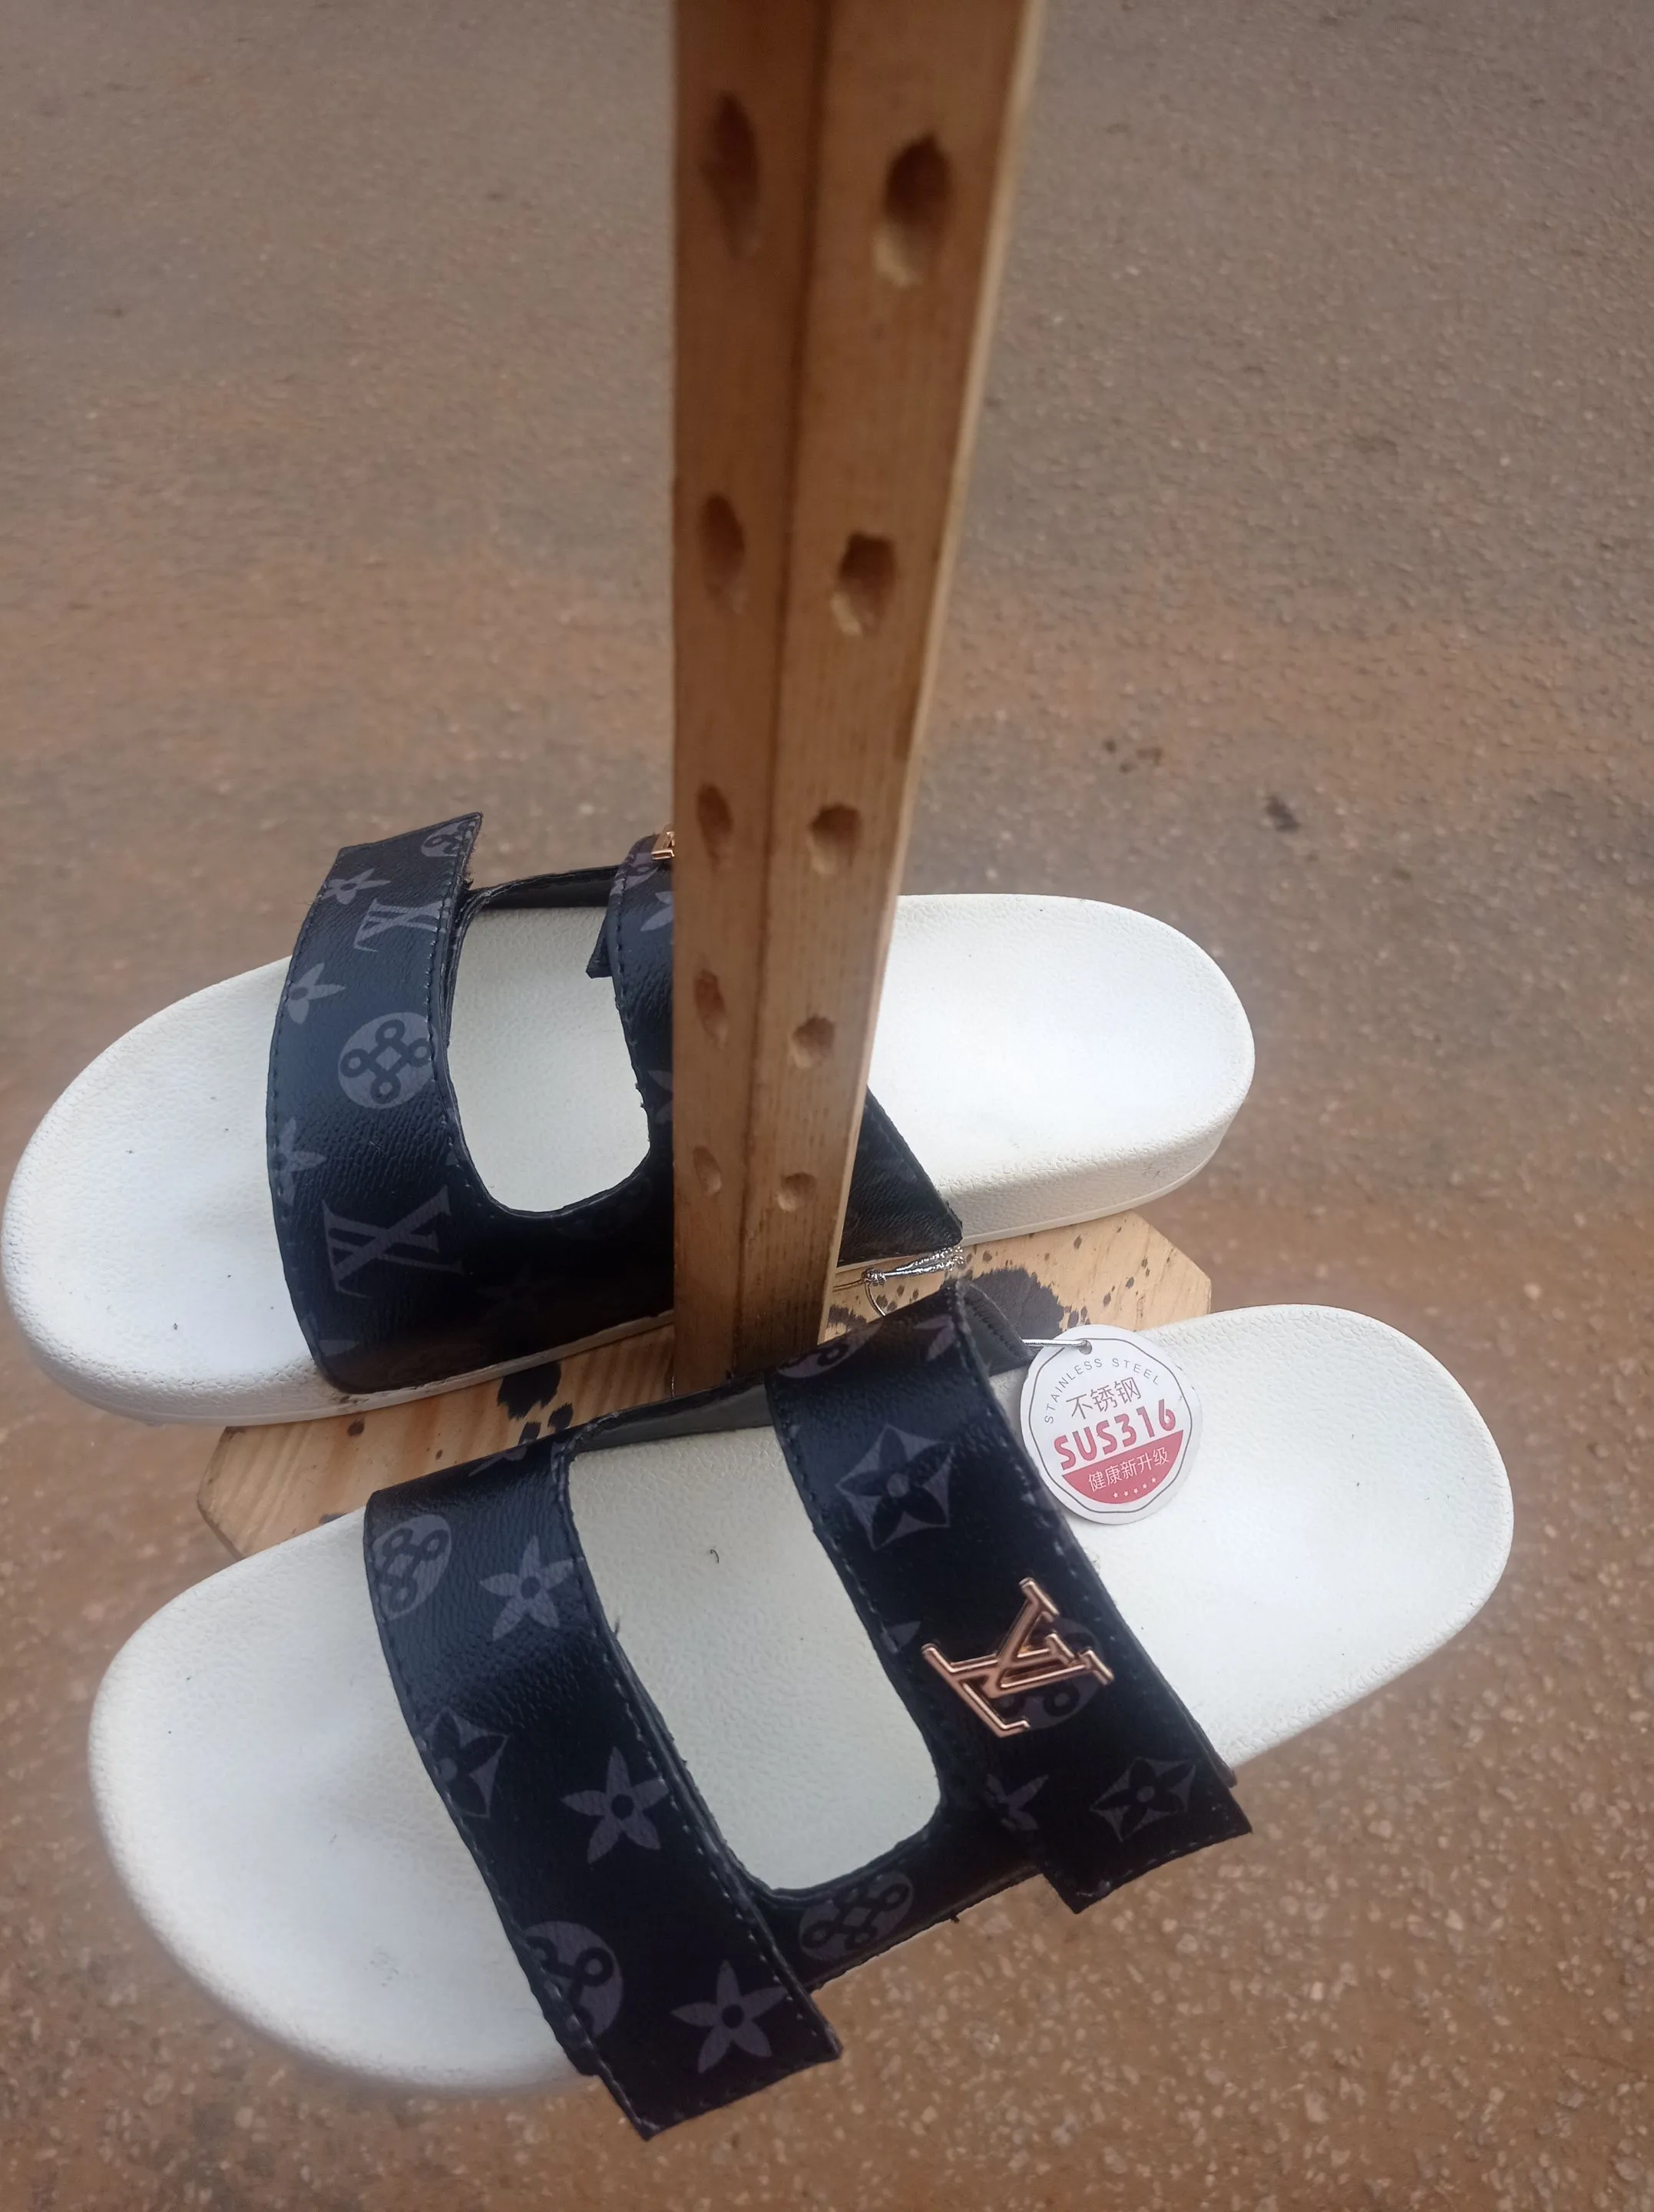
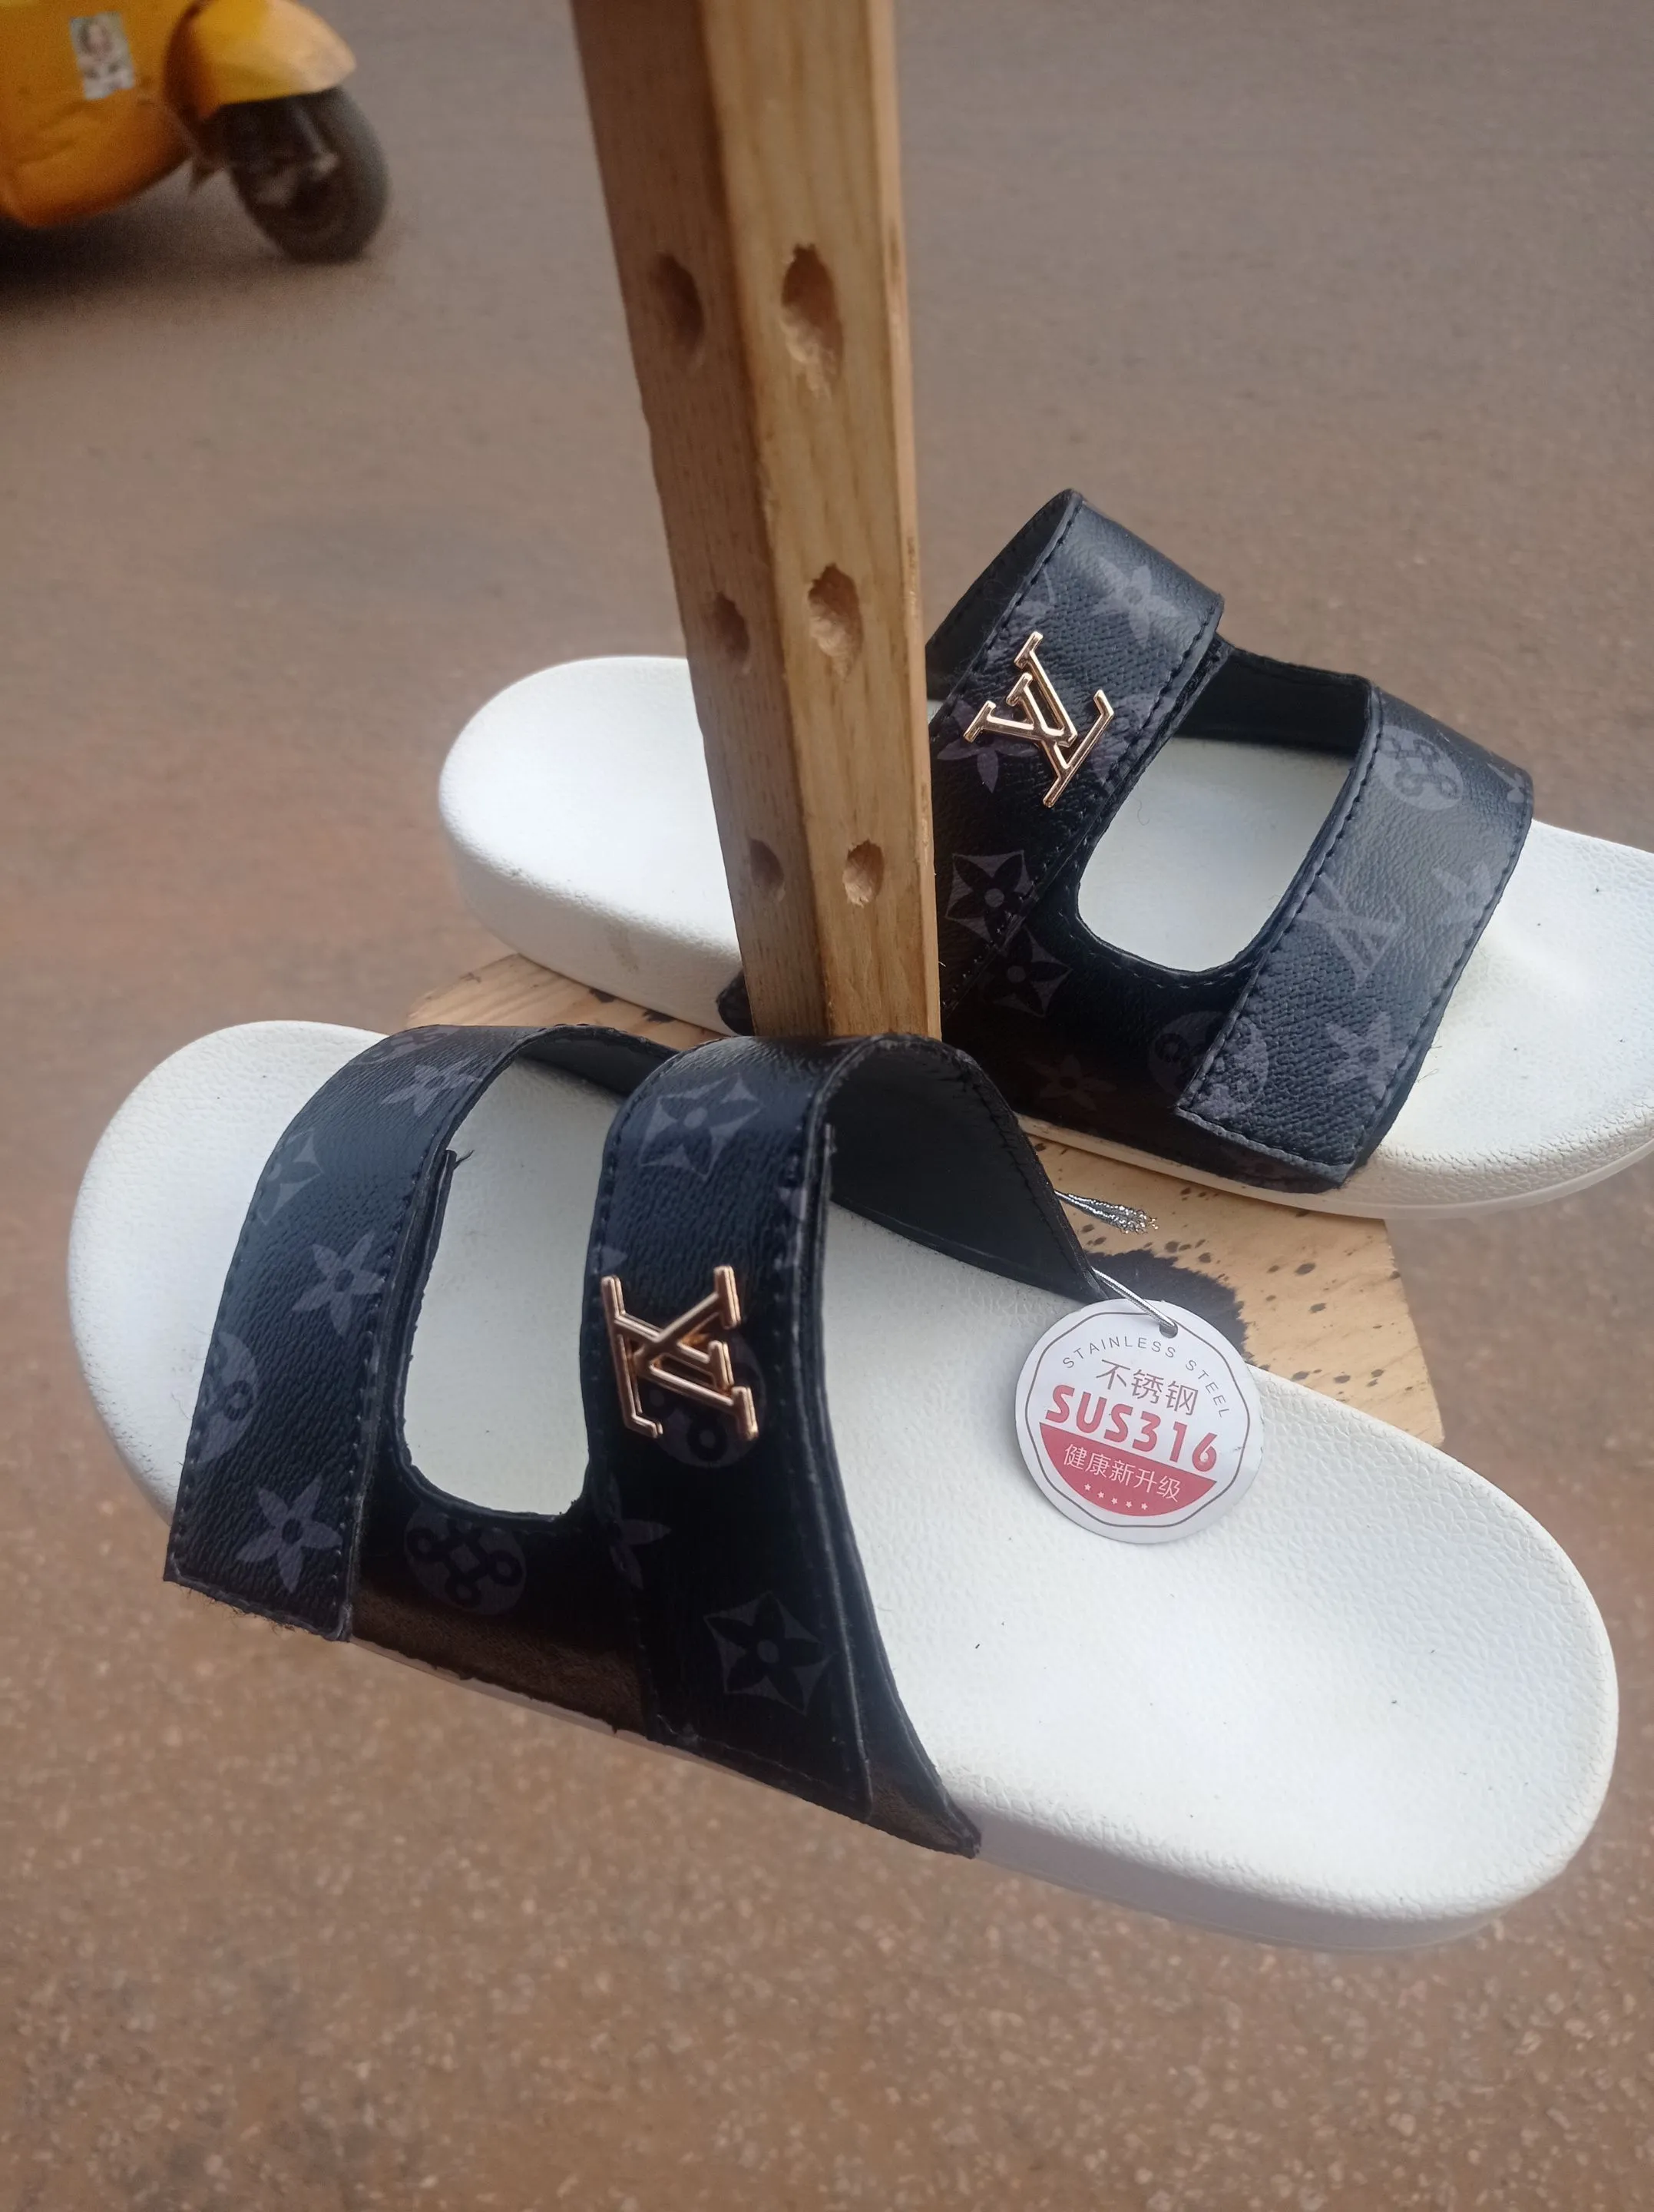
- Here is the how gorgeous the Slippers you made will look like, if all illustration were thoroughly followed.
https://files.peakd.com/file/peakd-hive/vickoly/23tGY9WyptPC1AUJJ1sKjgZ6AqU1cnRBPHbJVVqKLMcSTEg8iuX4Hvi65u2xBB7G94znb.png
Thanks so much for checking out my blog post, have a blessed and productive week ahead, till me meet again in the next project, stay positive.
Return from SIMPLE ILLUSTRATION OF MAKING A SLIPPERS to vickoly's Web3 Blog

