Hello FELLOW HIVELEARNERS AND FRIENDS
I hope these meet you well?, In today's post I'll be sharing my shoemaking crafting skills, which contains the do it yourself process of how I made a pair of sandal.


MATERIALS USED
- Leather material
- Marco sole
- Gum
- Buckle
- Lite Marco insole
- Linning
- Super Glue
- Fend logo

MAKING PROCESS

- The foot size of person who the sandal is crafted for is 45, so it's highly important to measure foot size of clients before proceeding with the crafting, so the footwear can fit perfectly, without being to small or too big.

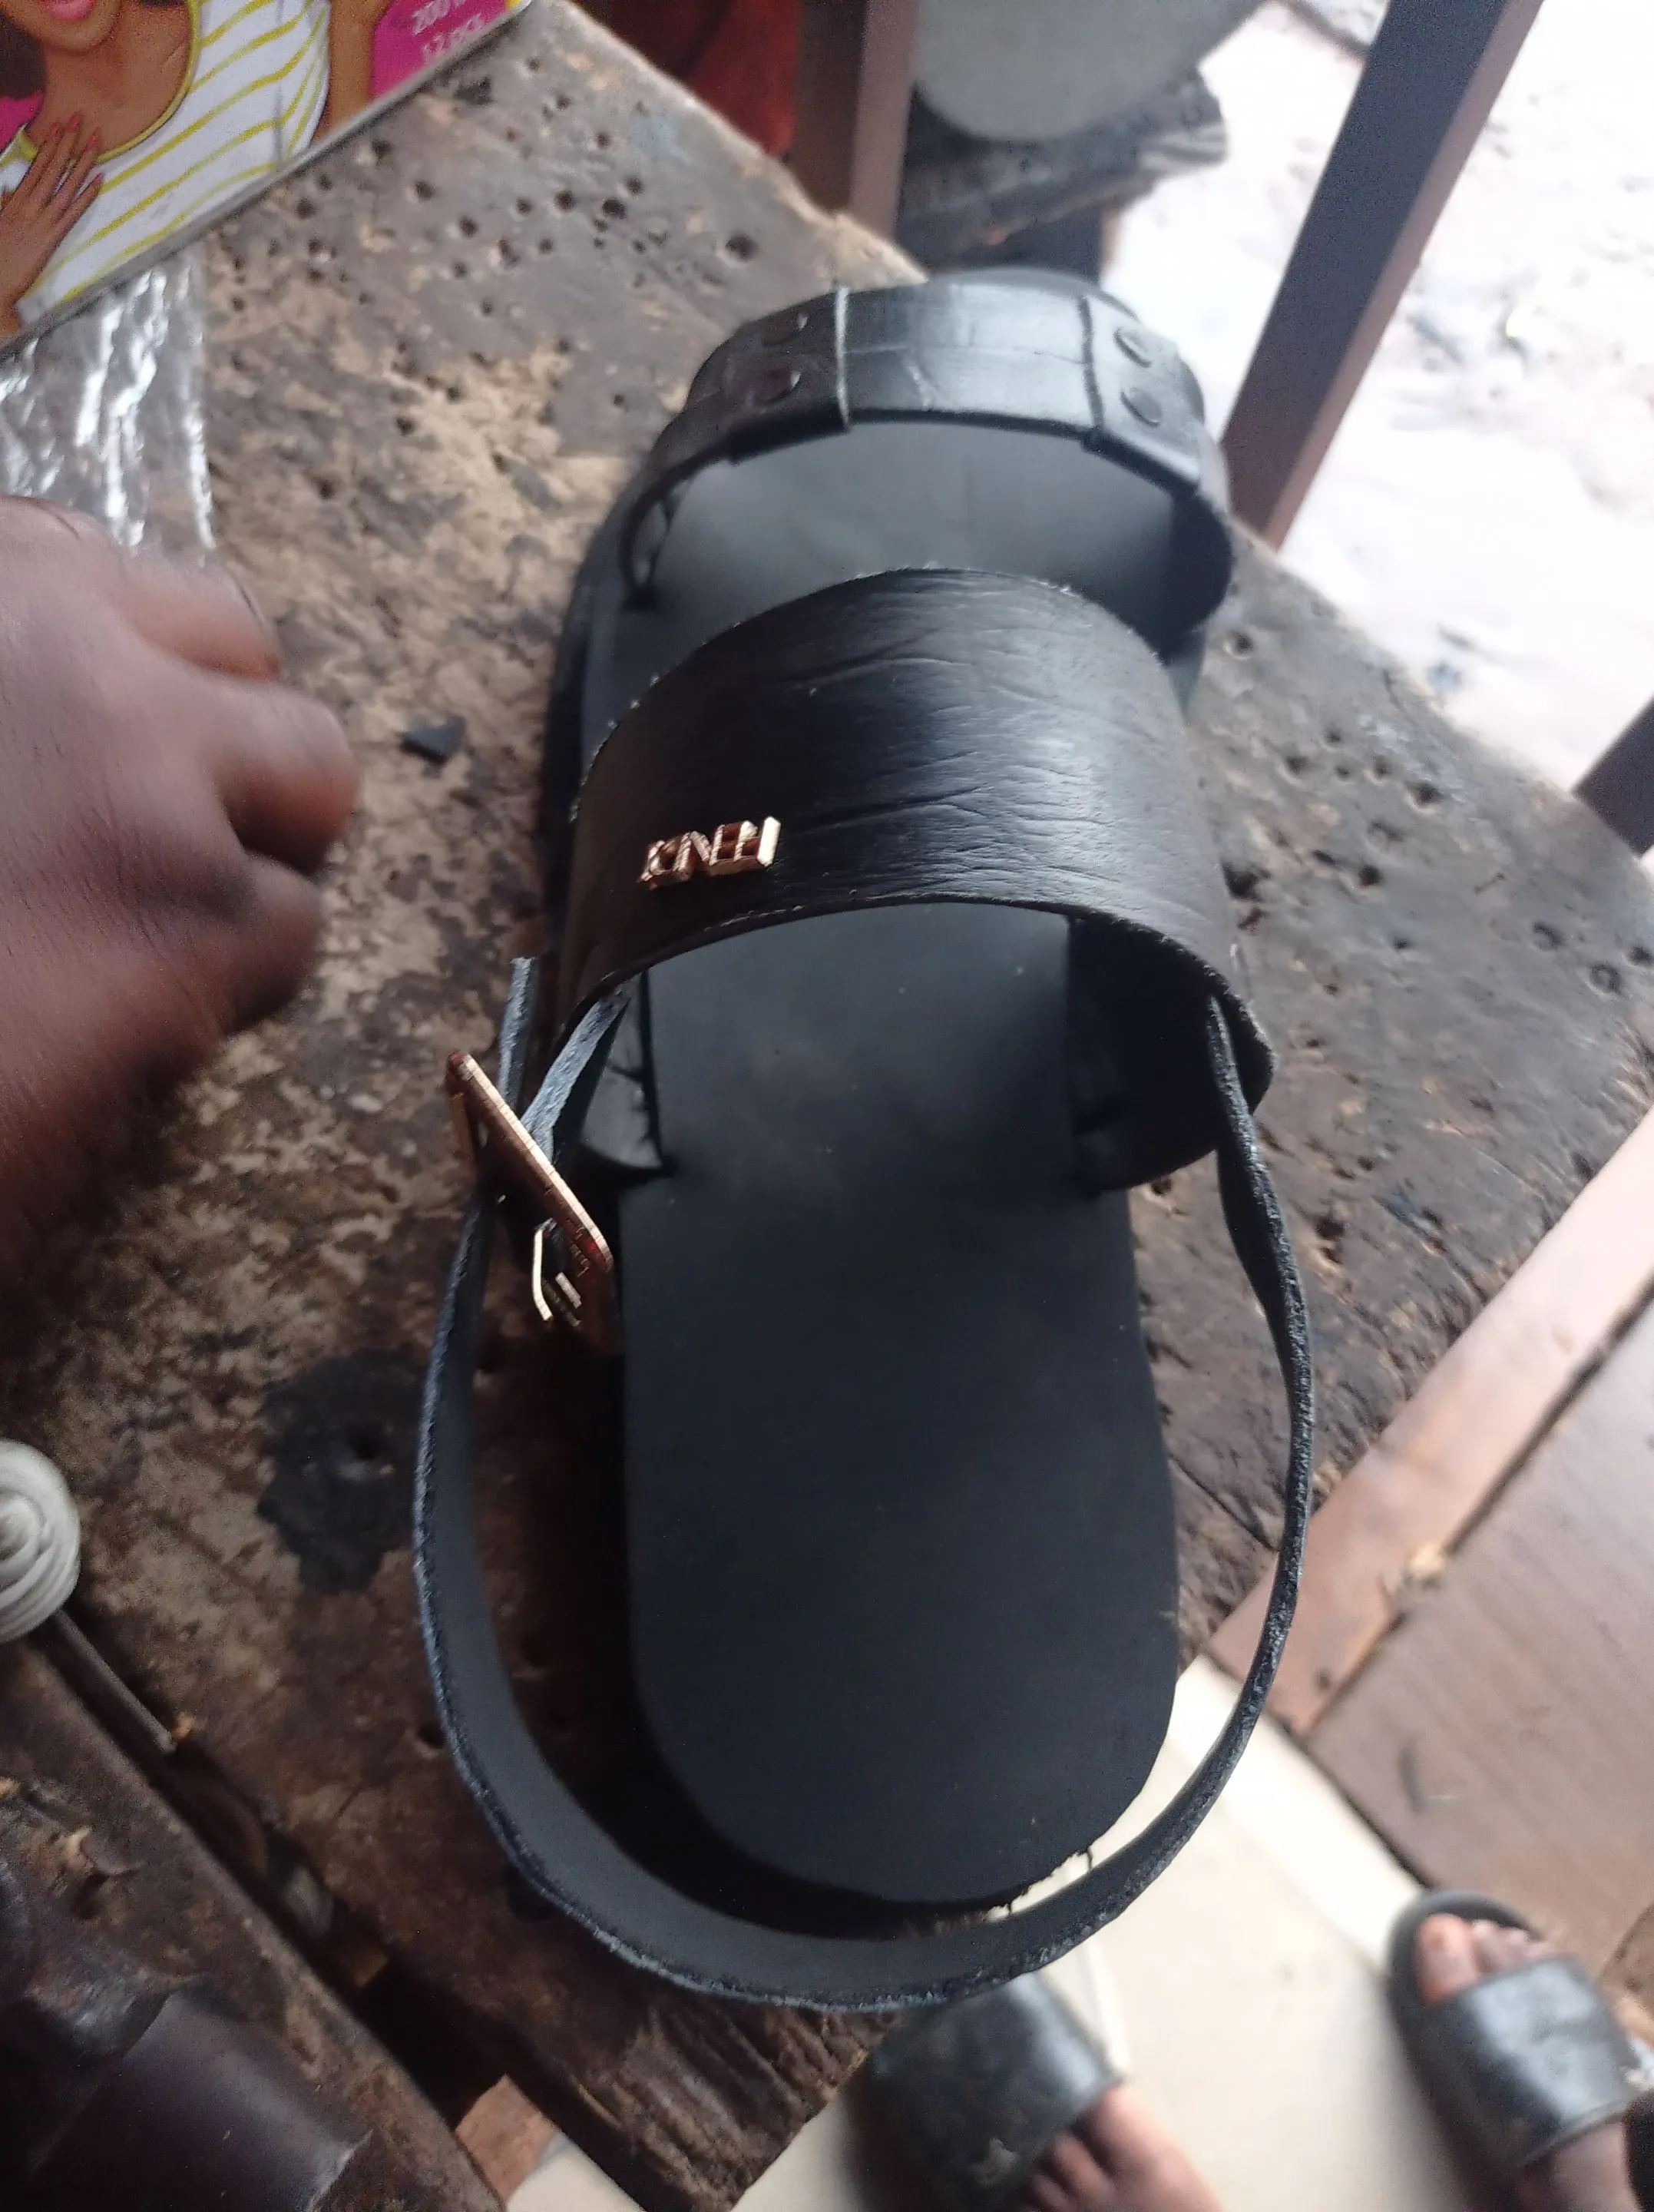
- Then you'll use the measured size to cut out the sole, insole and the upper of the sandals and it's linning, after which you should apply gum on the linning and place the upper material on it, then cut it out, this is done so our shoe upper can be ticker/stronger.
https://files.peakd.com/file/peakd-hive/vickoly/EowGYbKnK4ppHLmL6xpwr2prjnkKcTbAMLRT9ViWXXC6rQCNjLq5TkUB6zCUvGzhGvj.jpg

- Then you can start building your shoe upper,by attaching them together and as well punching hole for applying the buckle and the logo to enhance it beauty.

- You will then cut a opening in the front part of the insole, where the upper will be pass through to join it together, then you'll apply gum on the insole and let it dry for some minutes, before laying it flat.
https://files.peakd.com/file/peakd-hive/vickoly/EpC9rgG3vzeExXntUrTNWcyTLS6svVnEzGcbfjvQg9DuHP3EEiuAjVWysixxMWmCGhY.jpg

- On the final processes, is to apply gum on the back of your sole and insole, and give it some minutes to dry off, then you'll attached them together, hit with hammer and grind with a grinder machine, so the sandals can have a smooth edges.

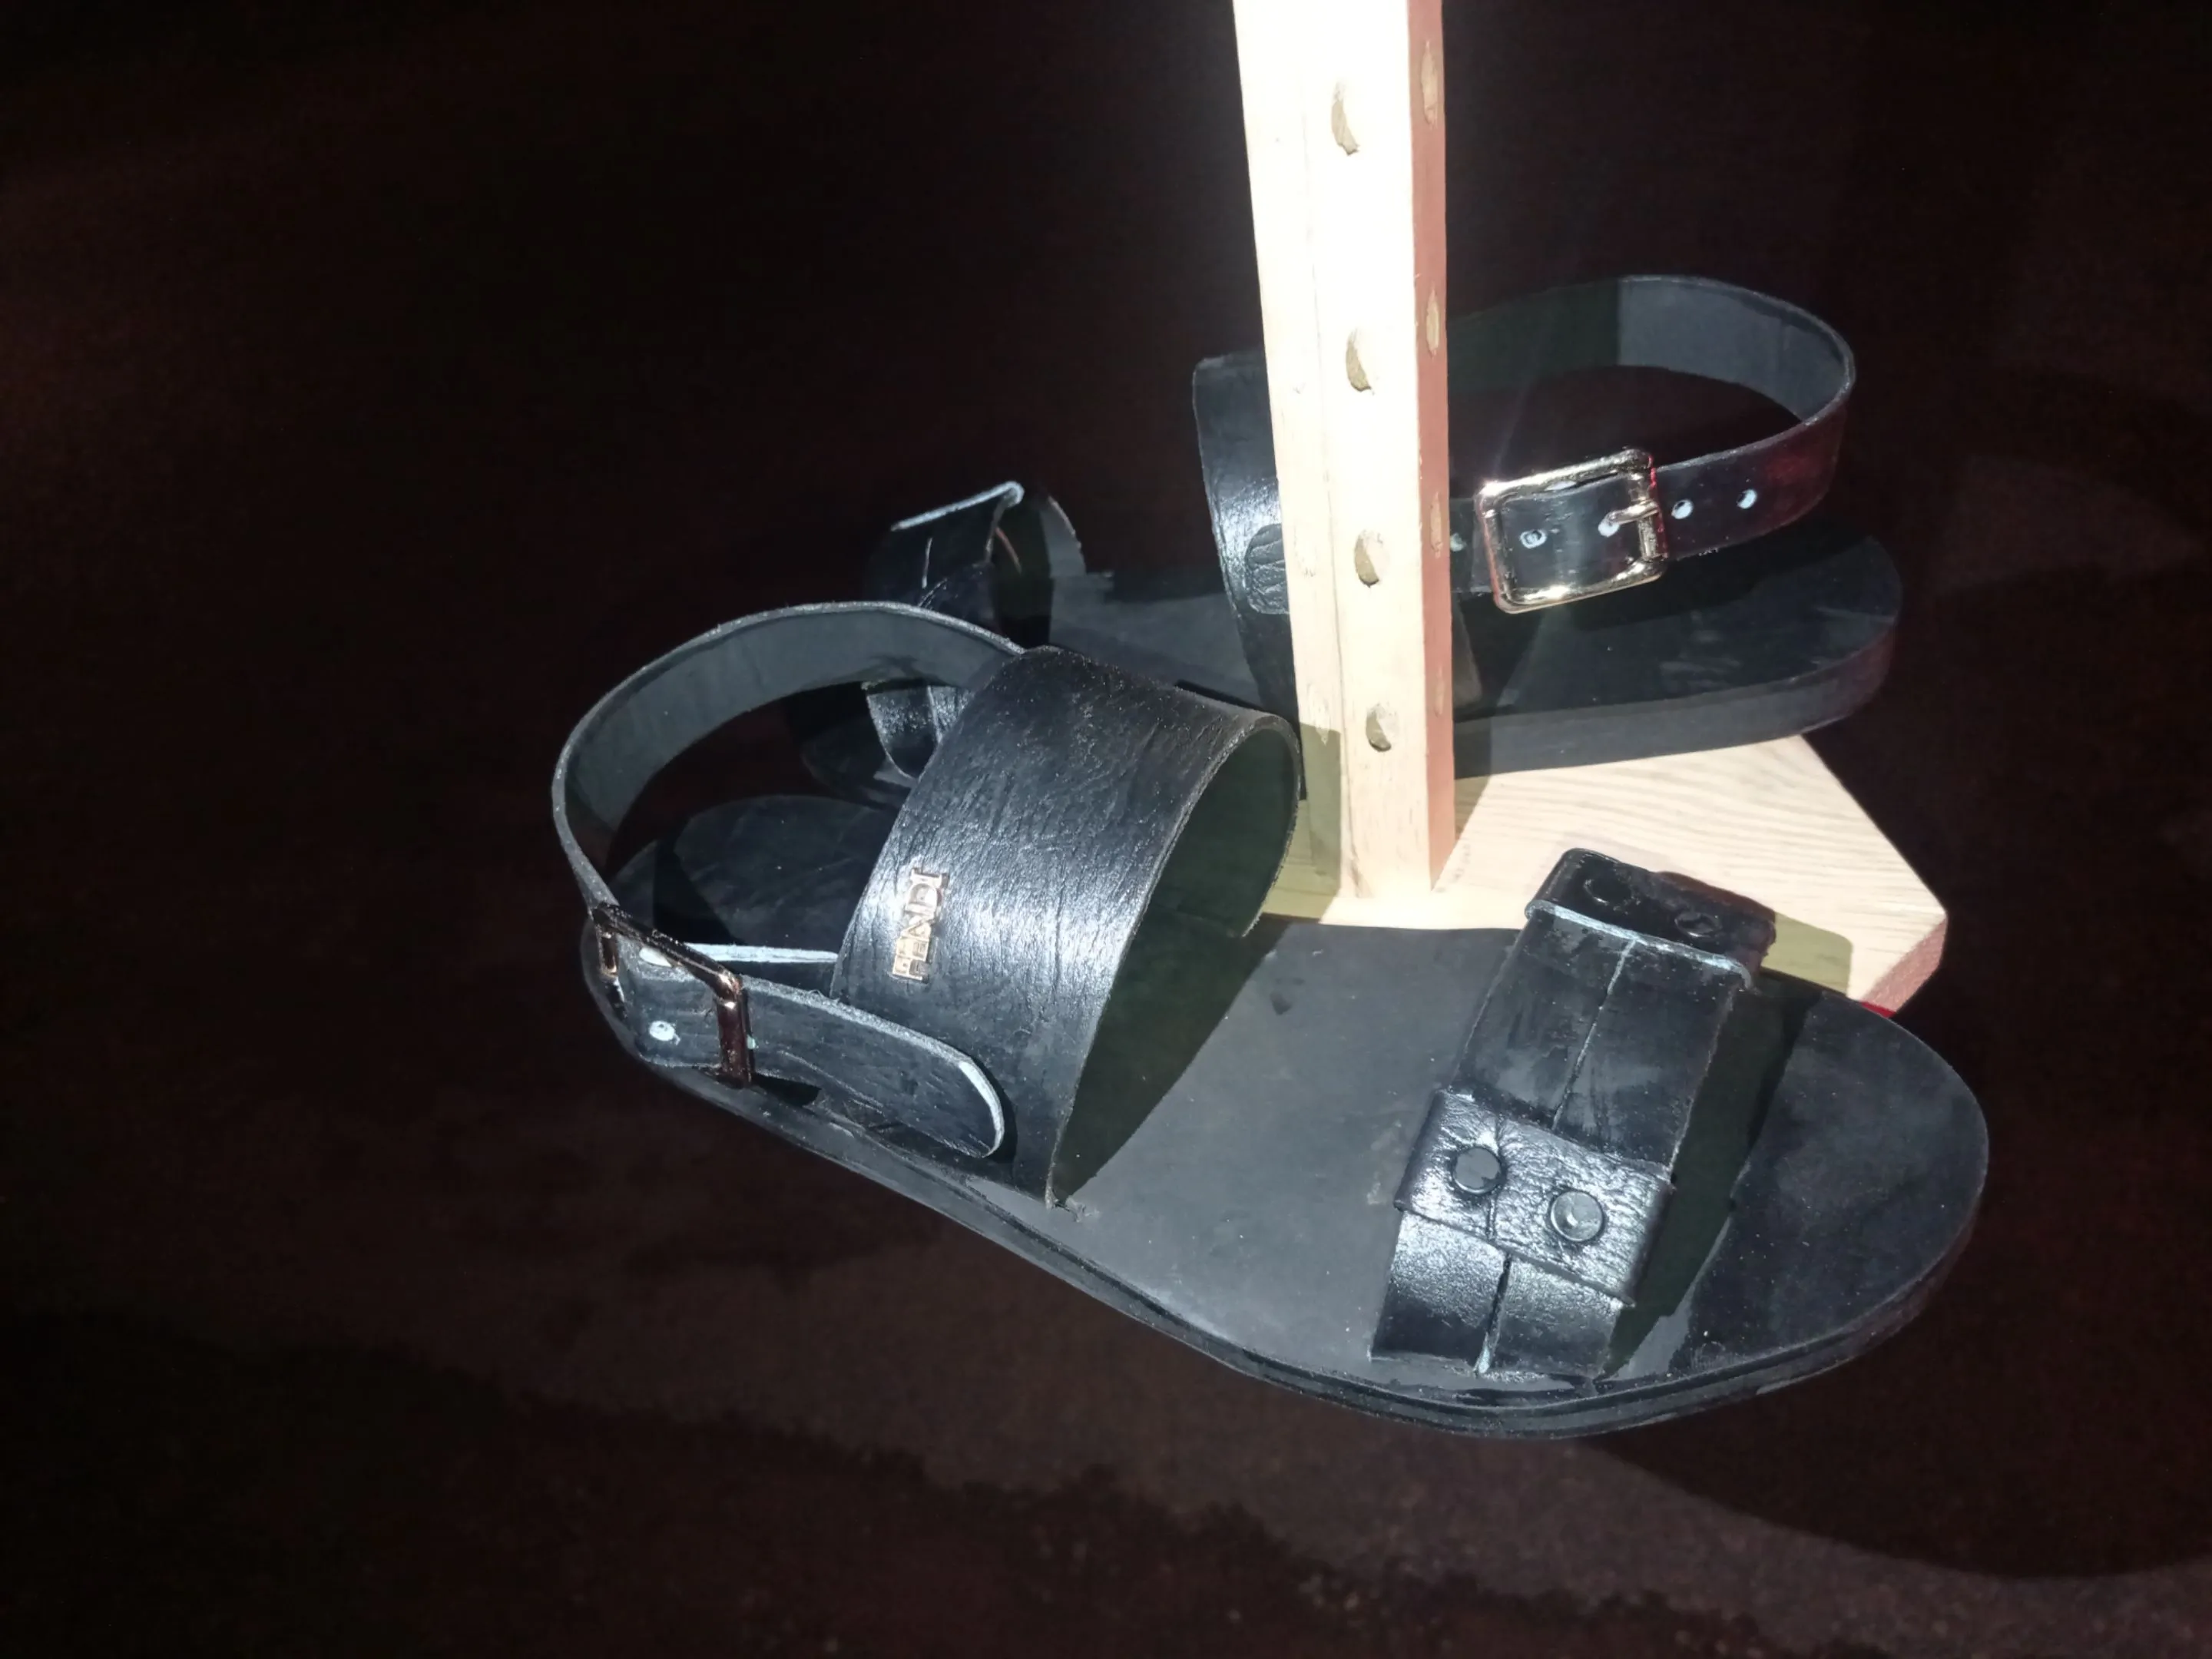
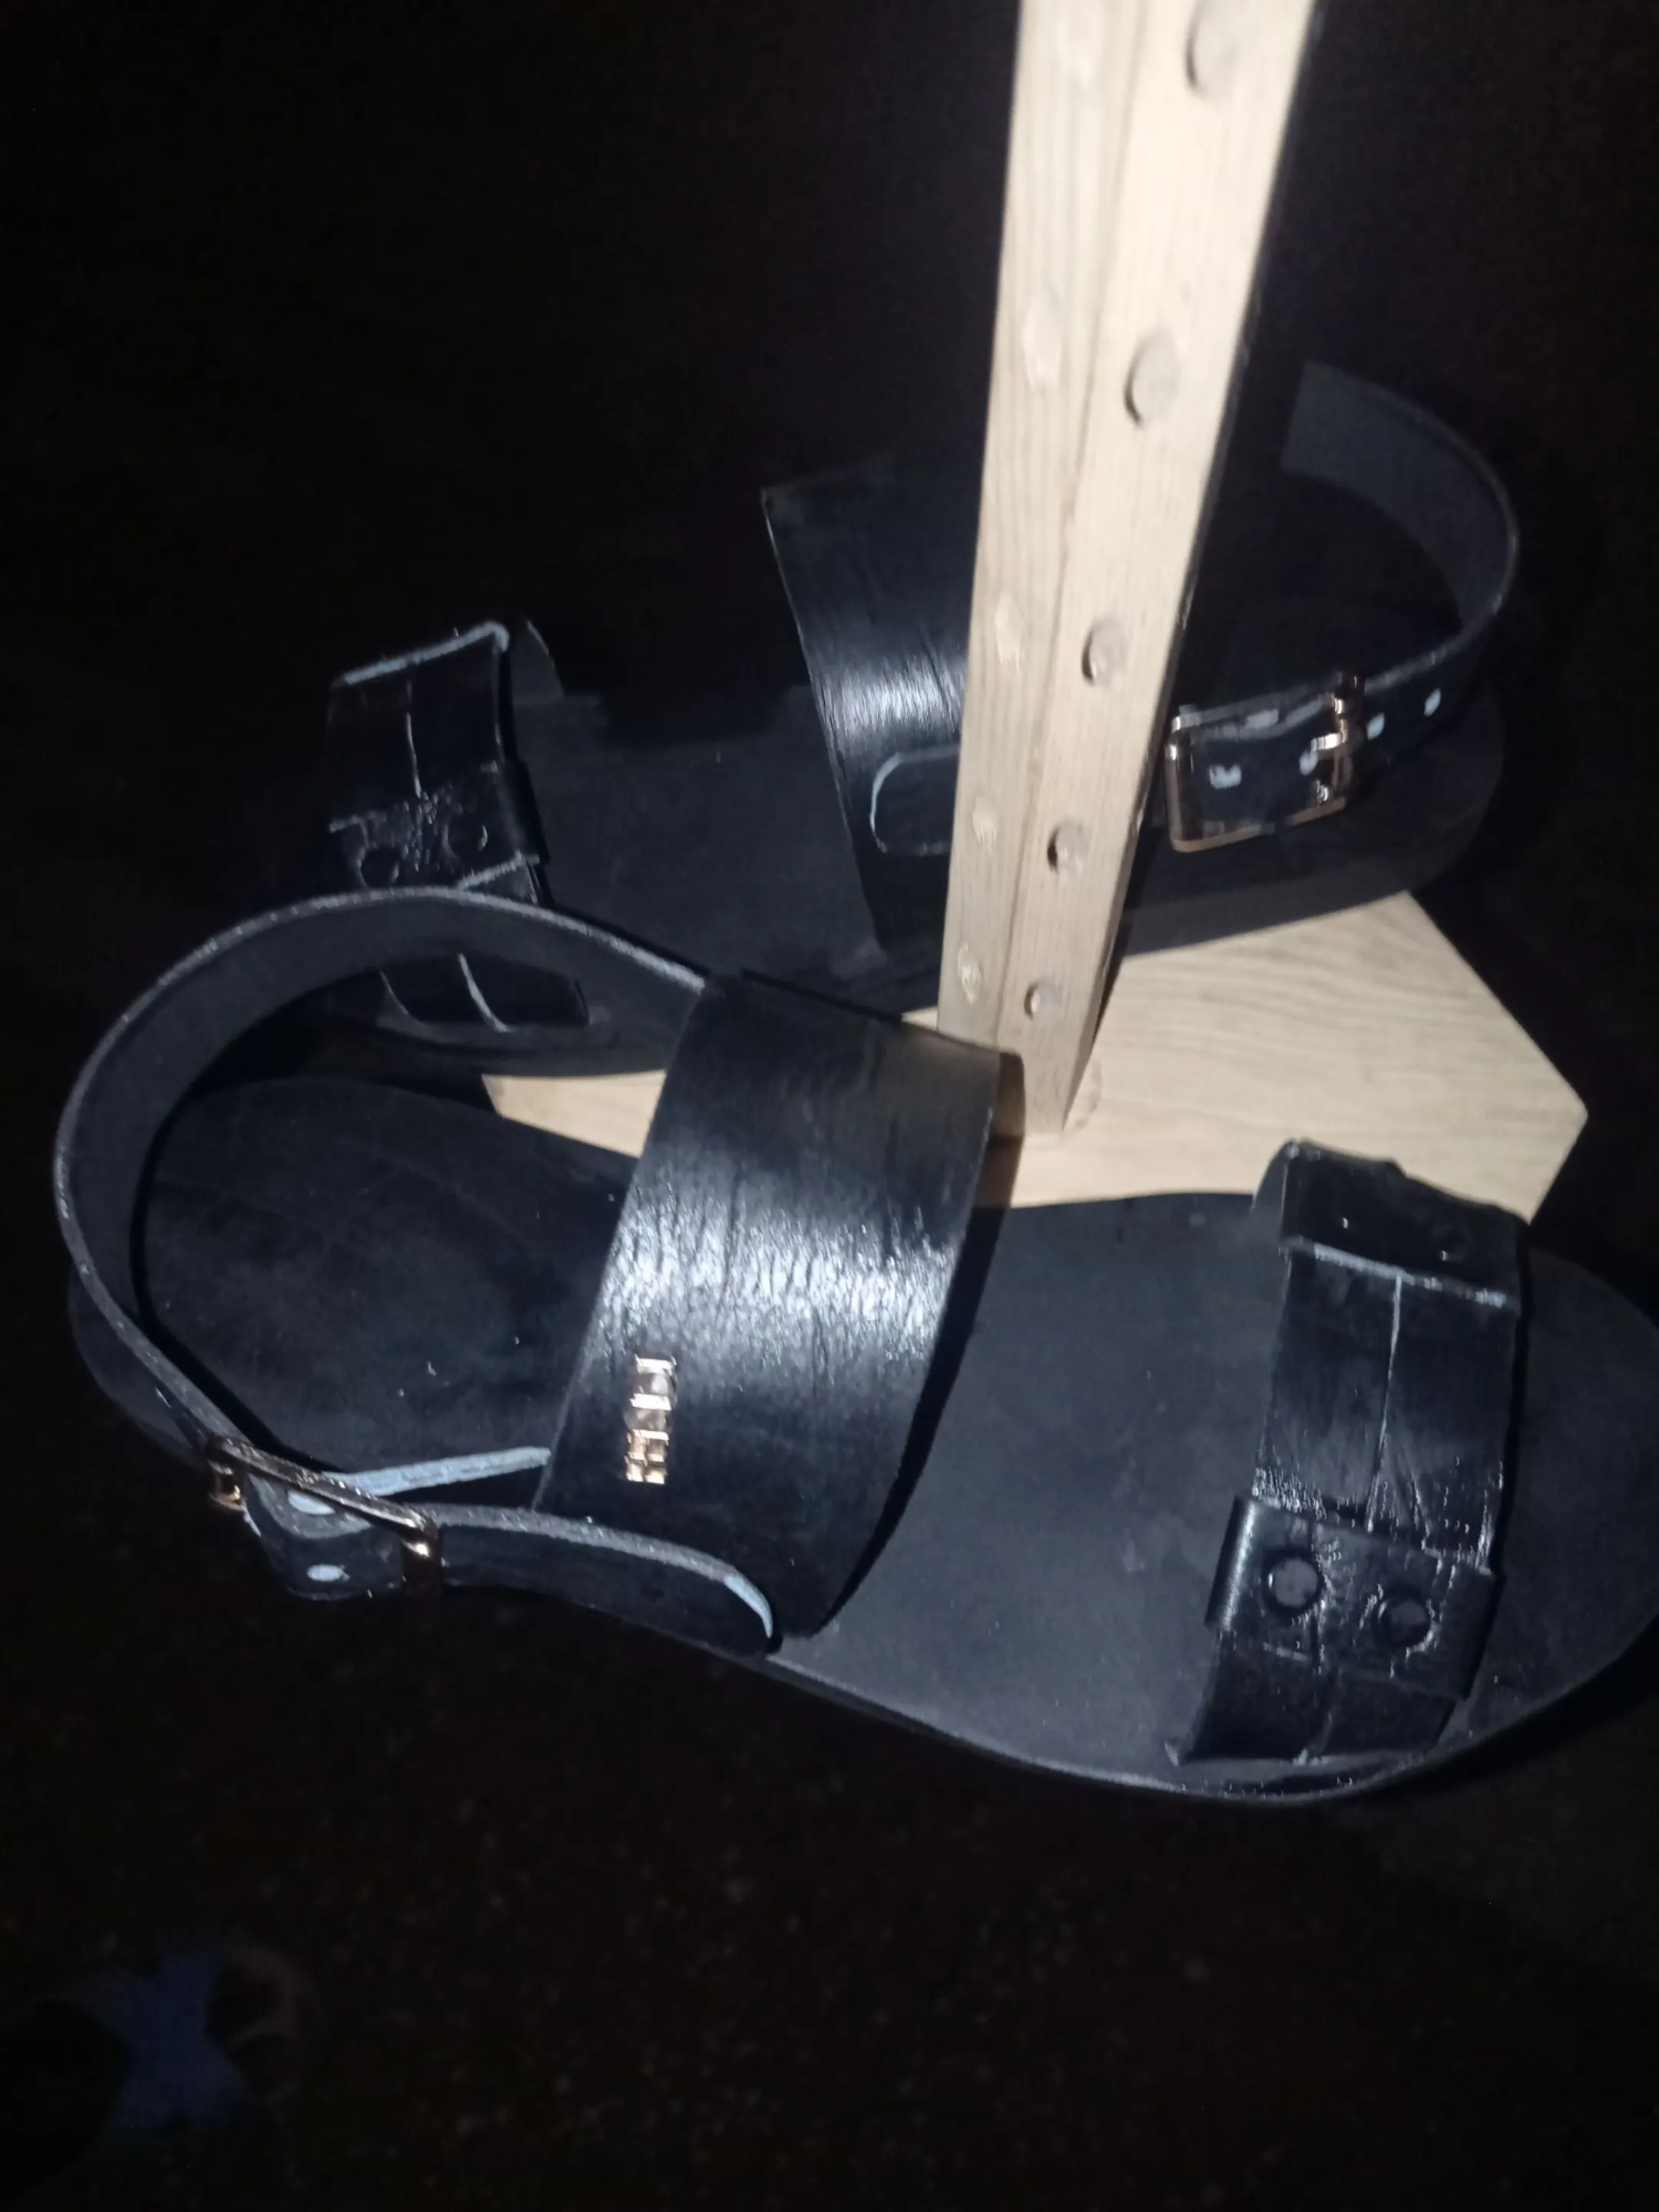
- Here is how the sandals is looking after I got done with it, you should have the same finishing if the processes were thoroughly followed.


Thanks for checking out my blog post, if you want to know who @vickoly is😉, I'm a shoemaker, who is also into fashion designing and other related craft, to know more about me you can check out my Introduction post on hive, thanks once again, have a blessed and productive day ahead 🥰🥰.
Return from SHOEMAKING CRAFT DIY PROCESS to vickoly's Web3 Blog

