###
Good day to you all, I hope these meet you well and that you're doing and exploits in your needlework fields the way you've always envisioned?, today I'll love to take you take you through the boots project I'm presently giving a trial for the first time, and hopefully it'll come out well in the end.
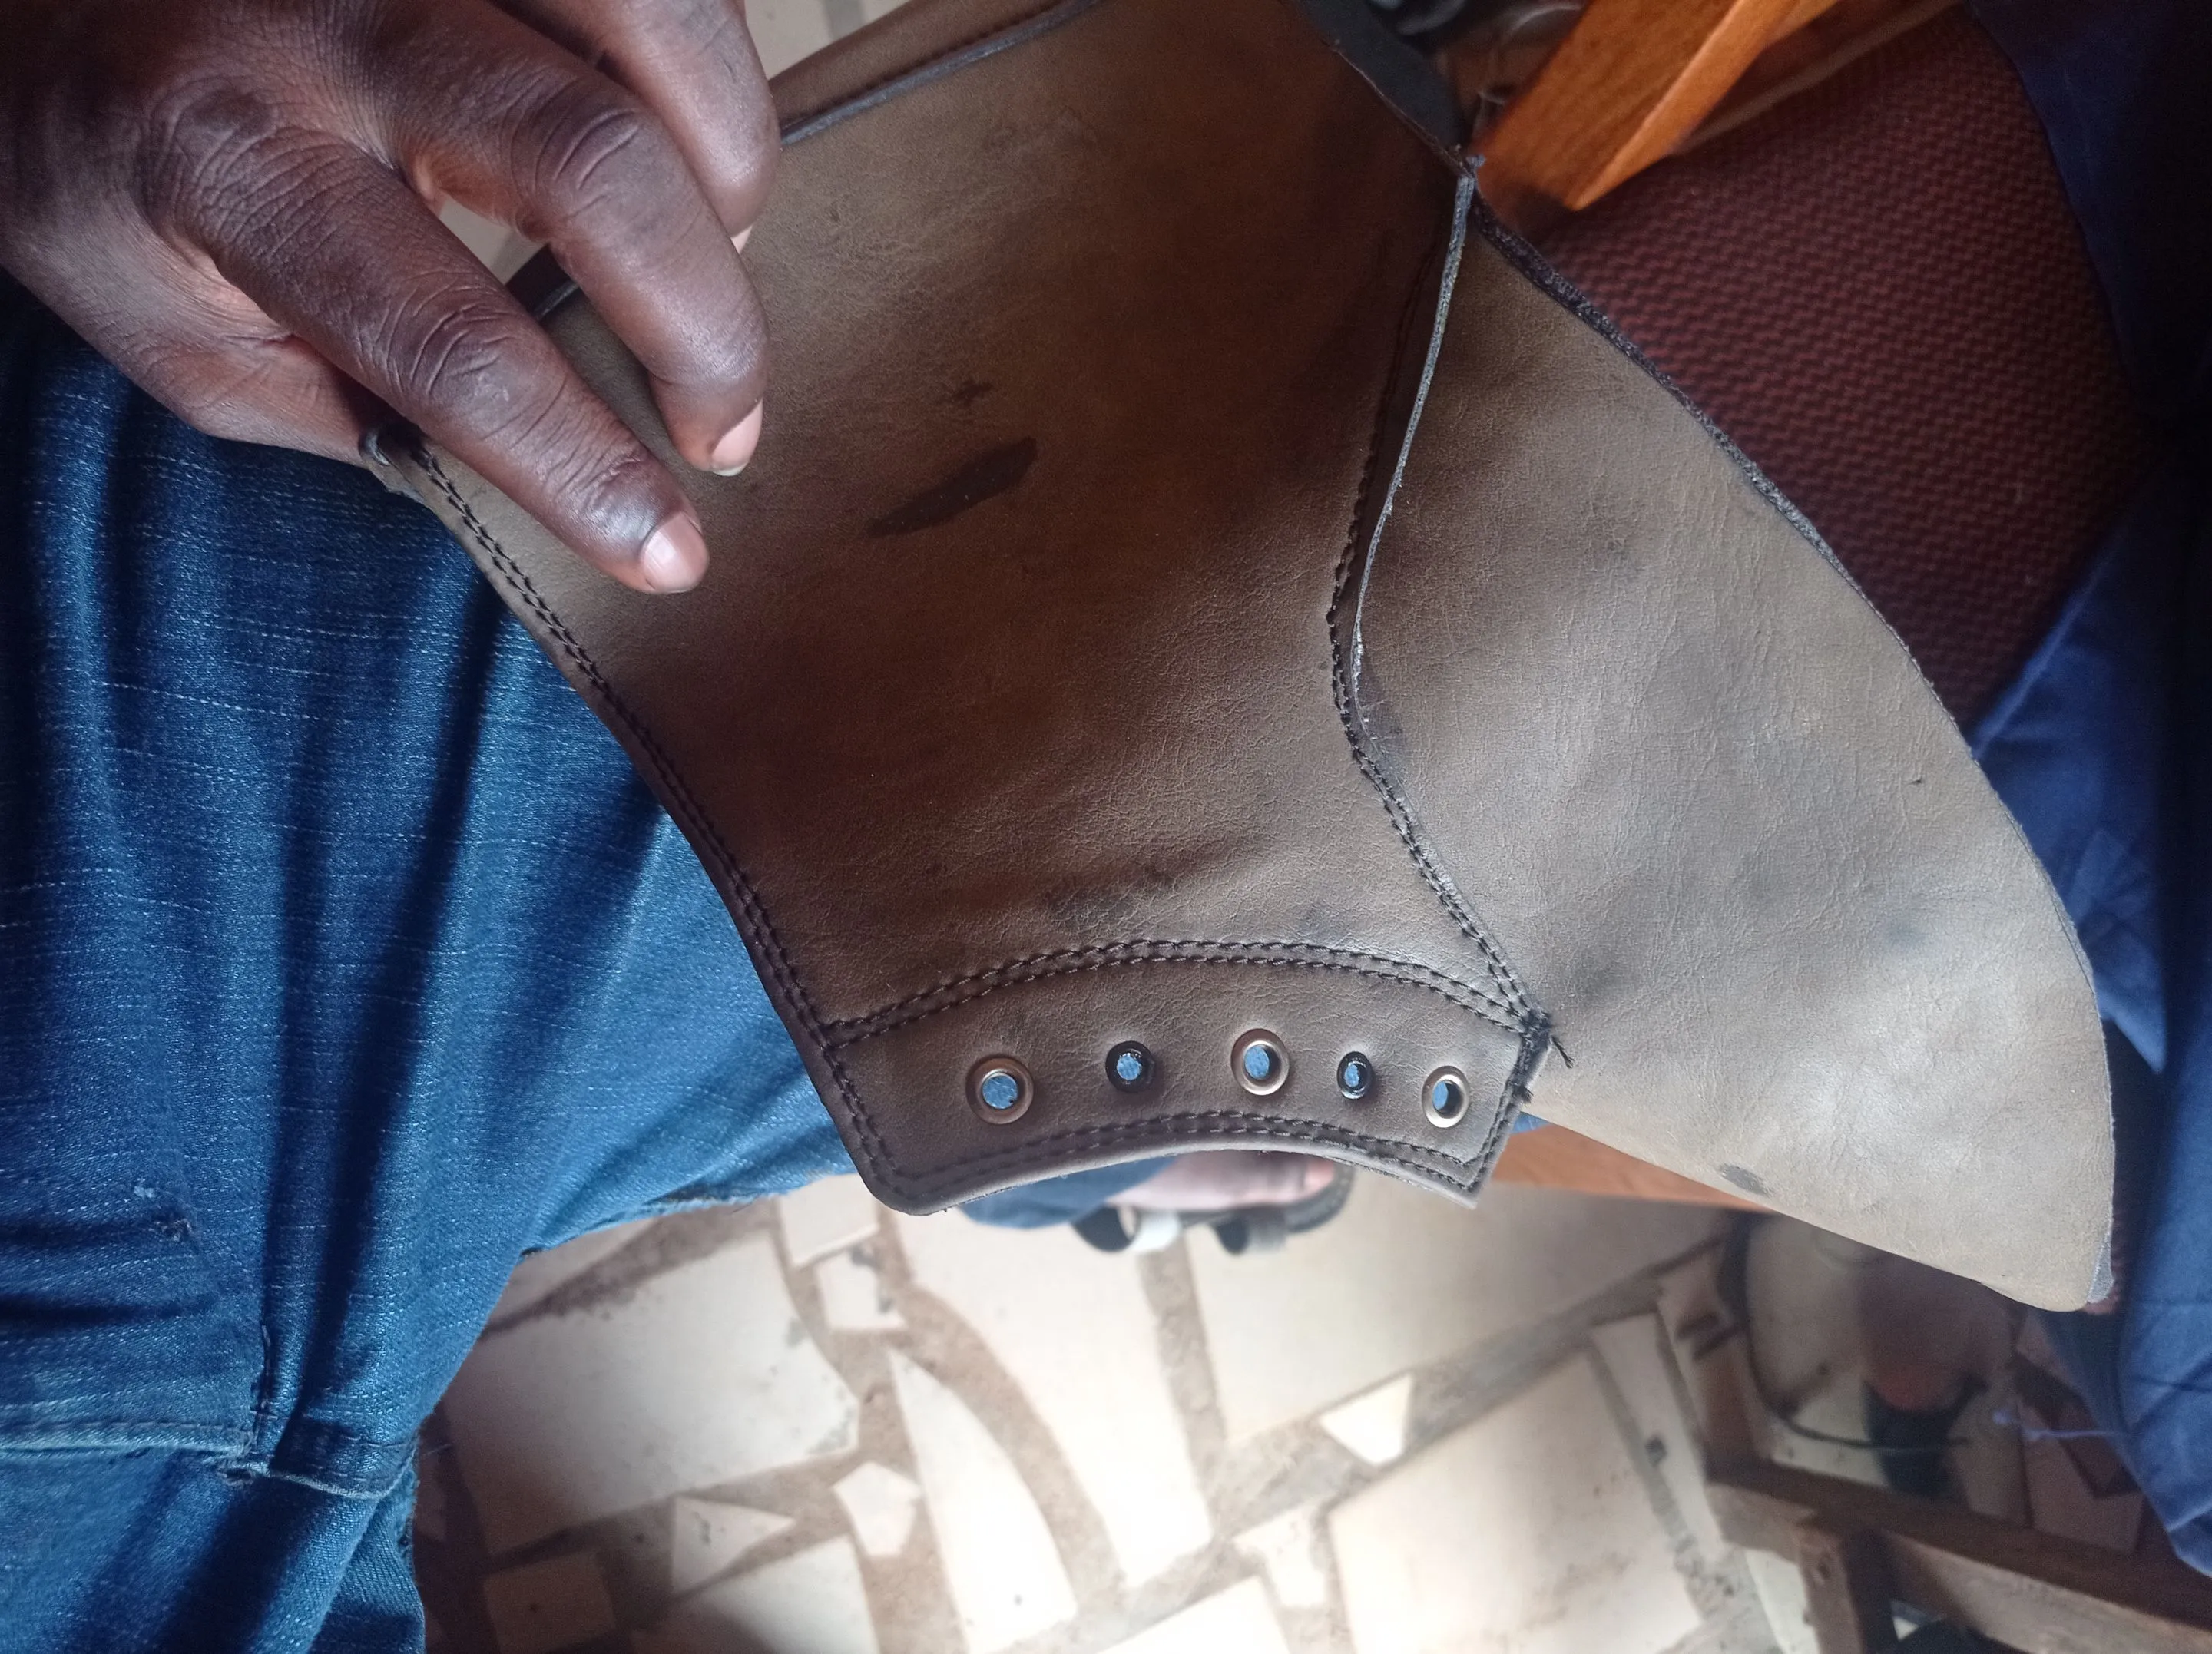
Although during my apprenticeship days, my boss did it once in my sight, but ever since then he never did it again and neither did I give a trial, but then I recently felt I needed a push to try out new things by moving out of my comfort zone of the relative Slippers, sandals and halfshoes that I regularly make, and here is my first attempt at trying it out after going through some videos content to refresh my knowledge about what I learnt at my boss.
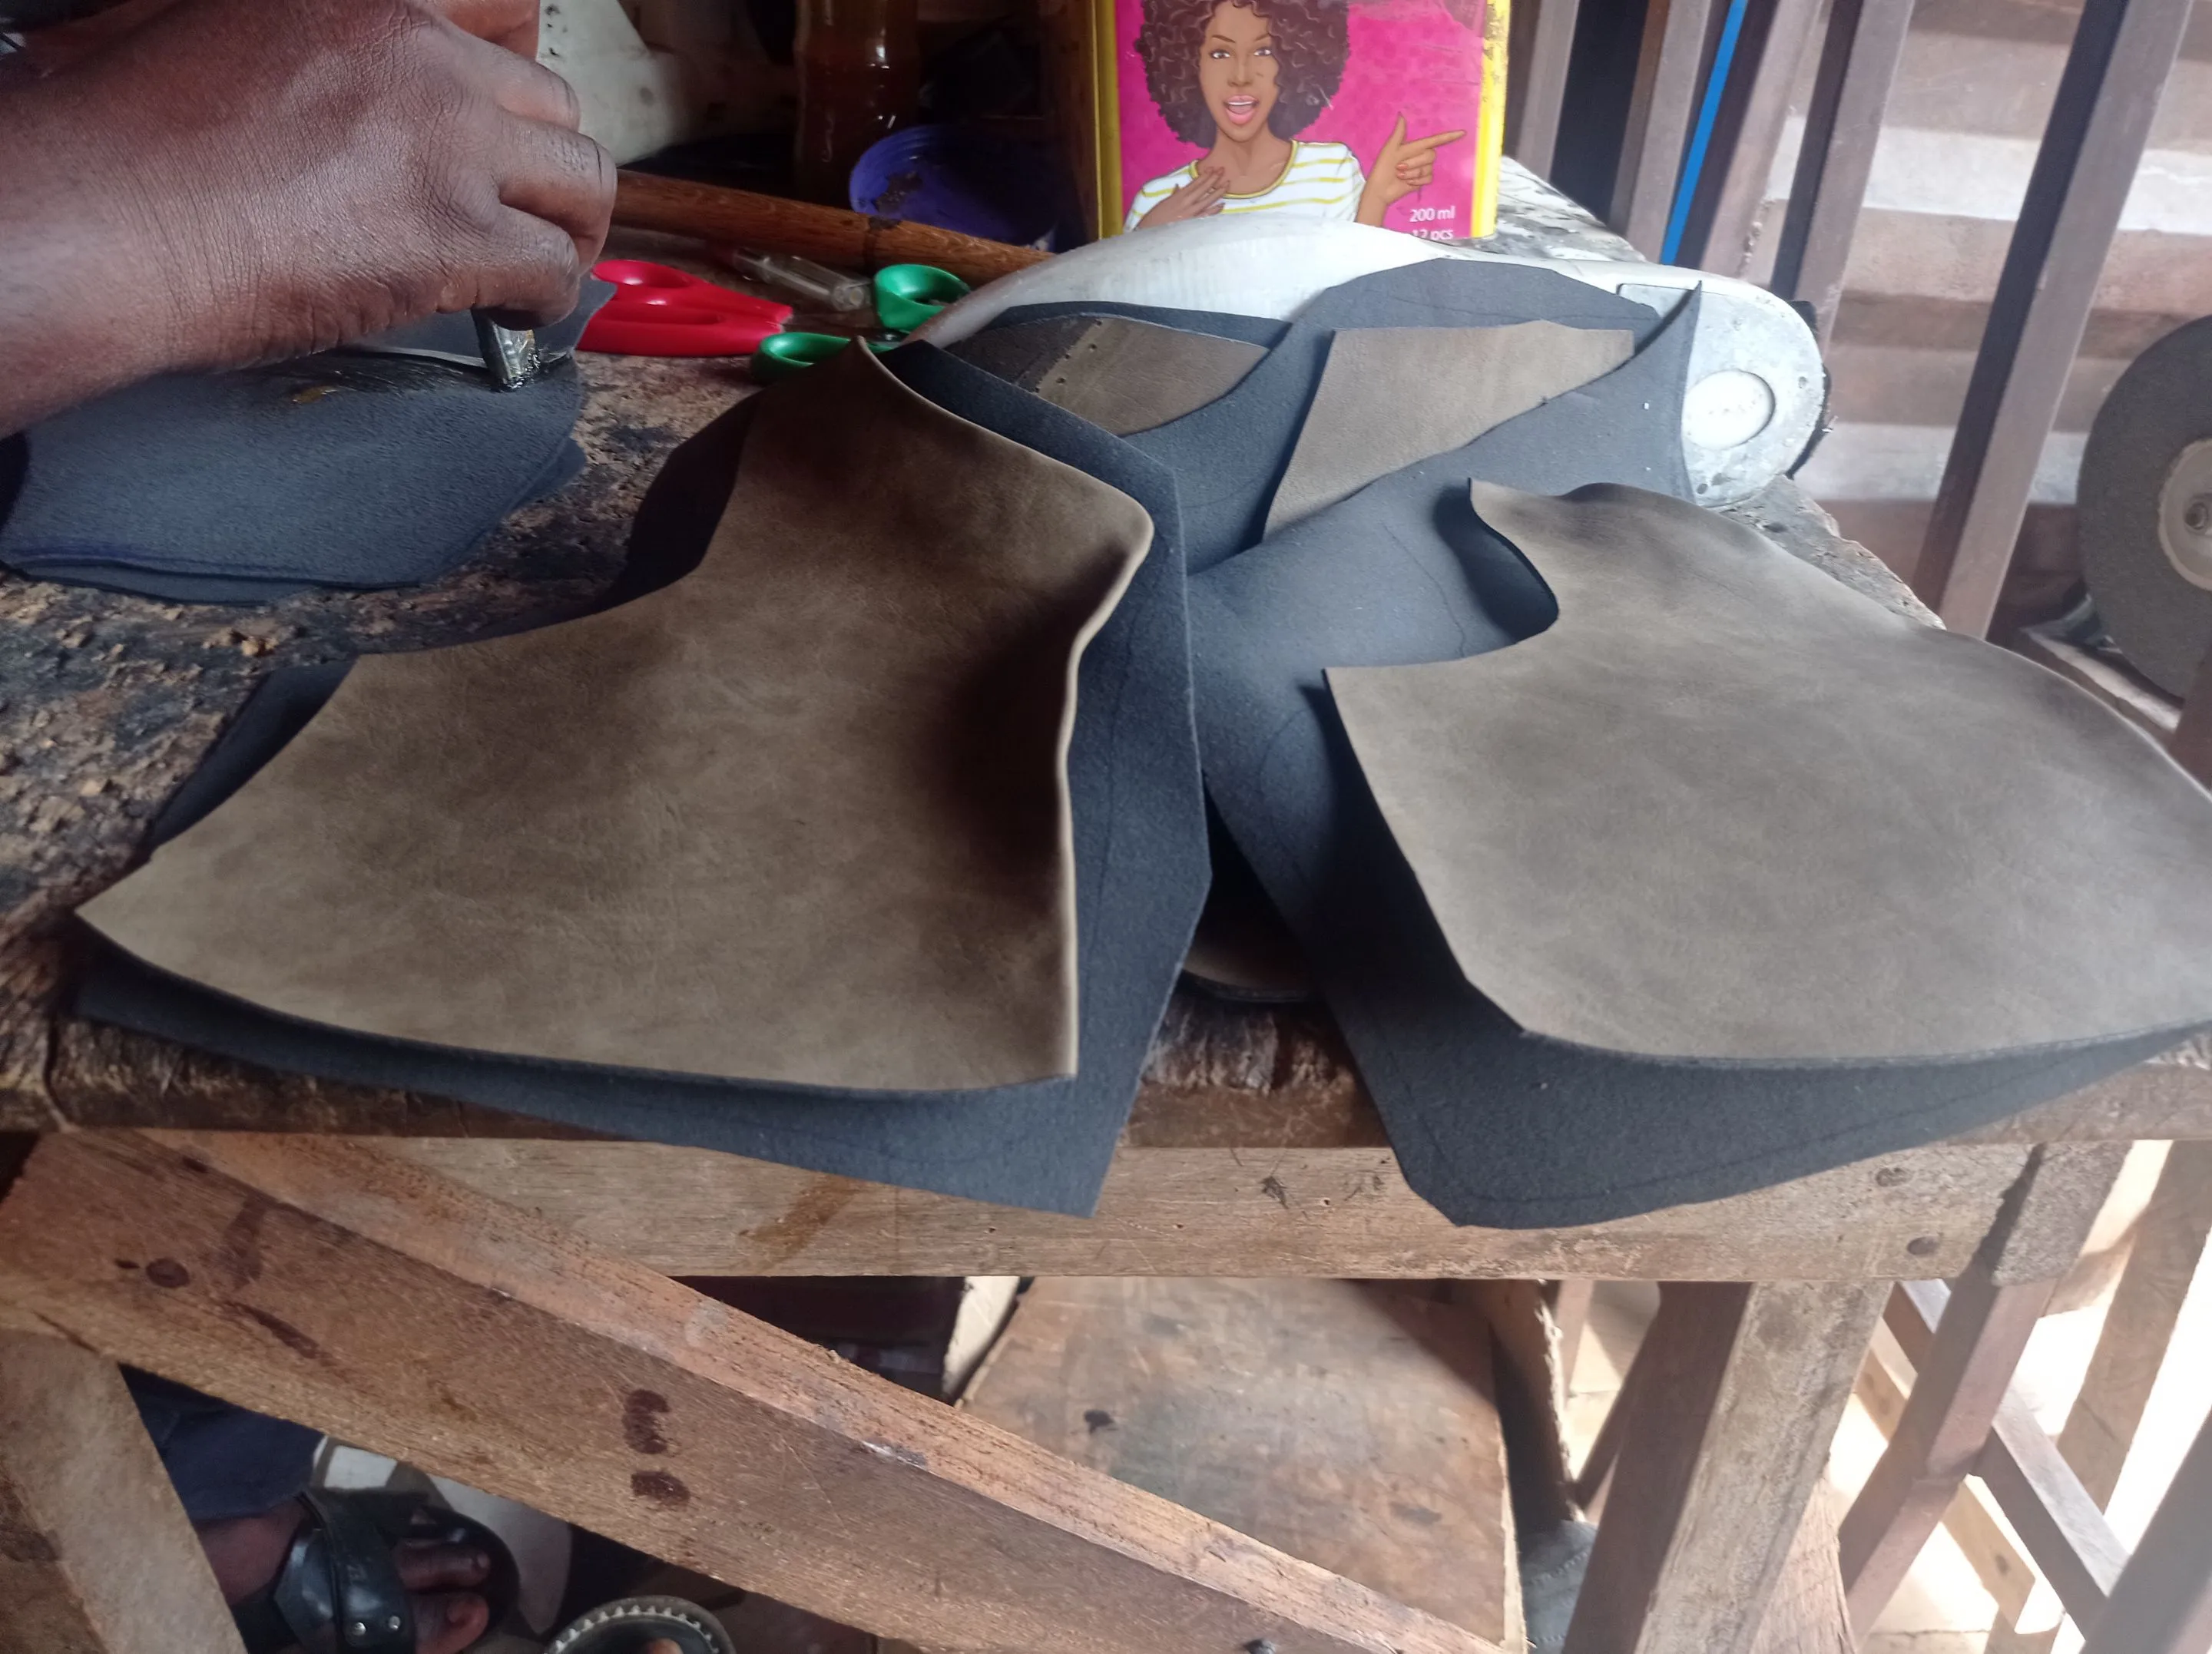
Full shoe making and boots are usually complicated and could take the whole day to accomplish, if not more, I could vividly remember that was the only shoe we crafted the day my boss did it in my present some years ago, so give it a trial meant I'm really to dedicate a whole day for the project, but before starting the project today, I first finish the last pending customer Footwear's that must be delivered before Sunday, and then I set out to work.

MATERIALS AND EQUIPMENT USED
- Skin leather material
- Fiber insole
- Eyelet plier
- linning
- Gum
- Black thread
- Shoe last
- Lasing/cobbler plier
- Super Glue
- Lug Outsoles
- Hammer
- Grinding machine
- Brush etc...
https://files.peakd.com/file/peakd-hive/vickoly/23swpjpNVGZ91nyGX1VCkLsweCXzixeu5btbR5b4ca4Snxc9Awkc969icMEBsjBuY3epX.png
THE MAKING PROCESS
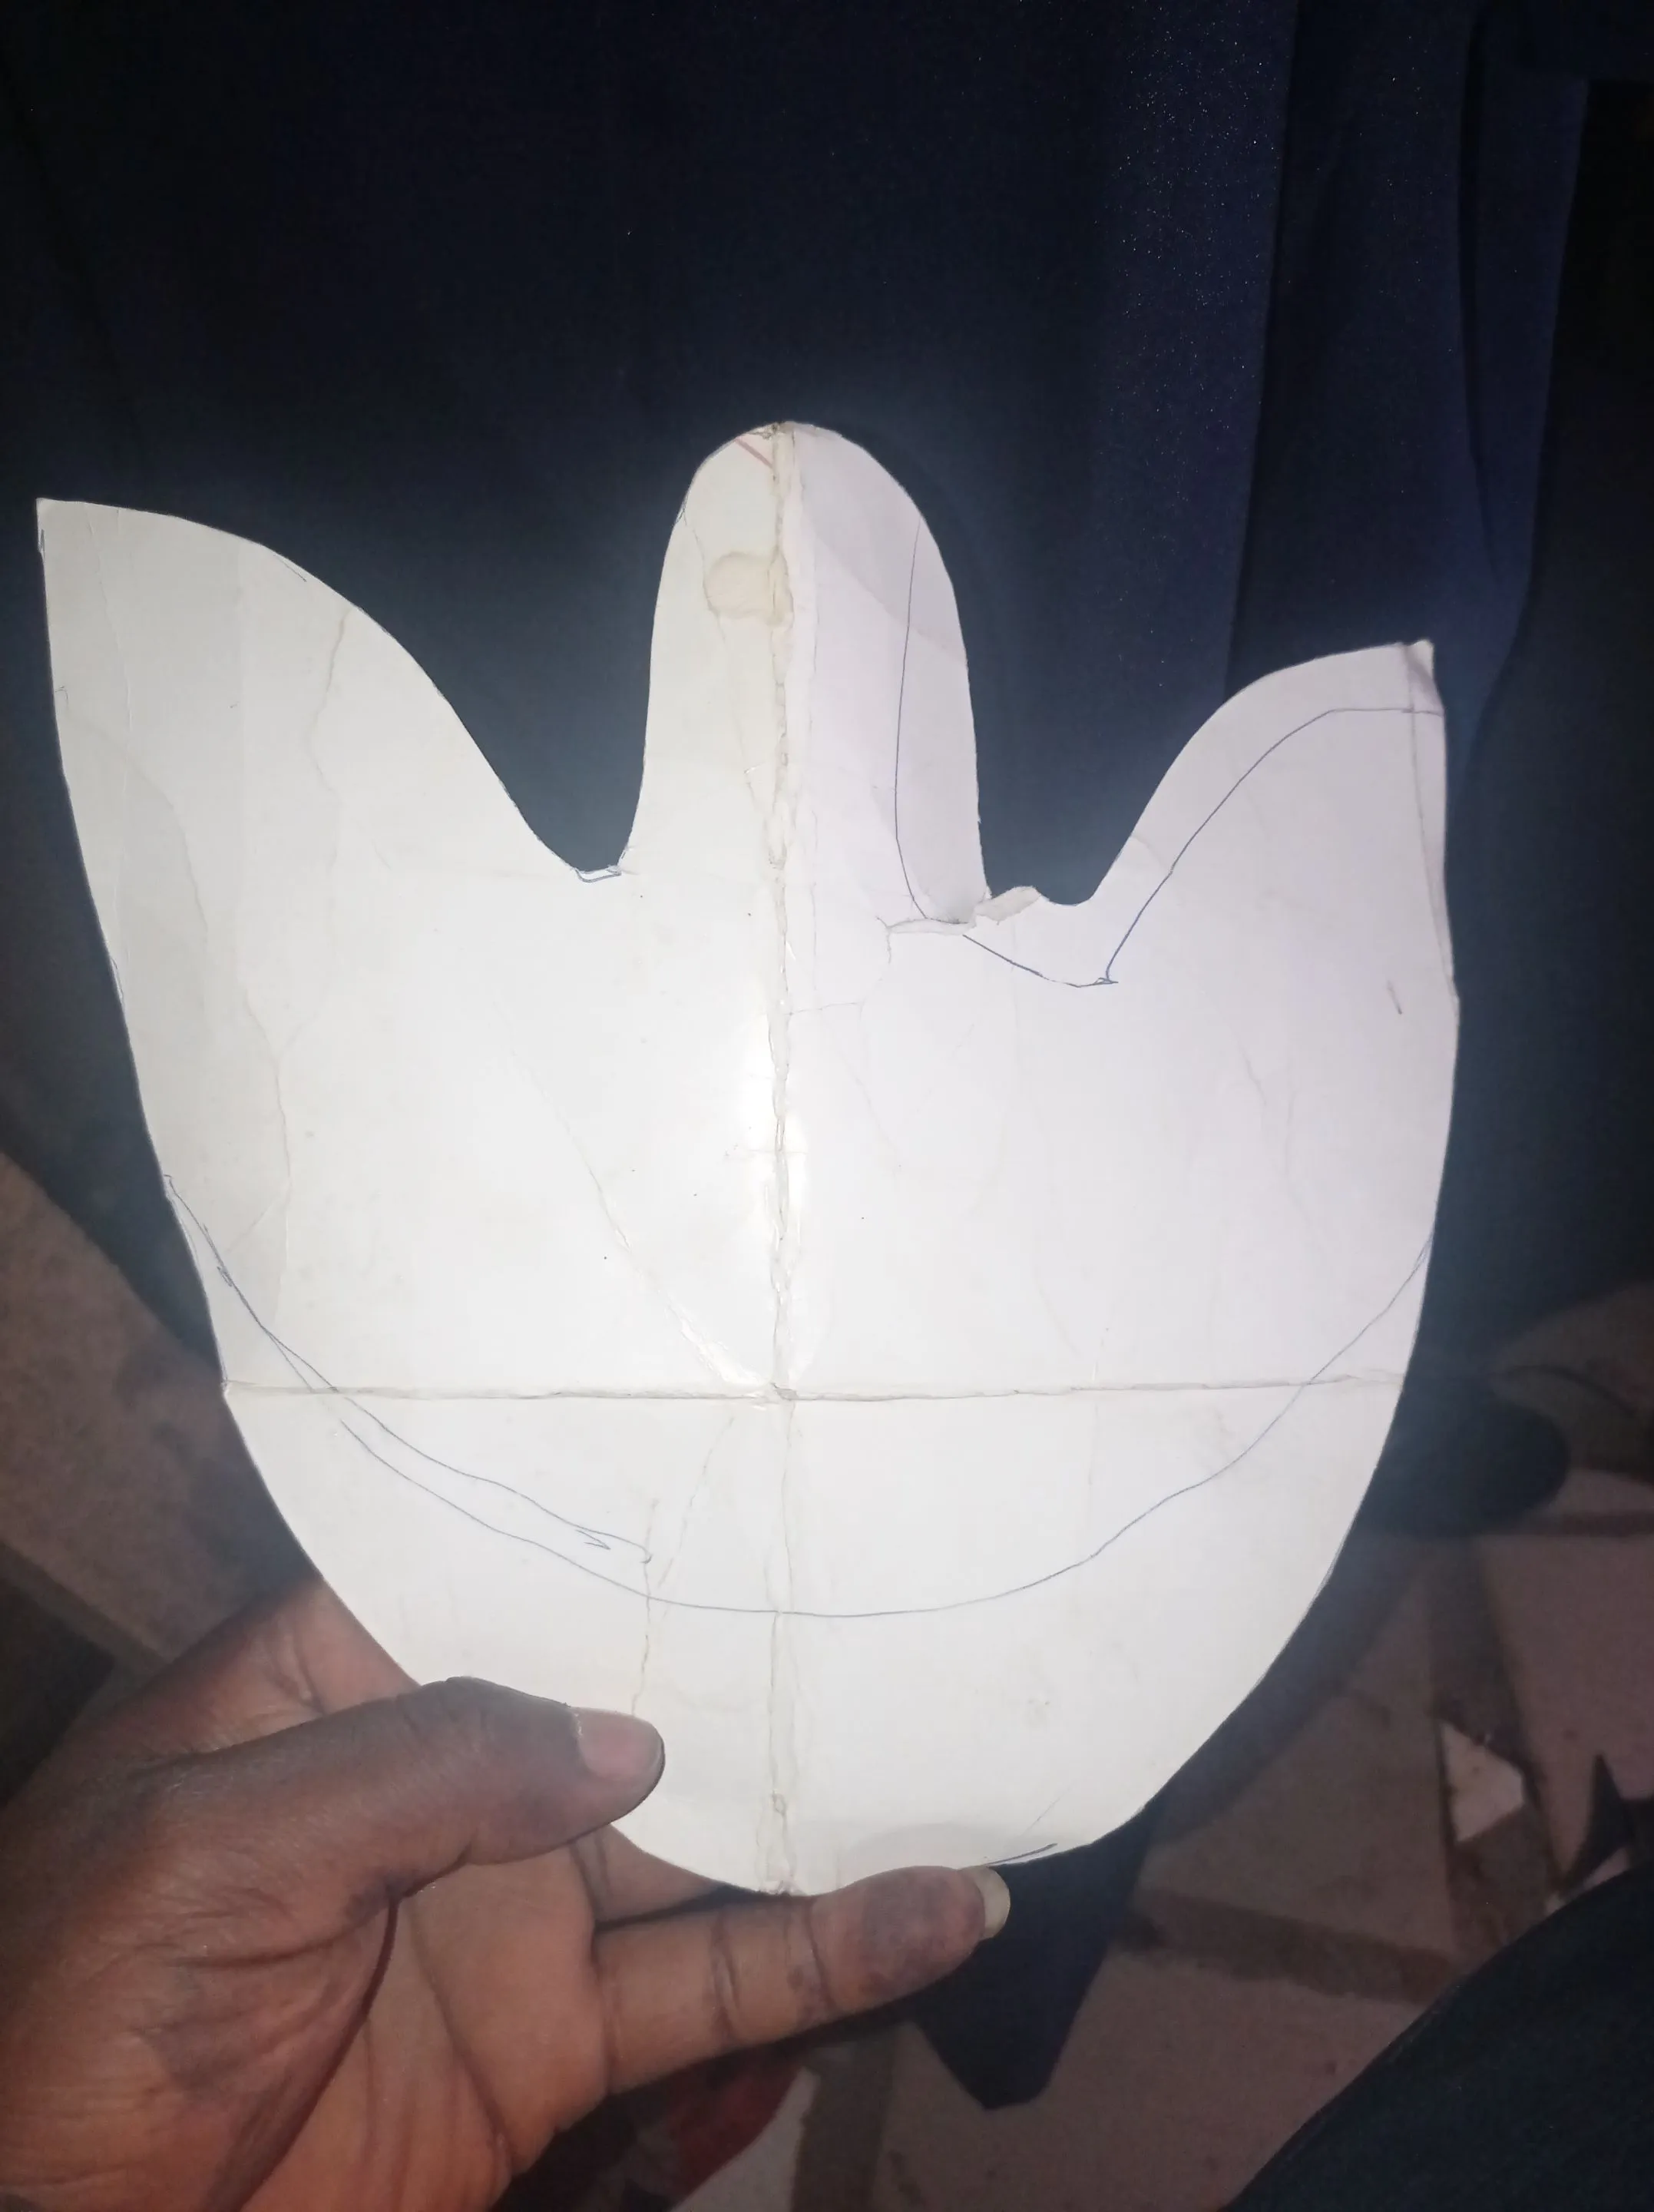
Like I said earlier, full shoe and boots are always complicated to make, because the cutting must not be too big and neither must it be to short, else it'll affect the shape of the shoe, so to achieve a perfect size, I started by cutting out the pattern of the upper on a paper and tested it on the shoe last (the rubber material that's in human leg shape), and when I'm certain it's perfect, I place it on the actual material I cut it out.
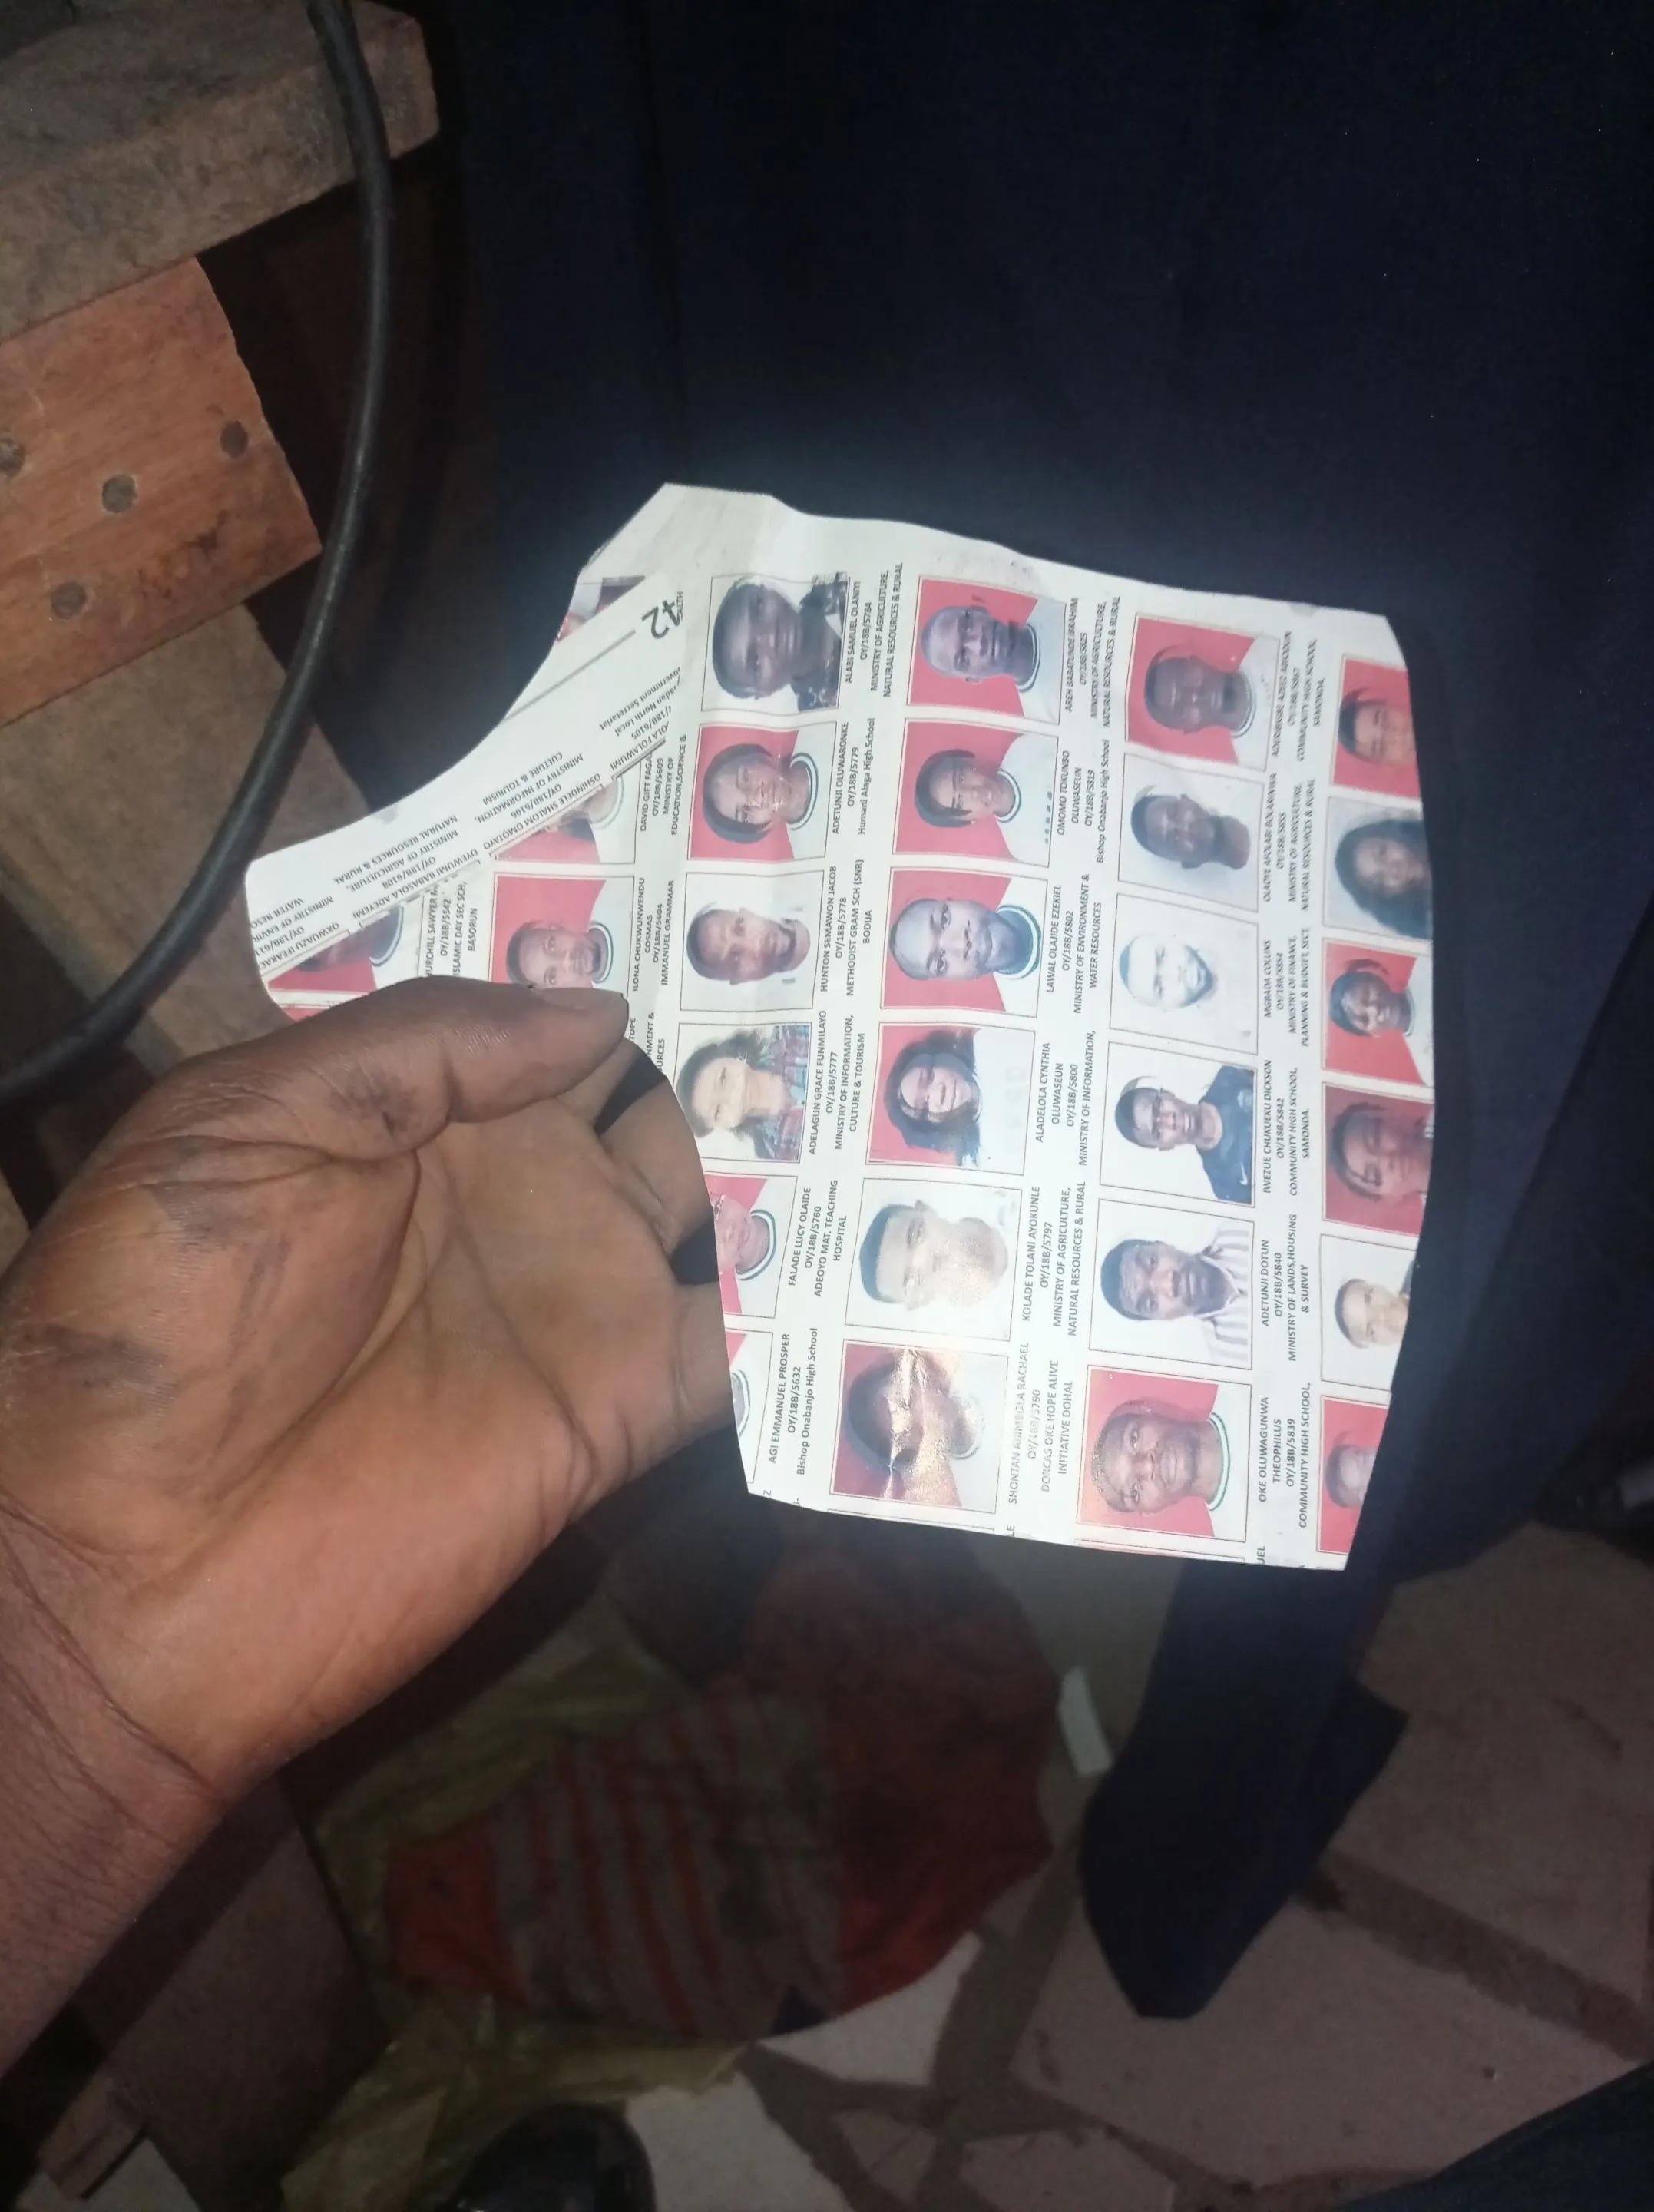
I did the same thing for the insole, and then cut out the fiber material, and the put a lining around it, I first place the fiber on the lining and then draw out the shape with an Extra half inches for the folding allowance, after which I run gum on both and apply it together.
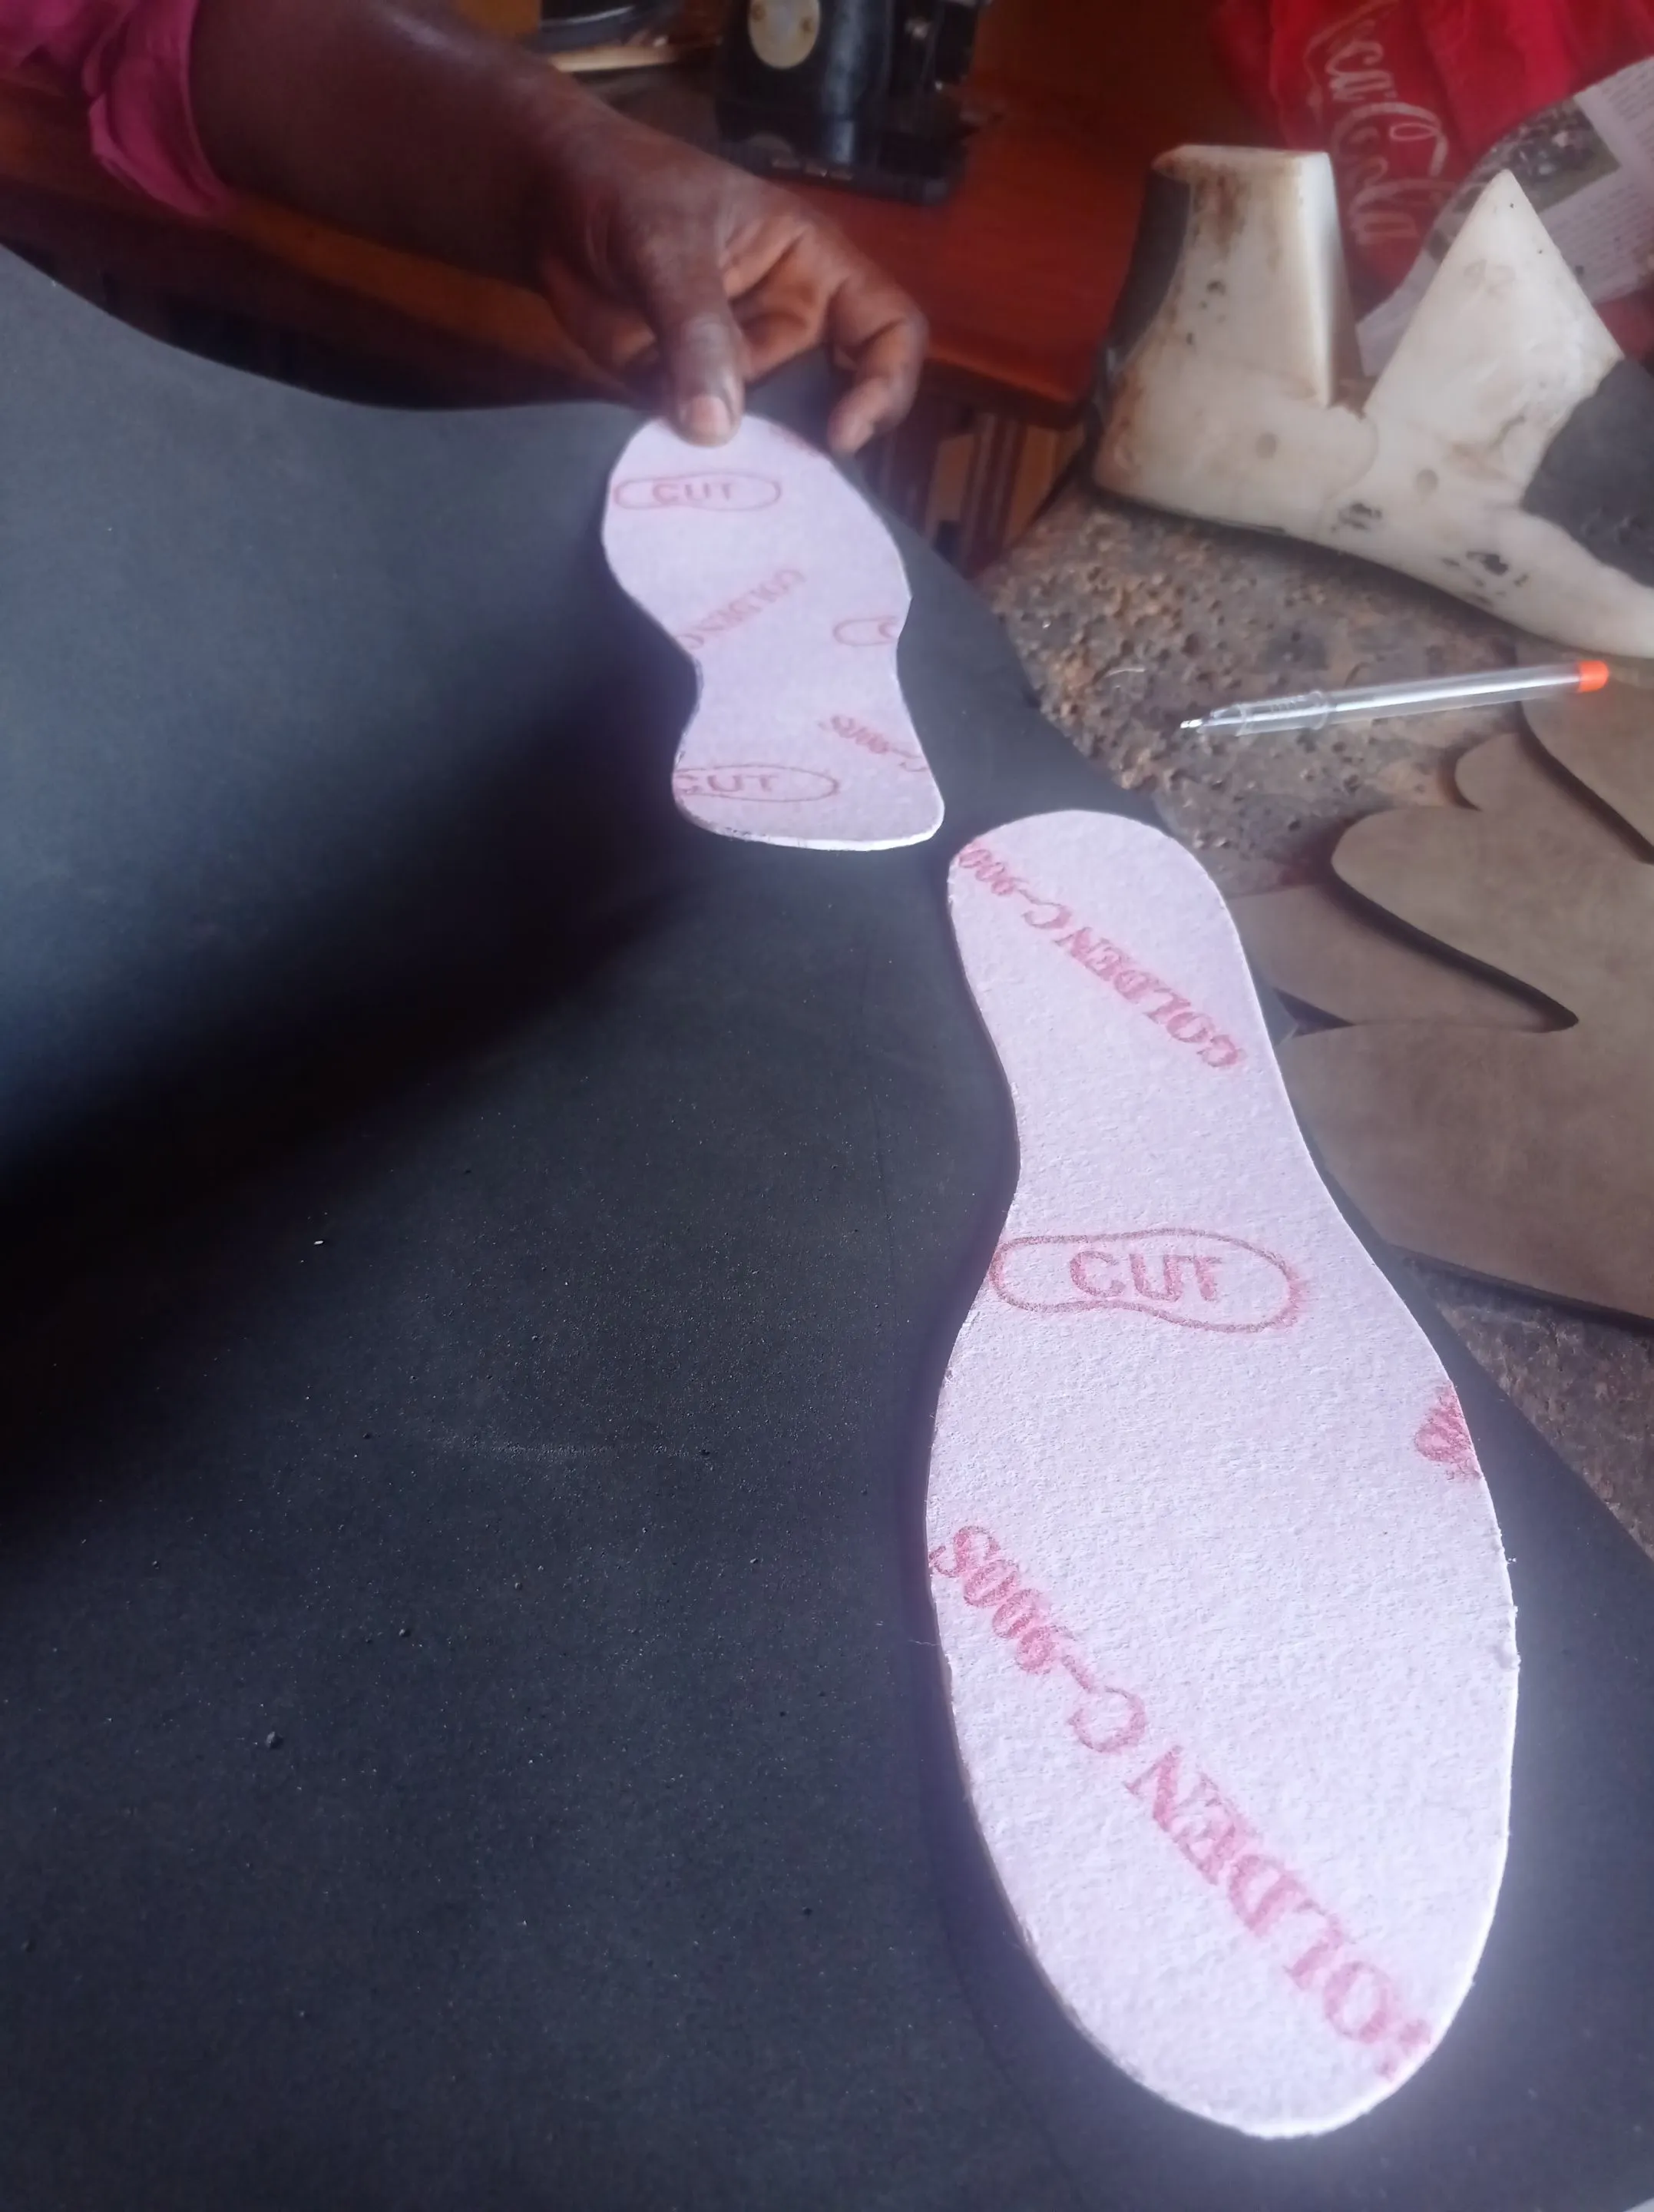
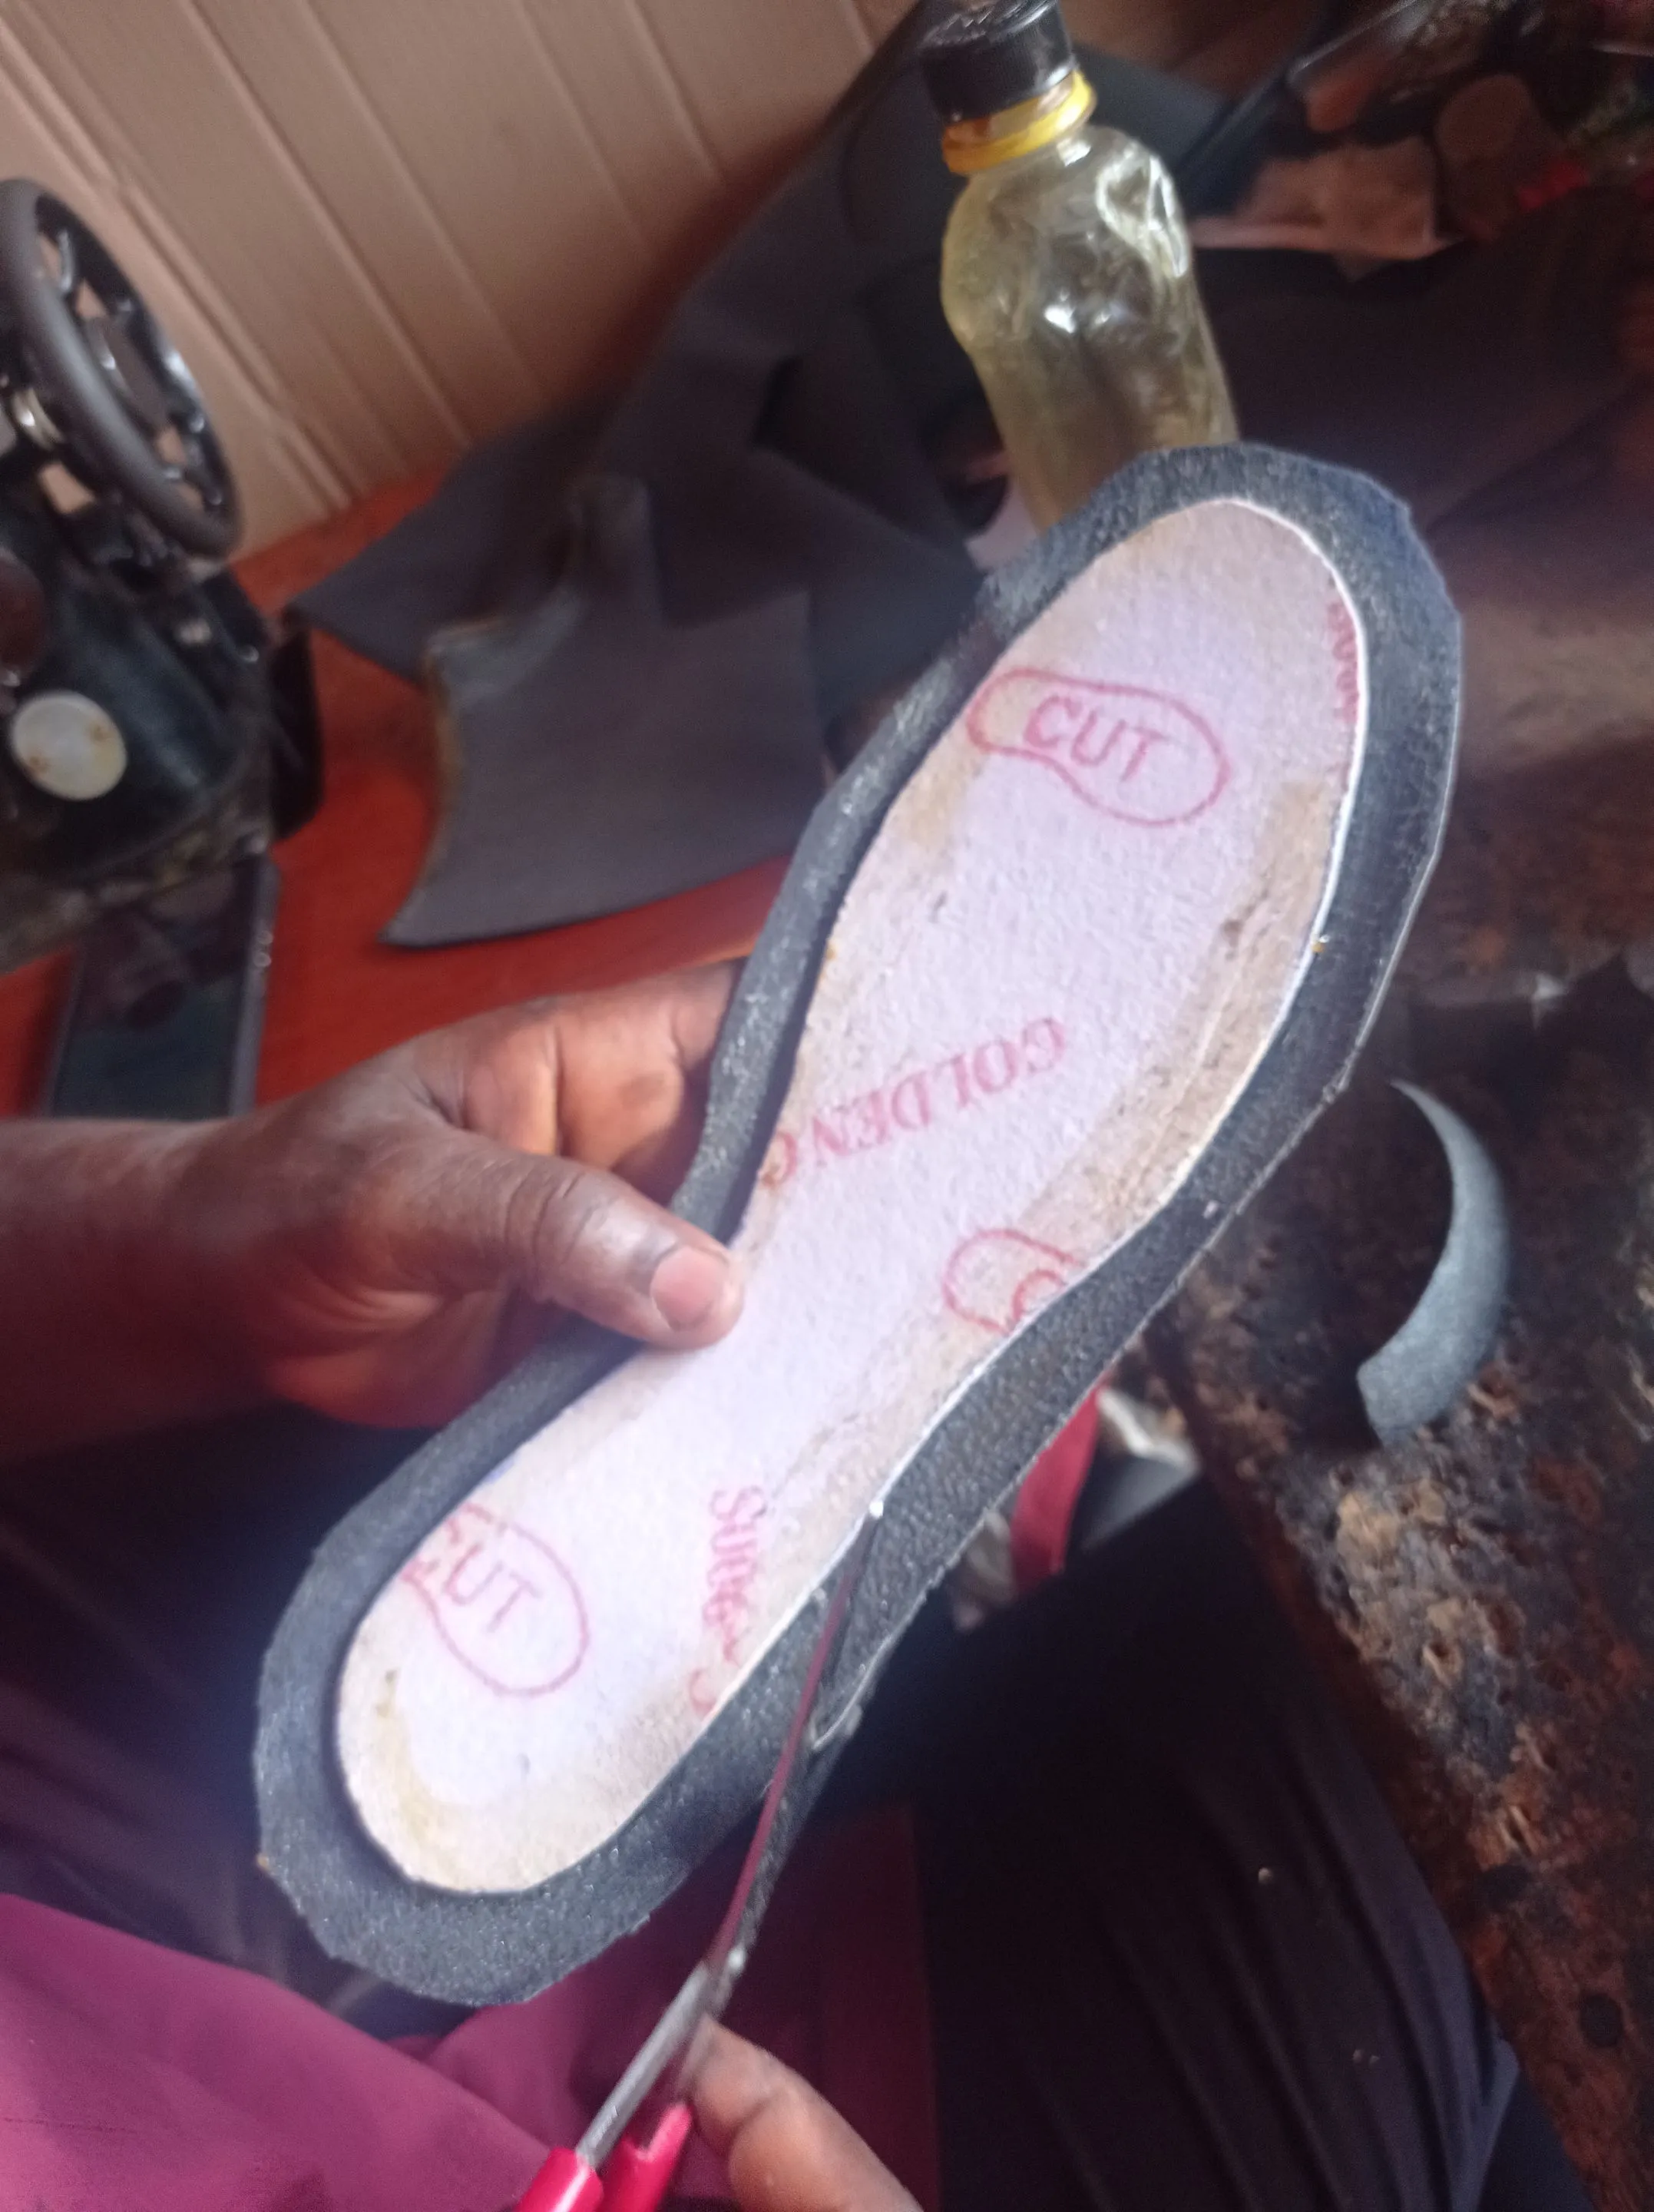
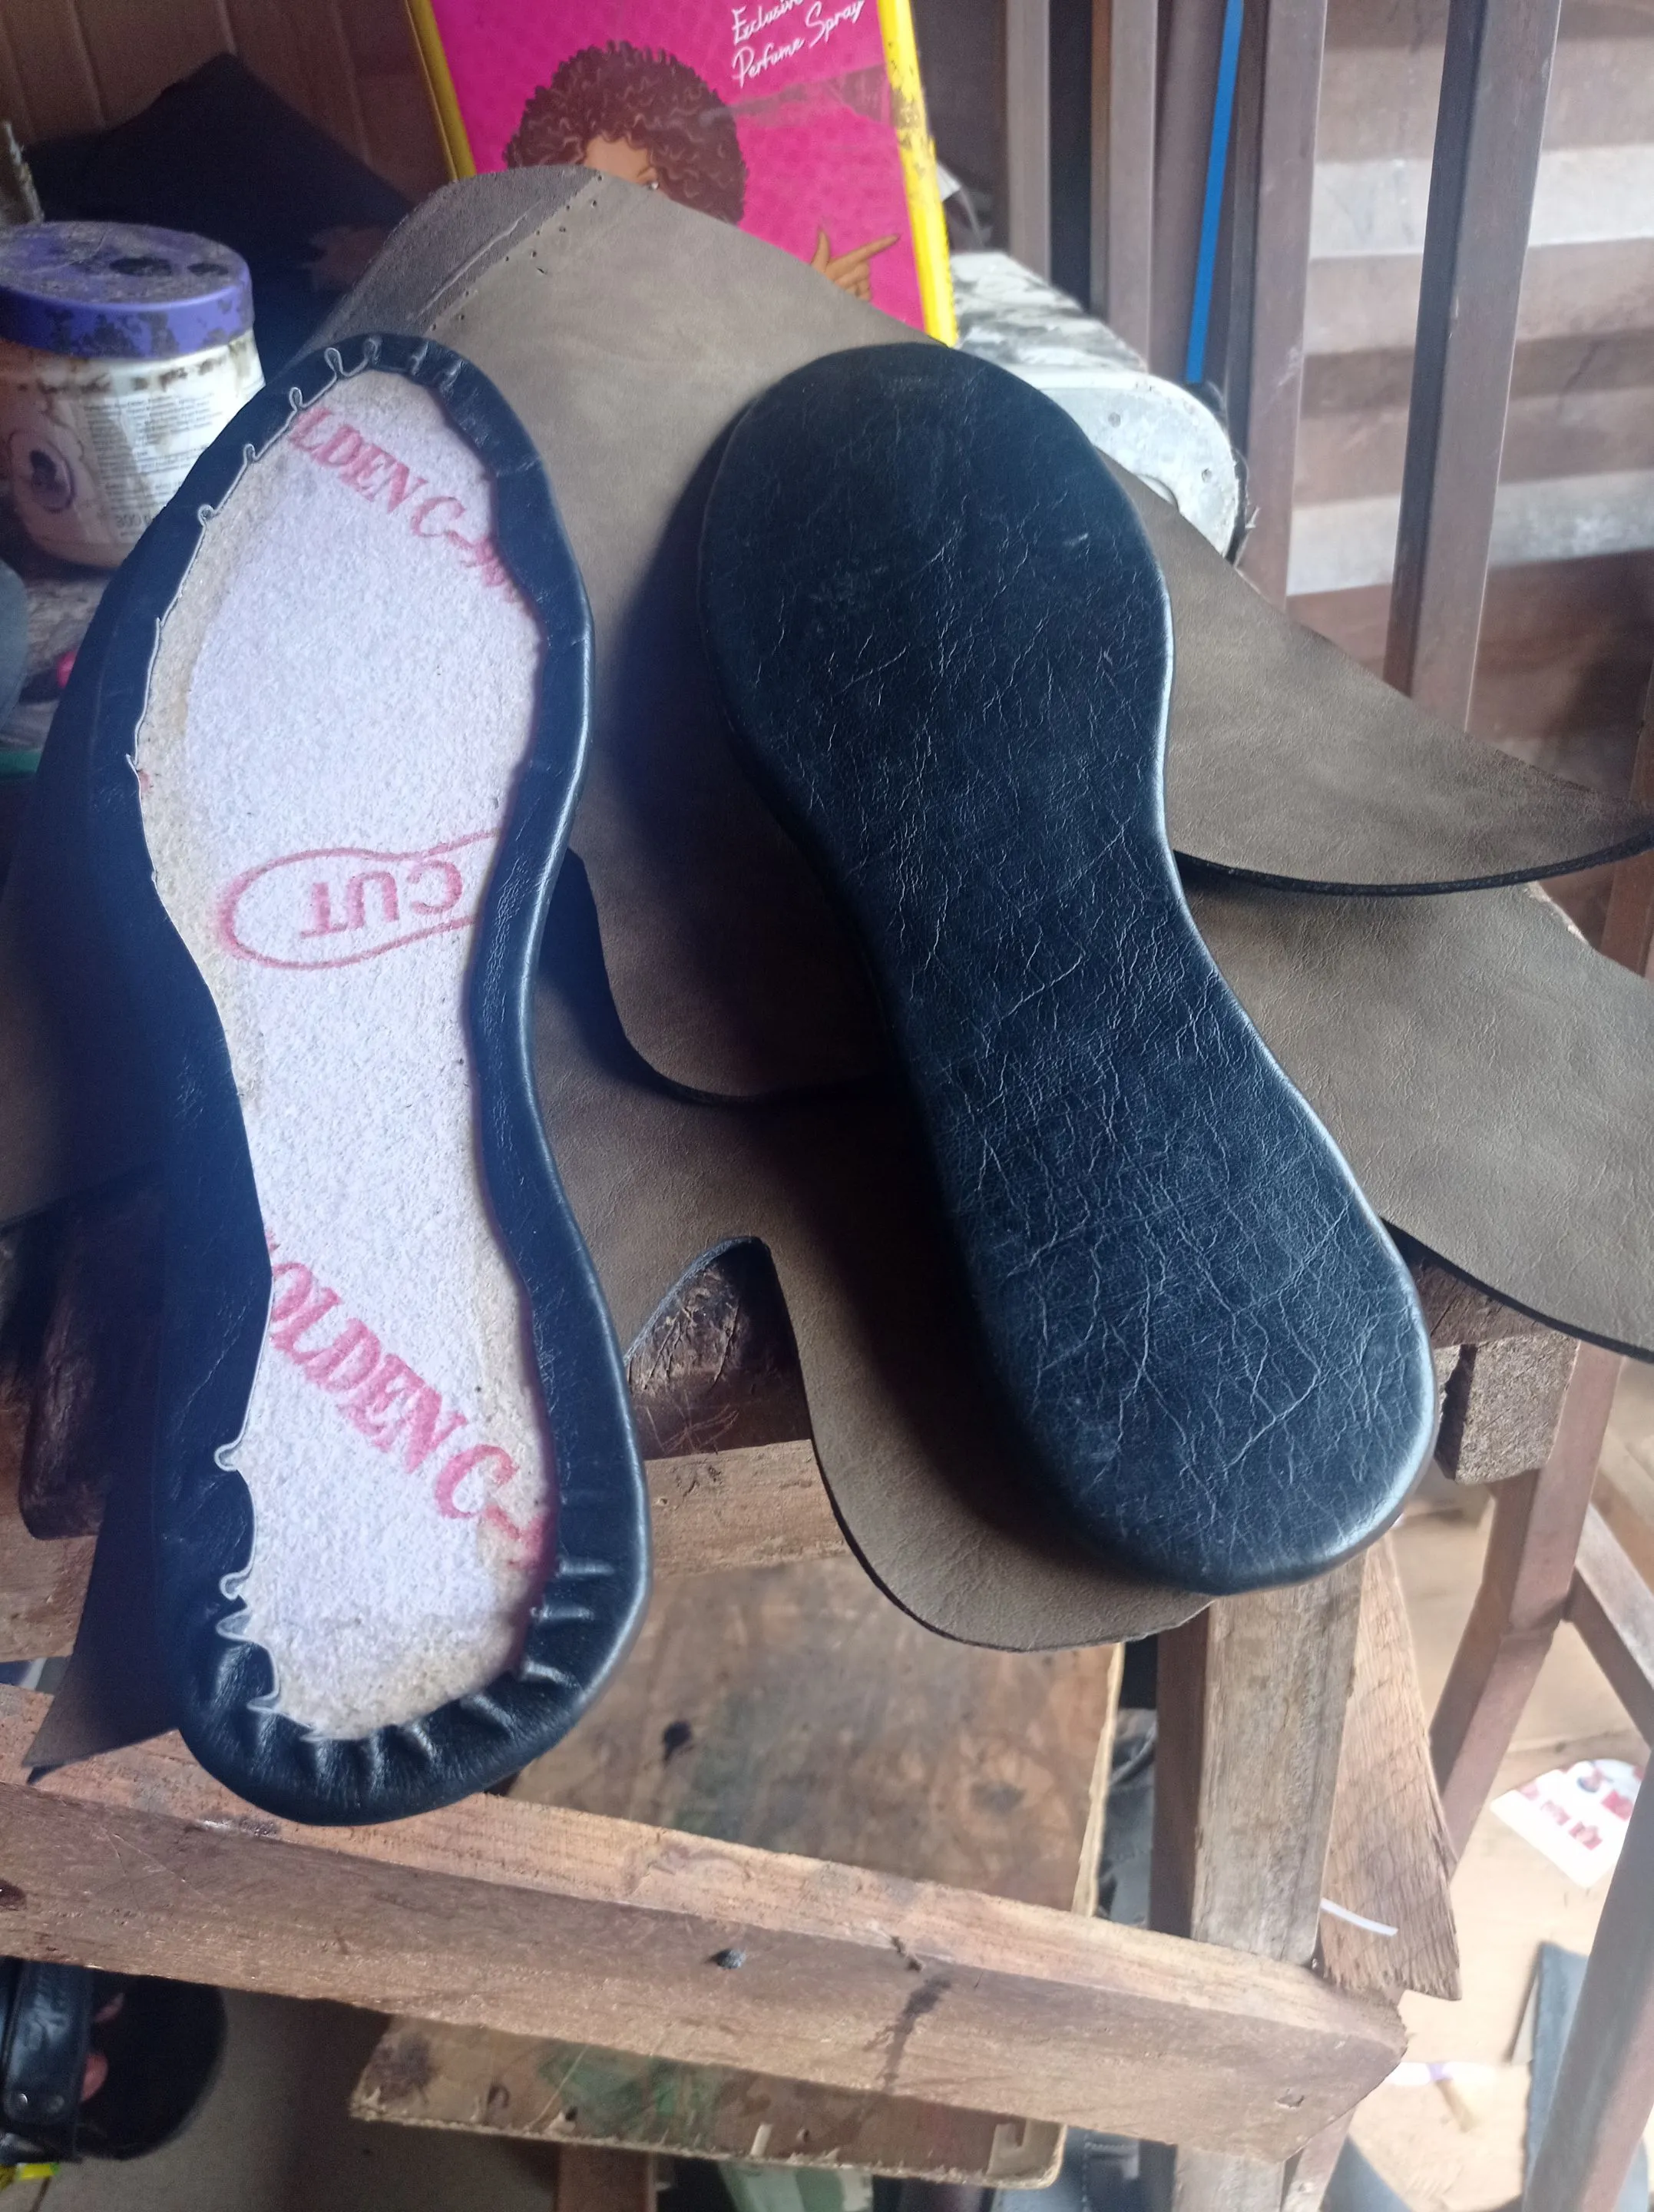
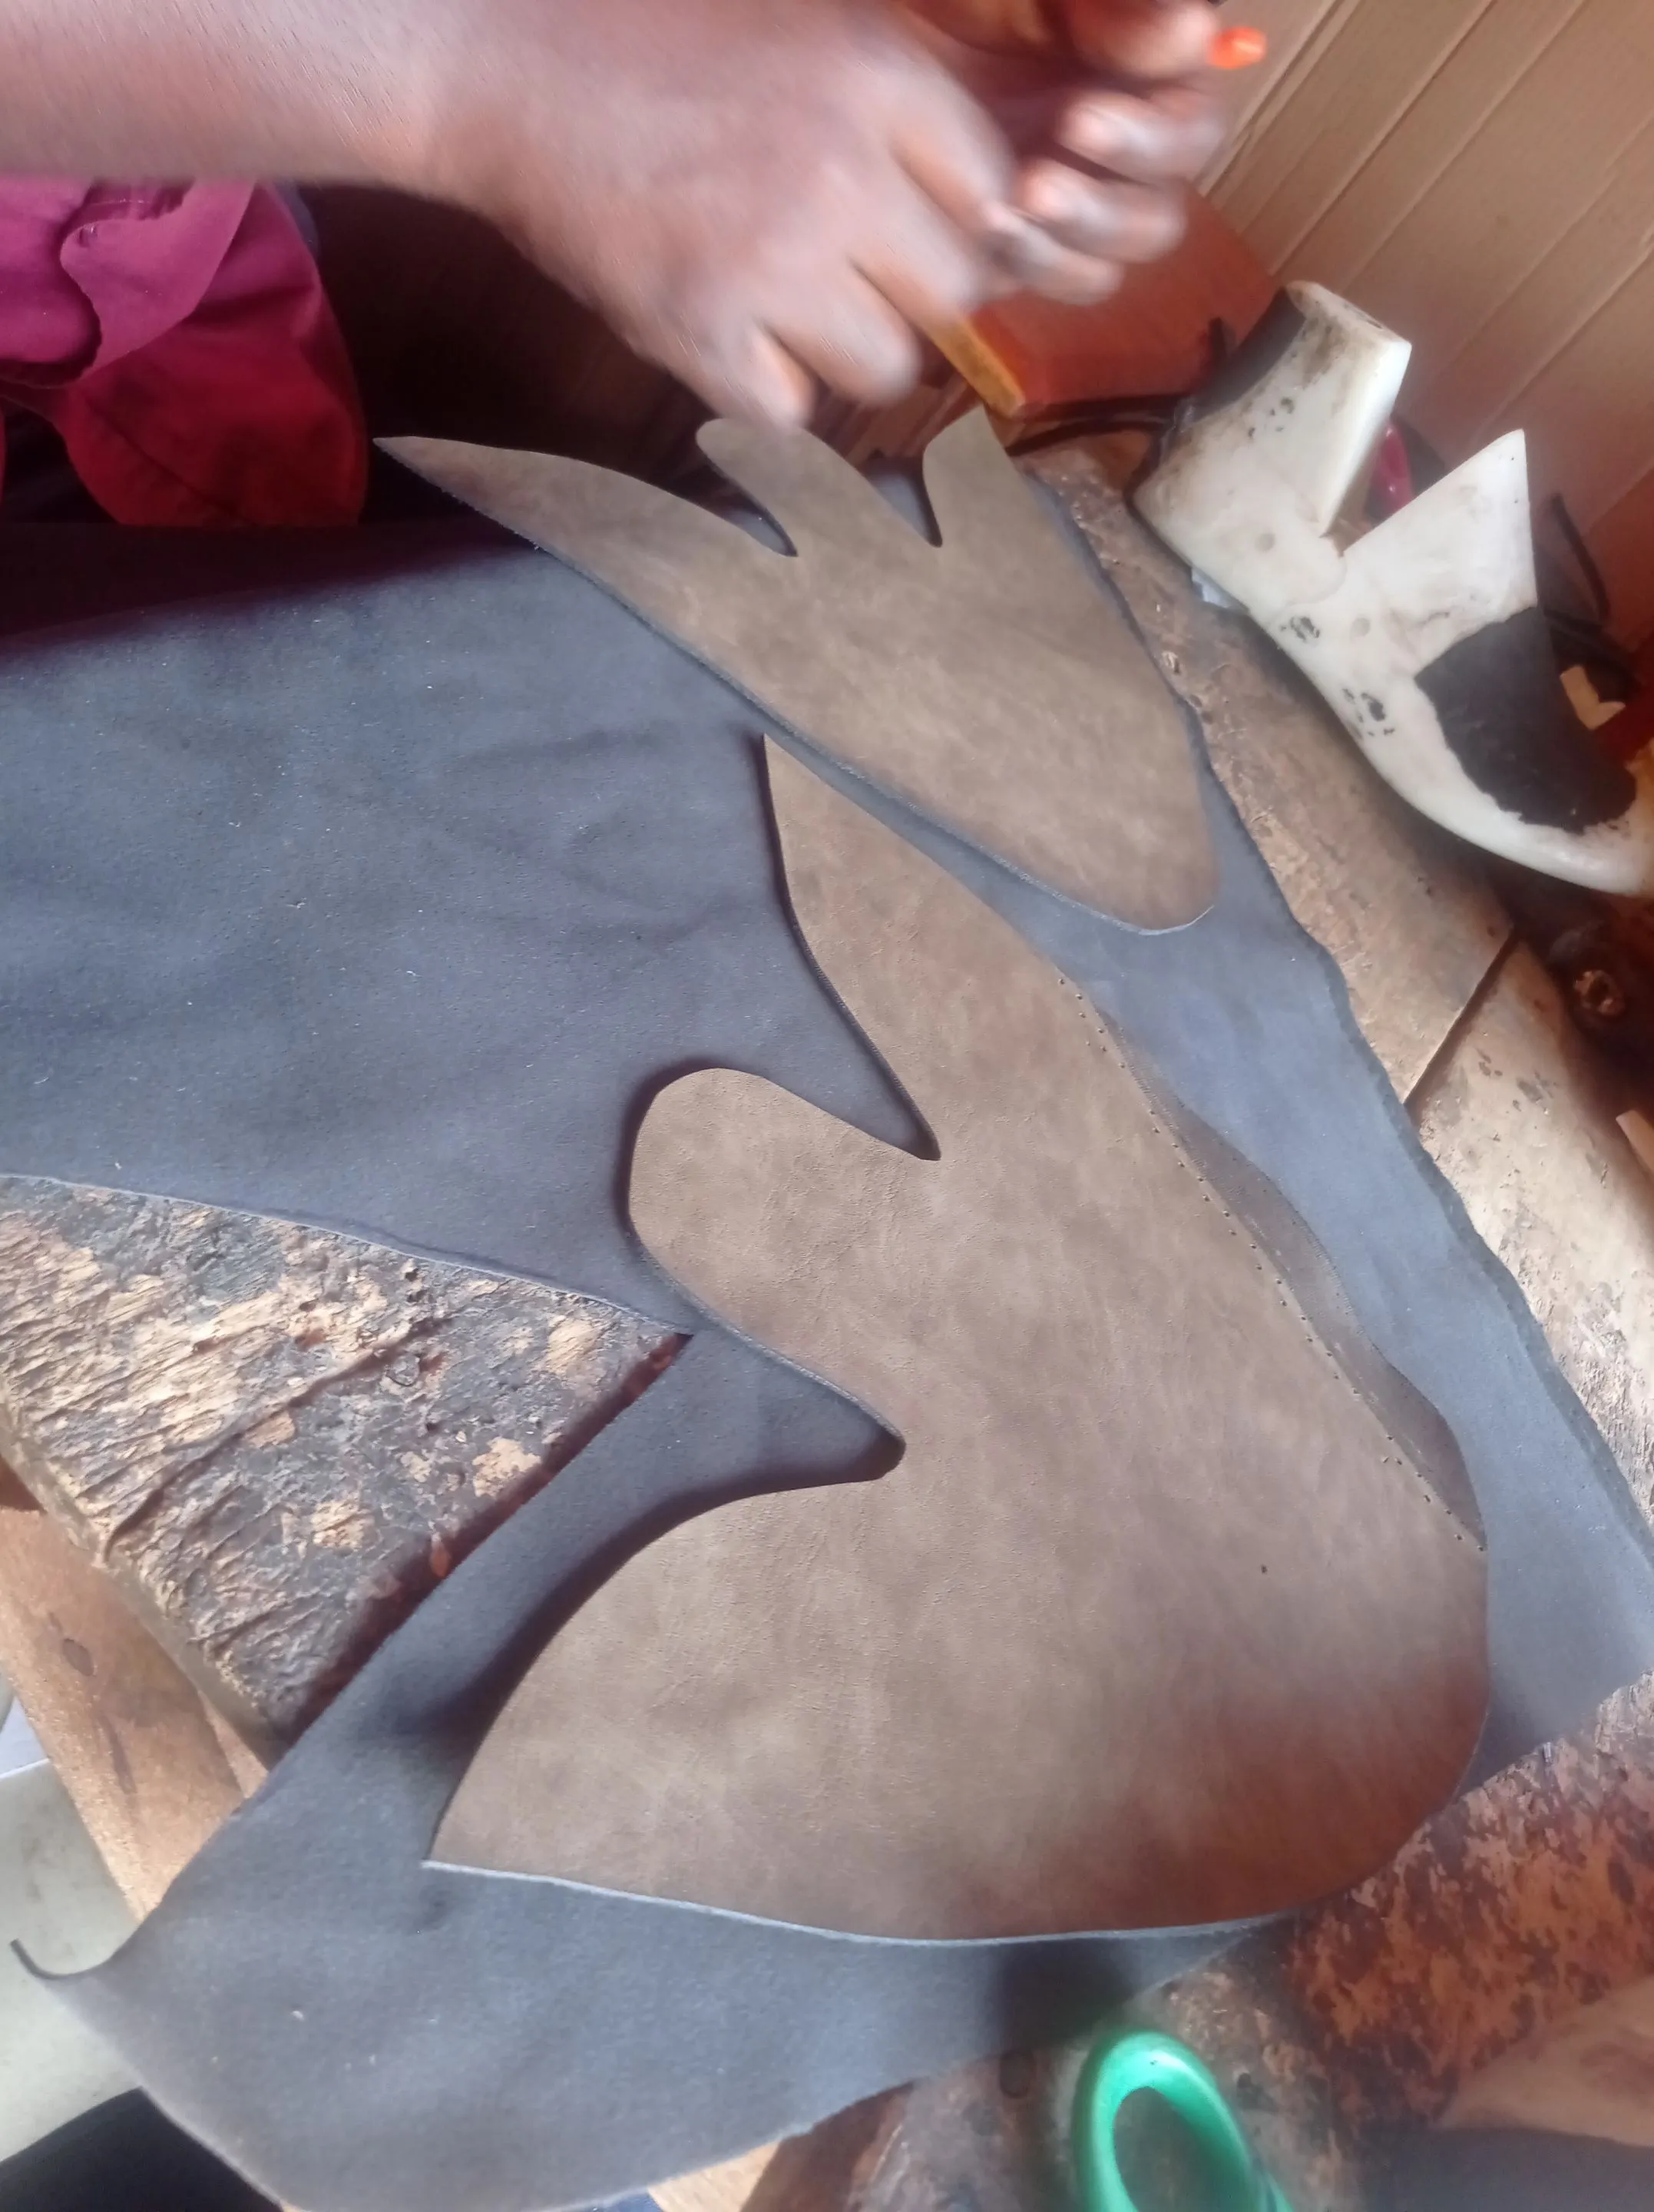
- Once all the parts of the upper as been cut out, I cut their lining and attach it together, and then sew the necessary parts on the sewing machine.
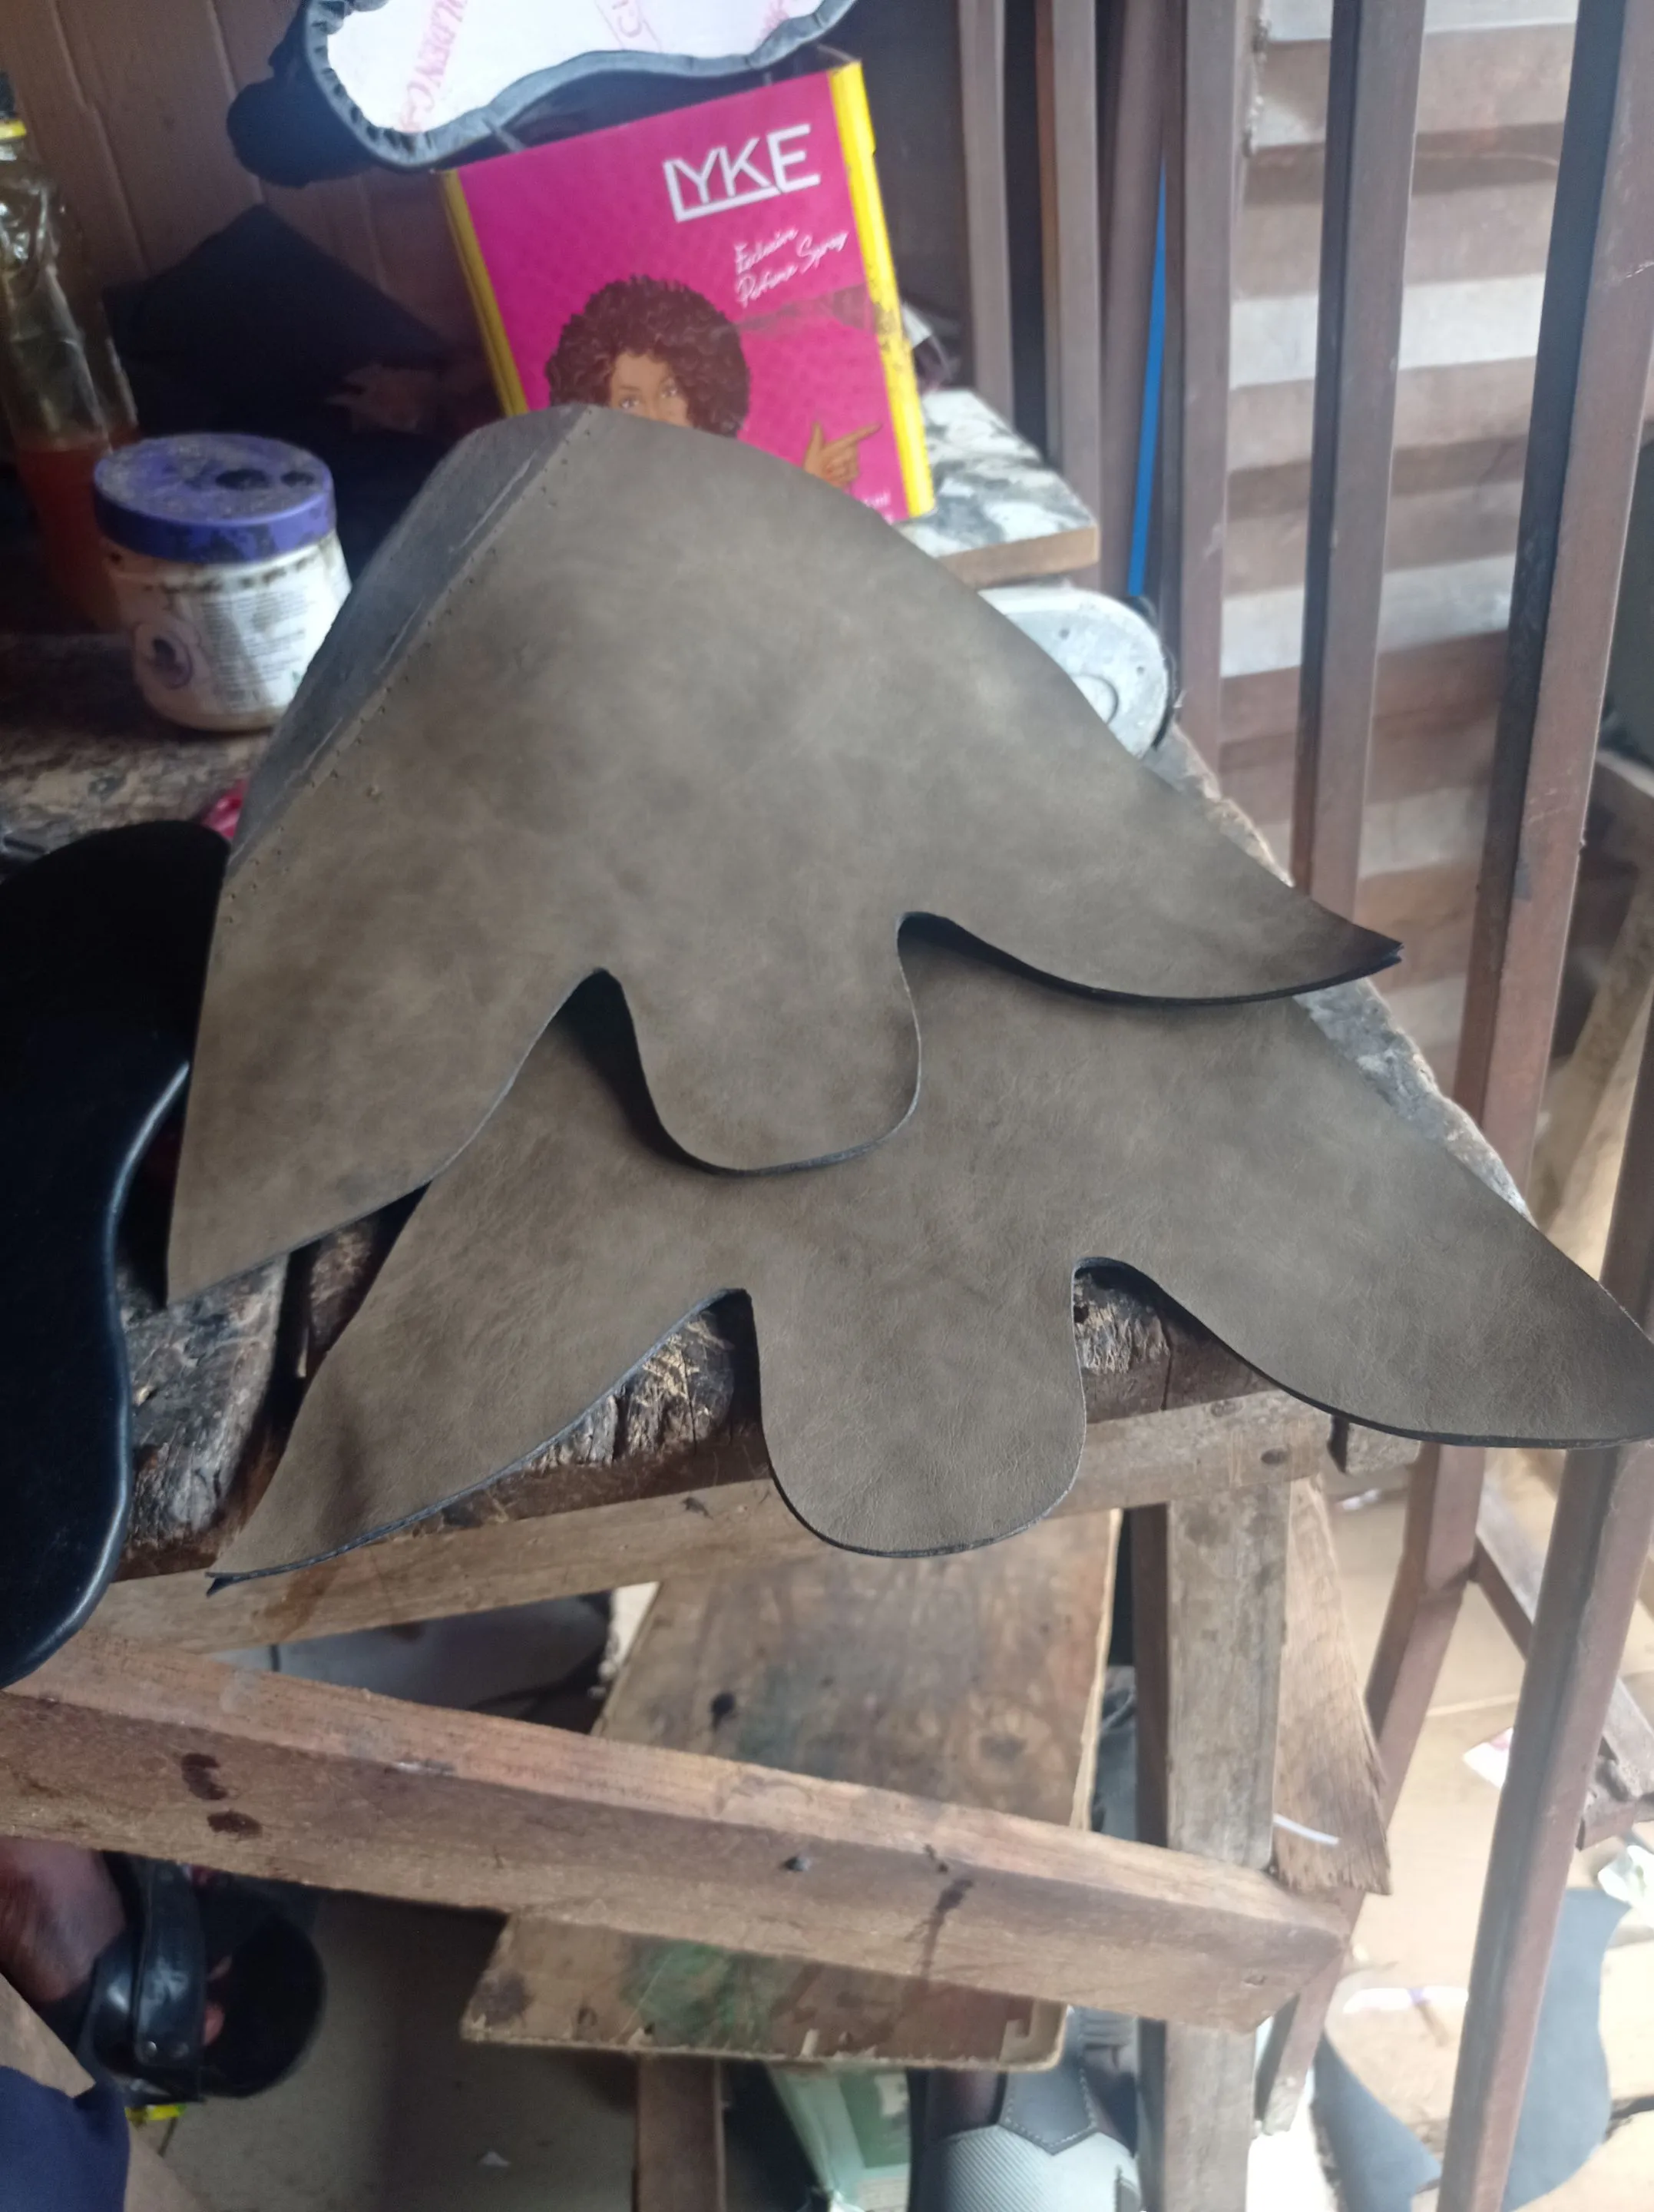
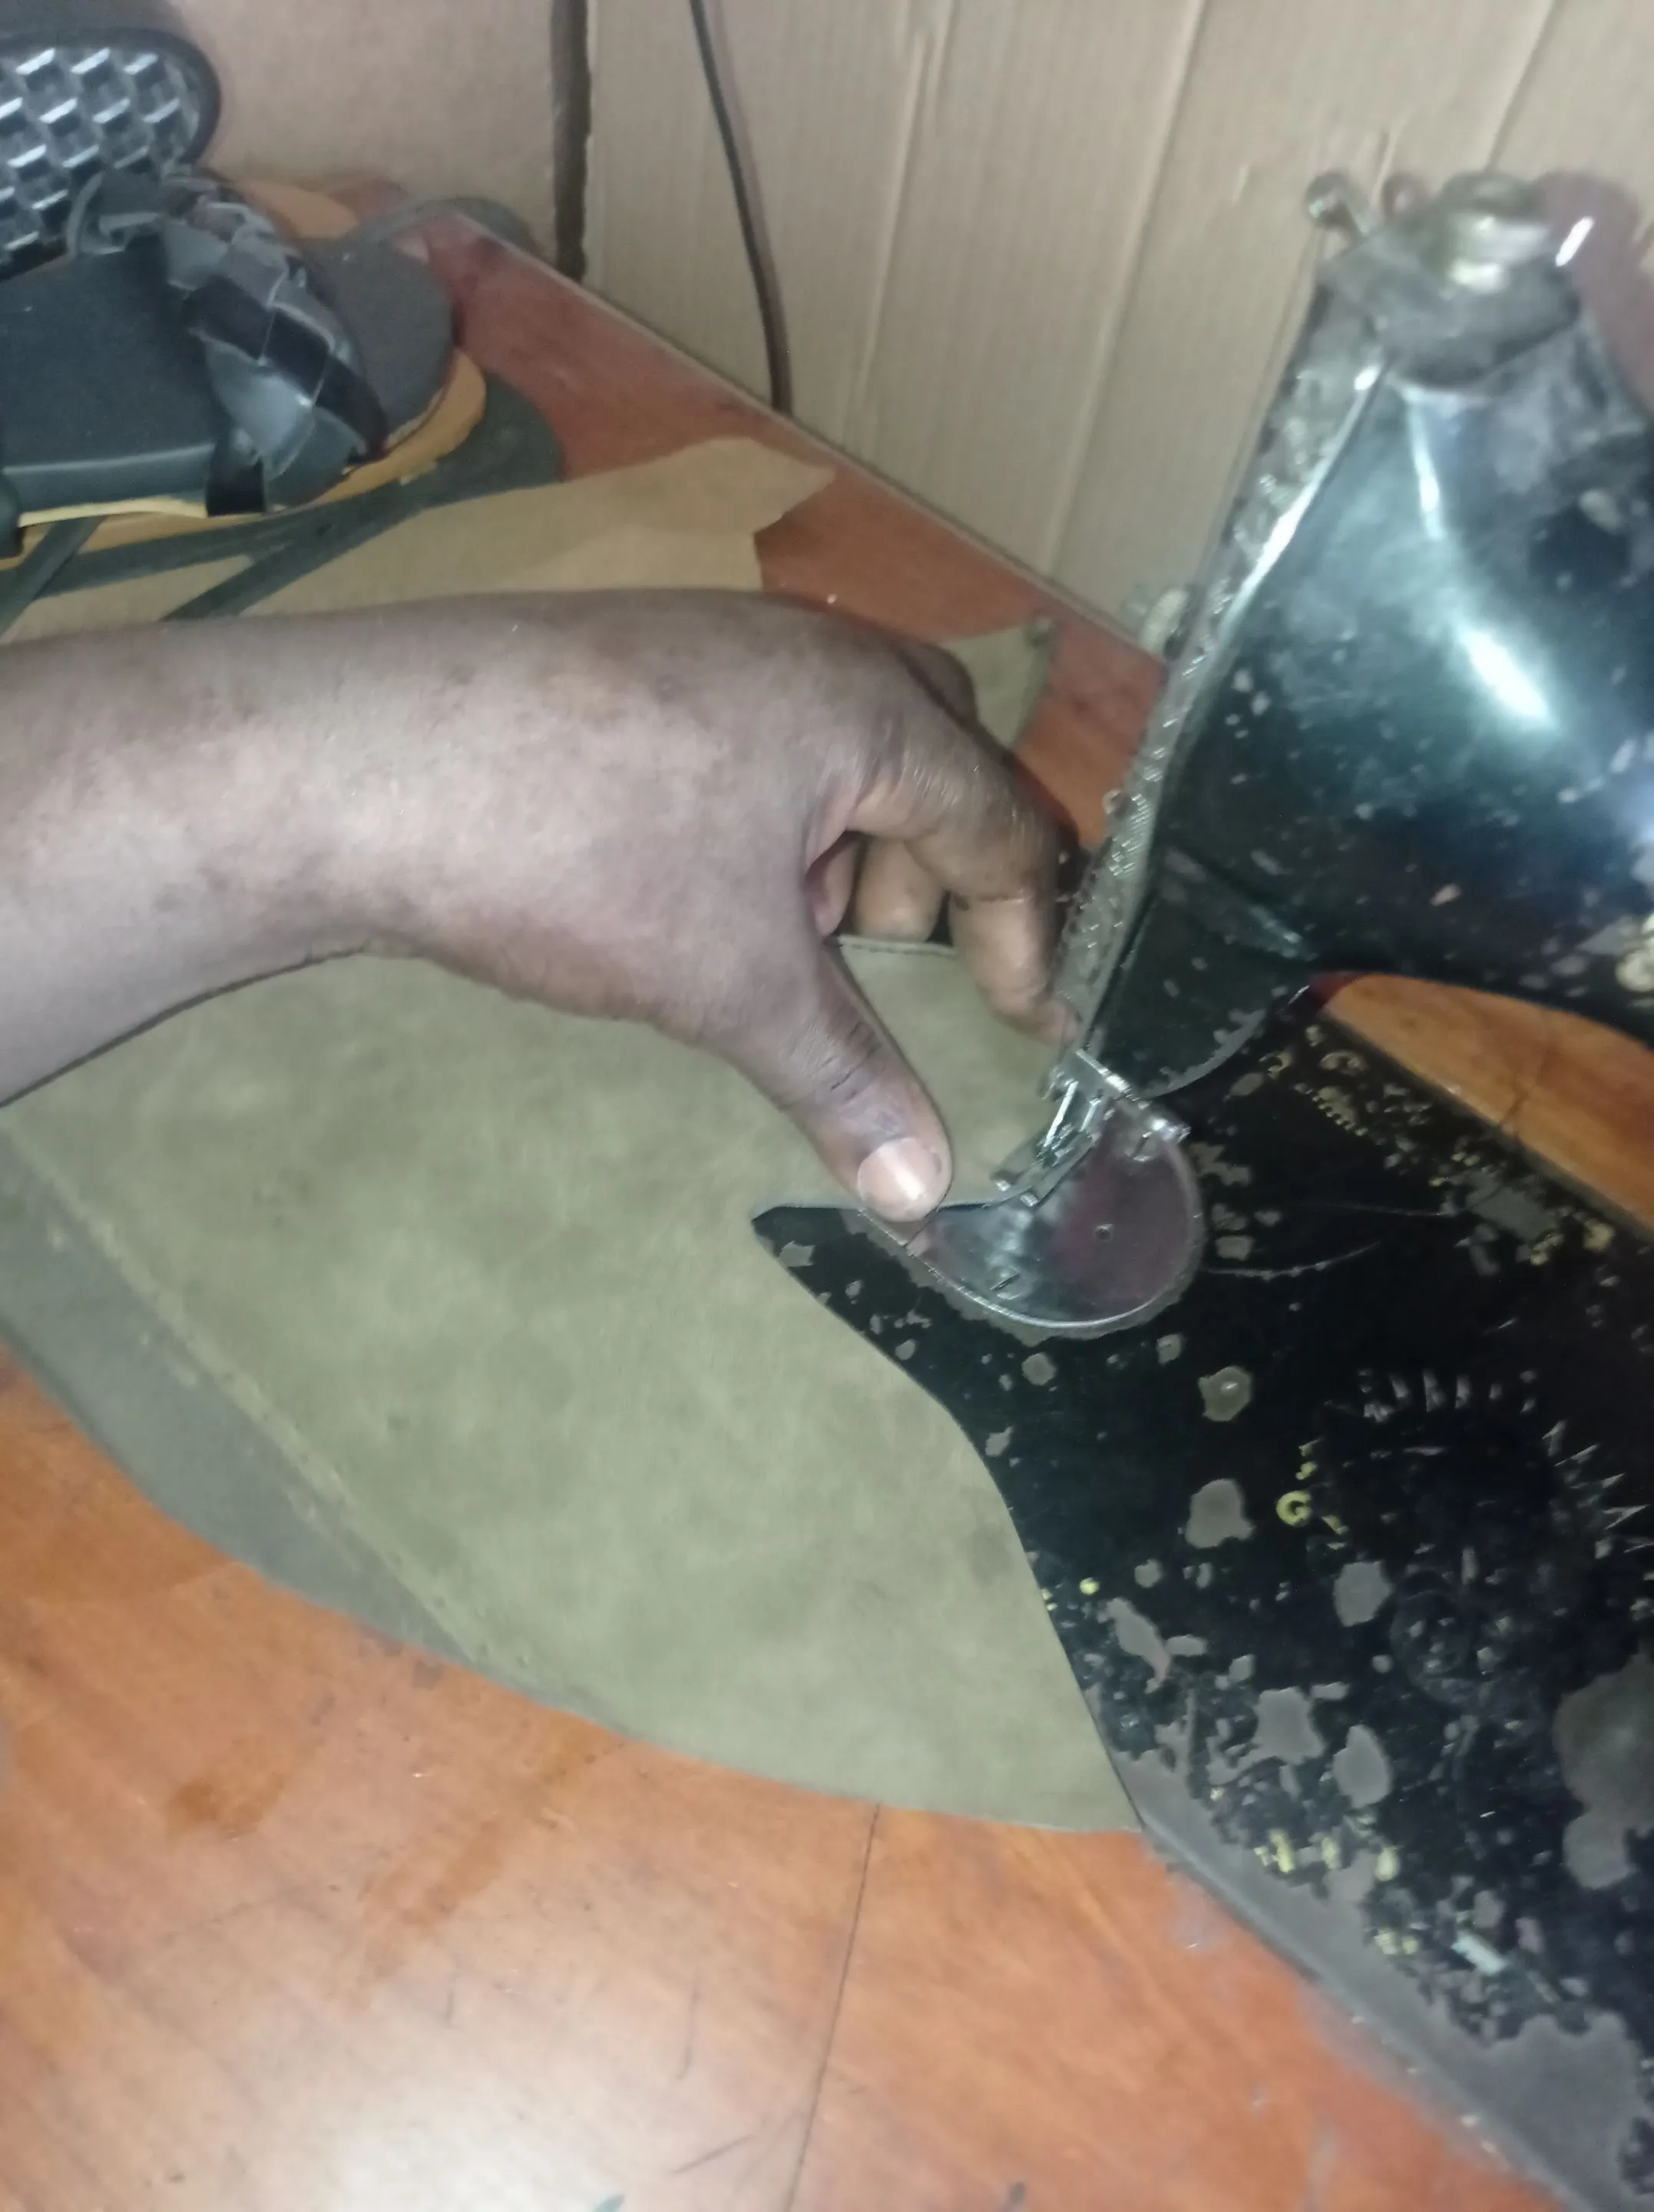
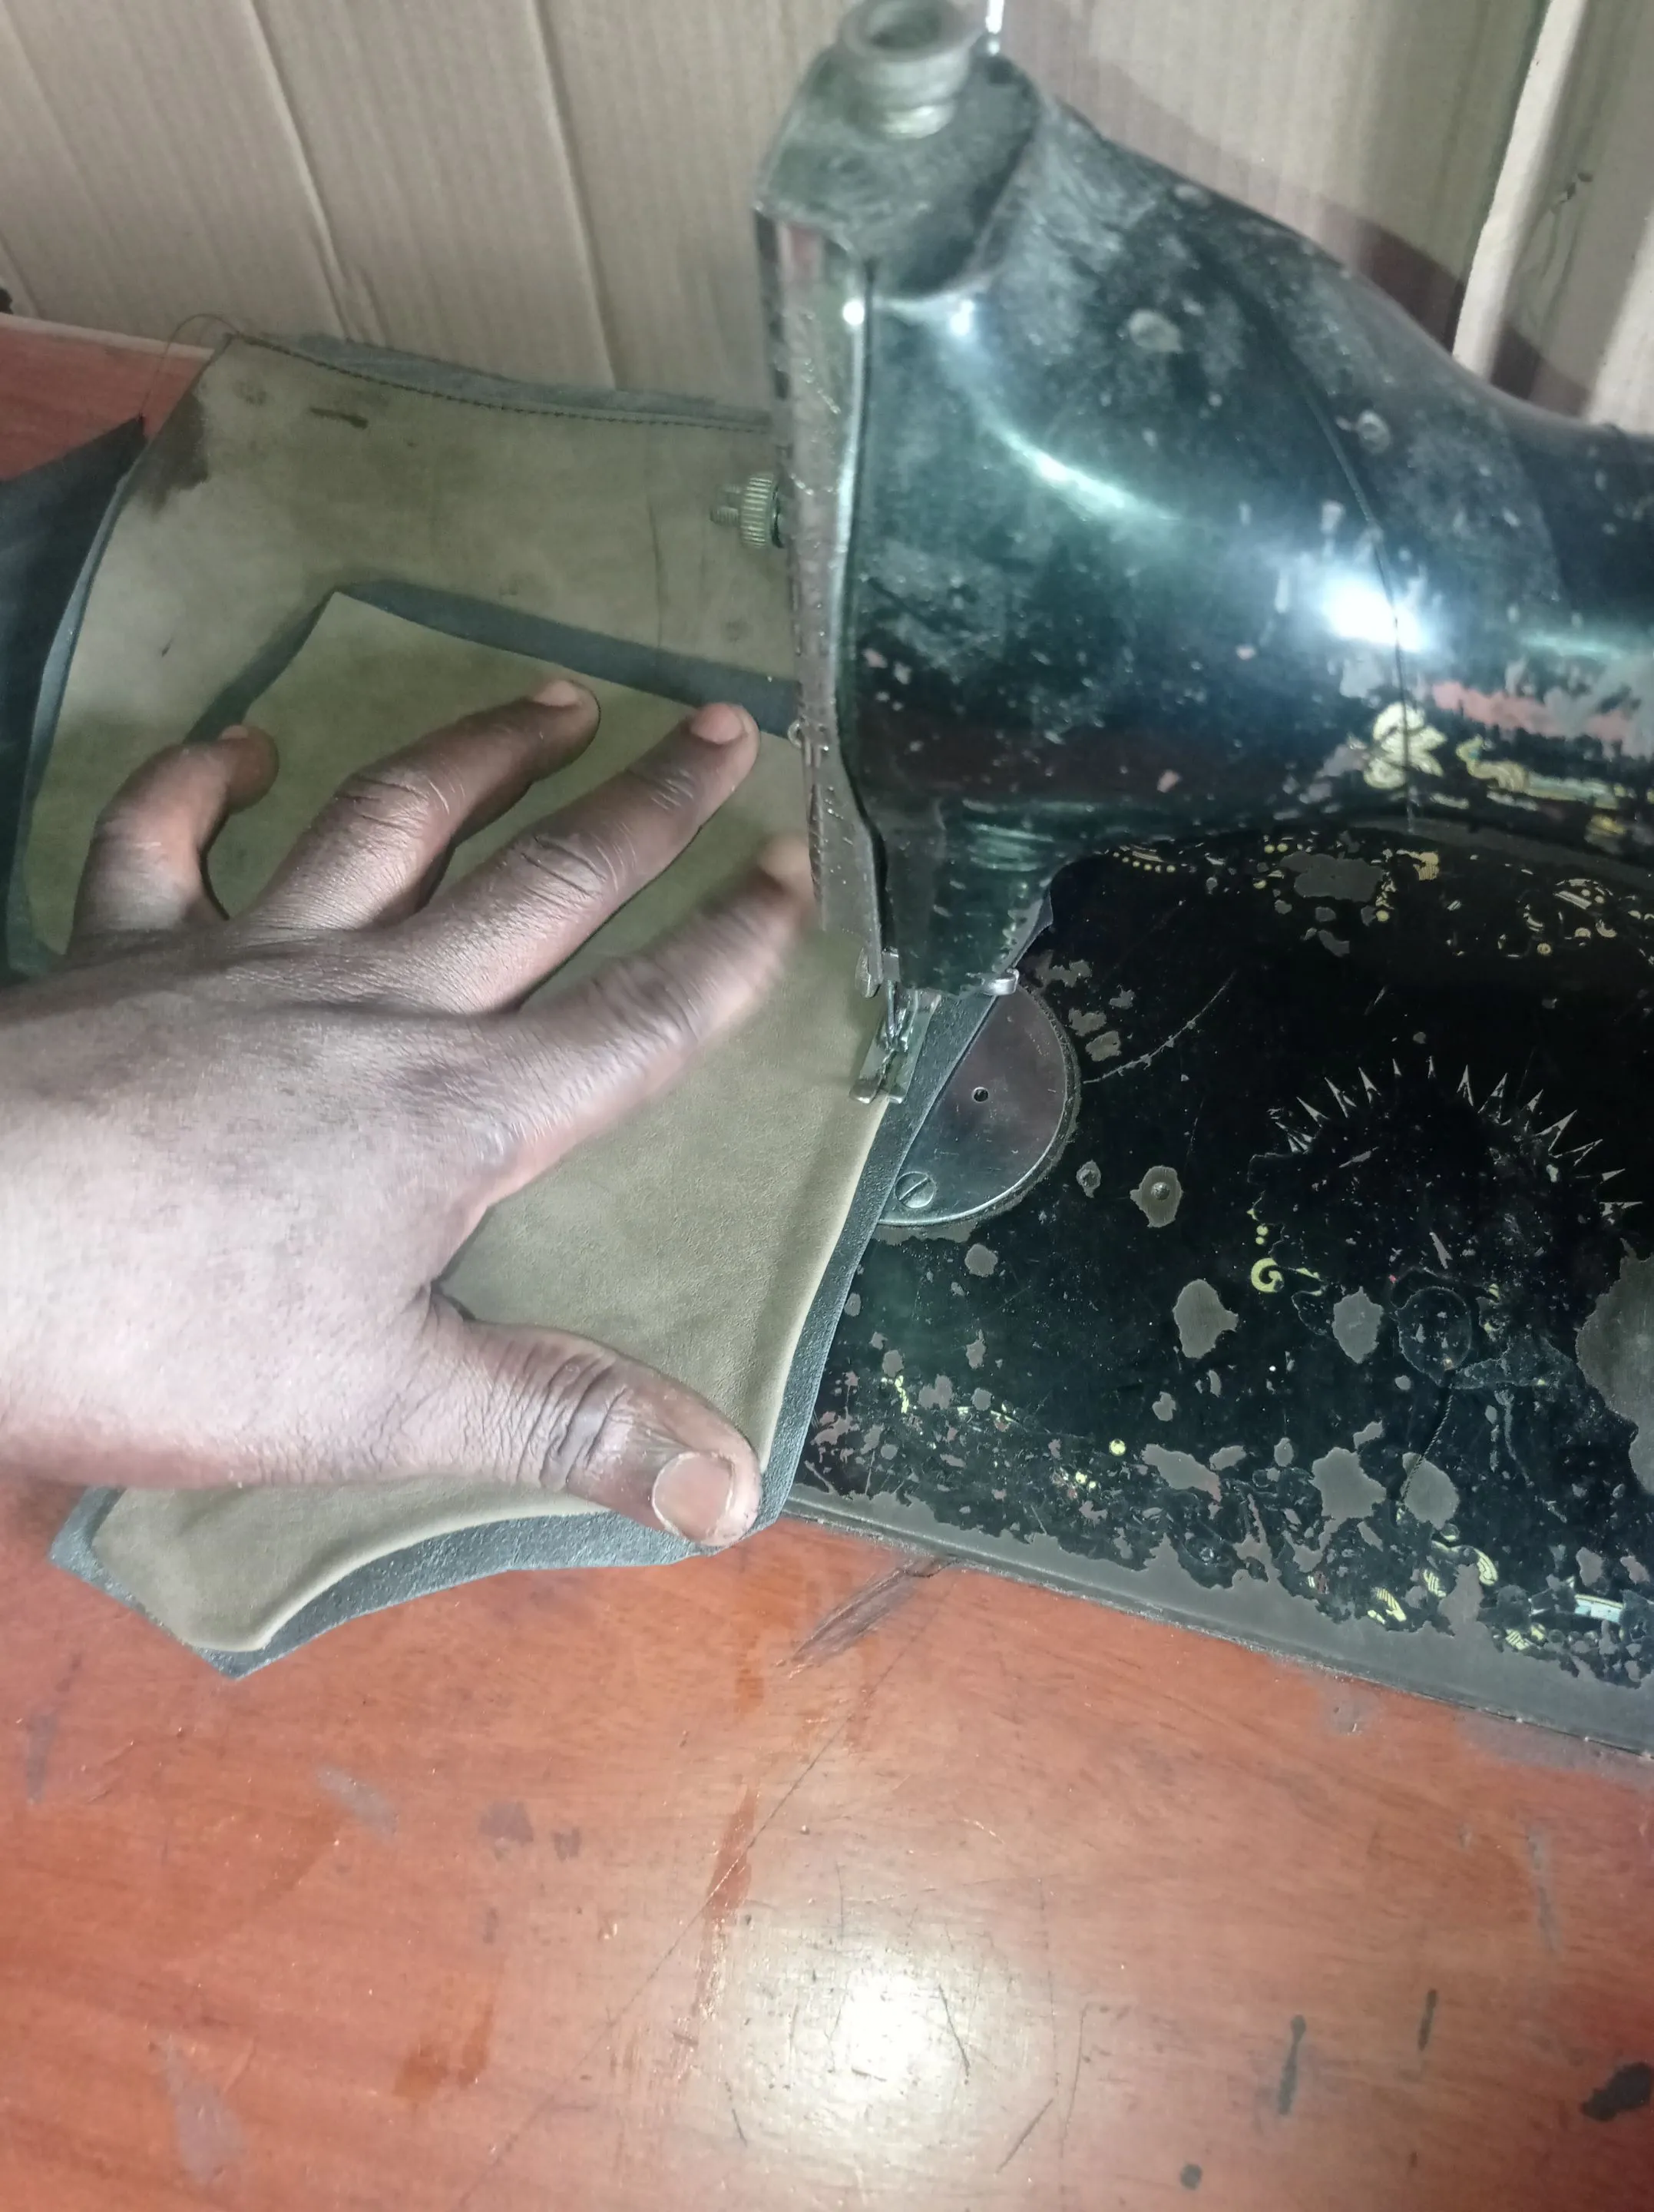
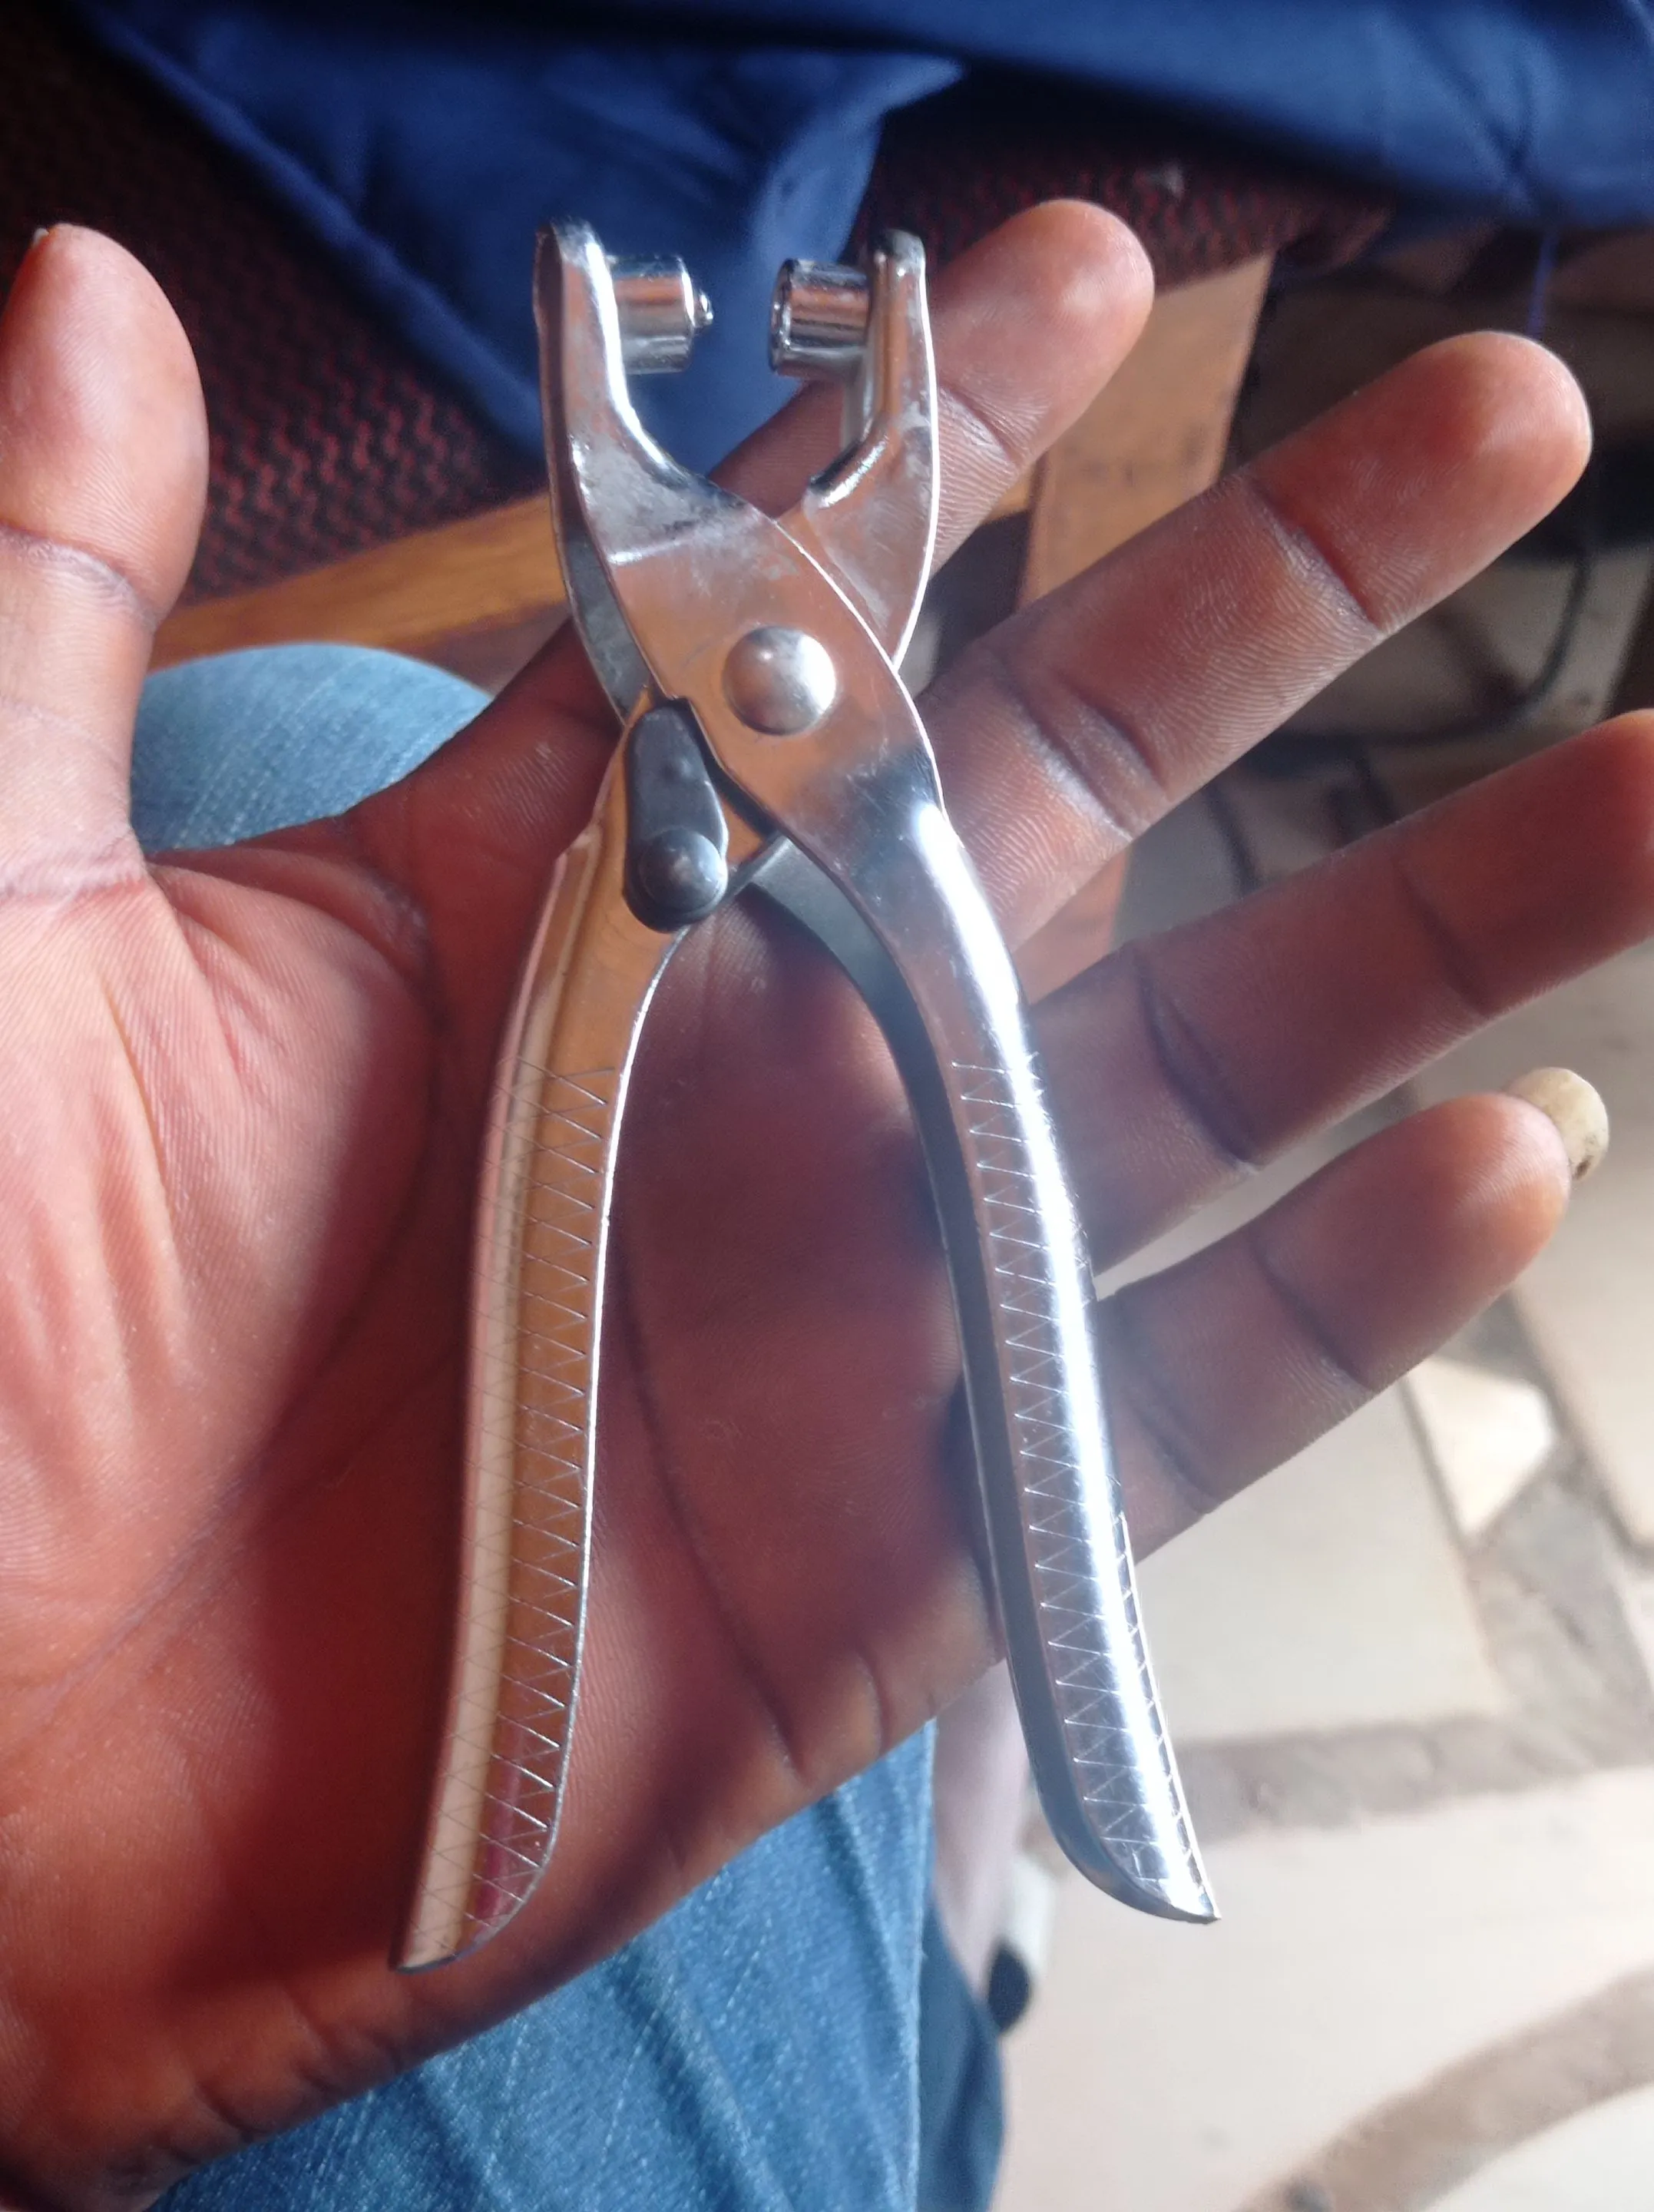
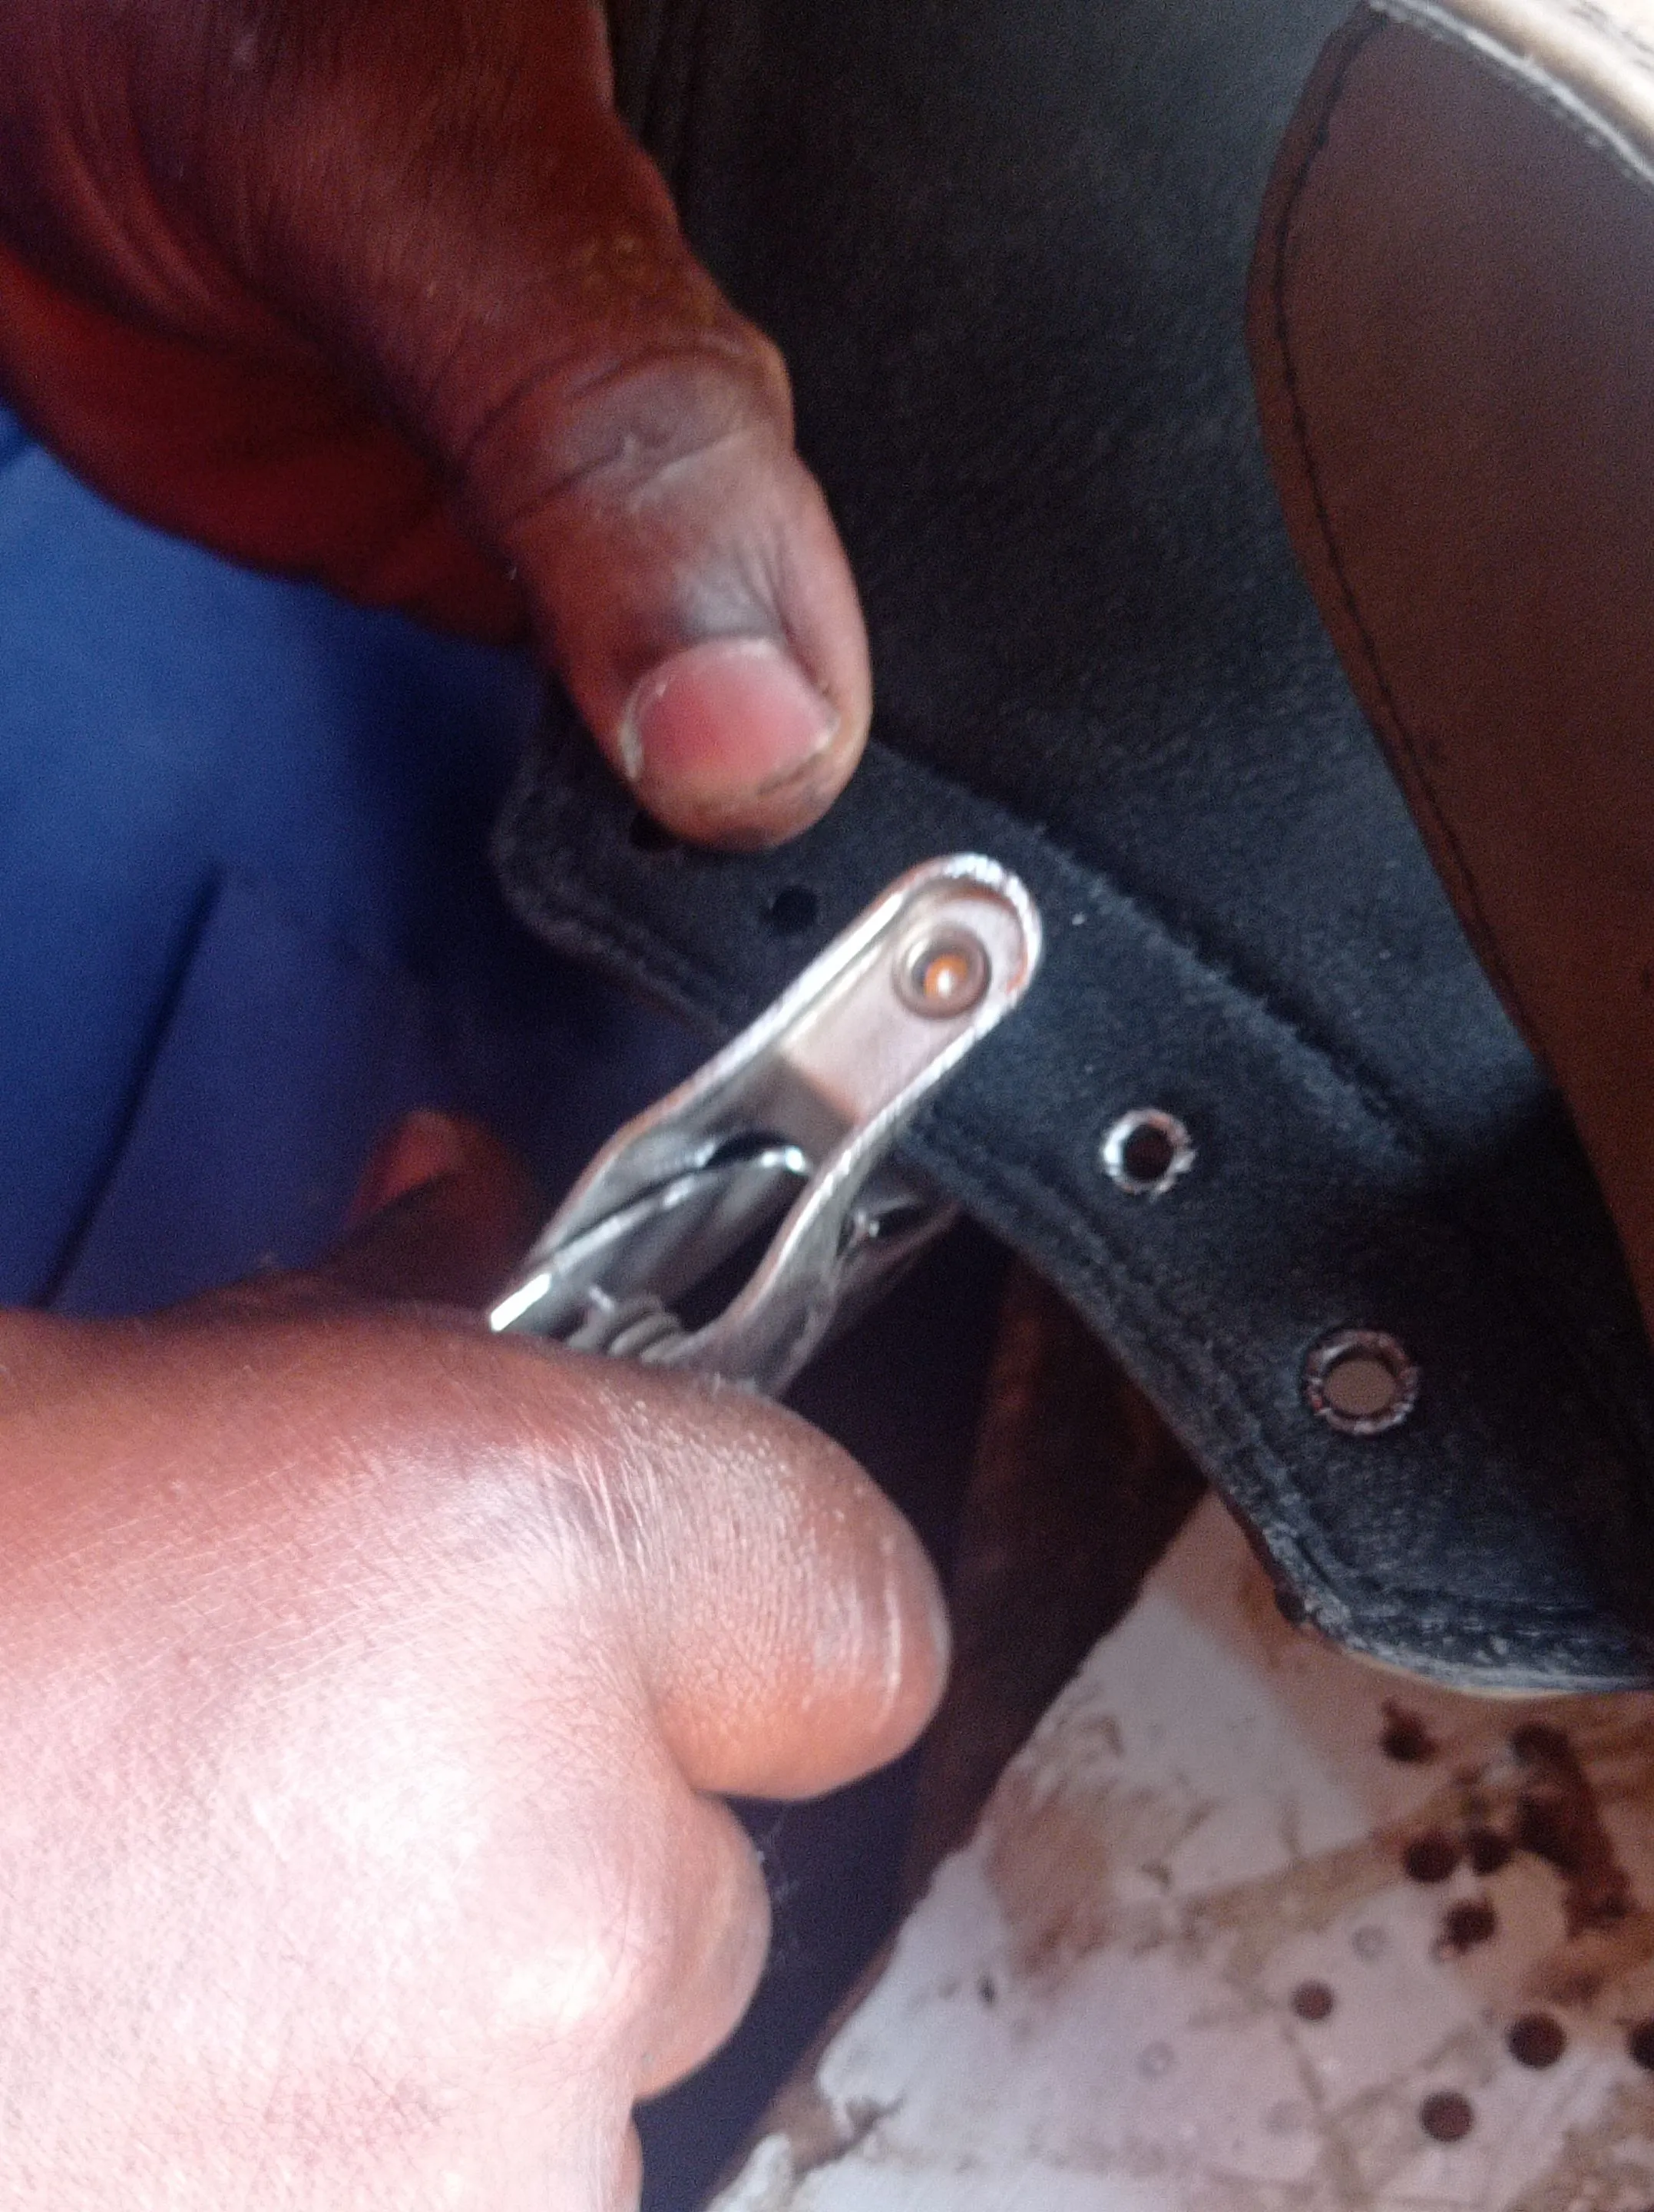
- Once that was achieved, I tested them on the shoe last, and then punched holes on the part where the shoe lase will be, added the metal ring around it and punch it firm with the eyelets plier.
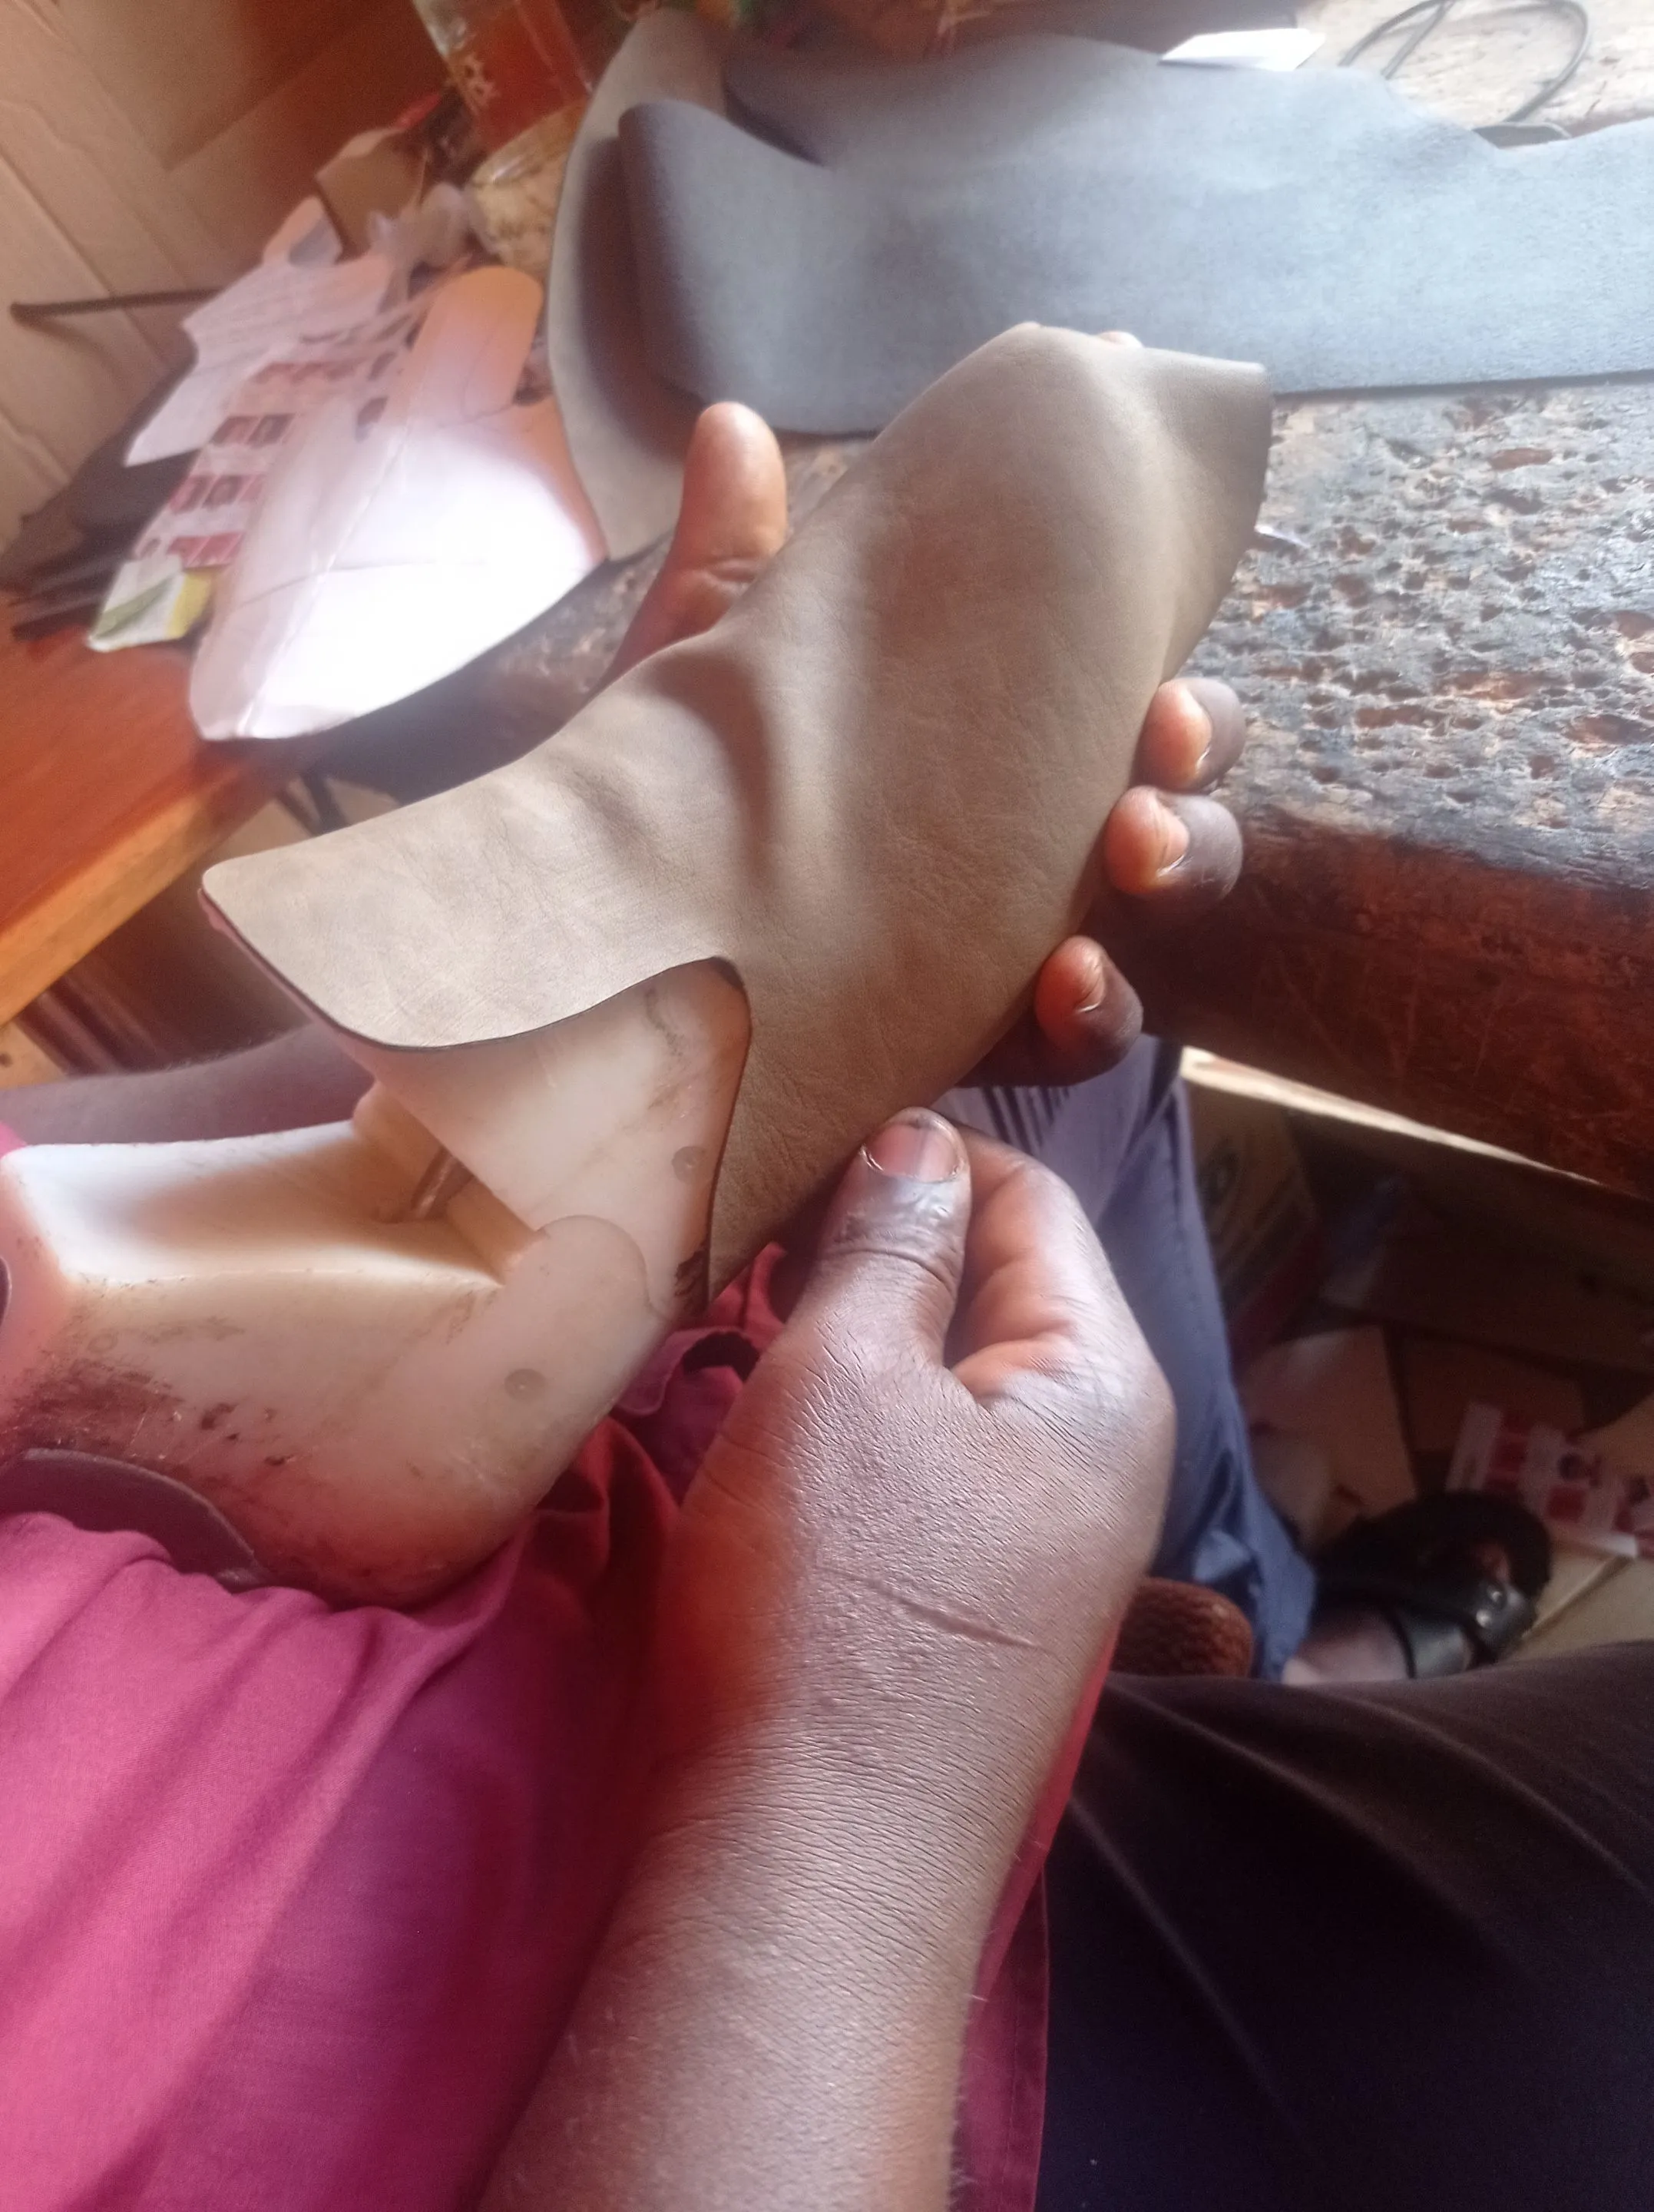
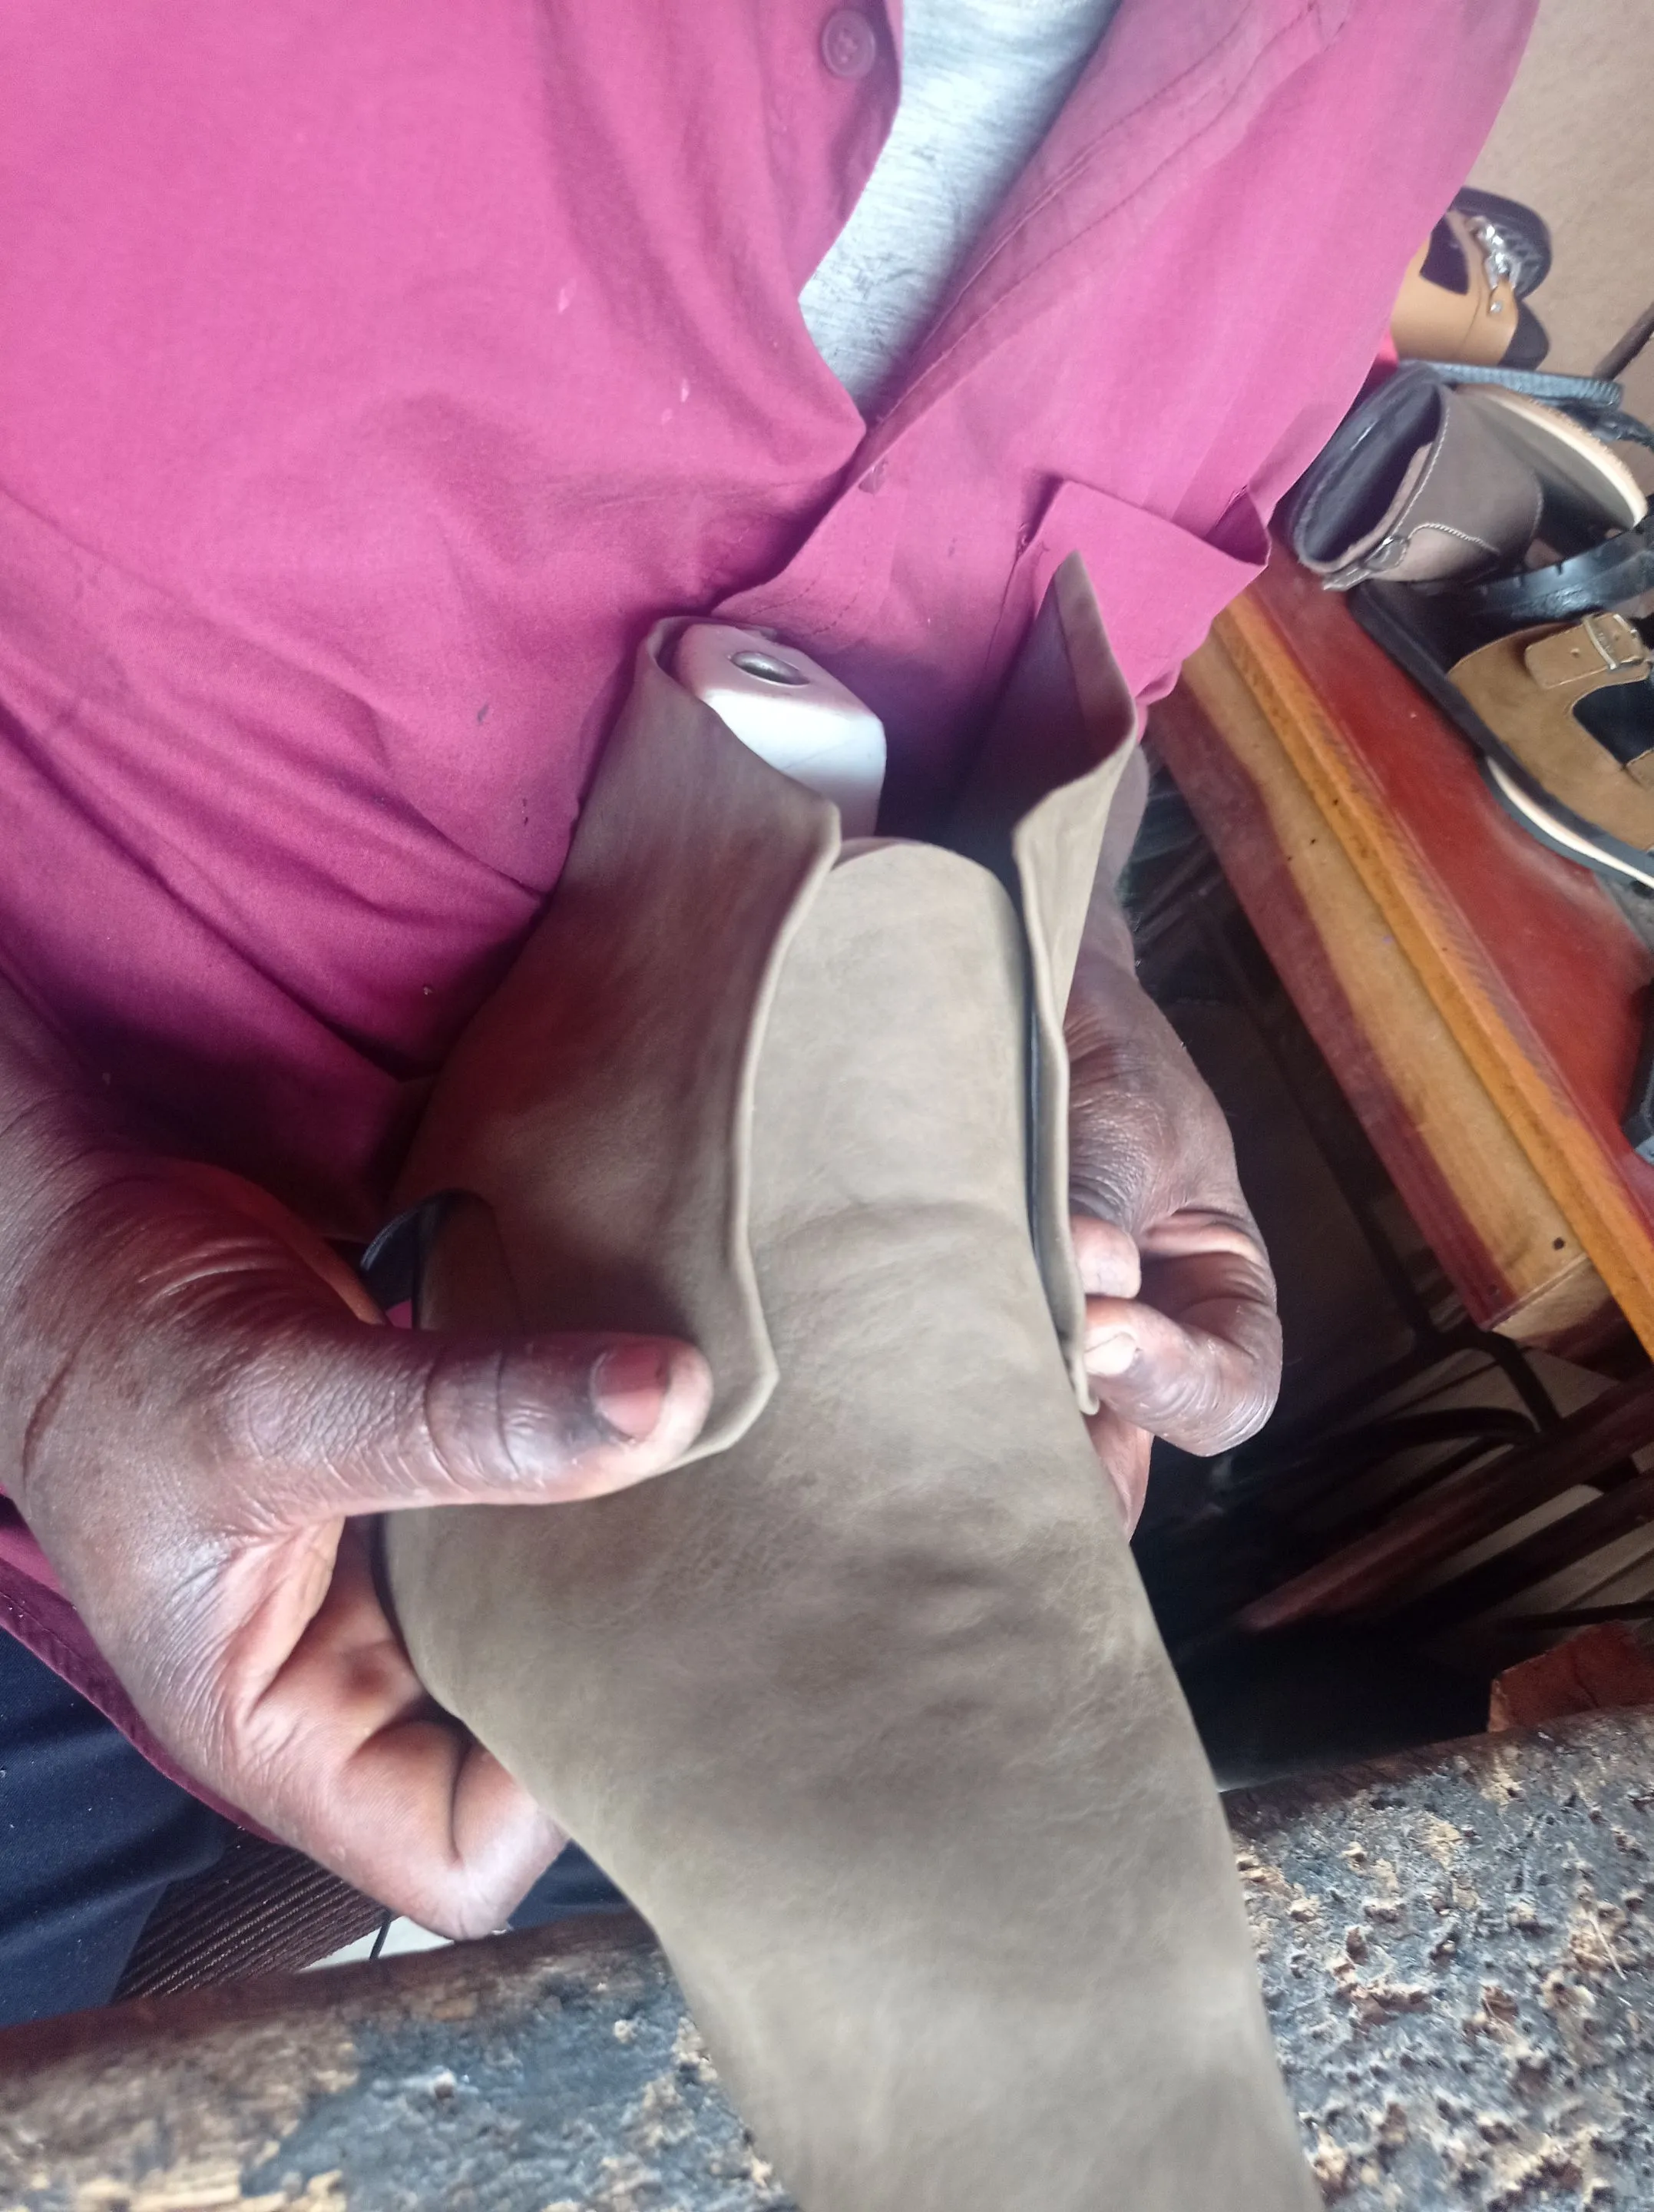
- Finally for today before I close the store, I placed all the parts of the upper on the shoe last so as to be sure everything is perfect and in good shape for the next phrase.
https://files.peakd.com/file/peakd-hive/vickoly/23wWrtecj3S53L37e7yXeha5T4t2yeTWRqwvFcW9cEtiHJxPsrvdqmzZnrL9QLdn8whB2.jpg
https://files.peakd.com/file/peakd-hive/vickoly/23swpjpNVGZ91nyGX1VCkLsweCXzixeu5btbR5b4ca4Snxc9Awkc969icMEBsjBuY3epX.png
Am very please with my progress as everything seems to be going fine, and surely by tomorrow, I hope the boots comes out well.
Thanks for coming with me thus far, have a blessed day.
Return from ONGOING PROJECT || Exploring my creativity in BOOTS Crafting to vickoly's Web3 Blog

