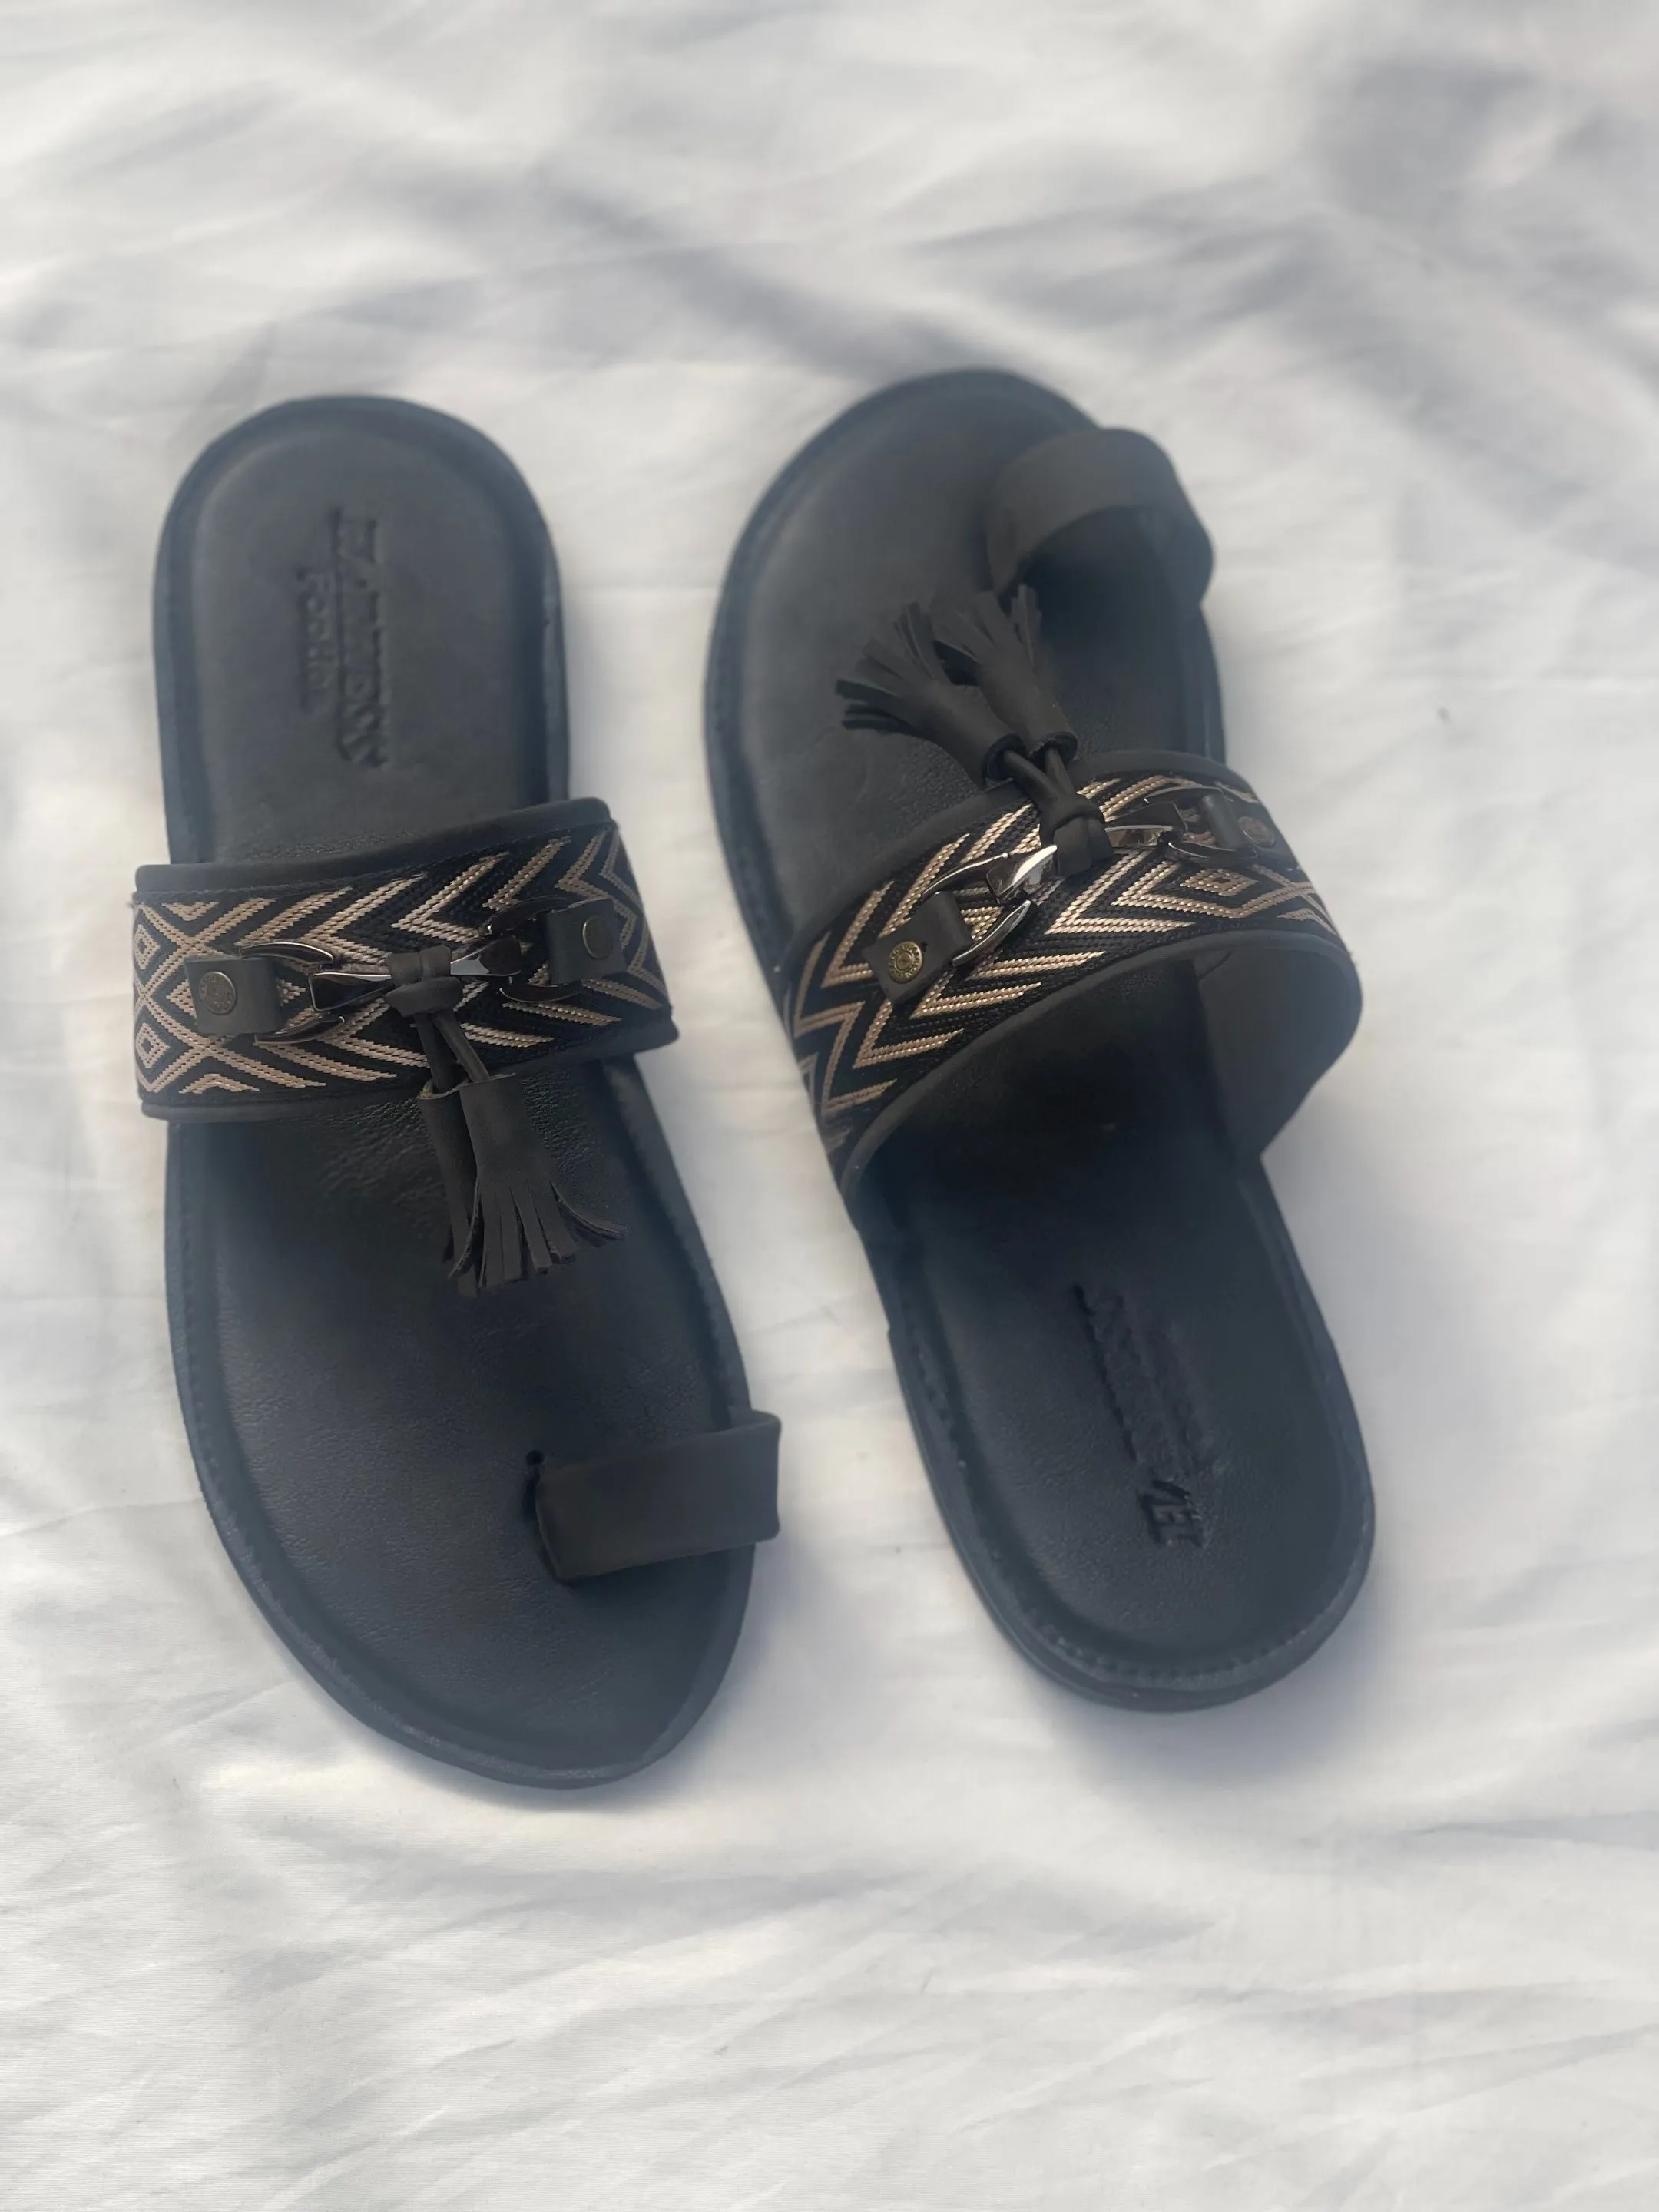
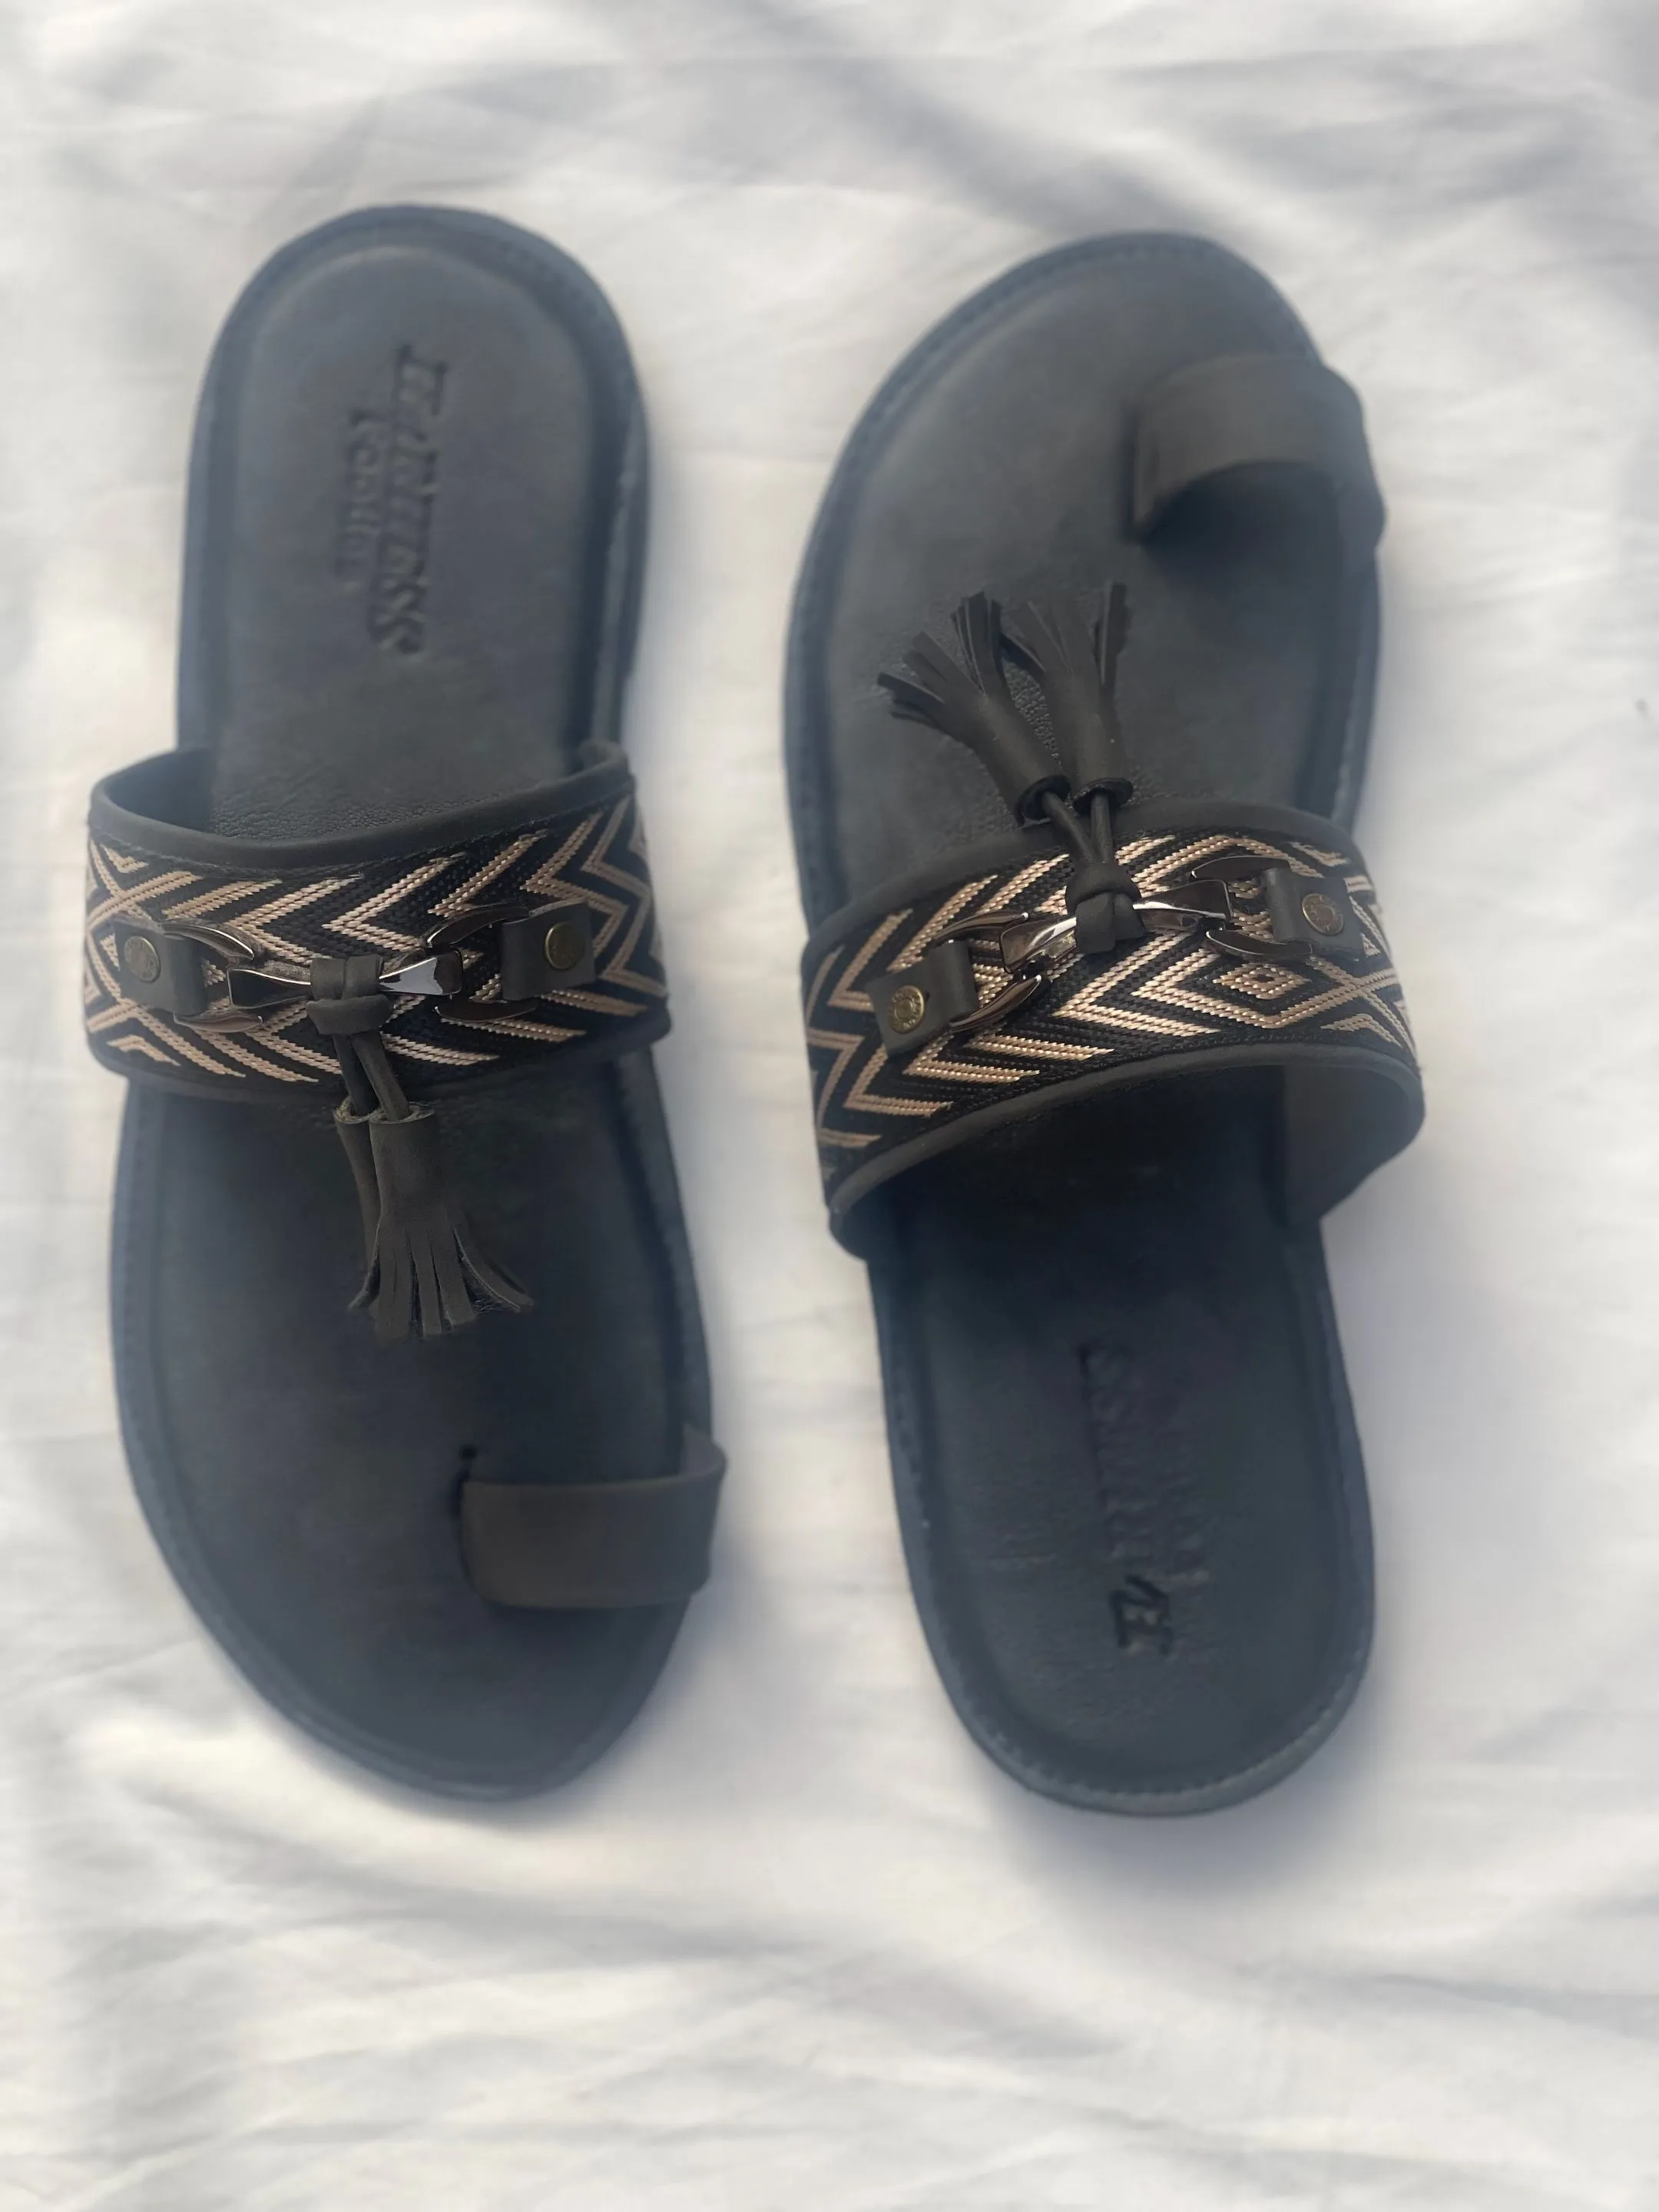
Hello everyone, Welcome to my blog. I hope you have a wonderful weekend. It's been the beginning of another week, and my prayer is that it be a productive one for everyone. In today's post, I'll be sharing a tutorial or guide of how I made these palm slippers some weeks ago for someone at my store.

It's been a while since the person has insisted I make footwear for him, and despite my suggesting that he visit my employees and apprentice, who are sound in shoemaking, he refused but said he'd wait until I'm free to make him one myself, so I took the festive break as an opportunity to do so when I traveled home, and below are the details of how I made it.
https://files.peakd.com/file/peakd-hive/vickoly/23x1abcXk2RqBSvQFCTSyjYUtnF9iuT4h69CRd45vXCLbNJS2b6593xDrPS9a4HbdhNgp.png
MATERIALS AND FABRIC USED
- Tablet Woven belt
- Black leather
- Marco size 4
- Nora
- Super glue
- Logo
- Fiber
- Black leather linning
- Oci gum
- Sewing machine
https://files.peakd.com/file/peakd-hive/vickoly/23x1abcXk2RqBSvQFCTSyjYUtnF9iuT4h69CRd45vXCLbNJS2b6593xDrPS9a4HbdhNgp.png
- Basically just like every other palm slippers I've done a tutorial on in the past, I cut the tablet Woven belt to the desired shape and attach the black leather linning to it. also cut the fiber and join the
| https://files.peakd.com/file/peakd-hive/vickoly/Eoc7Z8a8iKy3bjy4ECrWYud4vHAvimE4AjqhzCMX6ETbUqrqTALLBuZCkyjCfL31jdg.jpg | https://files.peakd.com/file/peakd-hive/vickoly/23zbKfPpqMEtYF6RjXh5LuVWEHjqoFCjCNpRpoge8bwjy4UVMV5u2HduQBa34aJozLA5s.jpg |
- After wrapping the linning around the back of the tablet Woven belt, I wrap it to overlay both side of the tablet Woven belt and then I sew it on my sewing machine.
https://files.peakd.com/file/peakd-hive/vickoly/23vsQfgtw4f7gZk6hWnjcJkVeyLKpWMLcAXYkAzzvEEhvykfTrULxrsSgSwTRoCyHZhHu.jpg
- When I was done with the sewing, I joined the logo to it with a eyelets pin, then I sew a straight line leather material which I tide around the logo, I also cut another leather material in shape of a crown or so to serve as an extra design.
| https://files.peakd.com/file/peakd-hive/vickoly/23x191tNFX7SD32W5R9wg9tEyFbm2qEmMbPvx2D9KFYTYooZQc7pYFbgHCATWWNDSpUo6.jpg | https://files.peakd.com/file/peakd-hive/vickoly/23xKxw39g1S5V2FMgc4VMgVbP8DQLCsWFcj6Nq3cqjnu77B6RHC6Dj8hmxMK3LxNbDtyi.jpg | https://files.peakd.com/file/peakd-hive/vickoly/23xp6UZhaaj95JsEDwcHhuy7bJpBVw3K2M8cExsQ8ADbKPCeuSAQ8GyXh7tsfA8YXKFJF.jpg |
- In making the Insole, I joined my Marco side 4 to the fiber with the oci gum and then wrap the black leather linning on it, after which I sewing around the fiber material, because sewing on the Marco is a bad idea that will damage the fabric.
| https://files.peakd.com/file/peakd-hive/vickoly/23yJGjxmGEyuTqfPEa9TthE3xbXA5WPMa5M18NYNYHozSzb9vP4tLqKSDDdRxZQH1QwR4.jpg | https://files.peakd.com/file/peakd-hive/vickoly/23ynWfbVAsemHzpupy56XKQXmTp4qcjLYpQMNjbbqTEdDHFLUZmEK3ybKxVFX5gLzz5ep.jpg |
- Lastly I cut some opening on the fiber, put the designed tablet Woven belt through it, join it with a gum, then apply some guy on the Nora and join that to the back of the fiber as well.
| https://files.peakd.com/file/peakd-hive/vickoly/242Y5h1MAXkbTZjKZZSeSgZgFq9yWyCeE9Kj3joz2s4bzpoLvmrQhBVW8TREh9v23EB4R.jpg | https://files.peakd.com/file/peakd-hive/vickoly/23xyR86gxuJ58pFJap2iZpJpwsWtcVCjYsCtazooQUwe4vzjaaRBJPTMmSsok4rHxRR9M.jpg |
- with all said and done, here is the finishing look of the palm slippers I made for him.

https://files.peakd.com/file/peakd-hive/vickoly/23x1abcXk2RqBSvQFCTSyjYUtnF9iuT4h69CRd45vXCLbNJS2b6593xDrPS9a4HbdhNgp.png
Thanks for your time and reading every parts of the tutorial guide, I hope you learnt something, I'll love to hear from you in the comments section.
Have a blessed and productive day ahead.
Return from MAKING THESE PALM SLIPPERS FOR A LONG TIME CUSTOMER to vickoly's Web3 Blog

