In light of the coming dry season, and our experience of drought during that period yearly, we decided to buy a water tank which will help us store more water, and then to hold the tank for free flow of water during pumping, we are presently building a water tank stand where the tank will be placed on.
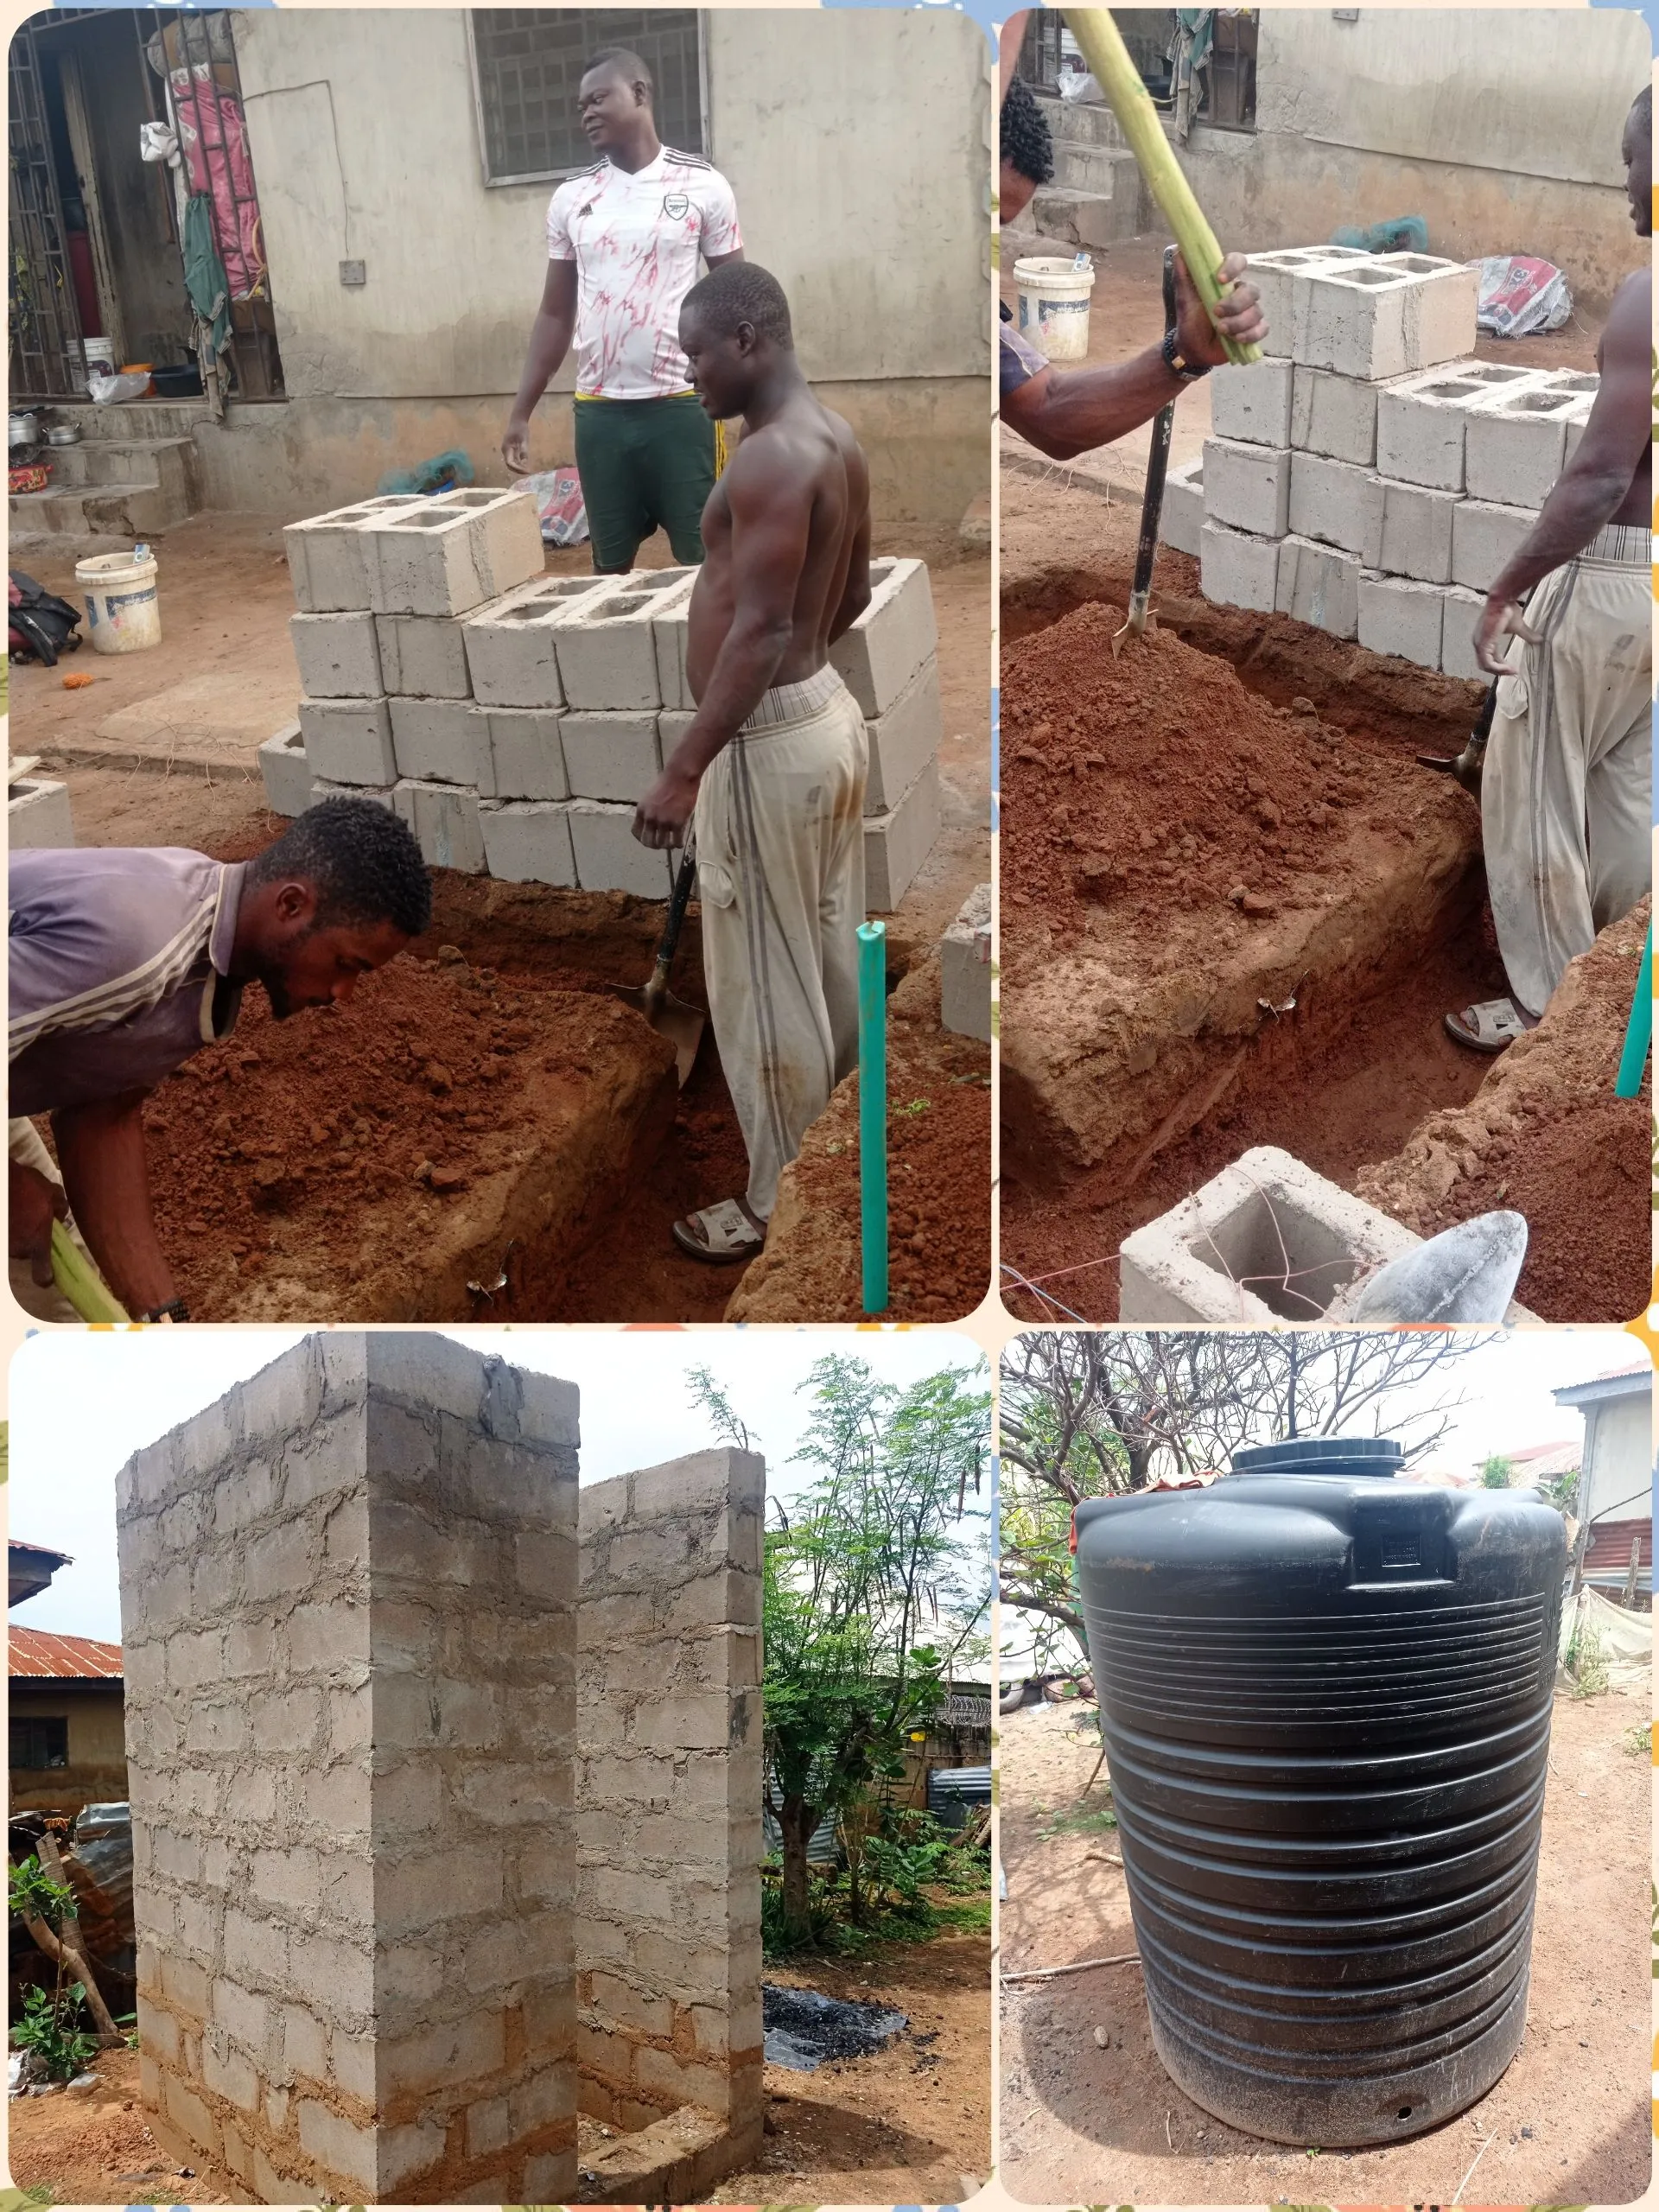
Embarking on this project isn't a easy one, most especially when I count the cost of the materials and equipment we'll need to buy to make it a success, but we look pass that, and remember how it feels to go over 2 month with clean water, then we decided to save up and as well build it and get that worries off our list of worries.
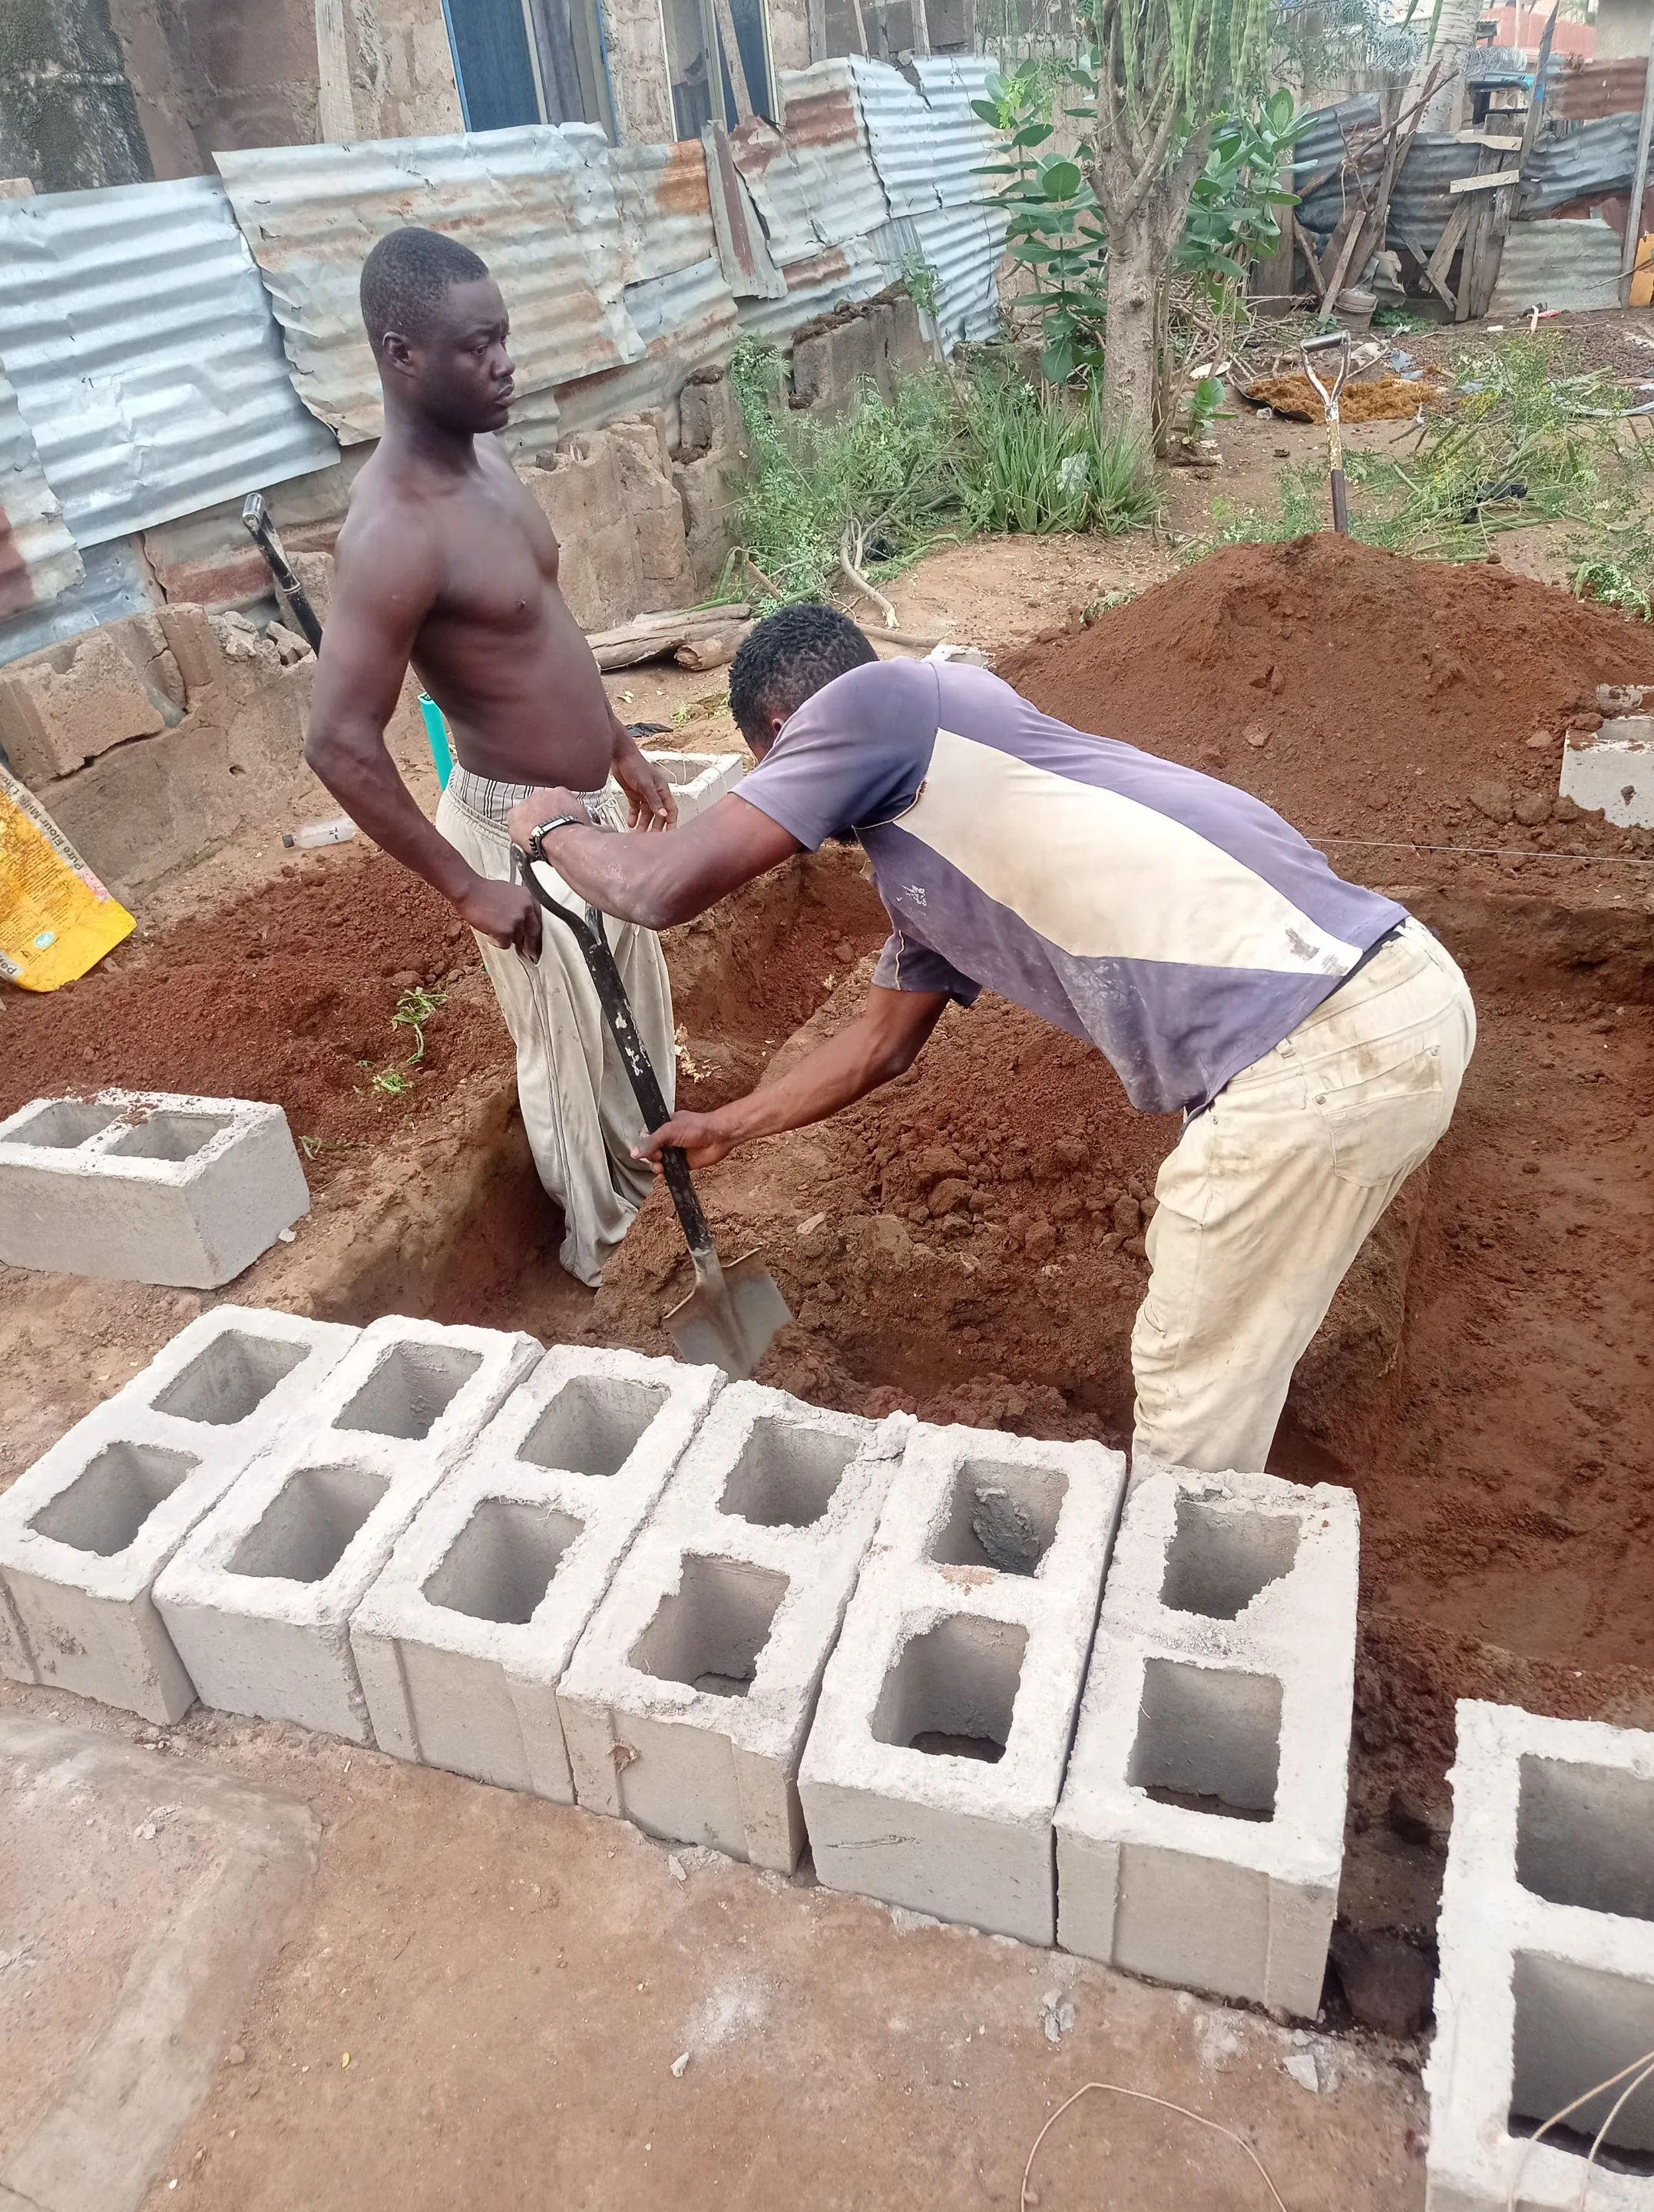
To build the water tank, the following are the materials and their prices of what we've brought so far.
MATERIALS | PRICES
- | -
BLOCKS | ₦300Per Block, 250 pieces of blocks, 250x300 = ₦75,000 ($108)
CEMENT | ₦4000Per Bag, 3 pieces, 4000x3 = ₦12,000 ($17)
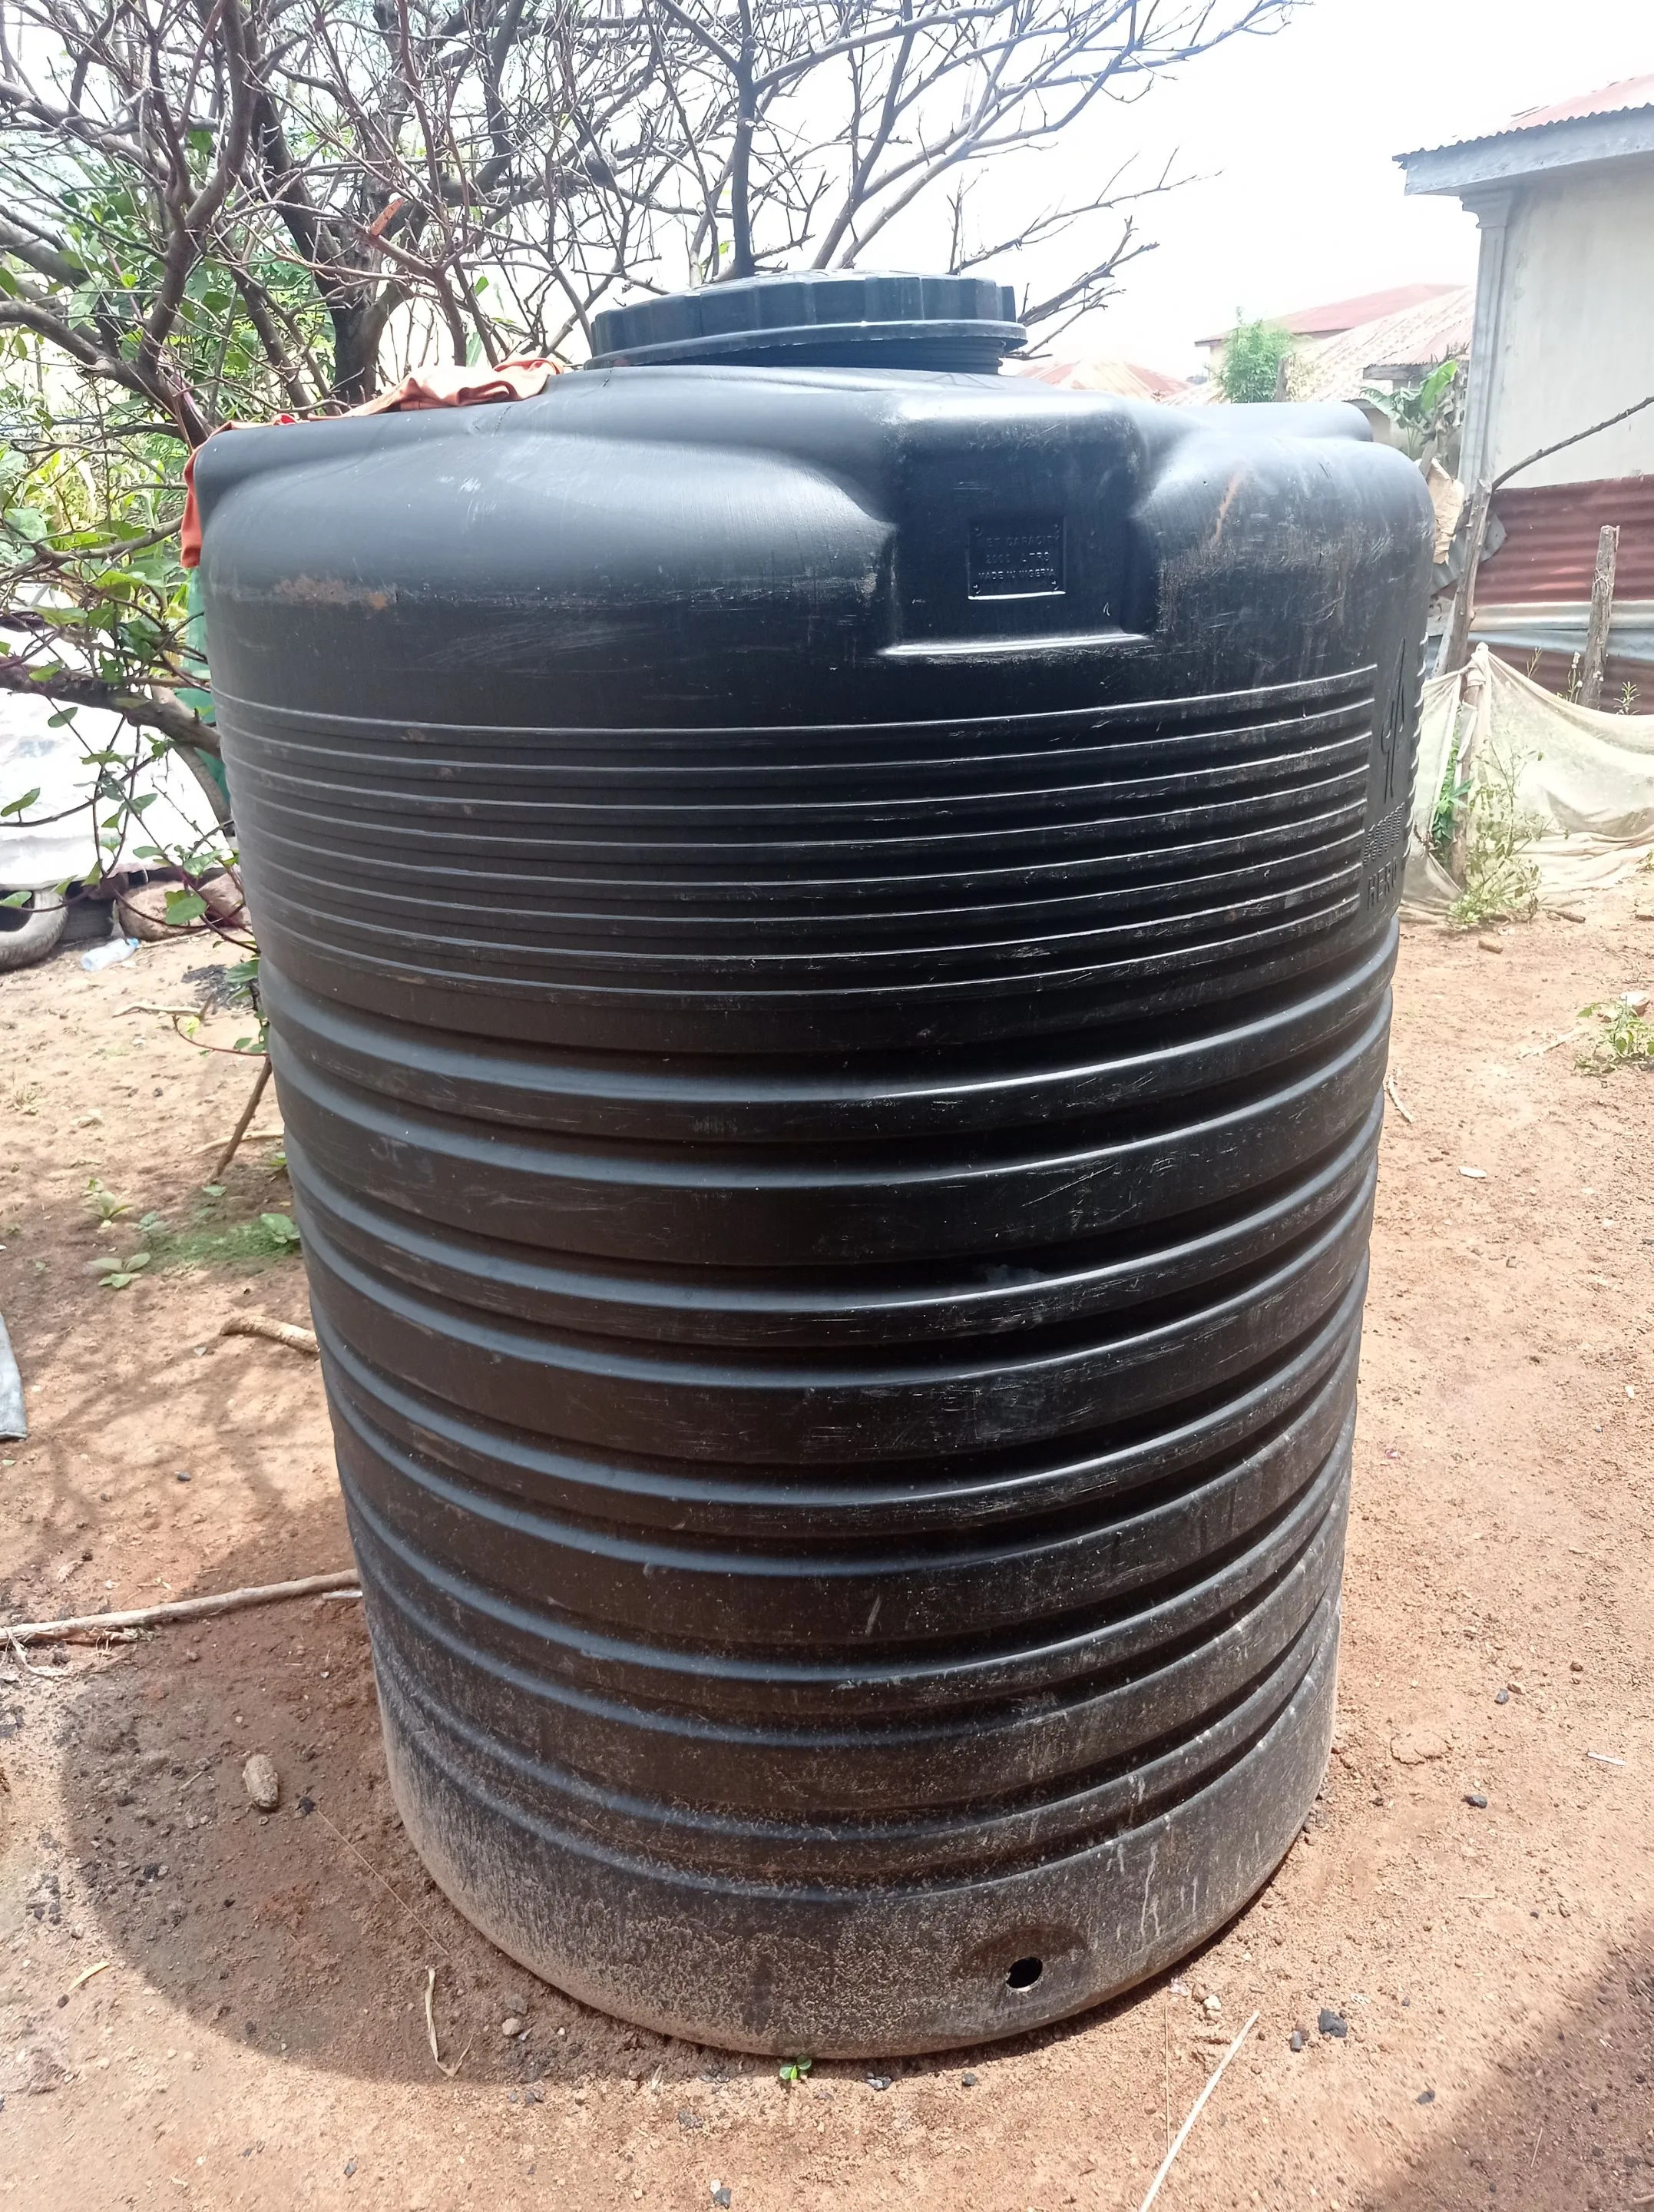
SAND | 1 Trailer truck, ₦15,000 ($21.5) WATER TANK | 2,500Liters, ₦55,000 ($80) TOTAL | ₦157,000 ($226)
The above Total amount spent is way more than 3 month minimum wage paid to civil servant down here, but all thanks to hive and my other work, we were able to raise the amount thus far, and began work on this water tank Project. https://files.peakd.com/file/peakd-hive/vickoly/EoErYrbcUsq6FFjTSNcxoNeKXMADht5DJ6vRzvNcz2zyBXVVt2LLdaBTYwMUMBbcimd.jpg
Below are the step by step process of how we built the water tank, fortunately for me, my brother is a professional bricklayer, so he took charge of the building, while I assisted with the labourer/assistant work.
https://files.peakd.com/file/peakd-hive/vickoly/23t76oRc3zjSnyfgC6F2V79yxUuq7CDvbvCH72sfweFTqZLzbJH6hBHqwKC3TkJ7GPGAs.png
- So first thing was to peg the place where it'll be build, and blocks were placed on each angle to mark the spot, after which a line was tide around the block, to serve as a ruler.
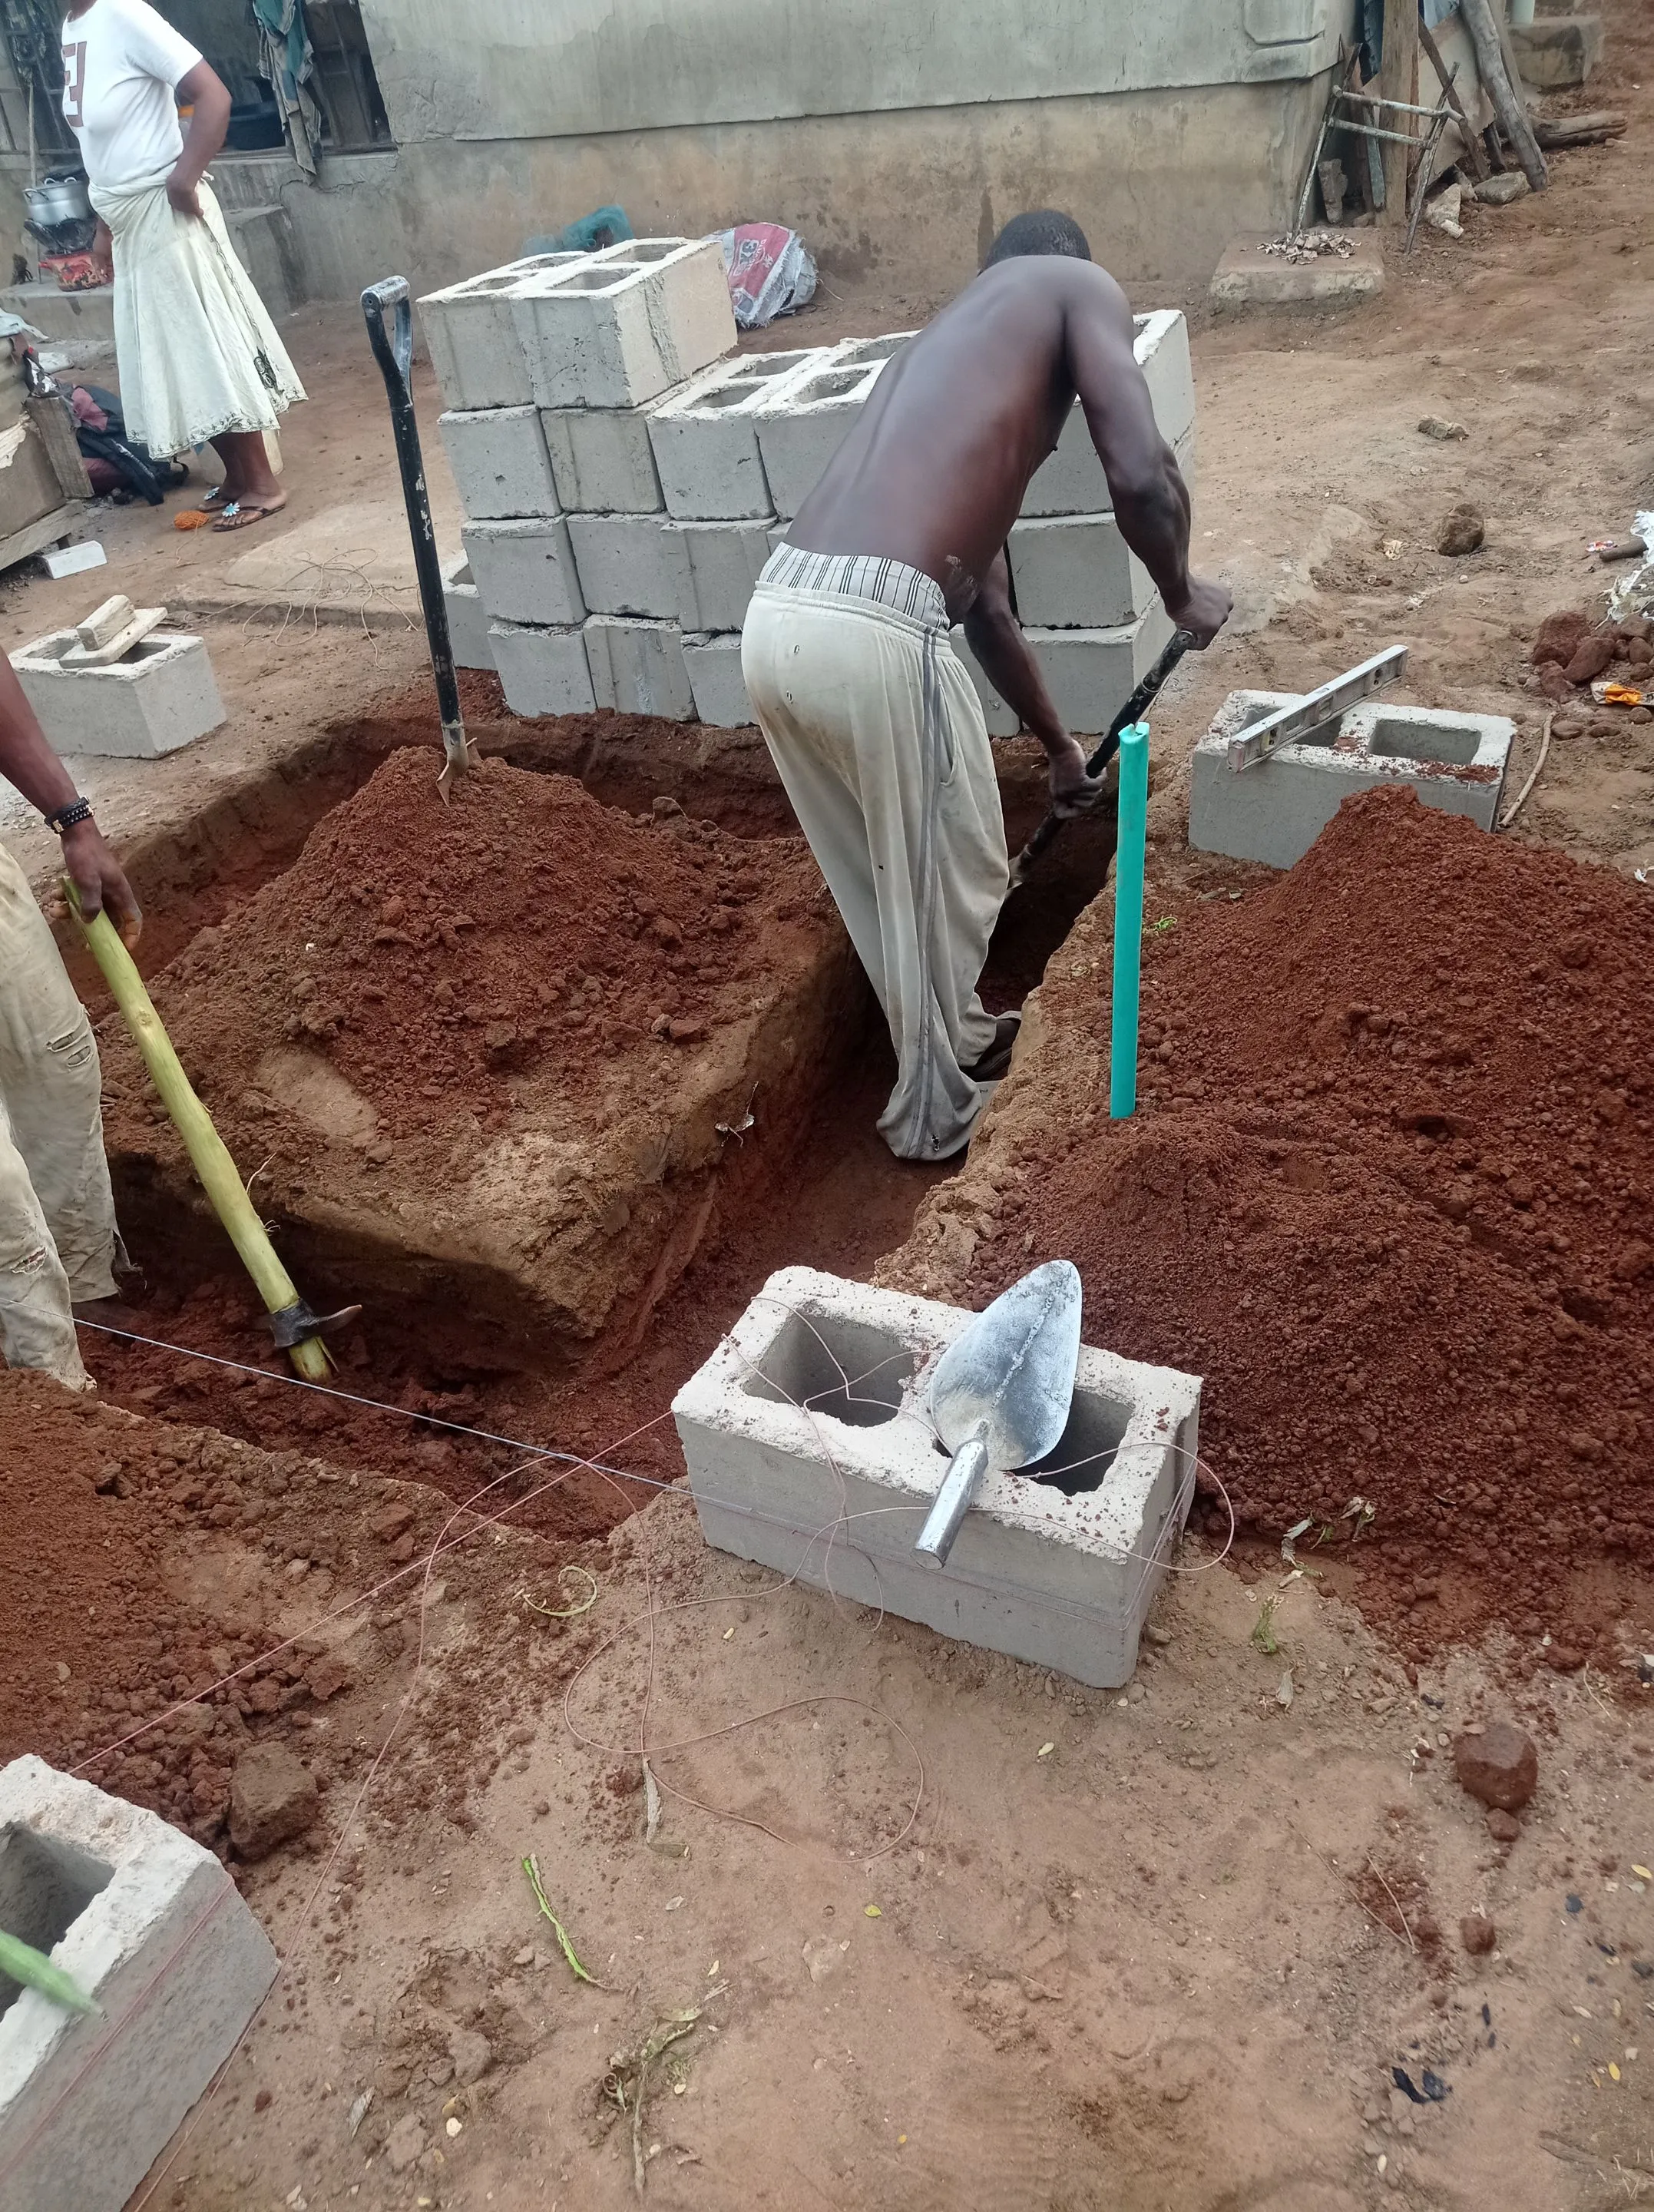
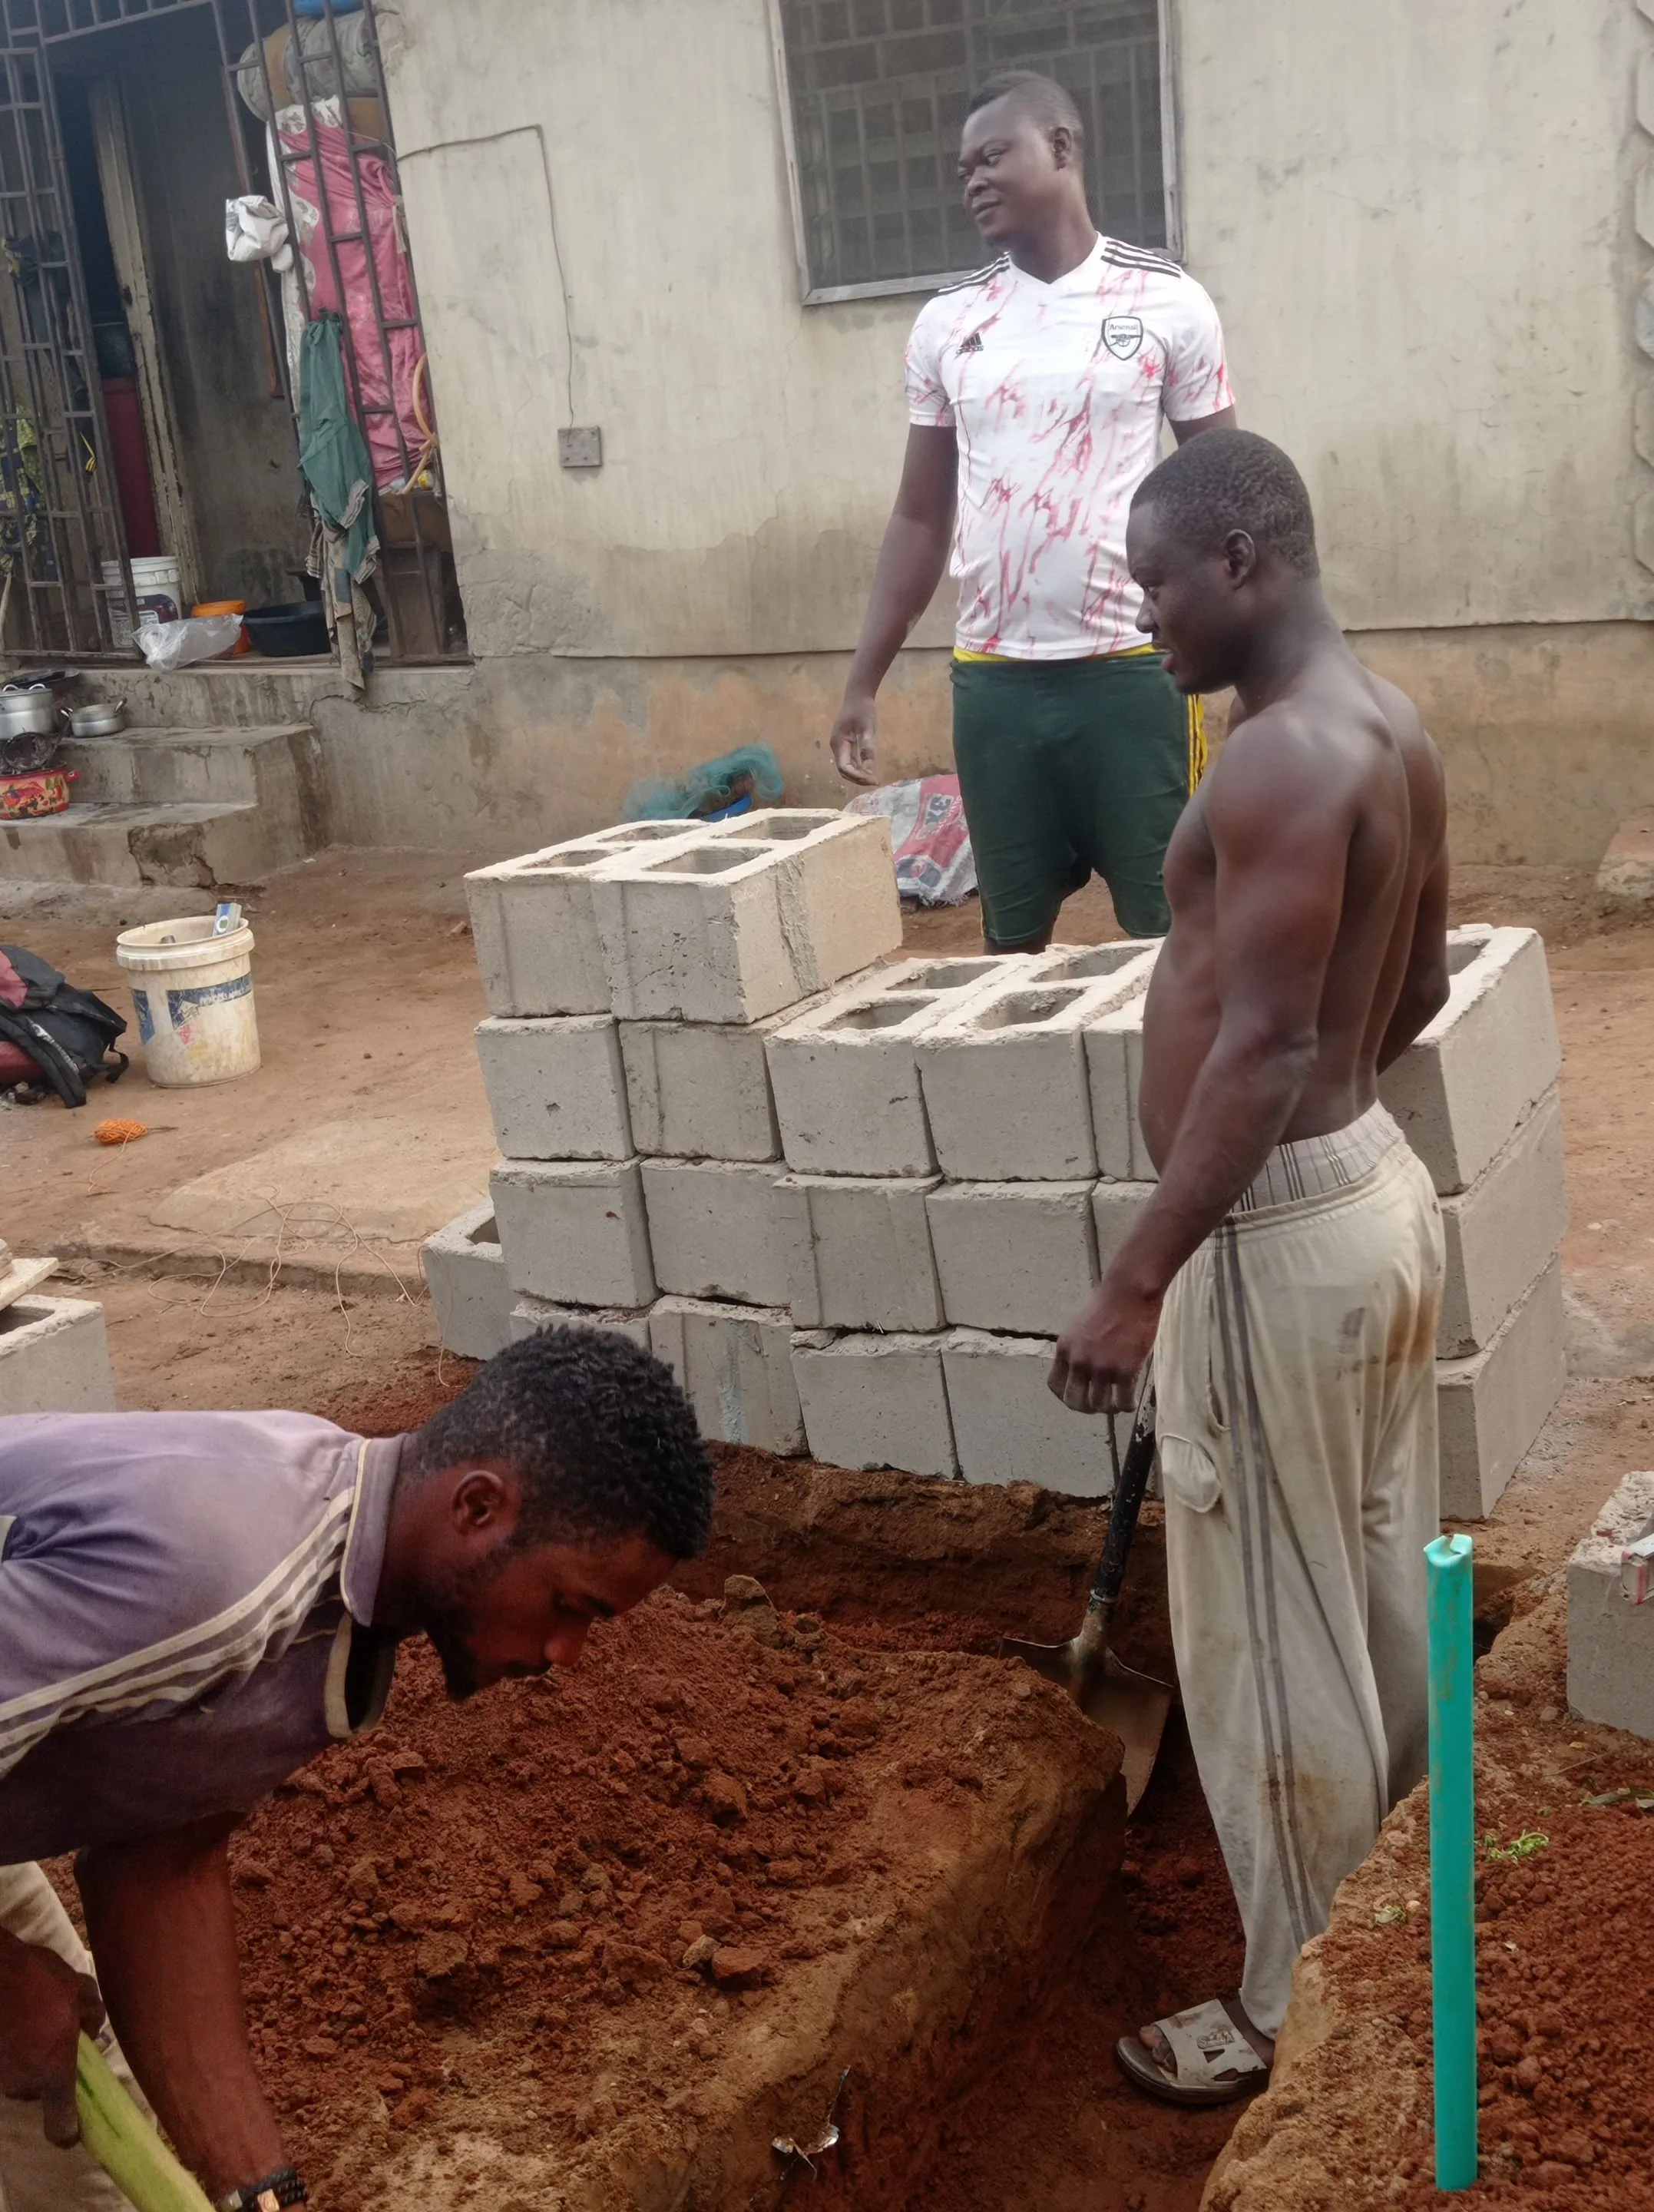
After which we started digging the length and breadth of the pegged spot.
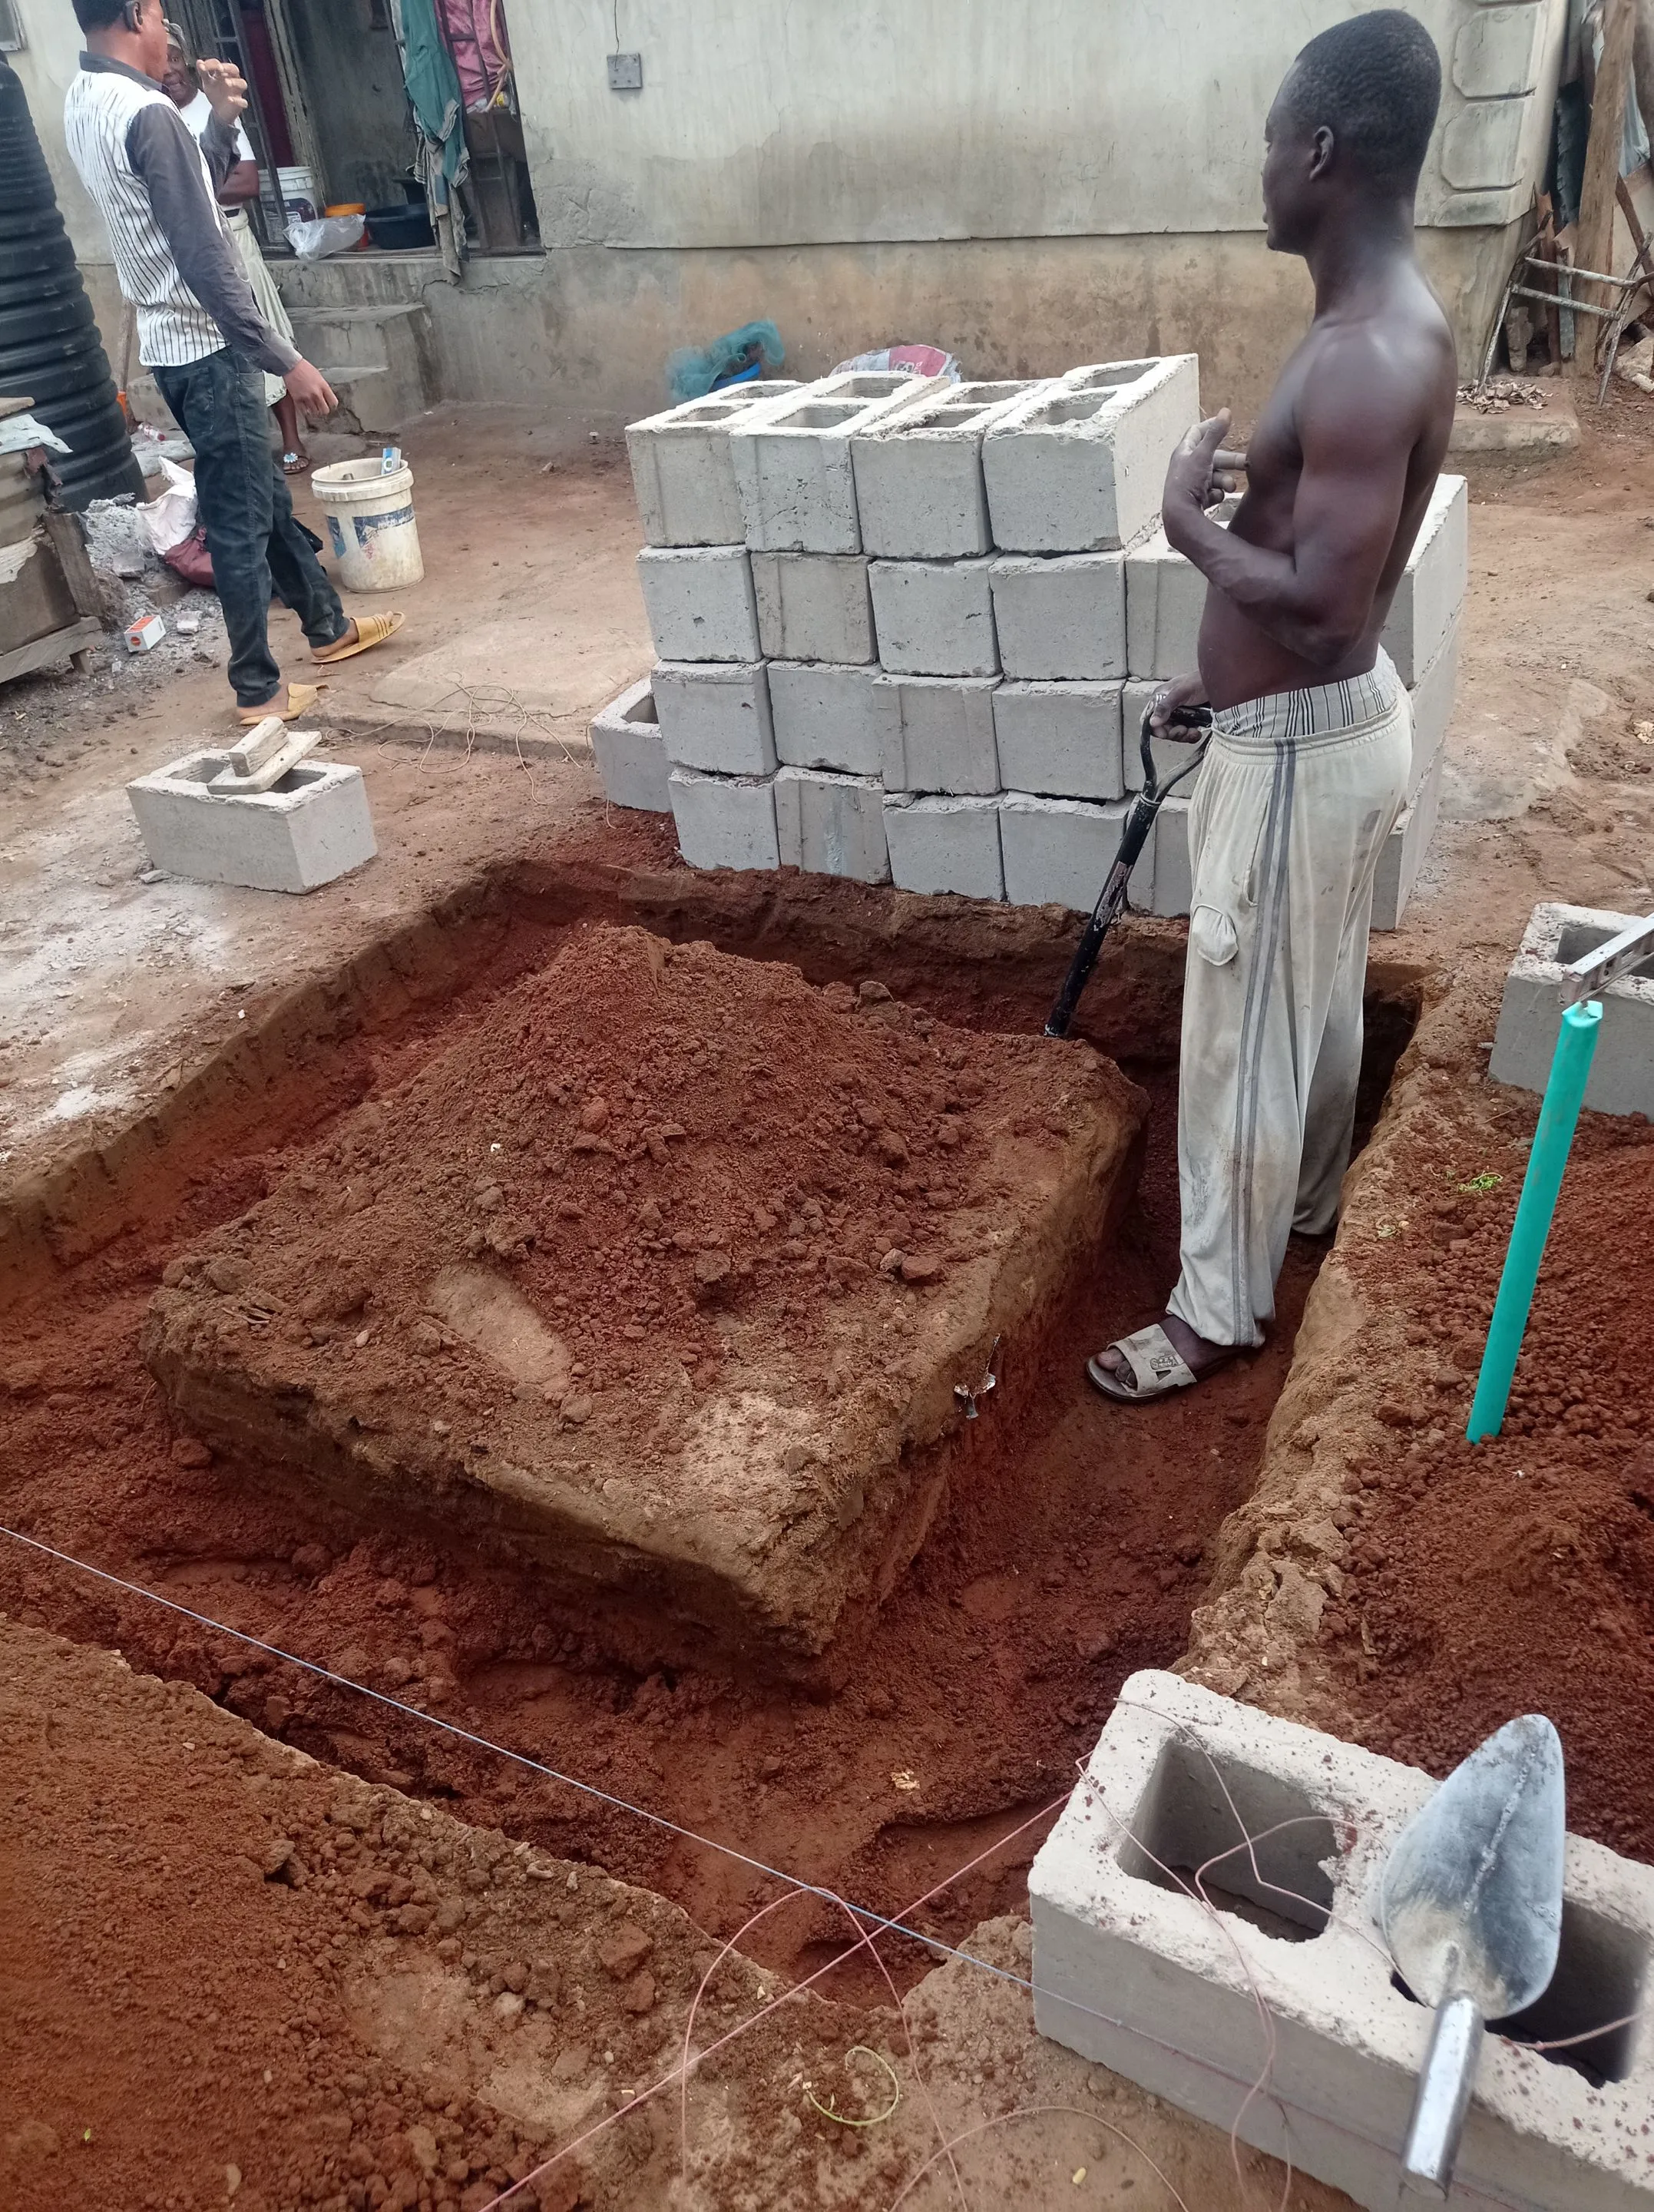
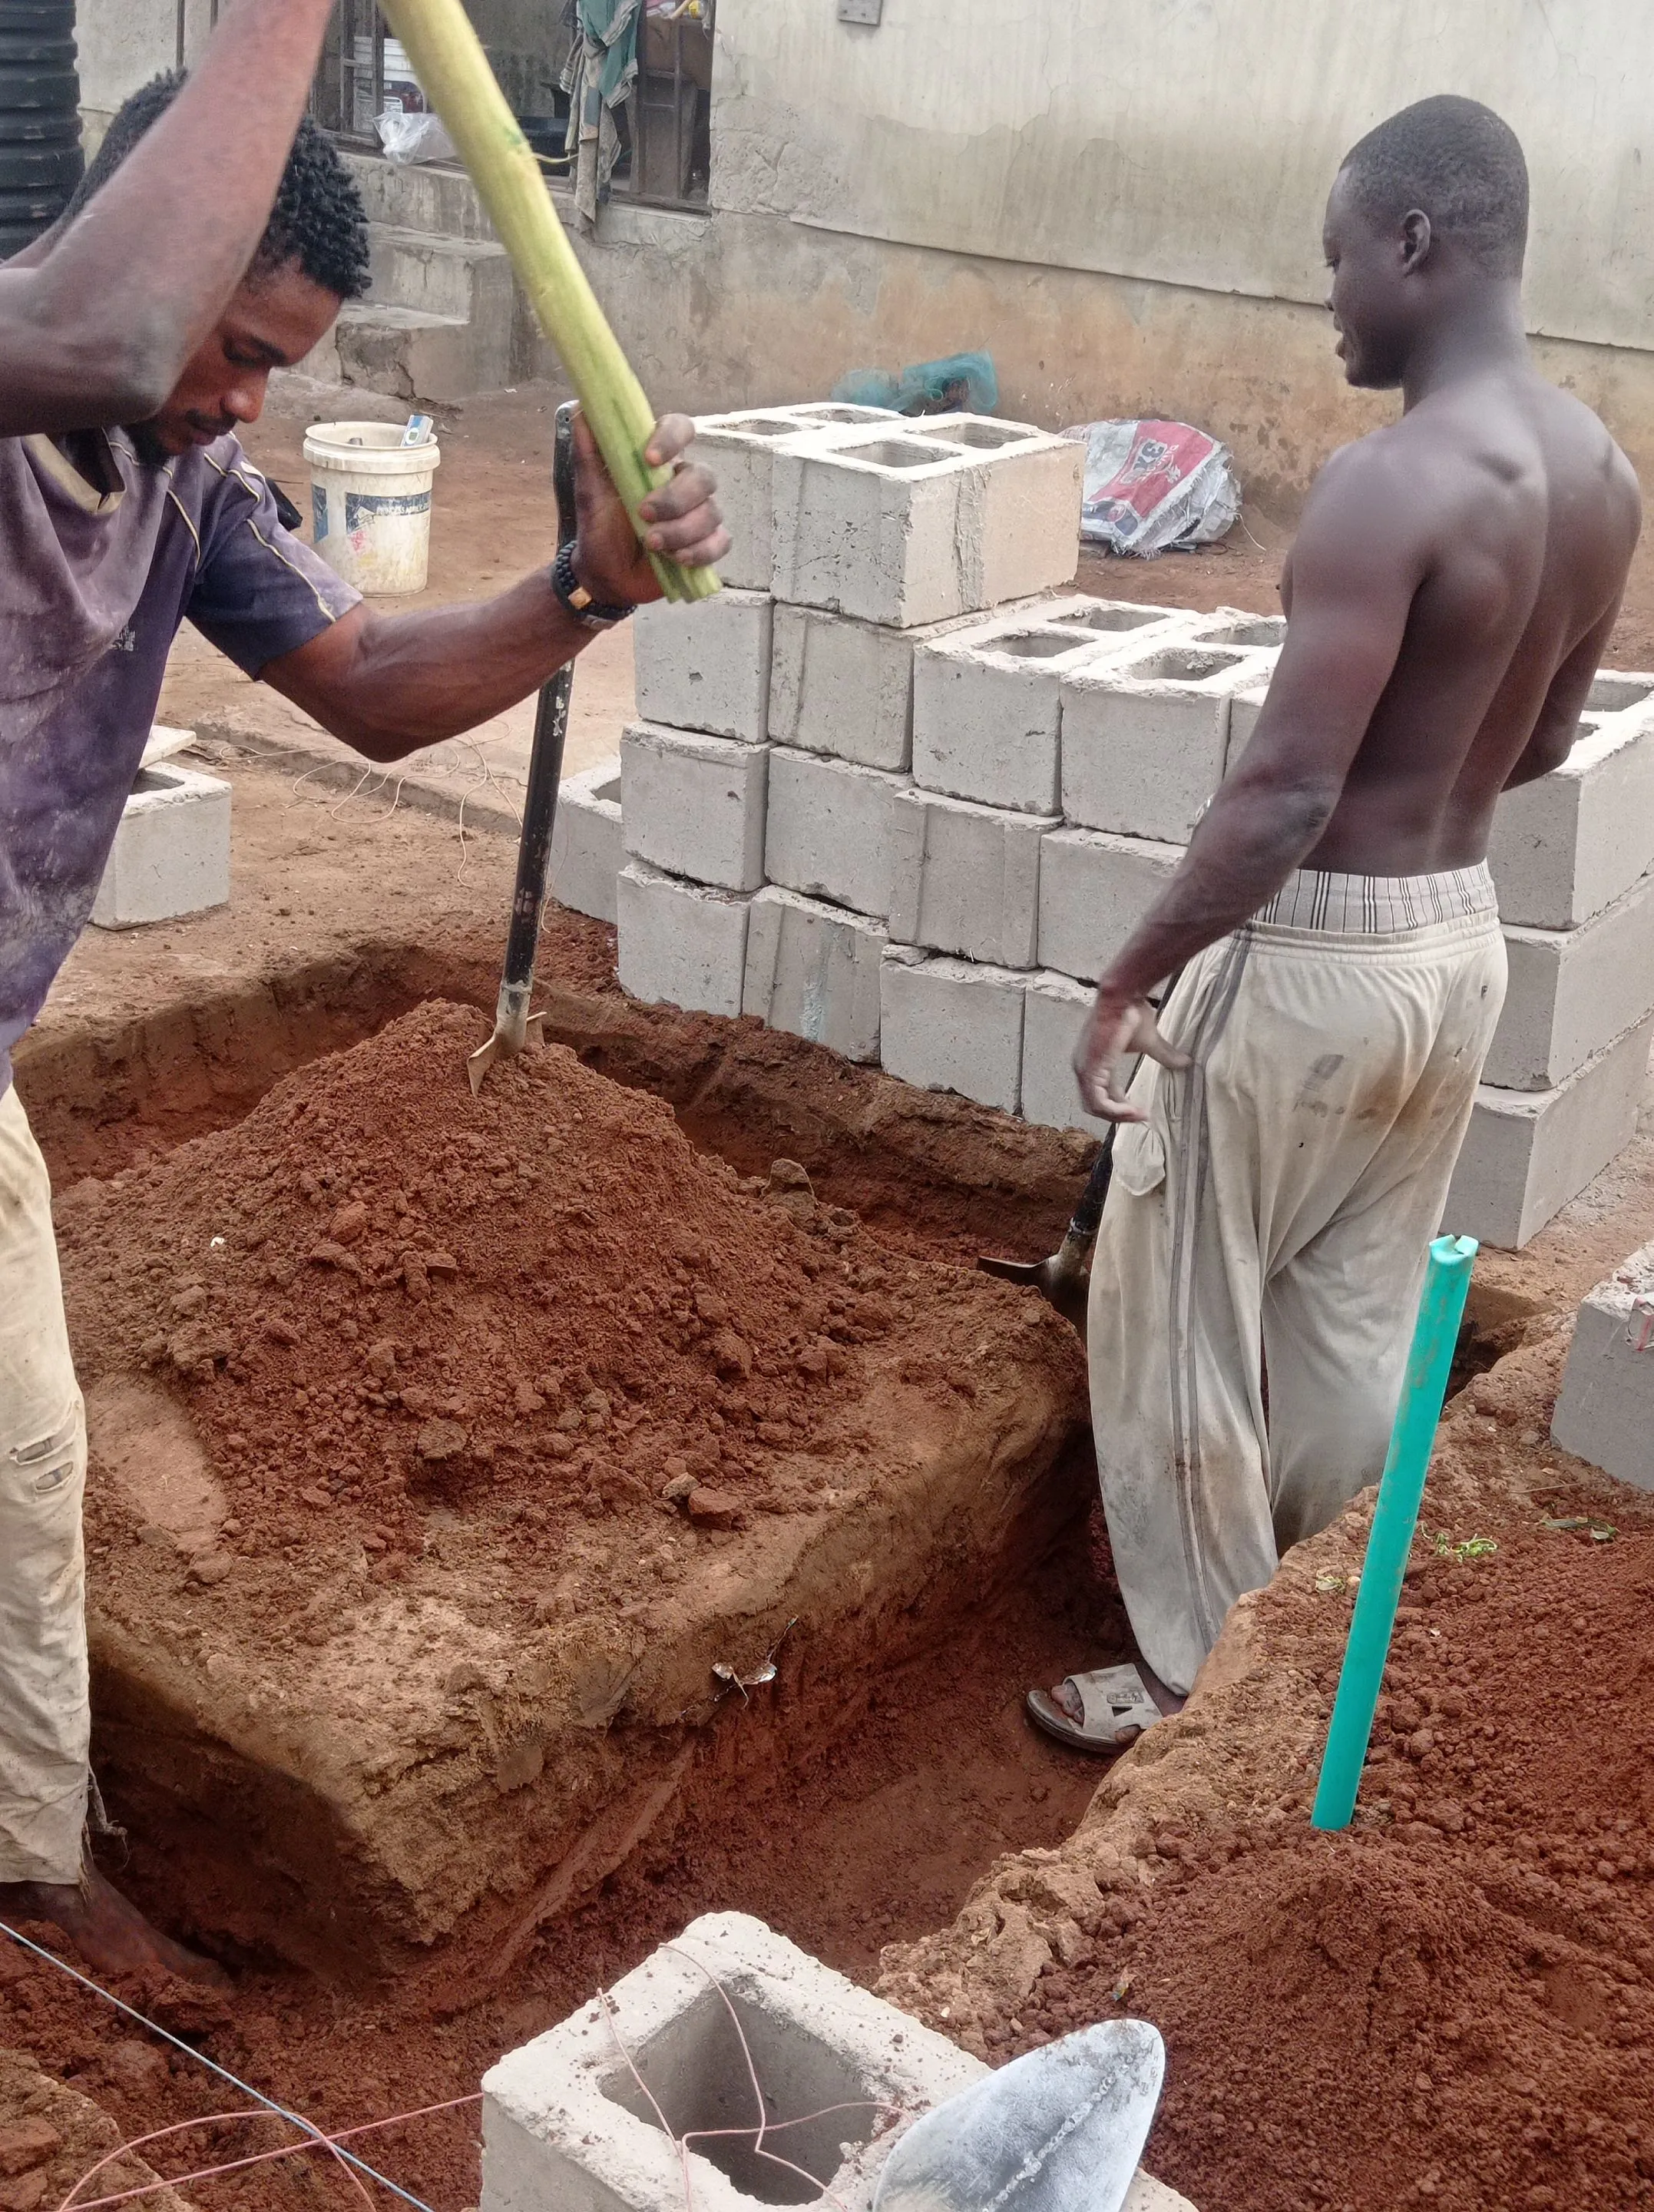
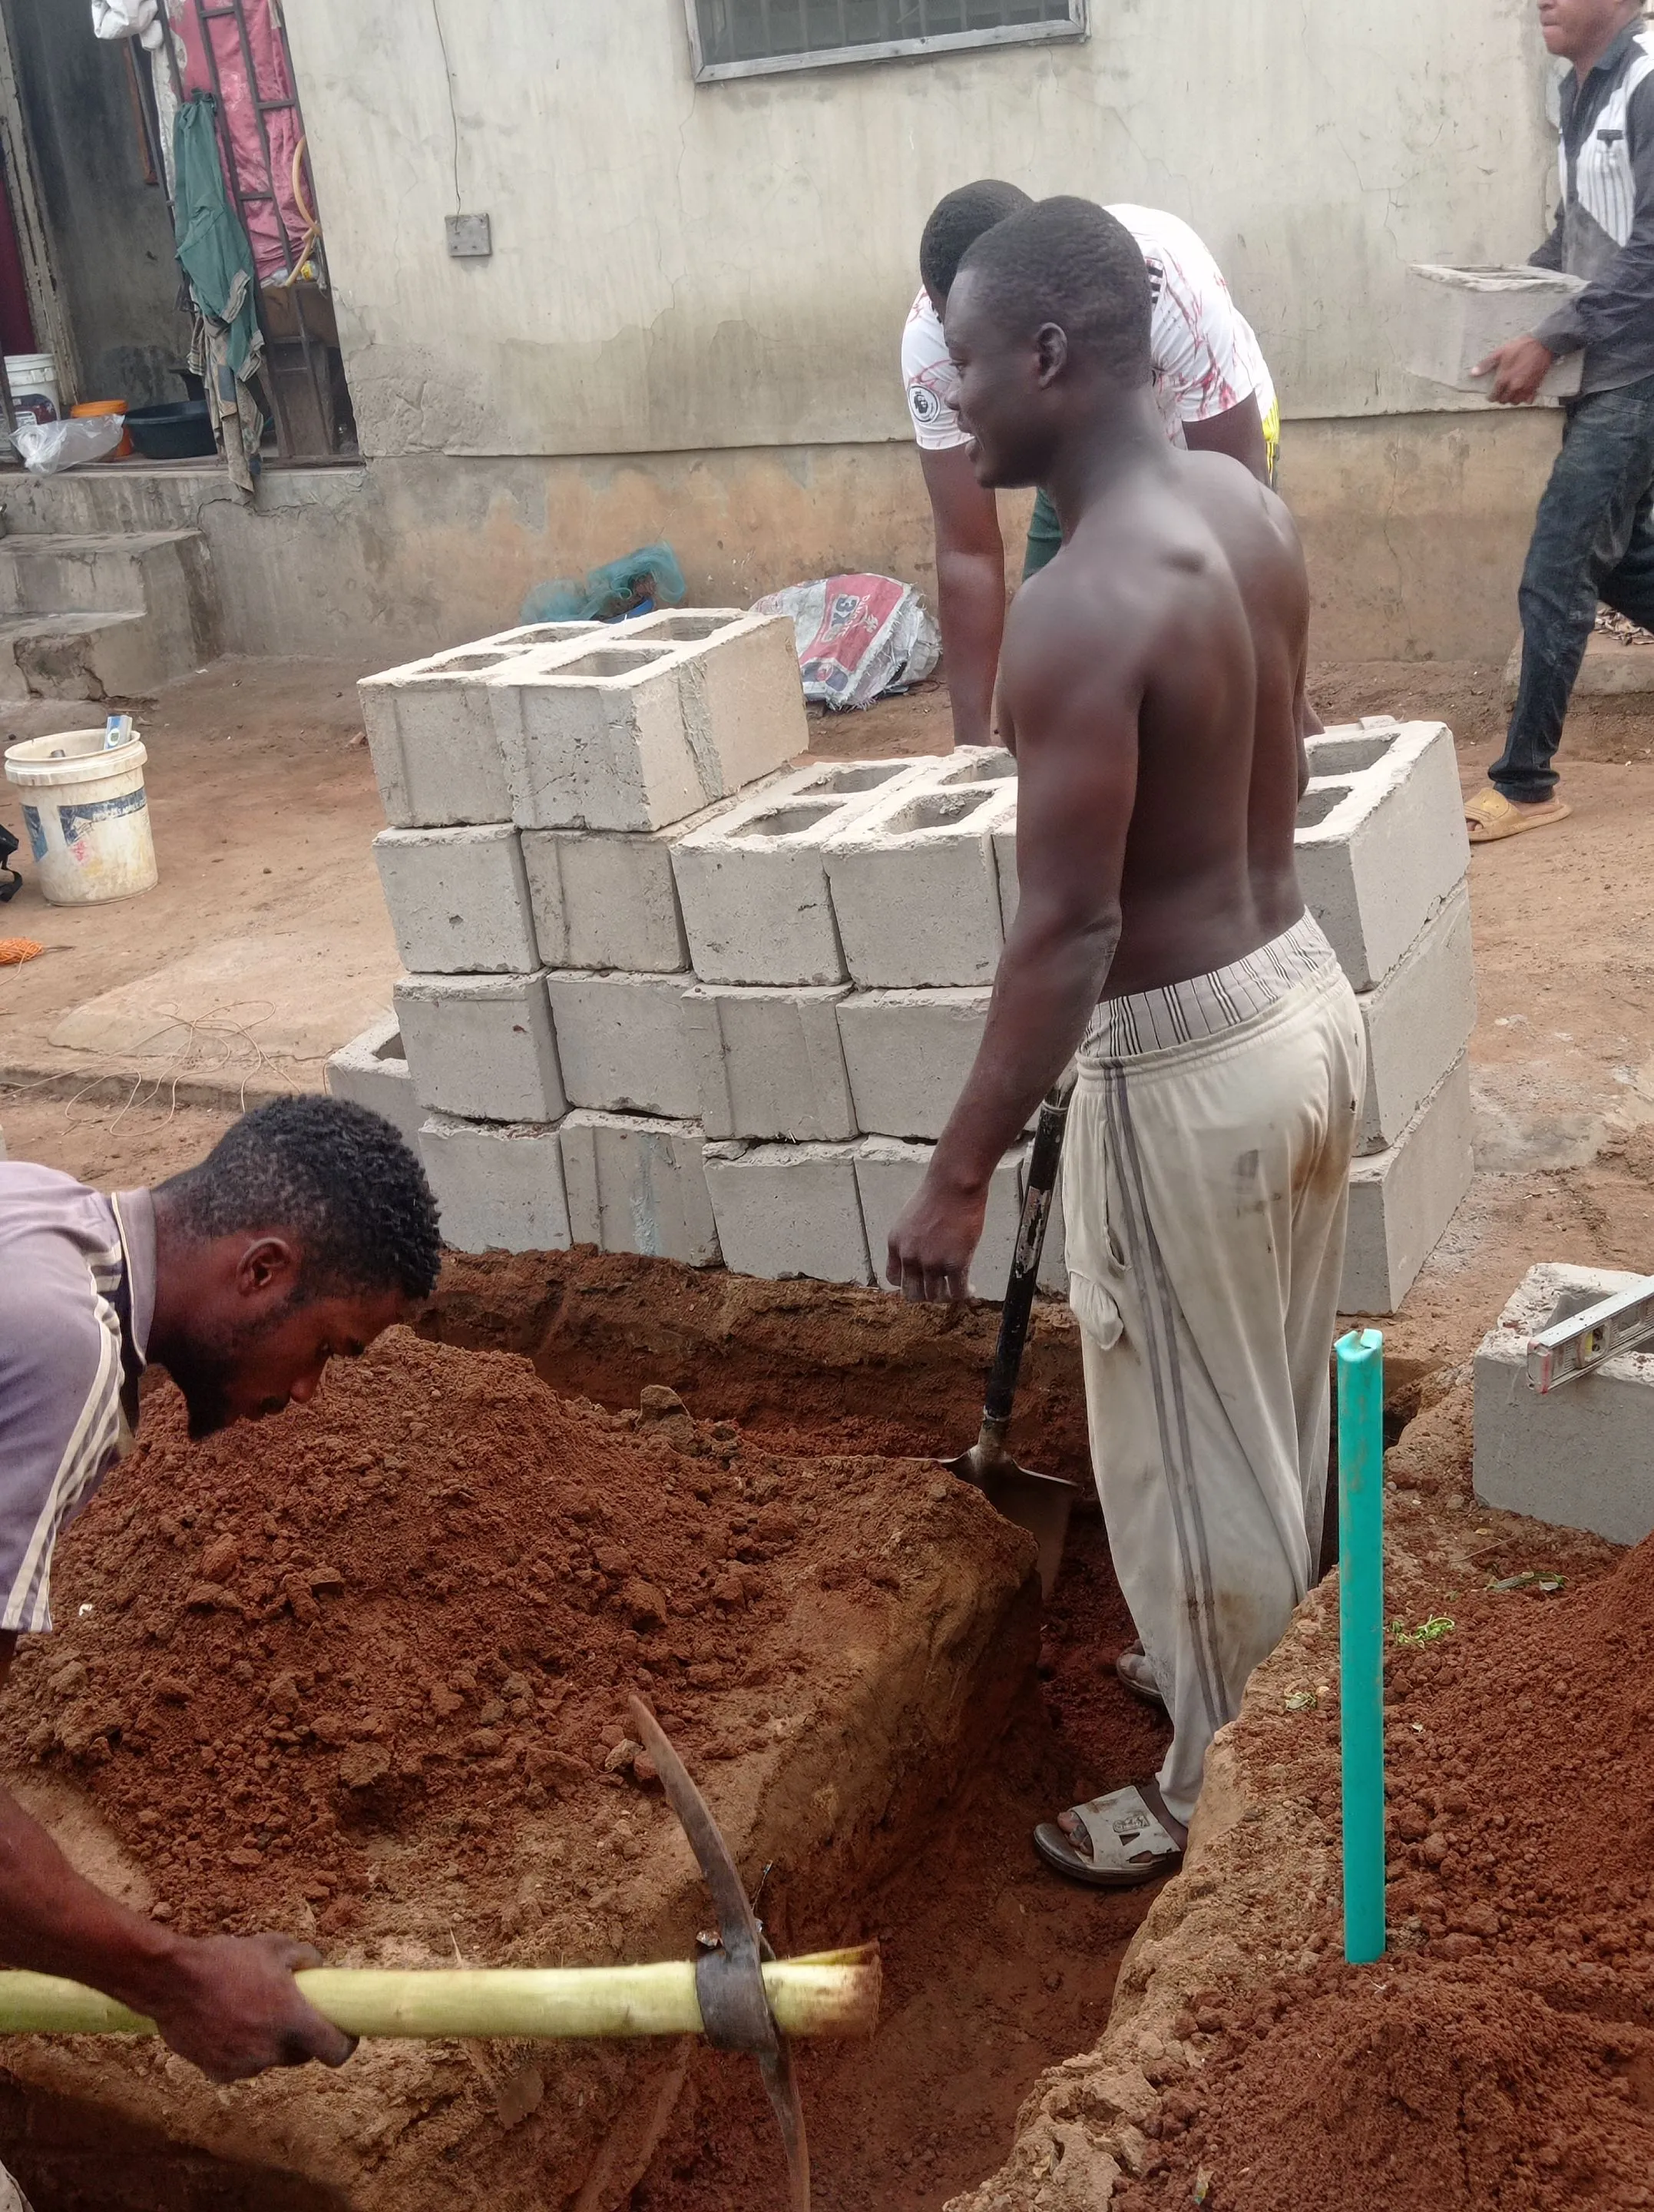
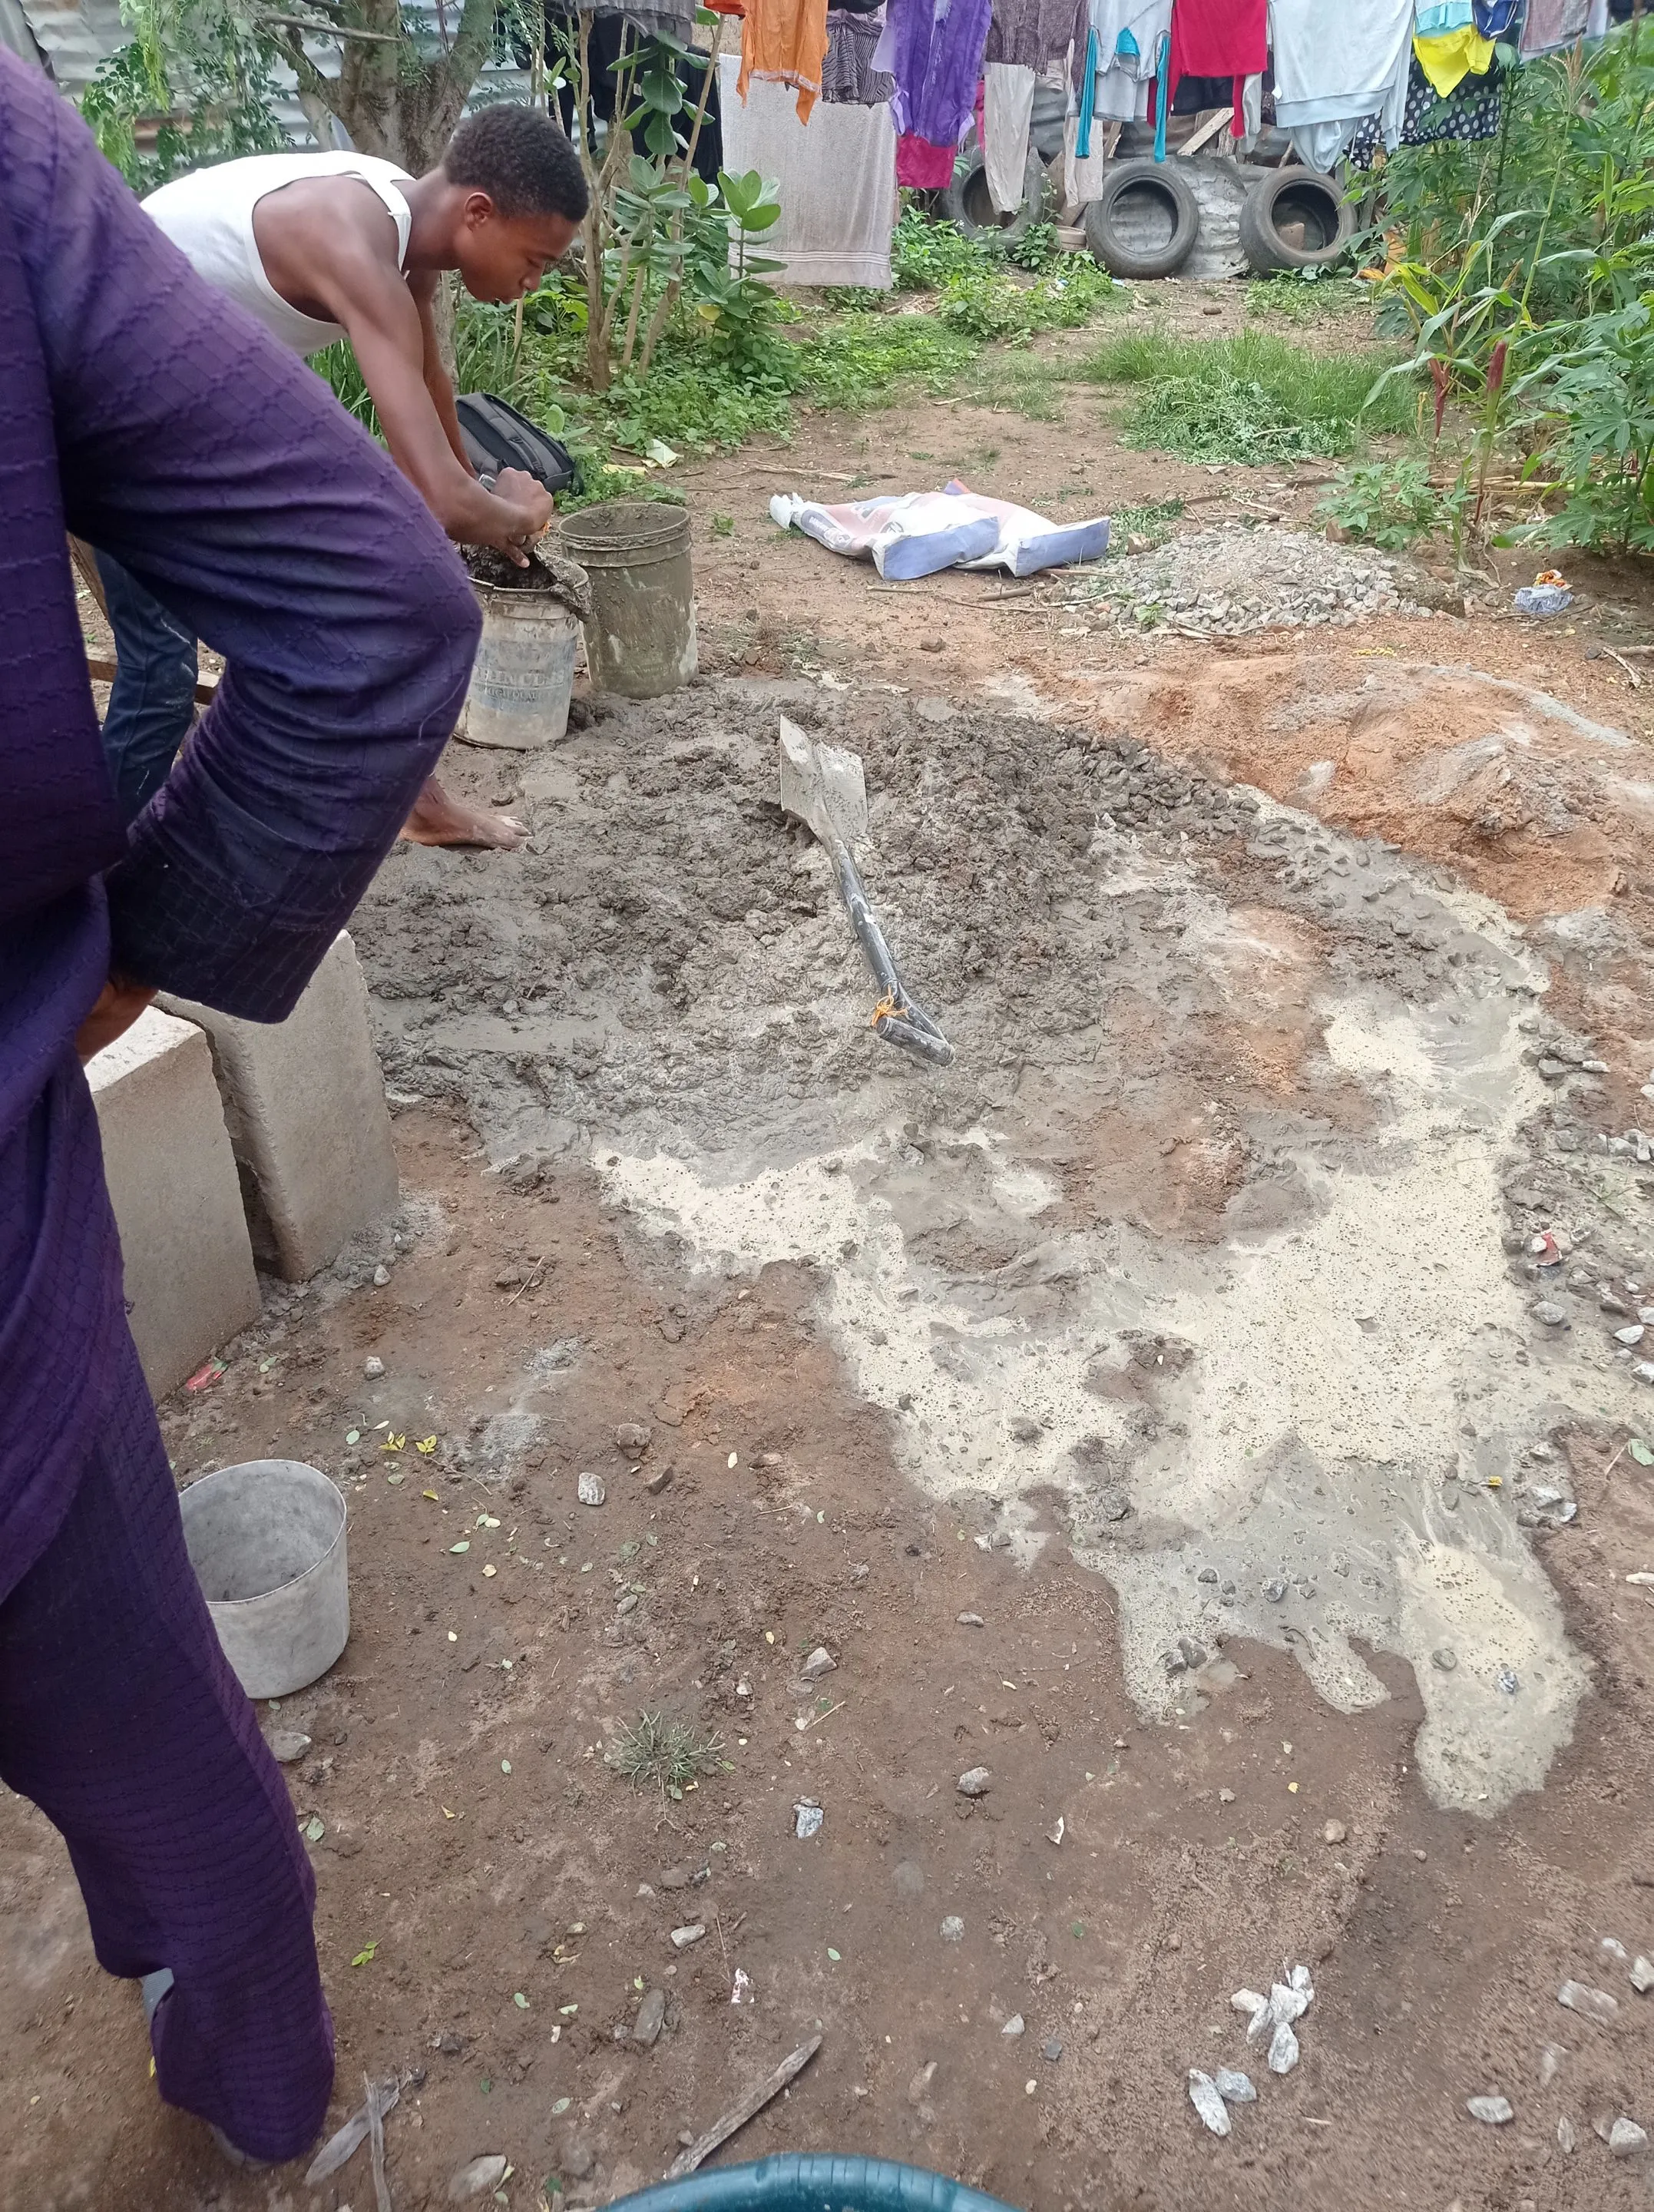
- While some were digging the spot, so the stand can have a solid root to the ground, I'm here carrying the blocks closer to where it'll be use, and here mu brother is also helping out to mix the cement, so that we can easily get it done quickly.
- After those activities, we all became busy and engross to the work and was unable to take any more pictures, but here is the final stage we're presently on building the water tank.
https://files.peakd.com/file/peakd-hive/vickoly/2432Kgw7wS2LrJr1brLeLCR8tnPHuCggkbvK6xwqwDxpYQU5raHEf4ecZJub8zXZendDJ.jpg
In other to make good use of the space, we decided to build it in shape of a small room or store, where we can easily put some items we can't keep inside the house.
That's mean it'll be serving both as a water tank stand and a store.
The next step, is to either purchase or buy some plank(wood), that will be use to build a decking for the upper parts.
Below is the picture of the 2,500 liter water tank, that will place on the stand.
There are still many items we're yet to purchase, like water pipe, pumping machine, and others needed for the pumping works.
Thanks for checking out my blog post, have a blessed and wonderful time.
Return from How we build a water Tank Stand || To store more water ahead of the coming drought to vickoly's Web3 Blog

