##
Eid Mubarak to all our Muslim family here on hive, it was celebrated here in Nigeria yesterday, but I get to learn some countries are just celebrating it today, we'll enjoy more seasons of Celebrations here on earth, so today I'll like to take you through the process of how I help my clients replace the spoilt insole of his Slippers.
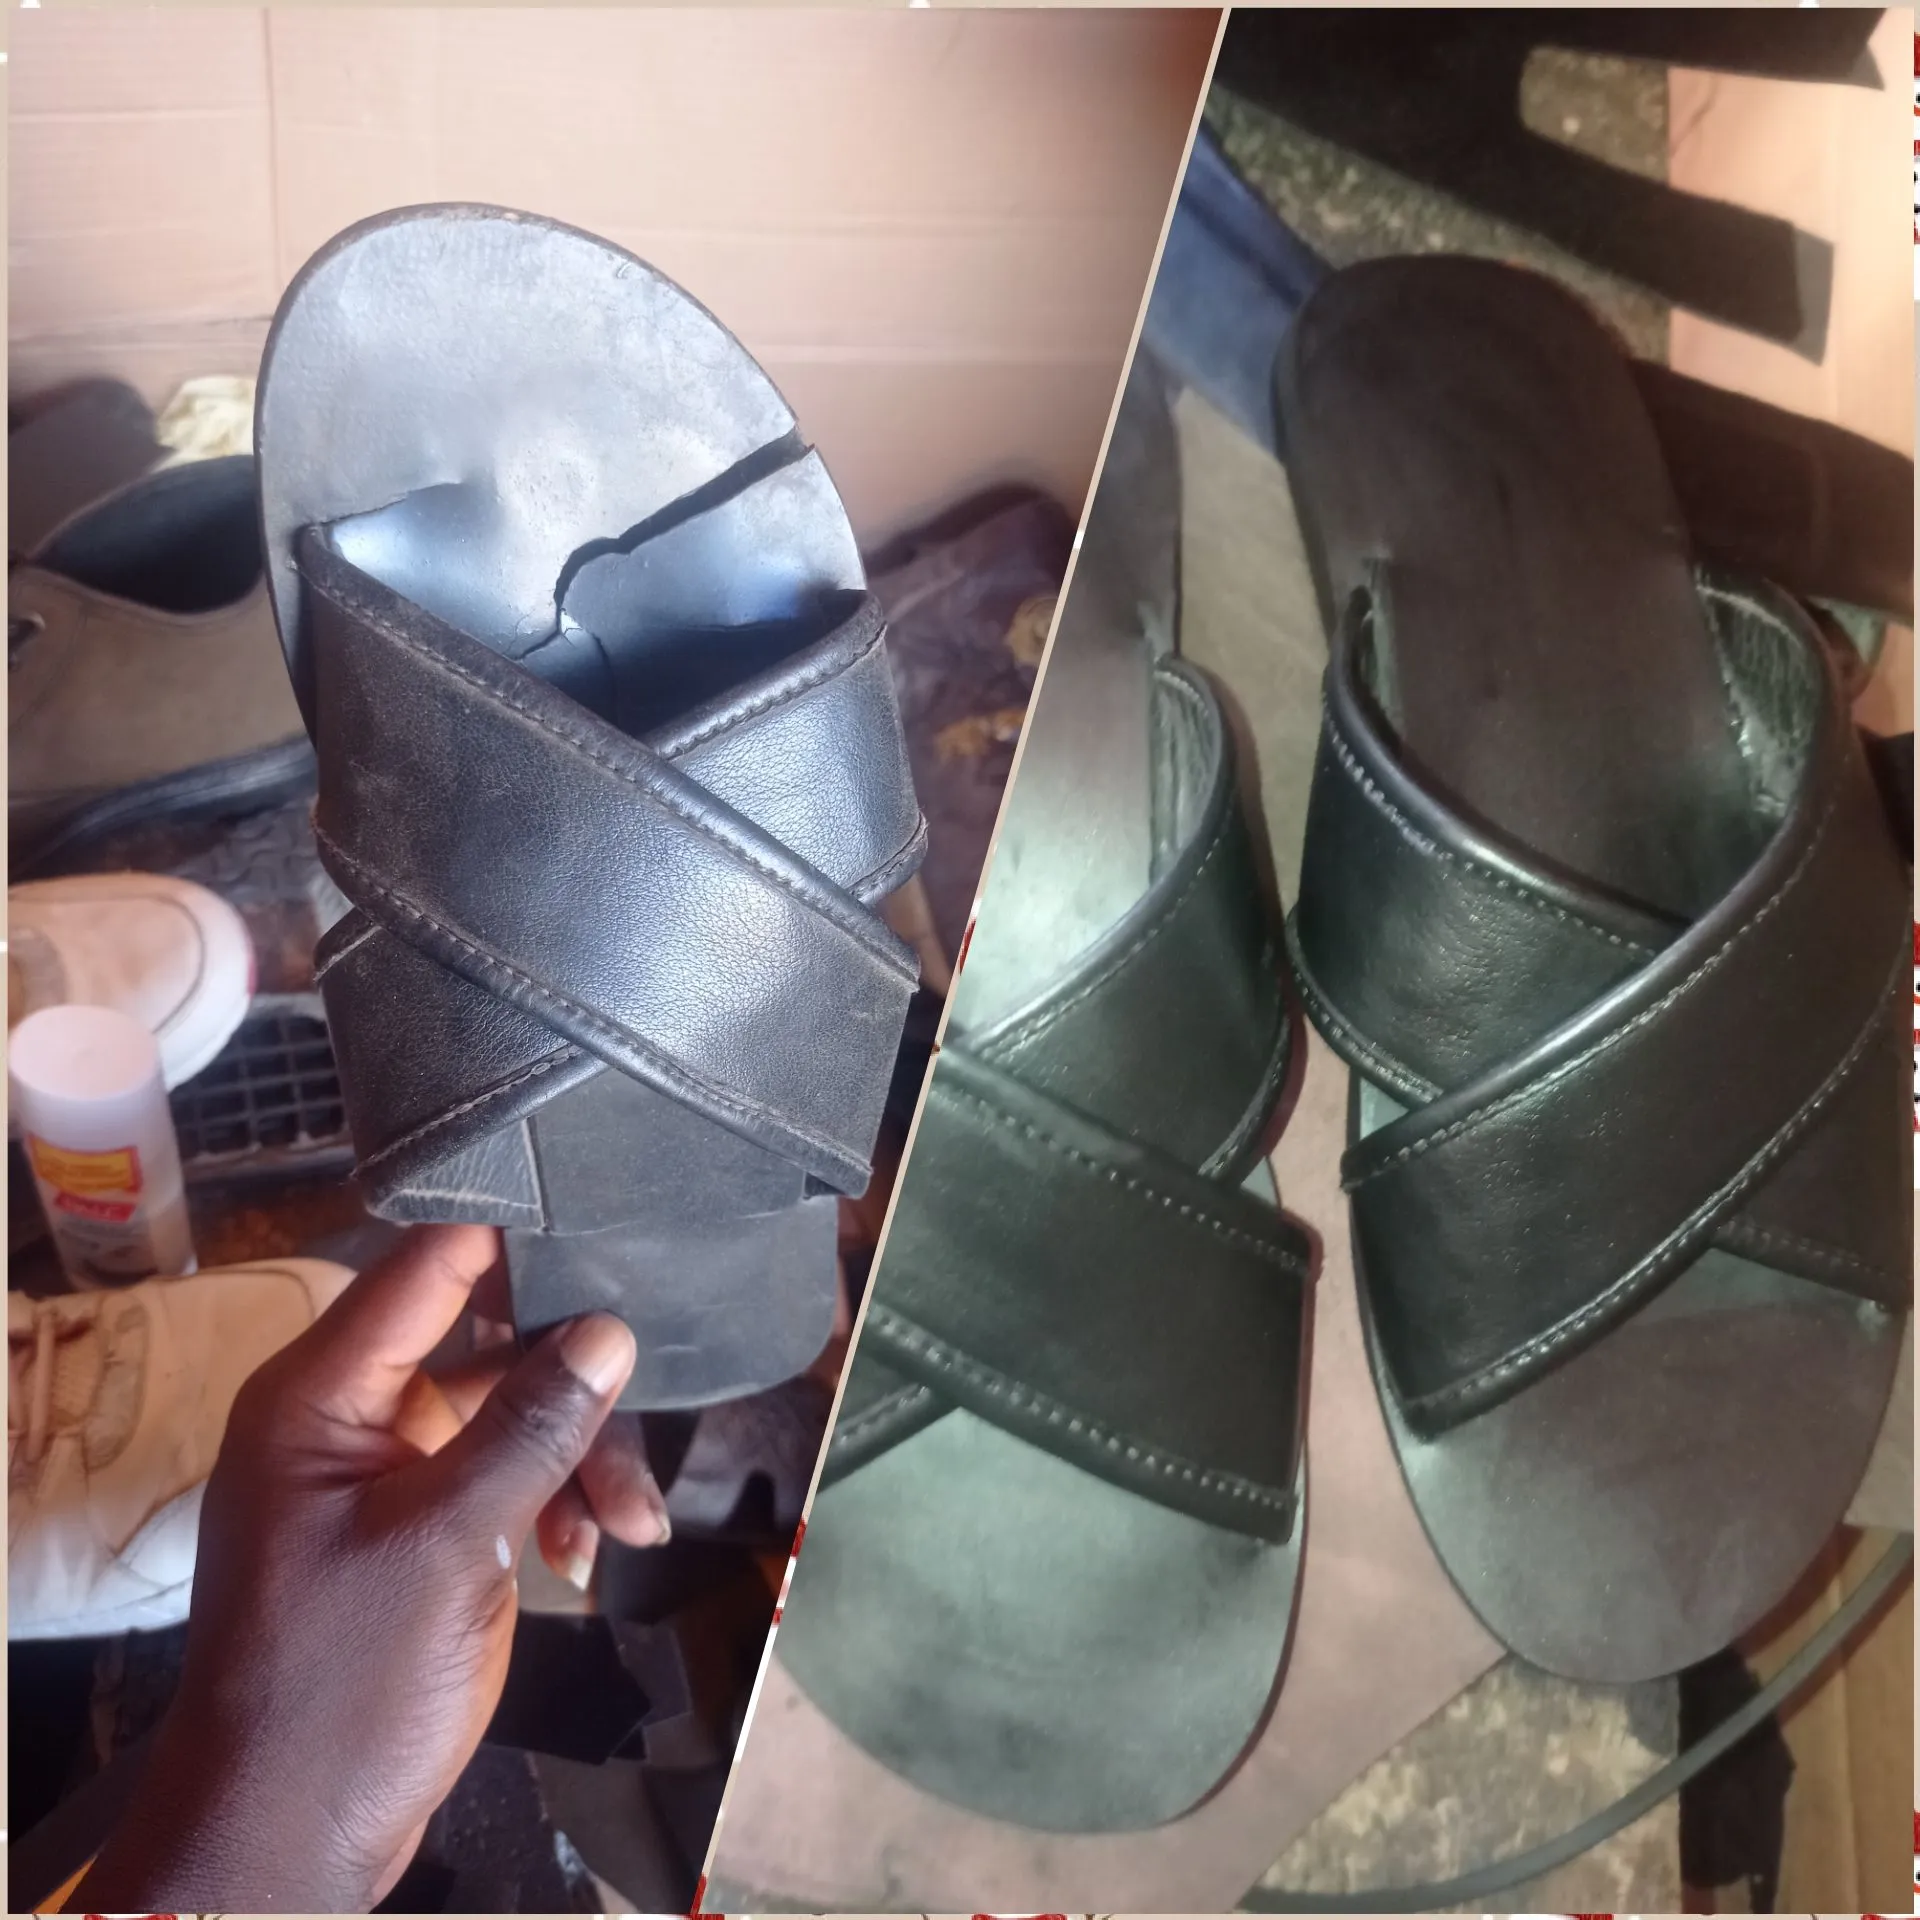
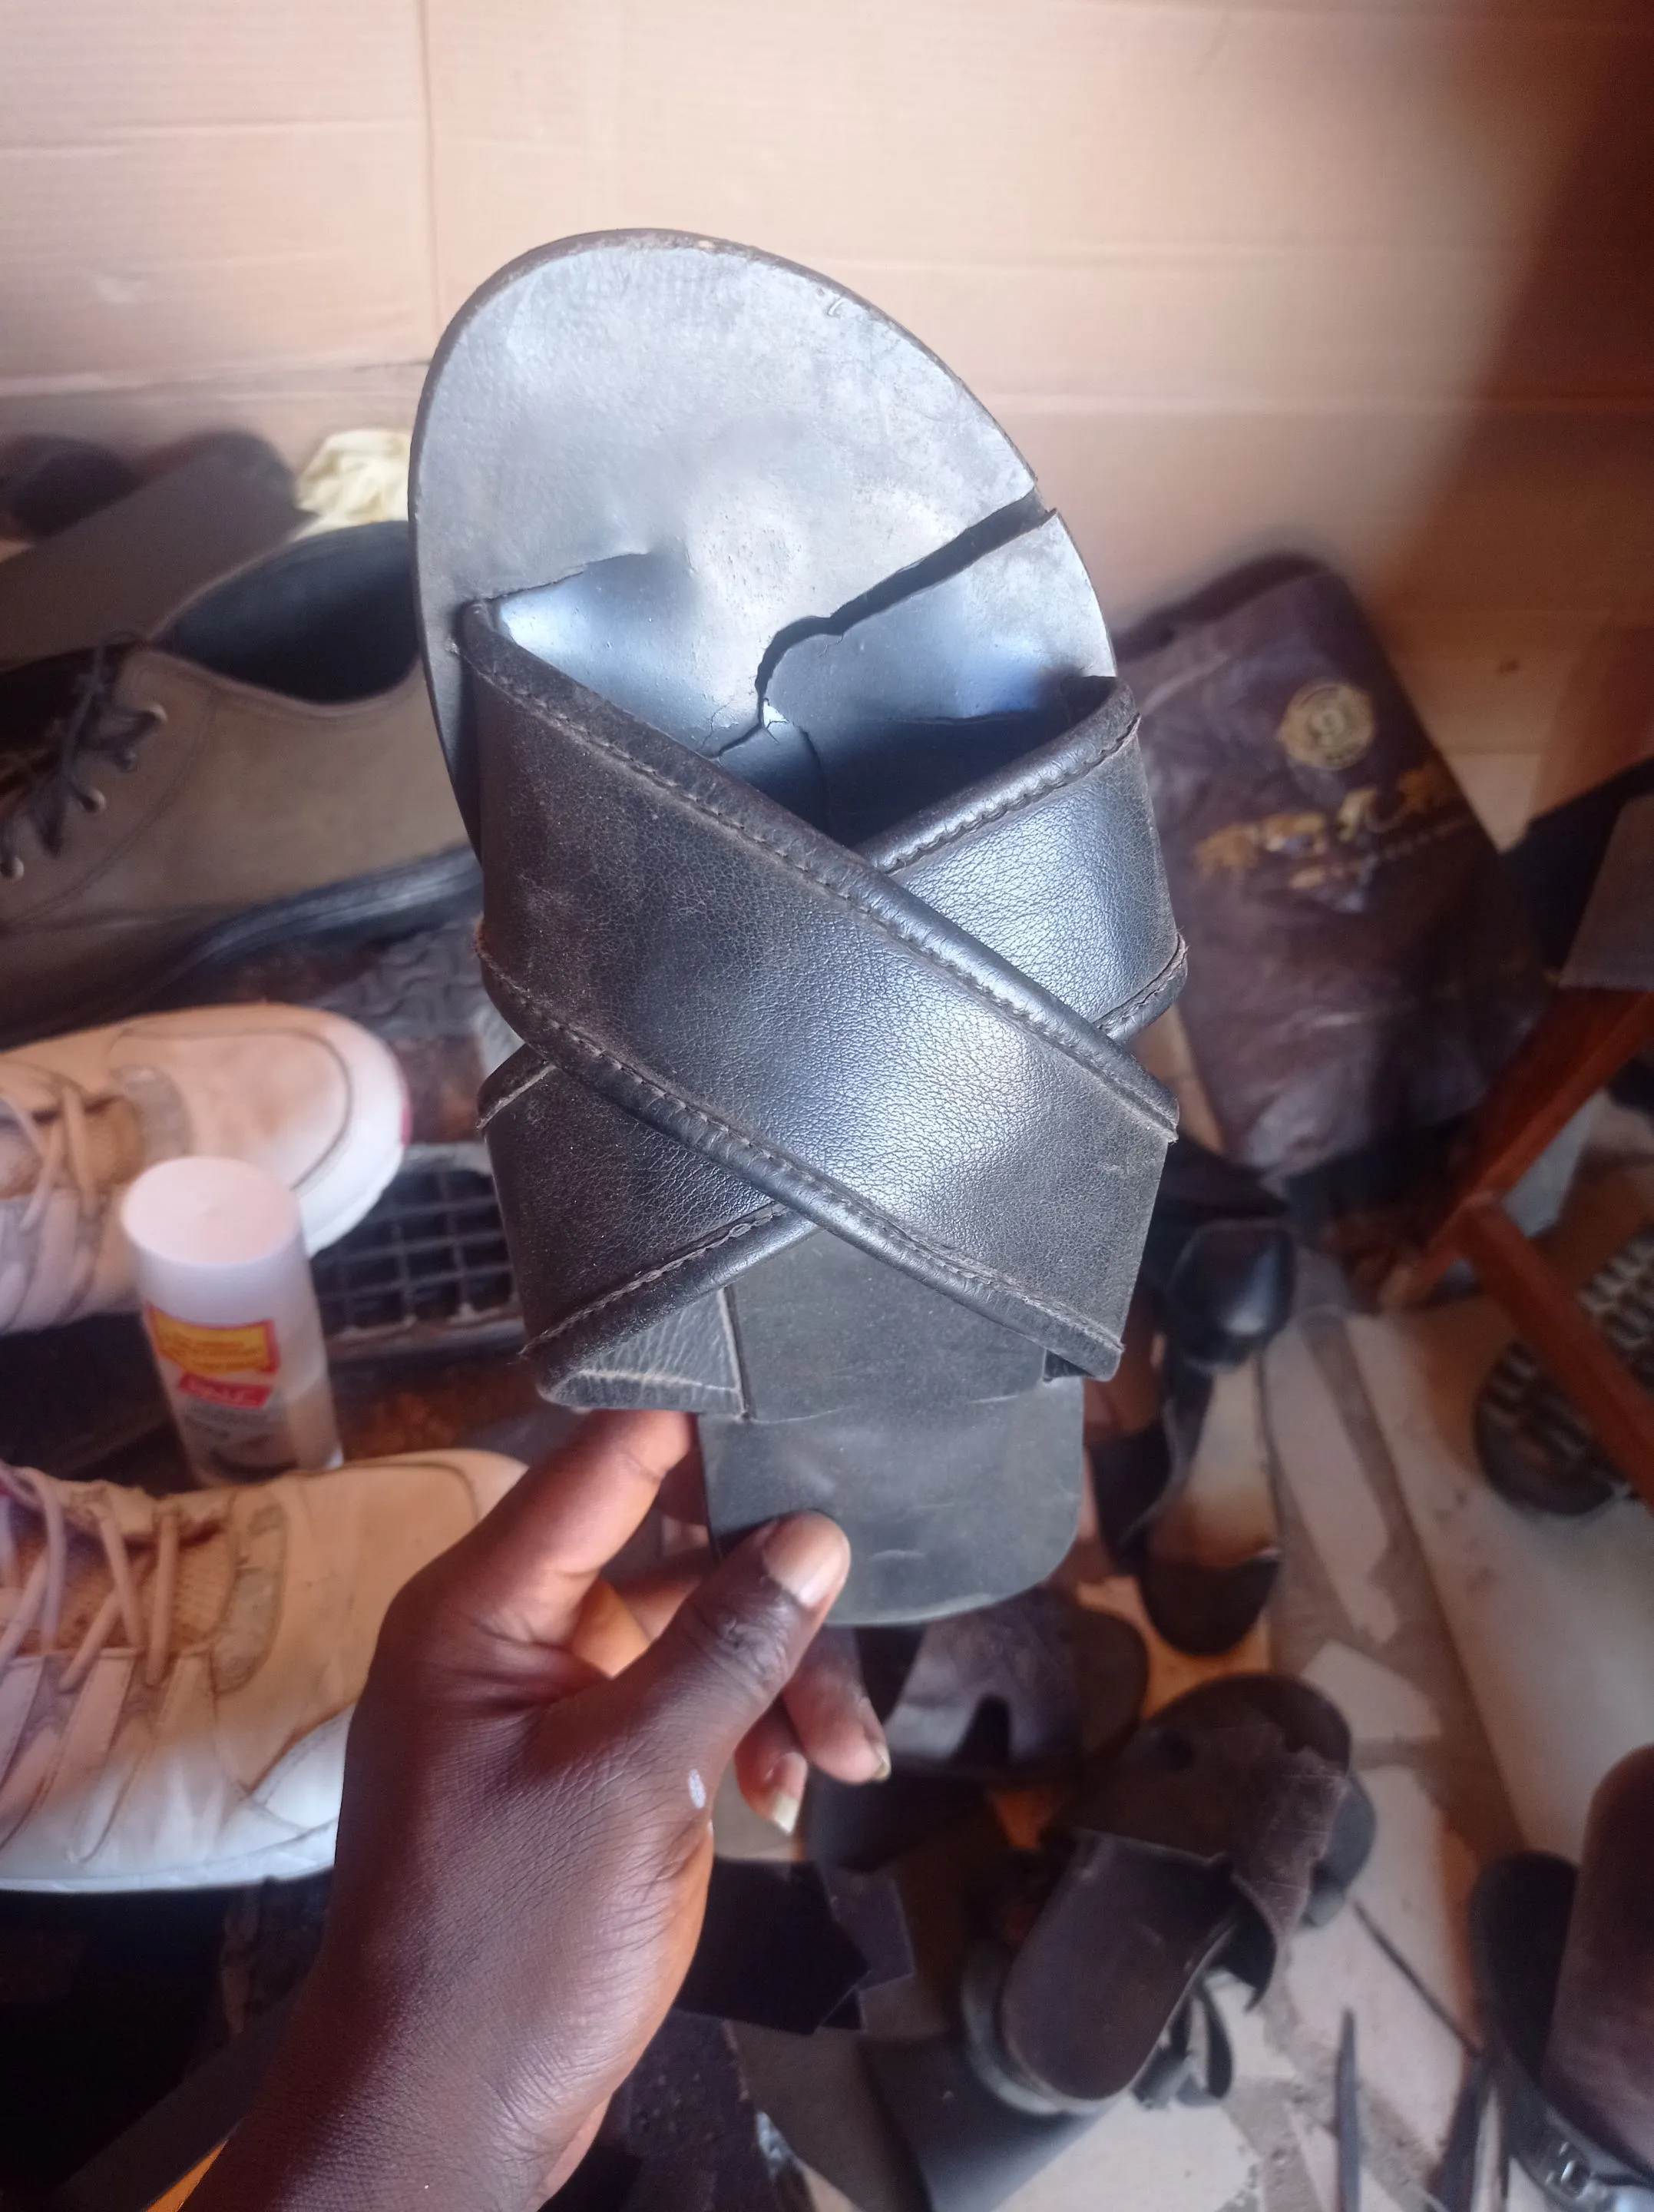
I was in my store when he came around and show me the Slippers, he said both the upper and the sole of the materials are still very good, so I should just help him fix the insole and the Slippers will look as good as new once again, and after we concluded on the price, I started work on it, because he said he'll be coming back after an hour.

MATERIAS USED
- Lite Marco
- Linning
- Gum
- Super Glue
- Cutter
- Hammer
- Grinder
https://files.peakd.com/file/peakd-hive/vickoly/23swpf3KeX8yQysf3FhRaMUSESz4bogEmL1CJpx2t15pkZL4sfTkwRa6TSzpR1uWt6N1f.png
PROCESSES
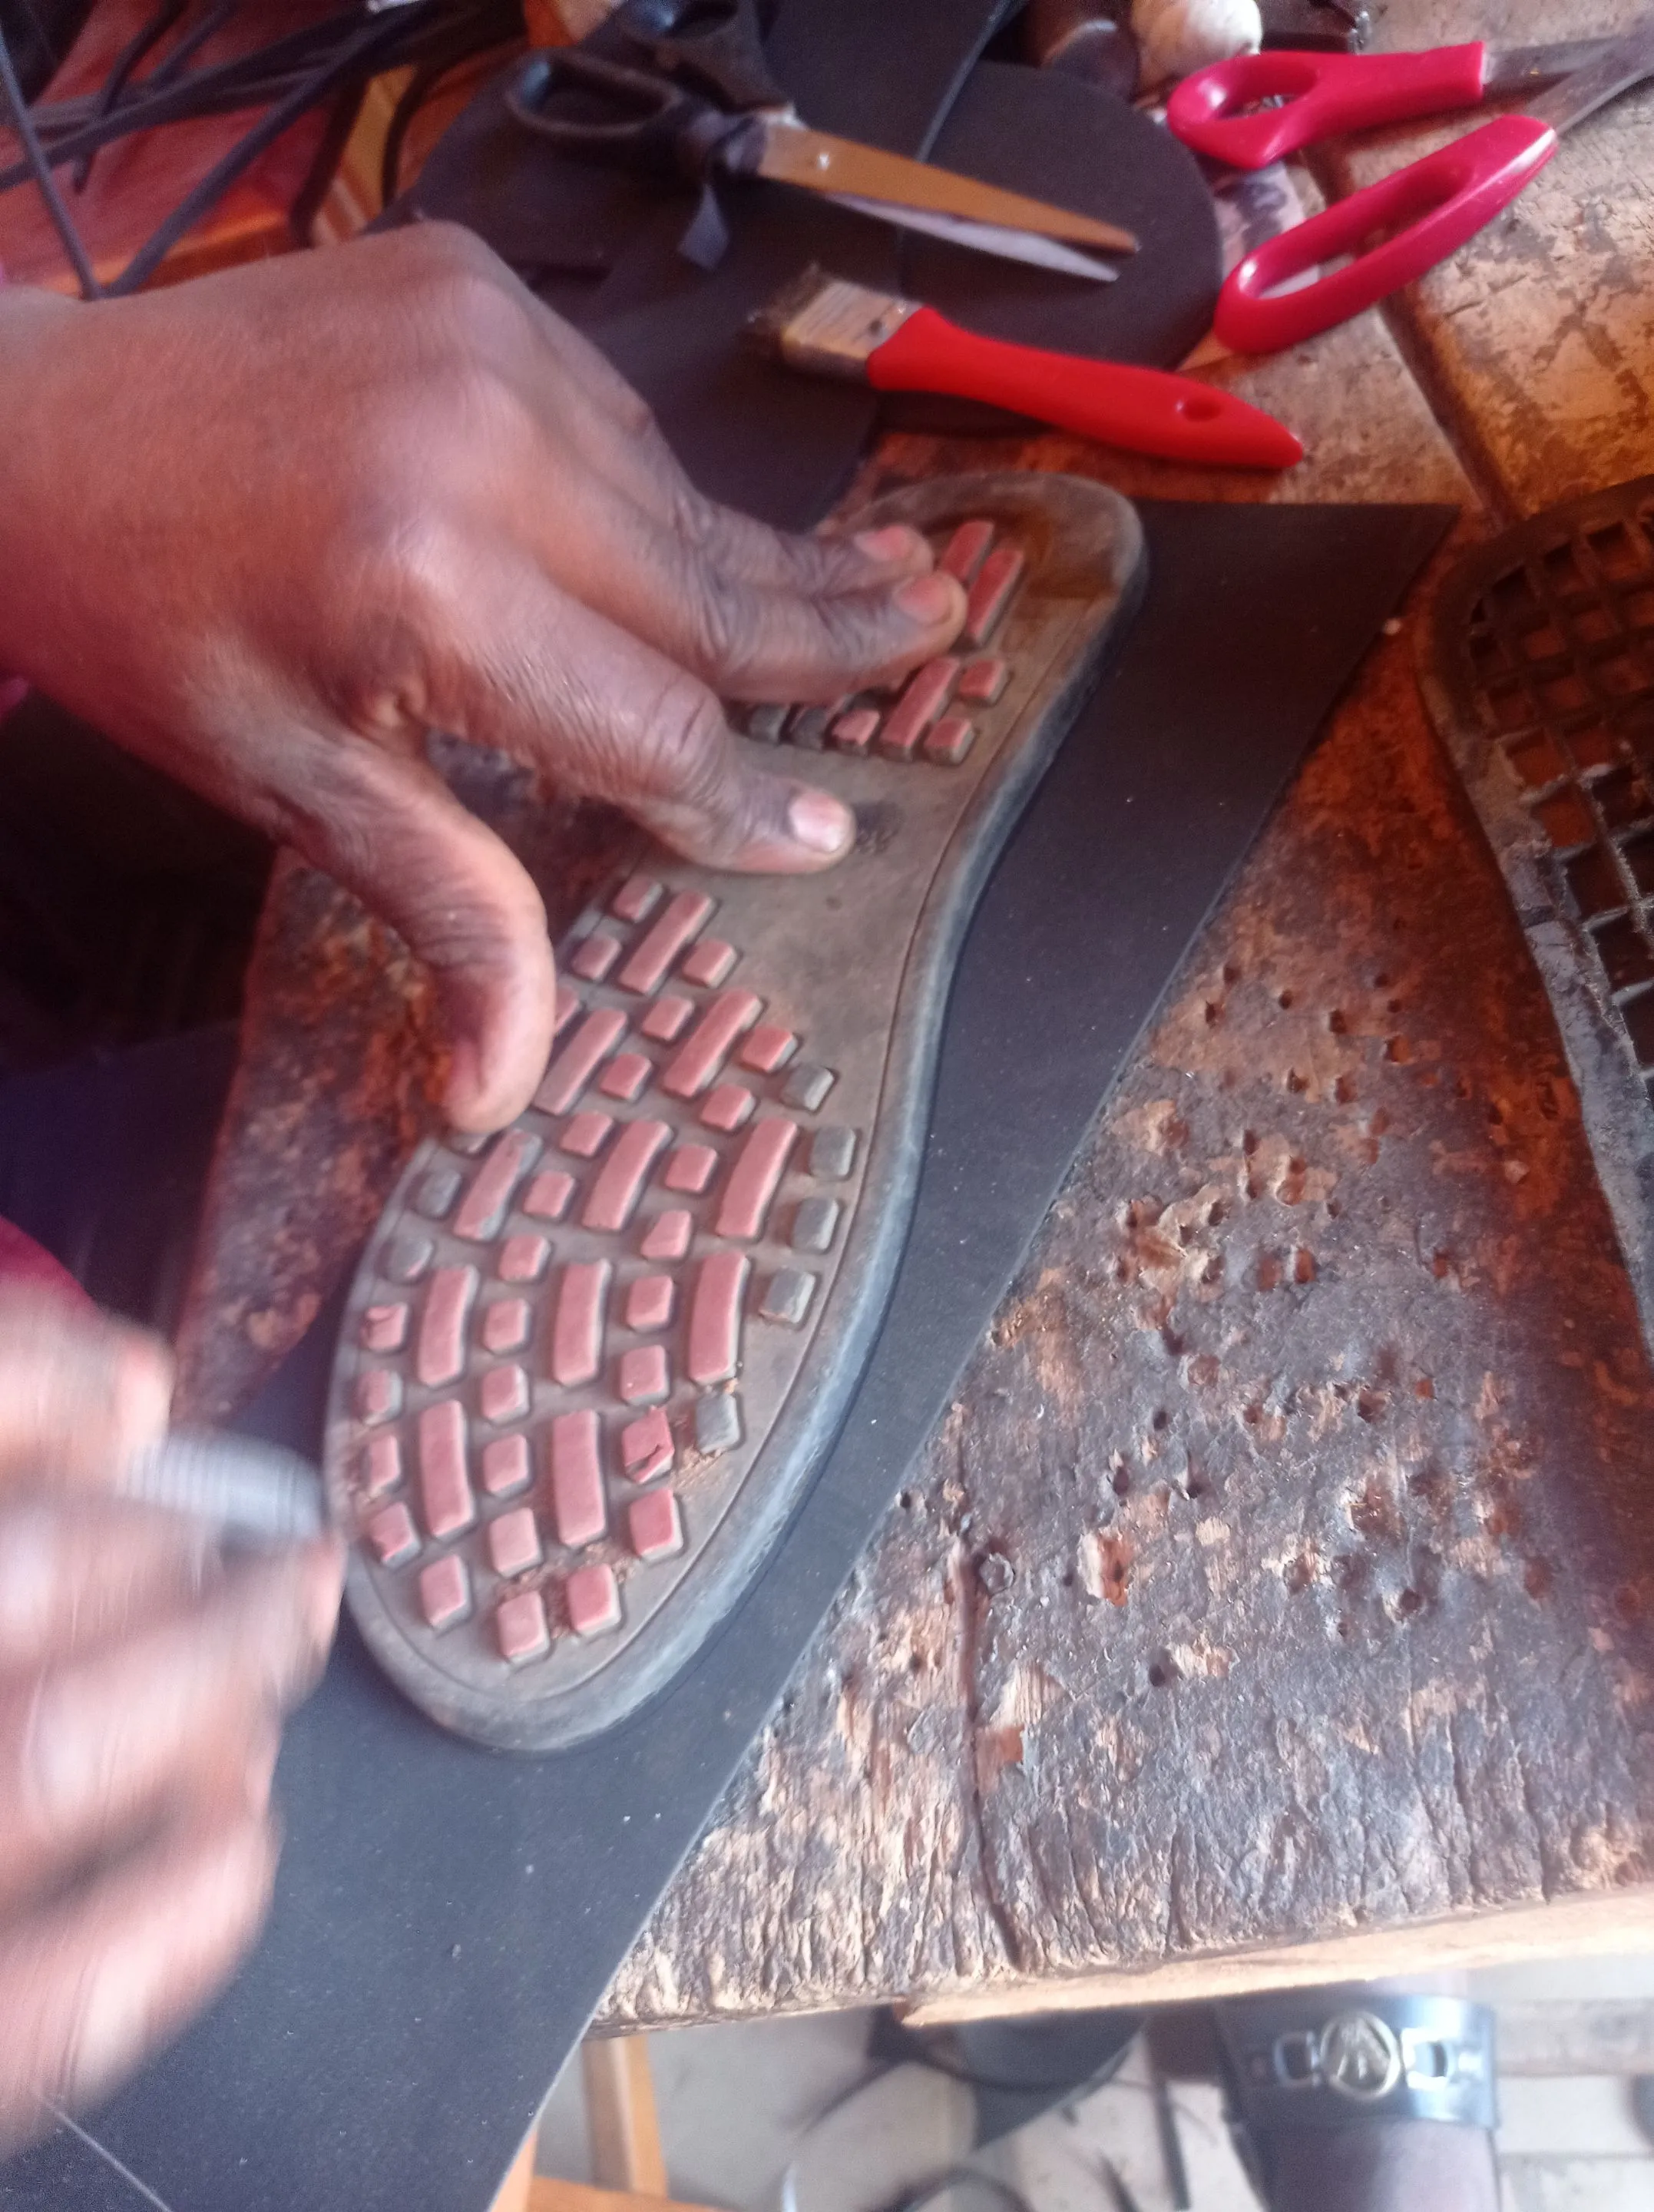
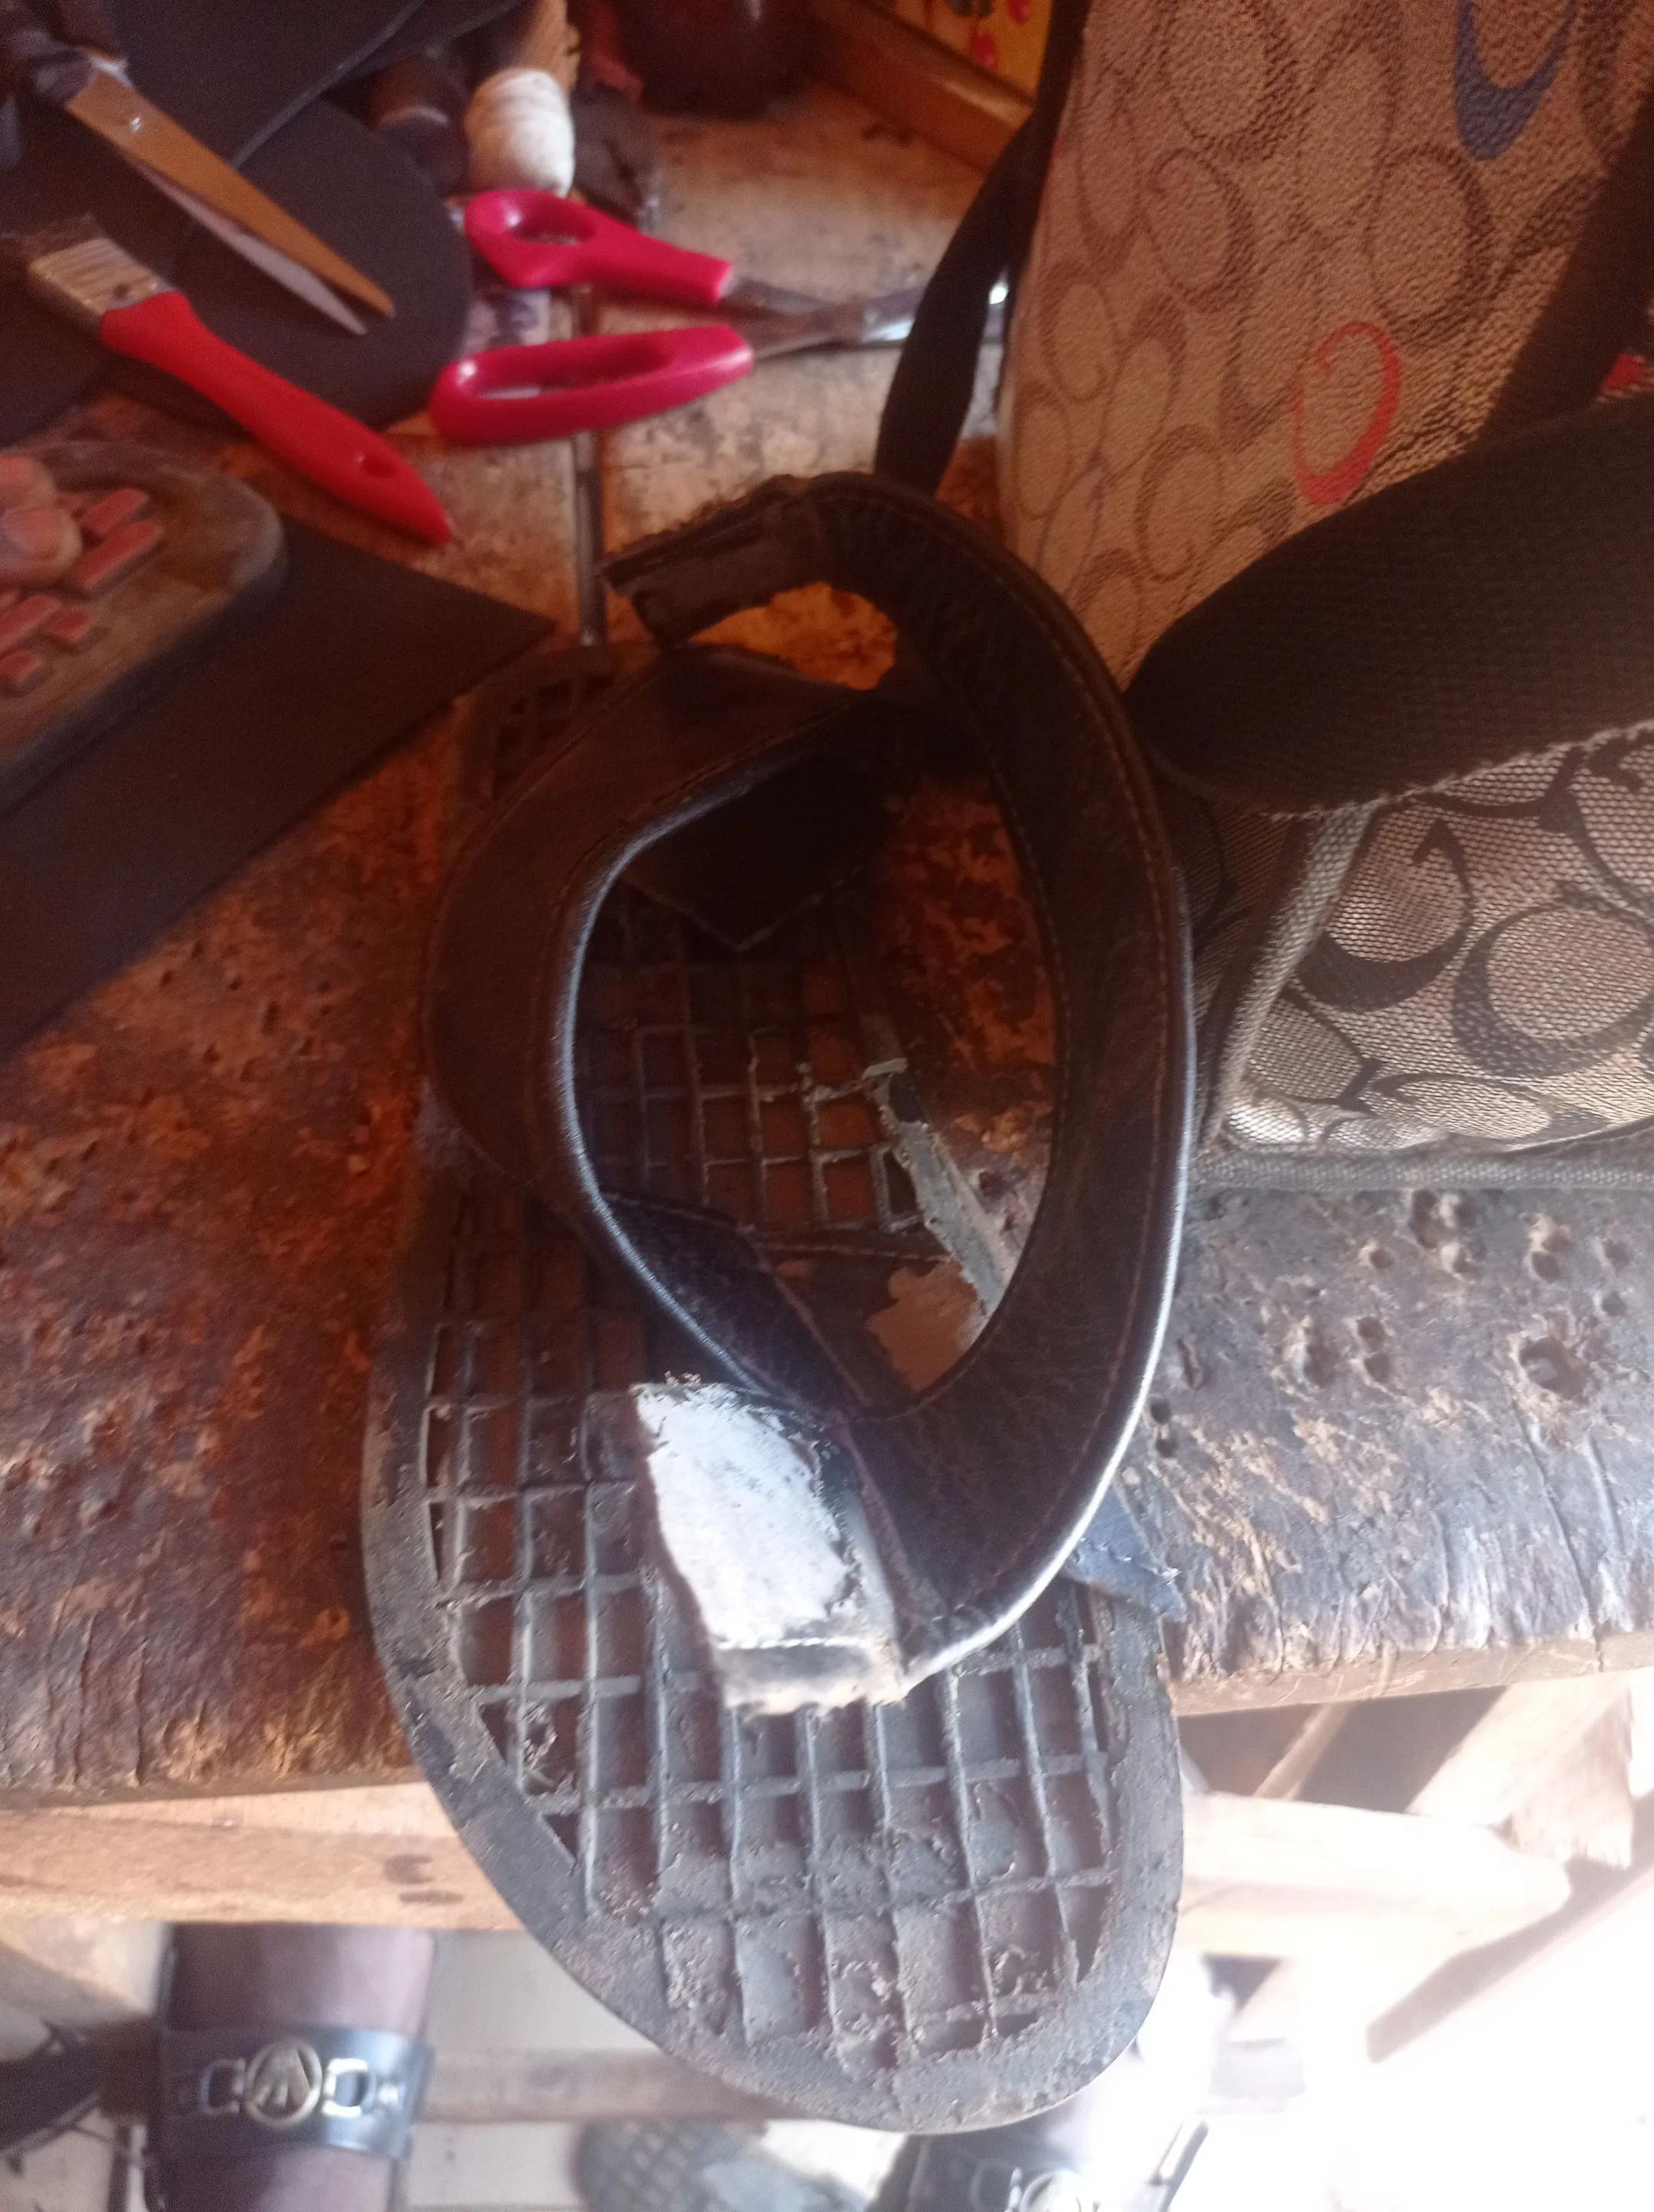
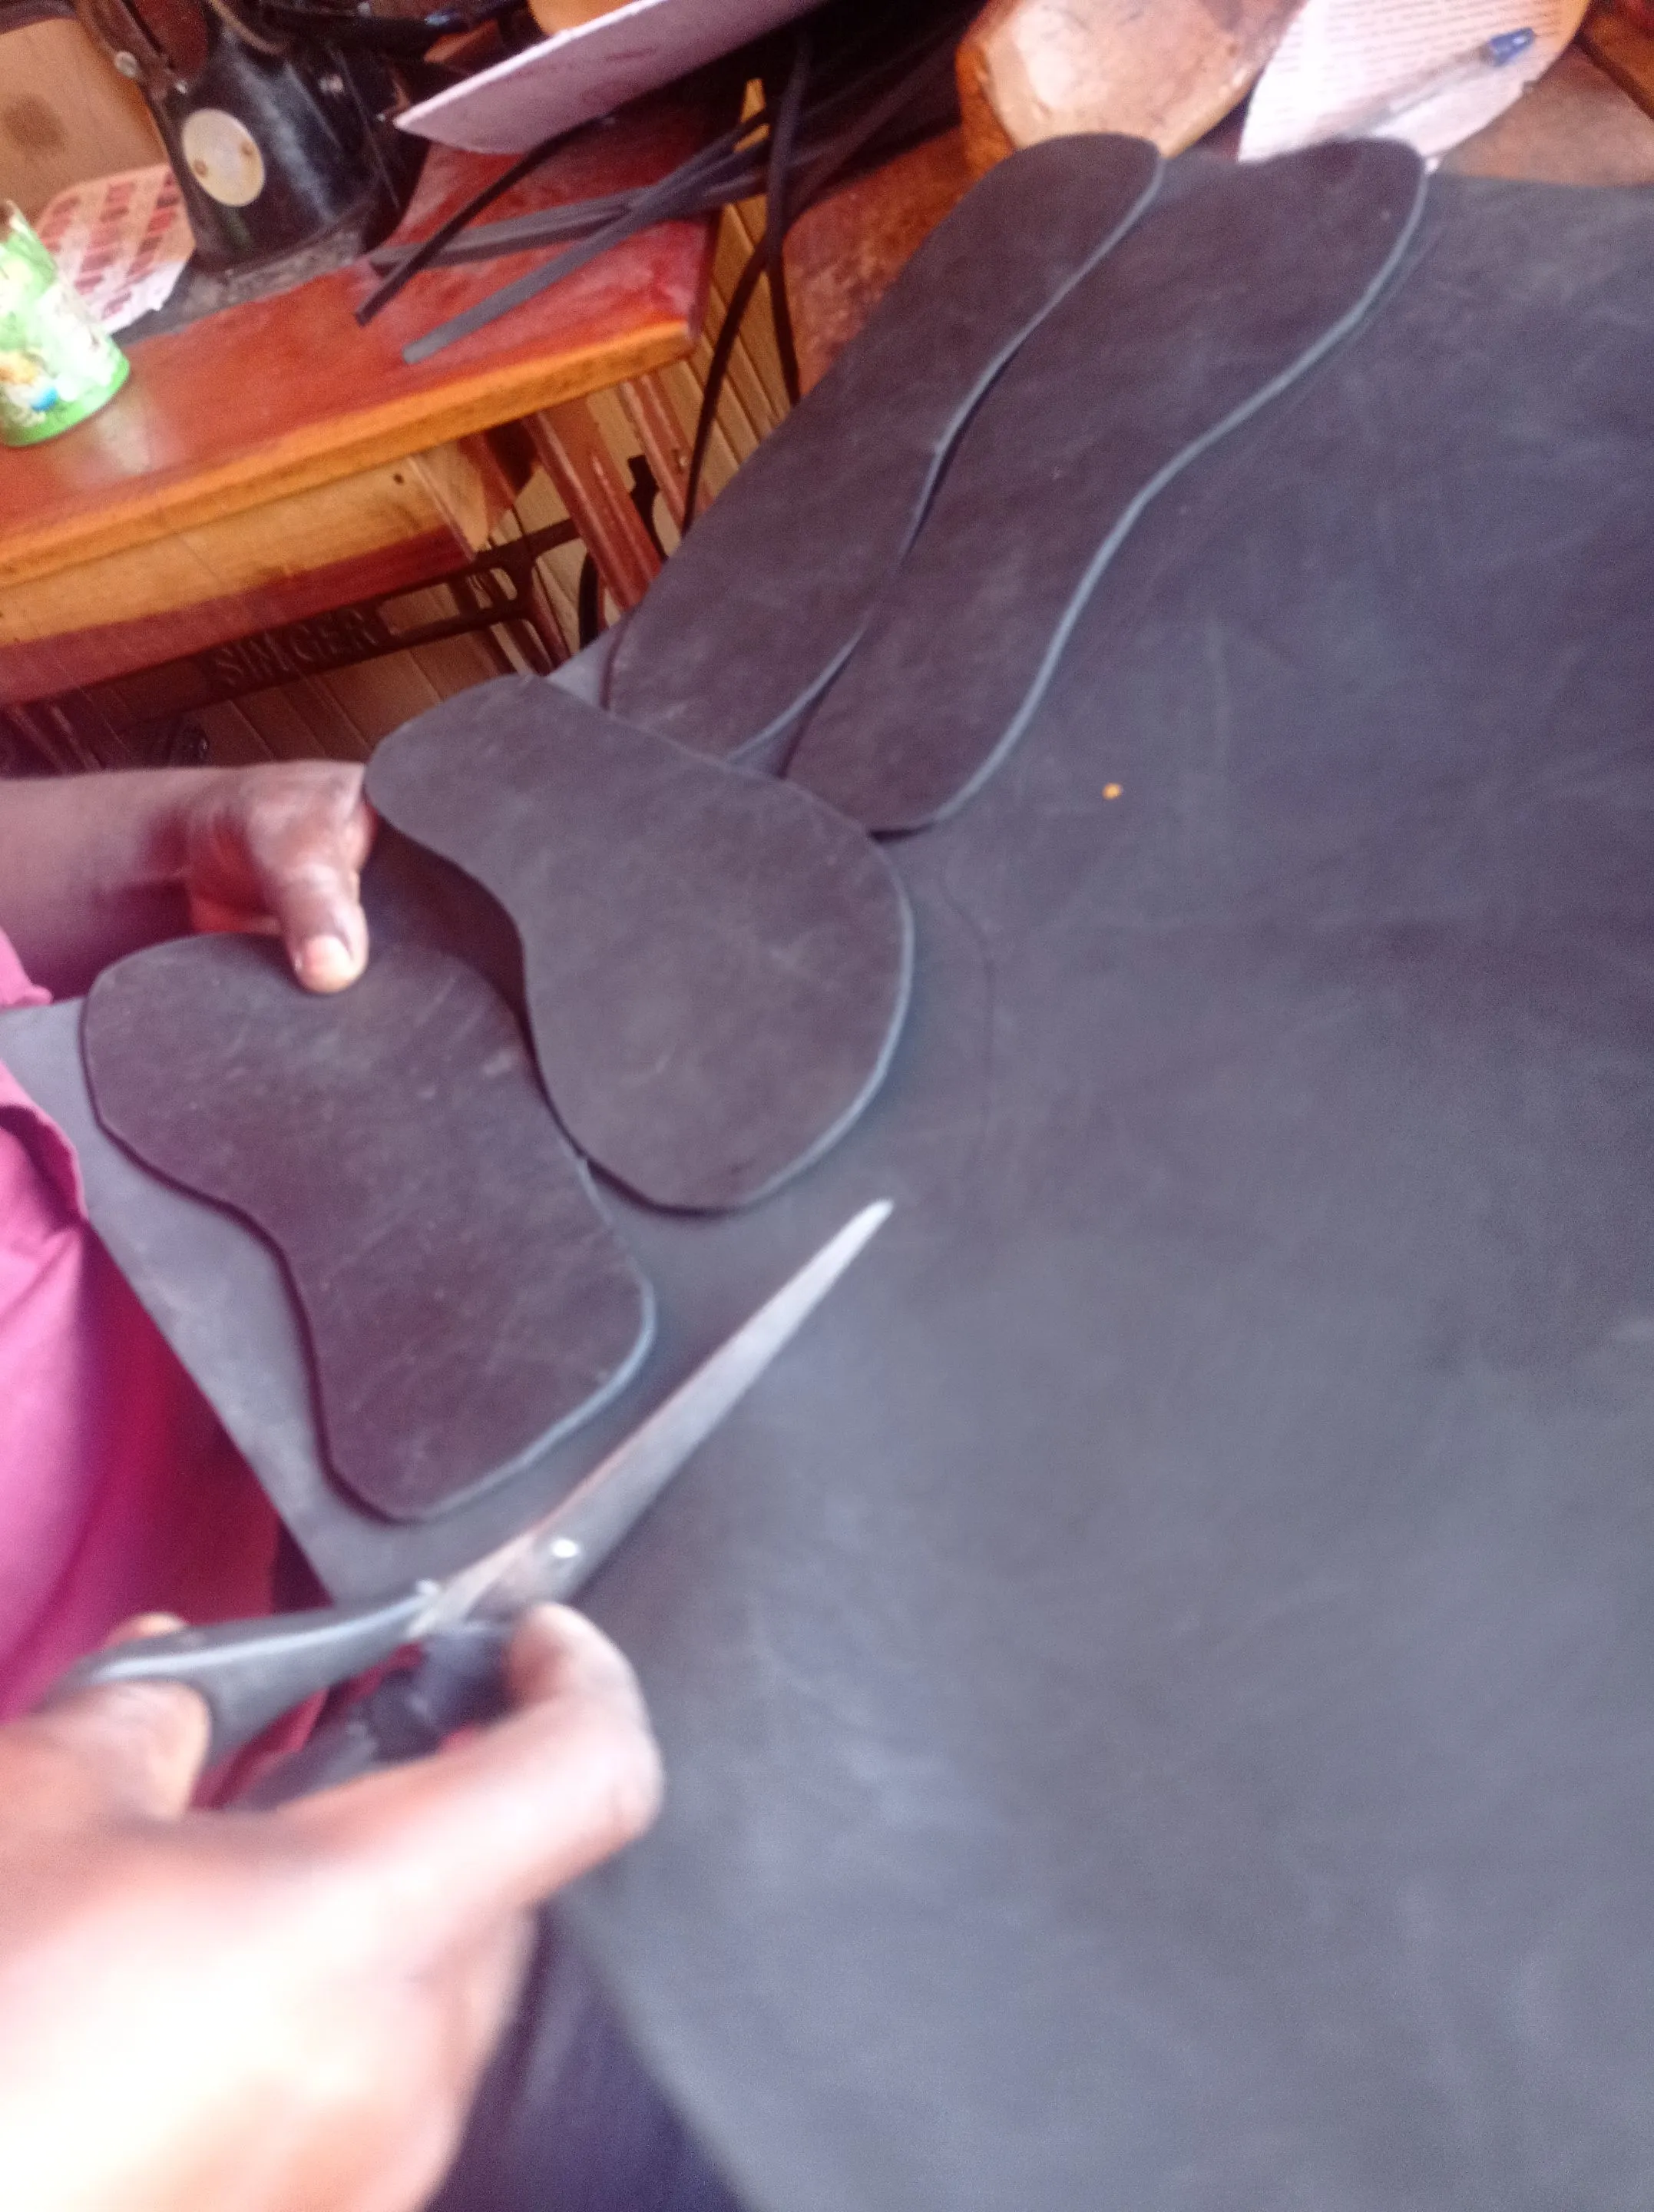
- Firstly I detached every parts of the Slippers, after which I placed the sole on a lite Marco material, so as to cut out the perfect shape of the new insole.
https://files.peakd.com/file/peakd-hive/vickoly/23swpf3KeX8yQysf3FhRaMUSESz4bogEmL1CJpx2t15pkZL4sfTkwRa6TSzpR1uWt6N1f.png
- After that, I place the lite Marco on a linning, and cut it out in three places, so the insole will be solid yet lite.
https://files.peakd.com/file/peakd-hive/vickoly/23swpf3KeX8yQysf3FhRaMUSESz4bogEmL1CJpx2t15pkZL4sfTkwRa6TSzpR1uWt6N1f.png
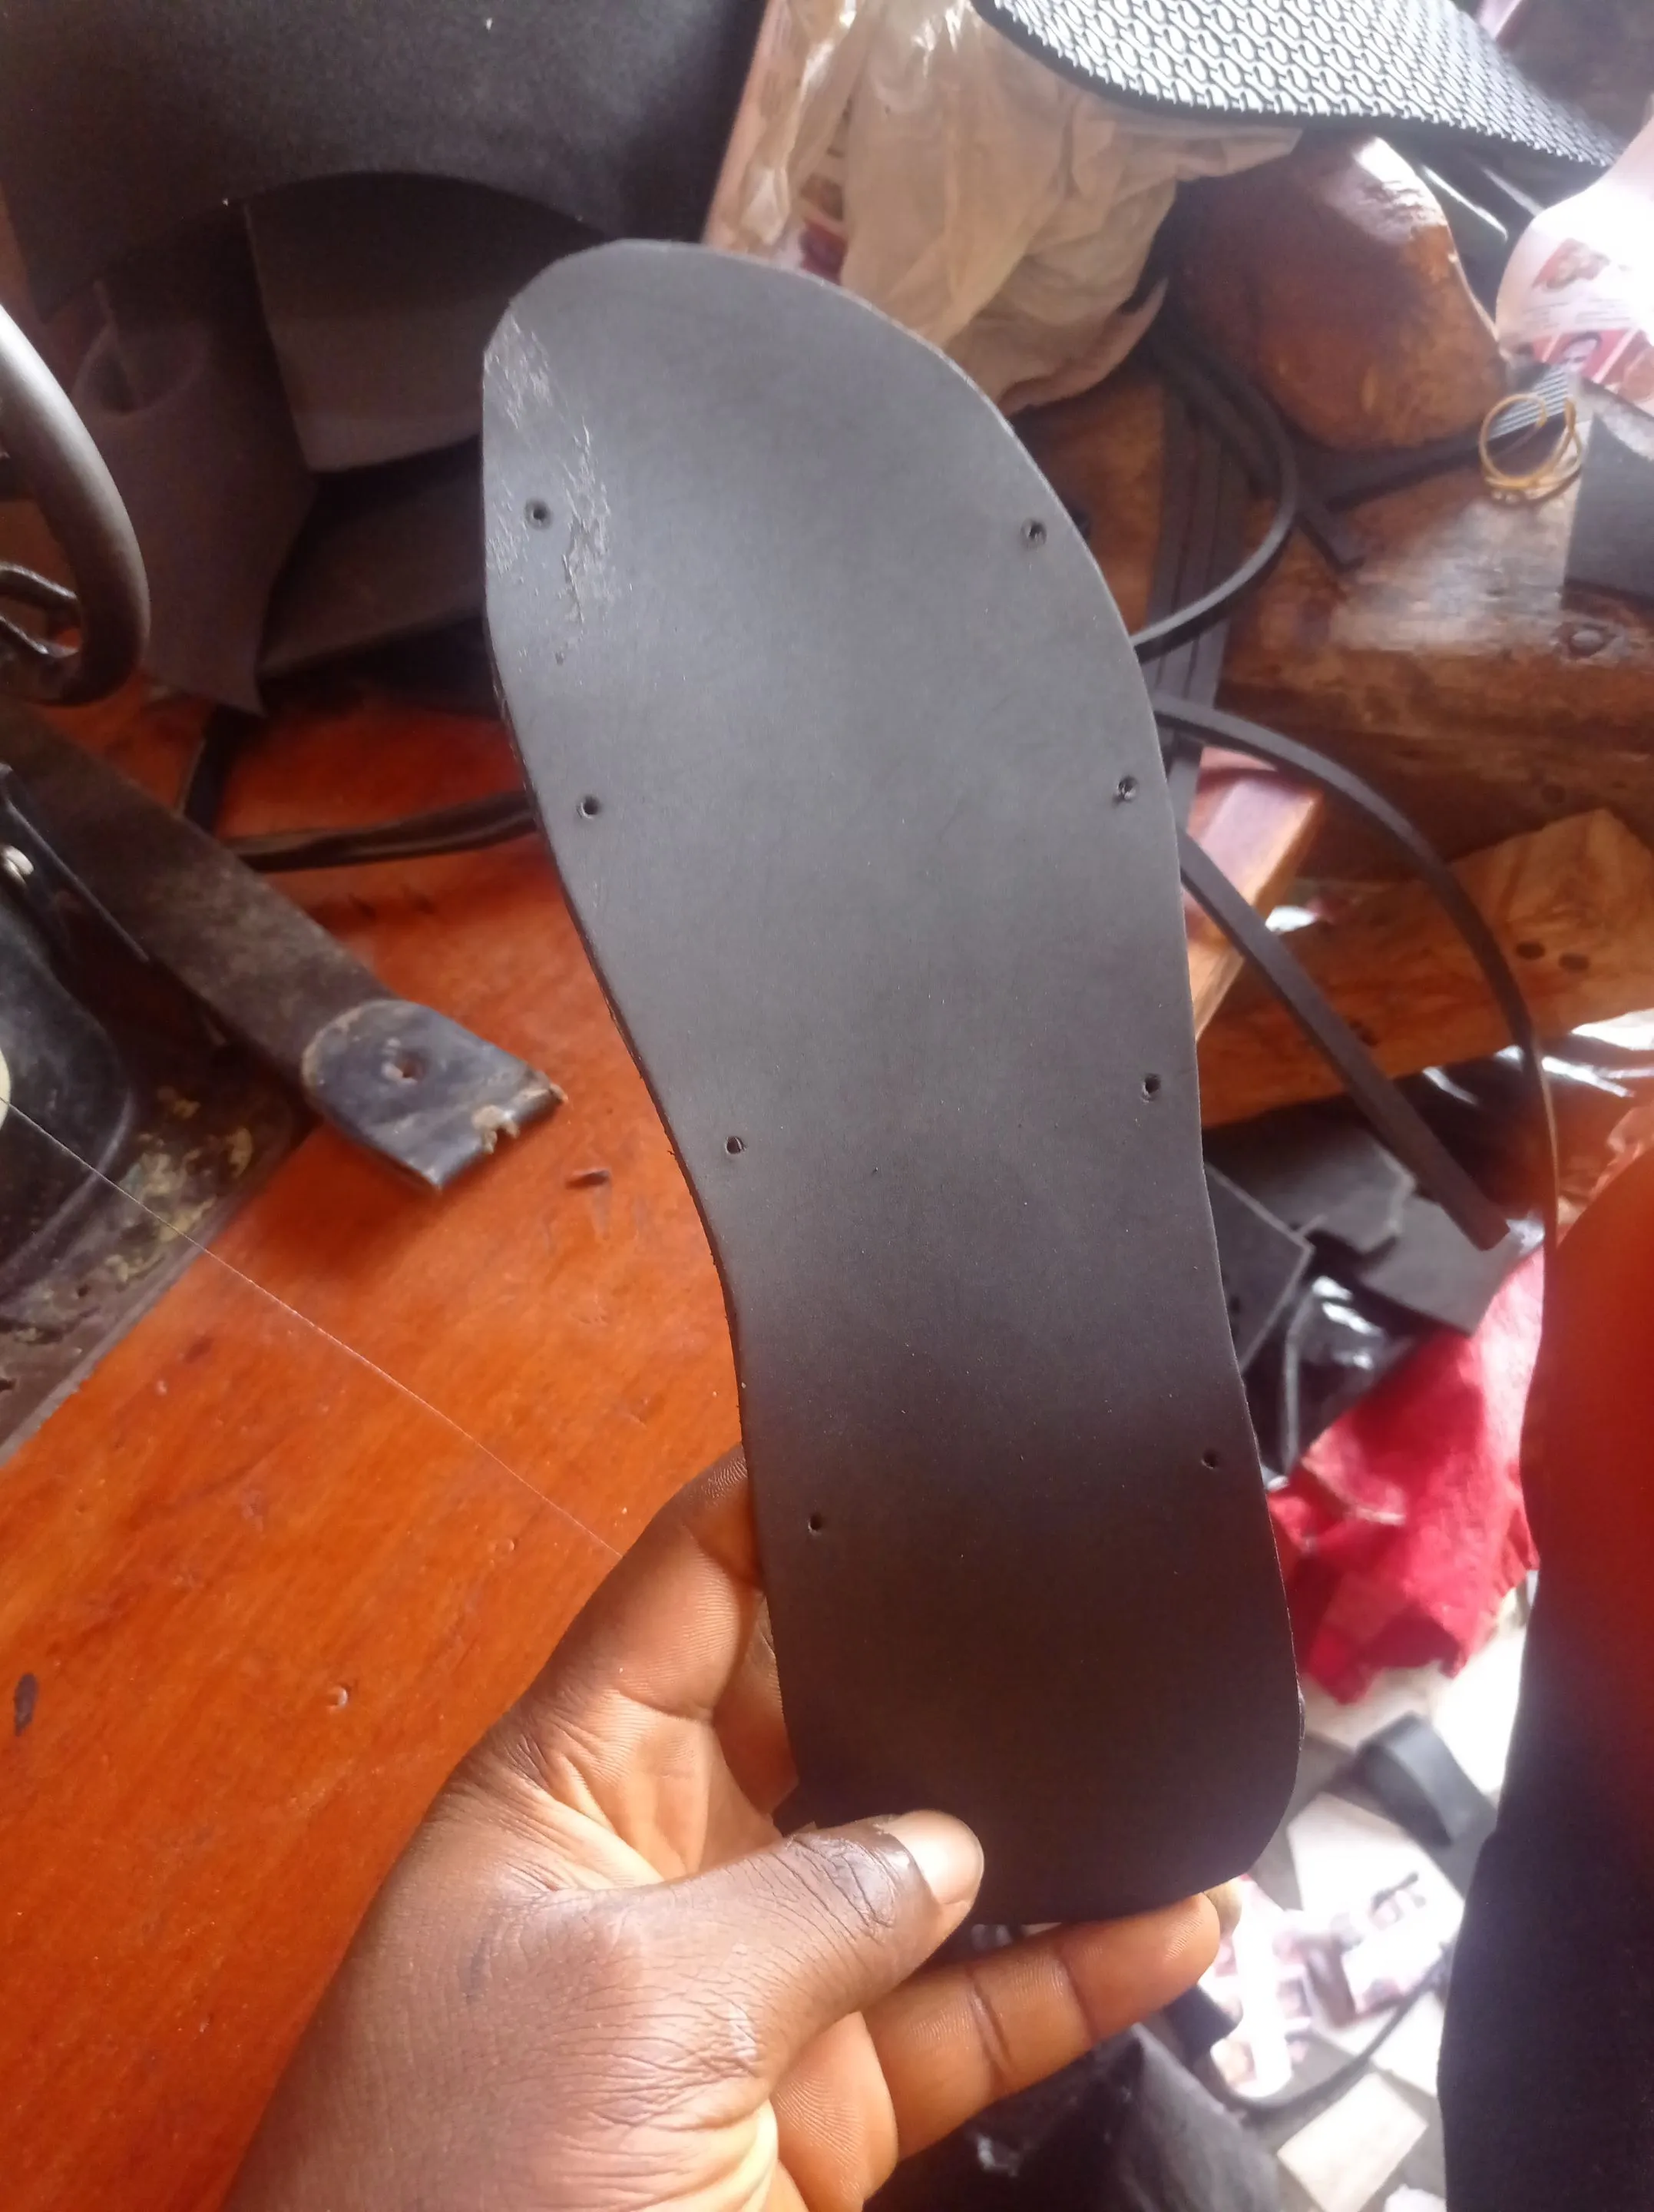
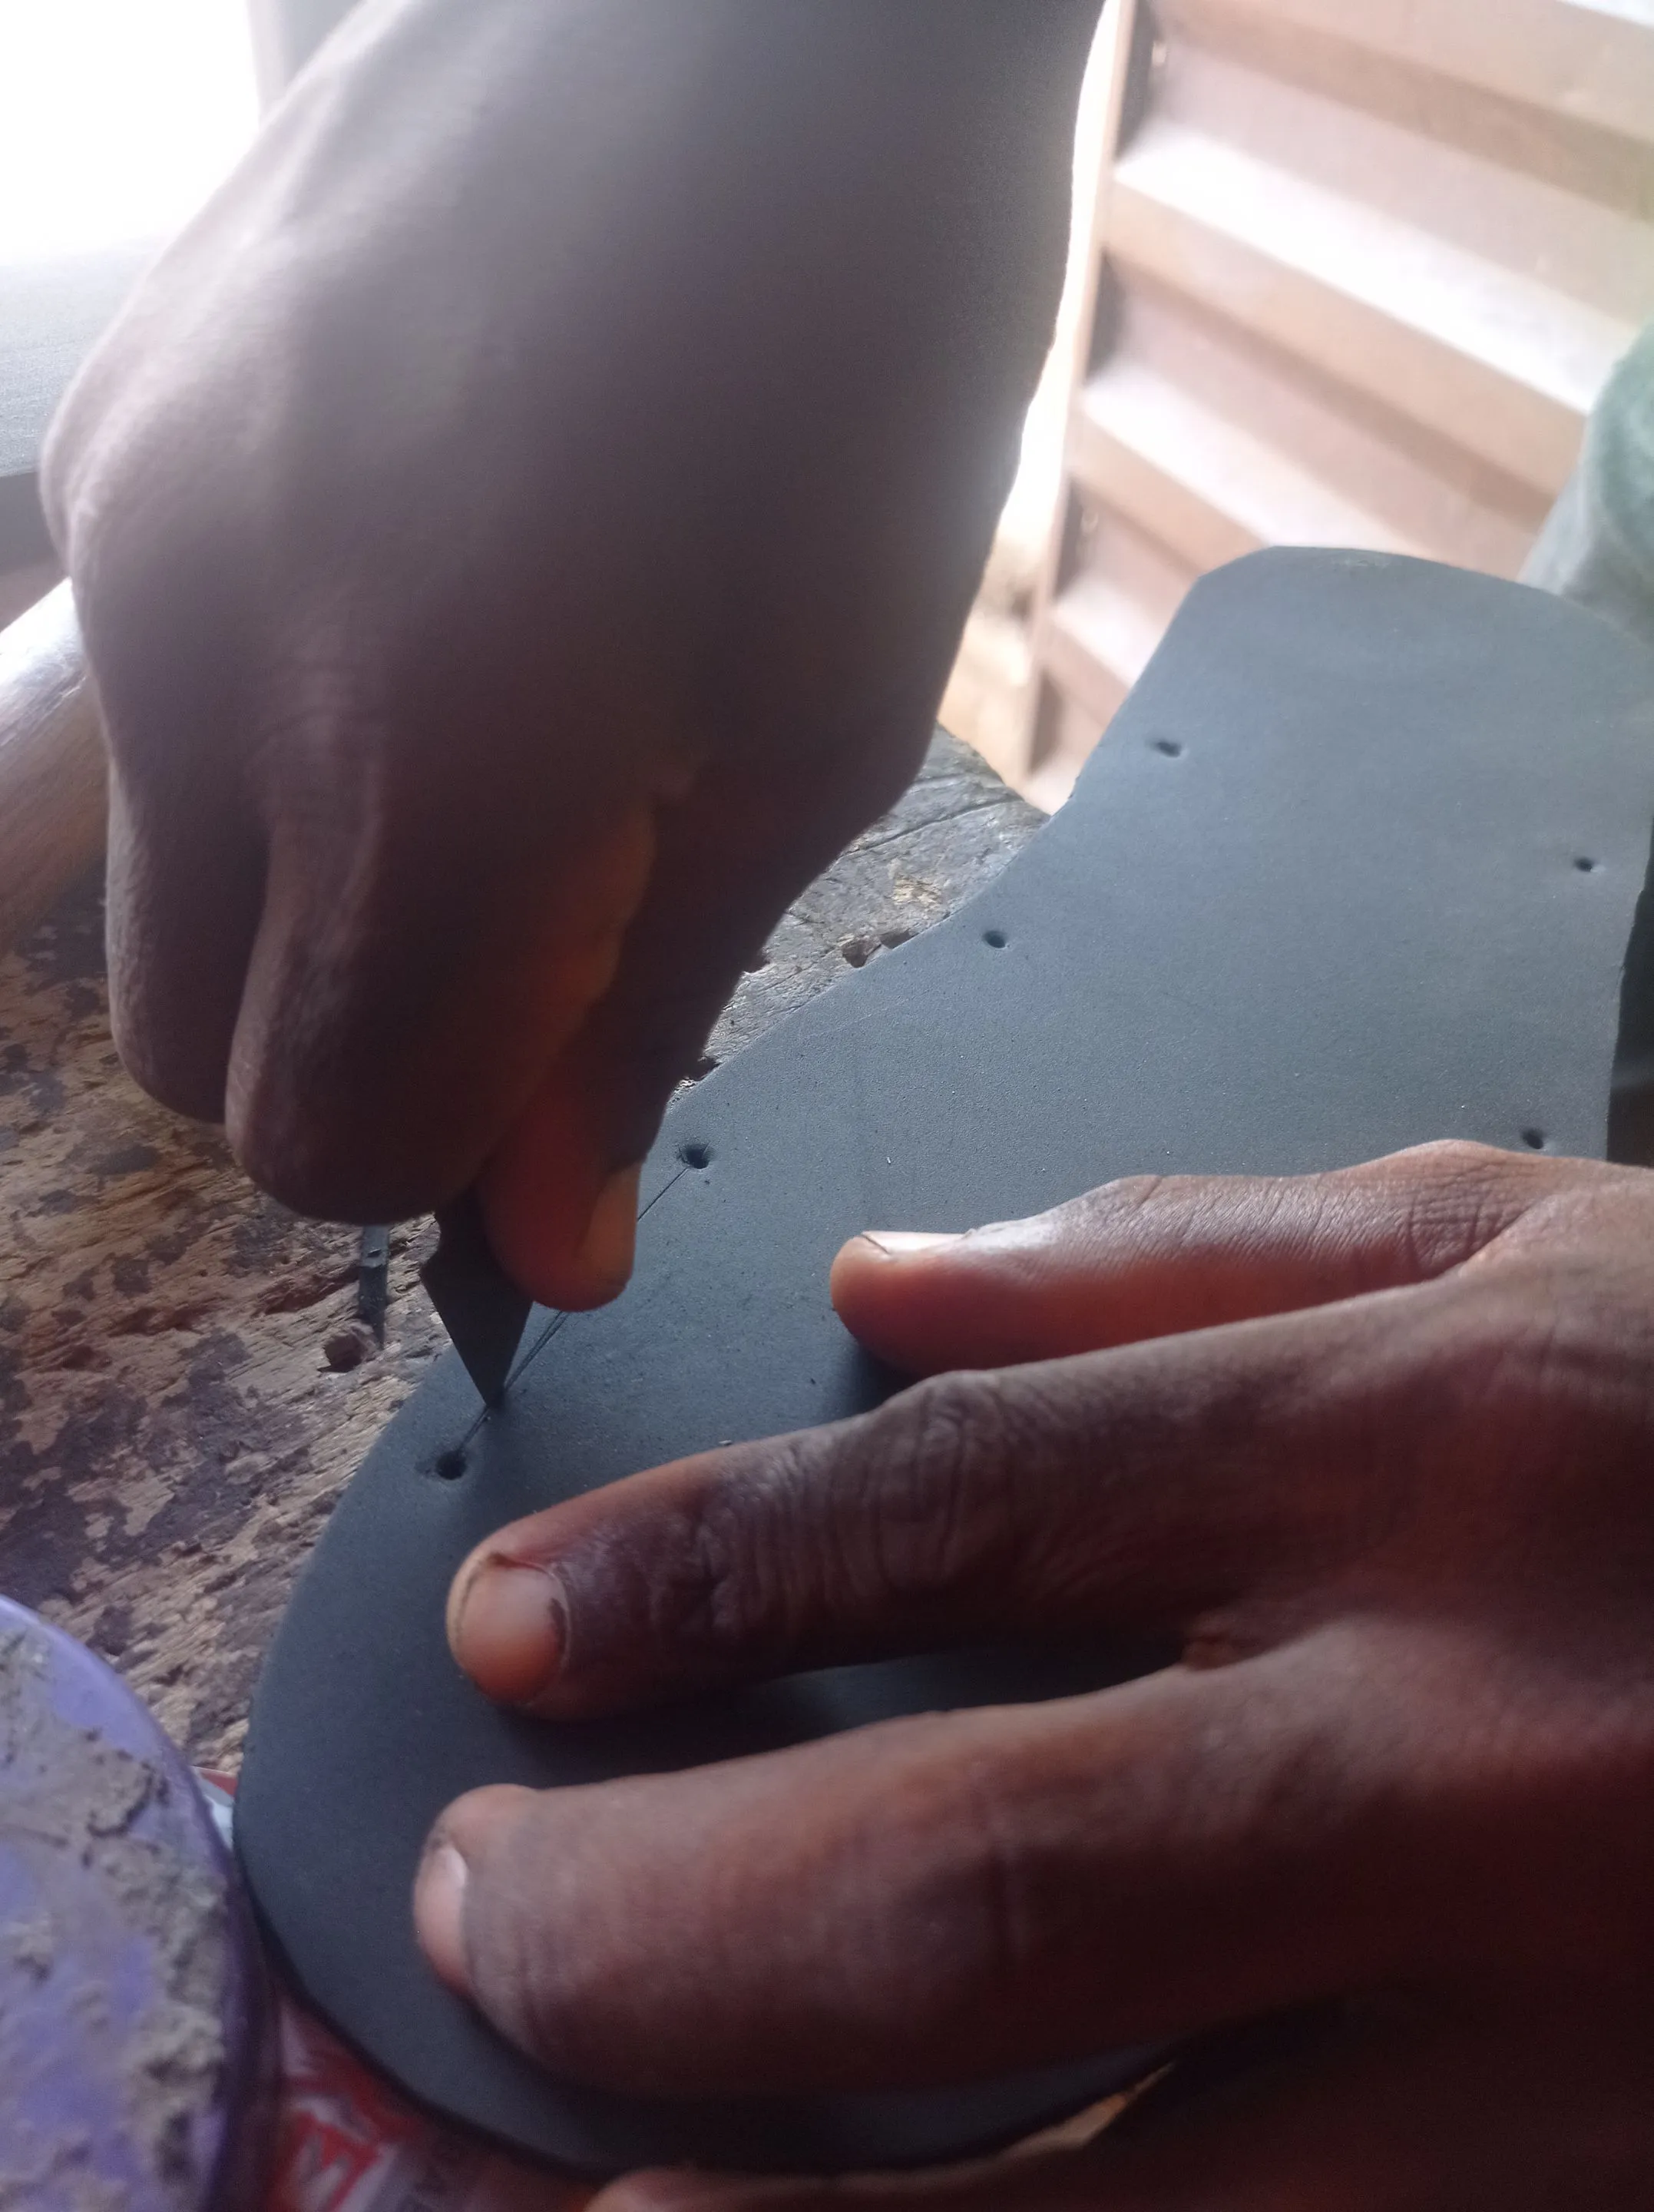
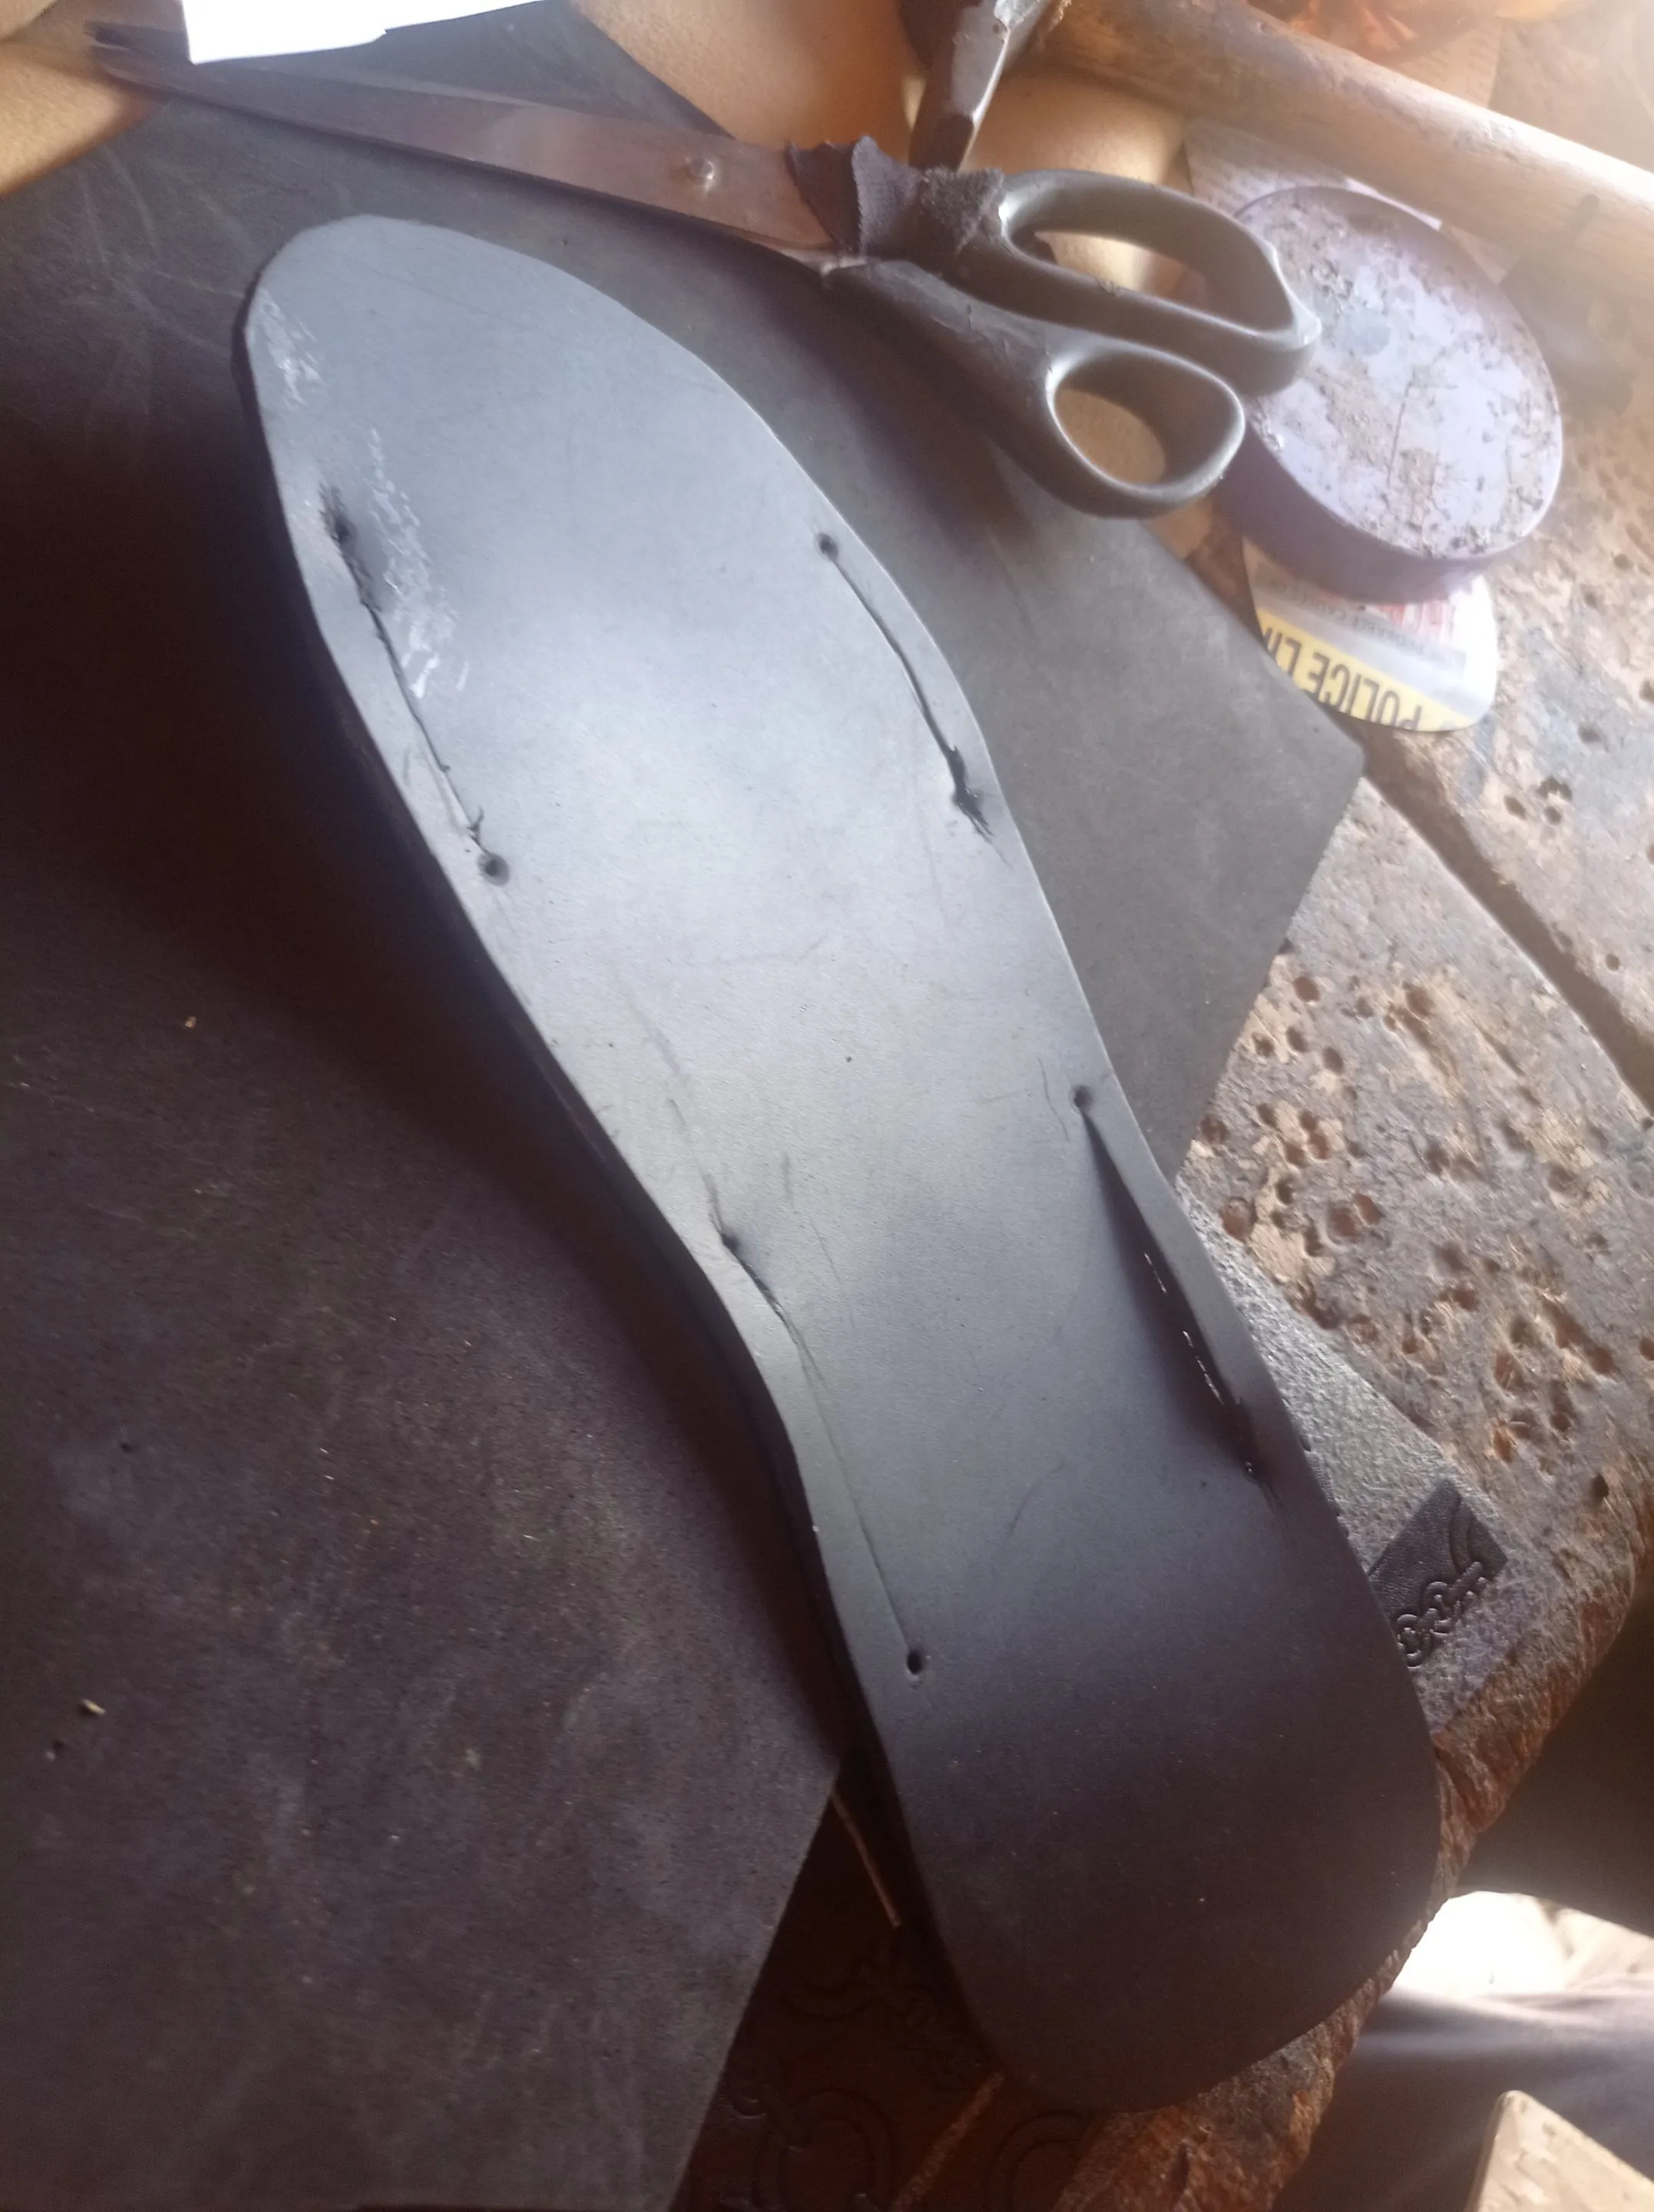
- Once they were achieved, I apply gum on each one and attach them together, then I punch a hole on the part the upper of the Slippers will enter through, and cut an opening with a cutter.
https://files.peakd.com/file/peakd-hive/vickoly/23swpf3KeX8yQysf3FhRaMUSESz4bogEmL1CJpx2t15pkZL4sfTkwRa6TSzpR1uWt6N1f.png
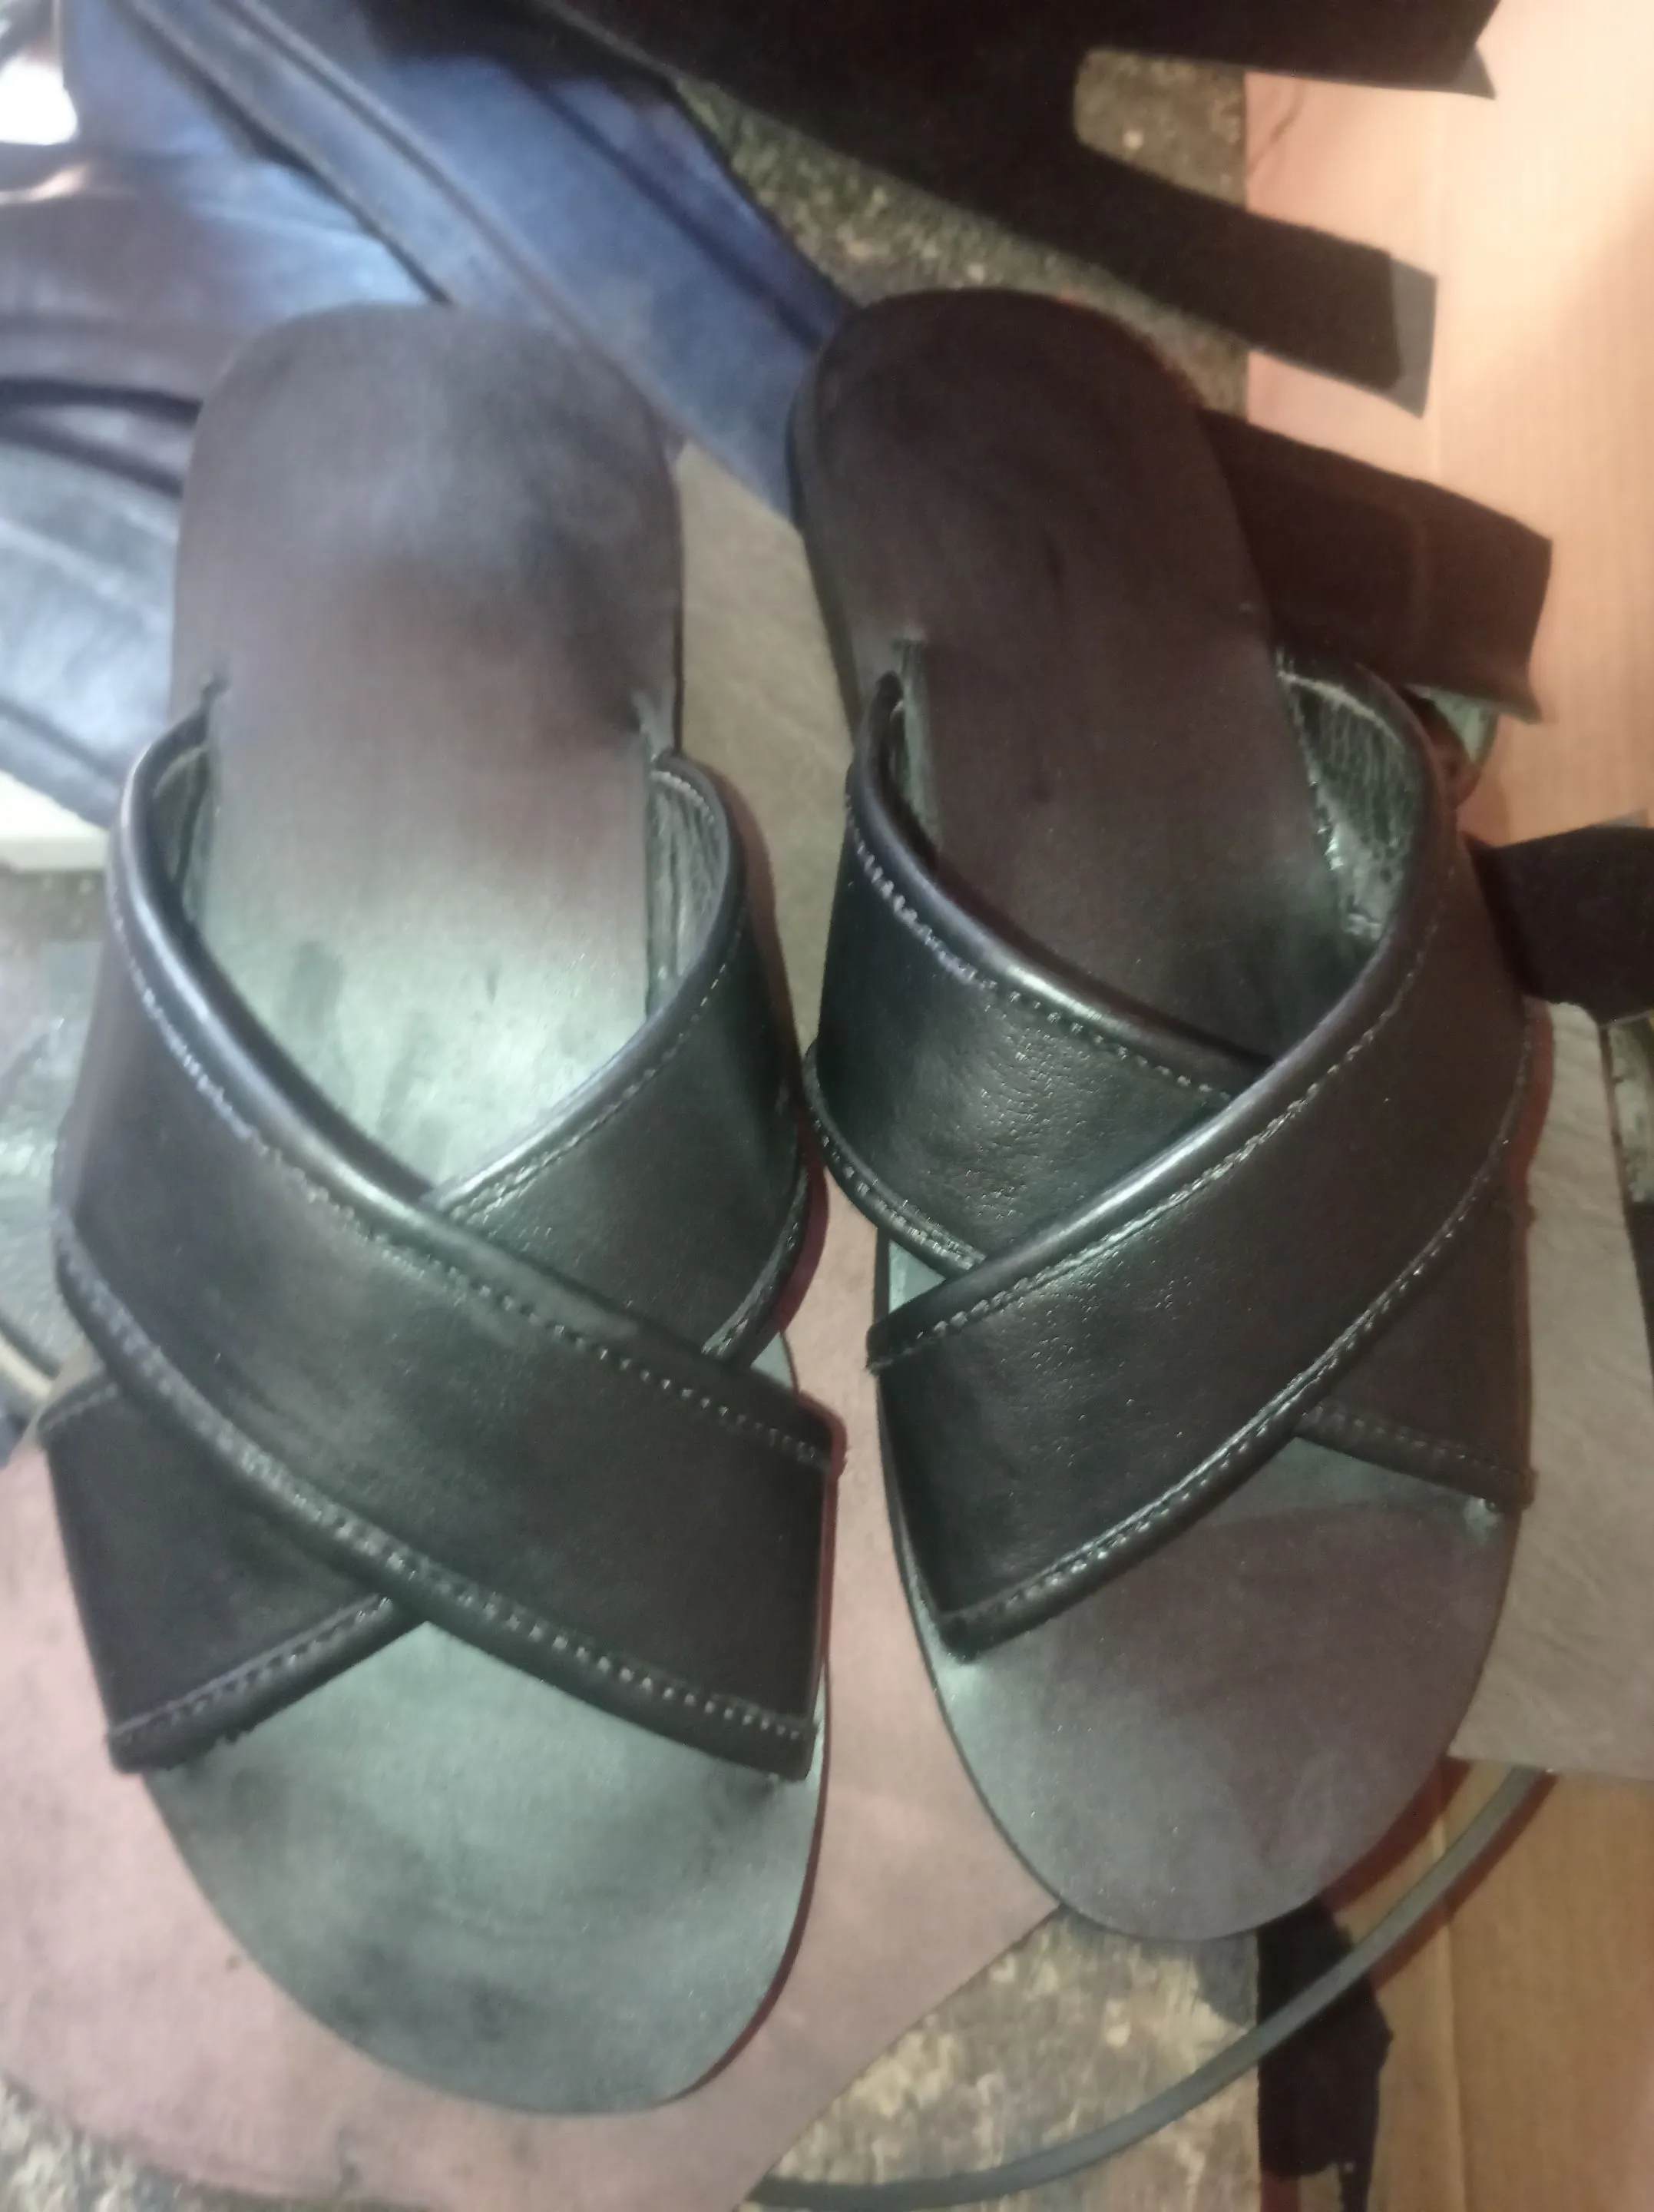
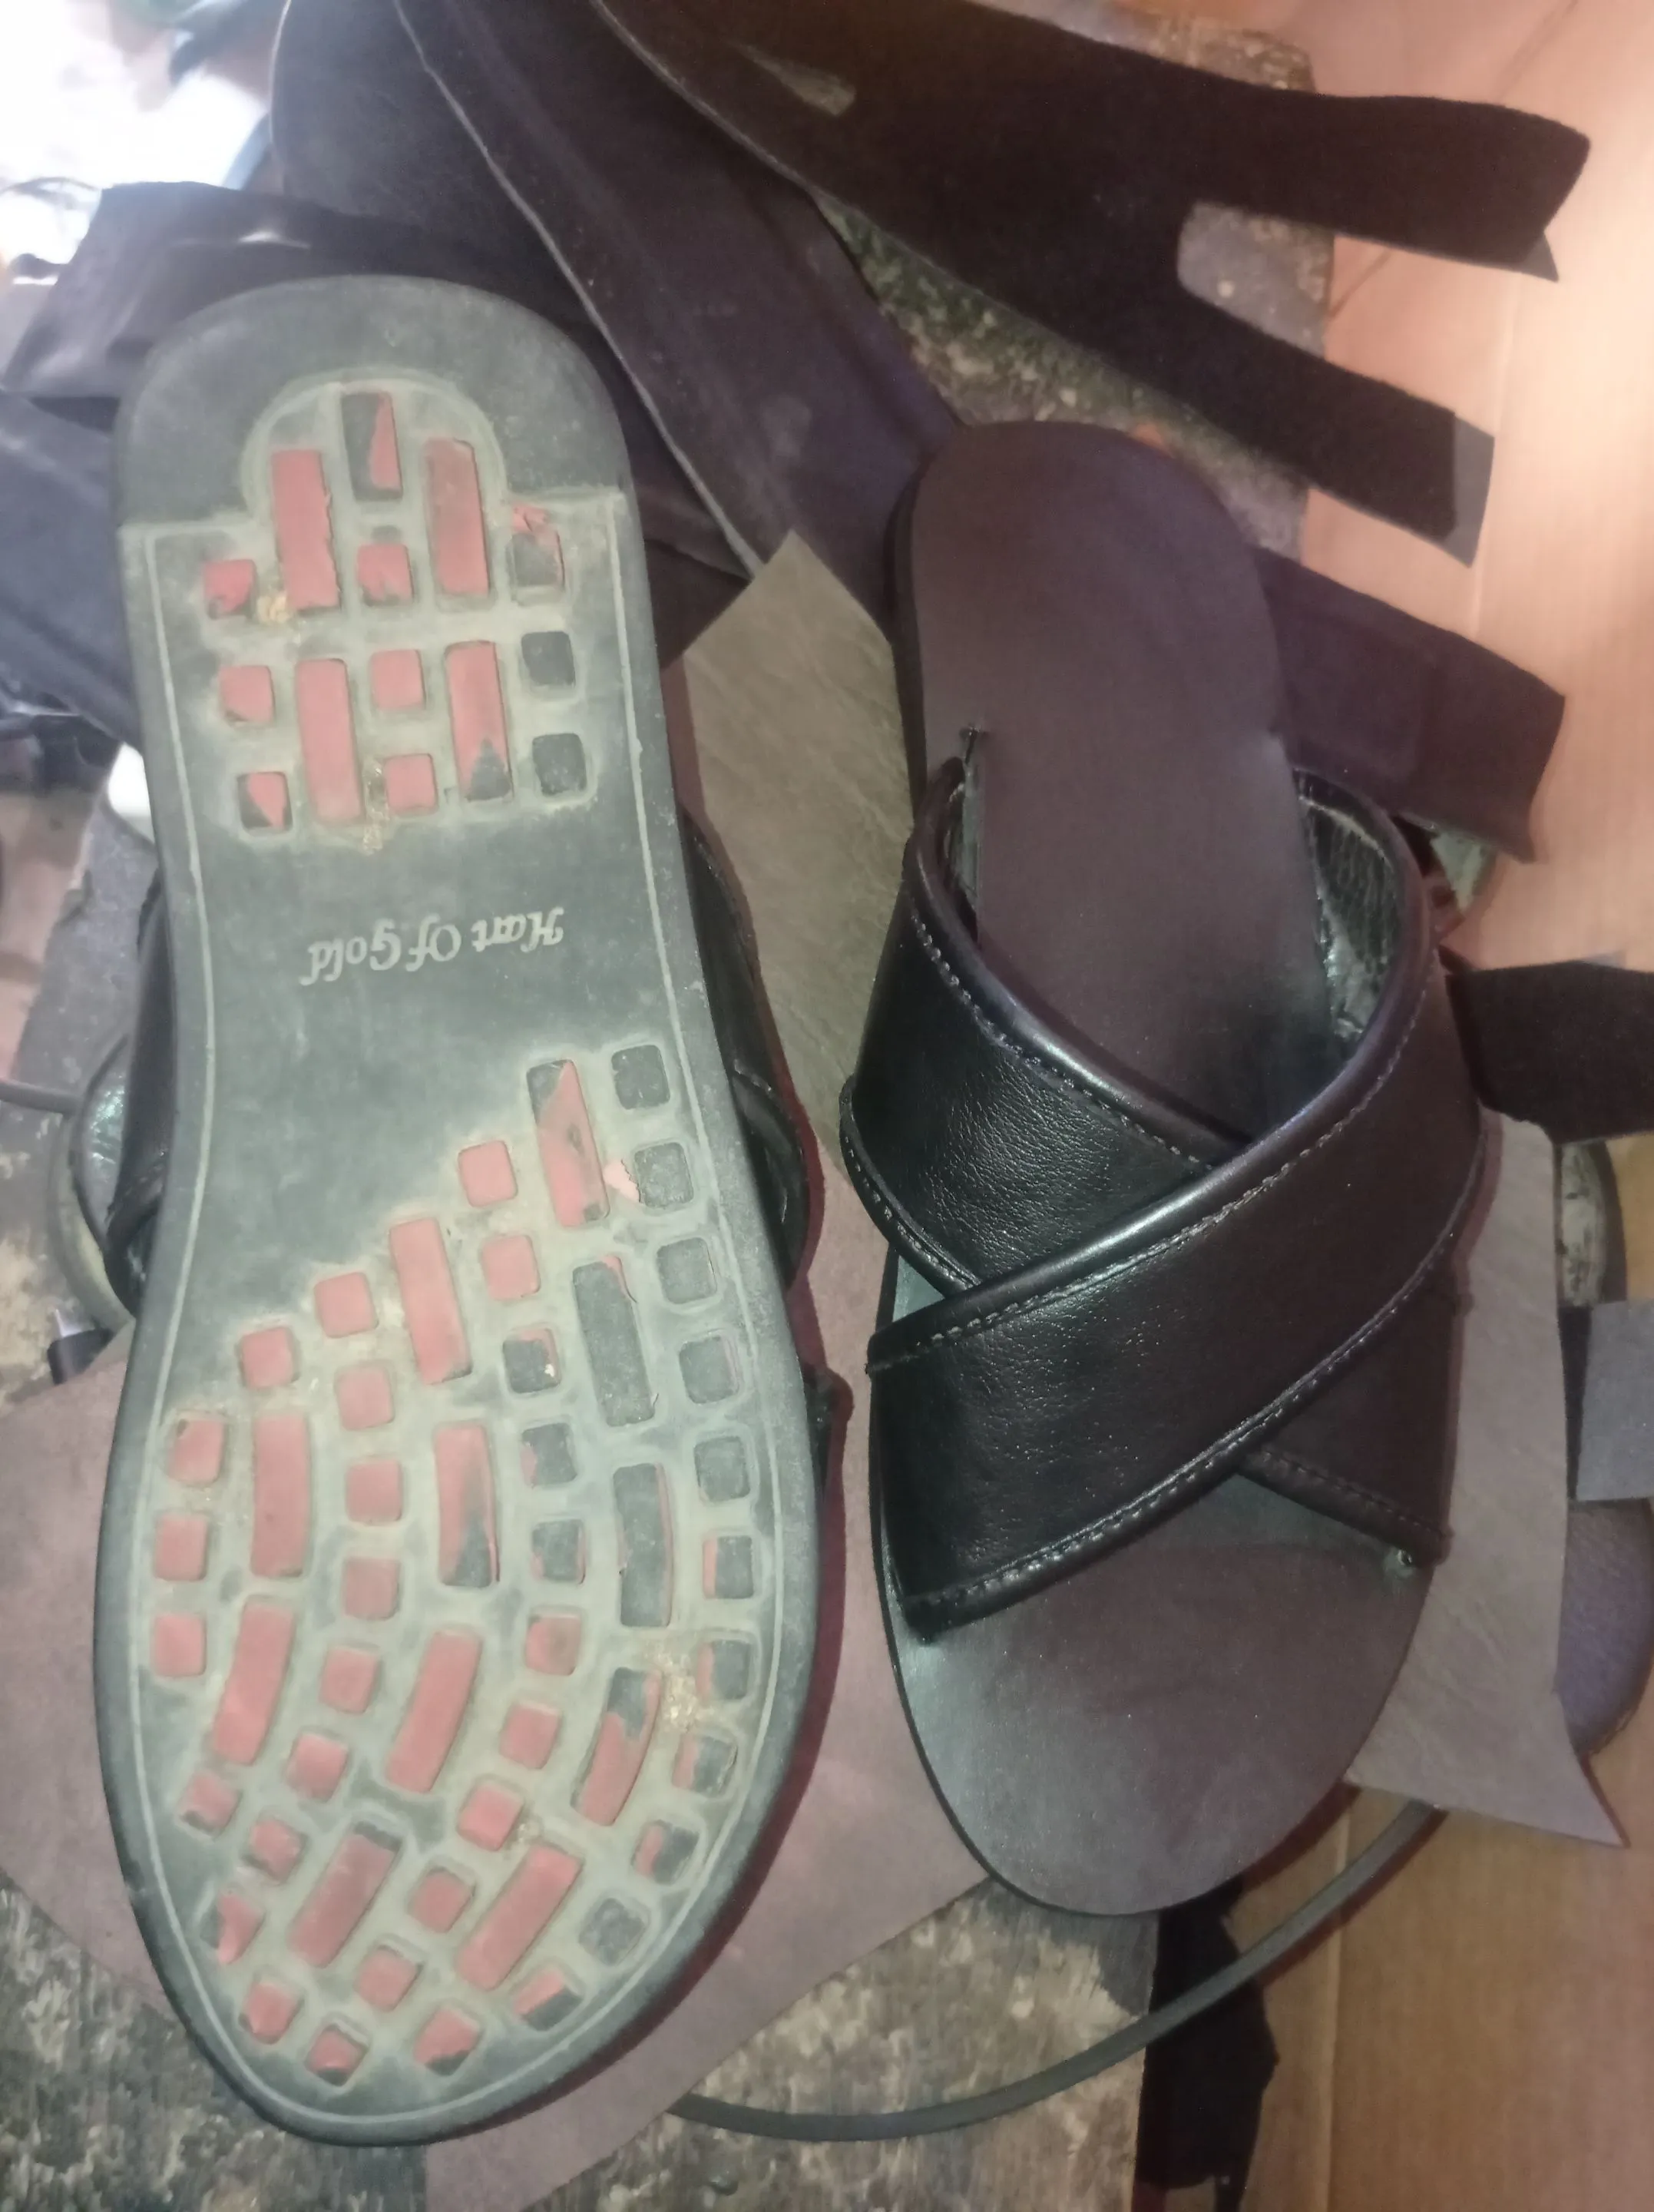
- Once the insole as been made perfect, I grinded the back with a grinder, and then rub gum on the insole and outsole and attached them together to make the Slippers looks brand new again.
https://files.peakd.com/file/peakd-hive/vickoly/23swpf3KeX8yQysf3FhRaMUSESz4bogEmL1CJpx2t15pkZL4sfTkwRa6TSzpR1uWt6N1f.png
By the time the client came back for his Slippers, he was excited about the new state of his Slippers.
Thanks for checking out my blog post, have a pleasant night rest.
Return from HOW I REPLACED A SPOILT INSOLE ON MY CLIENT SLIPPERS to vickoly's Web3 Blog

