Hello Hive
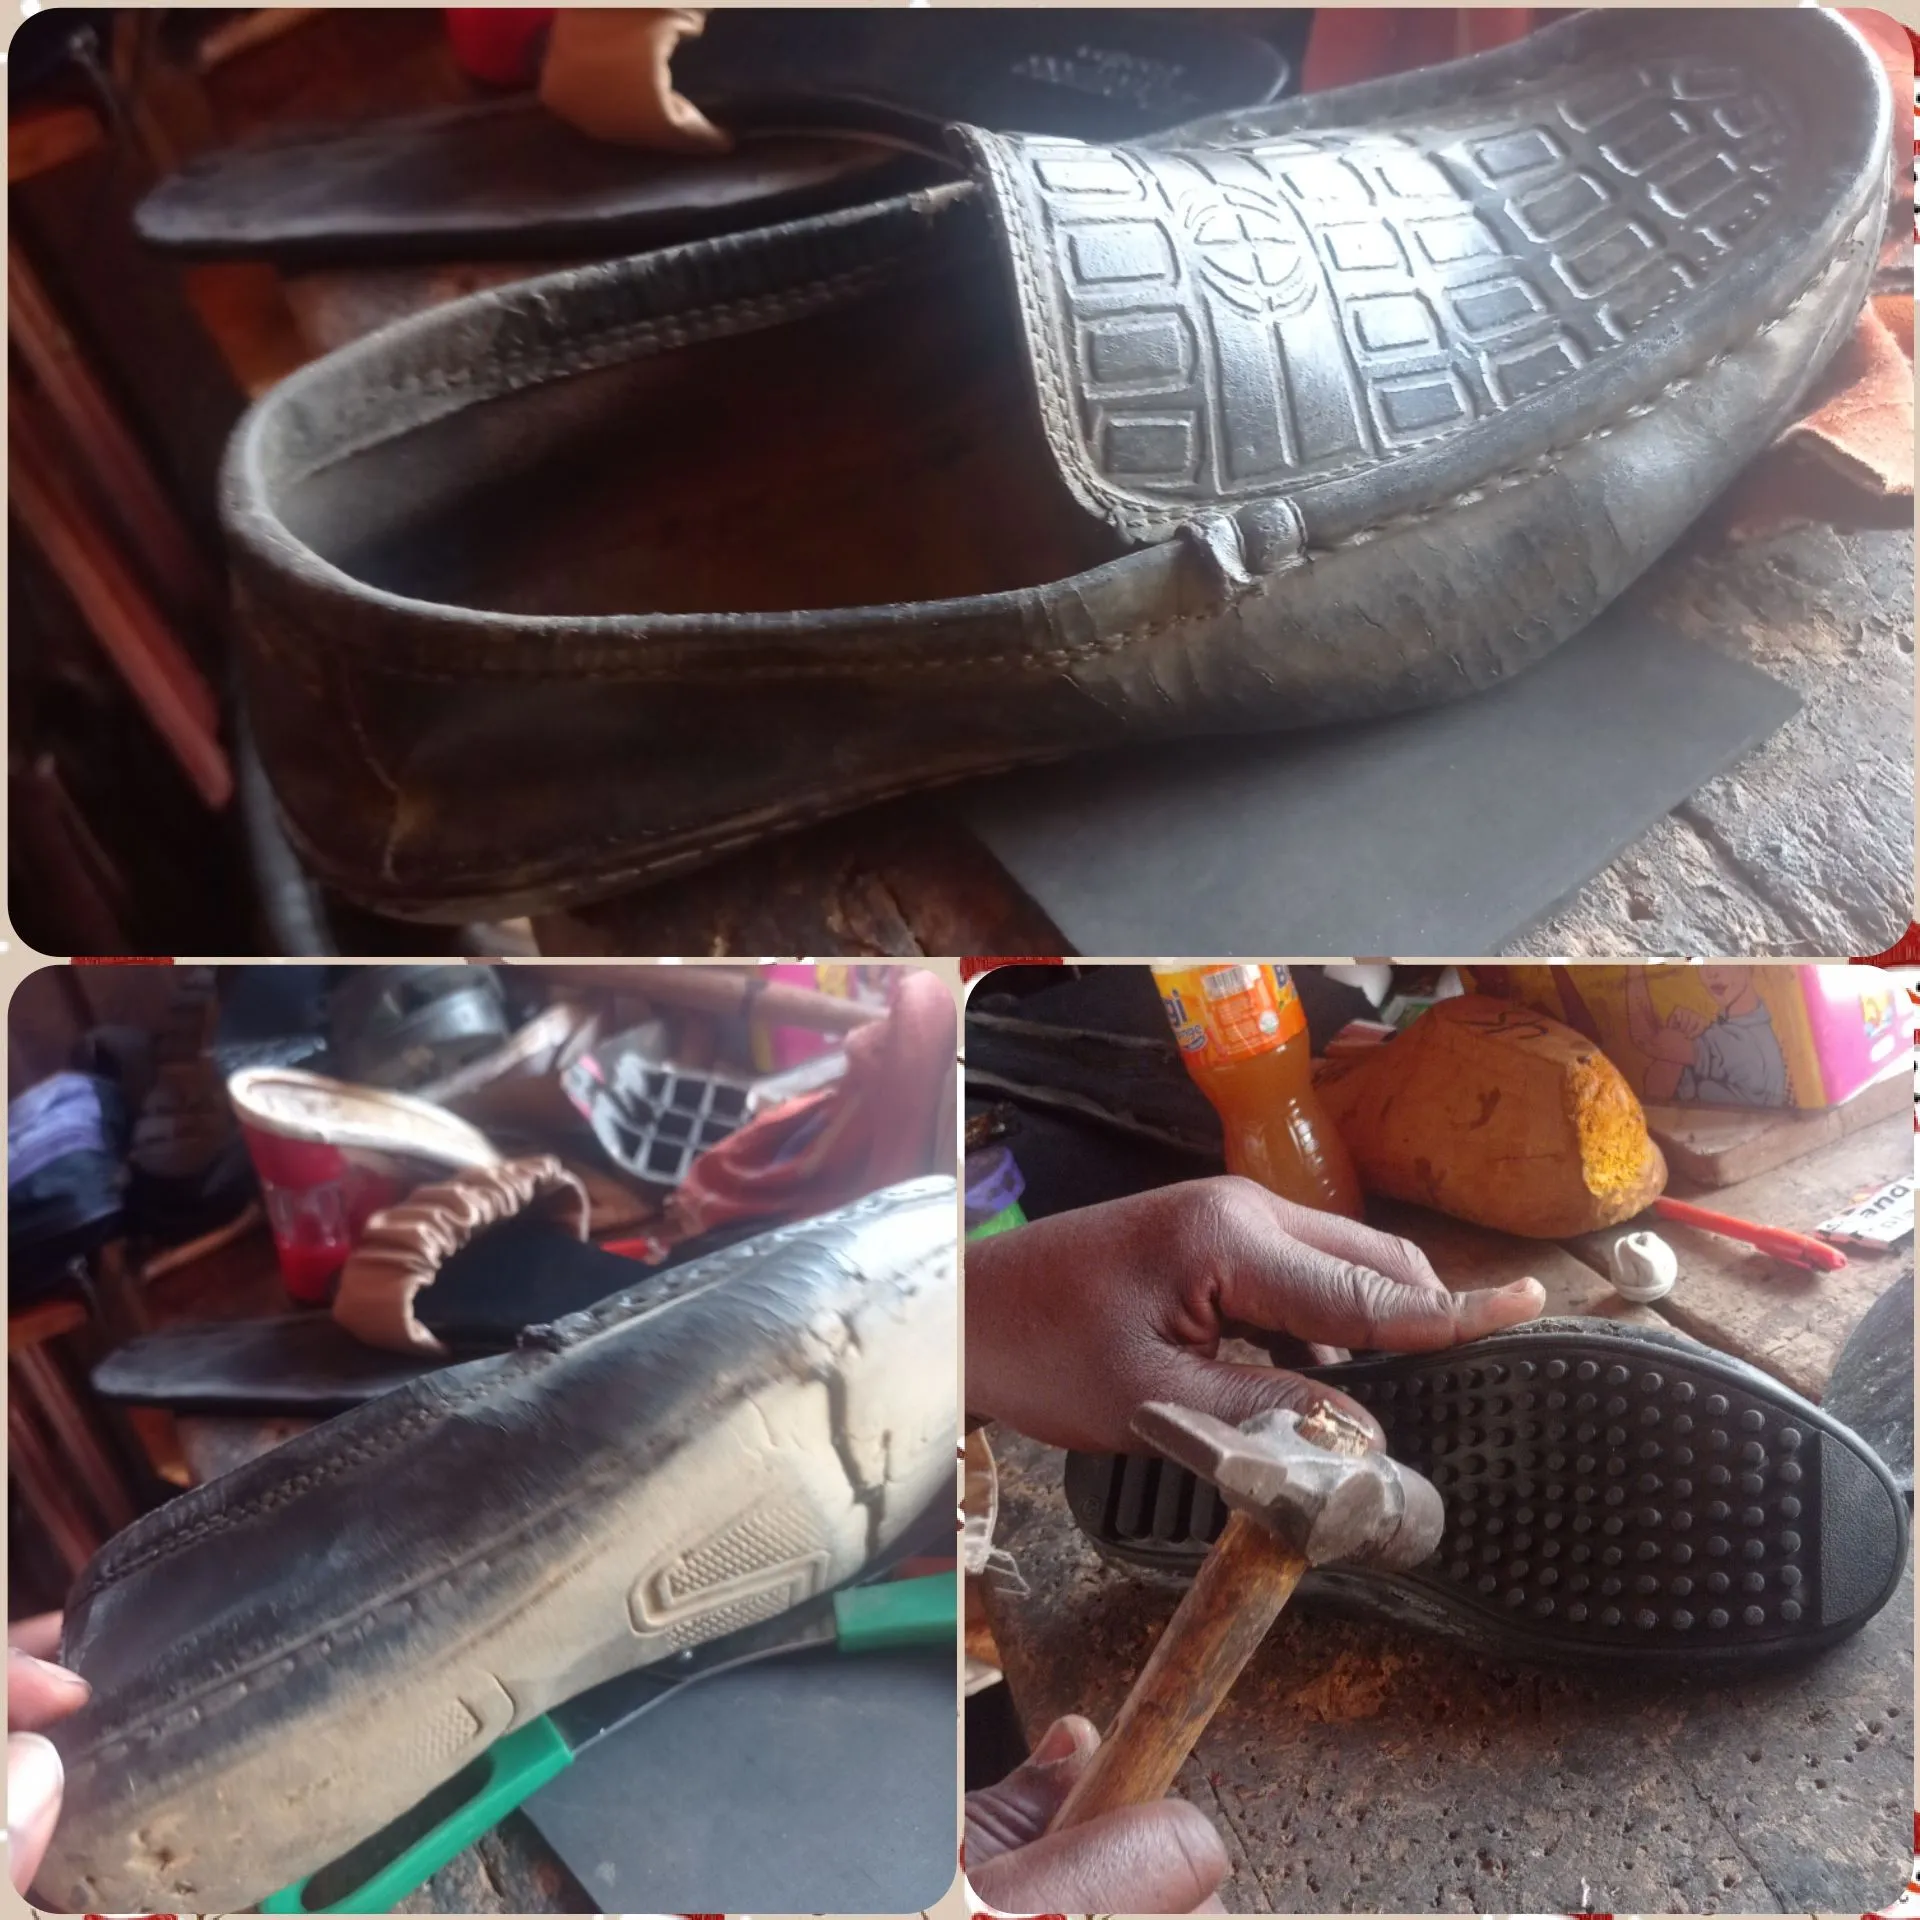
Today I'll love to take us through the process of how I a refunished a spoilt shoe a client brought to my store, he complains about how the sole as worn out, and thereby given room for tiny stones and sand to gain entrance into the shoe while he walks about, I suggested building another shoe, but he pointed out that the shoe upper(leather) is still in good condition, so below are the refinishing process in details.
MATERIALS
- Crepe Sole
- Thread
- Needle
- Gum
- Hammer 🔨
- Blade
PROCESS
- I confirm the size of the shoe, and then purchase and exact sole size of the shoe(because the client want me to use a remade long lasting sole), so I used a crepe rubber sole.
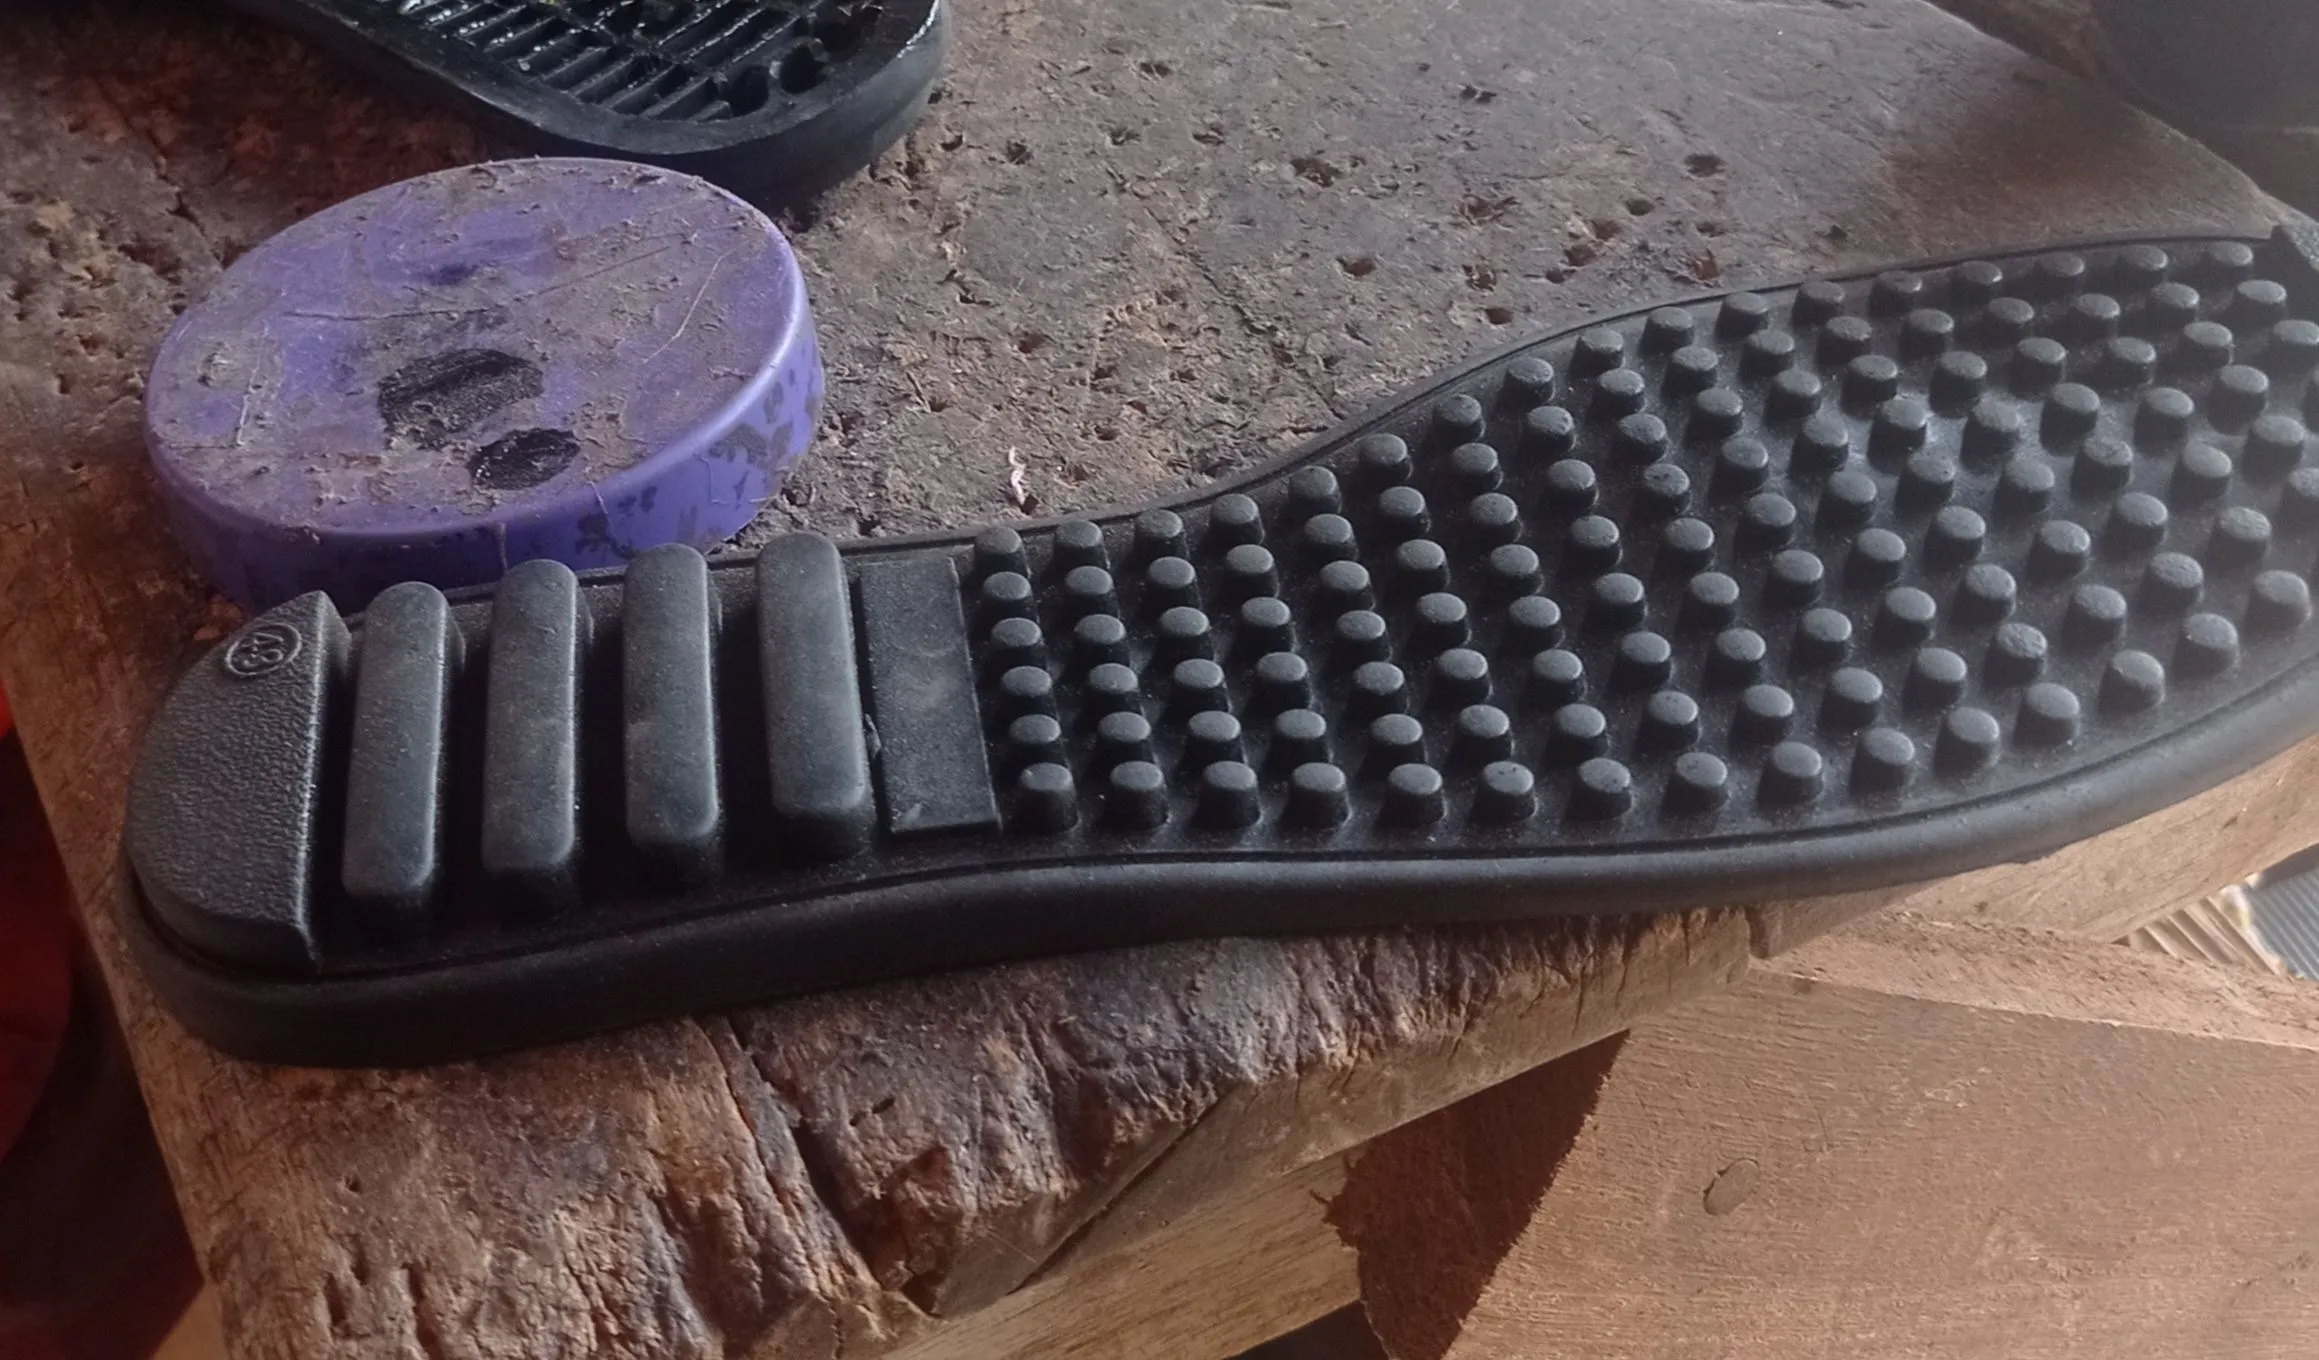
- Once the sole is in place, I cut out the spoilt old sole from the shoe, then I clean the inner part of the shoe, and grind the edges with grinder
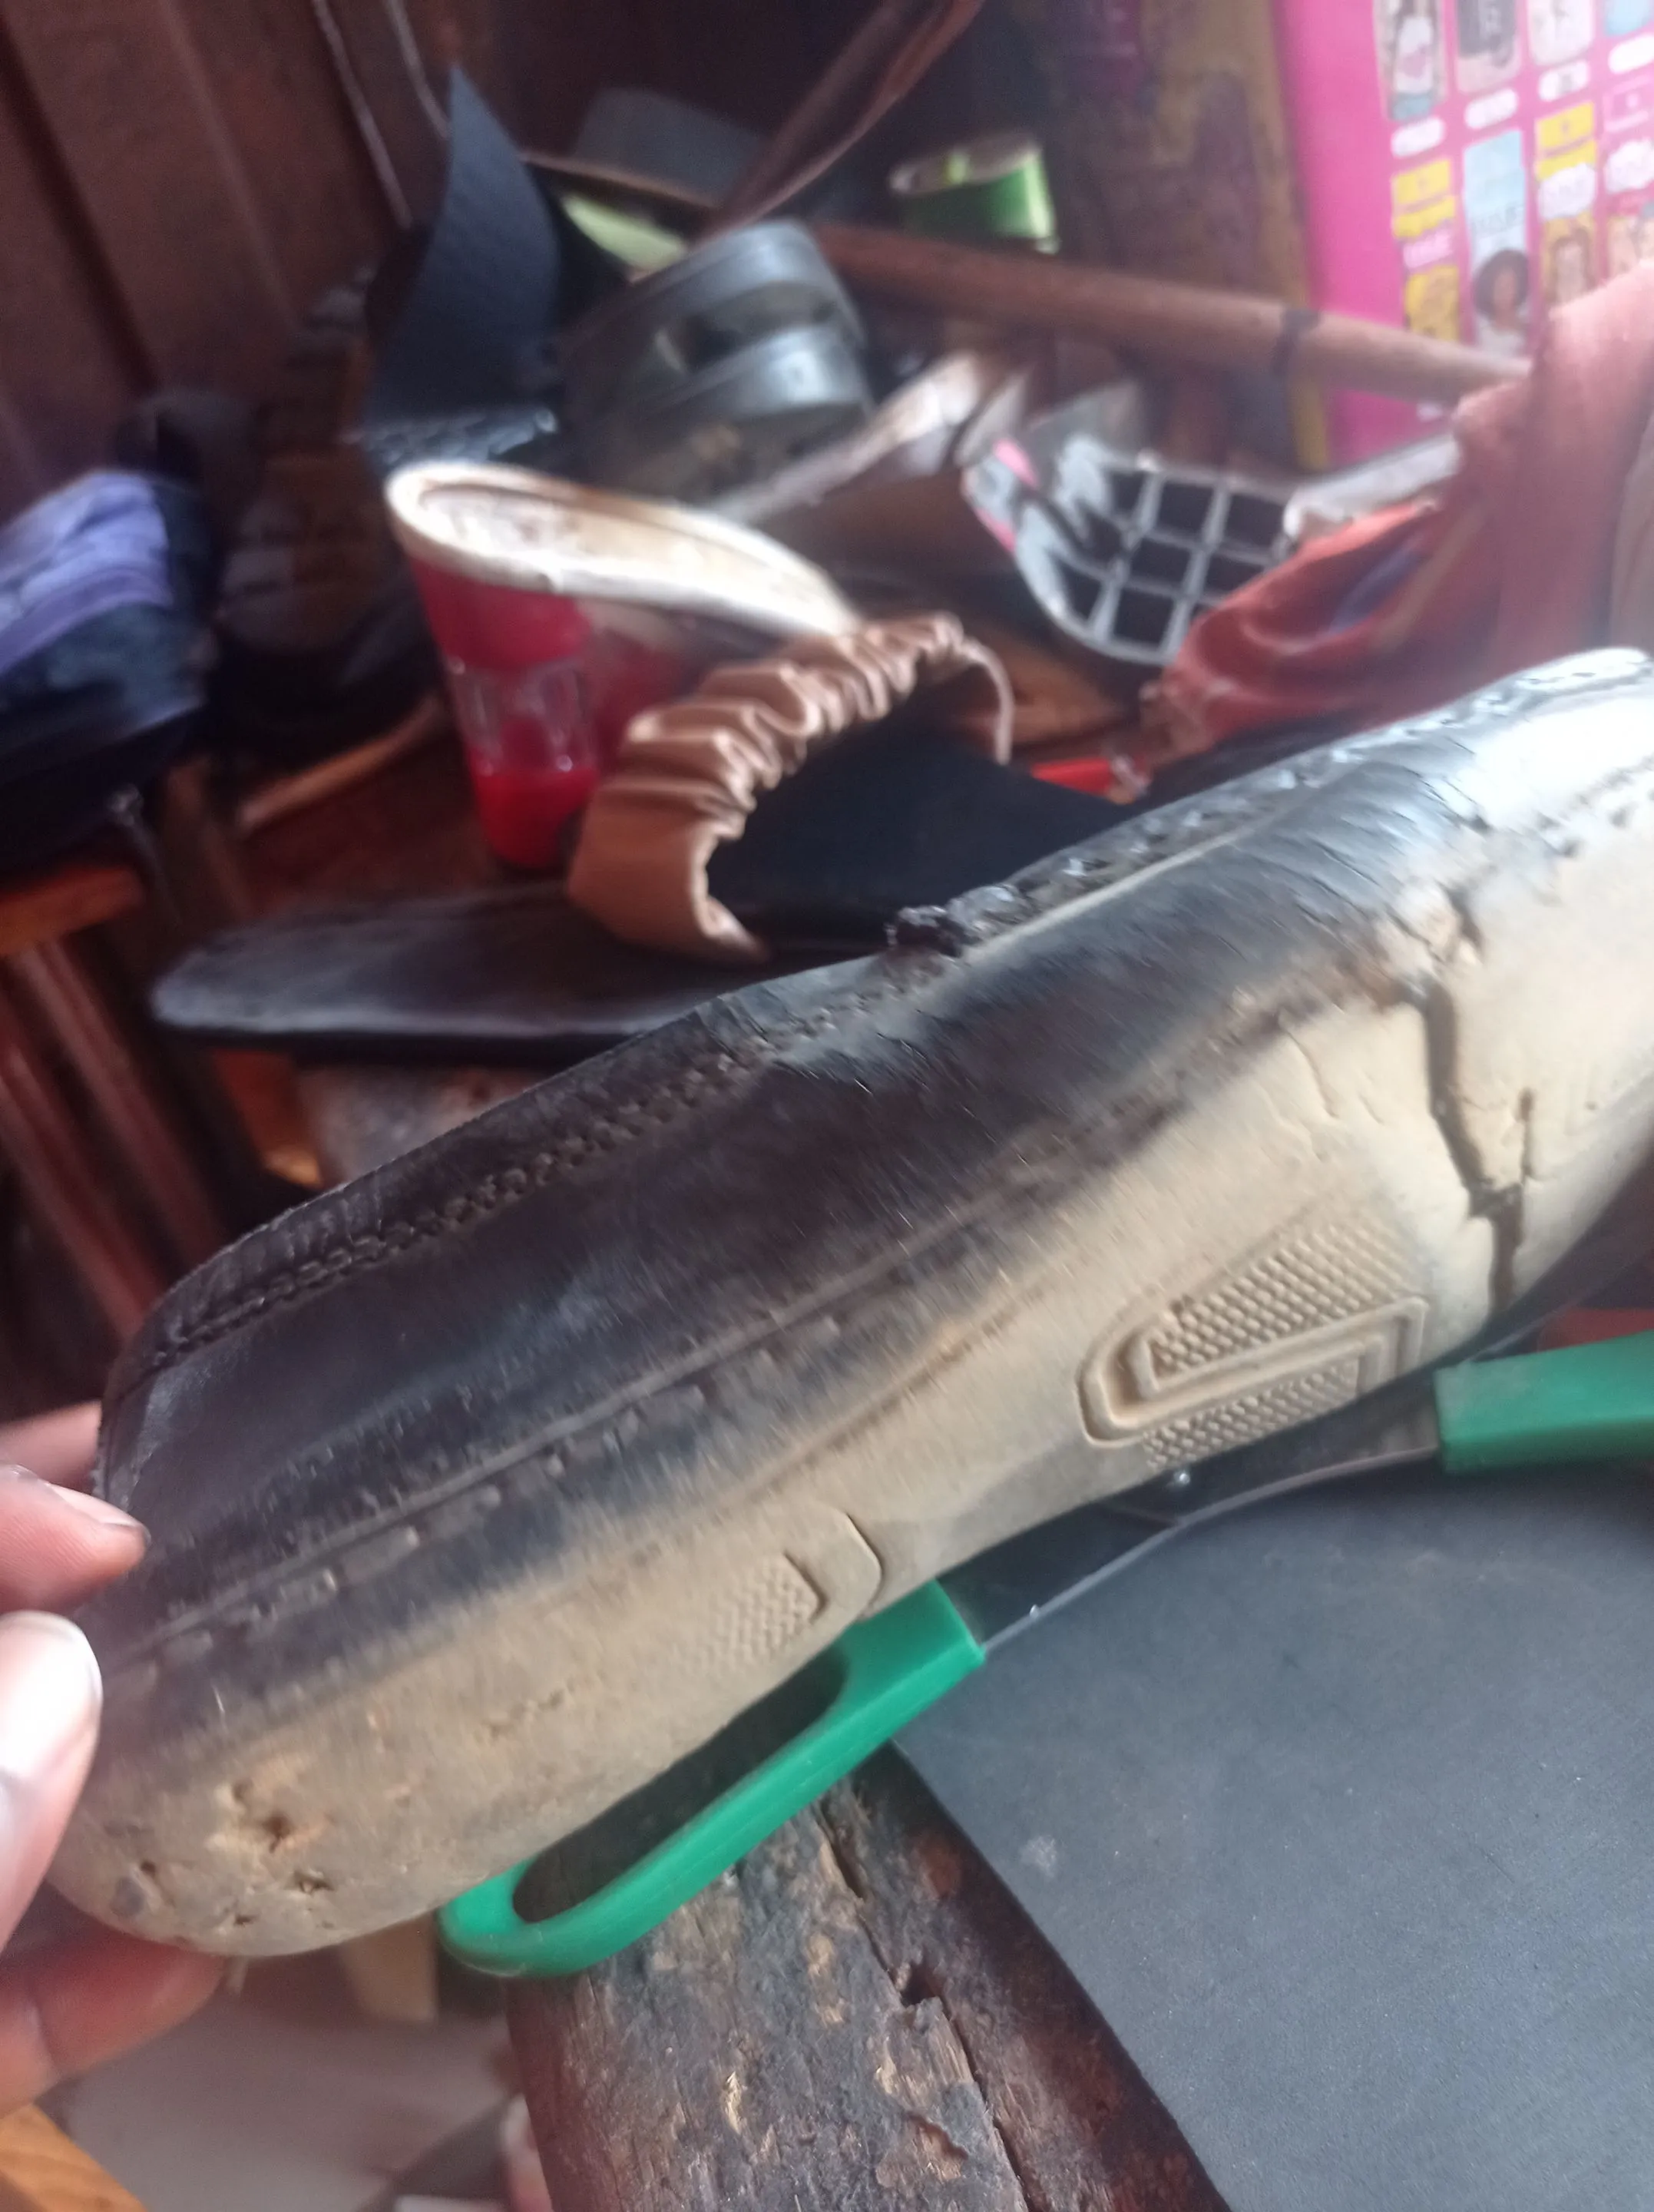
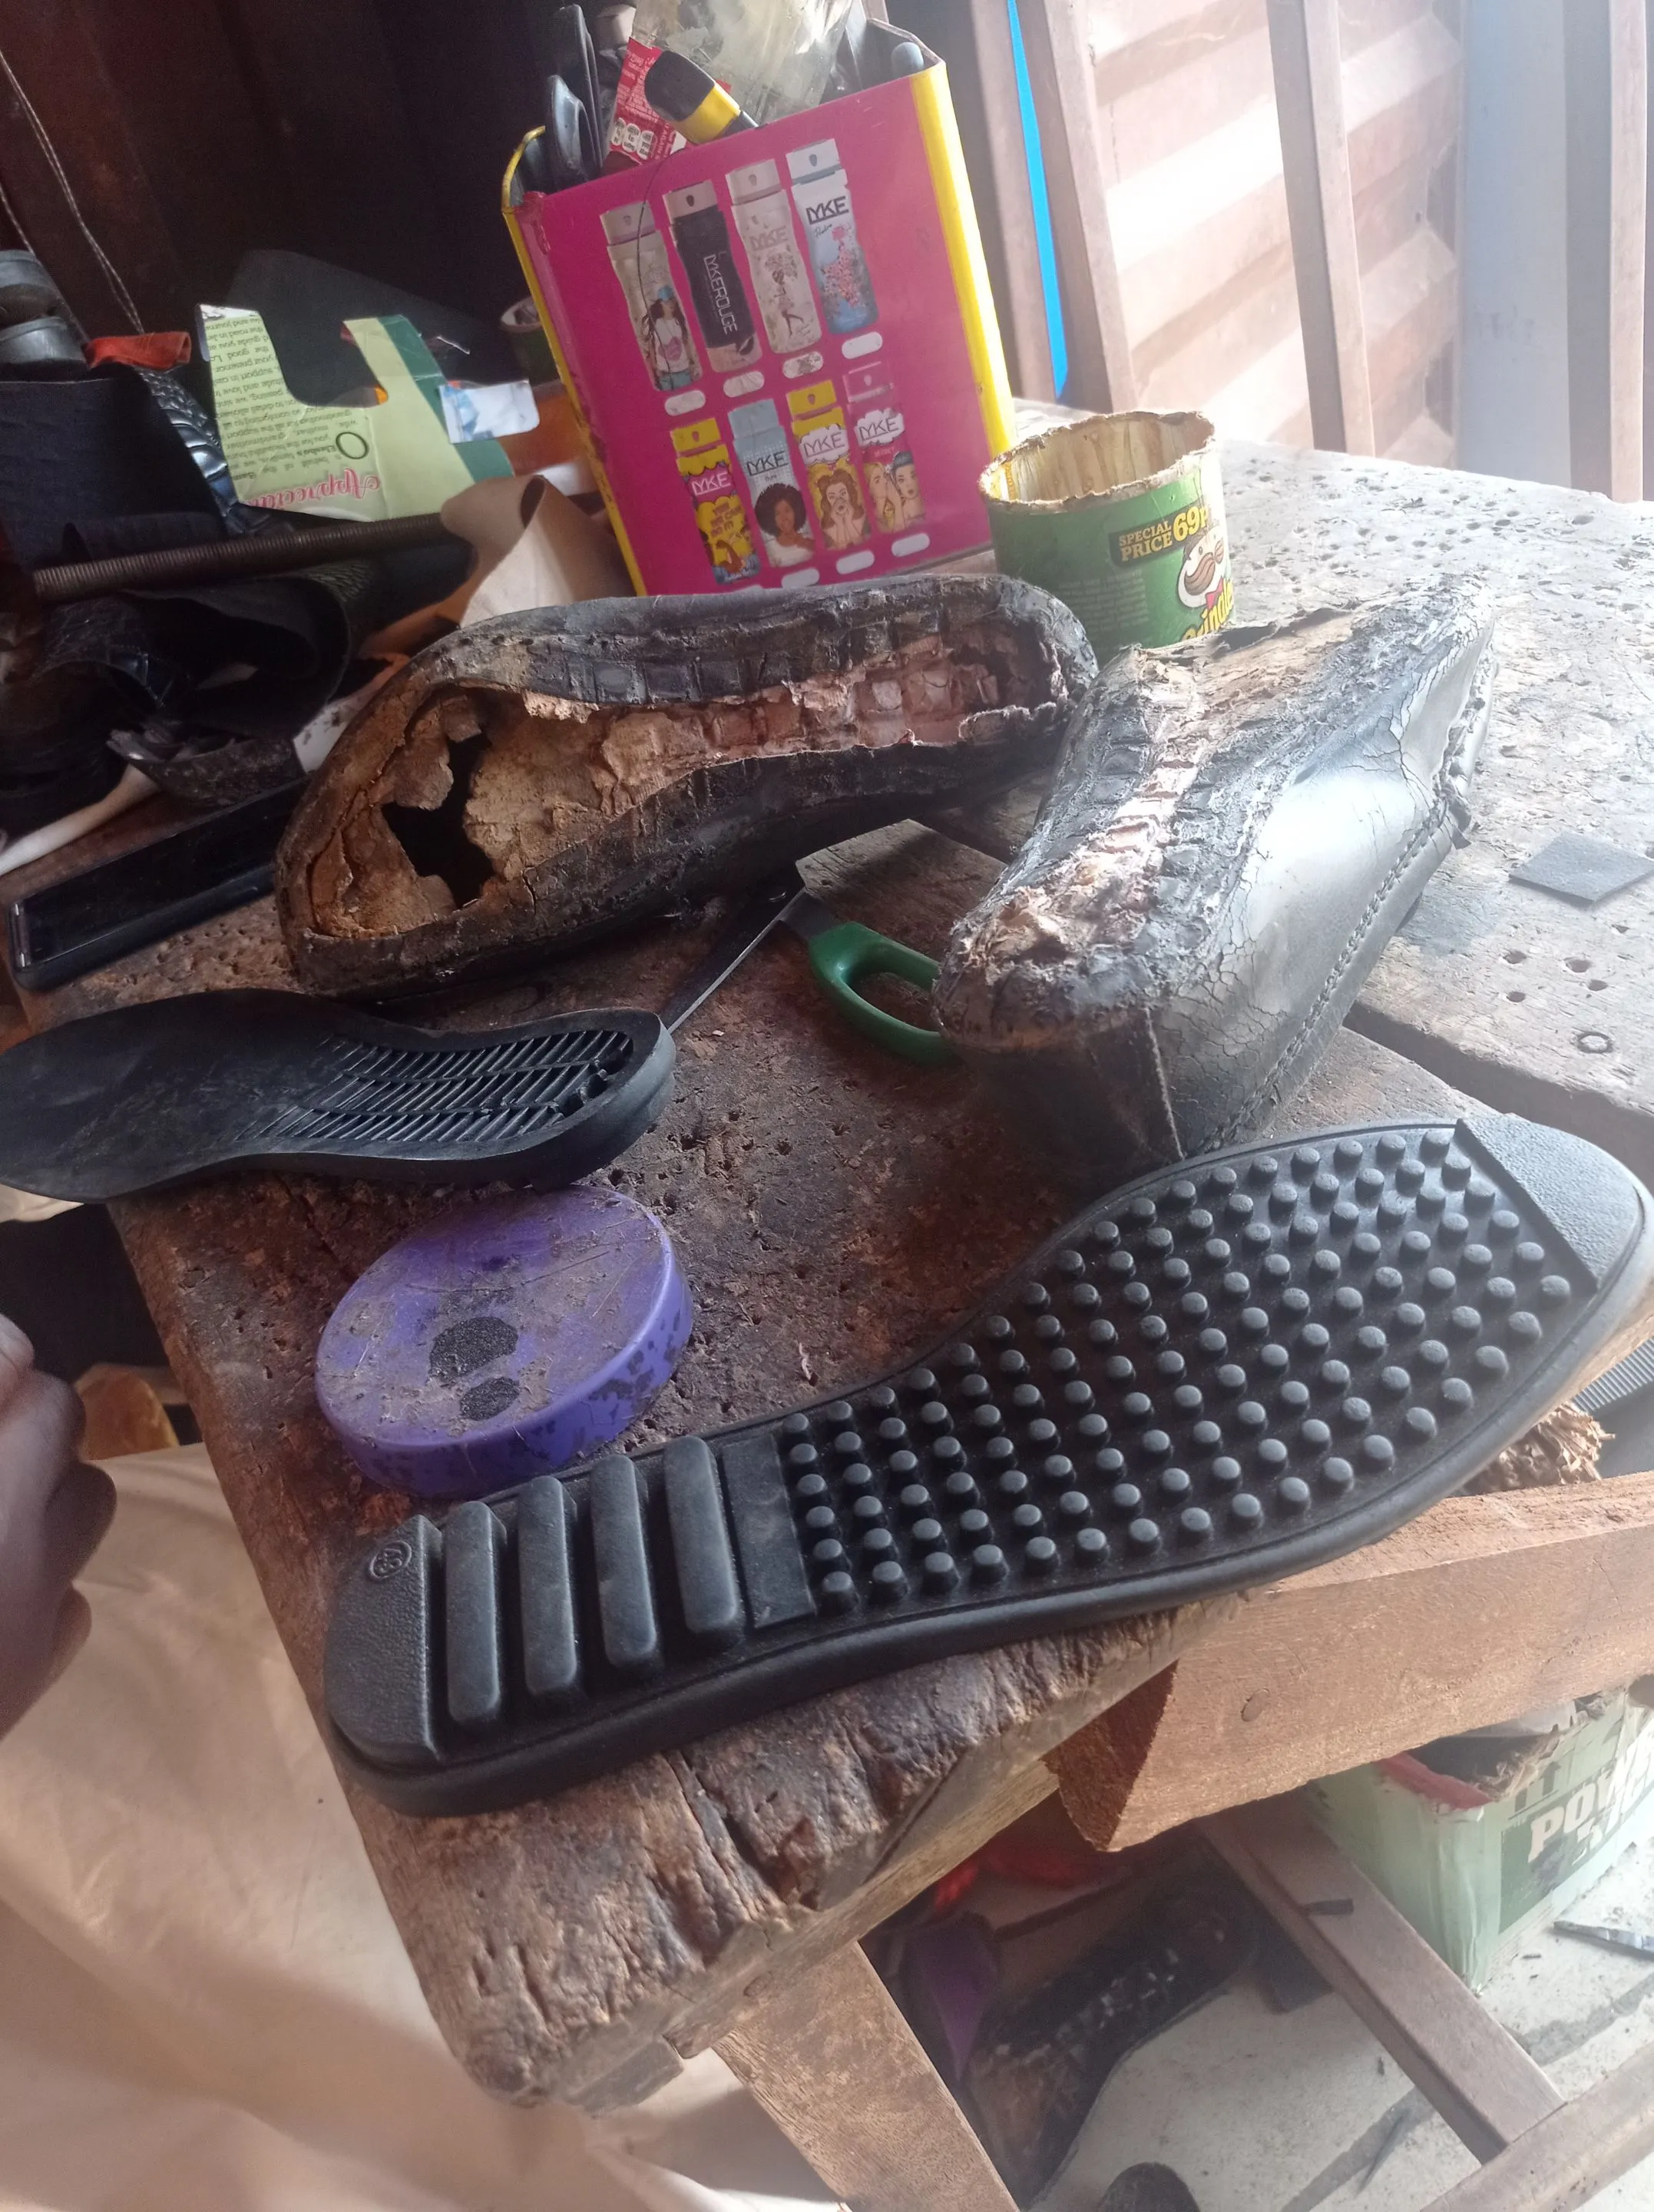
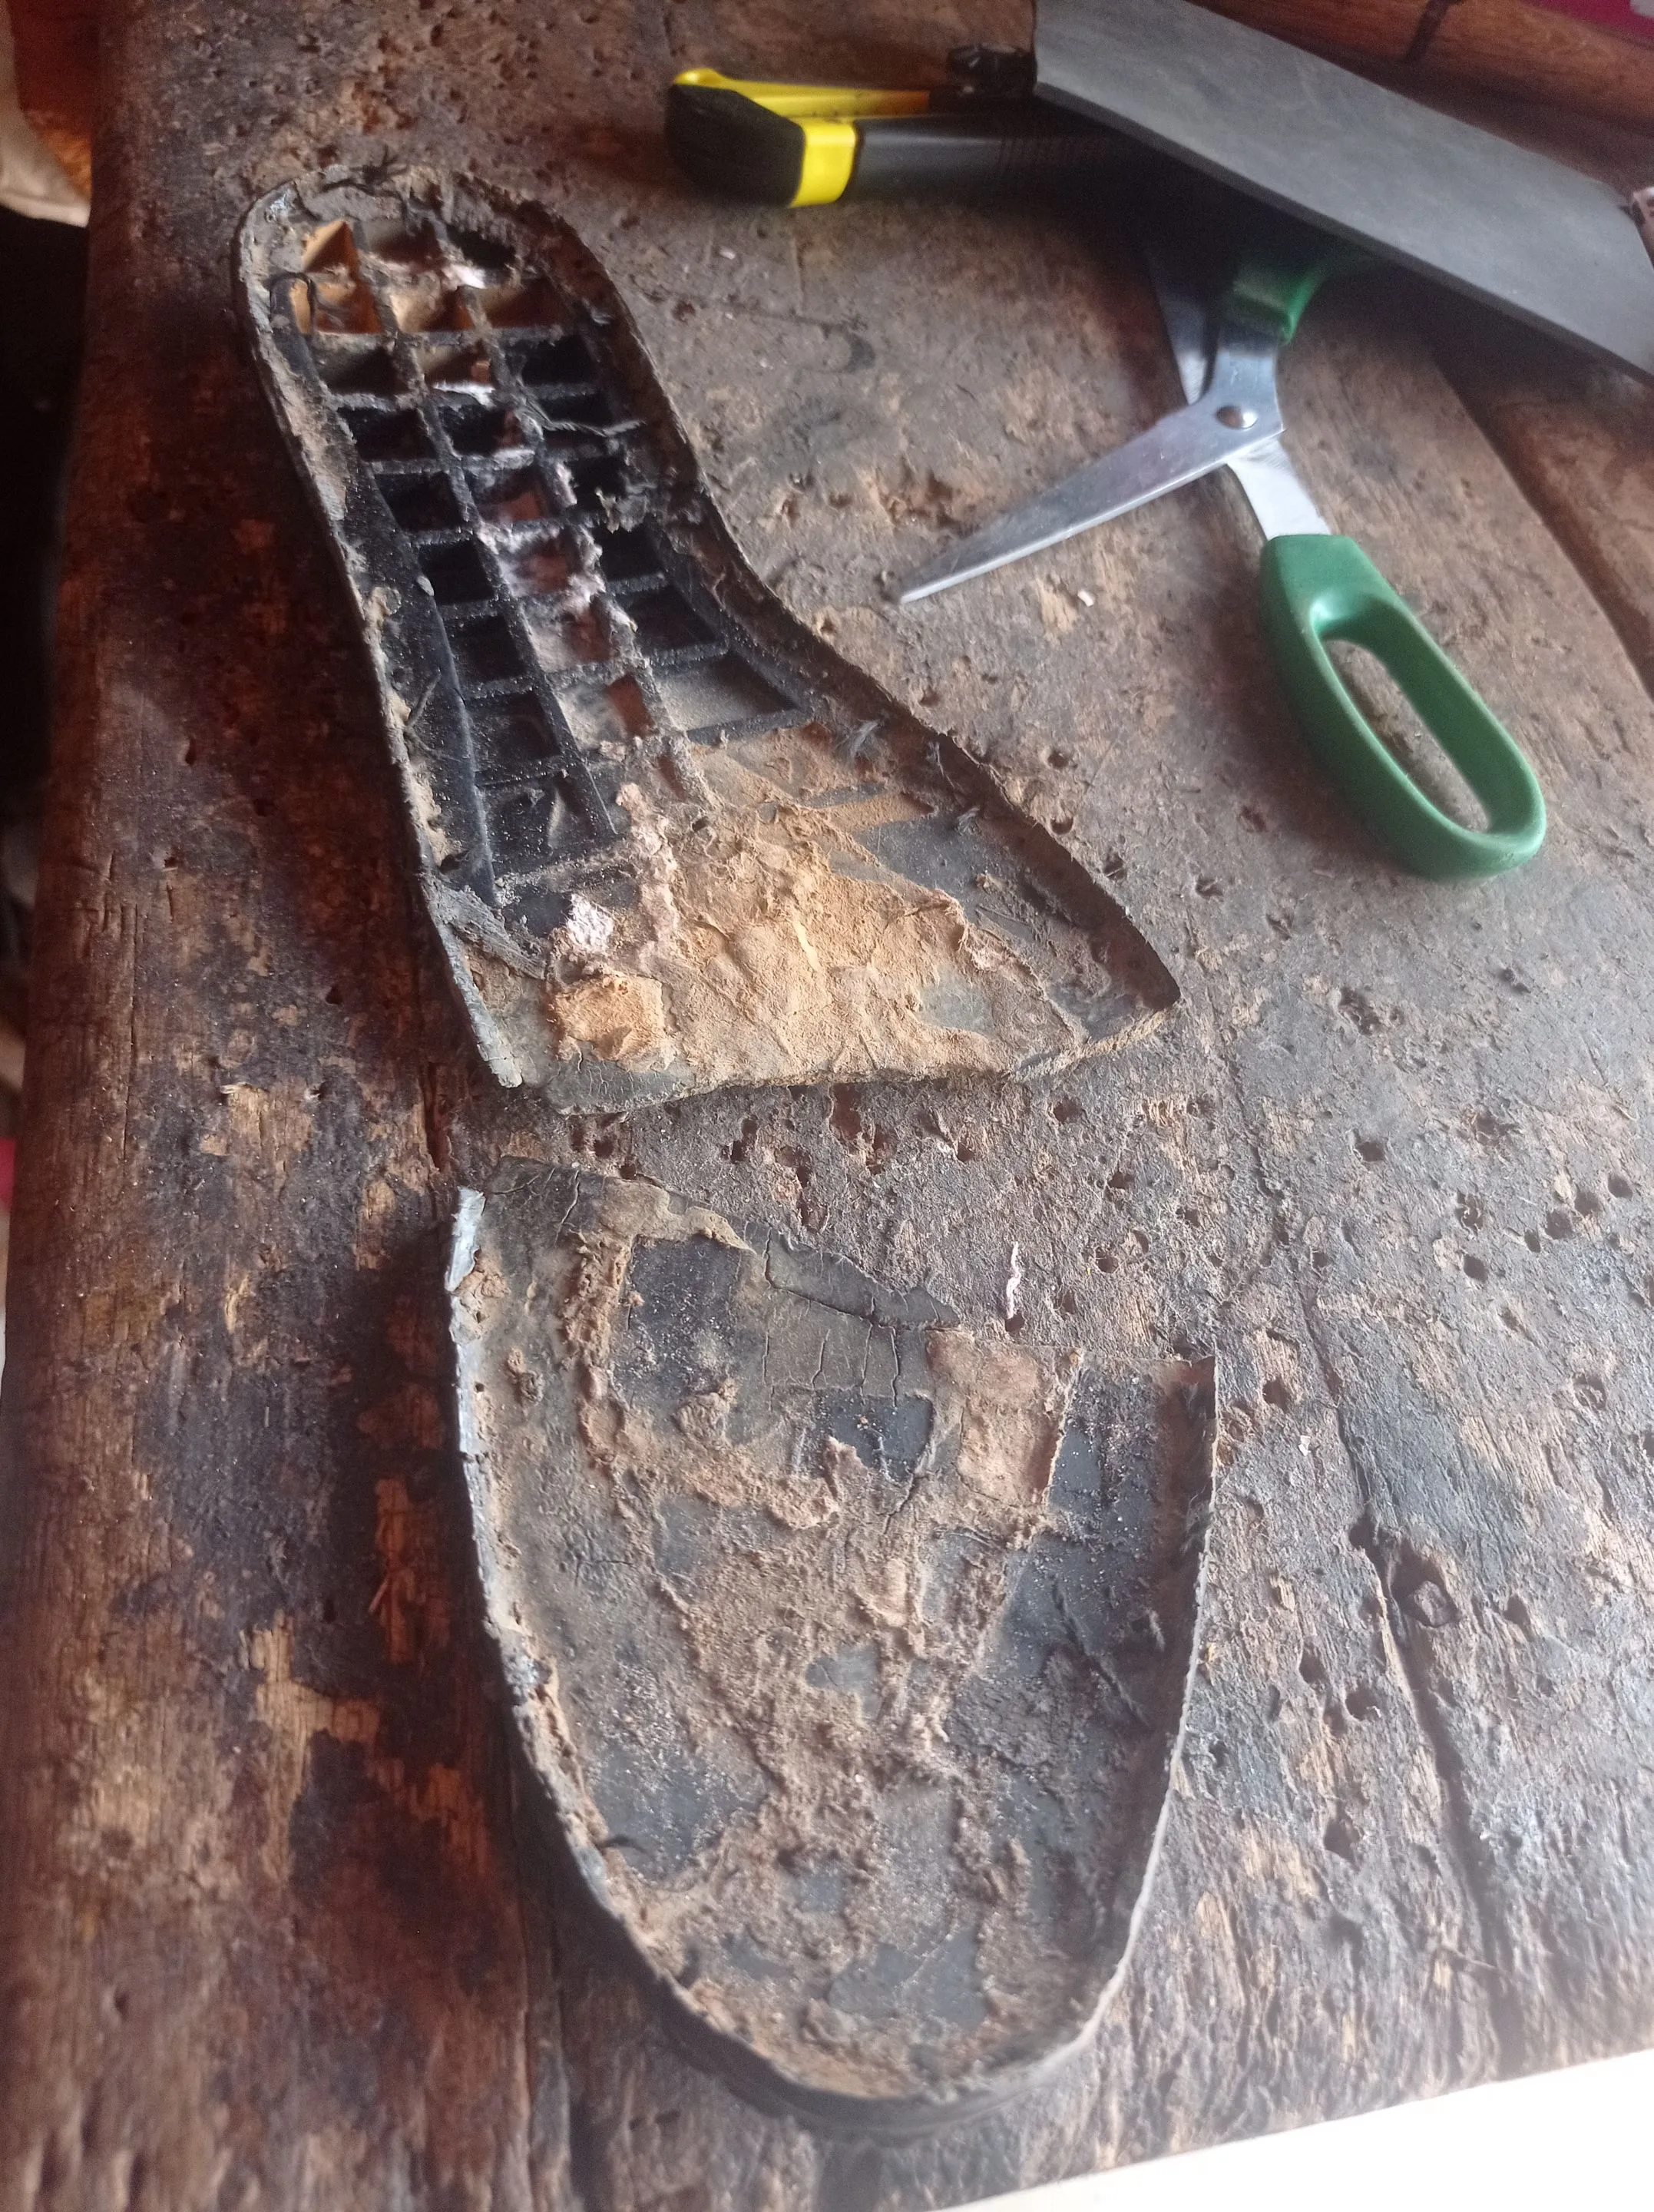
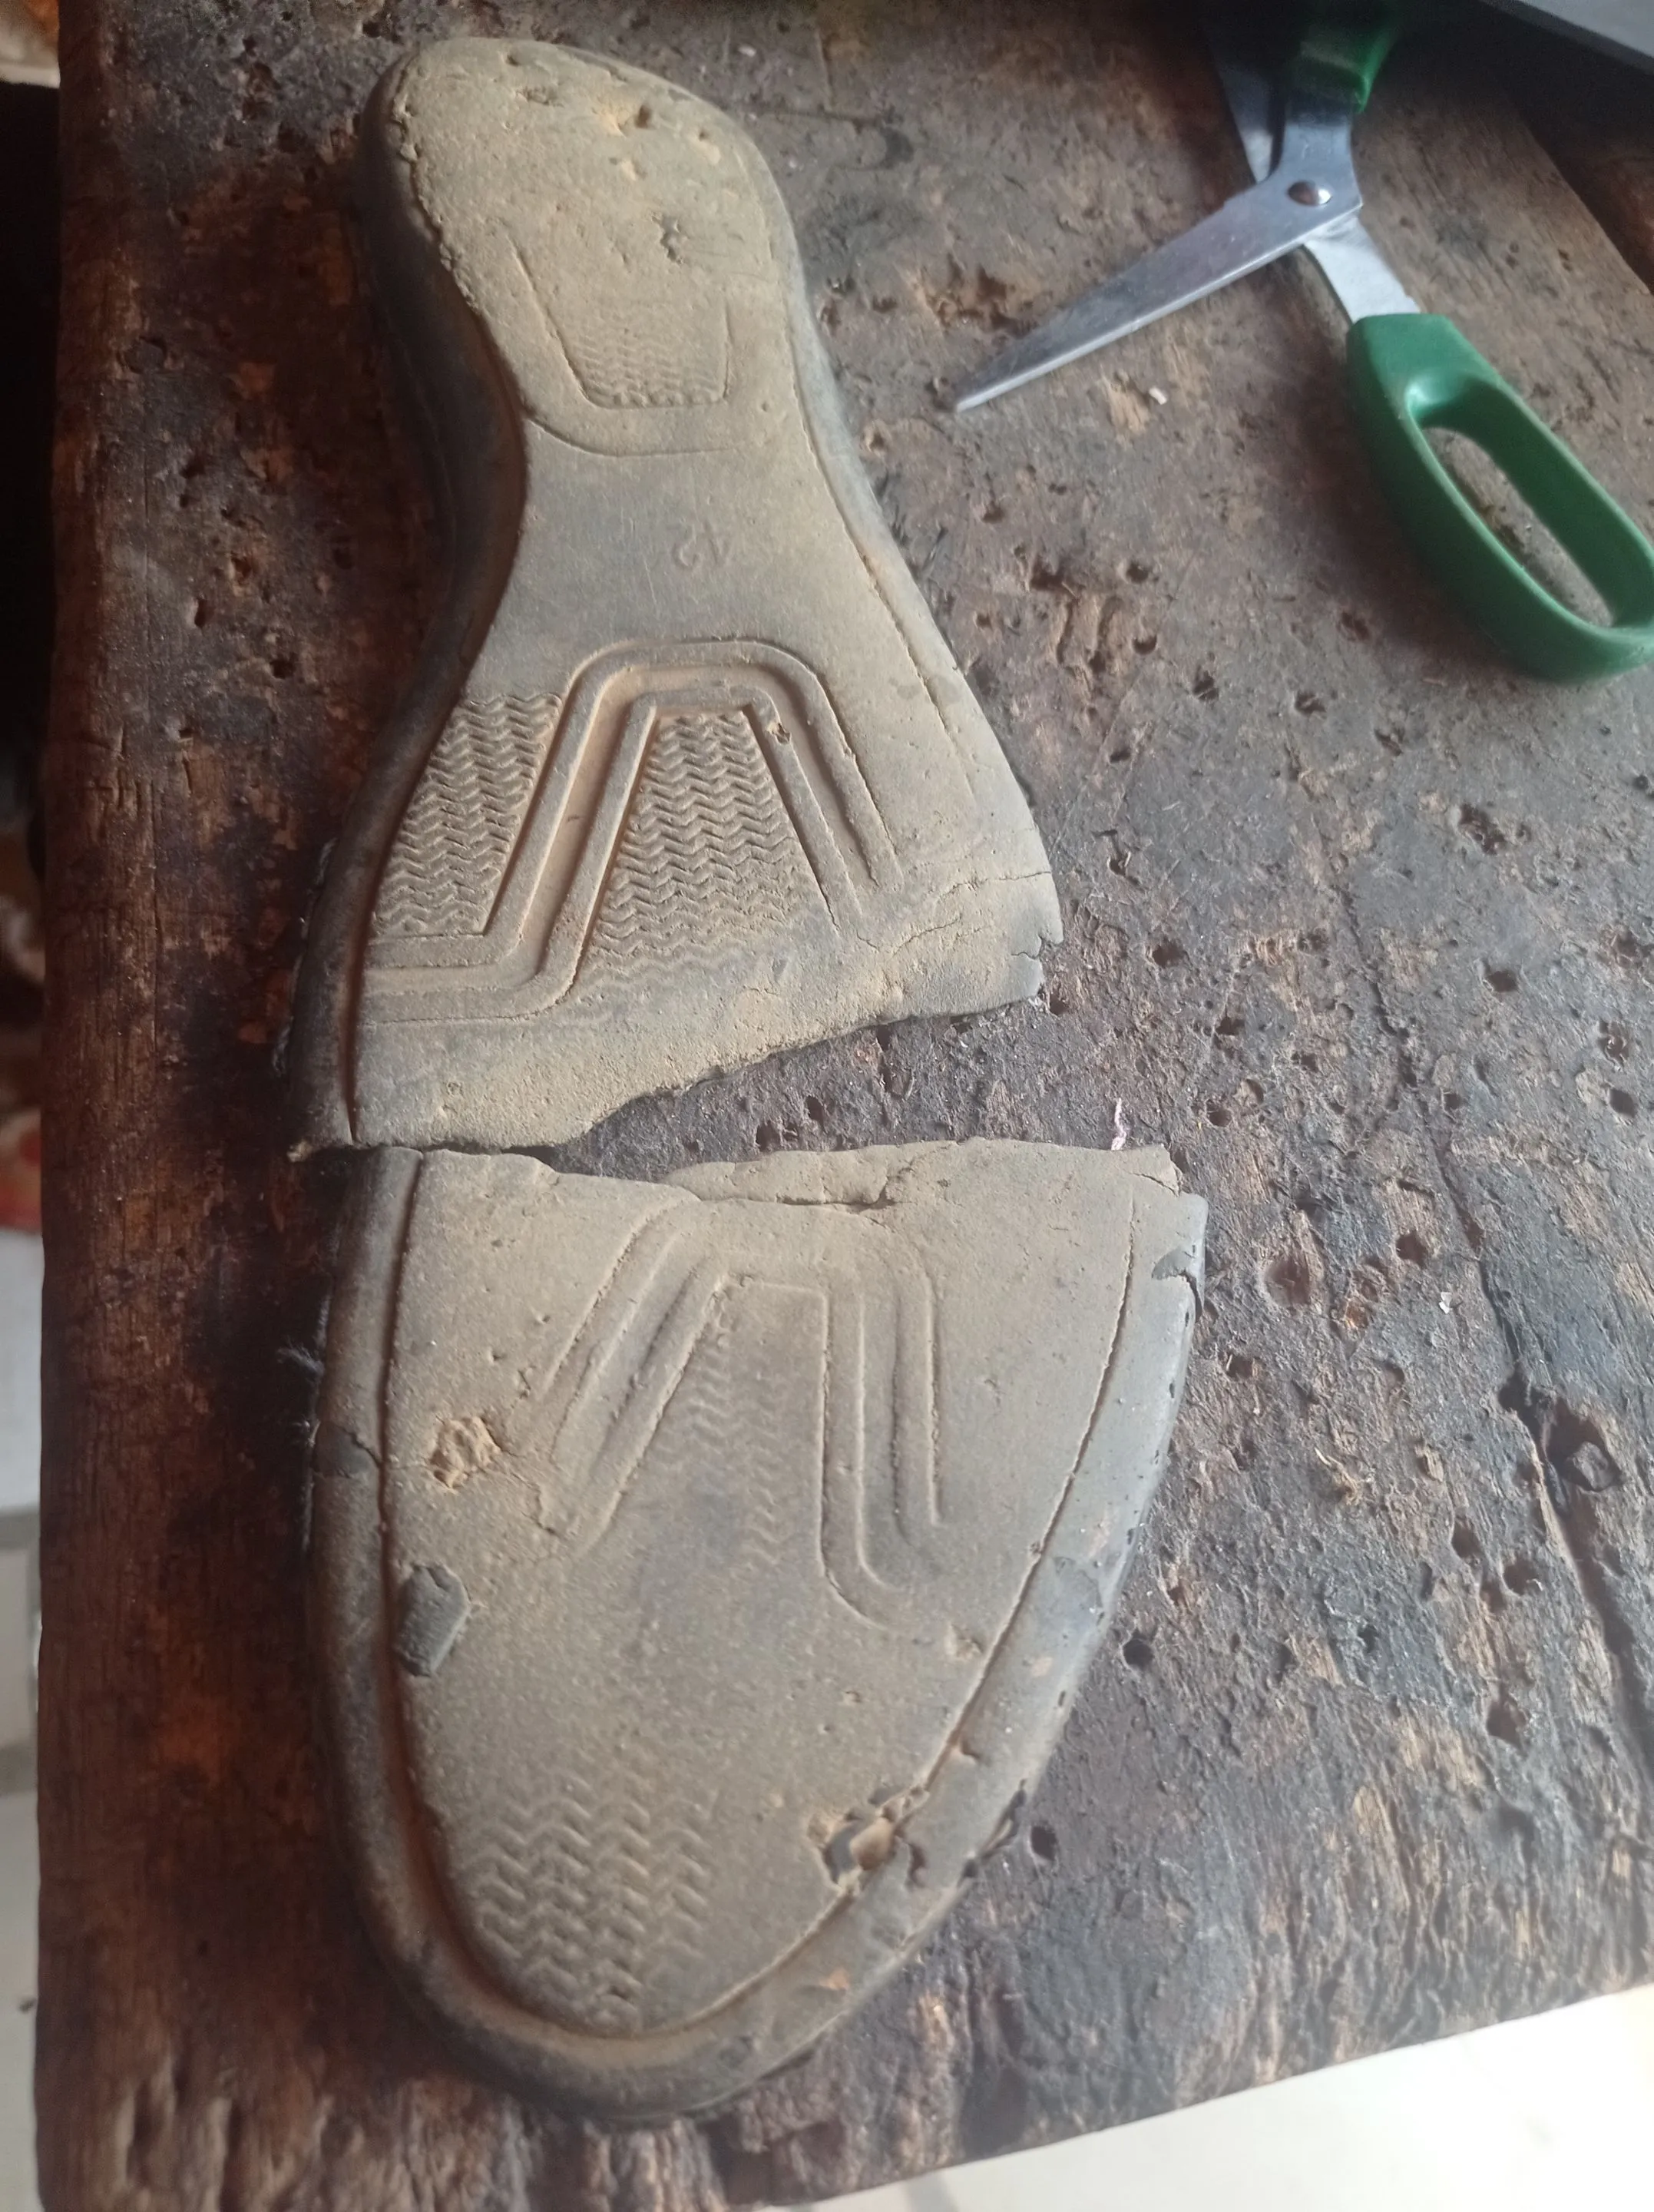
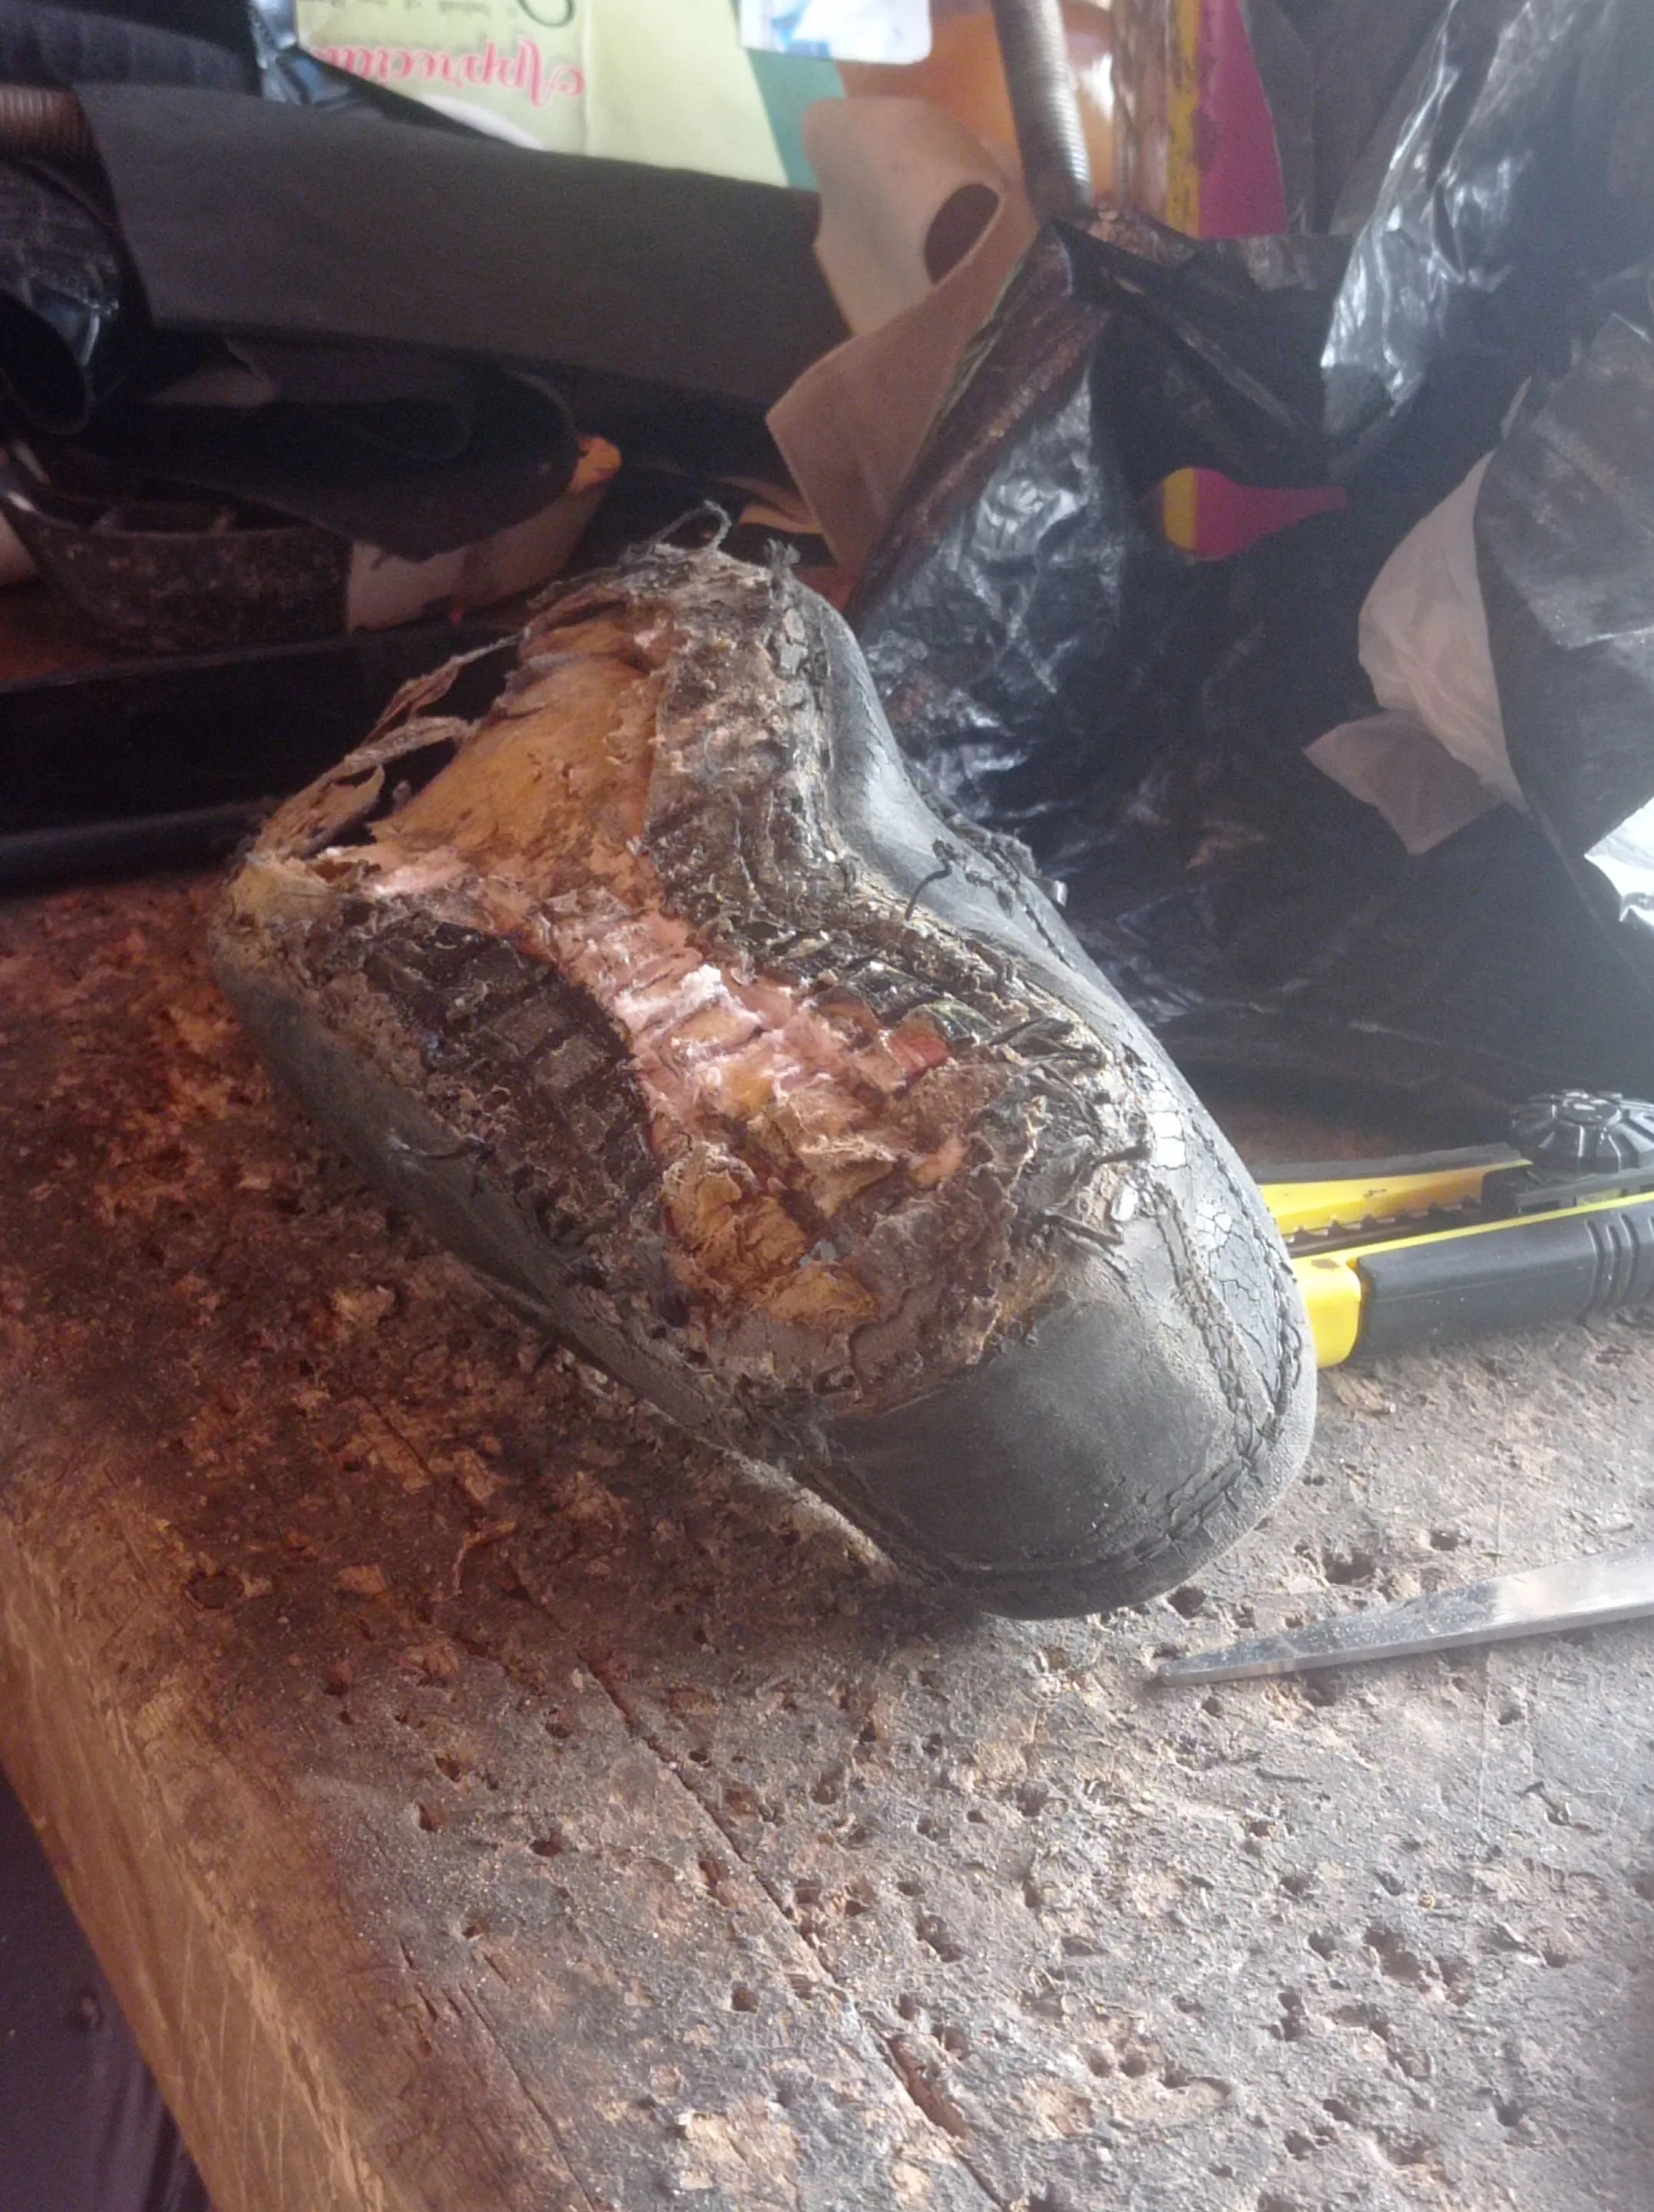
- I apply gum on the new sole and the under of the shoe upper, and then place it aside, so it can dry up for few minutes.
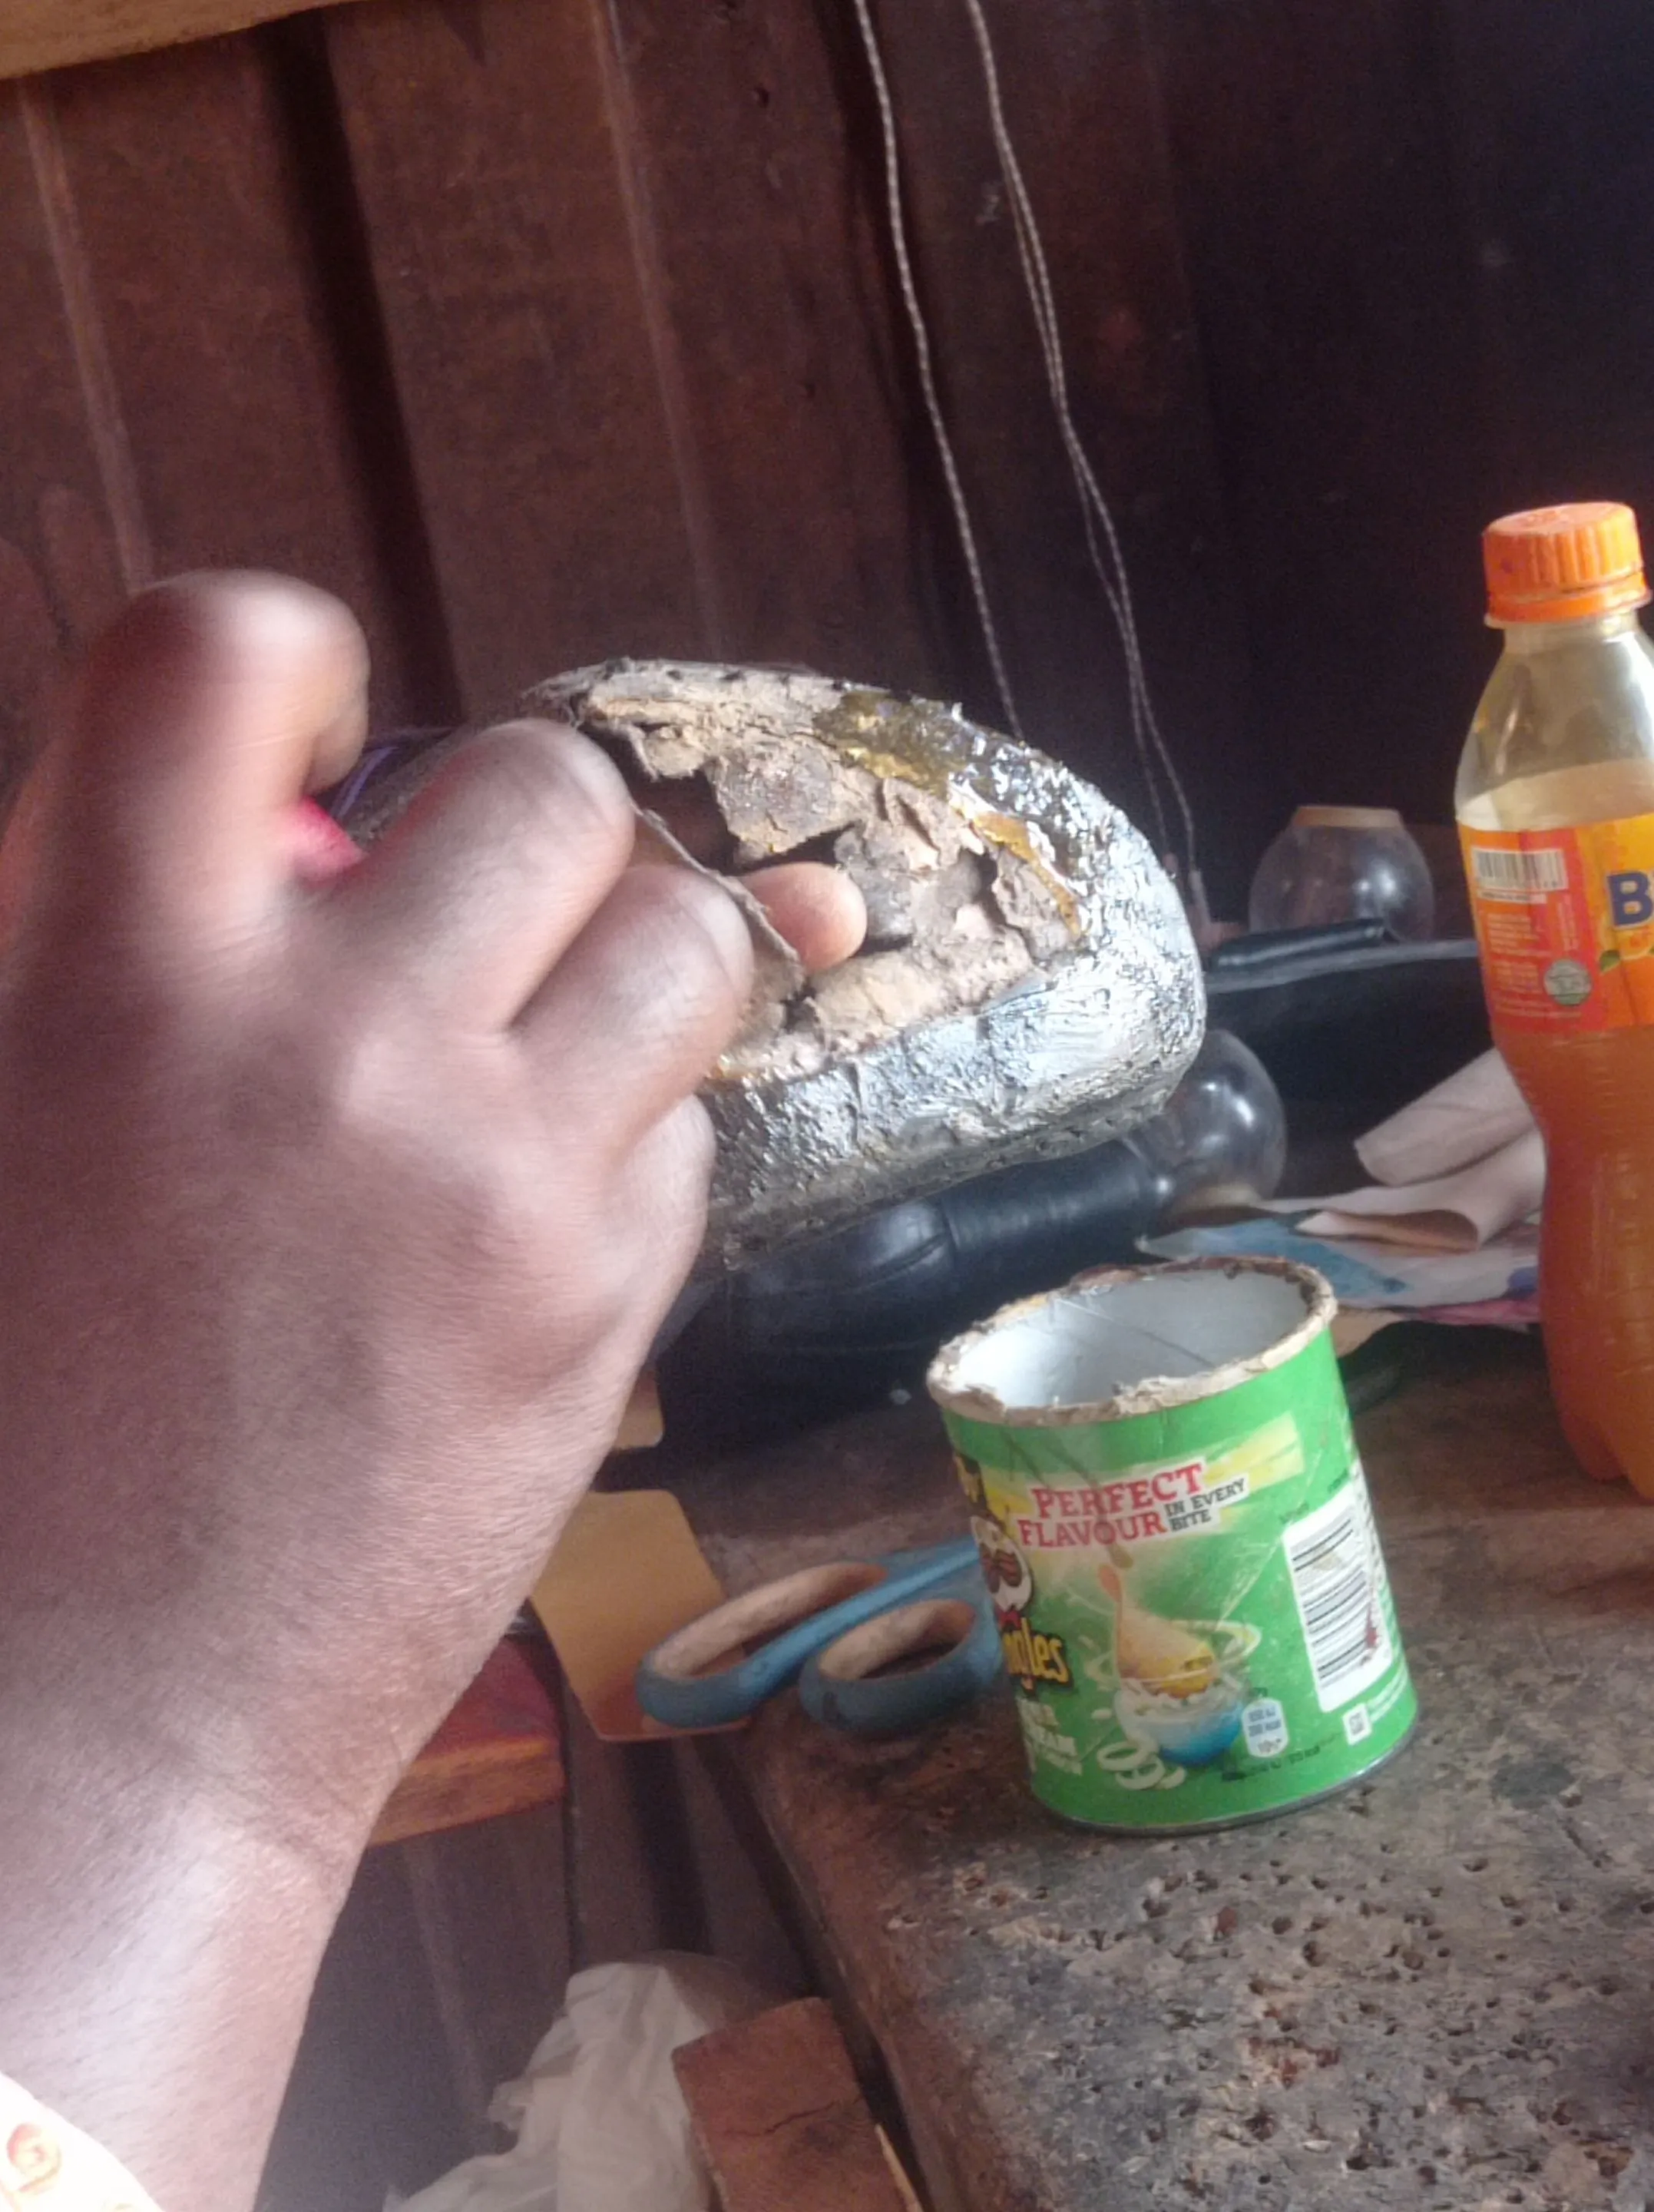
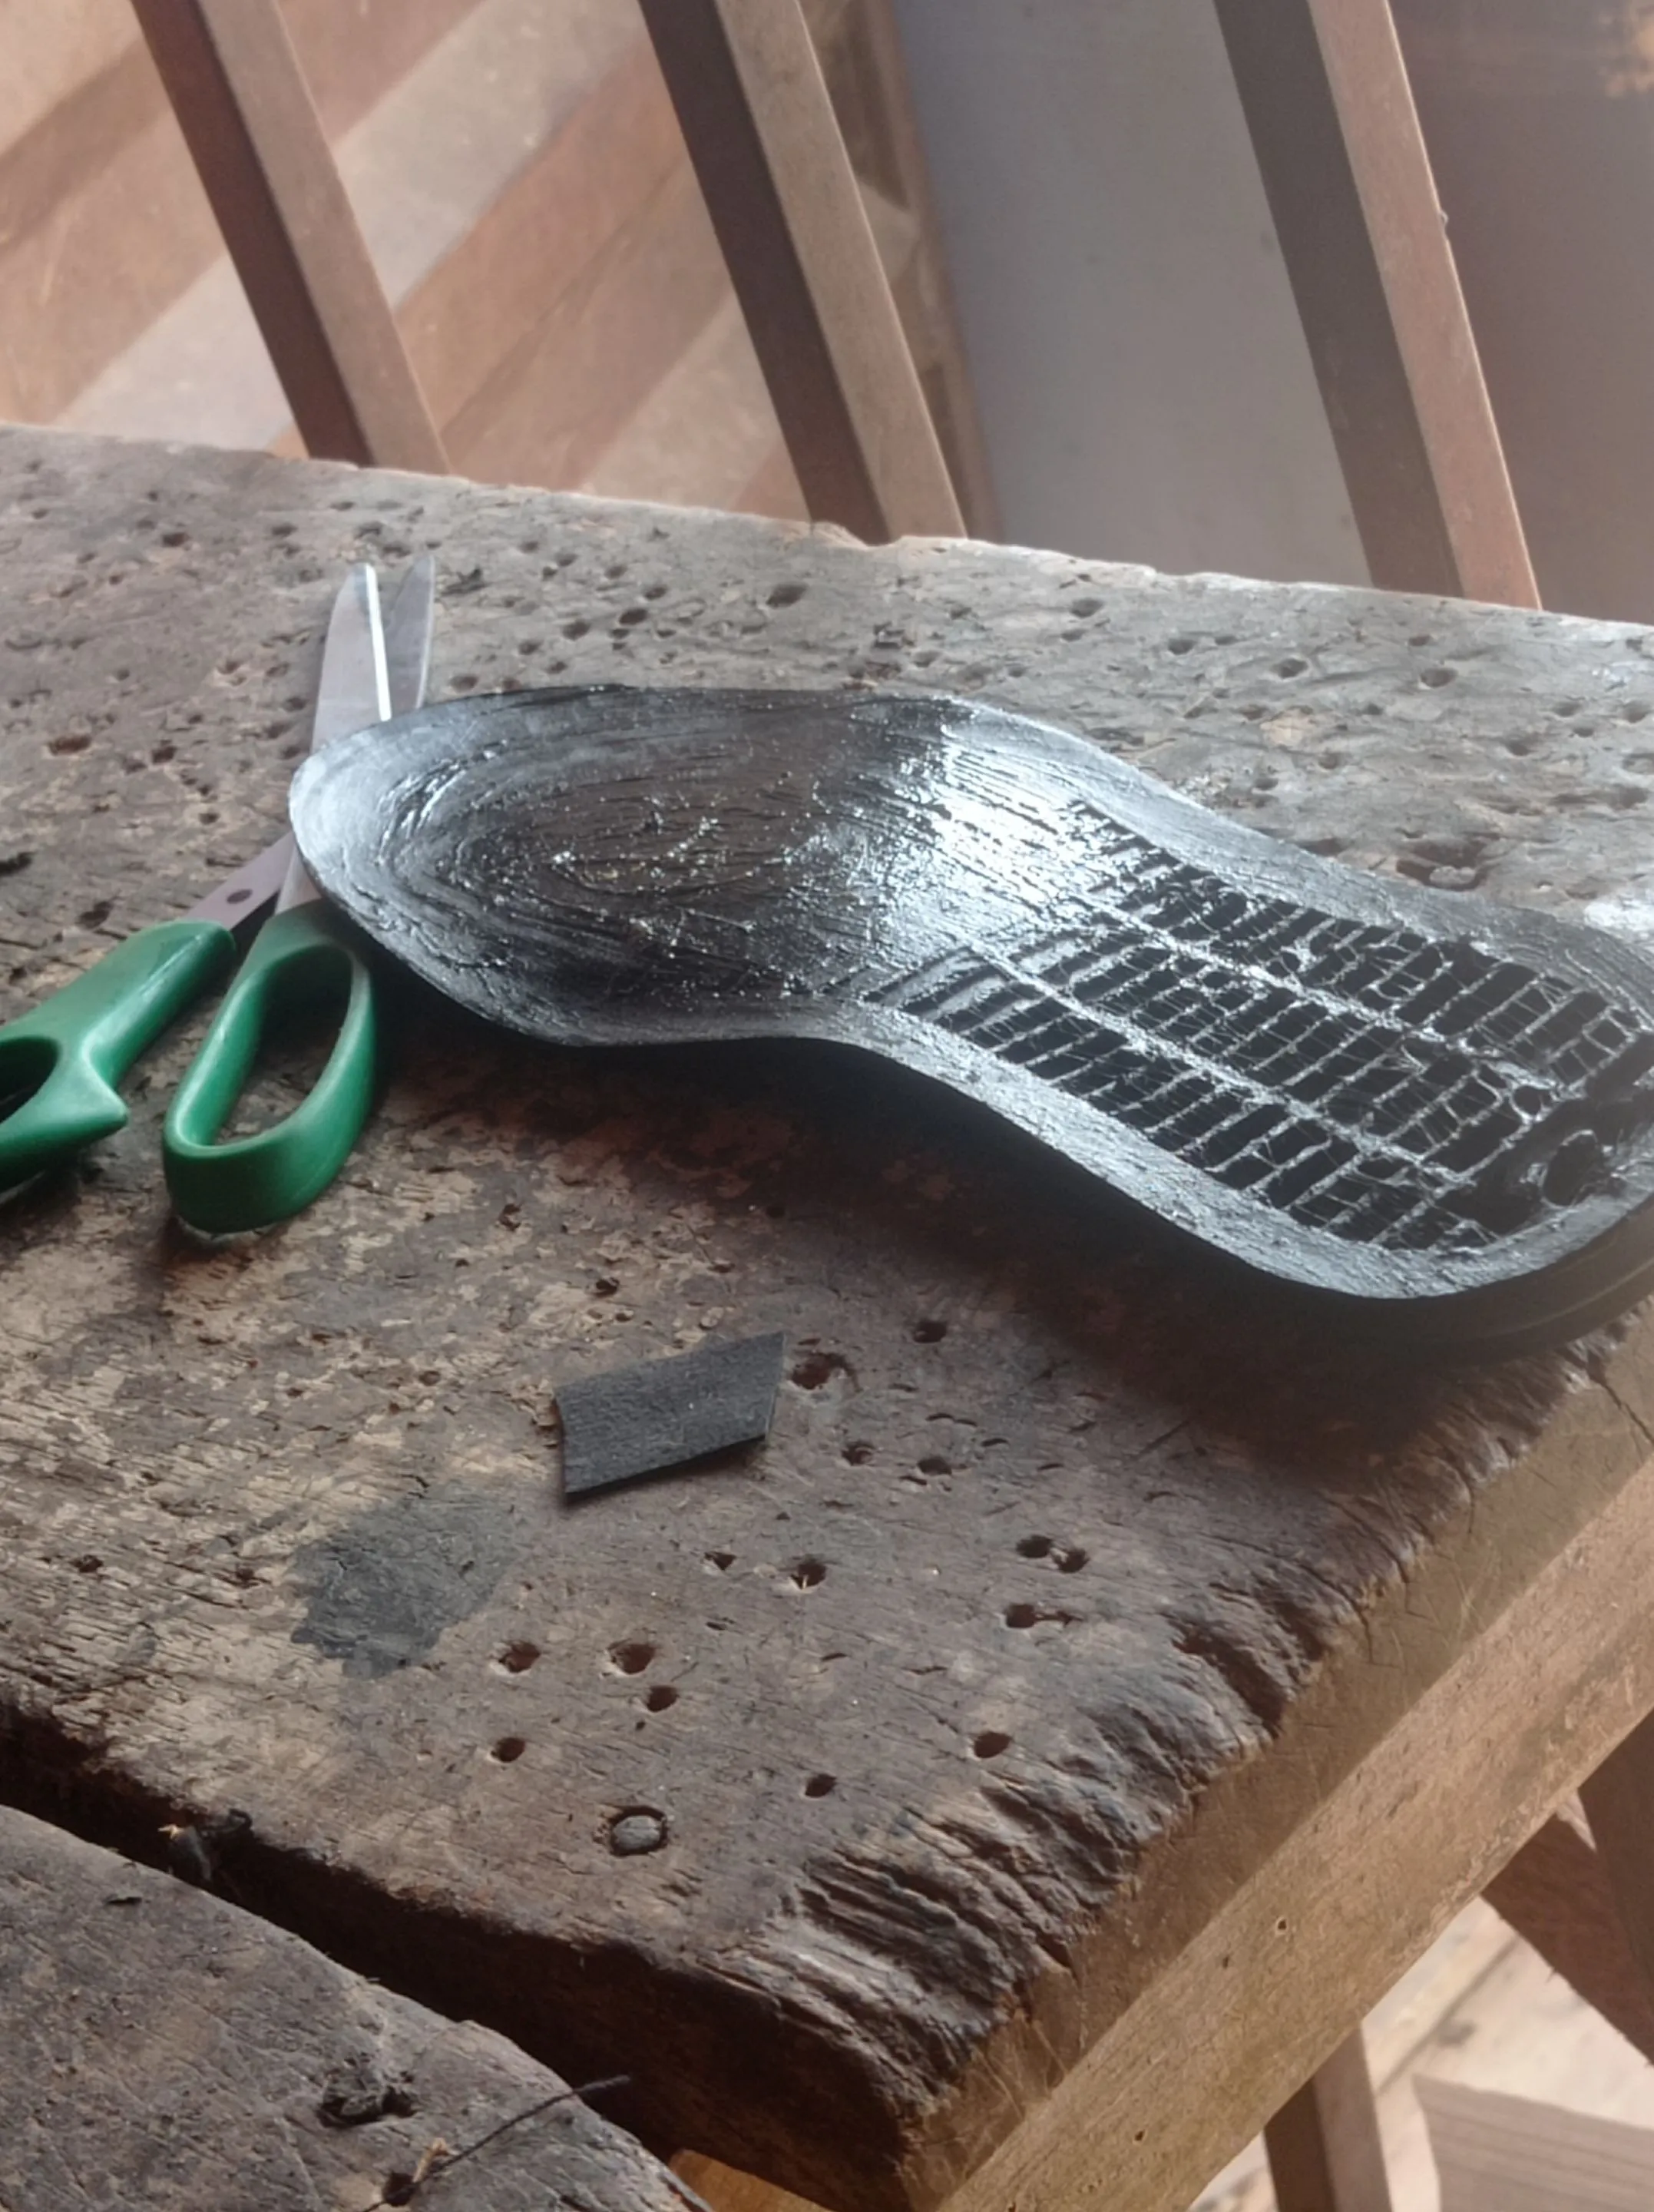
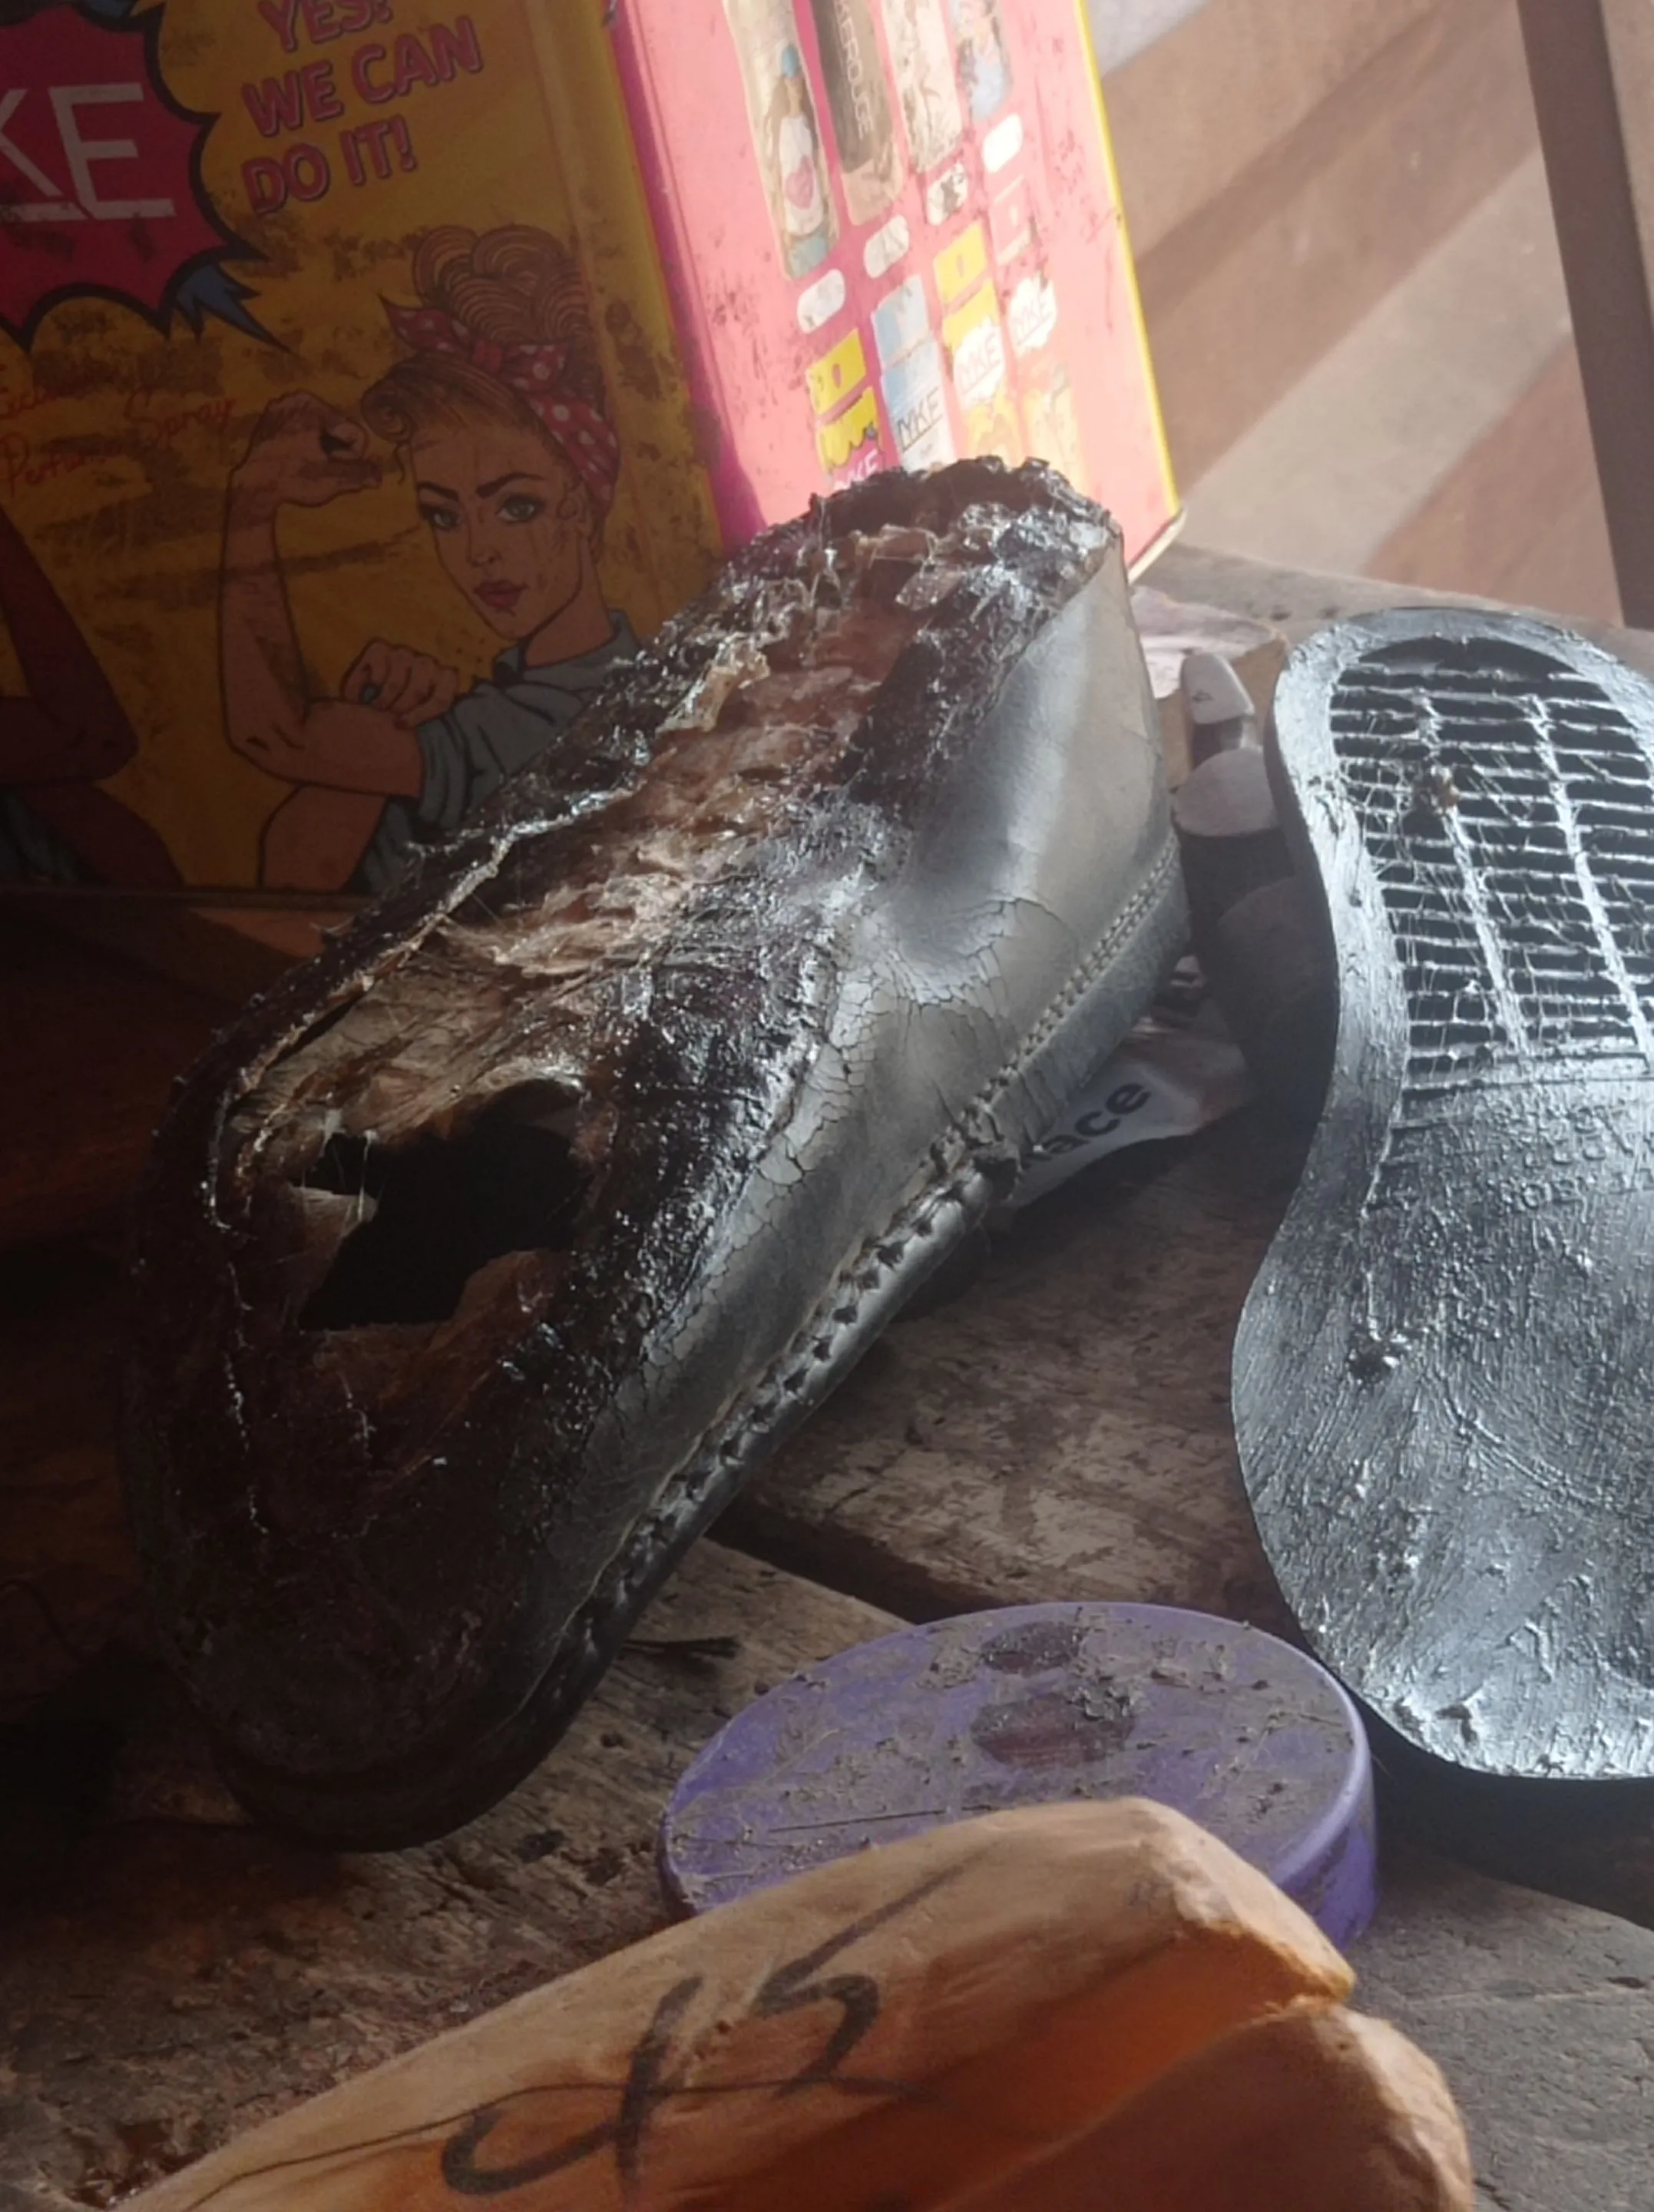
- After drying, I attach the sole to the shoe upper, and make sure it fit every edges perfectly.
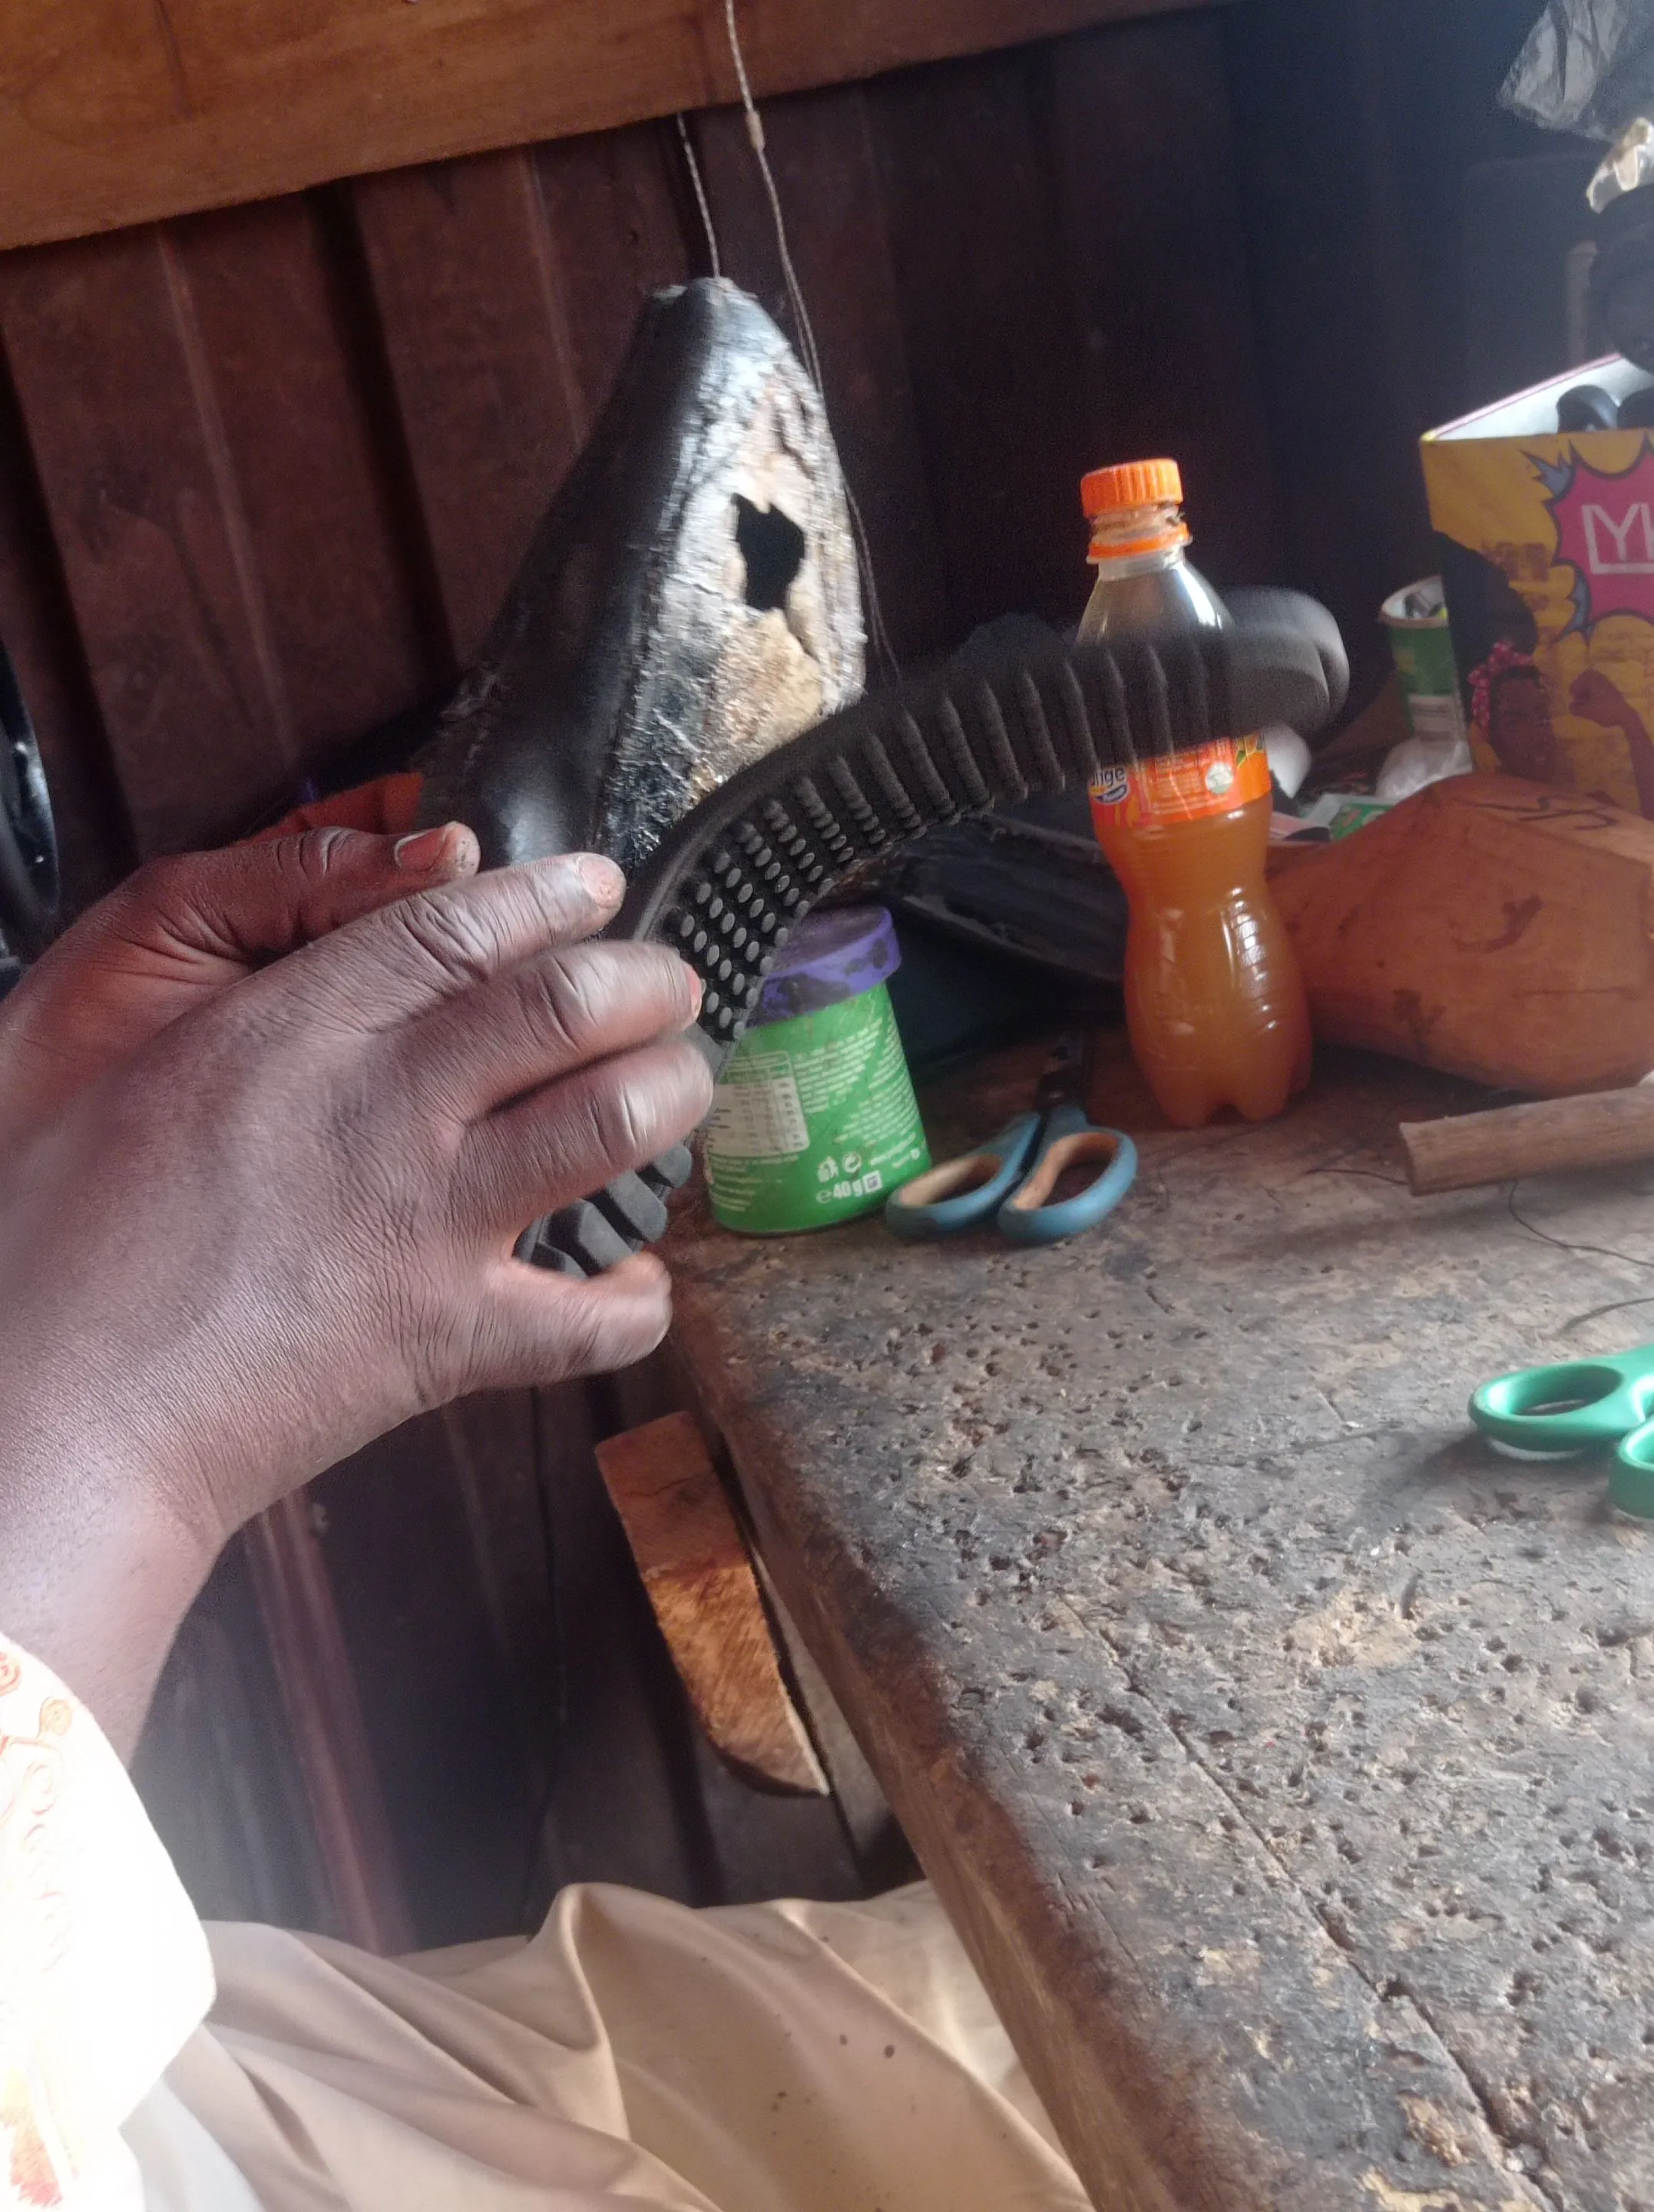
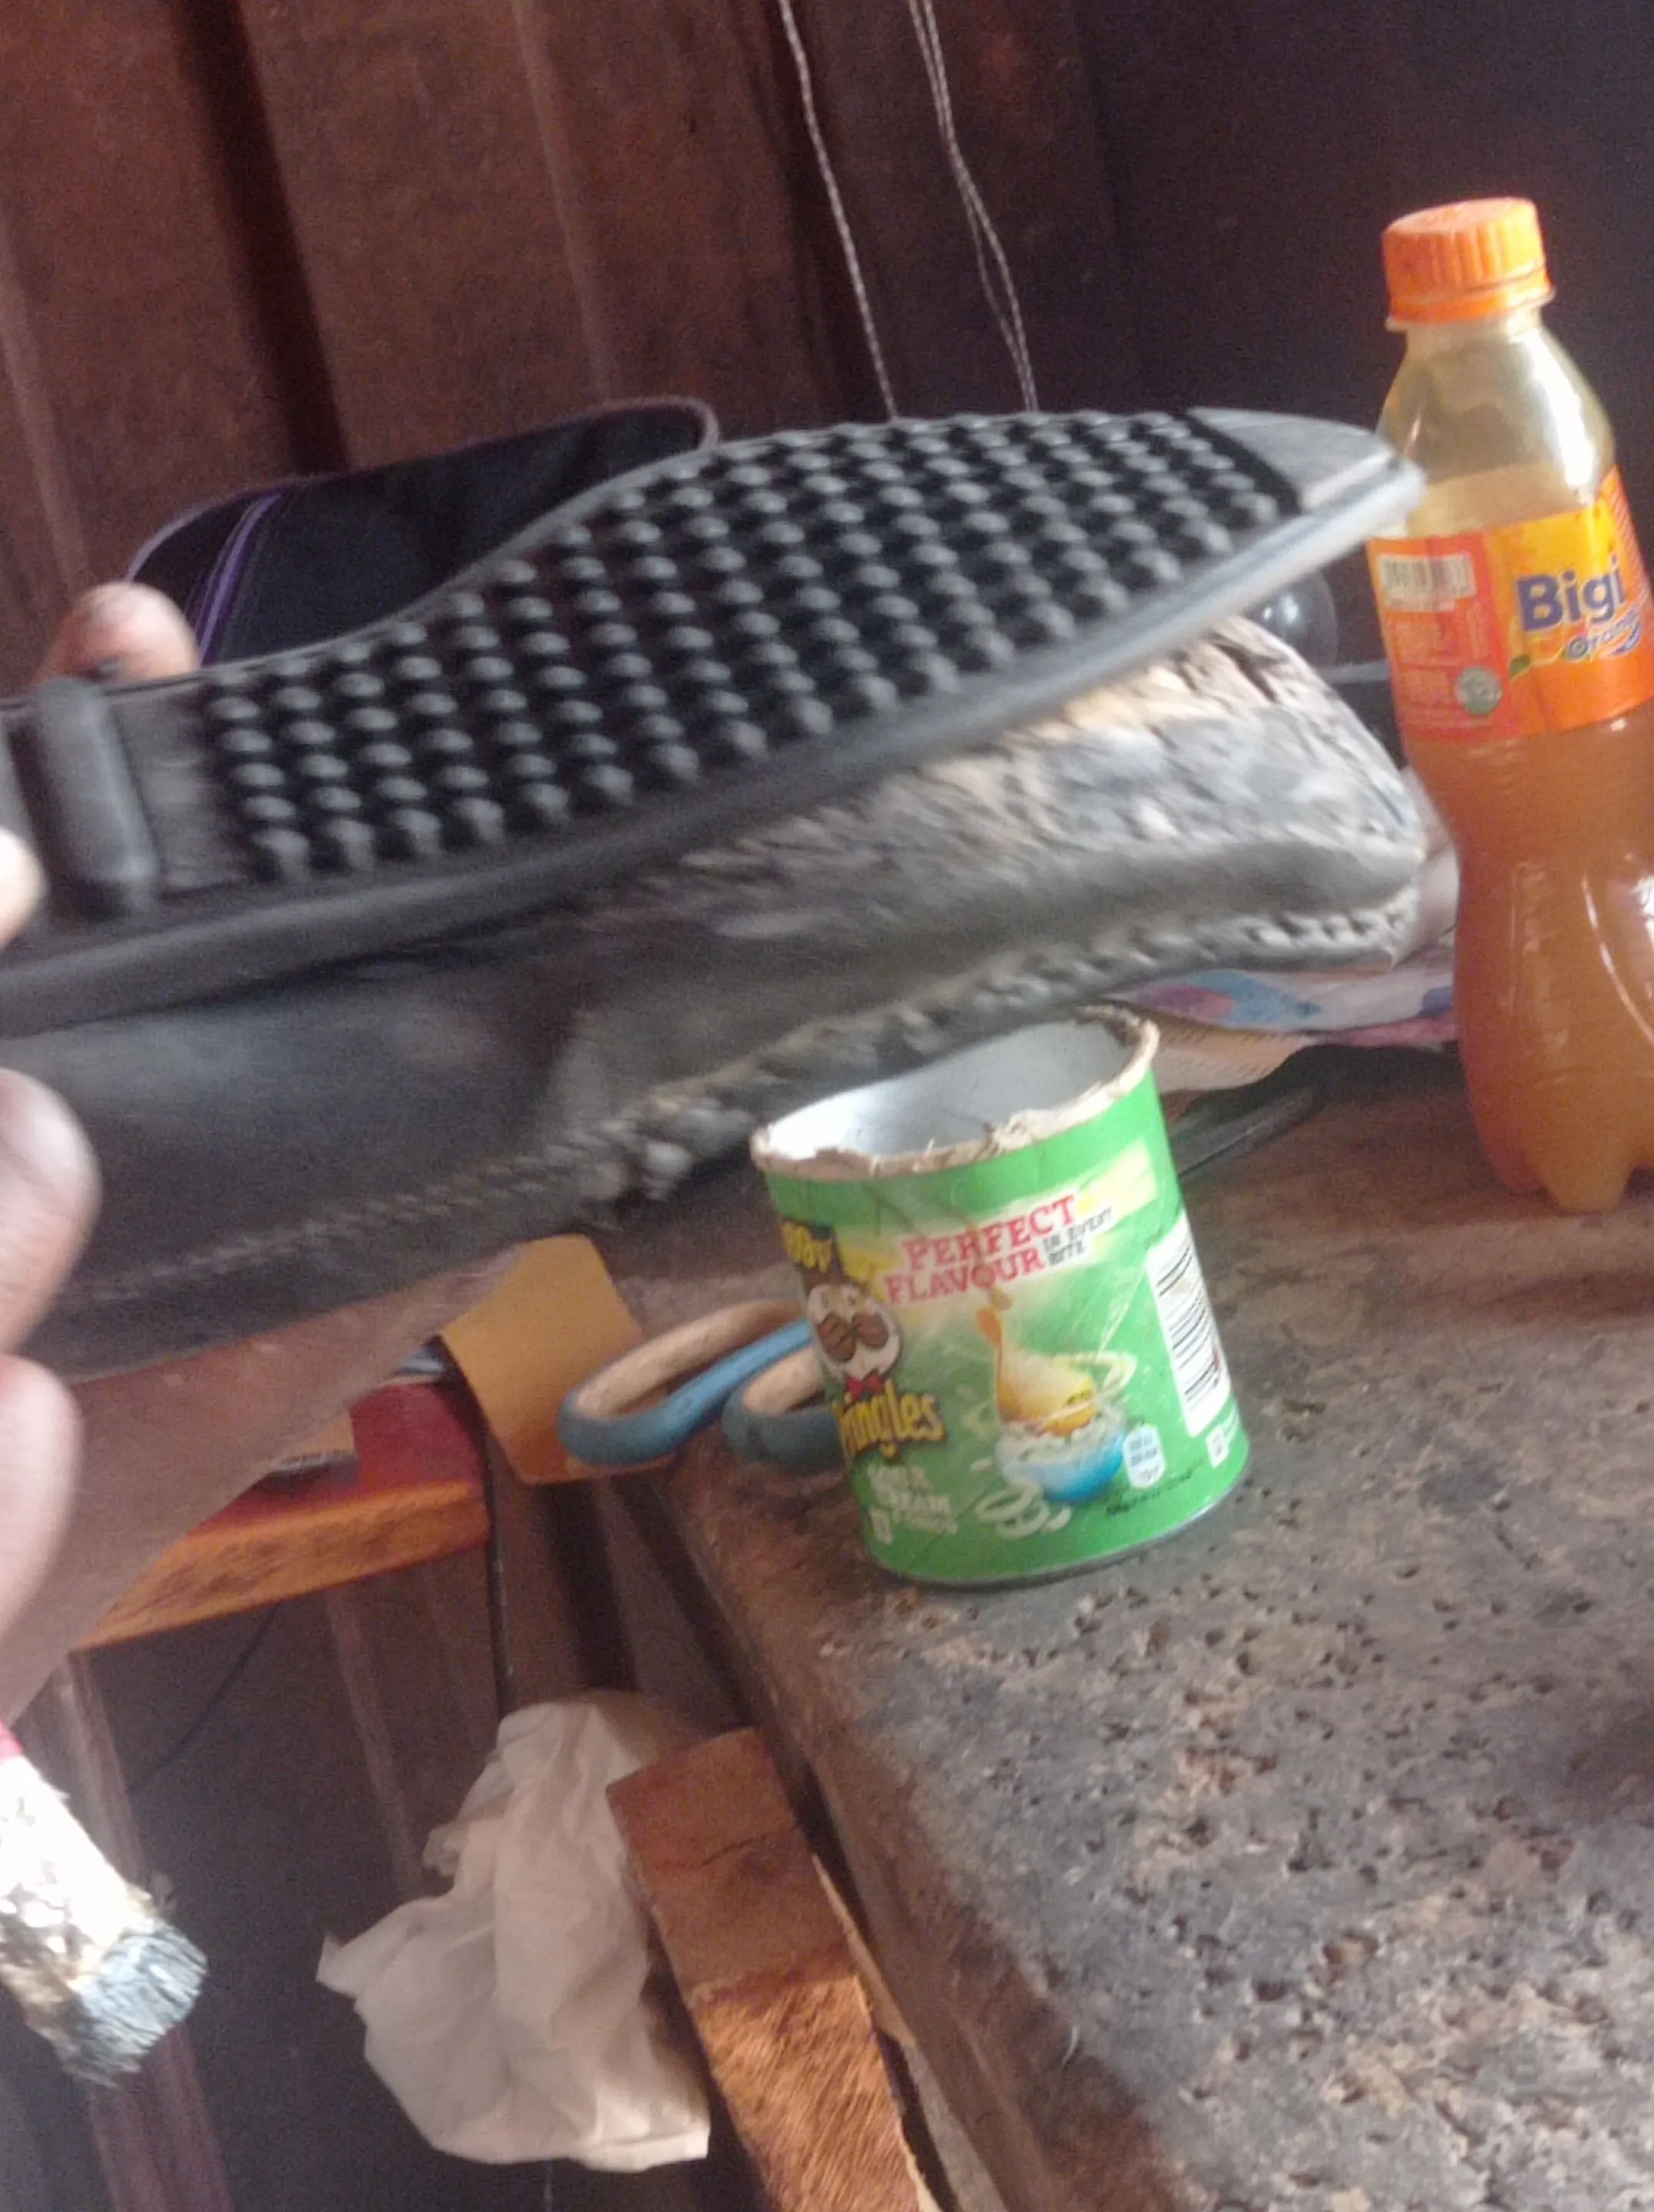
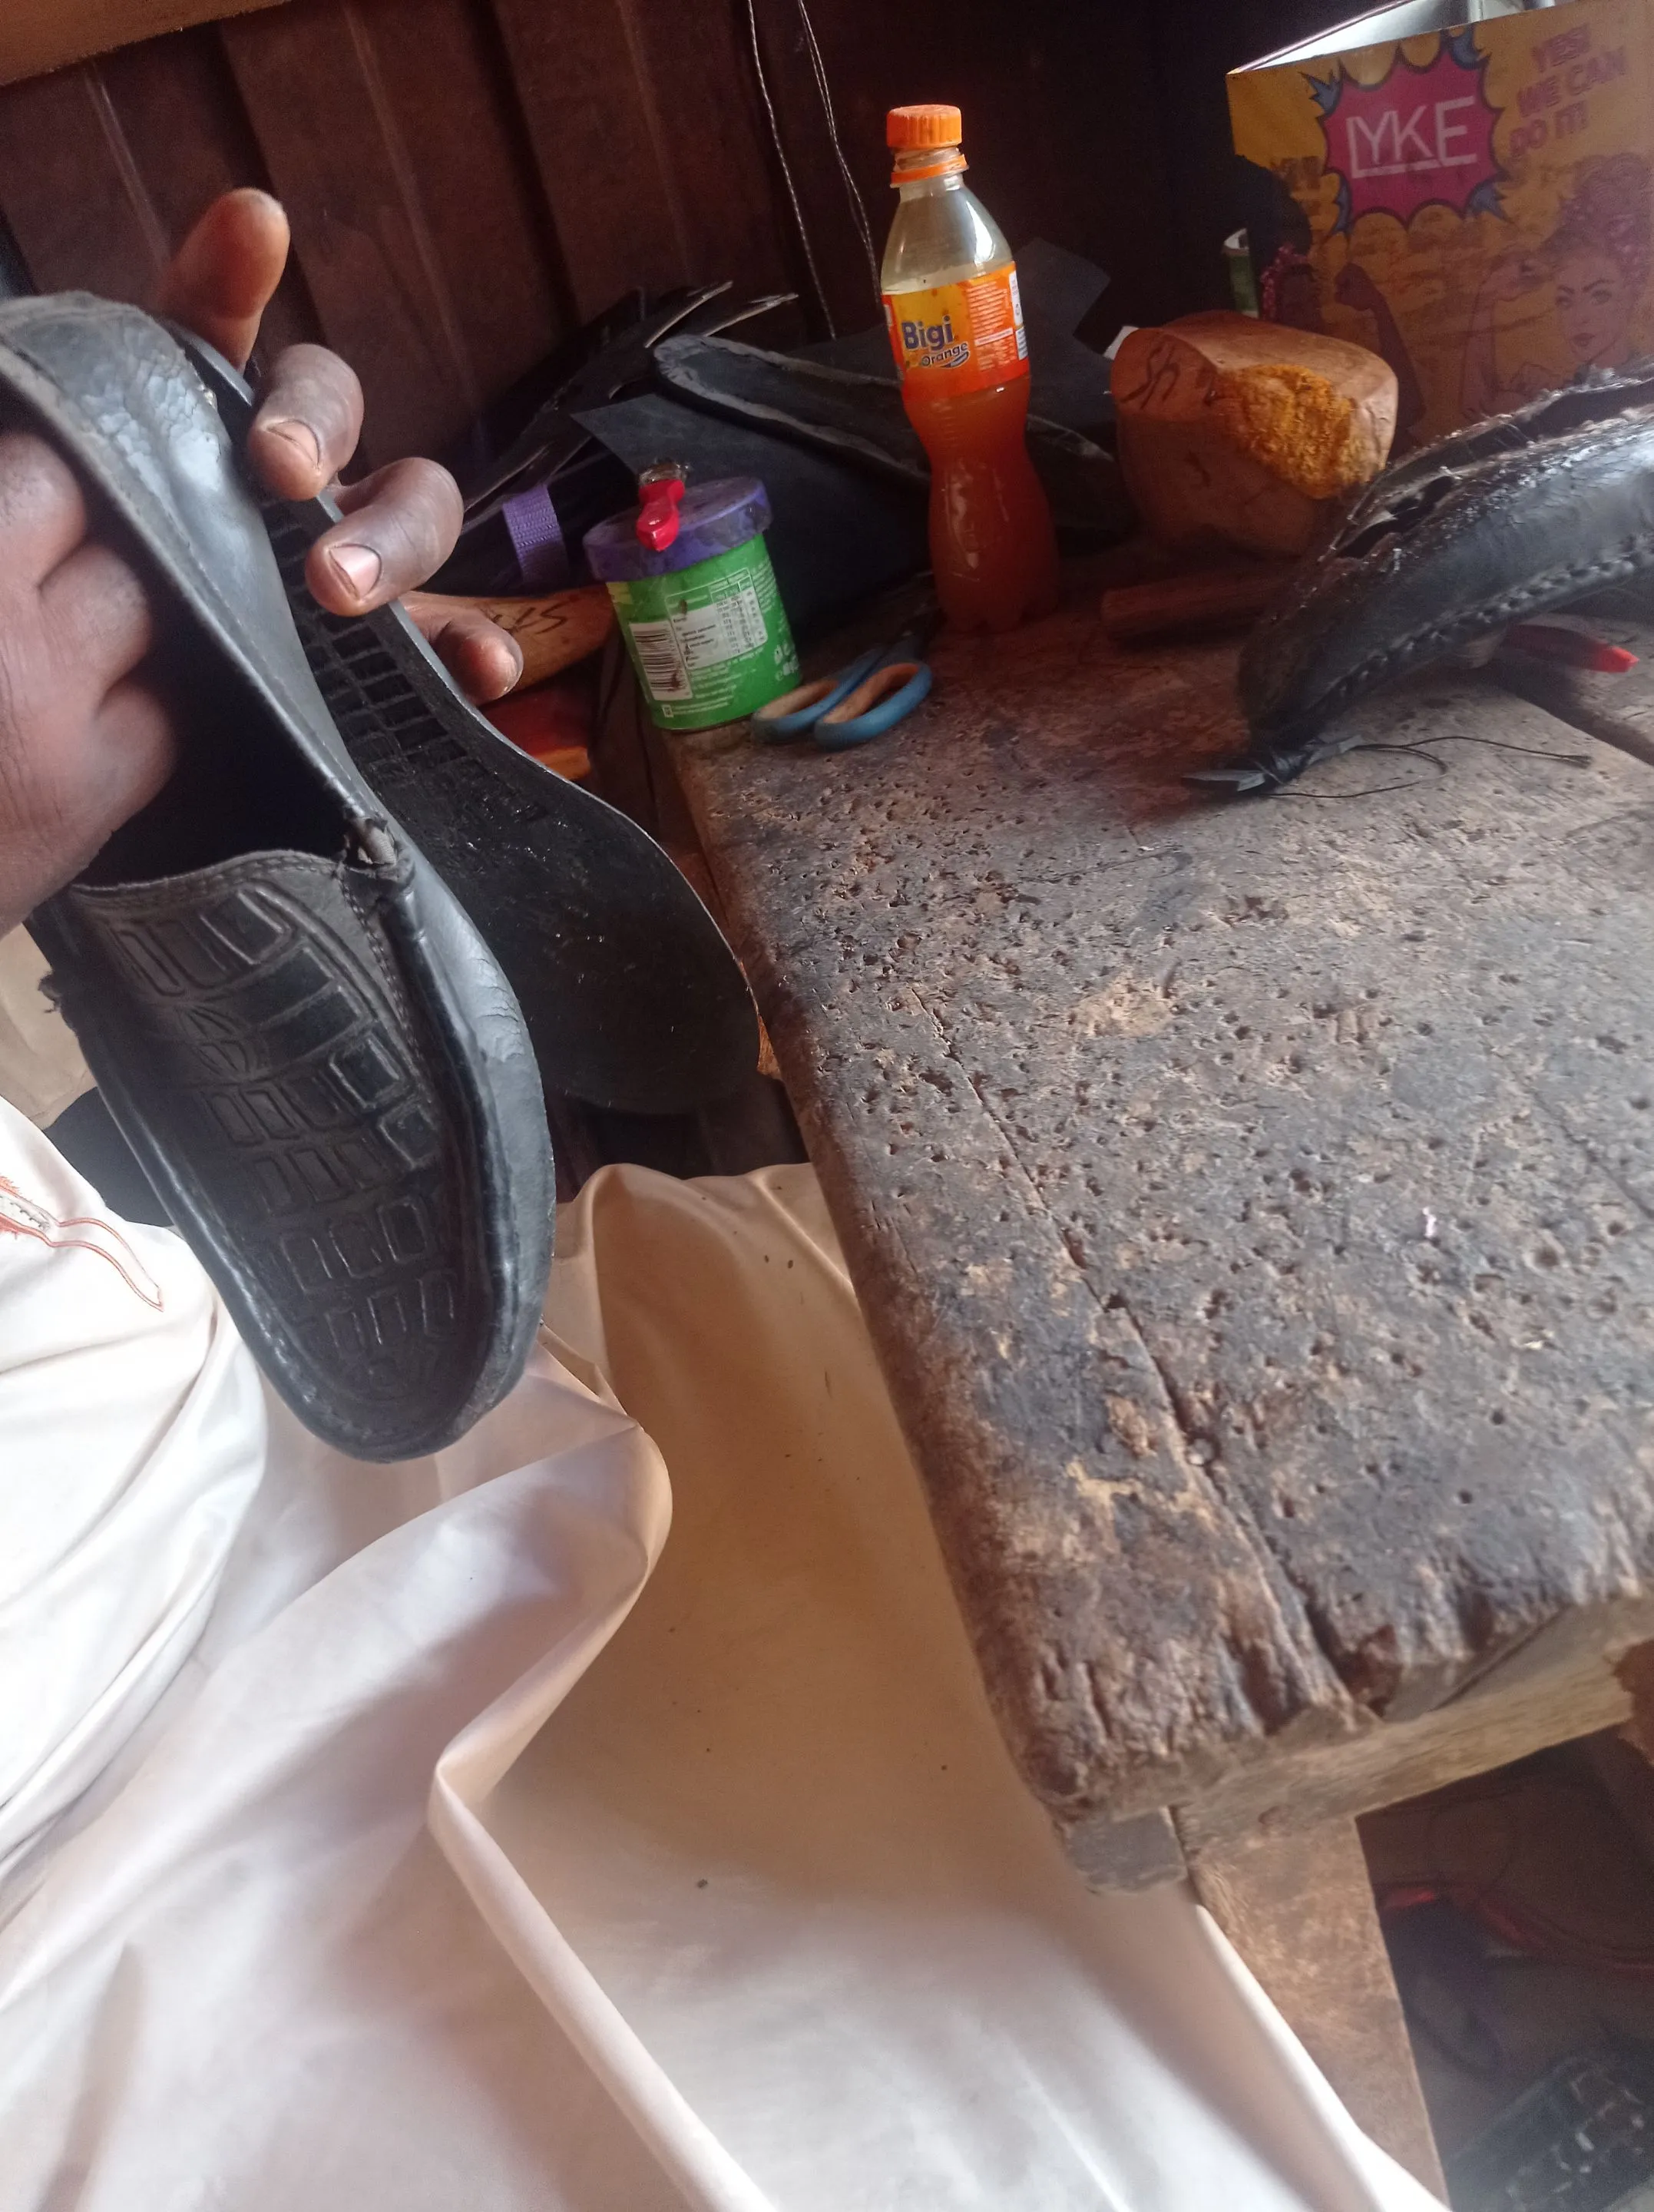
-
Then I hit every part of the sole with hammer 🔨 so it can stick together smoothly, with any winkled edges.
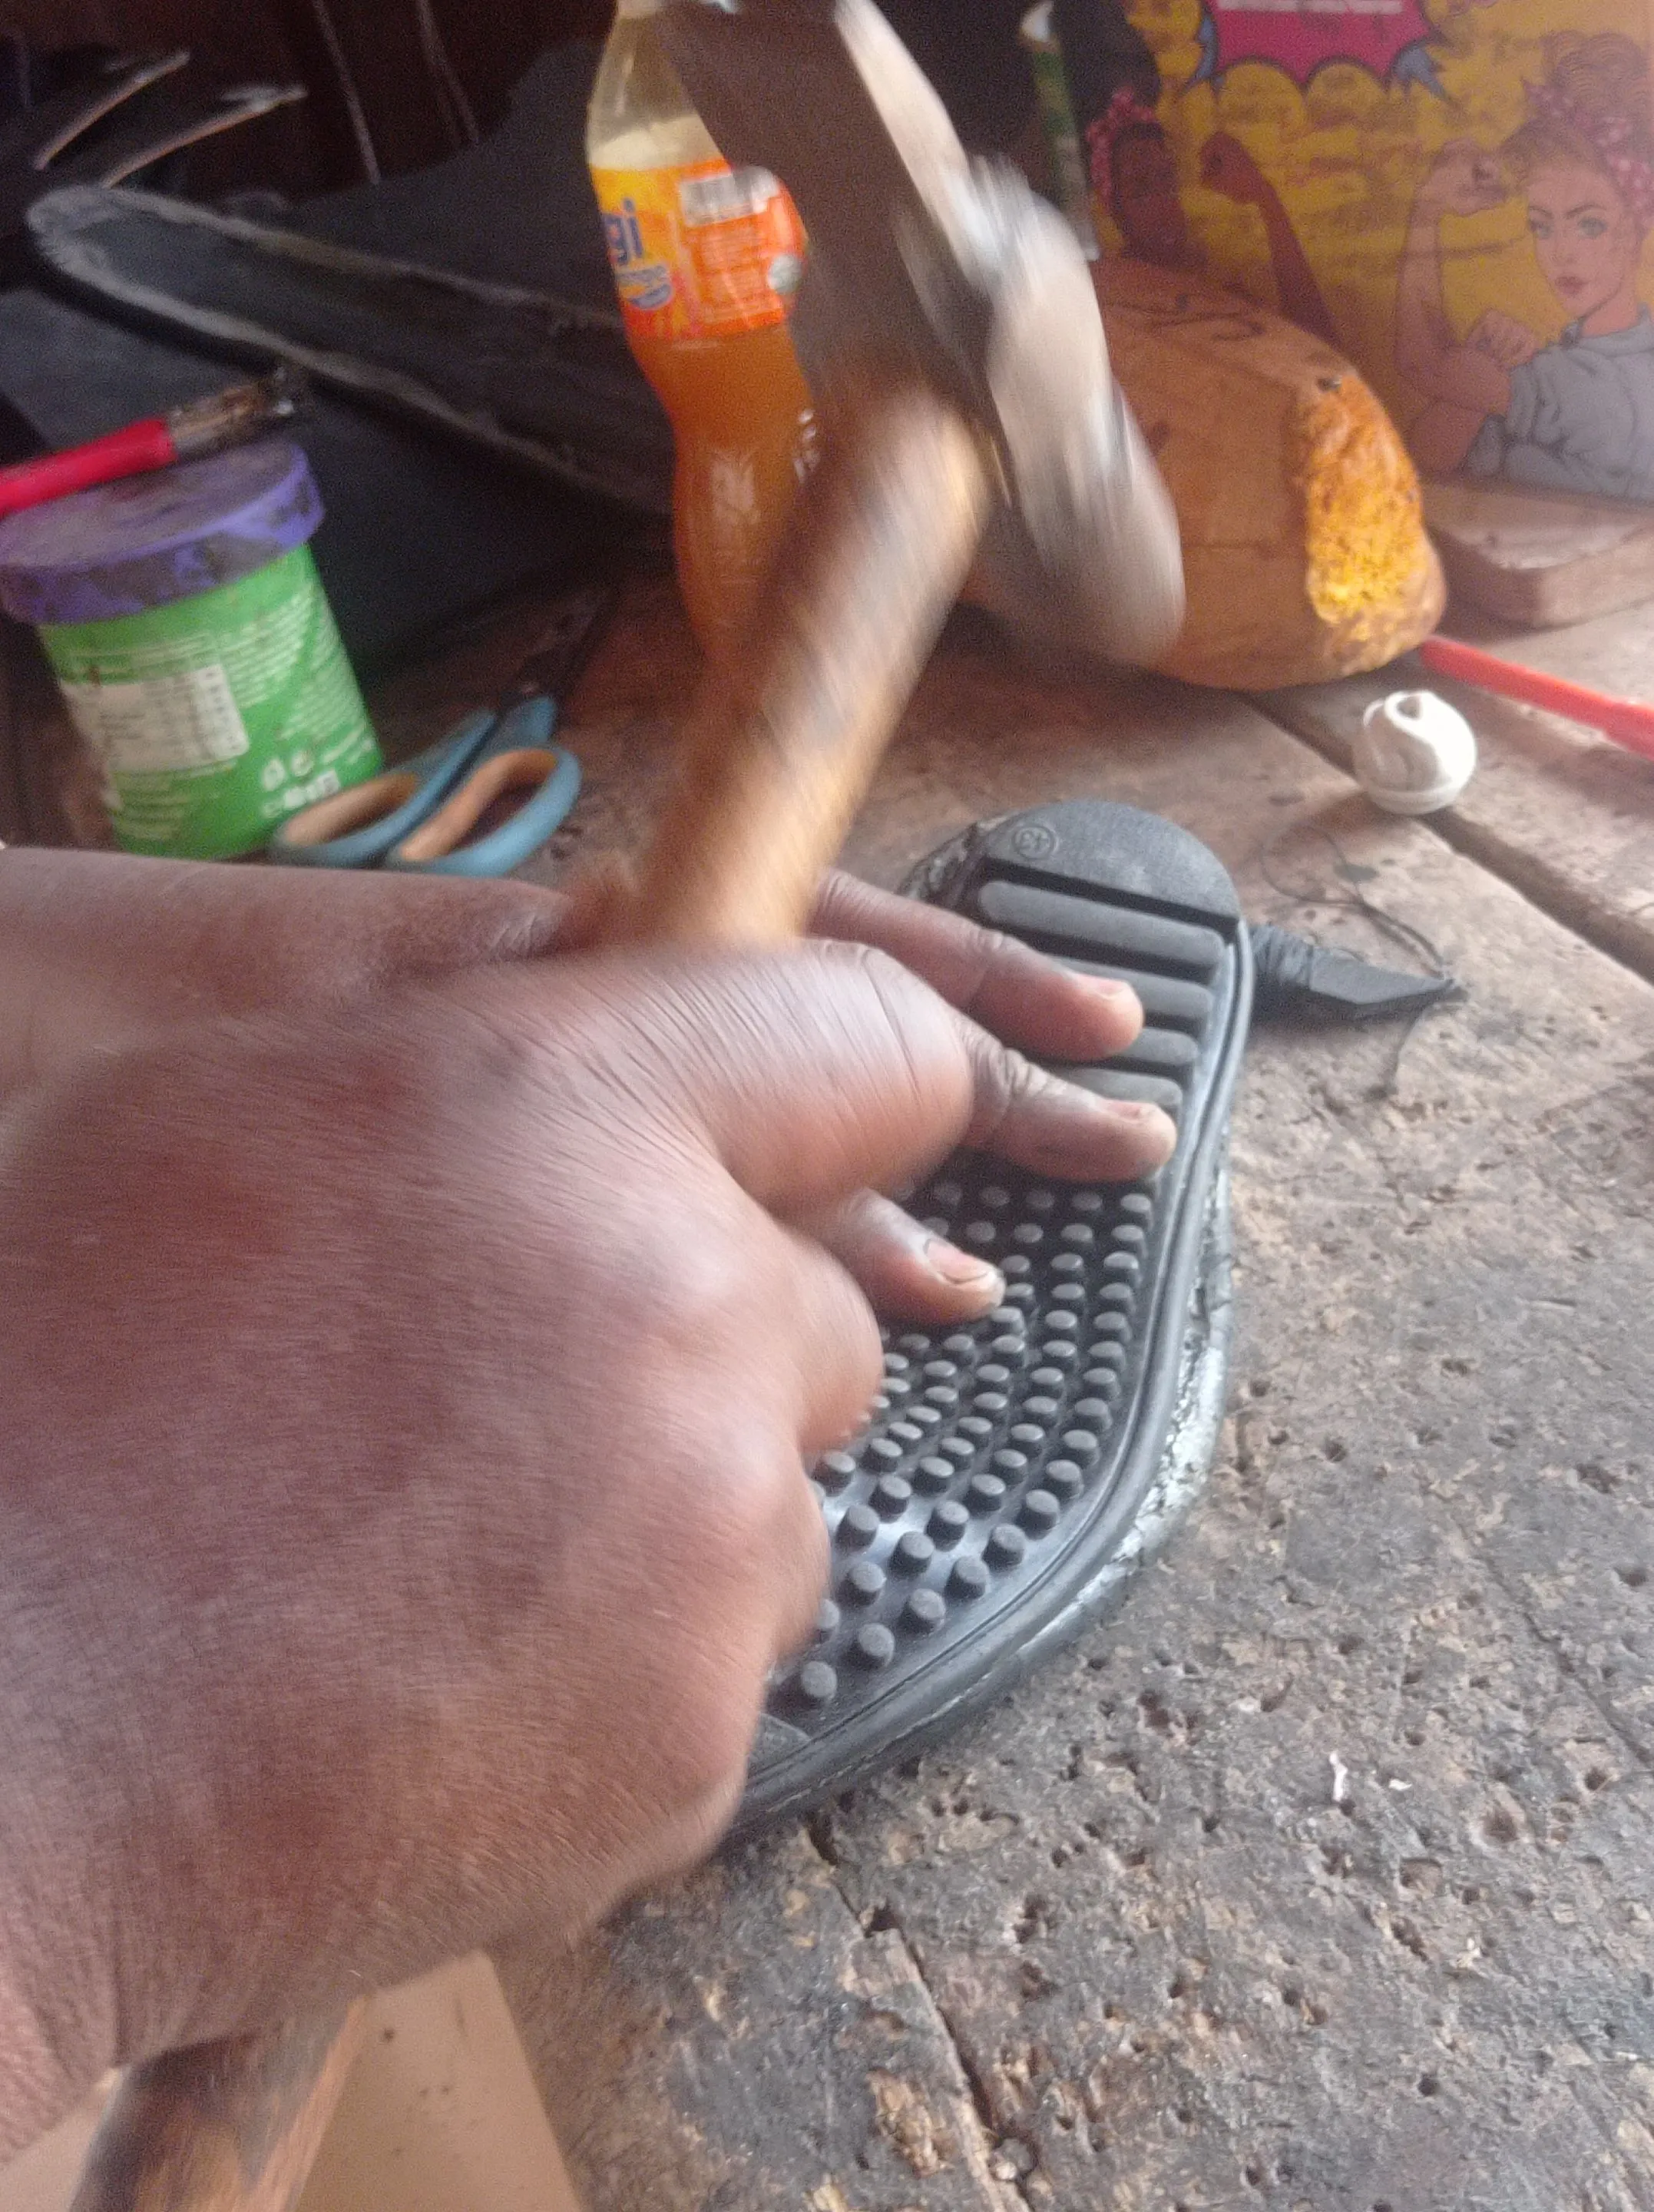
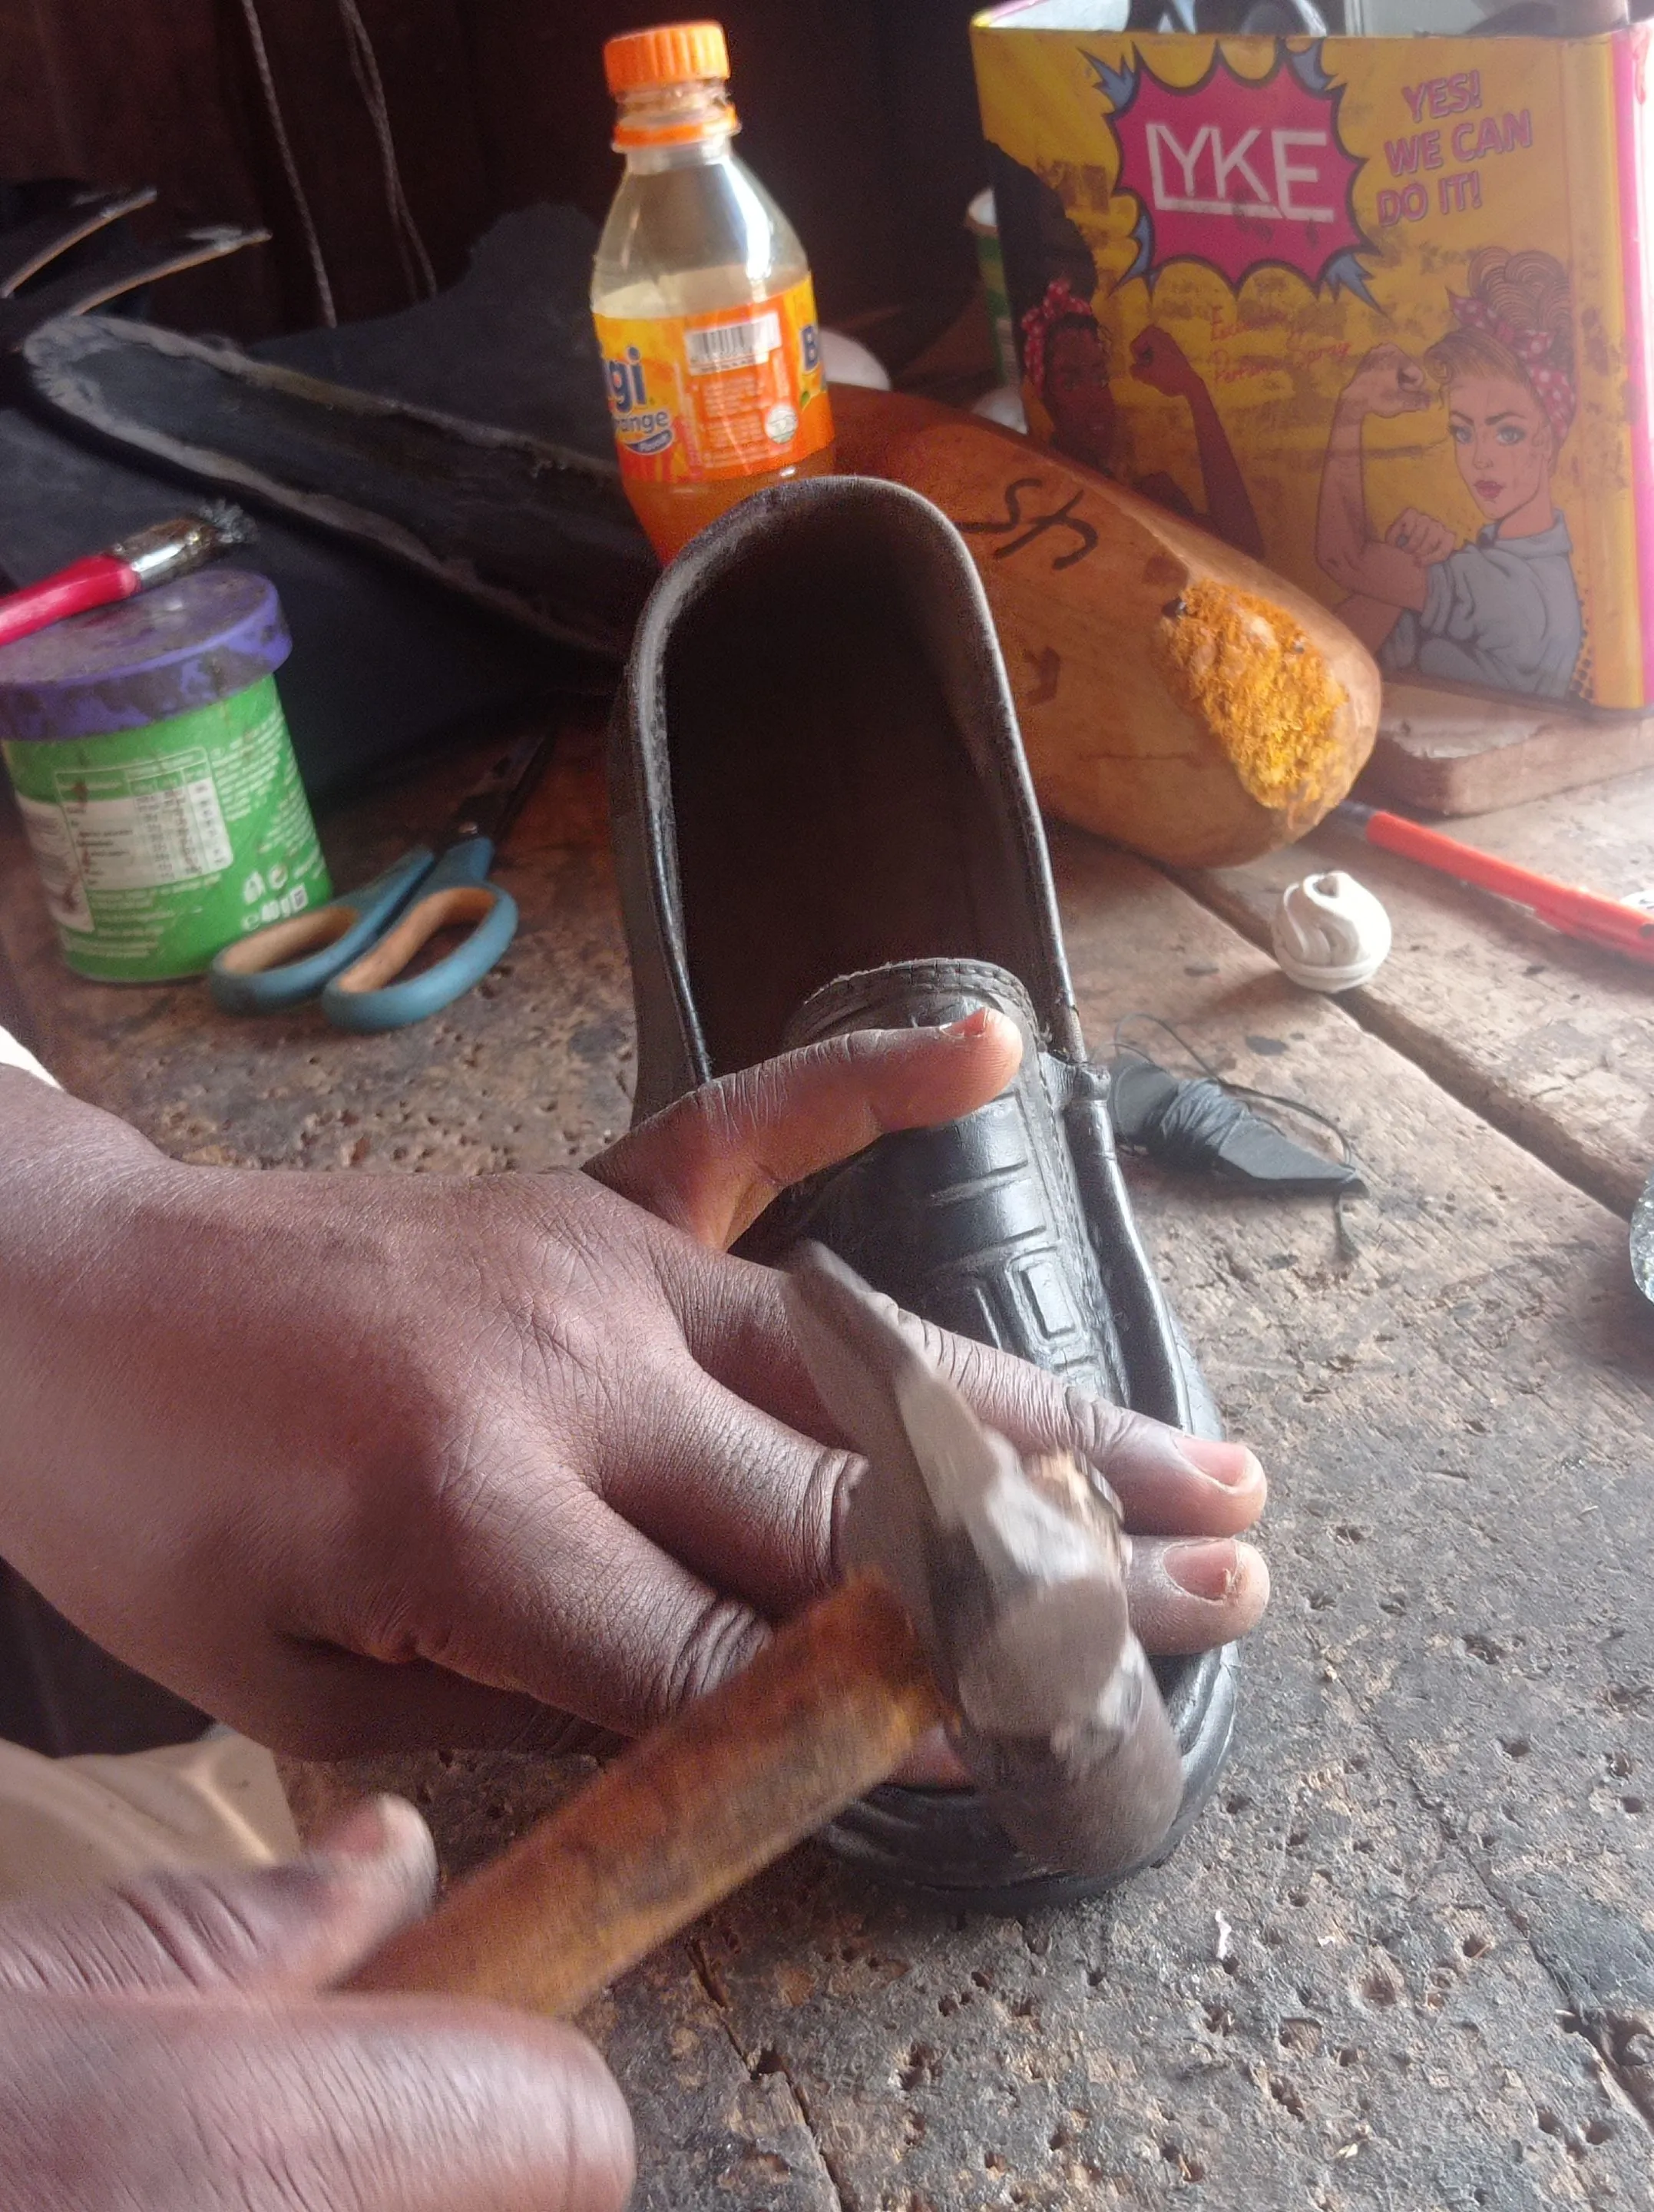
-
Once that was achieved, I started Sewing the sole and the upper (shoe body) together, so it can stick together firmly, last long and avoid opening after using for some time.
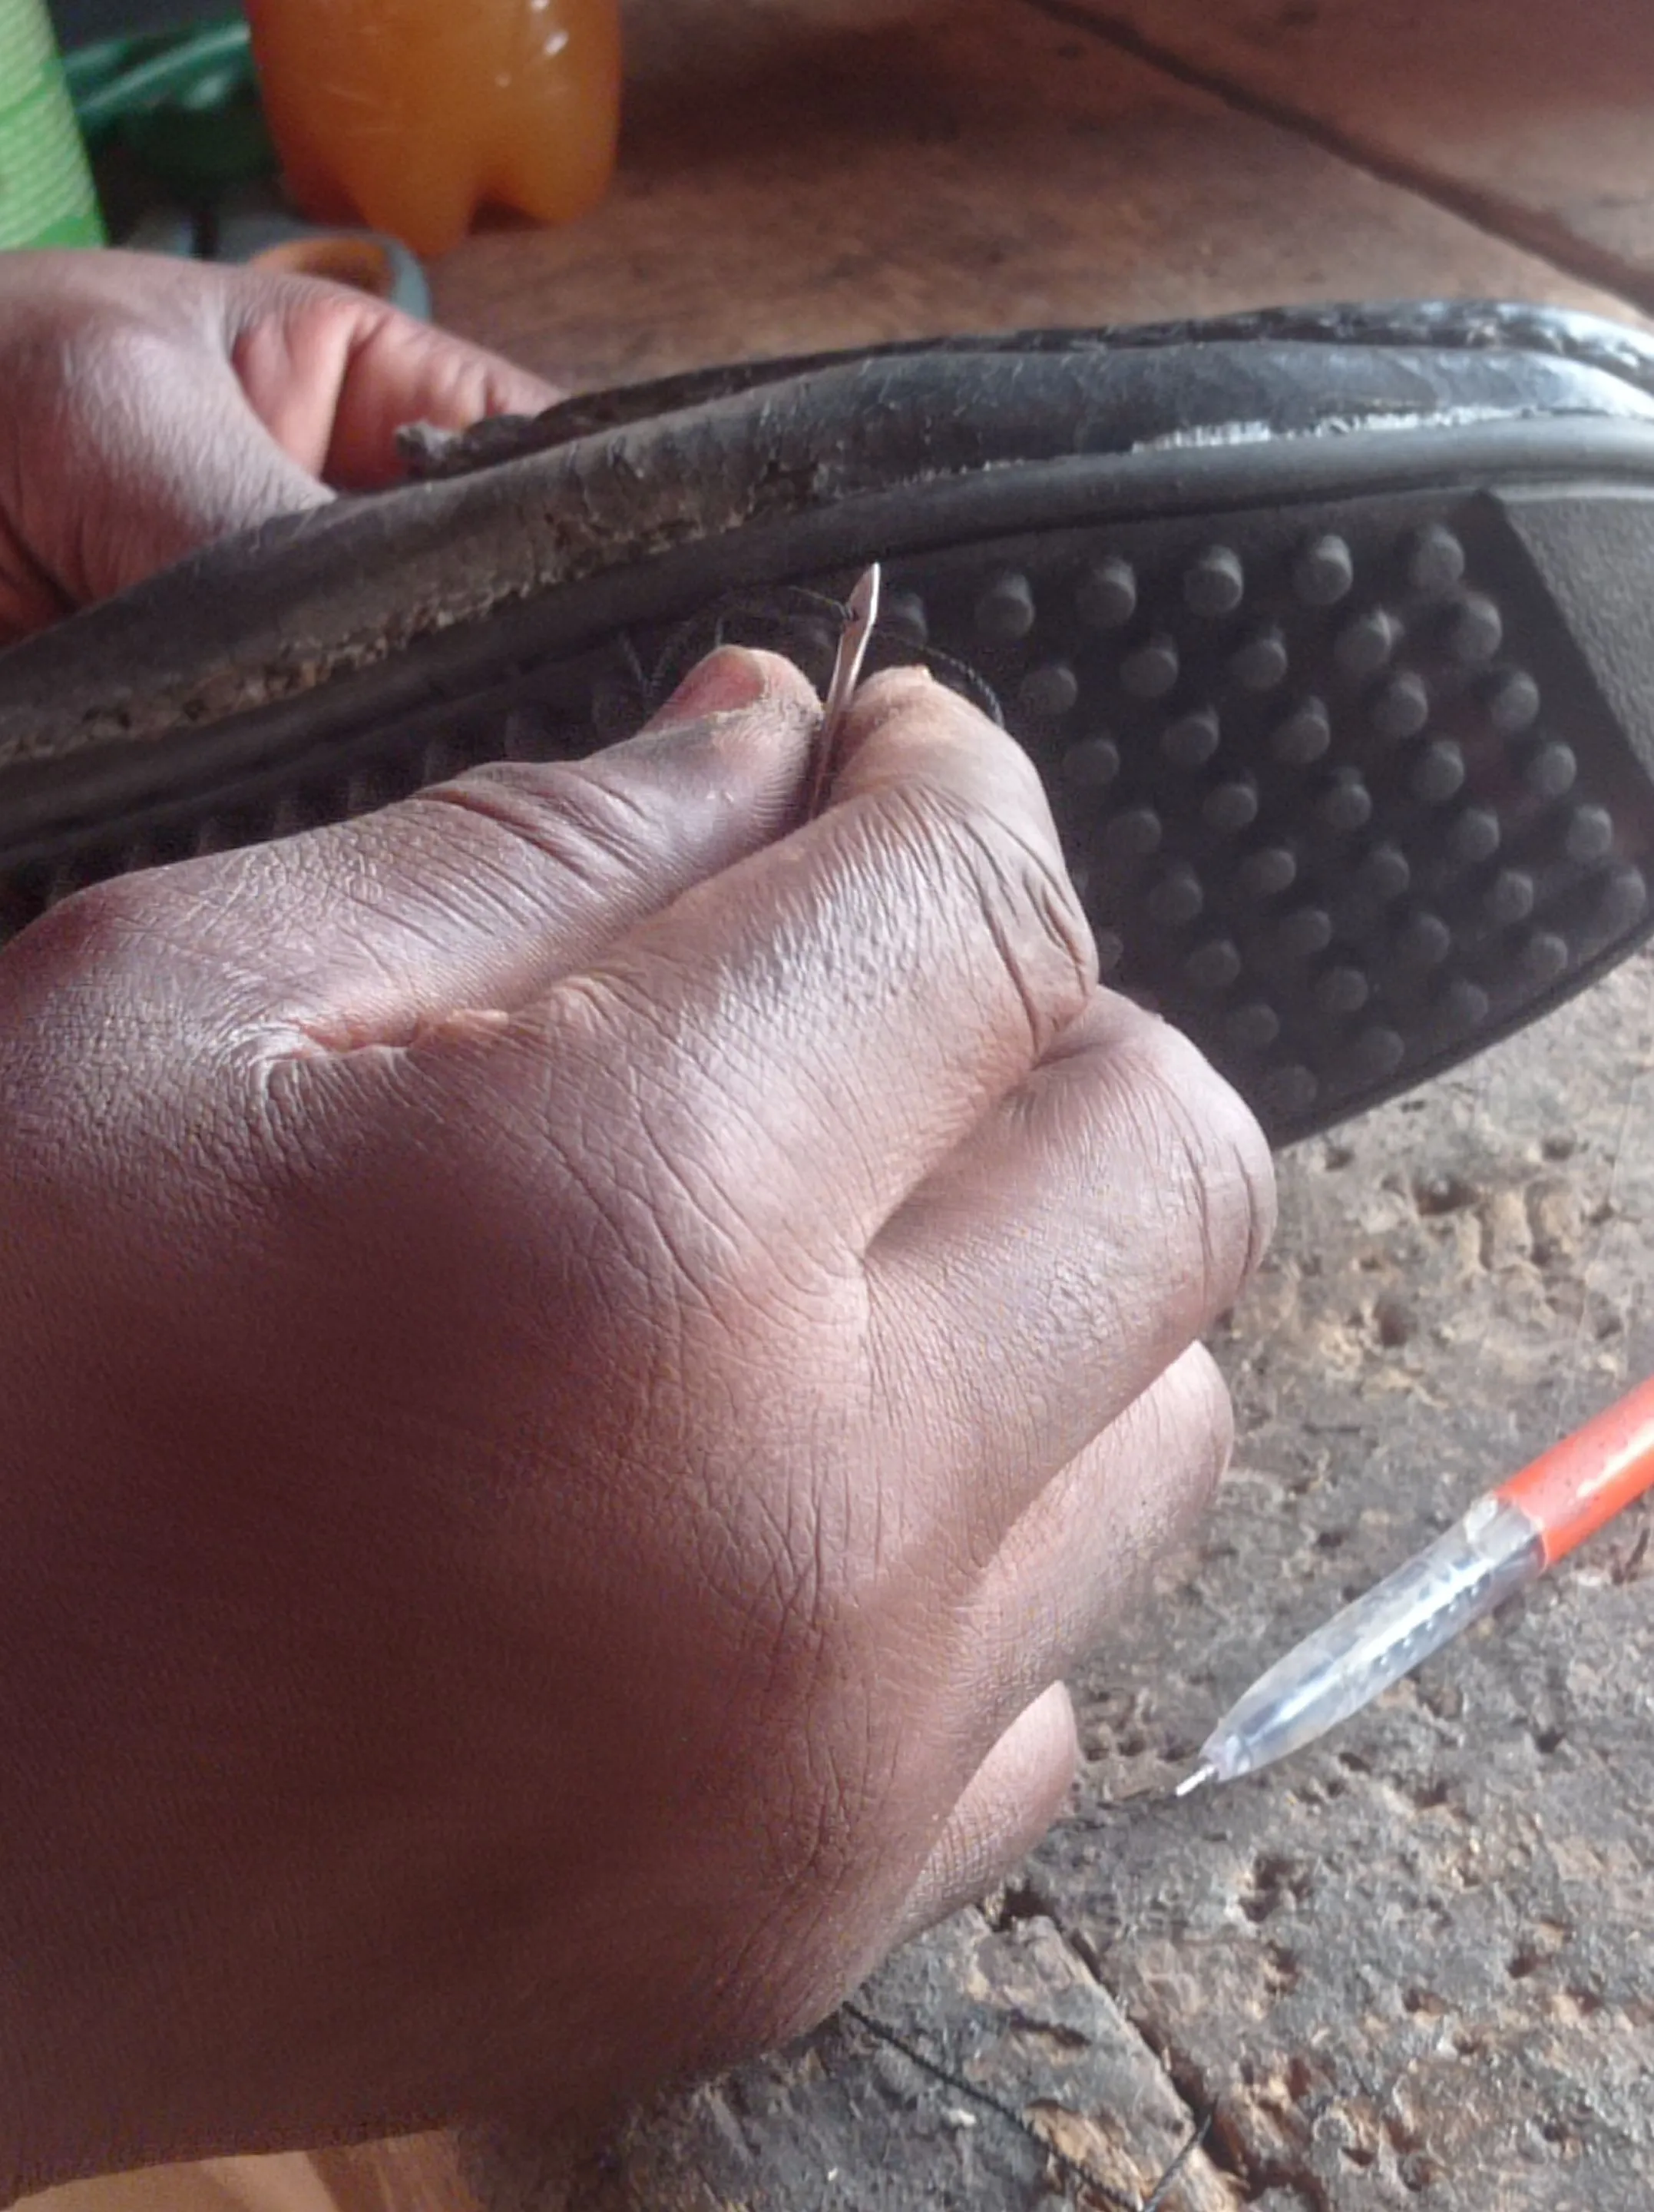
- and here is how it's looking now.
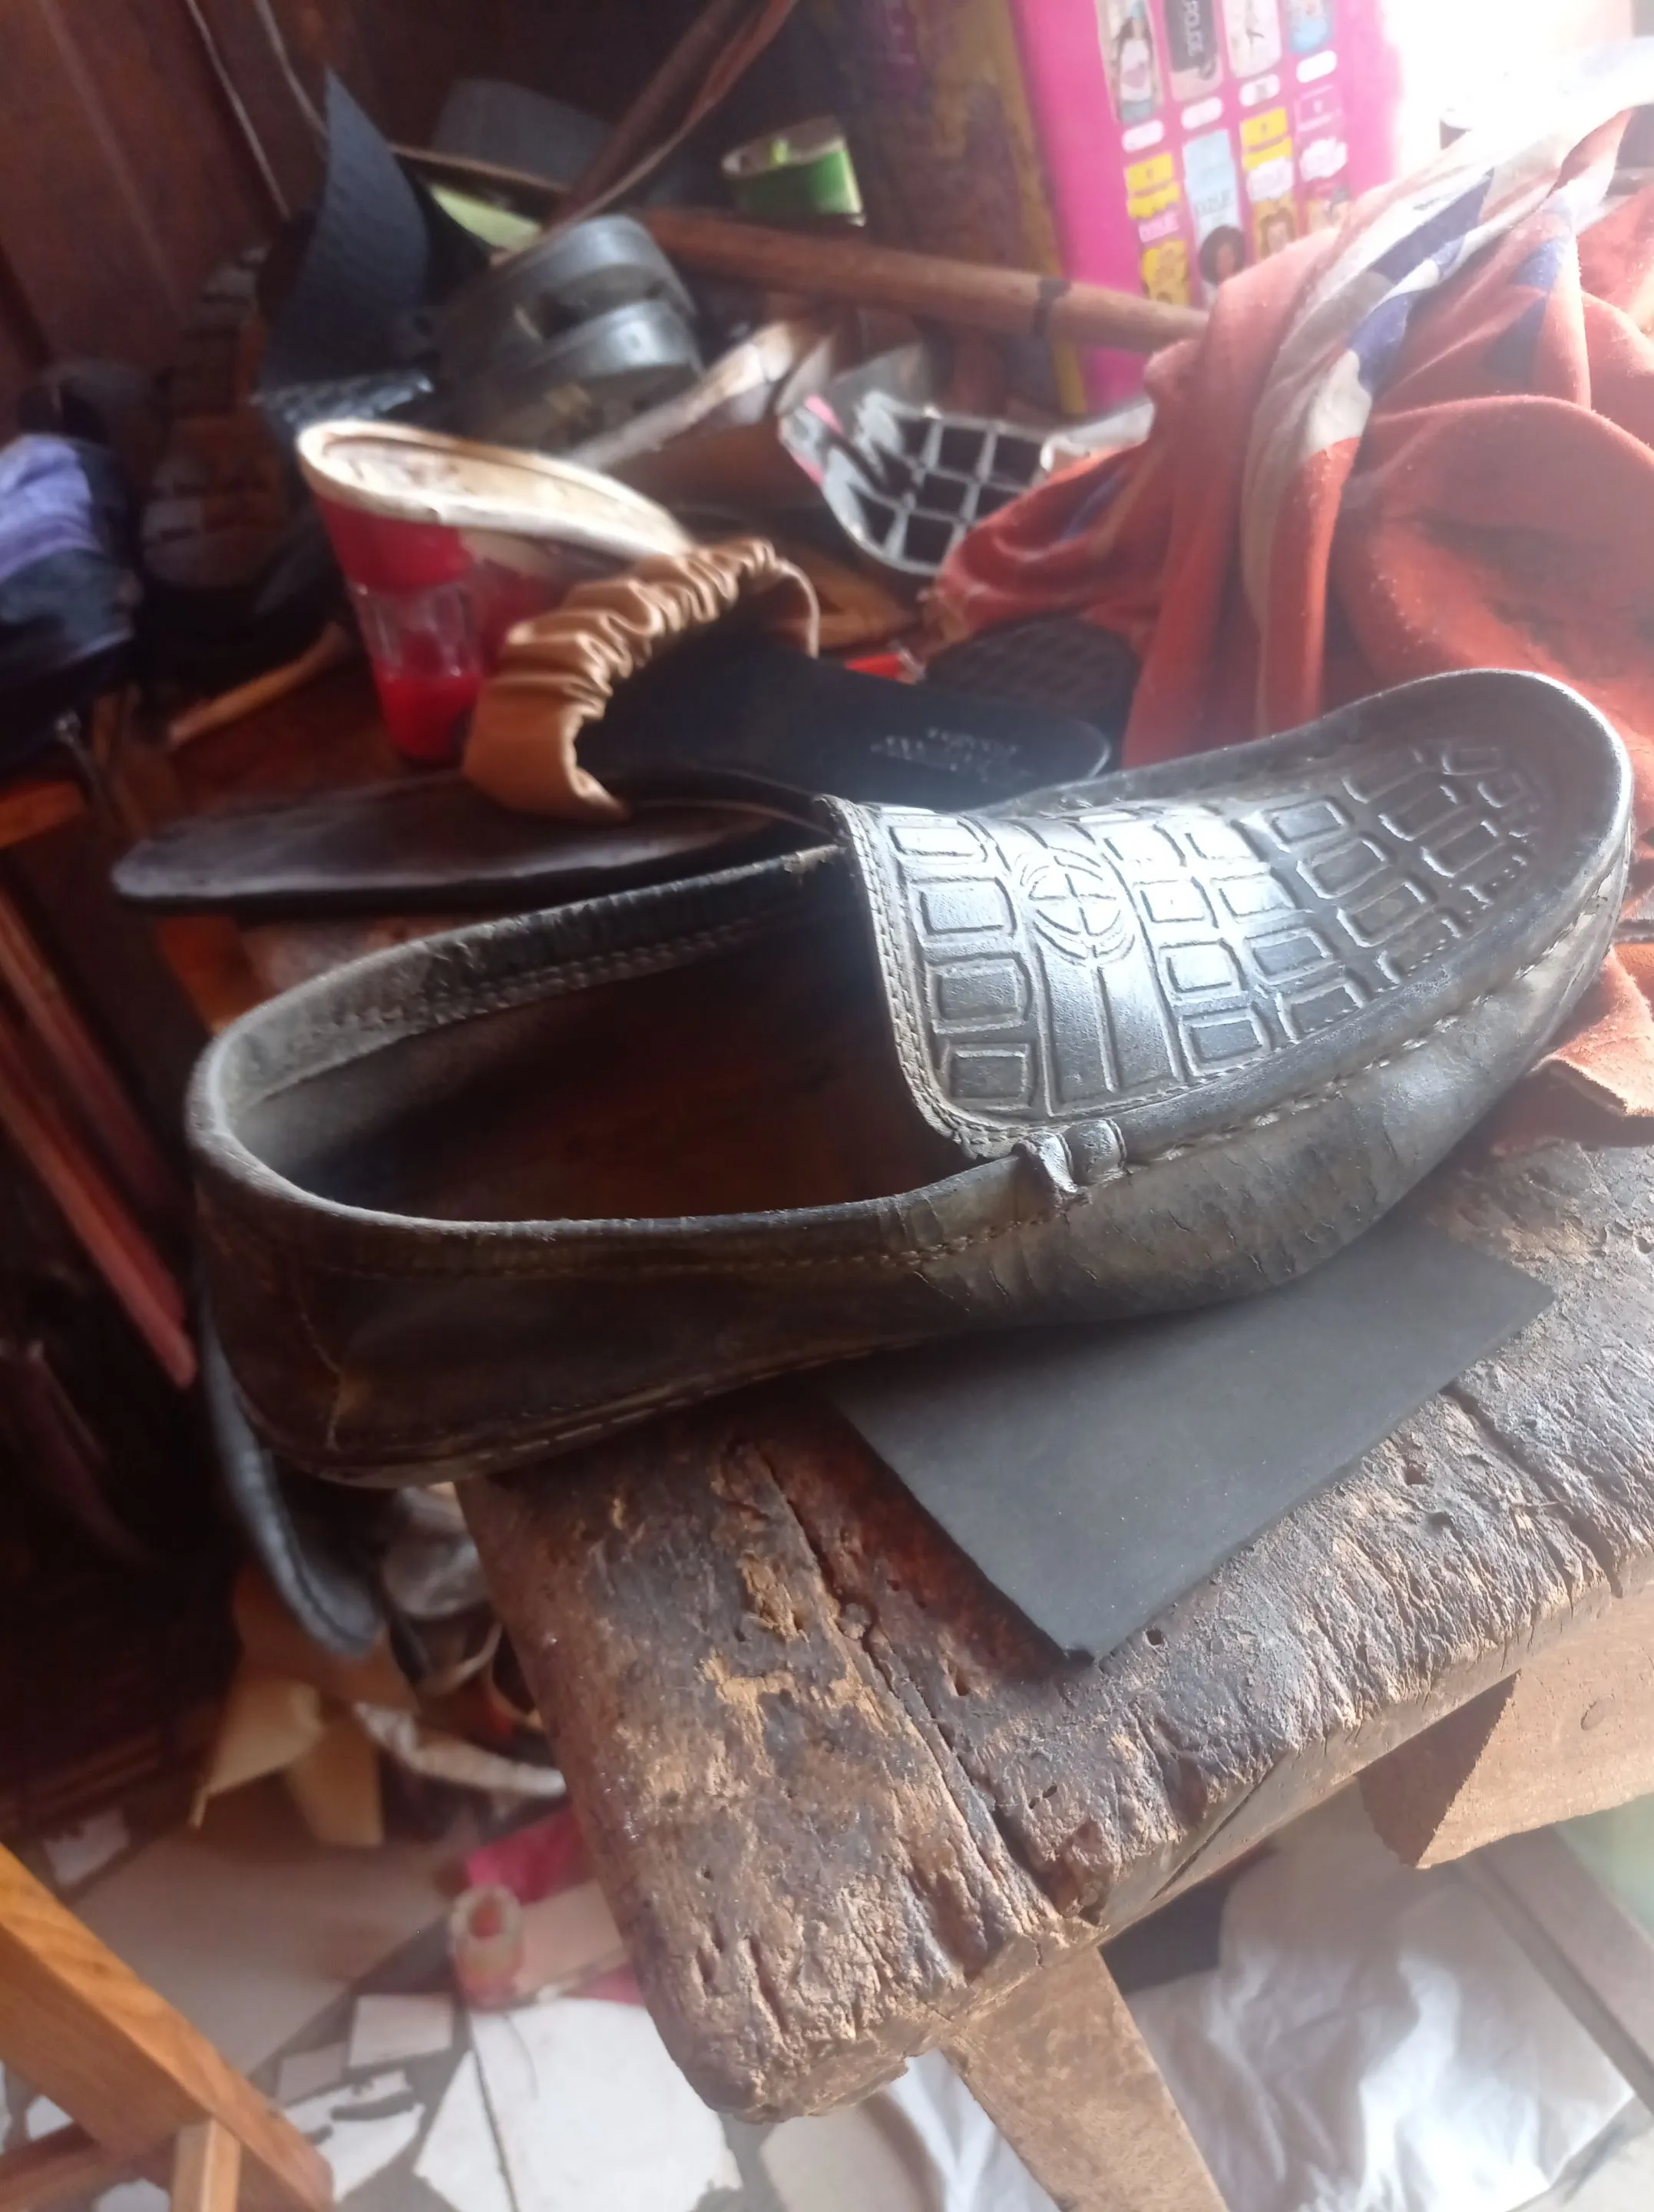
Now the shoe is looking as good as new, and just needed thorough polishing, of which the client didn't wait for me to polish before collecting it.
Changing the sole of shoe, doesn't require much work or expertise, if can follow the above listed process step by step, then you can achieve it, and should in case you encounters any step back, feel free to slip to the comments section anytime.
Thanks for checking out my post, have a pleasant time.
Greetings from: @vickoly
Return from How I refunished a spoilt shoe to look more decent and comfortable to vickoly's Web3 Blog

