HELLO FELLOW NEEDLEWORKERS AND FRIENDS!
Welcome to my blog. It's a pleasure to have you here today, and in the light of one of my New Year's resolutions, which is to gift myself as much as possible, or in other words, pamper myself as much as possible, I recently made these gorgeous wetsole shoes for myself, and after completing the project, I must say that I was wowed by what I've made.
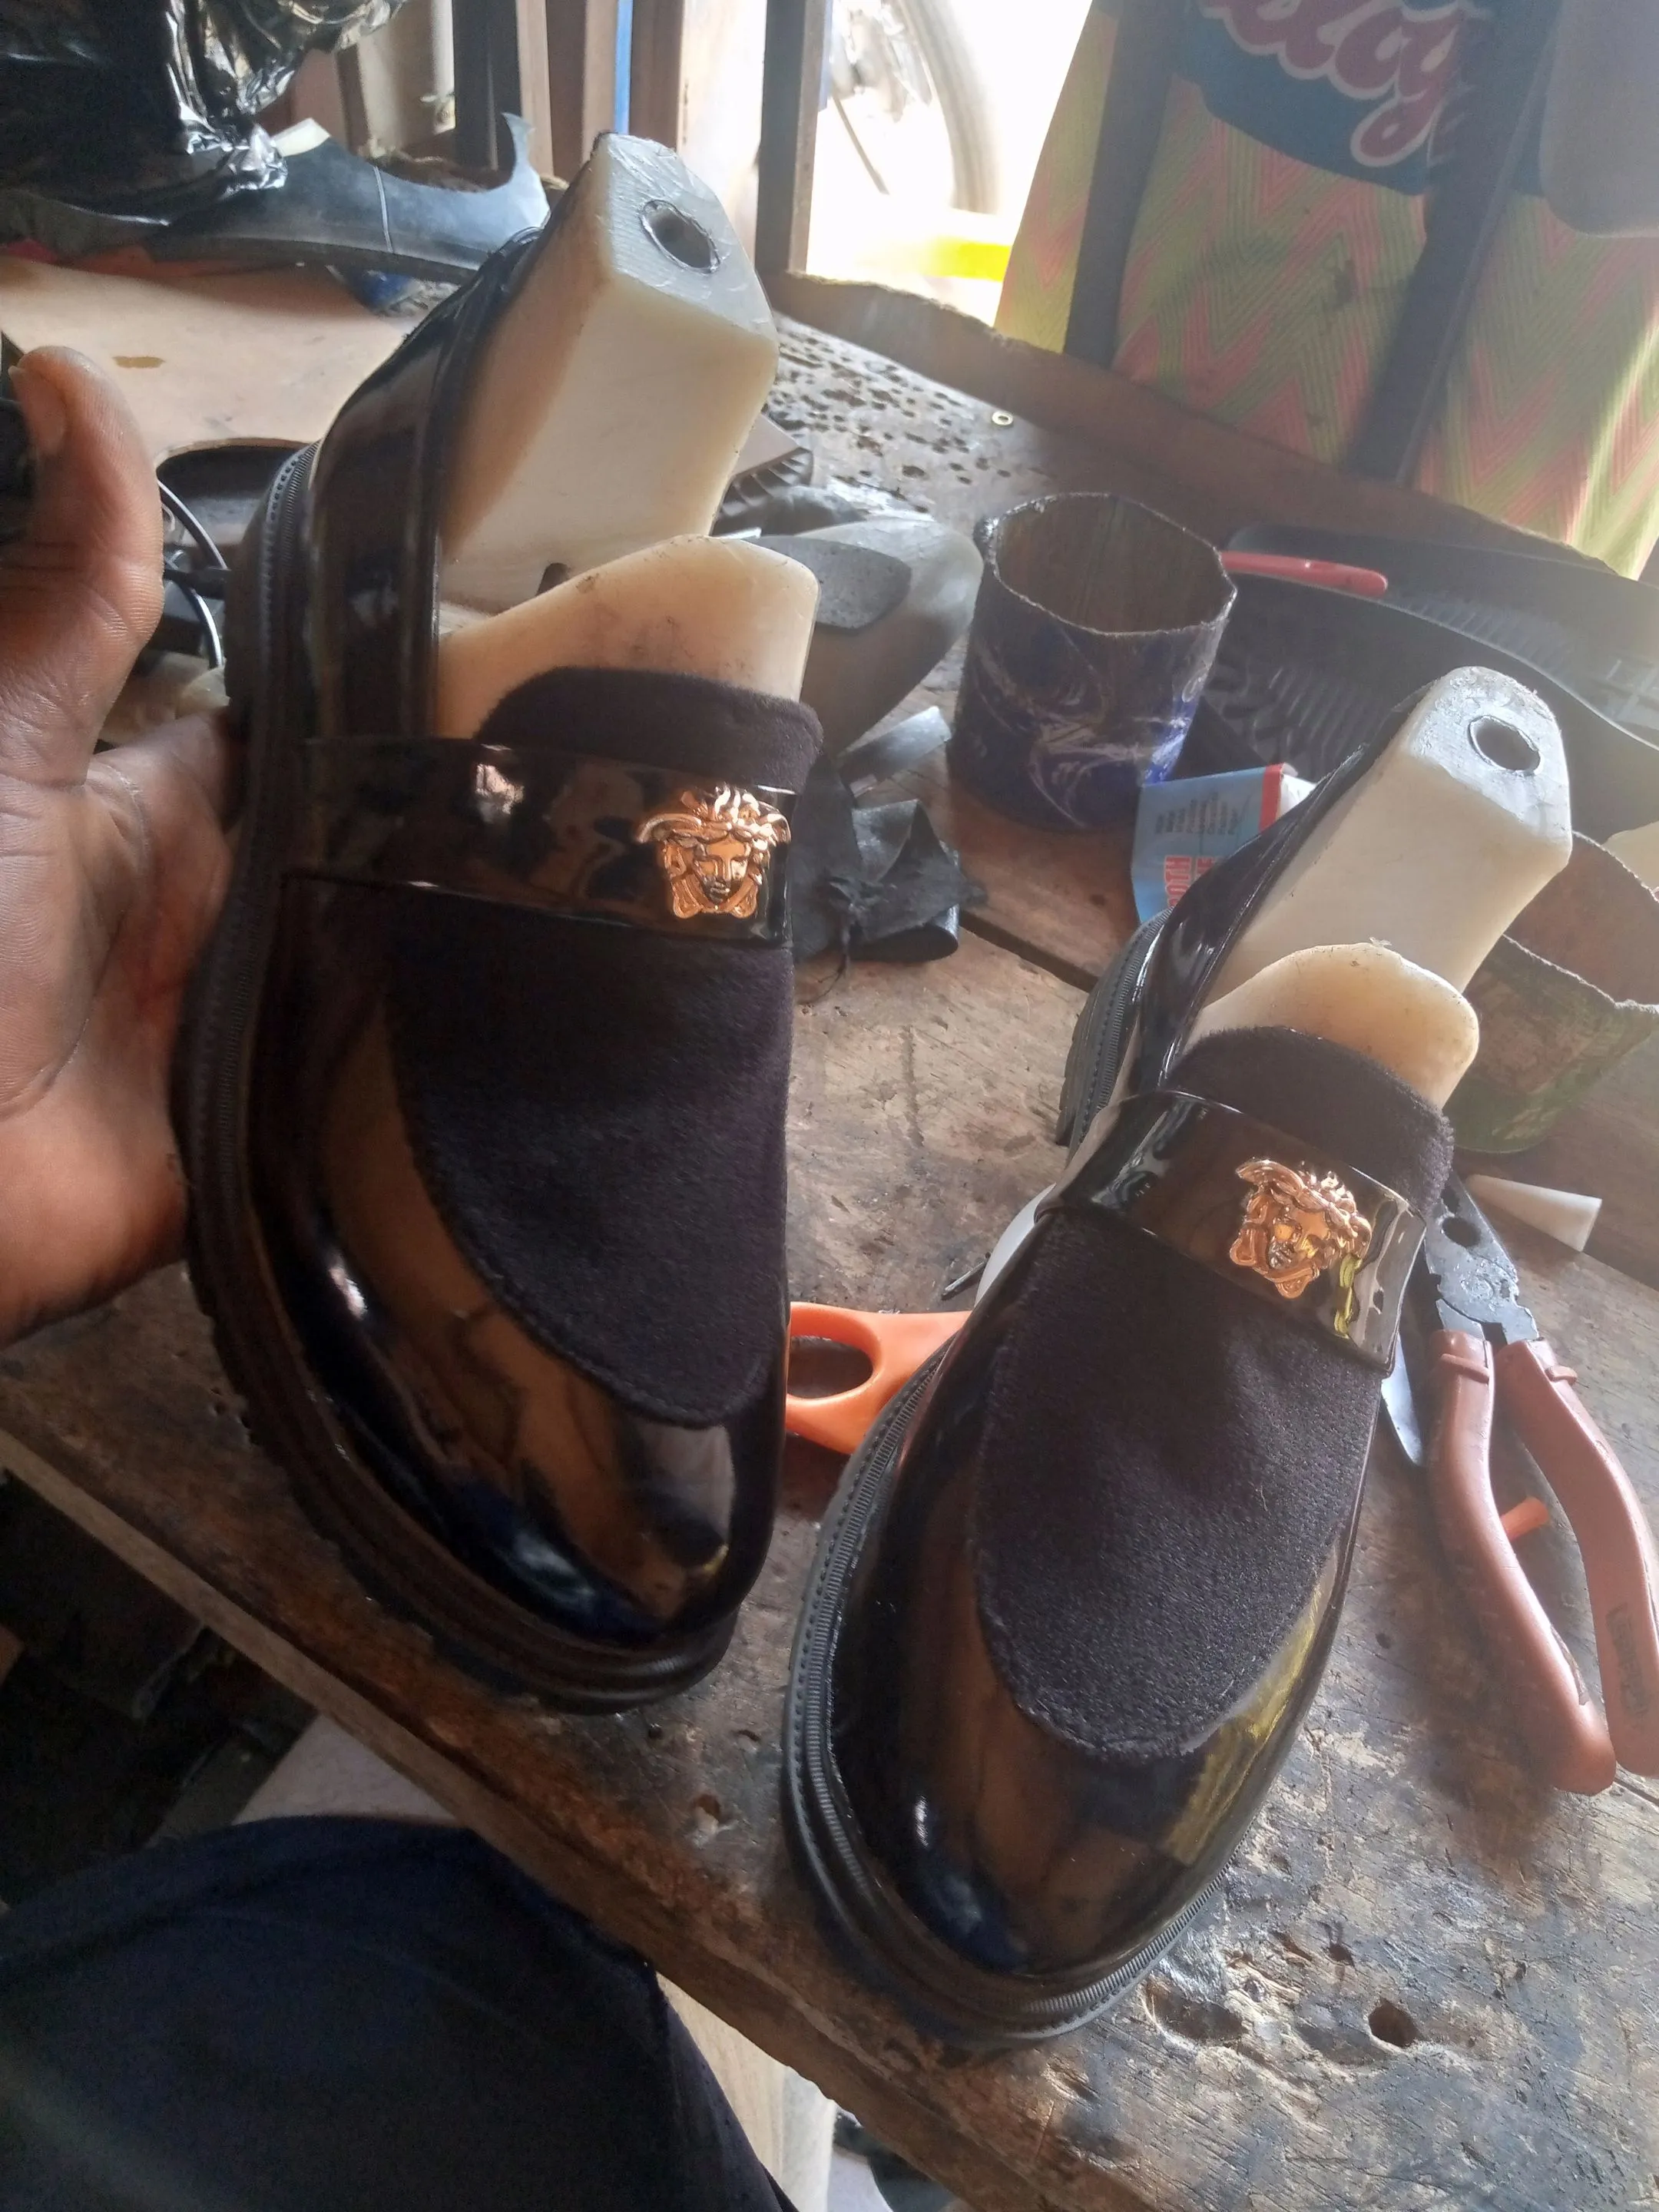
Although I've got a couple of pairs of shoes, I needed something stunning and captivating that'll make me stand out in any event I wear it to, and I think the outcome did justice to that perfectly. I had the mindset of making these particular styles of footwear after attending a friend's wedding and seeing him wear the shoe,,ed to make something of that natmakes me wish to have a shoe of that exact style, so it became my first needle work buckle list Todo list,so I took a photo of it so I could use it in his leg to serve as a blueprint to guide me to help me achieve my very first needleworkyourbucketlist challenge in making mine.
The wedding was held on the 10th of December last year, and that was when I've had the mindset of making one for myself, but I couldn't begin work on the project till early this wear when I traveled to place where my store was located, I took me approximately 3 days to complete this project because I also had to do some work in-between.
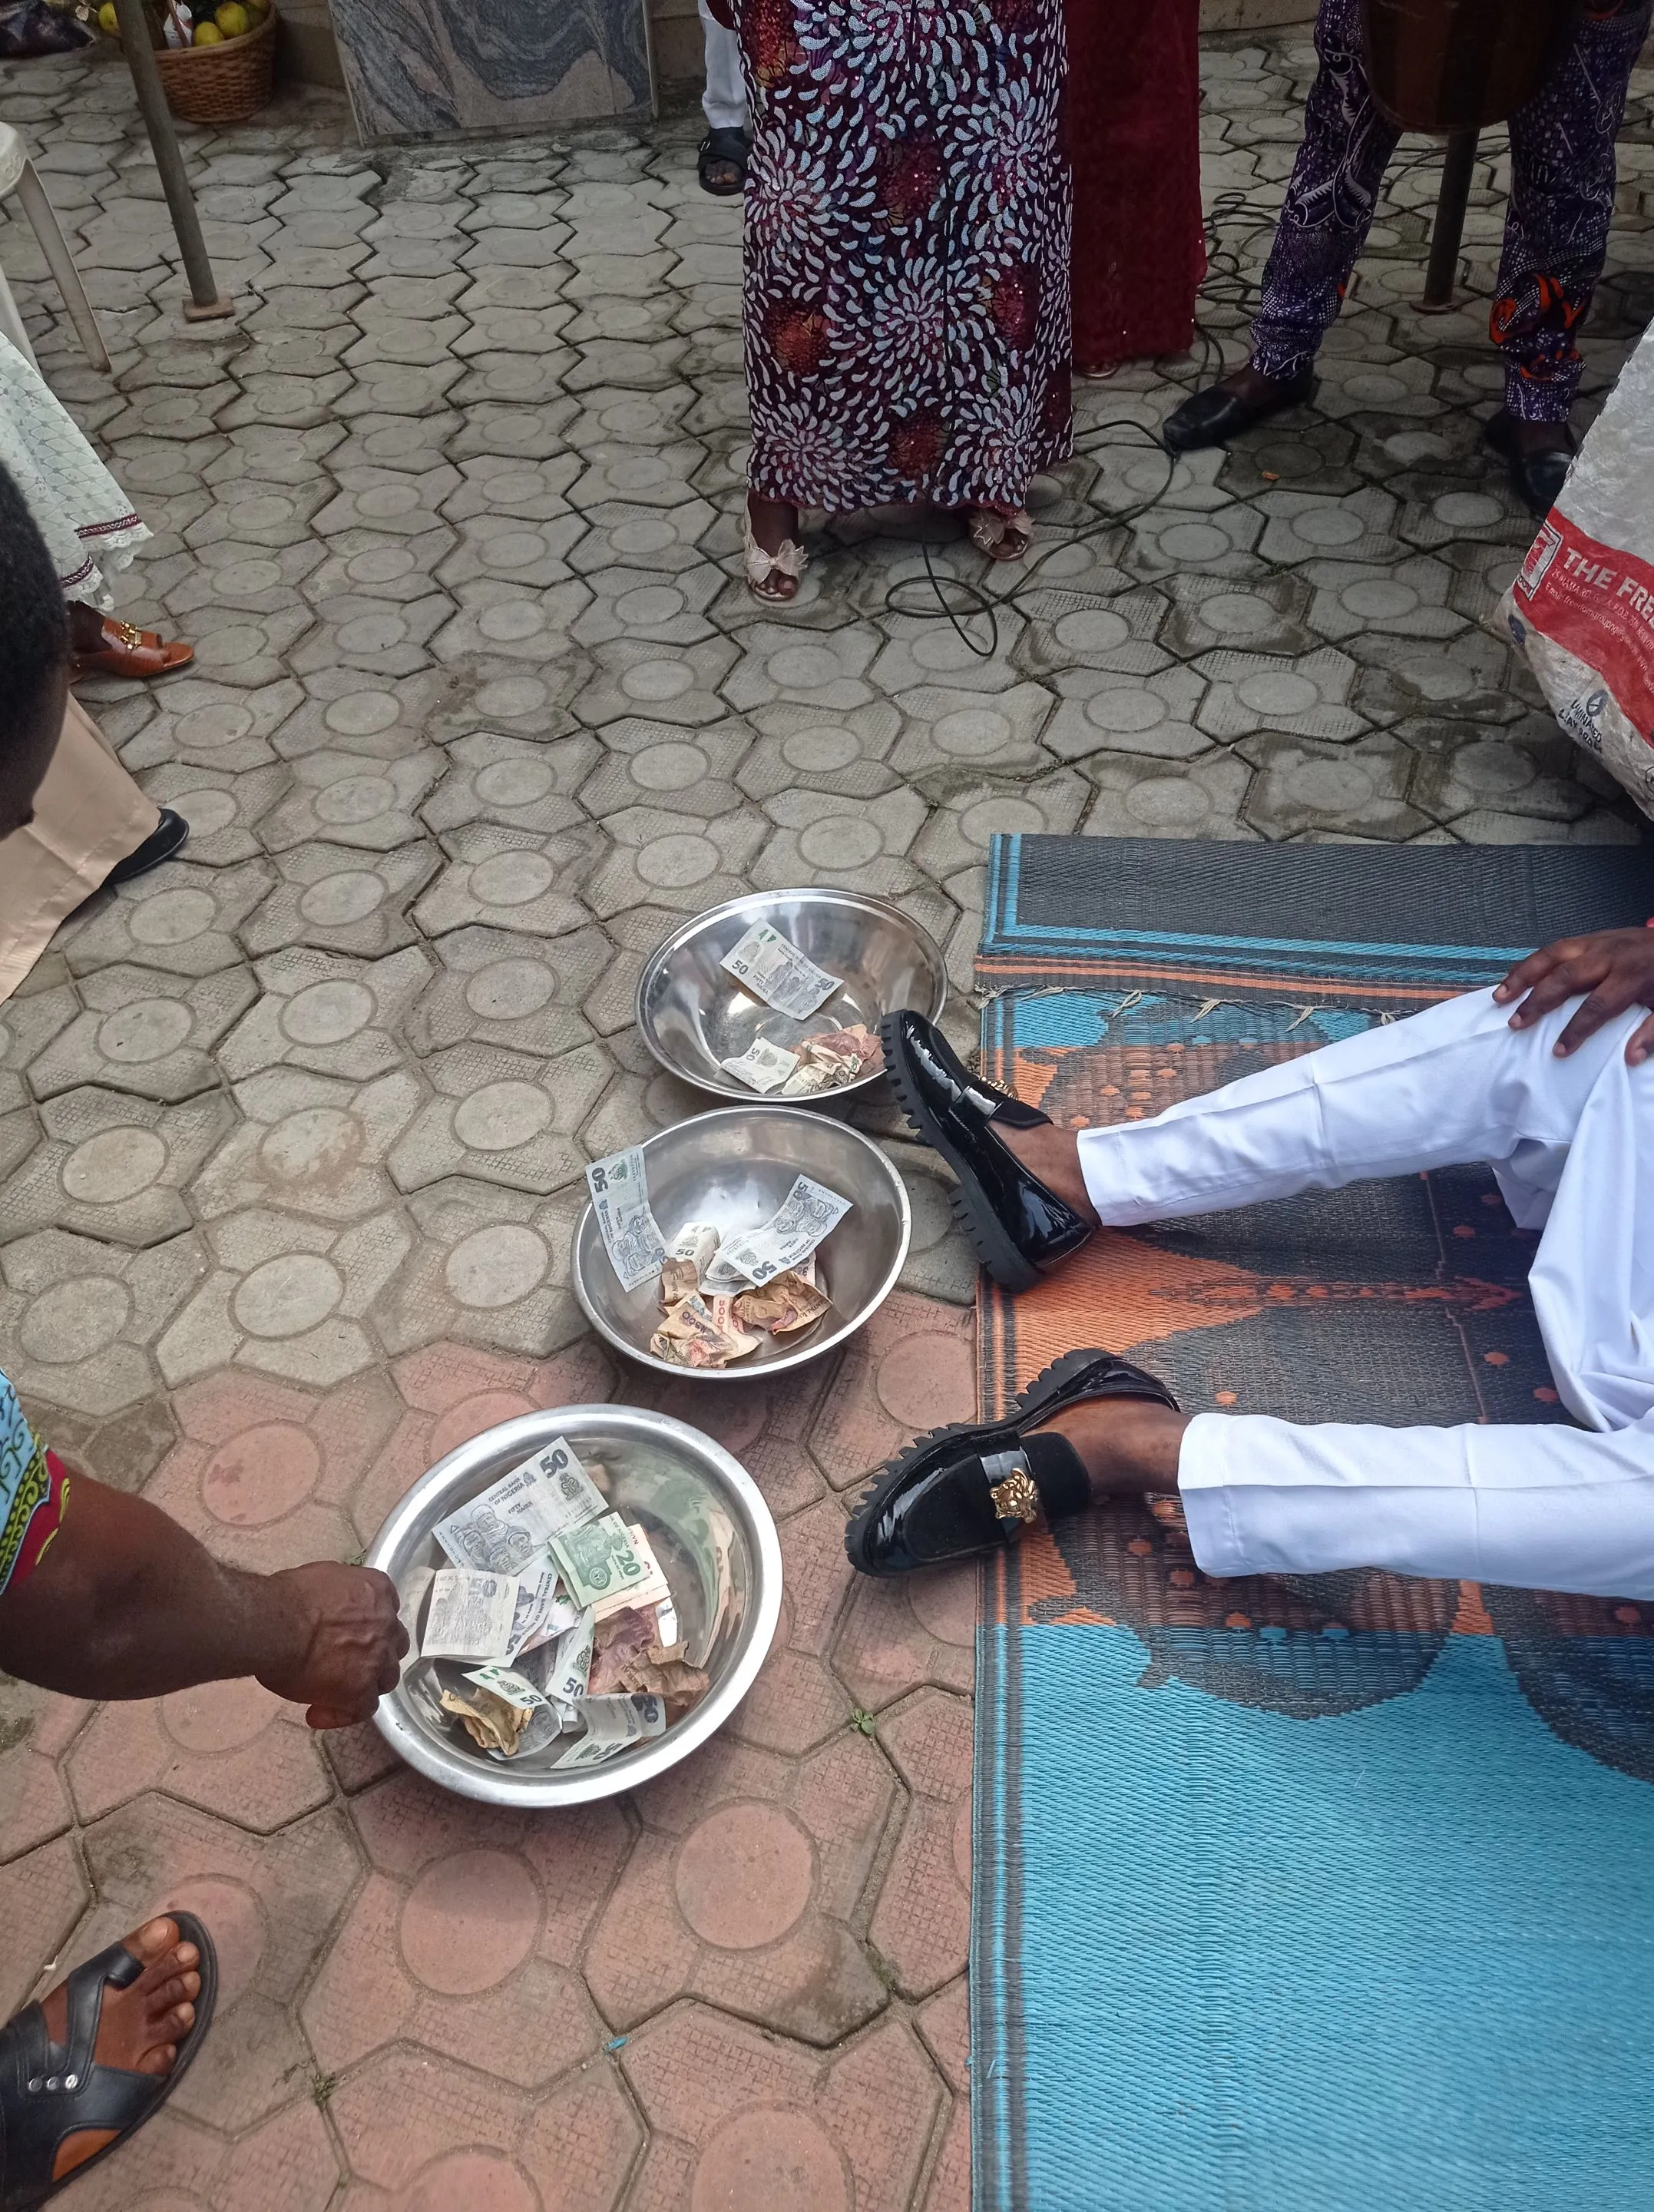
So when I traveled back to my state, where my store is located, I quickly paid a visit to the market to purchase the enormous items and fabric that'll be required to make a shoe of this kind; below are the items I got and some of the making processes.
https://files.peakd.com/file/peakd-hive/vickoly/23x1abcXk2RqBSvQFCTSyjYUtnF9iuT4h69CRd45vXCLbNJS2b6593xDrPS9a4HbdhNgp.png
THE LIST OF USED MATERIALS
- Wetlose
- Suede
- Lug Soles
- Fiber
- Marco
- Black lining
- Oci gum
- Super glue
- Lion head logo
https://files.peakd.com/file/peakd-hive/vickoly/23x1abcXk2RqBSvQFCTSyjYUtnF9iuT4h69CRd45vXCLbNJS2b6593xDrPS9a4HbdhNgp.png
MAKING PROCESSES
- Making a shoe is not something that is very easy to do because it requires a high level of exactness and perfection in calculations and cutting, so I literally first did most of the cutting on a piece of paper before duplicating it on the wetsuit and other fabric and then cutting them out.
https://files.peakd.com/file/peakd-hive/vickoly/23ynSjev4DrWDkqEDh36nWVqpp3P2f8BXqhfx7X9h6EDsDR2bdzF24r9m6mJ13ZtxZU1Q.jpg
- After cutting them I joined each one to a lining with the aid of an OCI gum, after which I sew all the needed part on the sewing machine.
| https://files.peakd.com/file/peakd-hive/vickoly/243zZtDJoRQEjjxJjVZ8TA2PXrK8JTeX5kbLe7QMciCNMpTfRVz2boNSTDyiSMyusxs65.jpg | https://files.peakd.com/file/peakd-hive/vickoly/23wqZueN6gnX1rMEMZMc22zcAE67BhZont5eKTjEFKyaFymFiWqejj7VCRQqns59WT9iS.jpg |
| https://files.peakd.com/file/peakd-hive/vickoly/243qF8tqb1q1q4eM9JMjVYvaYecQsaz7m2xJQV4y3mqgfepHj8Ry94vTQQ5nZsGr3DnVj.jpg | https://files.peakd.com/file/peakd-hive/vickoly/23w2cWya3HU41G3Es7jD1QfNuQyhzZnJ2kLSN7ppDjg5kAzRVJAEno9QYVPEm8QH5AwSx.jpg |
- After the sewing I punch a hole on a straight line wetlose and attached the lion head logo to it.
https://files.peakd.com/file/peakd-hive/vickoly/23wWyBZfdEscpLM8mN7DupMviDHFRdYeeHacydJ6mJE6tzJUM4Xkv8VNt2wP4dUjqFnNX.jpg
- Also I cut the fiber for the insole, wrap the linning on it with the aid of my oci gum and then nail it to my shoe last, after which I start joining all the parts together.
| https://files.peakd.com/file/peakd-hive/vickoly/23xKvZgaEAz88f4NpNGdBGF6cx1CUqJWDwVYwiERwX7y4Fxoi6fb2k8YghZ5HWALh9eSf.jpg | https://files.peakd.com/file/peakd-hive/vickoly/244xyUaDTzZCB8MrL1vWtV9uE7vaKcN4J3y1rsAx68p1gYnm2meX7H2cVfjF4dpz65uod.jpg | https://files.peakd.com/file/peakd-hive/vickoly/23xek3jf8RoWnikQva2Fwp7ReVtM3h4Yf2fcjWWQDbrgd8cdAjYwiEgpvTpLLtNyRKtJT.jpg |
- After the joining, I open the front part do I can drag it with the aid of my pliers, because that part is requires lot of attention else the front part won't be perfectly straight, so after doing that and Lasing the shoe perfectly, I took it to the market to get a perfect sole that'll fit it perfectly and after getting it I joined it together with the wetlose with the aid of Oci gum and super glue.
| https://files.peakd.com/file/peakd-hive/vickoly/23ynQNgft3SucBRWTmFr6sEyqH6HTwEMmqo21u6cz4UrGaeBWHbfjN32HALGAmXVCqTwd.jpg | https://files.peakd.com/file/peakd-hive/vickoly/23xAaGh58arEkREkpv5mvDJnGkTruCFnXPUGu7QZMtkk9qn5ViYBN9Noorj9YXiuS6uJa.jpg | https://files.peakd.com/file/peakd-hive/vickoly/23xVMEC977T7SRJ4dPwQJP91dFZHvHFpkusJmjX68REYviDhFiPVcFNtoYVs2j5ZxeoCA.jpg |
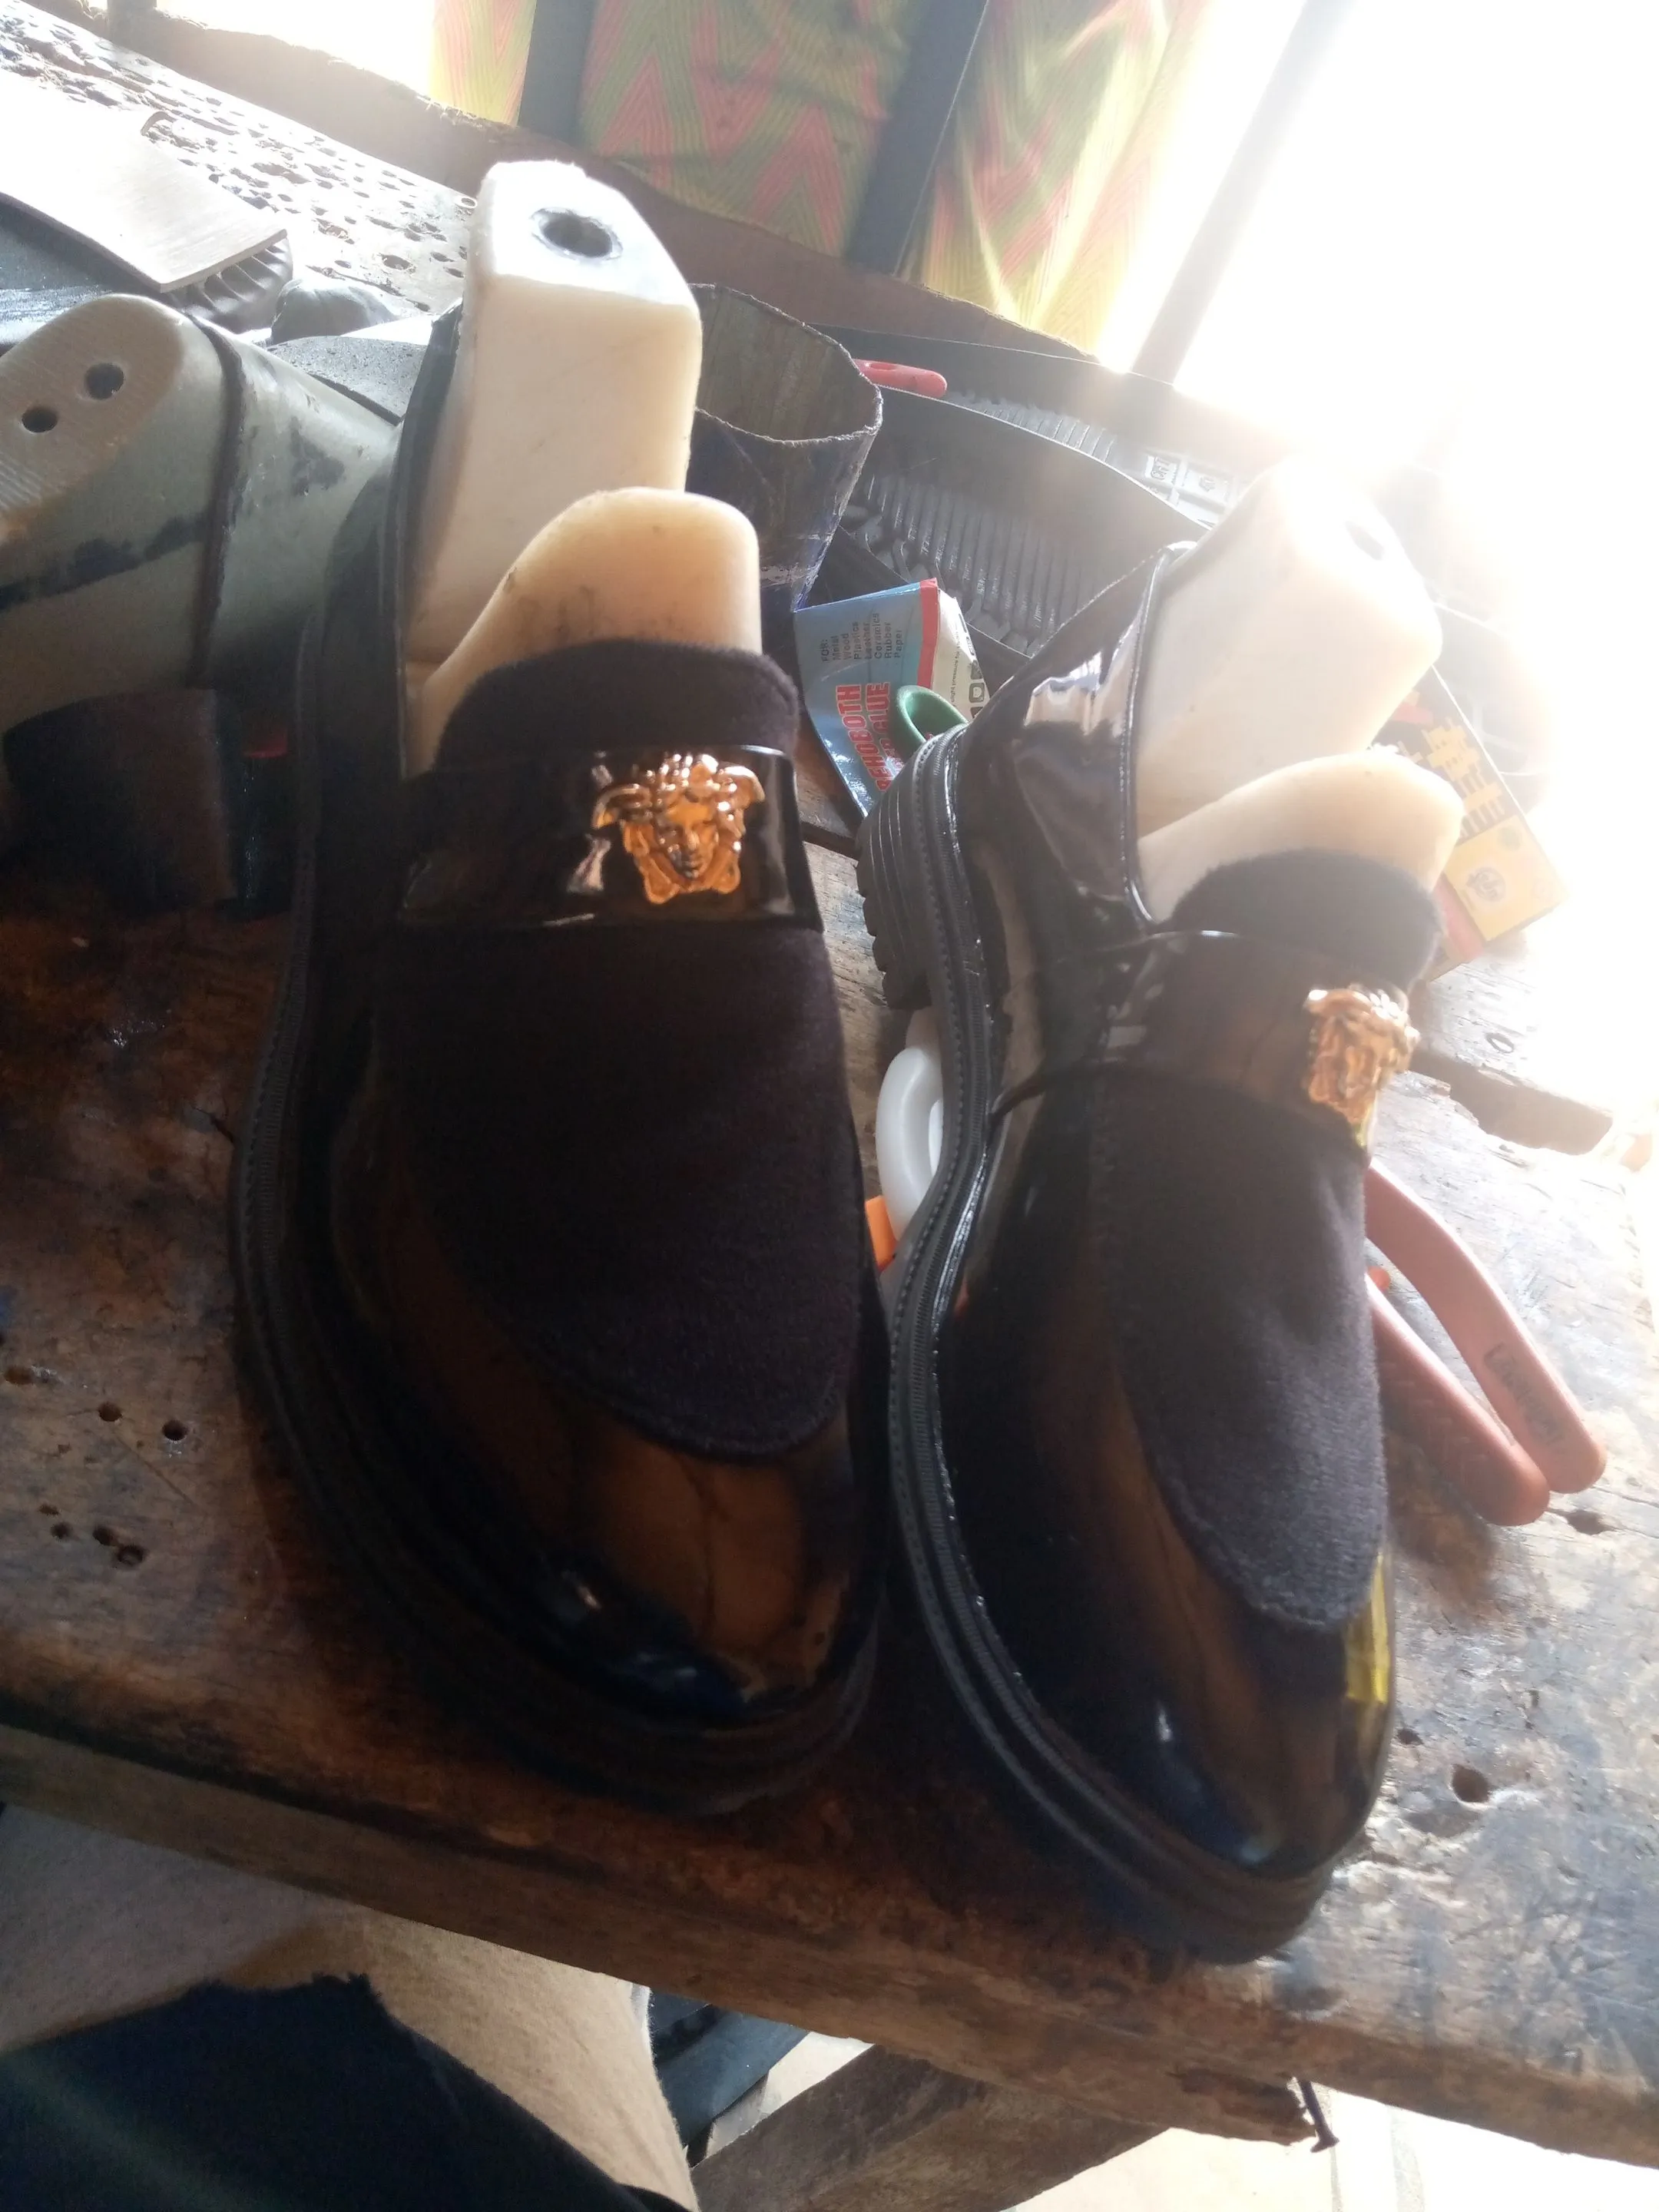
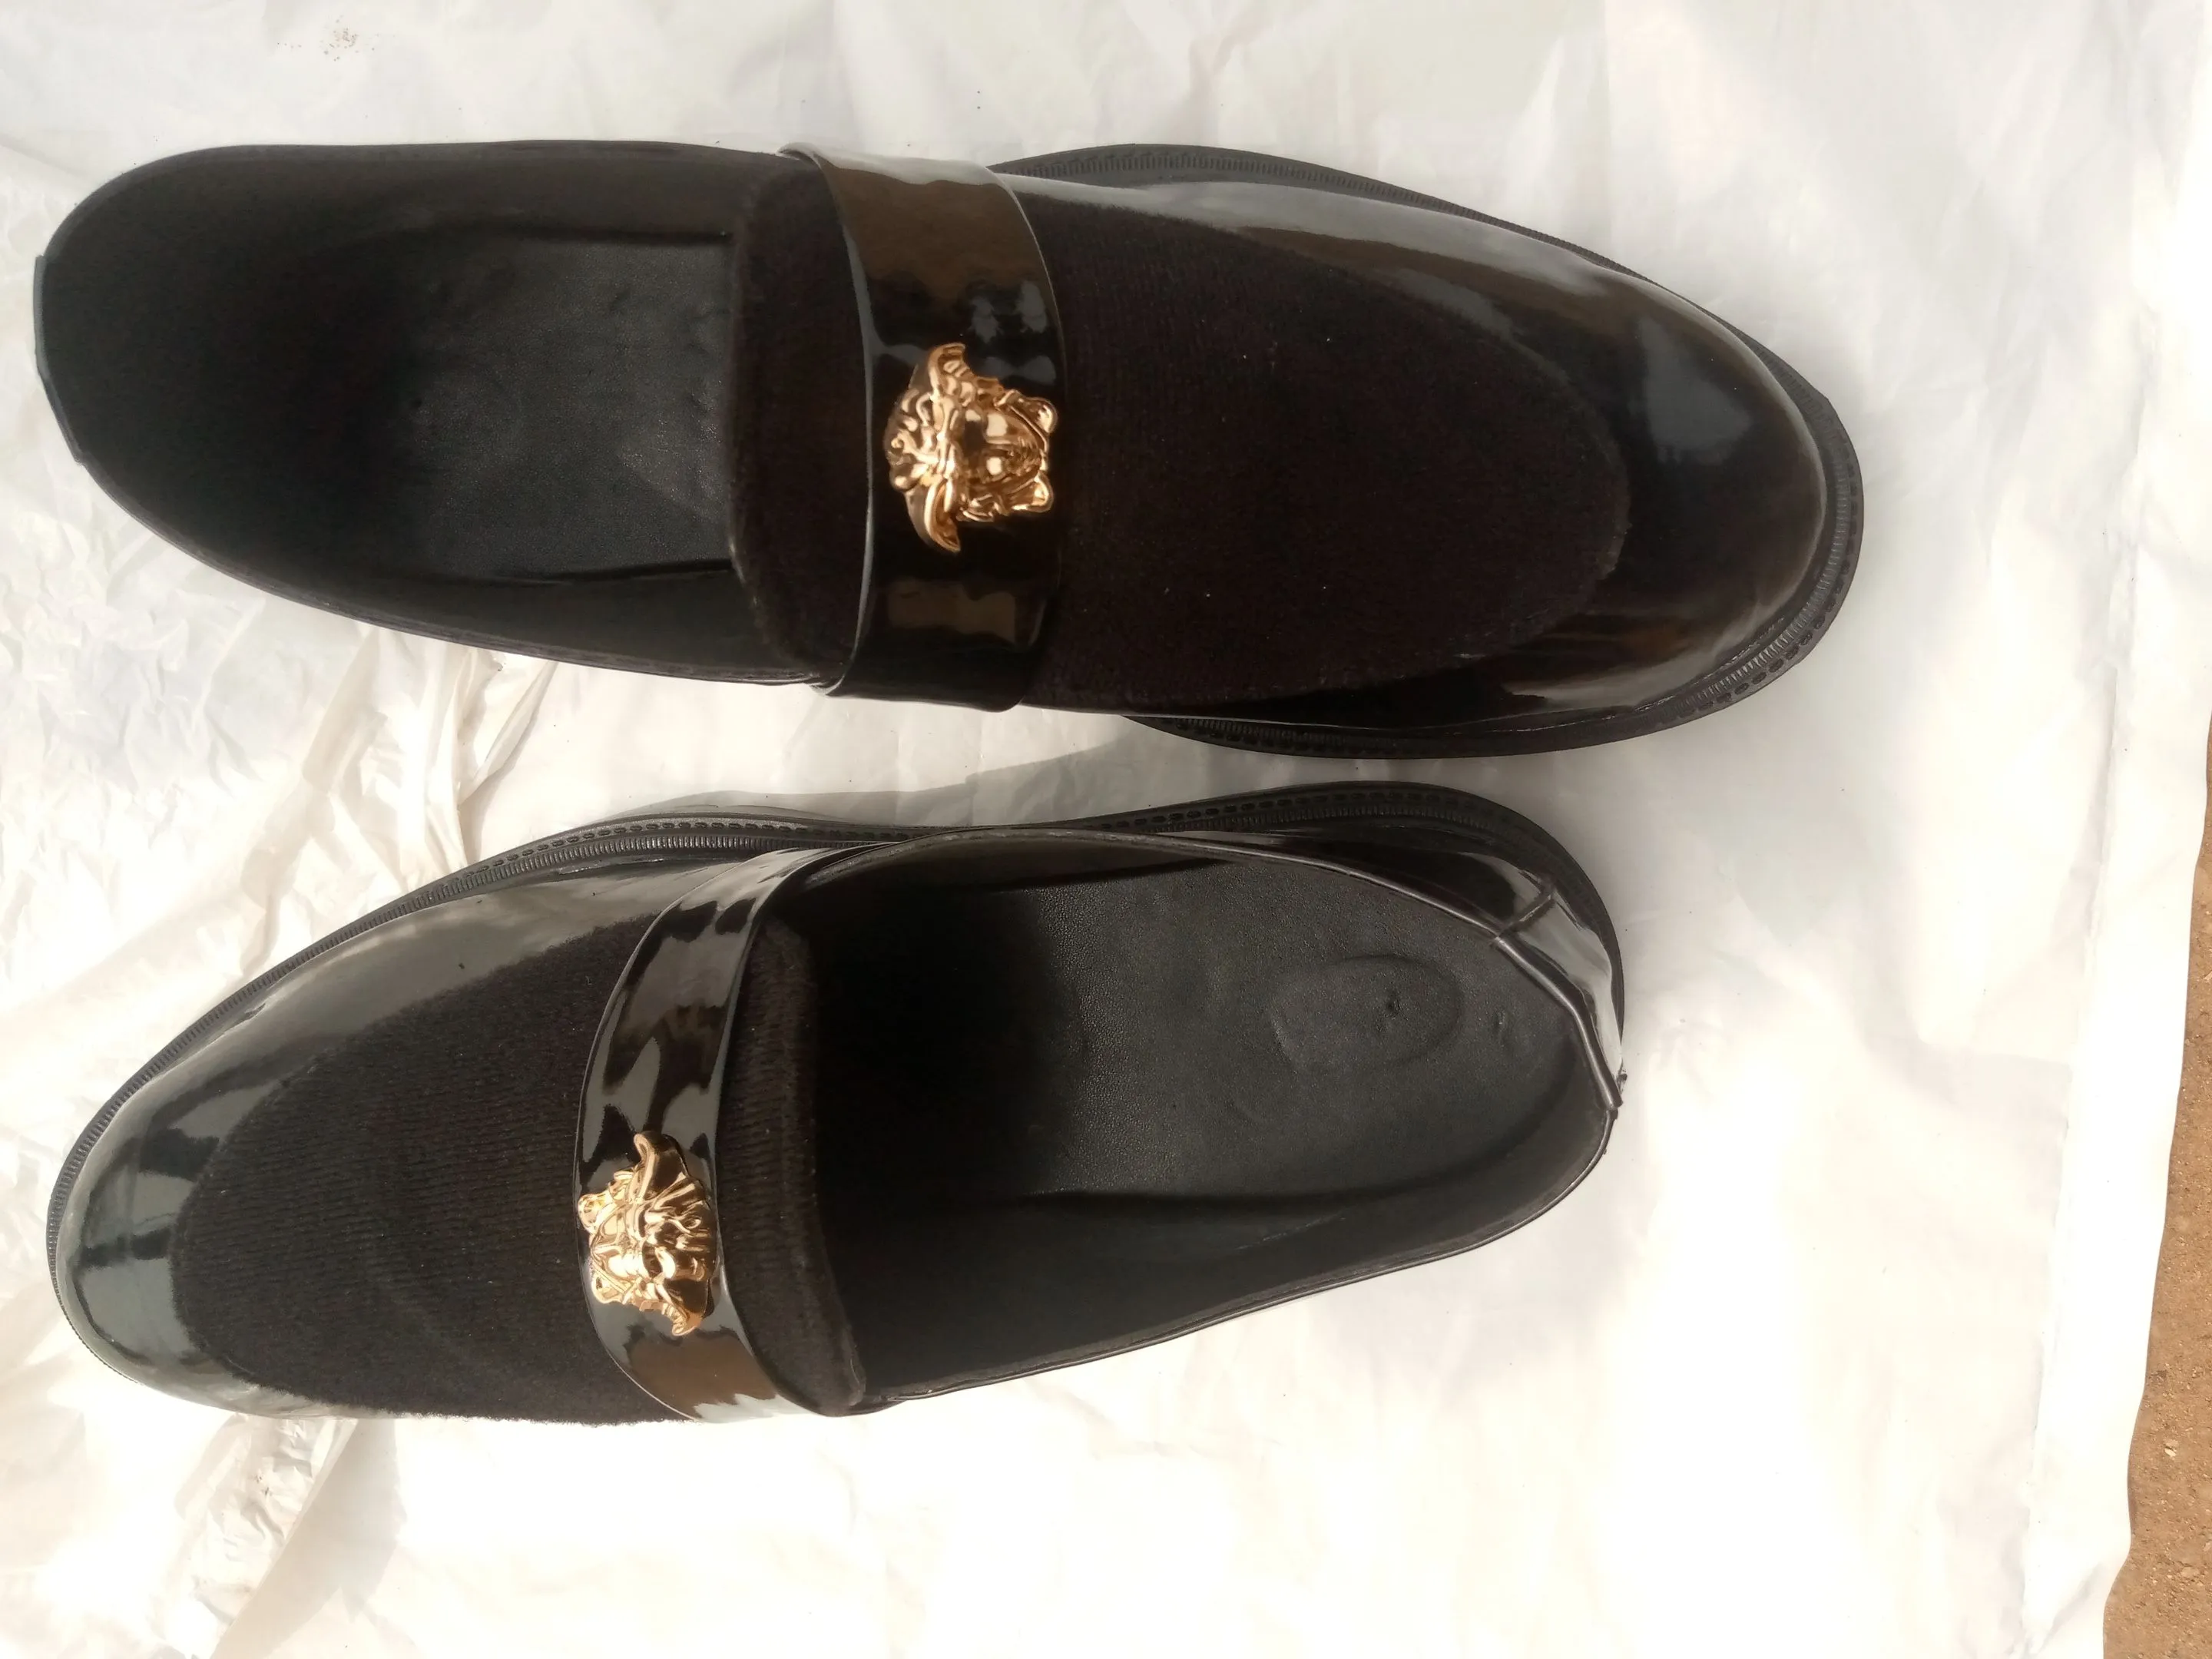
- Here is how the wetlose shoe I made for myself look after joining it to it sole, it looks stunning I must confess.
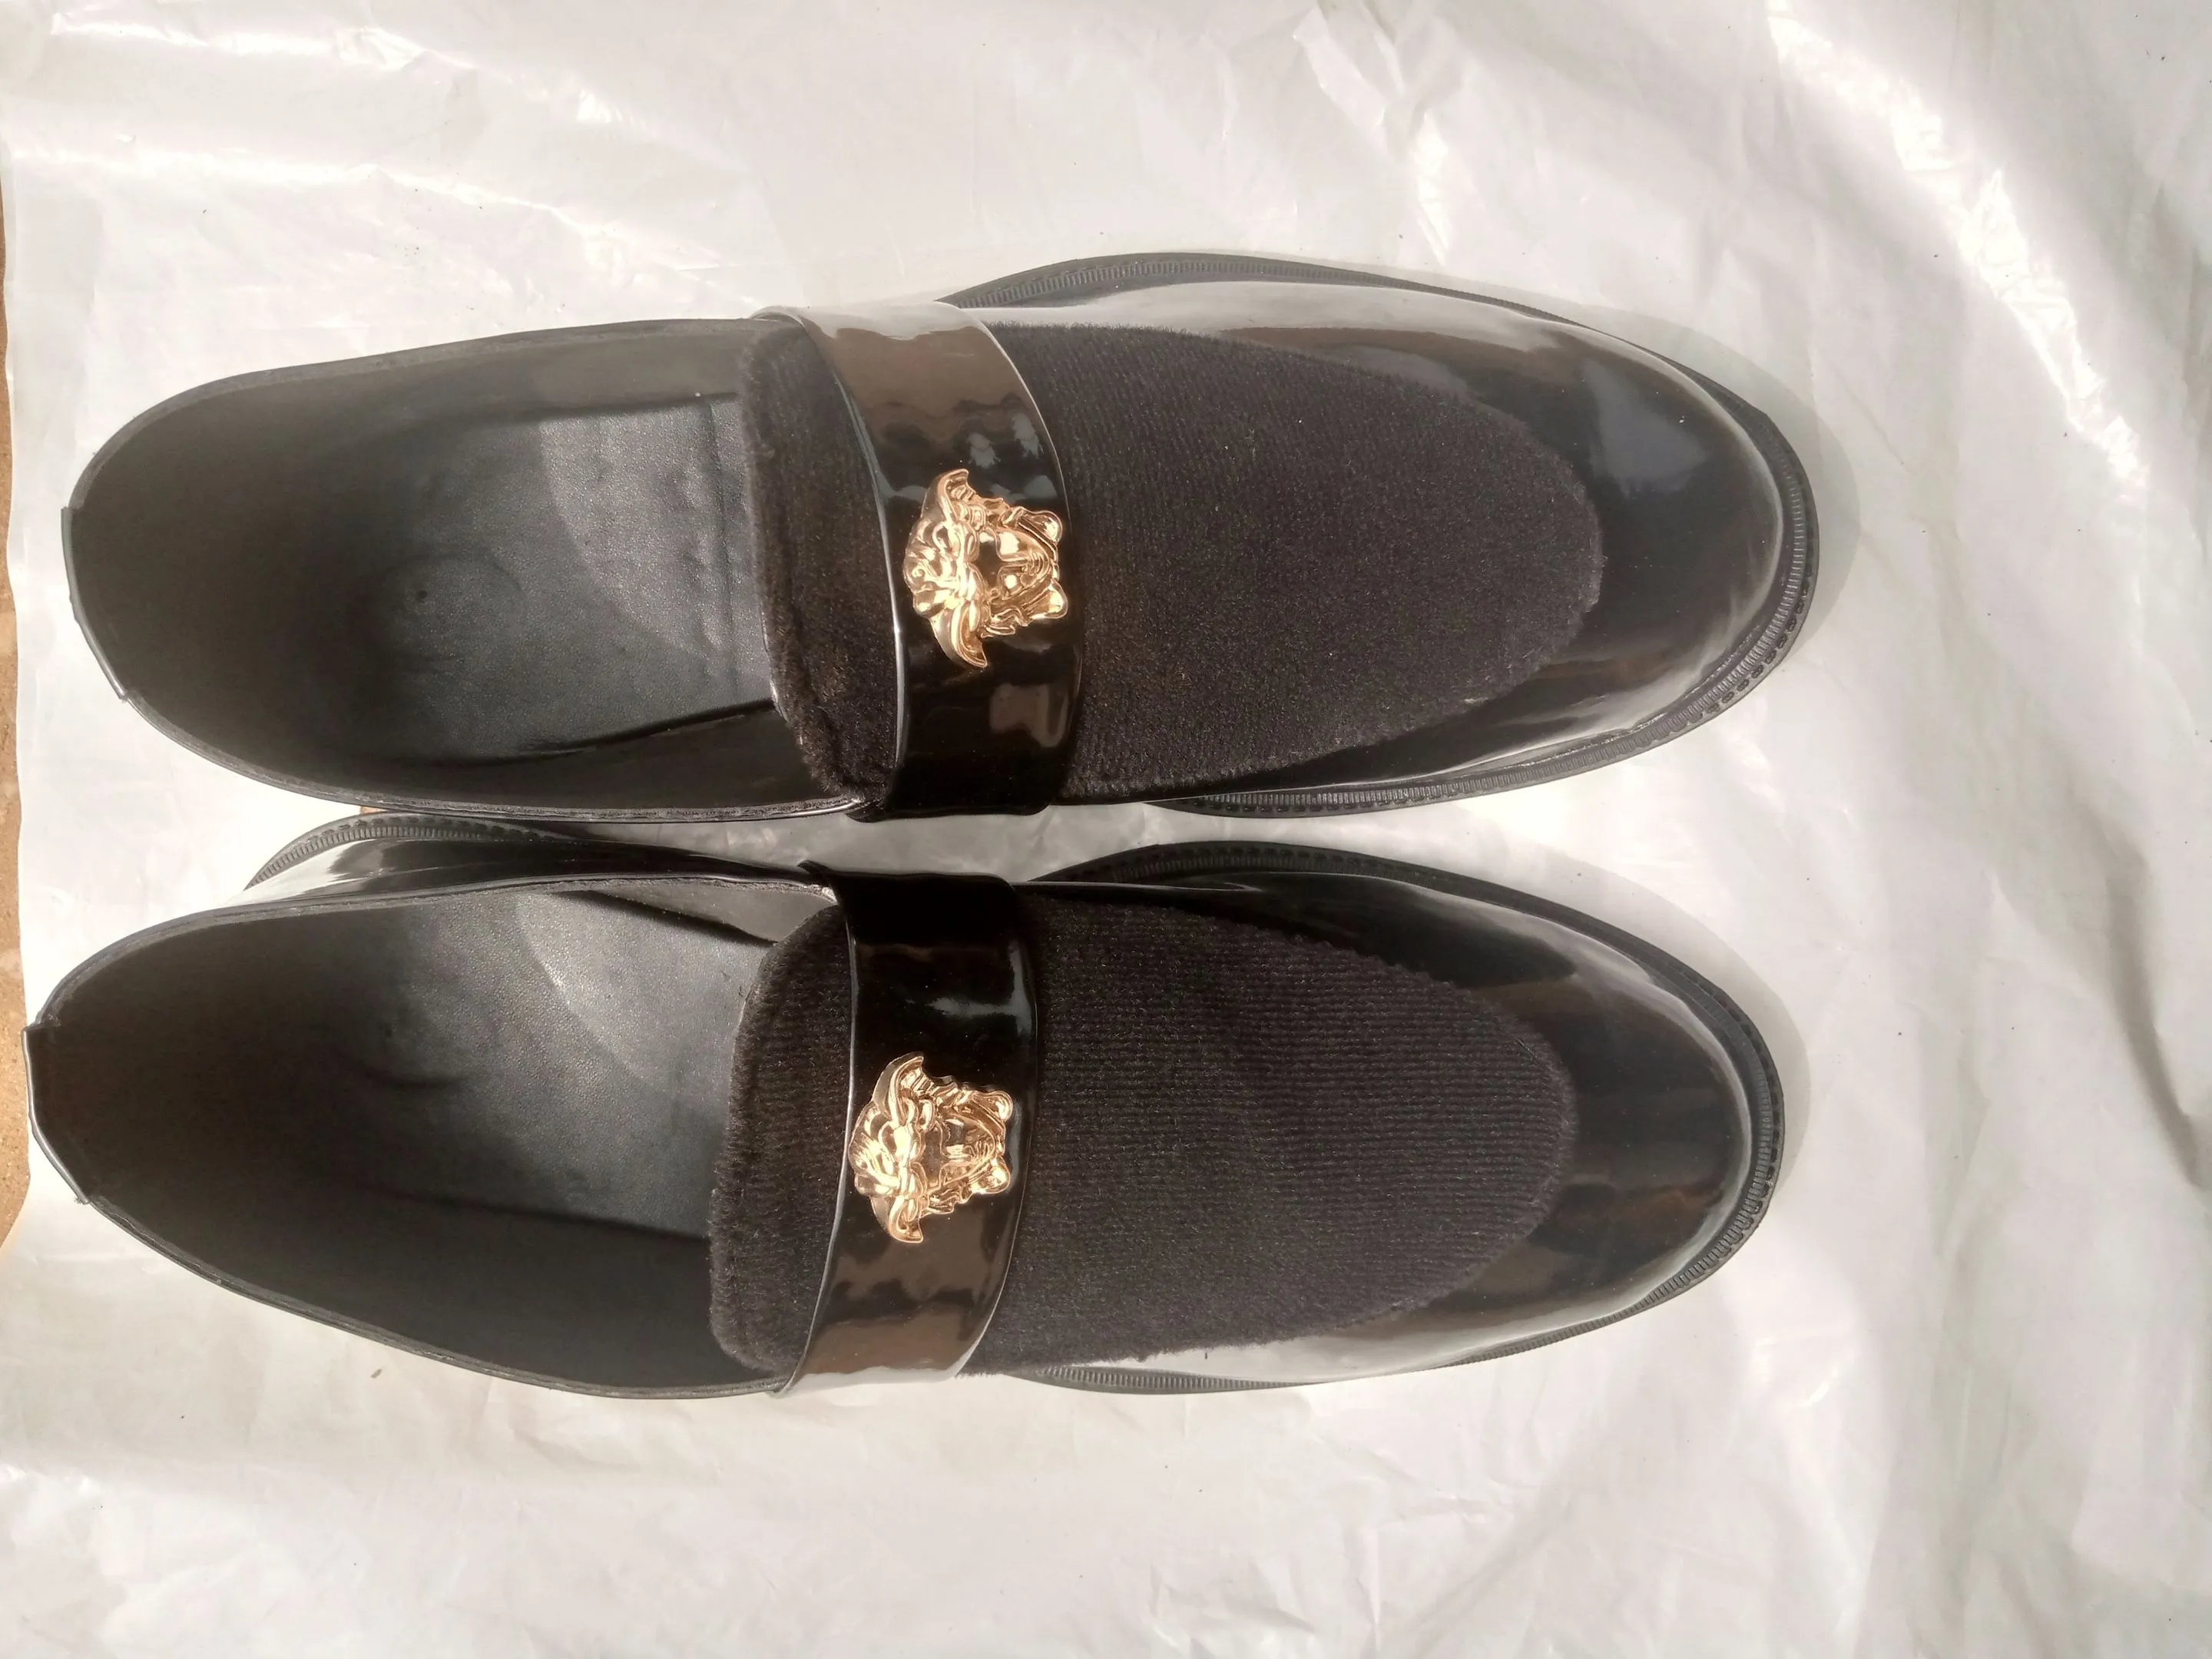
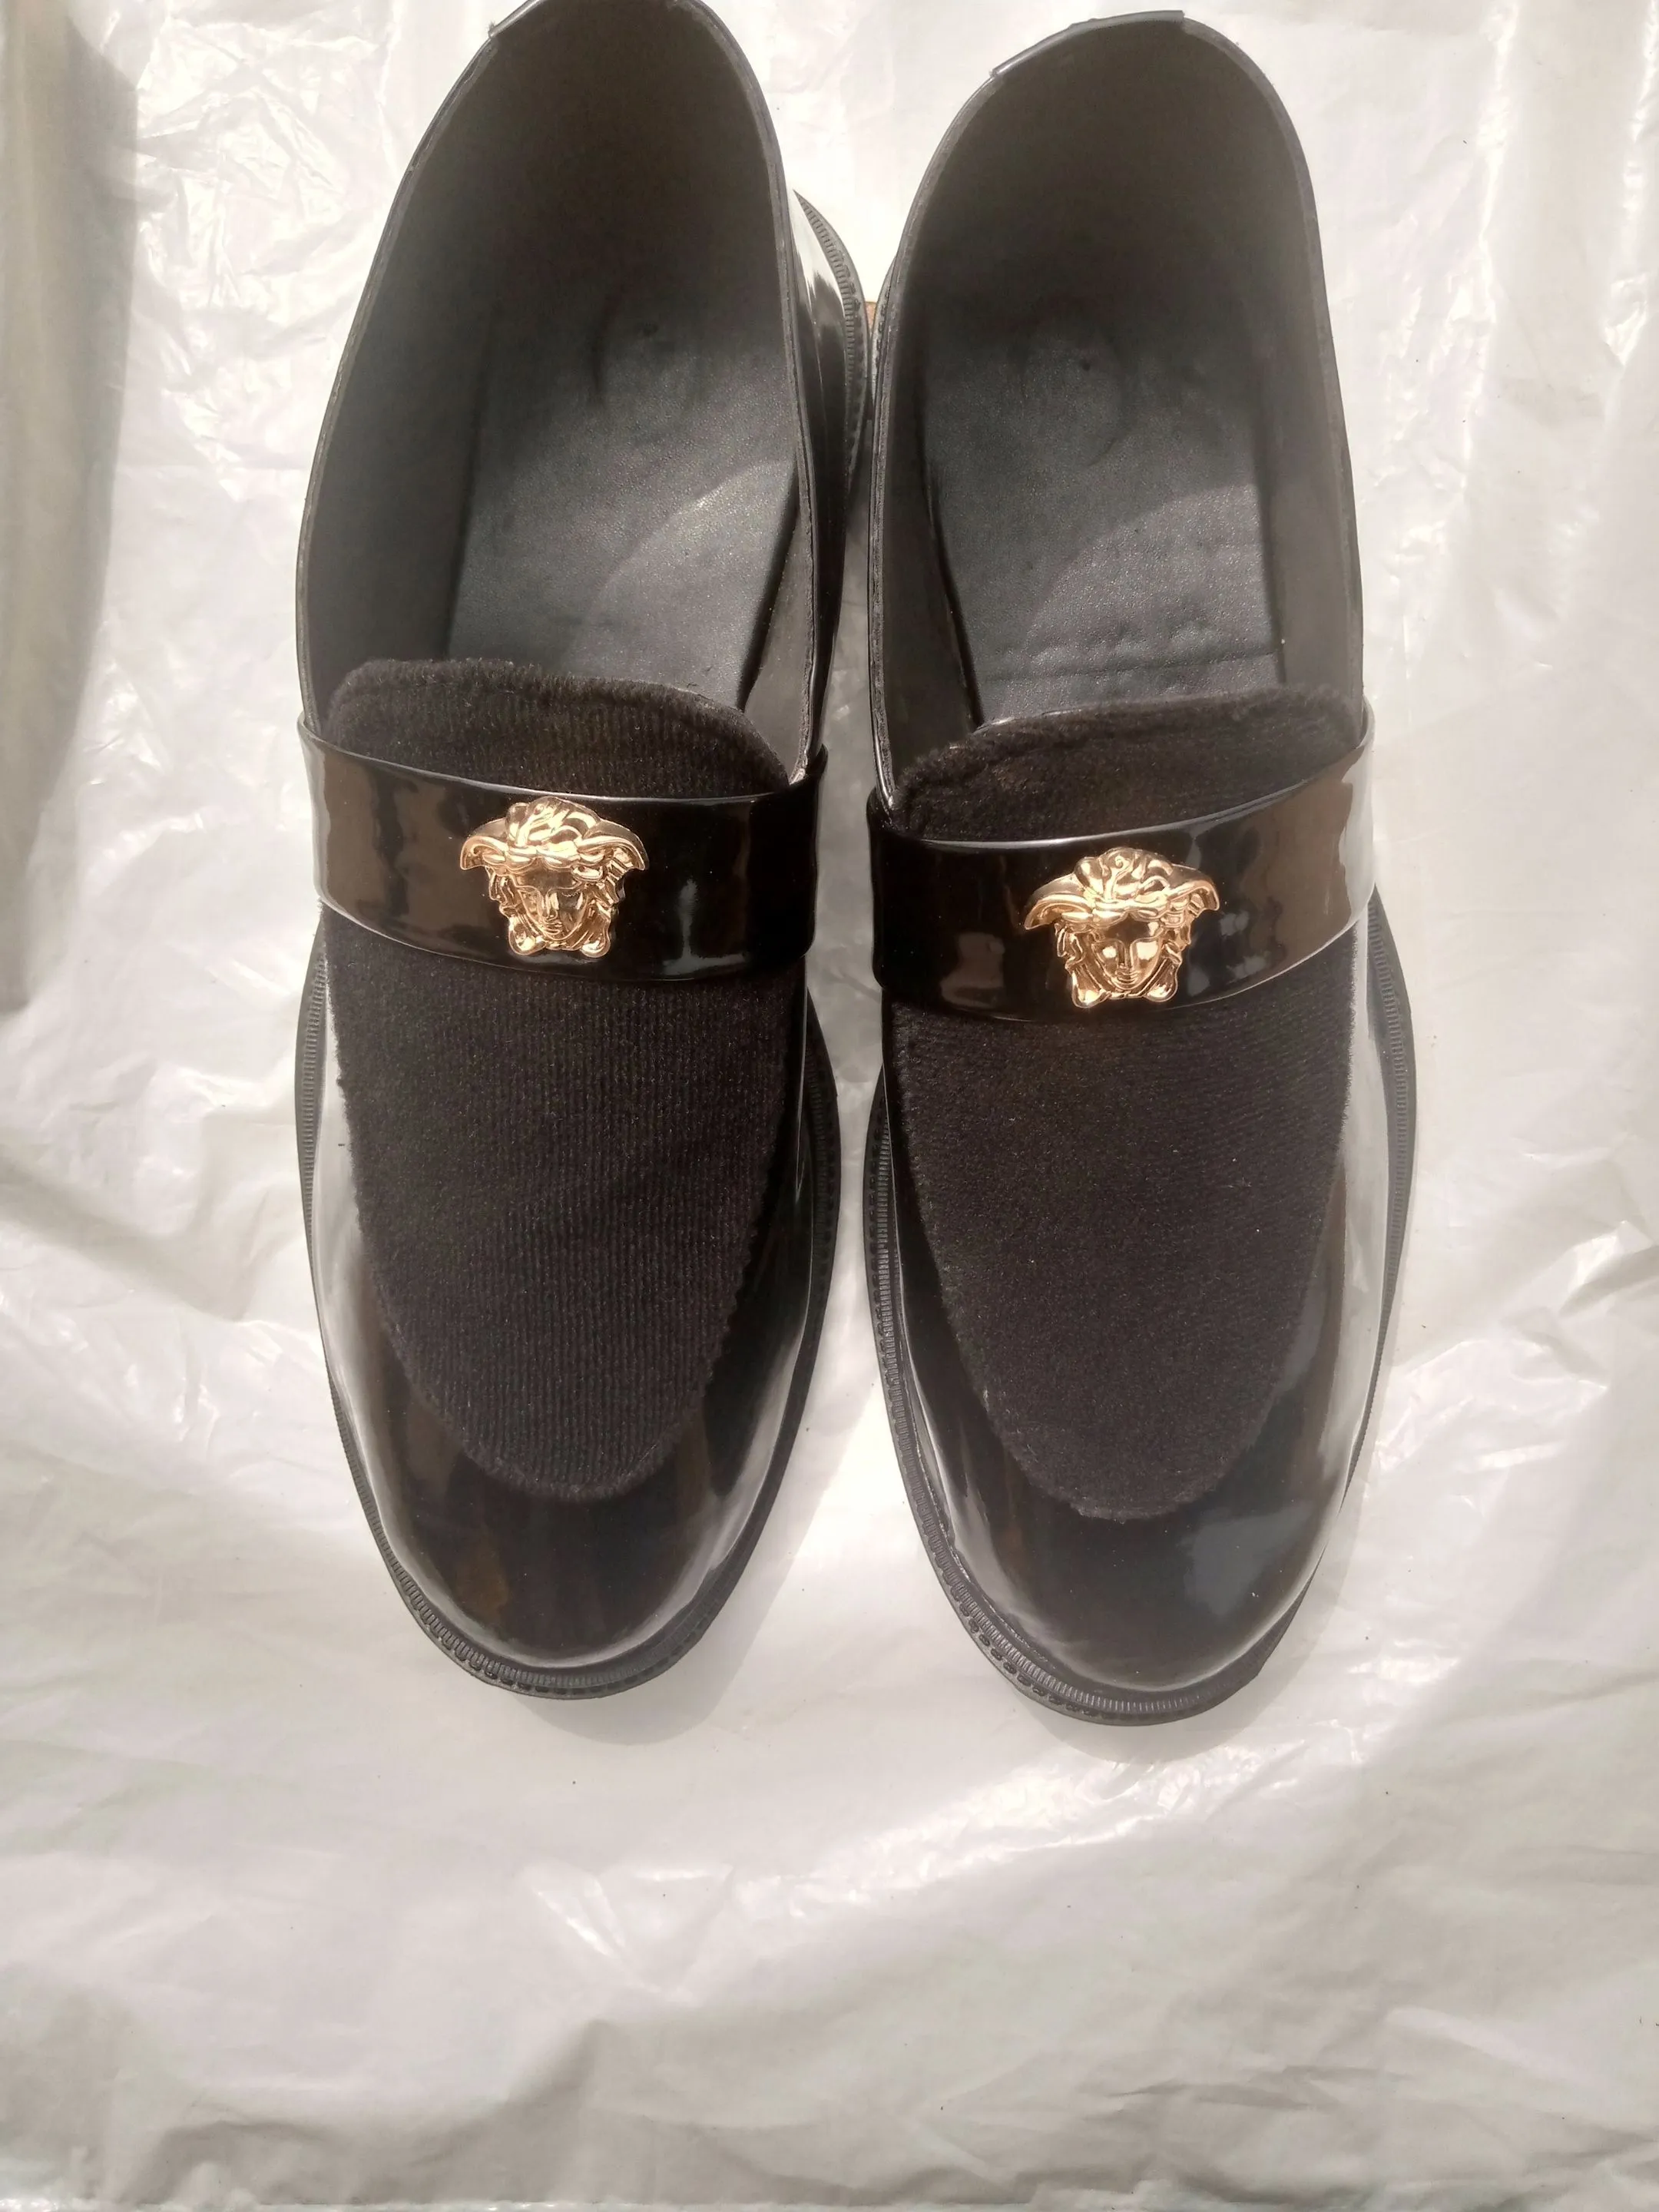
https://files.peakd.com/file/peakd-hive/vickoly/23x1abcXk2RqBSvQFCTSyjYUtnF9iuT4h69CRd45vXCLbNJS2b6593xDrPS9a4HbdhNgp.png
That's about all on the tutorial of how I made my gorgeous wetlose shoe that helps me achieve my very best needlework bucket list contest which marks my first needlework bucket list contest and I can't wait to get it on and wear it and as much event as possible in the nearest future, I hope you had a great time while going through my tutorial, I look forward to your opinion, questions and many more in the comments section.
Have a blessed and productive week ahead.
Return from HOW I MADE THESE STUNNING WETLOSE SHOE FOR MYSELF to vickoly's Web3 Blog

