###
Happy new week to you, I hope this content meet you in good condition and hope you're doing exceedingly well in your various needlework fields, today I'll love to grace your sight with my latest accomplishment of the boots I was working on some days ago, as shared here, and it's worthy of note as stated in the earlier post that this is my first attempt on building a boots.
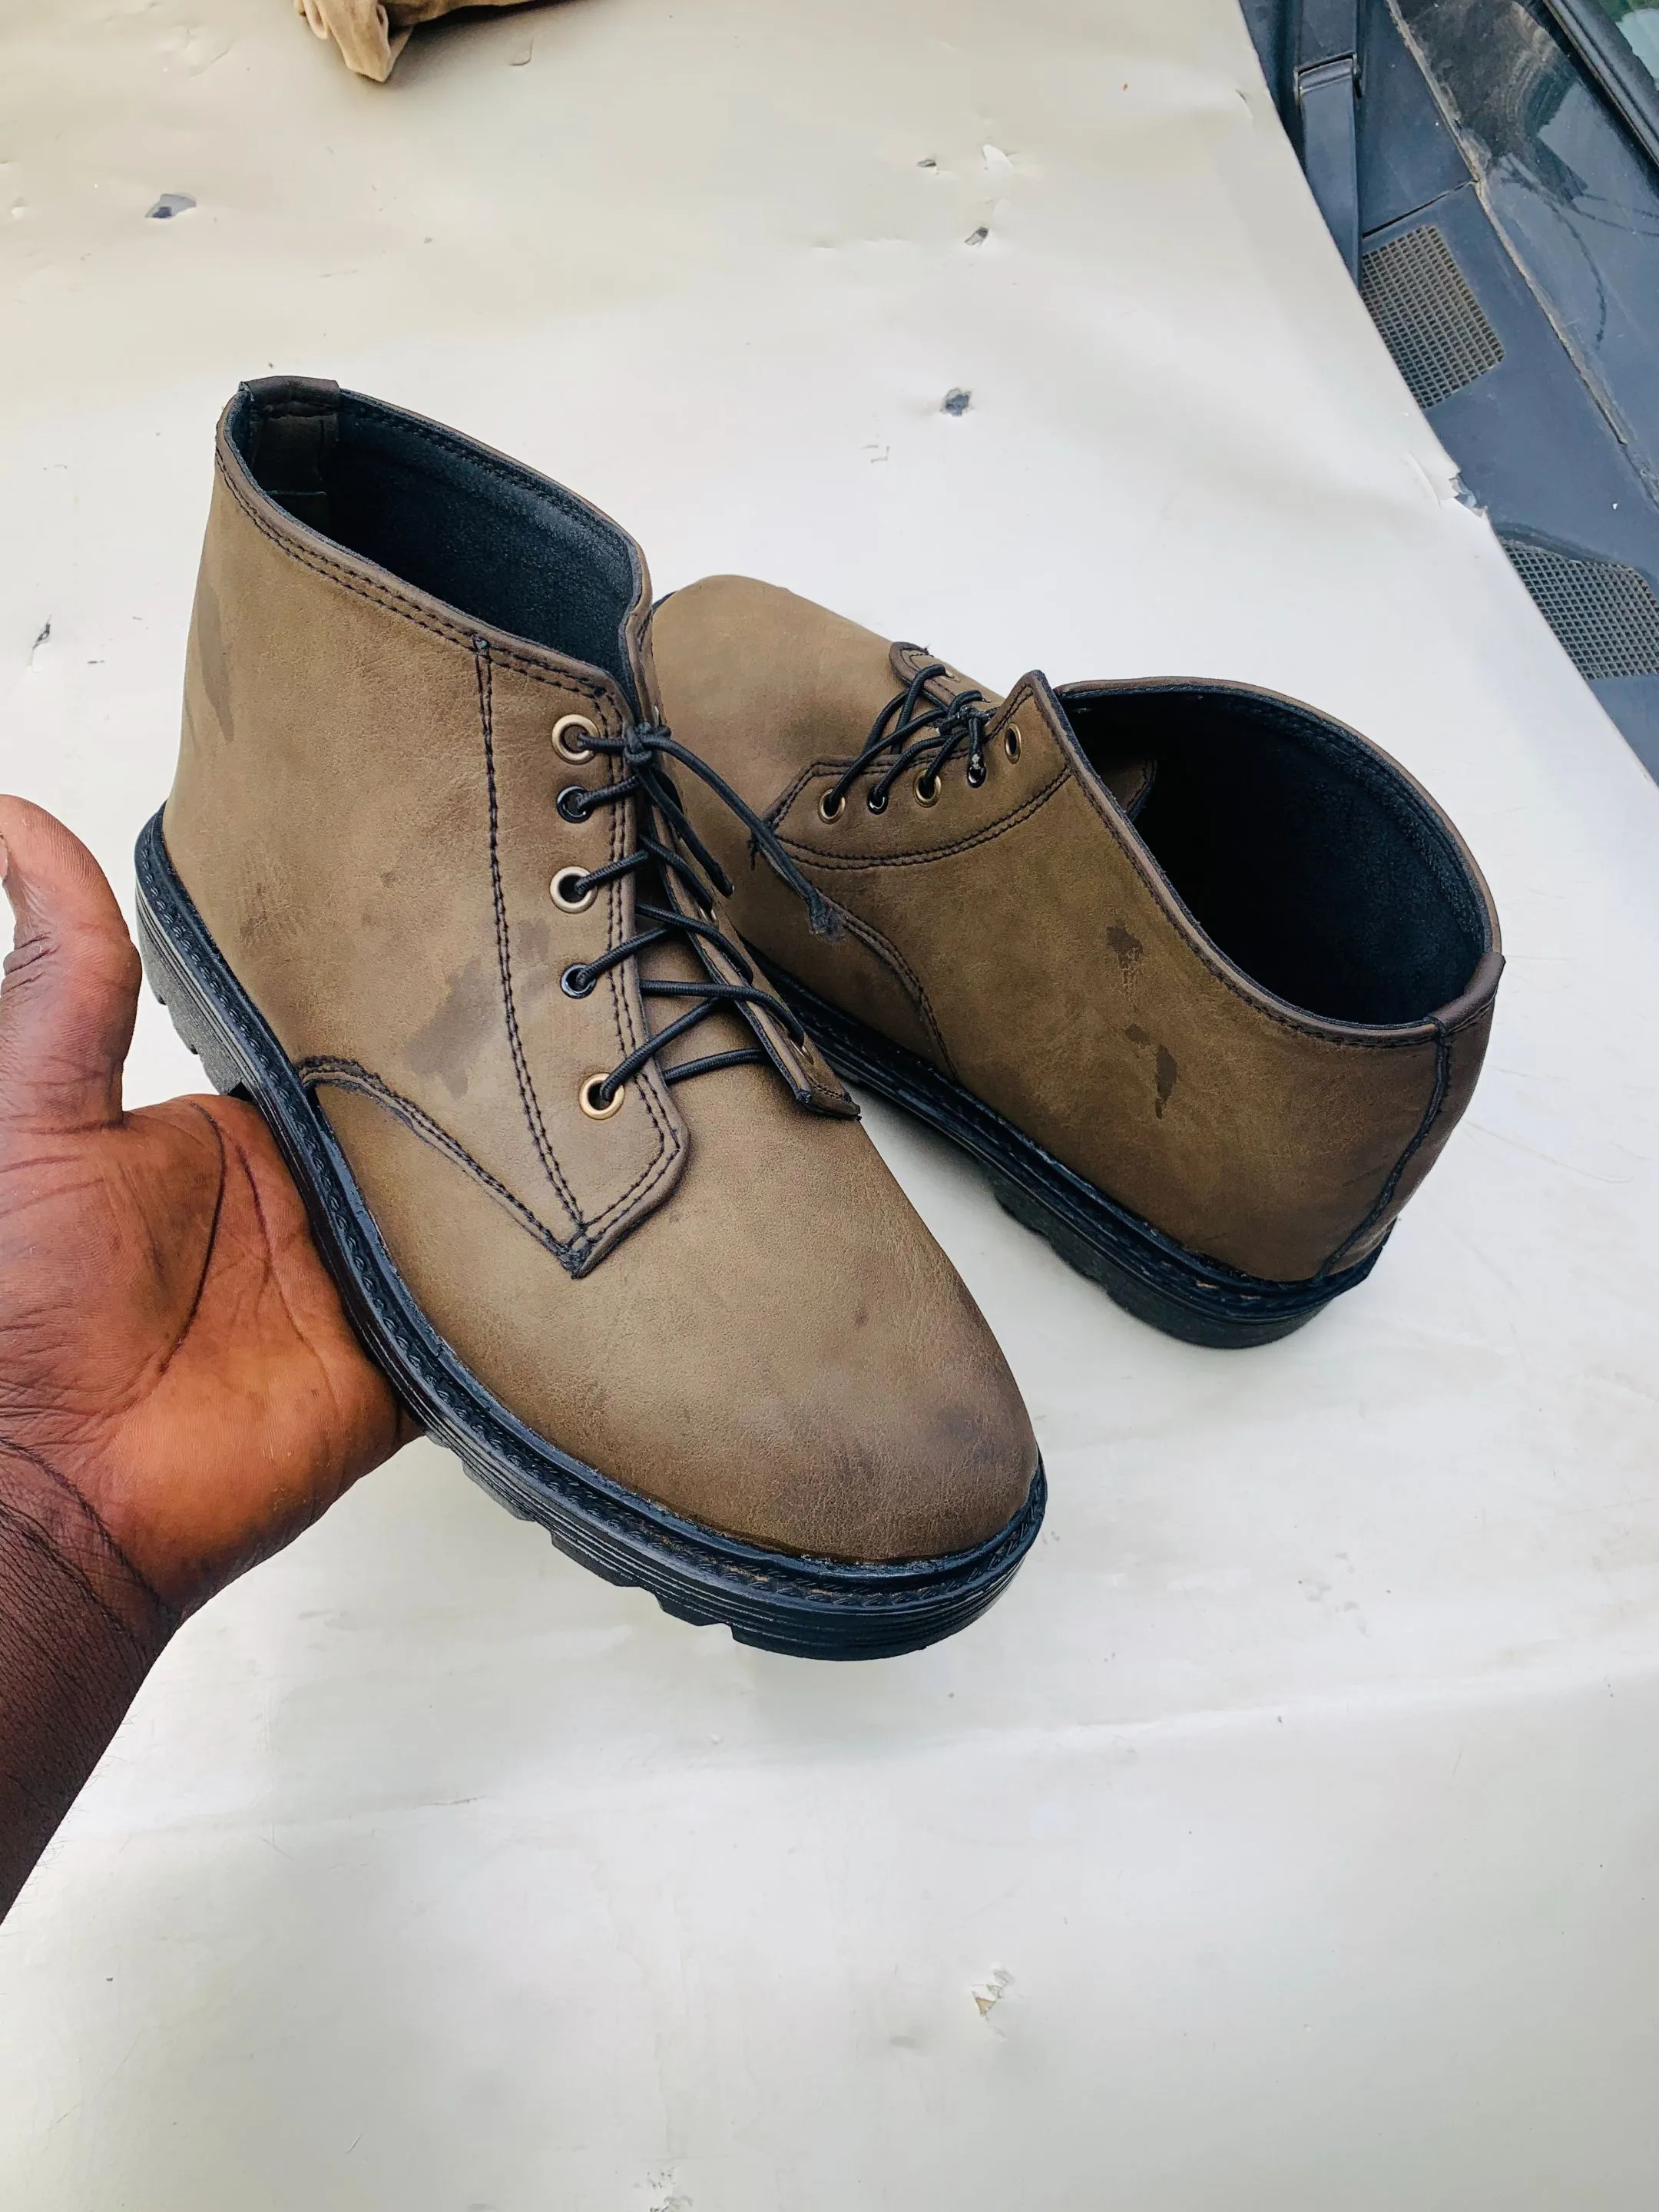
And after achieving this beauty, I've come to admit that of a truth we are our greatest motivator, different people might encourage and advice us towards trying out new things that will lead us into greatest, but without our personal determine and Commitment to the task, nothing will be accomplish, this project really taught me a great lesson, and now I'm daring and cheering myself to do exceedingly better and as well try out other new designs and project.
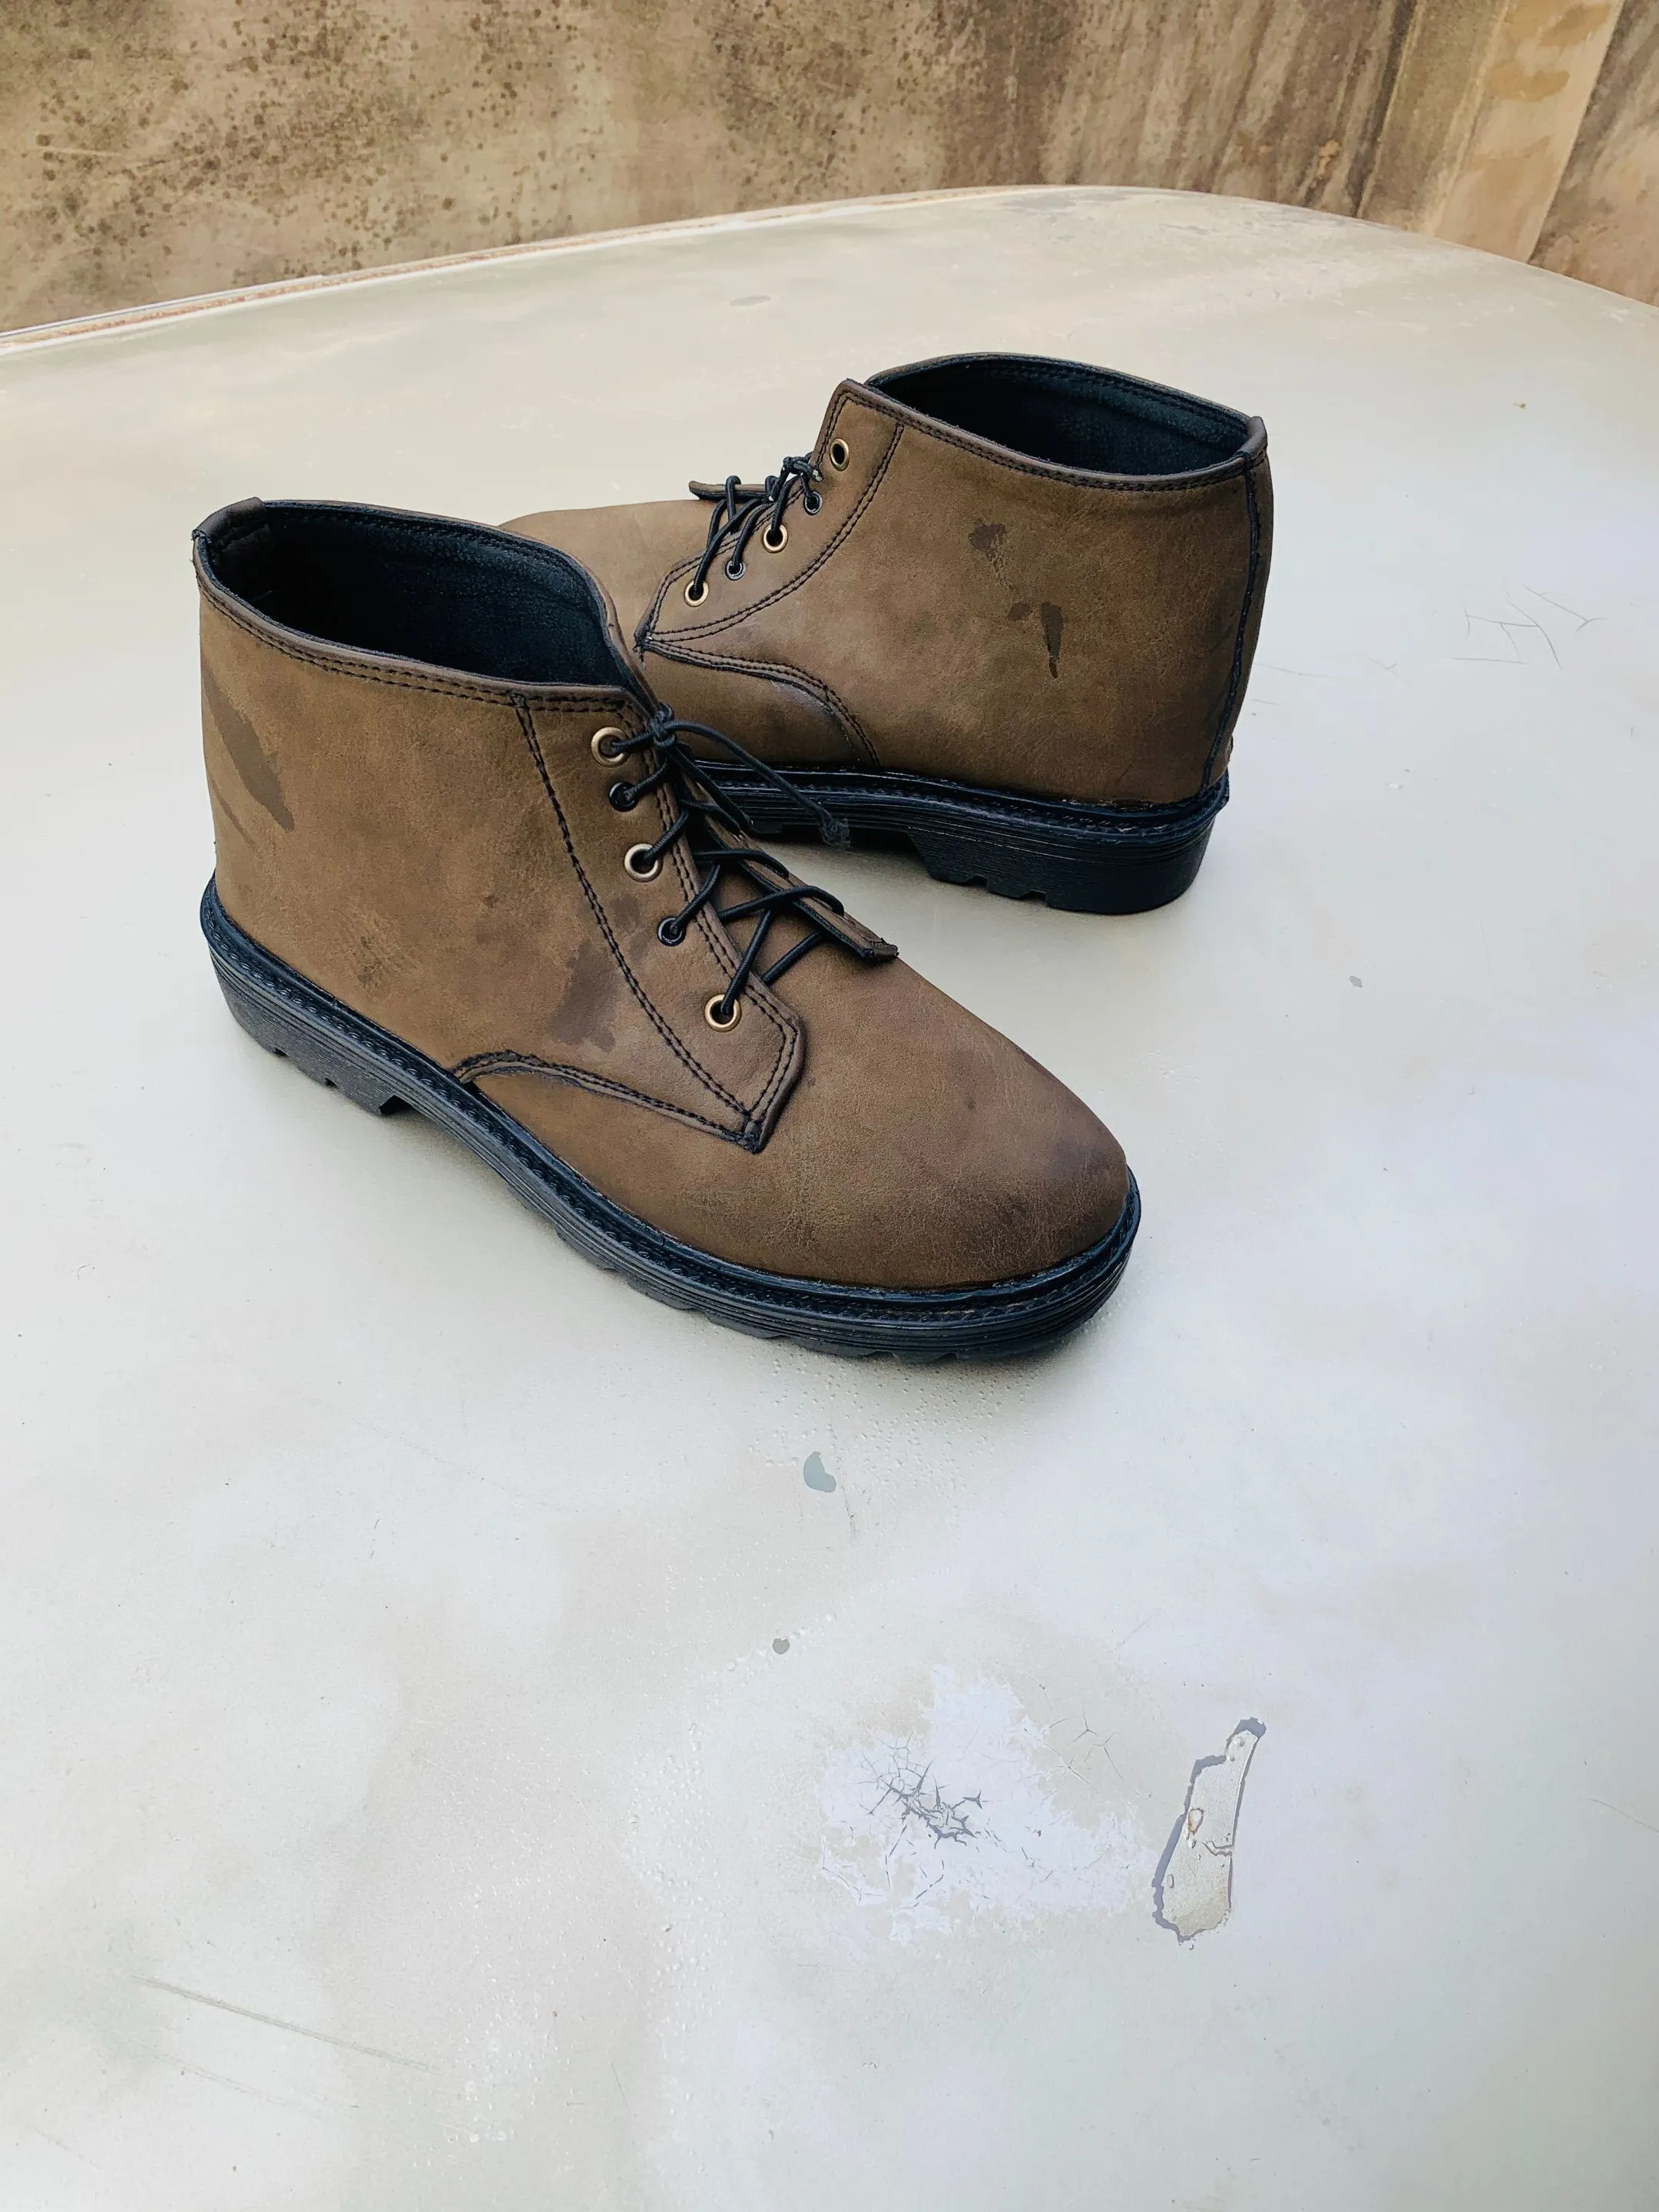
Like I said in my previous post, the boots wasn't made for anyone in particular, but just for practice purpose, and after achieving it, it as draw the attention of different people to my store, who wants to either purchase it or order something of it nature in their own desire colour and sizes.
That mean I'll be making more of it soonest, but then I don't feel like selling this particular one, cause I feel like hanging it somewhere like a trophy for a job well done.

MATERIALS AND TOOLS USED
https://files.peakd.com/file/peakd-hive/vickoly/23swXqJpt2v4GEng4qMiudS68TVKABUr7jKxwaovLN5sgs4KDsyLYFwBYmyDUaw8T3M5m.png
The items used as stated earlier here are:
- Skin leather material
- Fiber insole
- Eyelet plier
- linning
- Nails
- Gum
- Black thread
- Shoe last
- Lasing/cobbler plier
- Sewing machine
- Super Glue
- Lug Outsoles
- Hammer
- Grinding machine
- Brush etc...
https://files.peakd.com/file/peakd-hive/vickoly/23swXqJpt2v4GEng4qMiudS68TVKABUr7jKxwaovLN5sgs4KDsyLYFwBYmyDUaw8T3M5m.png
MAKING PROCESSES
https://files.peakd.com/file/peakd-hive/vickoly/23swXqJpt2v4GEng4qMiudS68TVKABUr7jKxwaovLN5sgs4KDsyLYFwBYmyDUaw8T3M5m.png
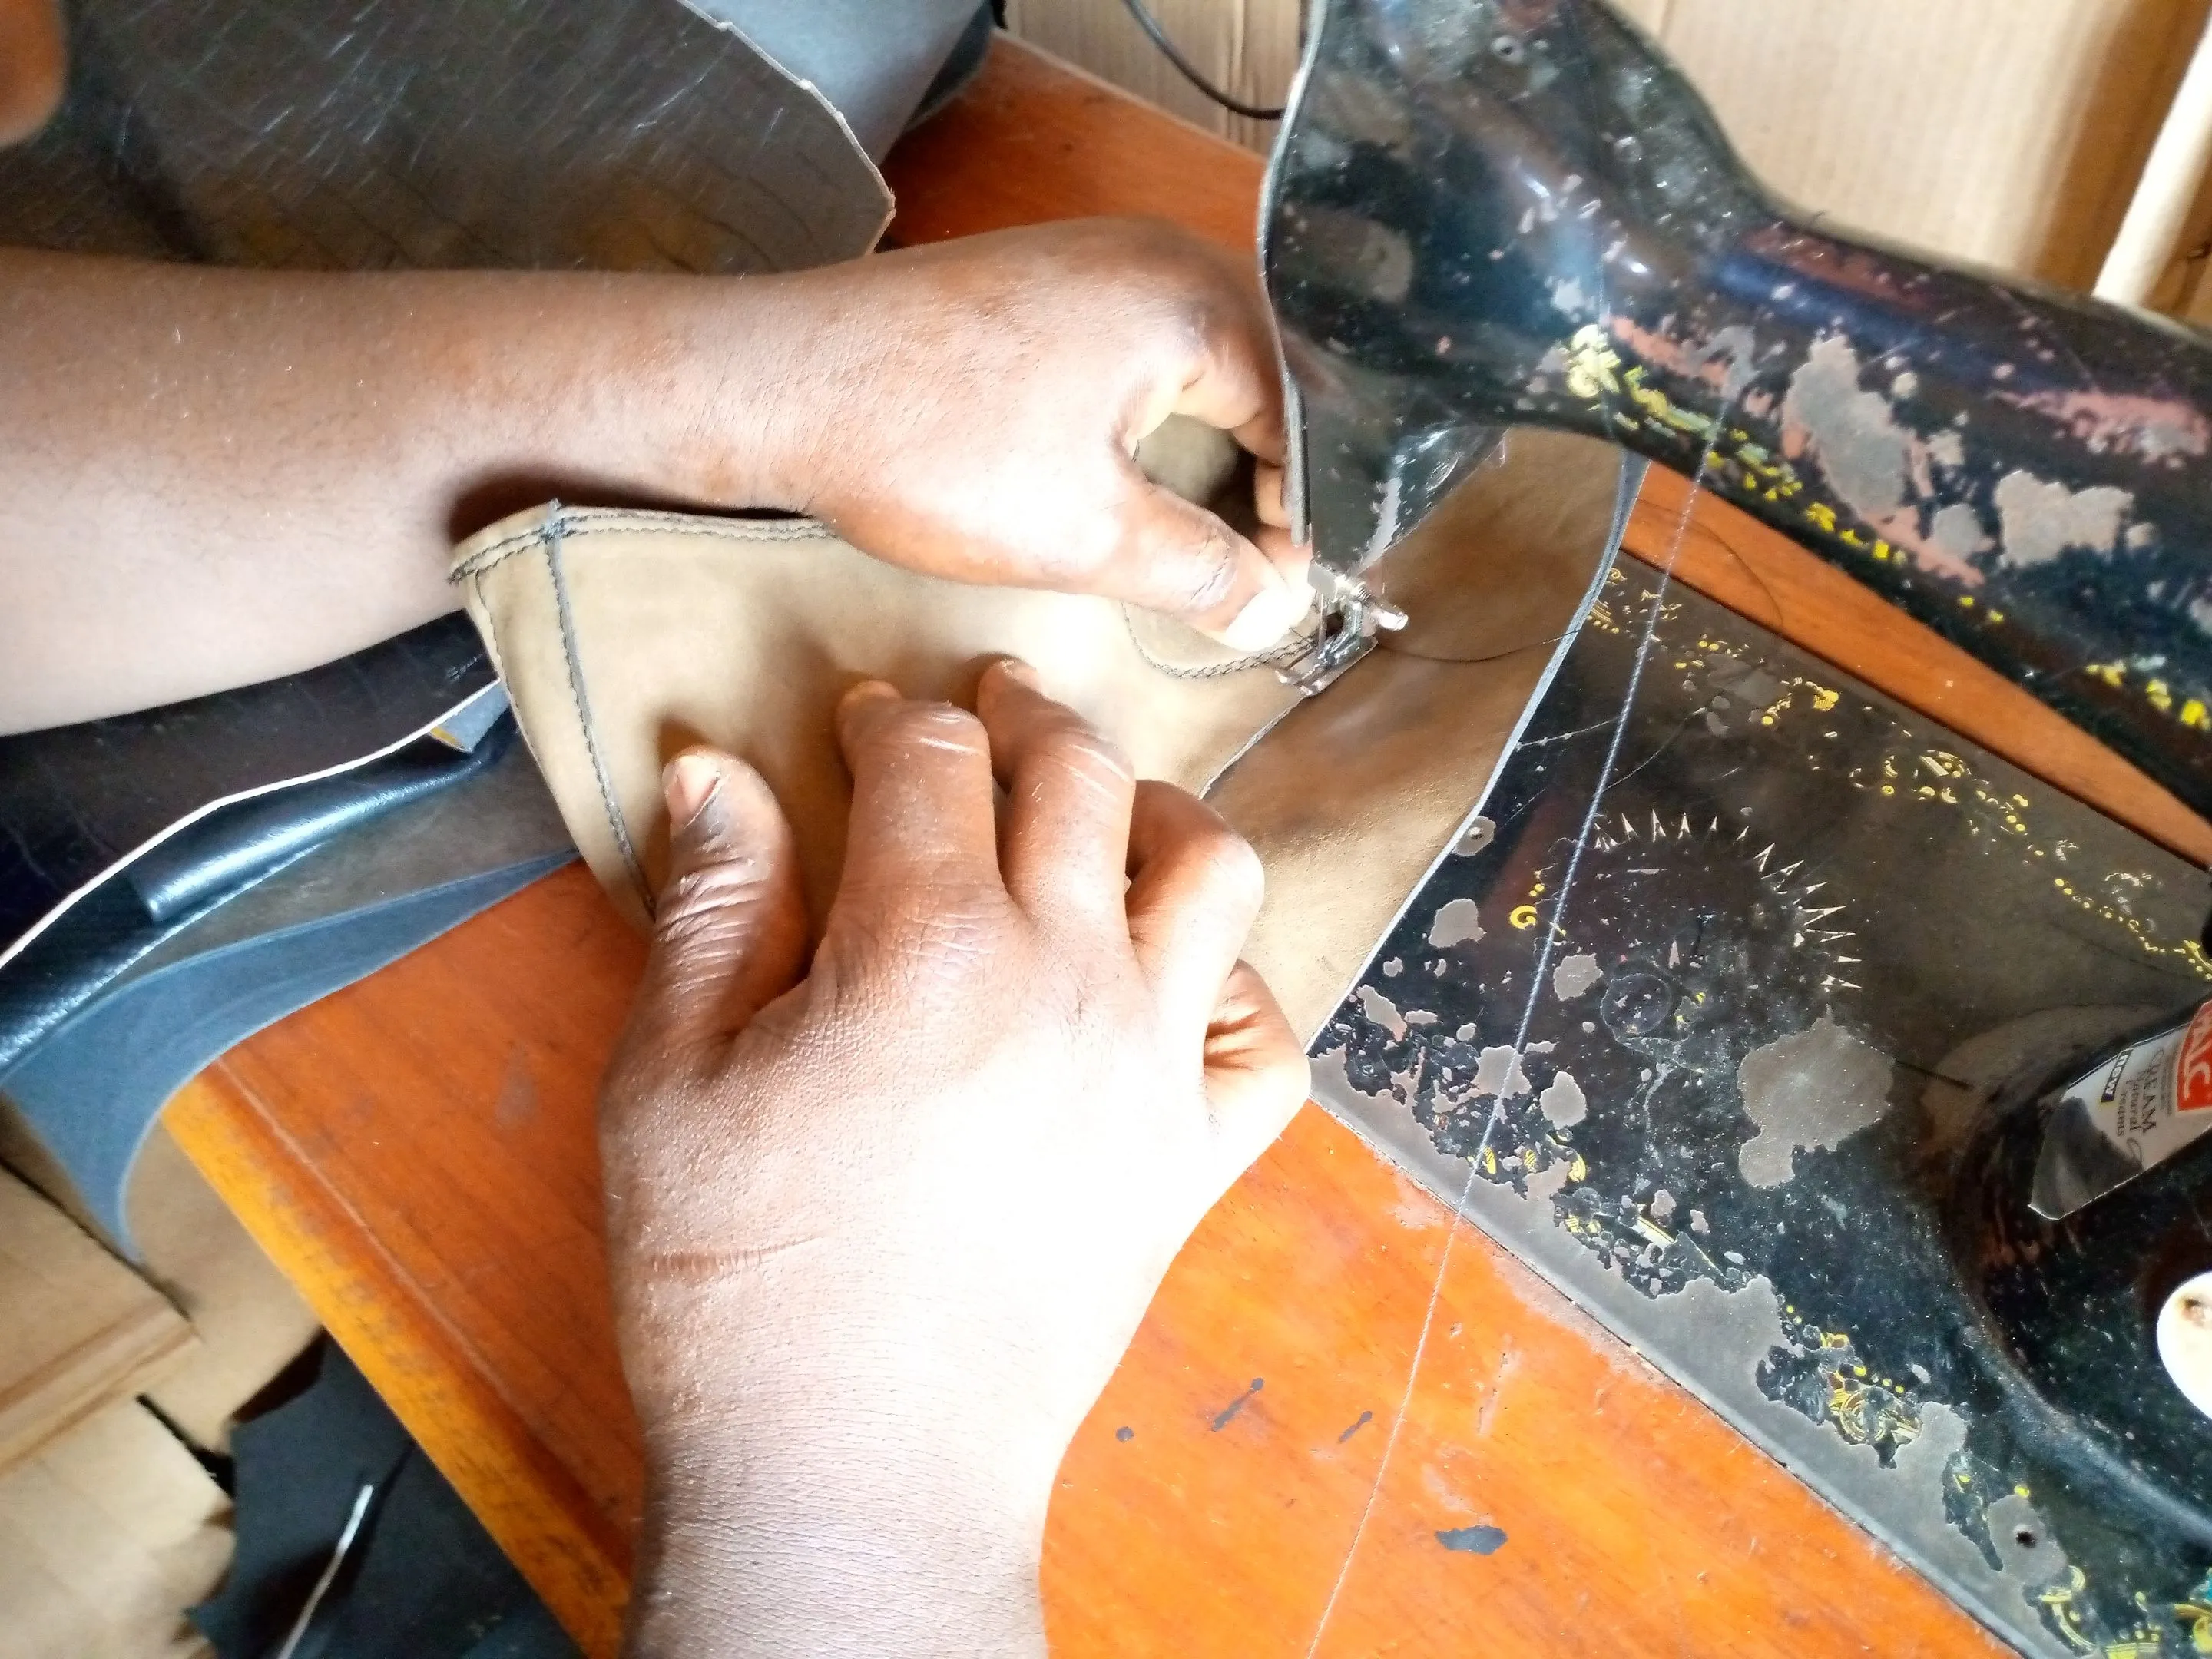
- The first thing I did is to sew the back part of the upper together, by adding a straight line leather material, and after that, I sew the two side of the upper together with the middle which.
https://files.peakd.com/file/peakd-hive/vickoly/23swXqJpt2v4GEng4qMiudS68TVKABUr7jKxwaovLN5sgs4KDsyLYFwBYmyDUaw8T3M5m.png
- Then I nailed the insole to the rubber shoe last because to get a perfect shape of the shoe then, everything must be done on the shoe last, and after the nailing, I place the shoe last inside the sewed leather upper.
https://files.peakd.com/file/peakd-hive/vickoly/23swXqJpt2v4GEng4qMiudS68TVKABUr7jKxwaovLN5sgs4KDsyLYFwBYmyDUaw8T3M5m.png
- For the lasing of the front part, first I separated the leather from the linning, and then rub gum on both parts, once it dry off, I roll over the leather on the linning and then drag it firmly it with the lasing plier, this is down so that the front parts of the boots will be smooth and not rough.
https://files.peakd.com/file/peakd-hive/vickoly/23swXqJpt2v4GEng4qMiudS68TVKABUr7jKxwaovLN5sgs4KDsyLYFwBYmyDUaw8T3M5m.png
- Once that was achieve, I proceed to the lasing of the boots, which includes rubbing gum on the insole and inner past of the upper, then I gum it together, after grinding it with the grinder, I still apply gum on it again alongside the Lug Outsoles, and then leave it to dry for some minutes. https://files.peakd.com/file/peakd-hive/vickoly/23wqko7Cyd5SNz1394PS9VSCdTaTSVTxkDs11bJpHMgfUVFbZGK5SBFKPqDFtu1Us64EG.jpg
https://files.peakd.com/file/peakd-hive/vickoly/23swXqJpt2v4GEng4qMiudS68TVKABUr7jKxwaovLN5sgs4KDsyLYFwBYmyDUaw8T3M5m.png
- When it dry up, I attached the outsole to the nailed insole and upper, Though I must not last the upper part of the shoe so easily, else it'll have a rough surface in the front. https://files.peakd.com/file/peakd-hive/vickoly/Eoc7WQGTUaQbcpnbCPWRD8RezLpPzt6JWiPpYAtzdPLXUSQd3iBcAYBBMNKnU5MGymv.jpg
https://files.peakd.com/file/peakd-hive/vickoly/23swXqJpt2v4GEng4qMiudS68TVKABUr7jKxwaovLN5sgs4KDsyLYFwBYmyDUaw8T3M5m.png
- The final process is applying super glue around all the edges of the boots, so it can stick together firmly, thou I'm thinking maybe I should also sewing it around with needle and thread, but I'm yet to conclude if it's necessary or now.
https://files.peakd.com/file/peakd-hive/vickoly/EoiVj5wsJp1j3L4pAiNd73ksrpNfsDks2MLg5tk2gZCpW6pj7M193pEGphkdg22NyyS.jpg
https://files.peakd.com/file/peakd-hive/vickoly/23swXqJpt2v4GEng4qMiudS68TVKABUr7jKxwaovLN5sgs4KDsyLYFwBYmyDUaw8T3M5m.png
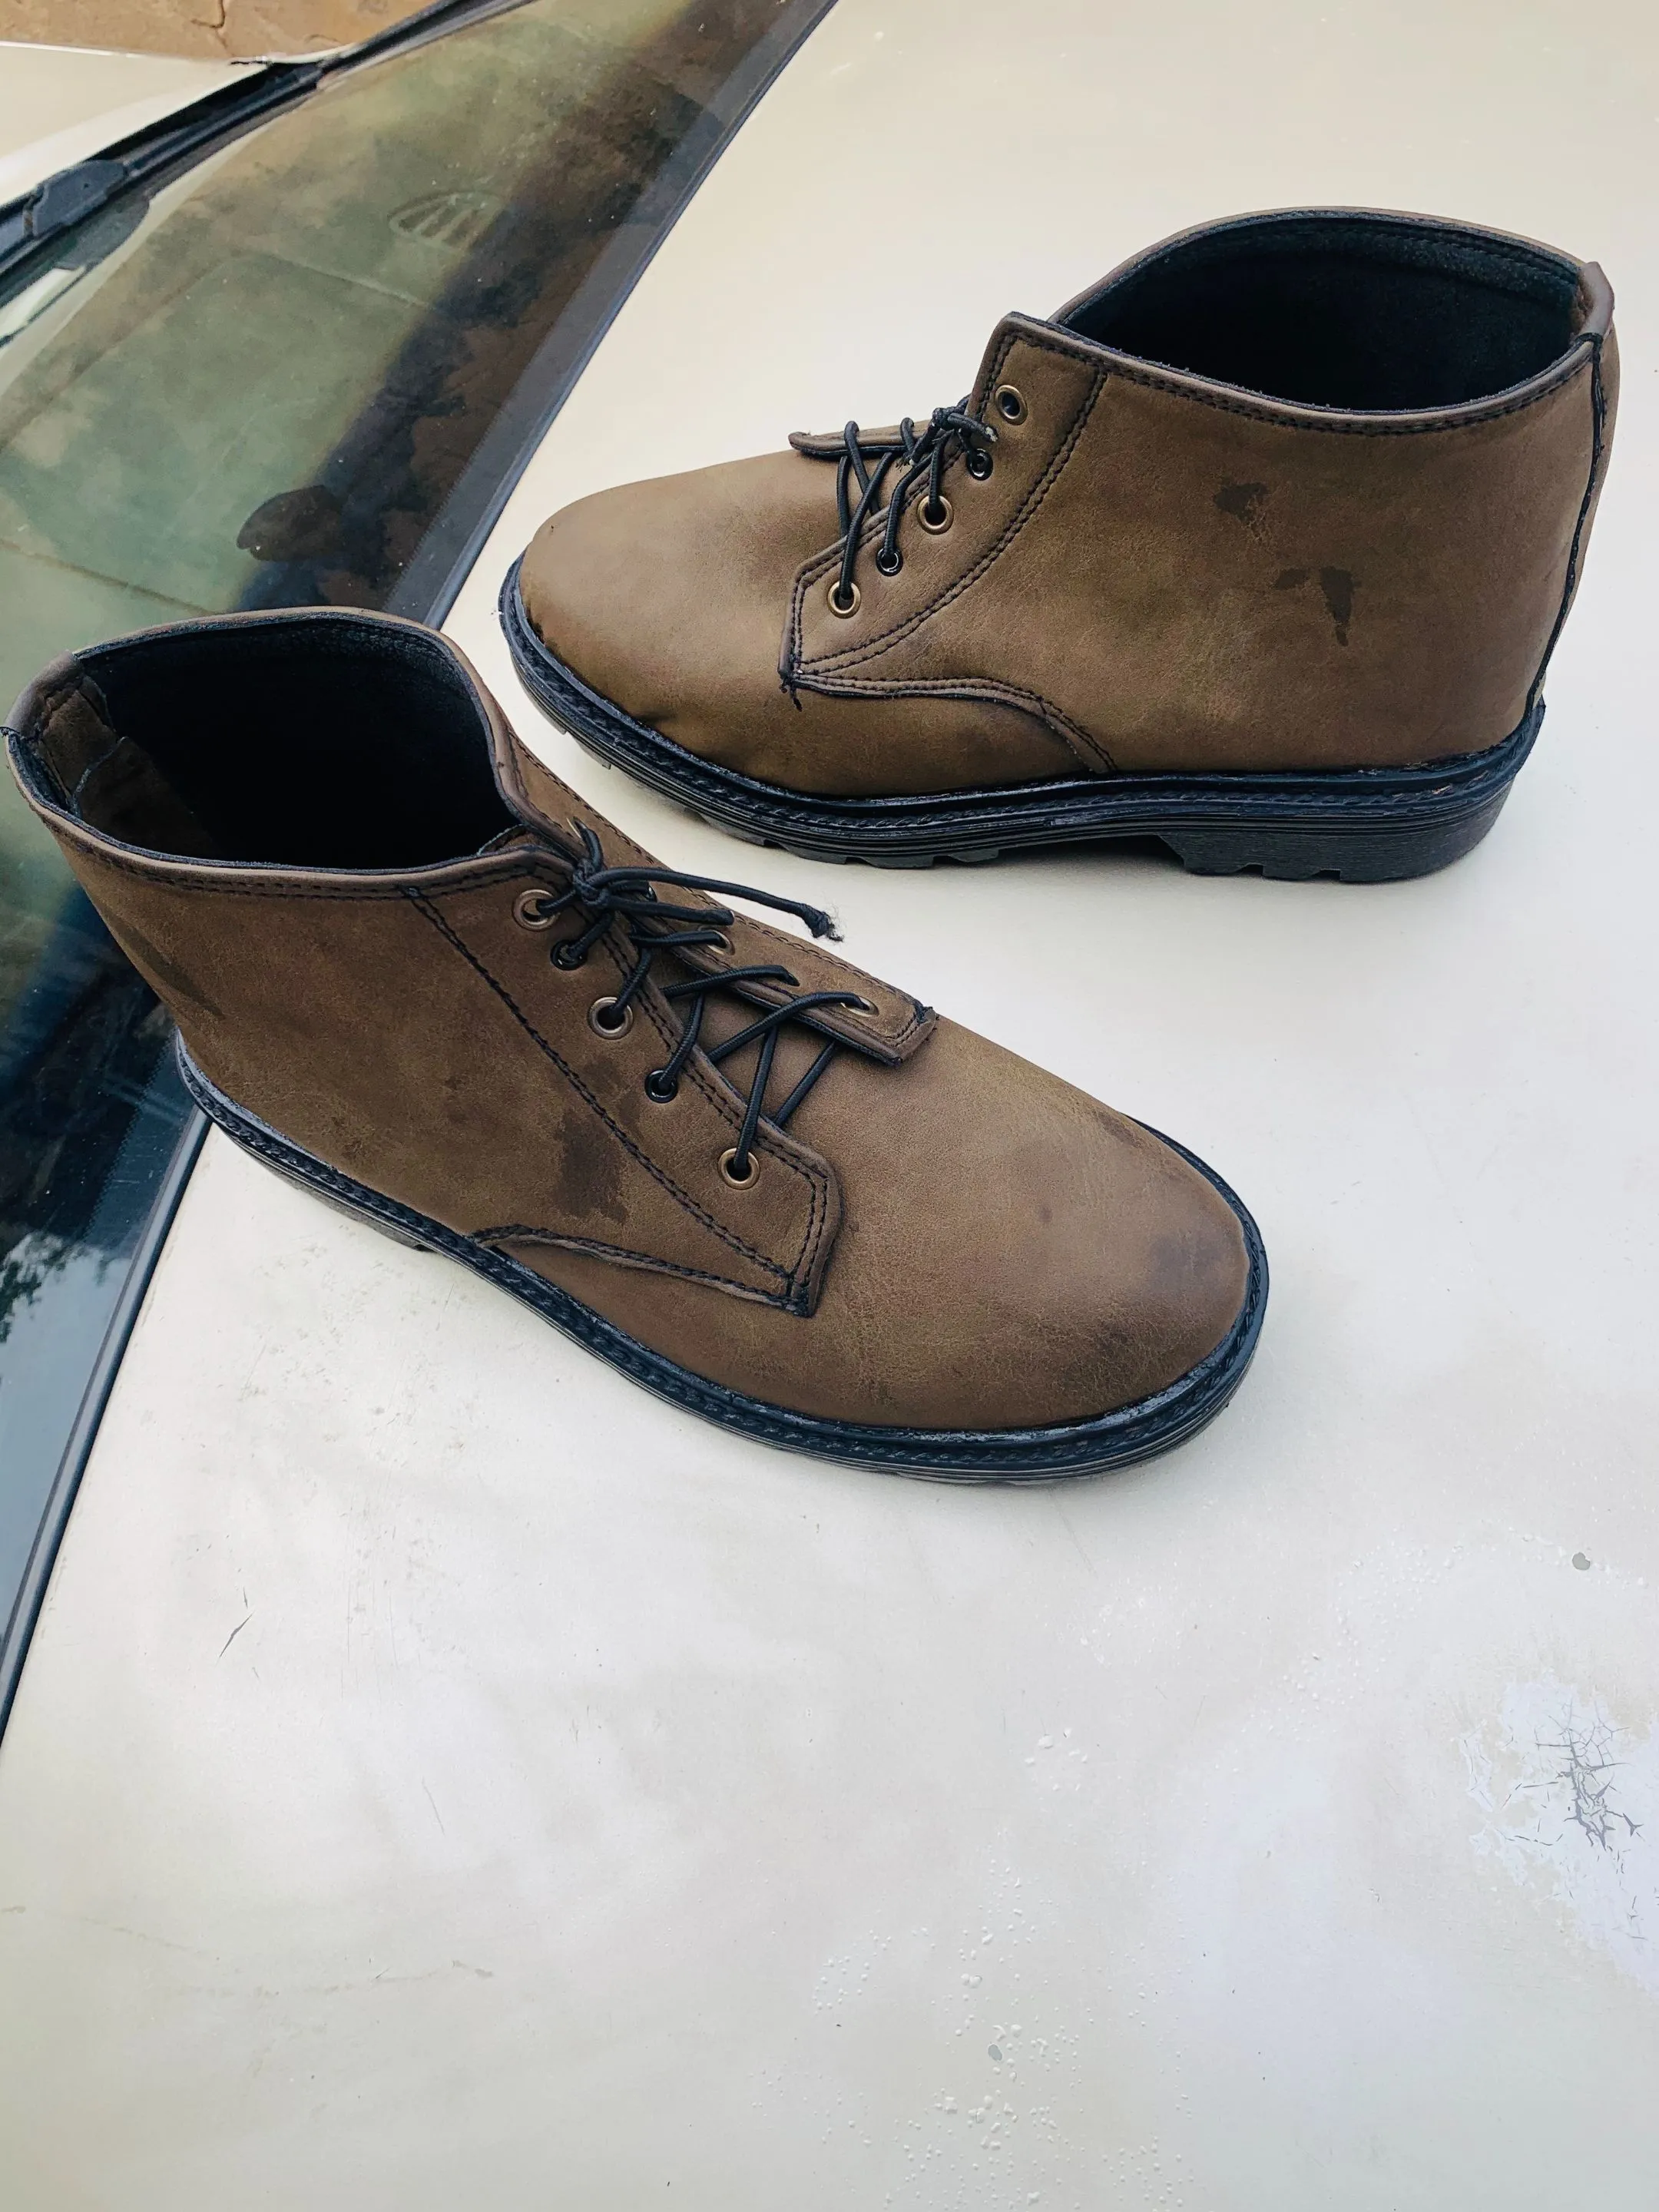
- Here is how elegant the boots look now that I'm done with it.
https://files.peakd.com/file/peakd-hive/vickoly/EoEq62YbRUYLjce8sdtLpS6btnvf9VEPH5cjcMhdxj9Mgm4RJrmwmUhmovHgHrr8Fun.jpg
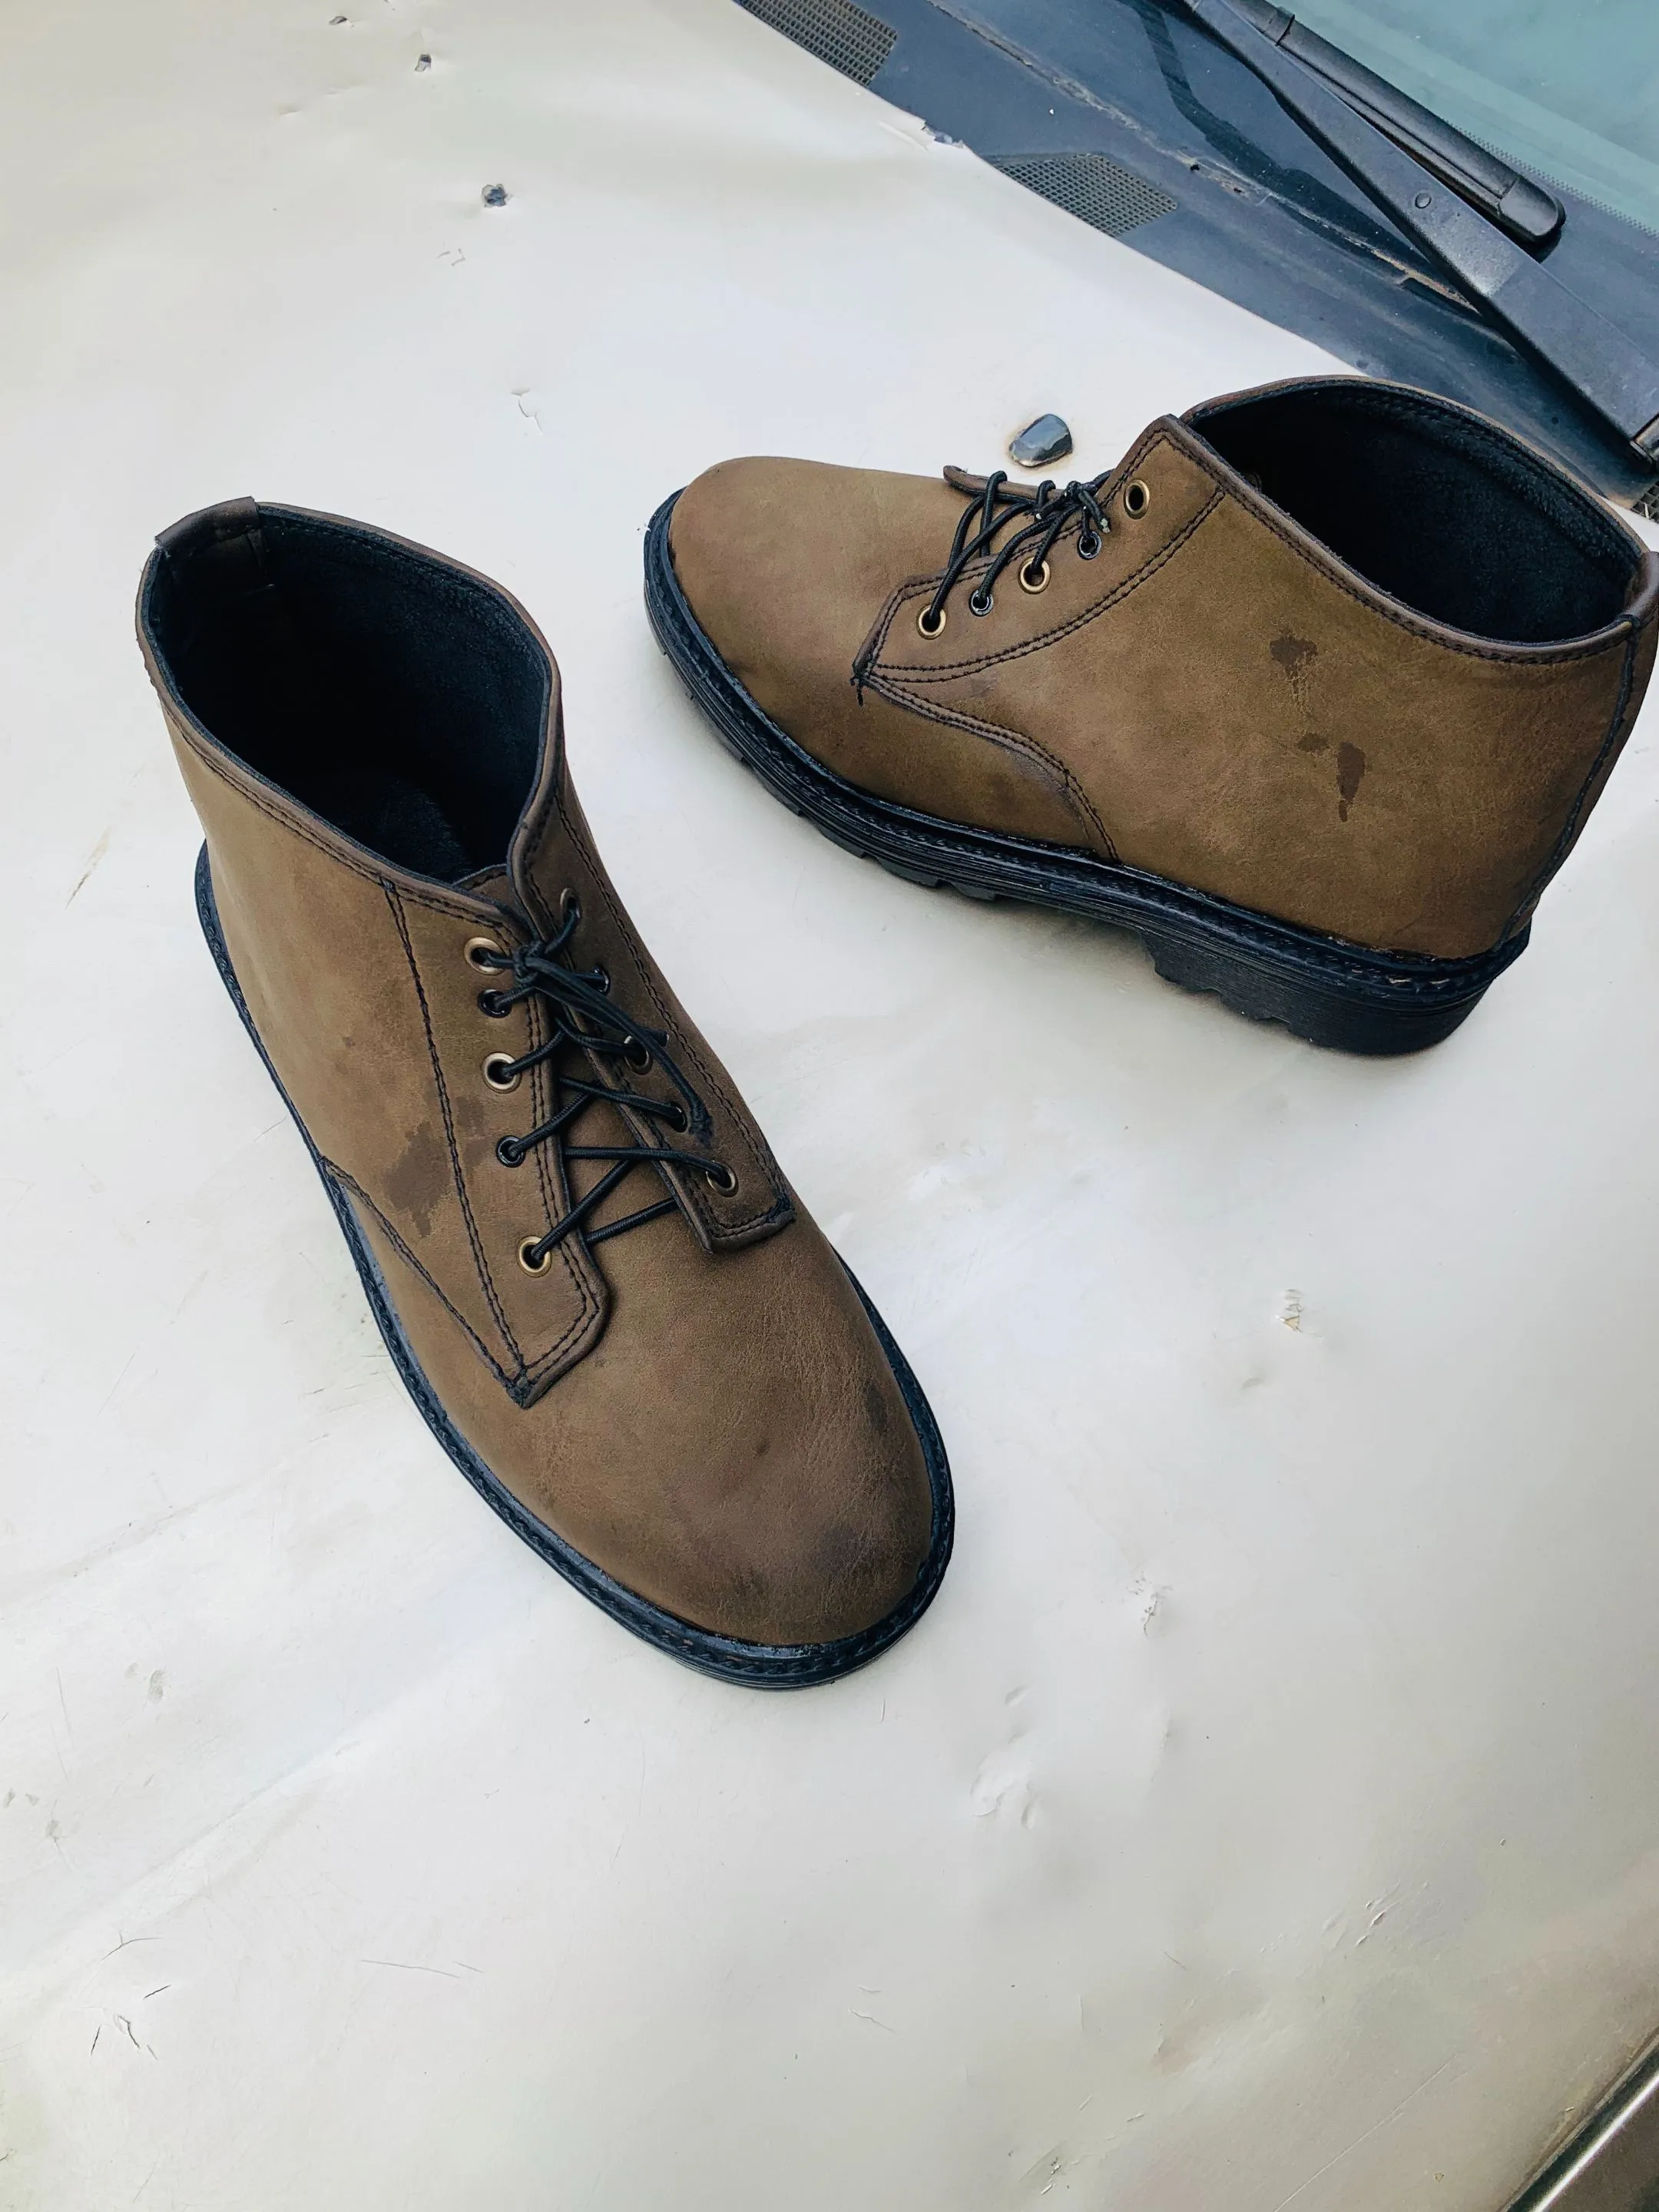
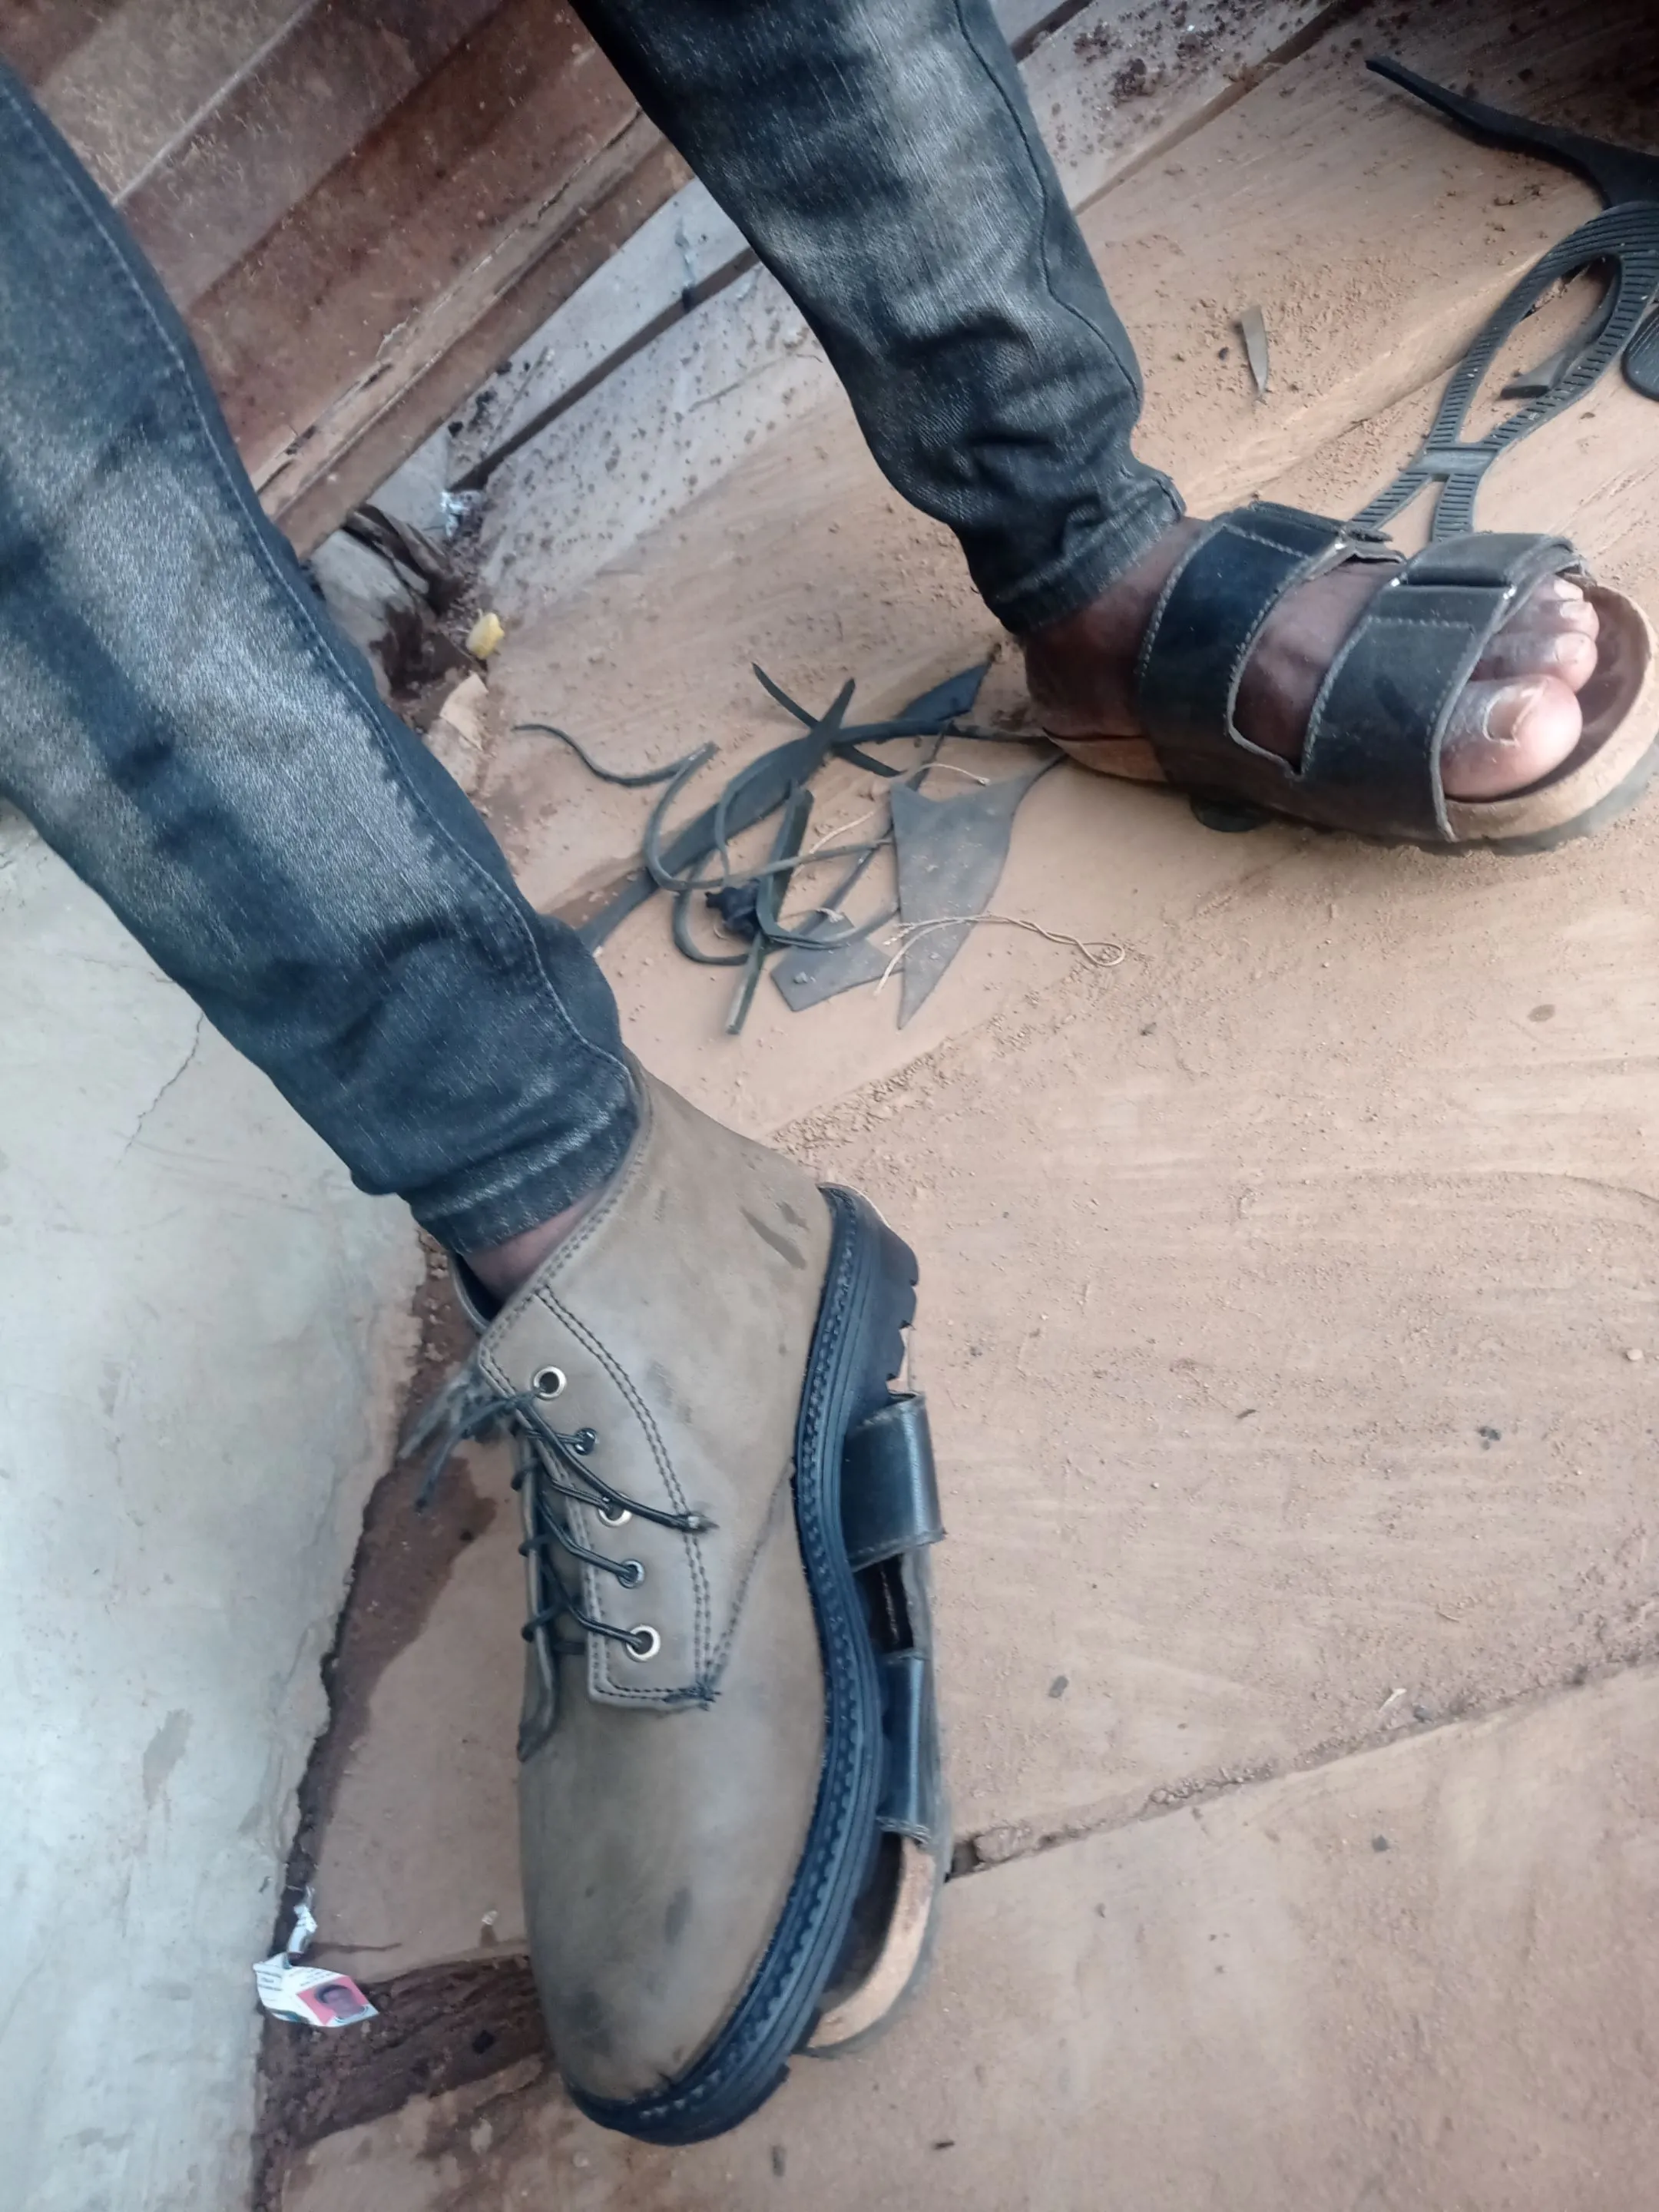 Here I'm trying the boots on, so see out fitting it's.
https://files.peakd.com/file/peakd-hive/vickoly/23swXqJpt2v4GEng4qMiudS68TVKABUr7jKxwaovLN5sgs4KDsyLYFwBYmyDUaw8T3M5m.png
Do you have anything that seems unachievable, why not give it a try today, certainly in the end you'll be proud you did.
https://files.peakd.com/file/peakd-hive/vickoly/23swXqJpt2v4GEng4qMiudS68TVKABUr7jKxwaovLN5sgs4KDsyLYFwBYmyDUaw8T3M5m.png
Thanks for staying with me thus far, I hope you've got value while going through this content!, Have a blessed and productive new week ahead.
Greetings from: @vickoly
Return from HOW I MADE AND ACCOMPLISHED THE BOOTS PROJECT I EMBARKED ON to vickoly's Web3 Blog

