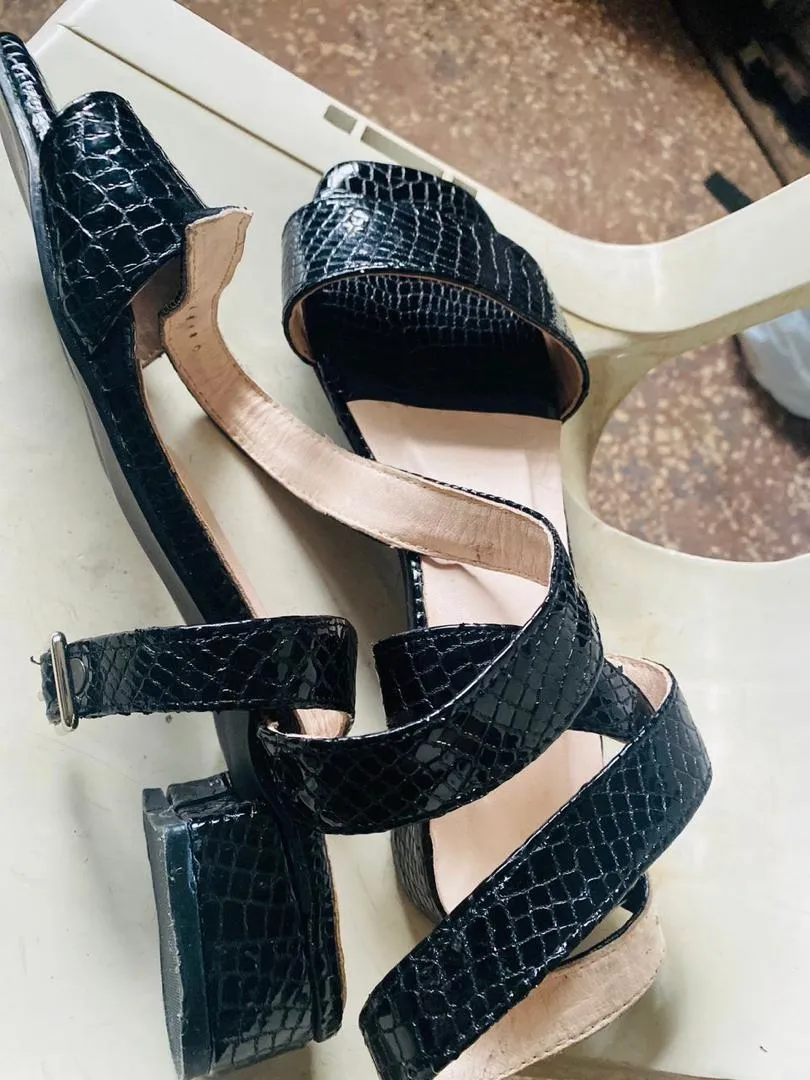
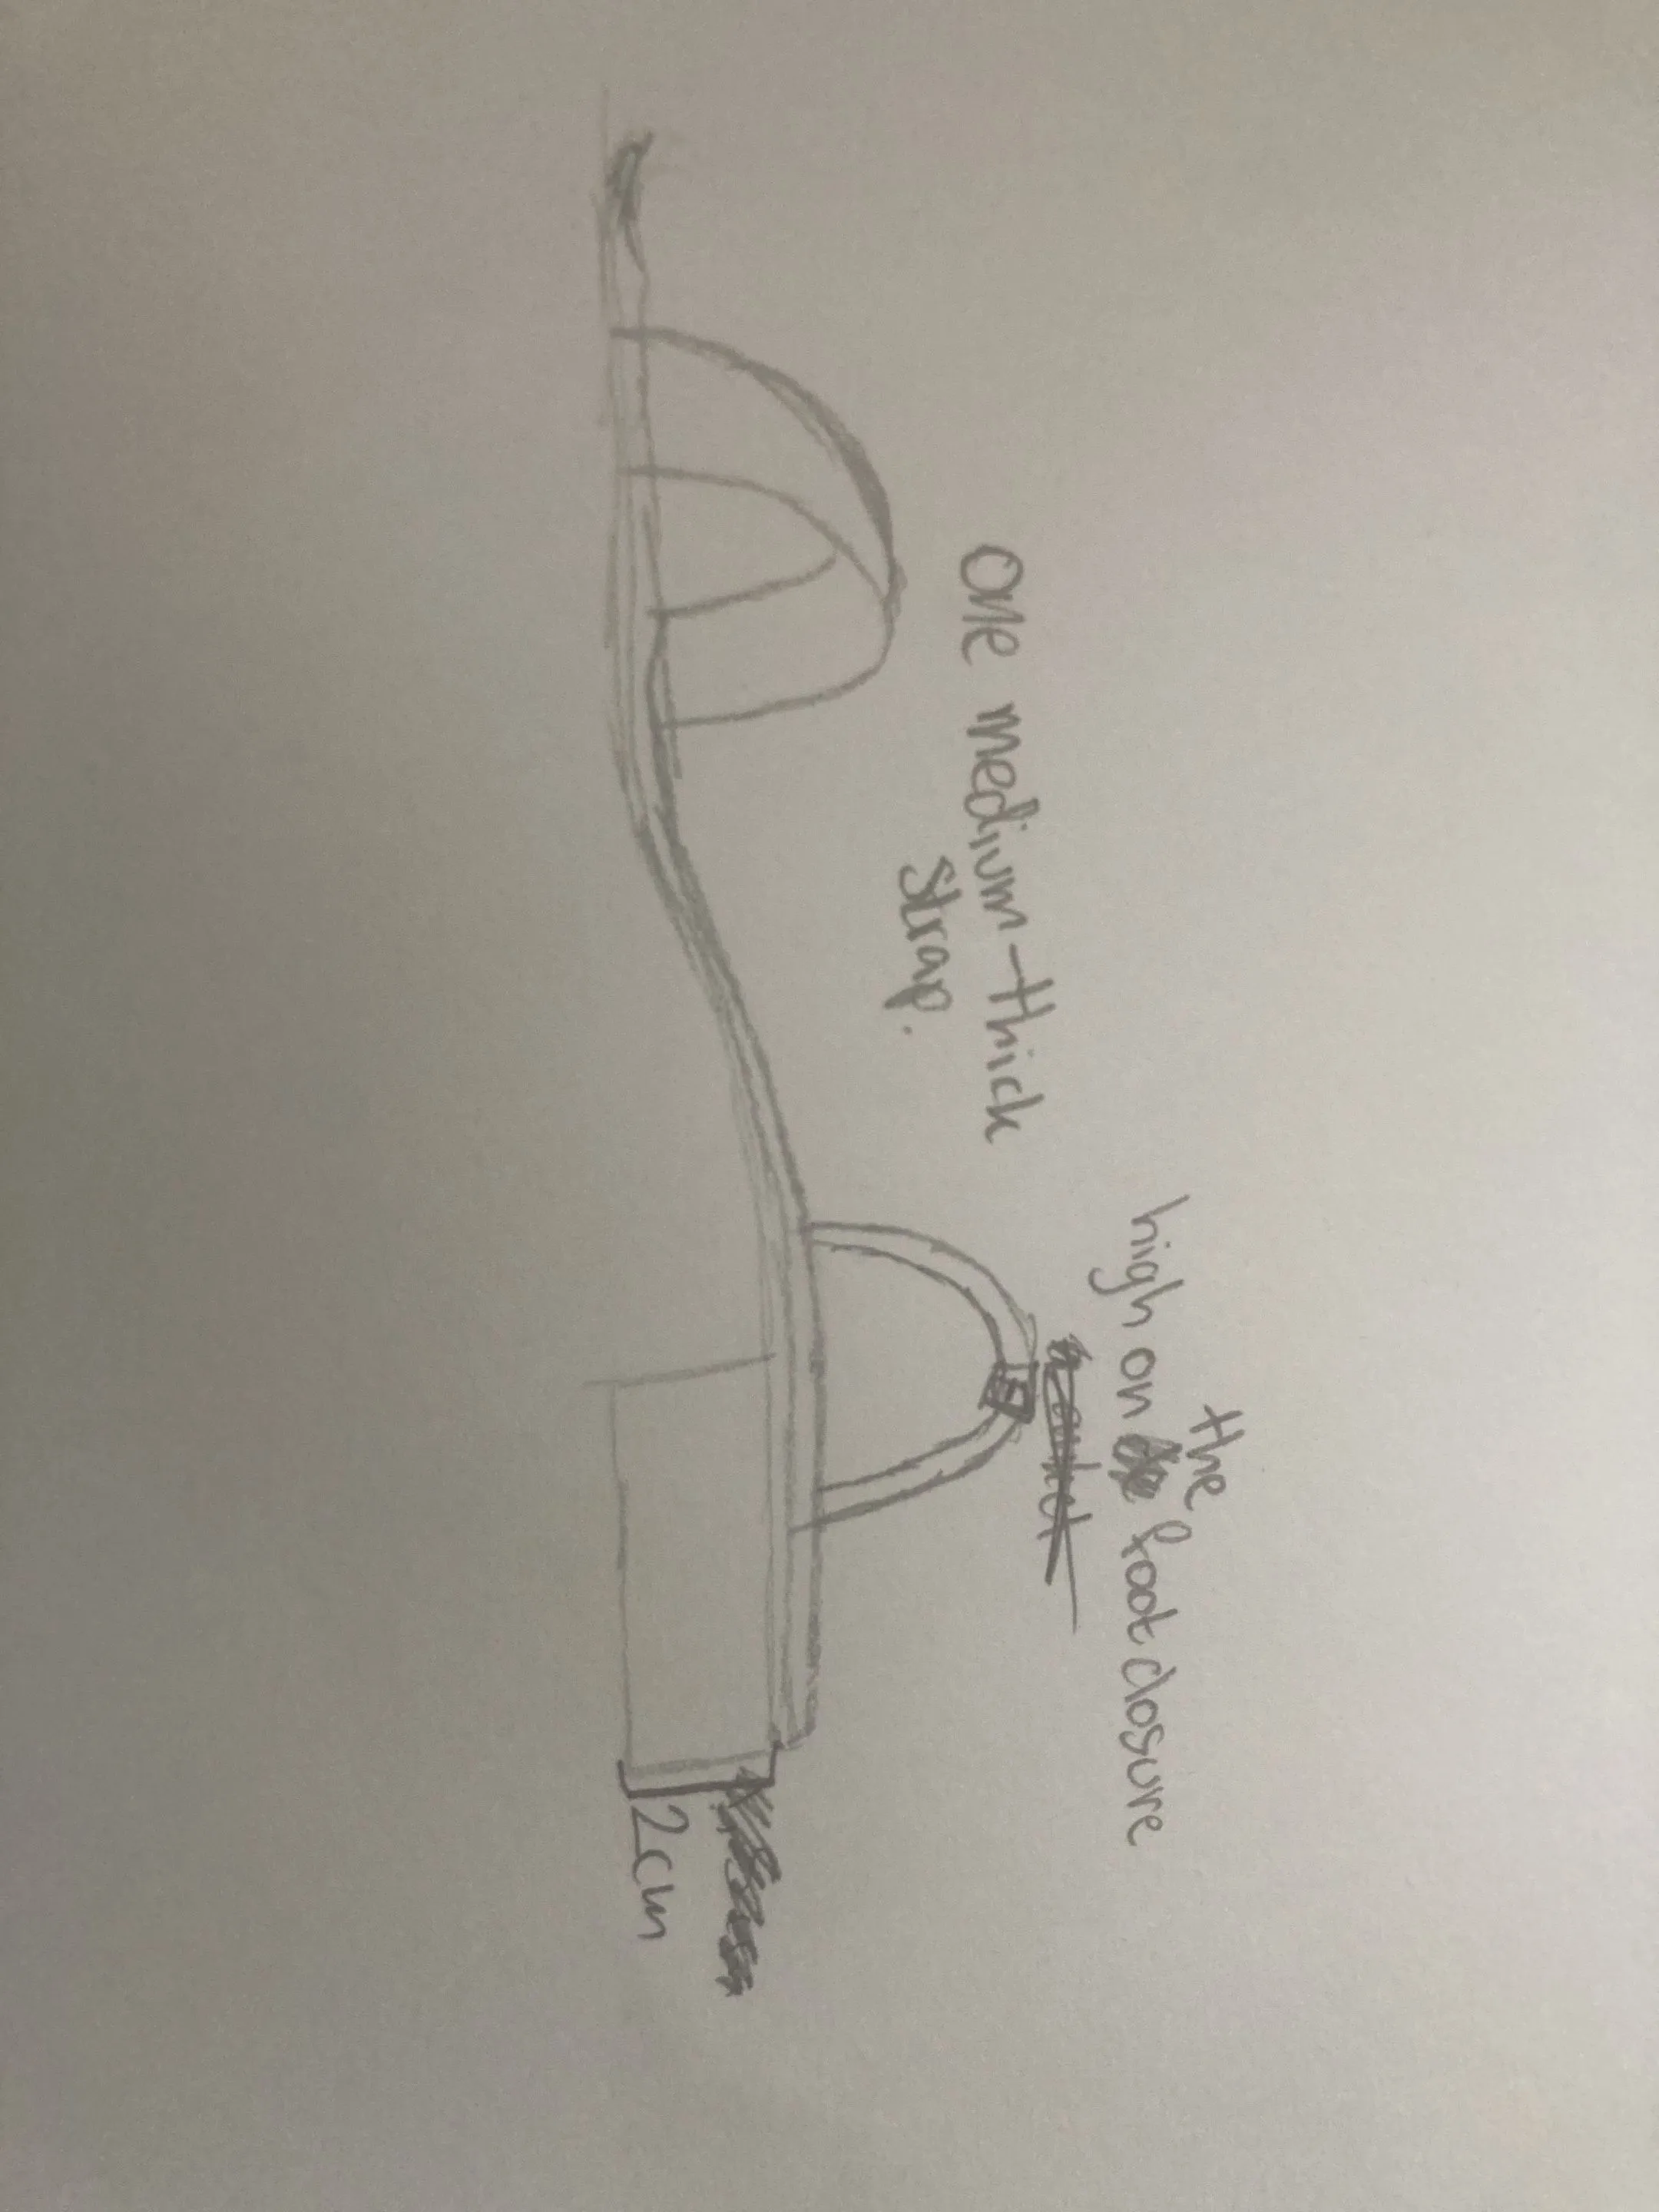
Good day, creative minds! A few months ago, a prospective customer DM me and asked that I make a sandal for her, which I gladly accepted. The only issue was that she doesn't stay close to me, and I don't really understand her description of what she wants, so I requested a sample to guide me. She drew a diagram of what she wanted, and after working on the sandal, the outcome is what you see in the other picture.
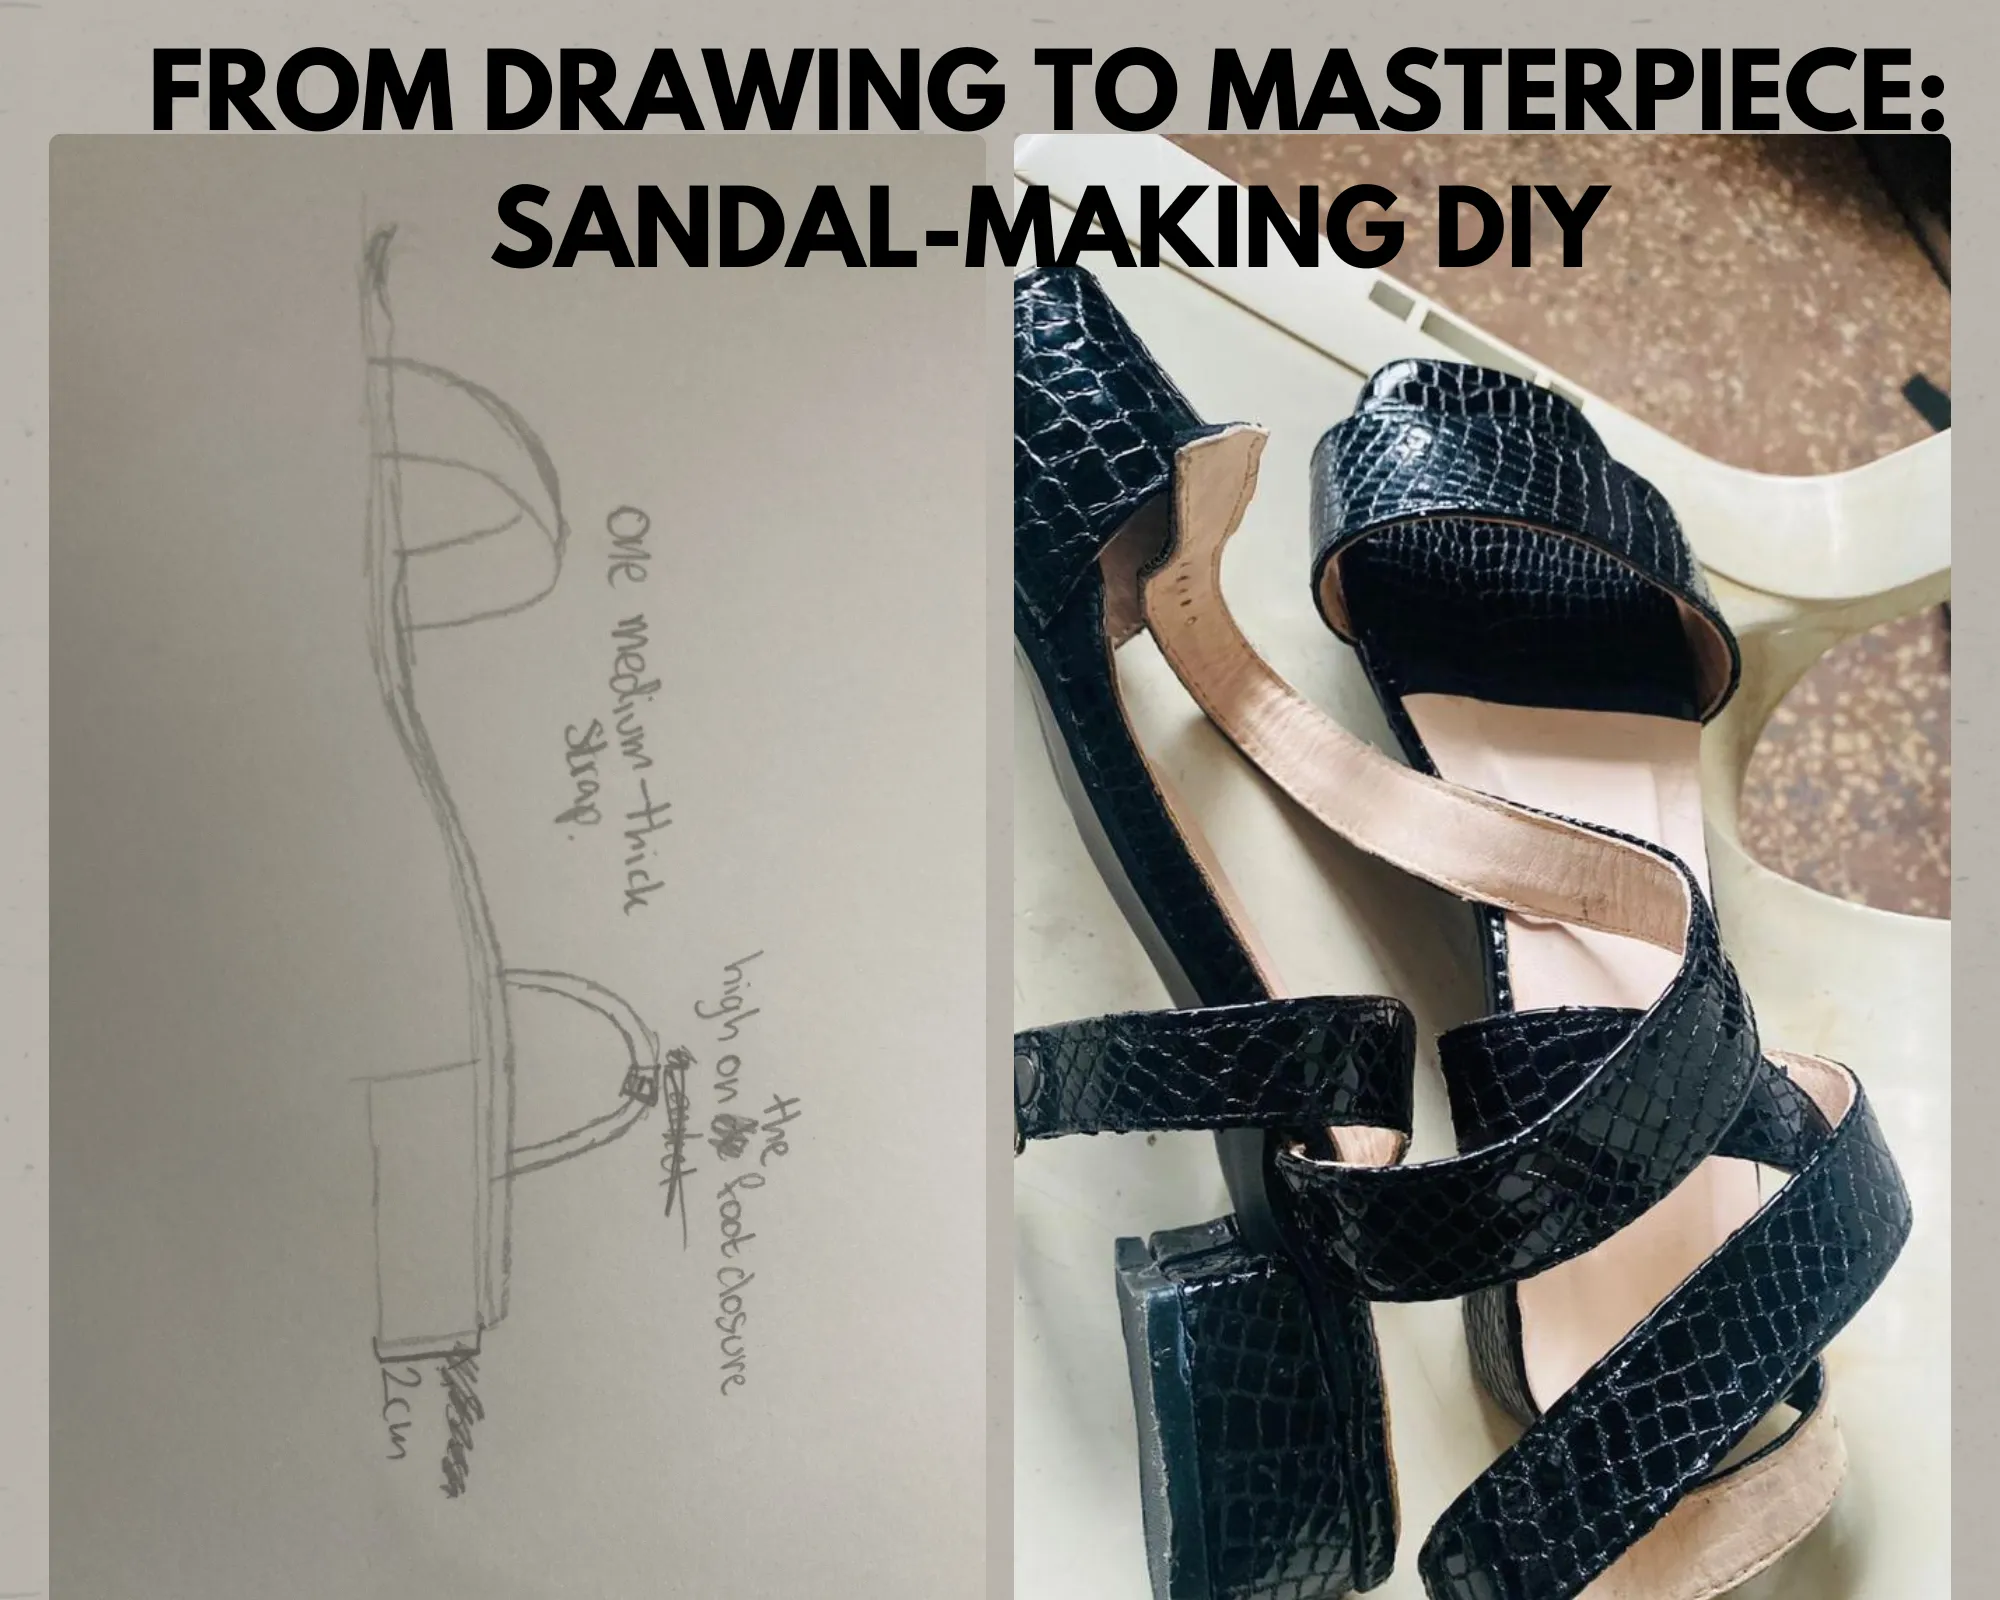 Image designed here
Making footwear for someone who's far away isn't an easy task because you won't be able to easily determine the actual foot size of the person, and that is an essential part of shoemaking because the actual measurements determine what to cut and shape. Well, I was given a size 43 to work with, and Below I'll take you through some of the steps I indulged in while making the sandala.
Material
- Black leather
- Cream leather lining
- Outsole
- Heels
- Maco
- Nora
- Gum
- Buckle
- super glue.
https://files.peakd.com/file/peakd-hive/vickoly/23x1abcXk2RqBSvQFCTSyjYUtnF9iuT4h69CRd45vXCLbNJS2b6593xDrPS9a4HbdhNgp.png
Steps in making
- I had to cut the black leather into the various desired shape, such as the front strap, the back strap, the cover of the heels and front past of the insole.
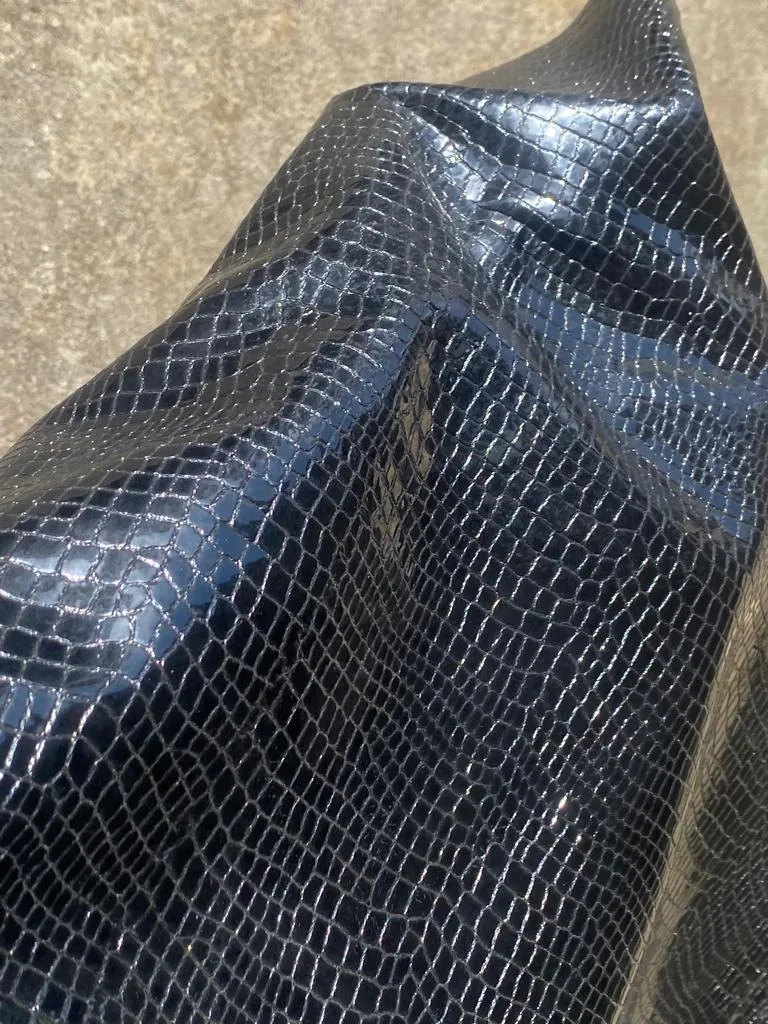
After cutting those, I did cut the cream leather lining for the lining of each of the parts cut above, they were then joined together with the gum.
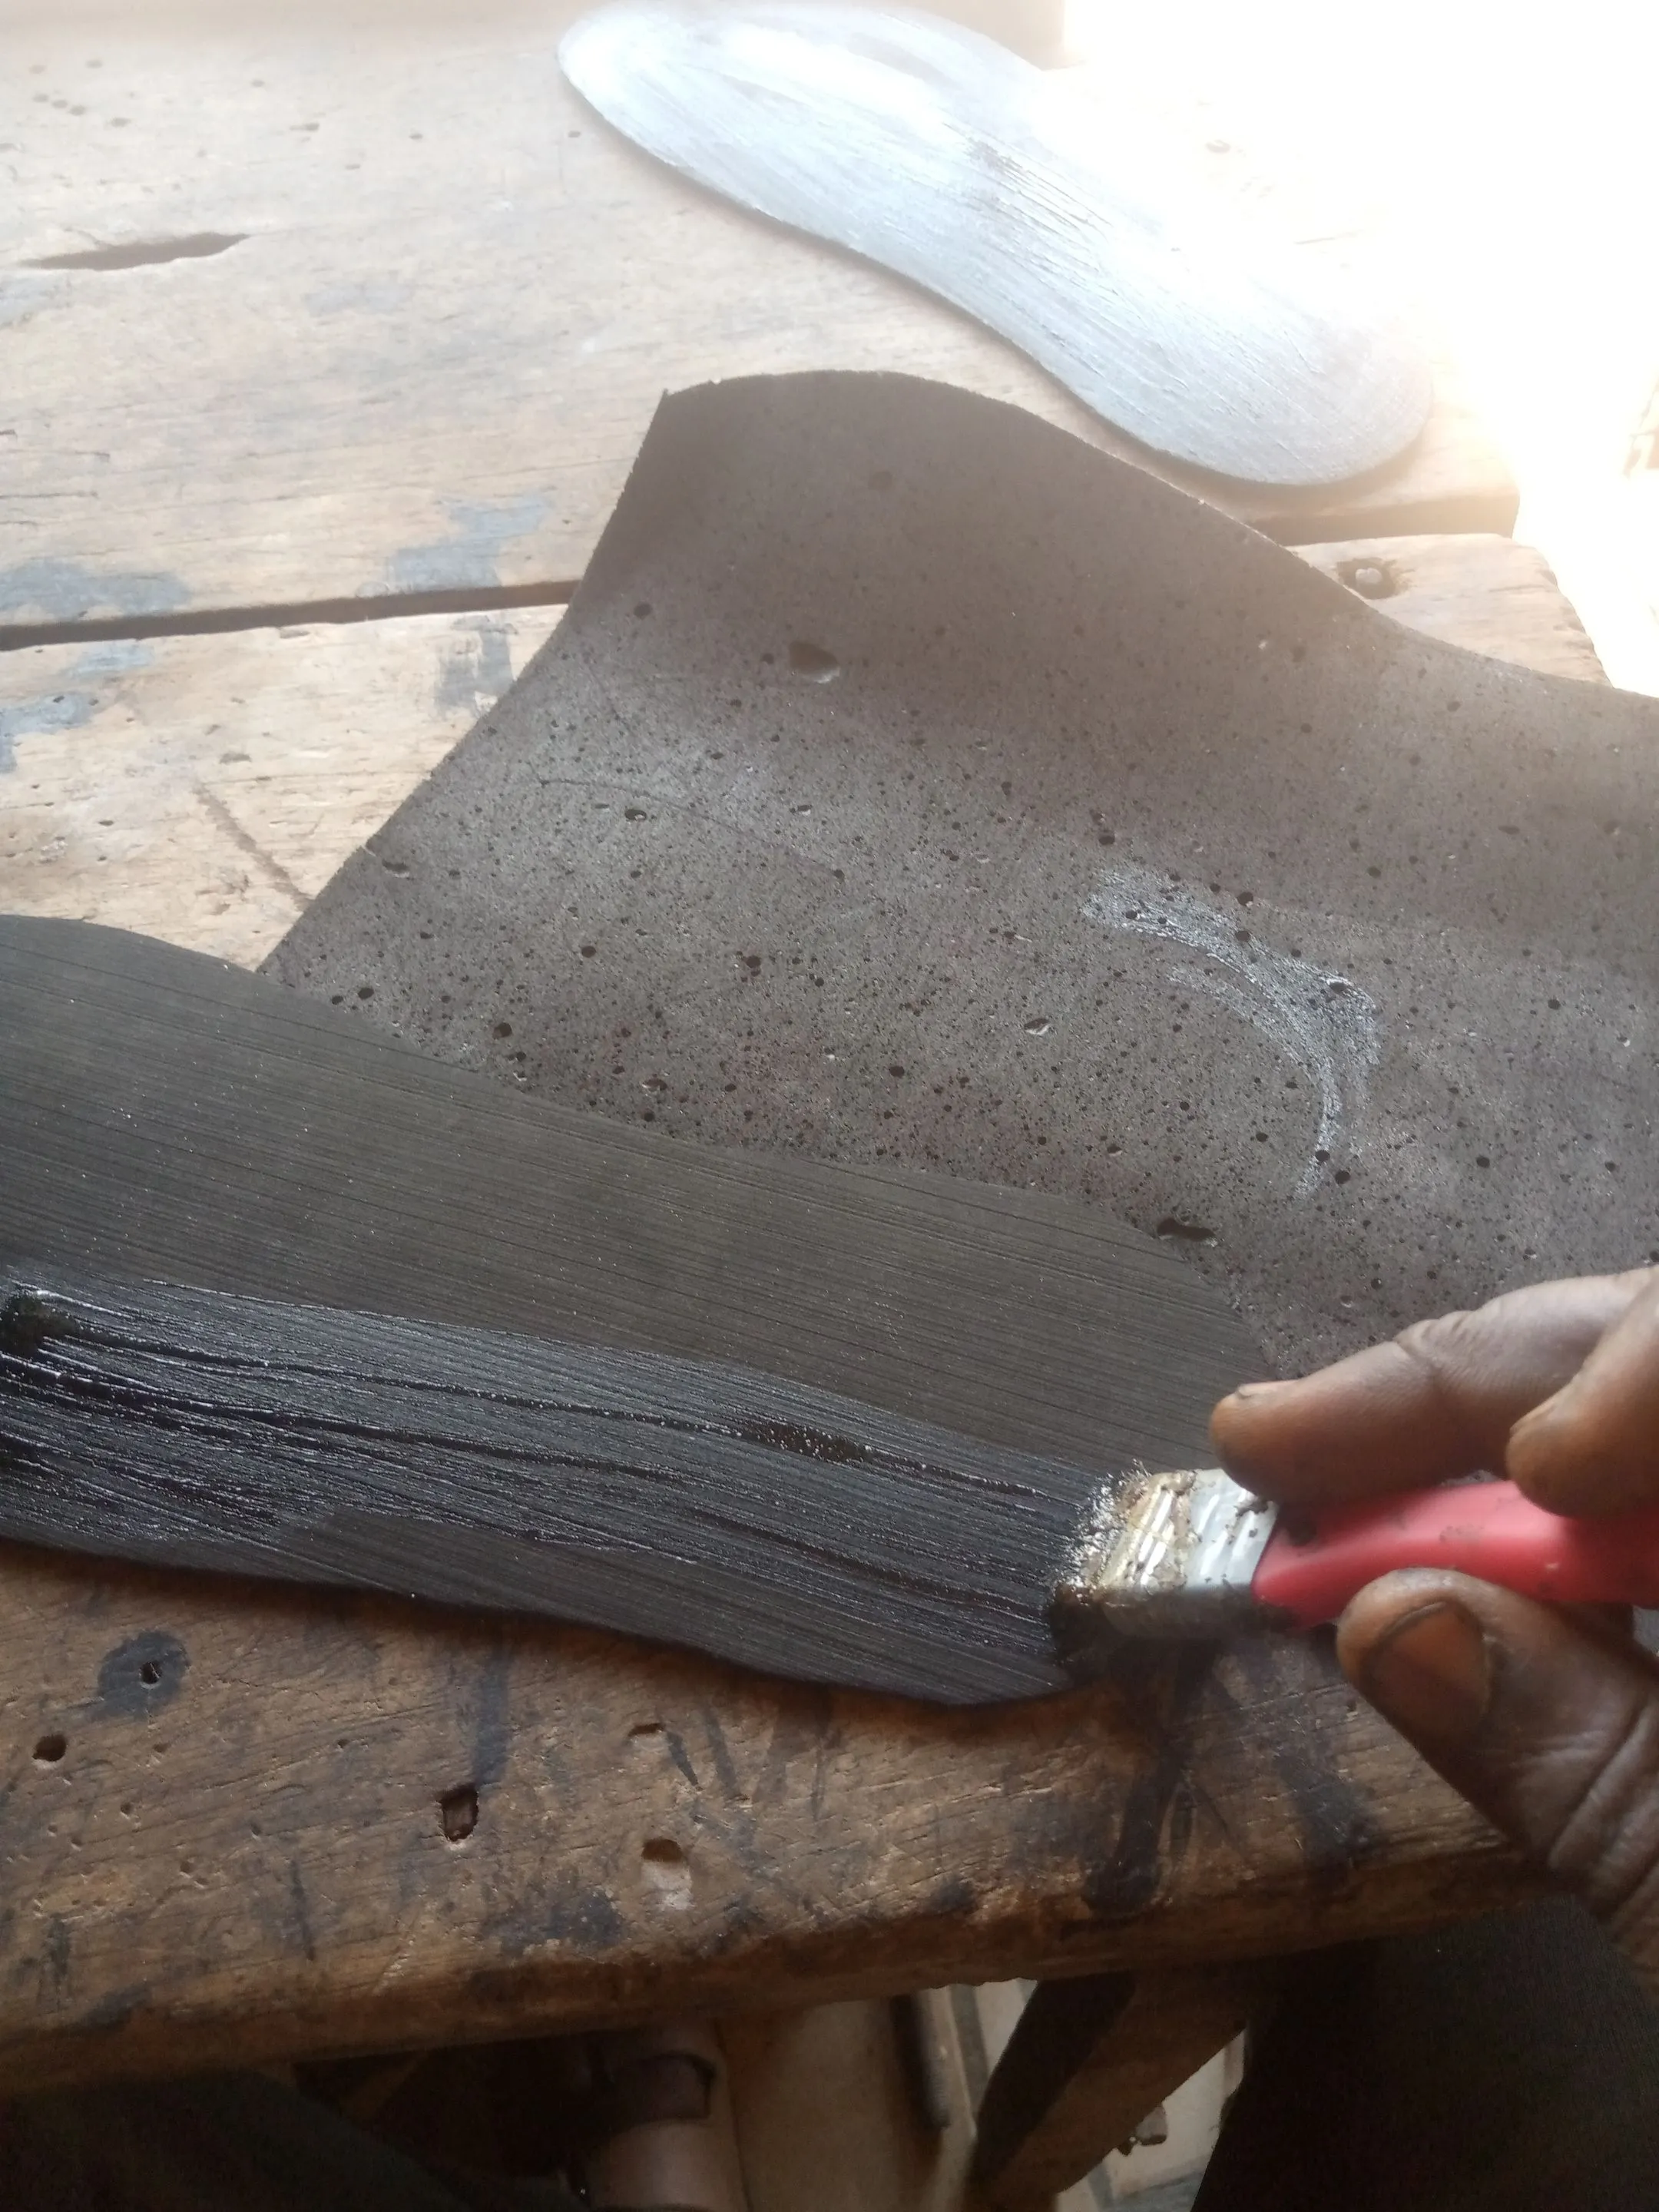
- Another making steps was when I was cutting the nora for the outsole of the sandal, and the maco for the insole of the sandals, to make it soft and comfortable under the foot.
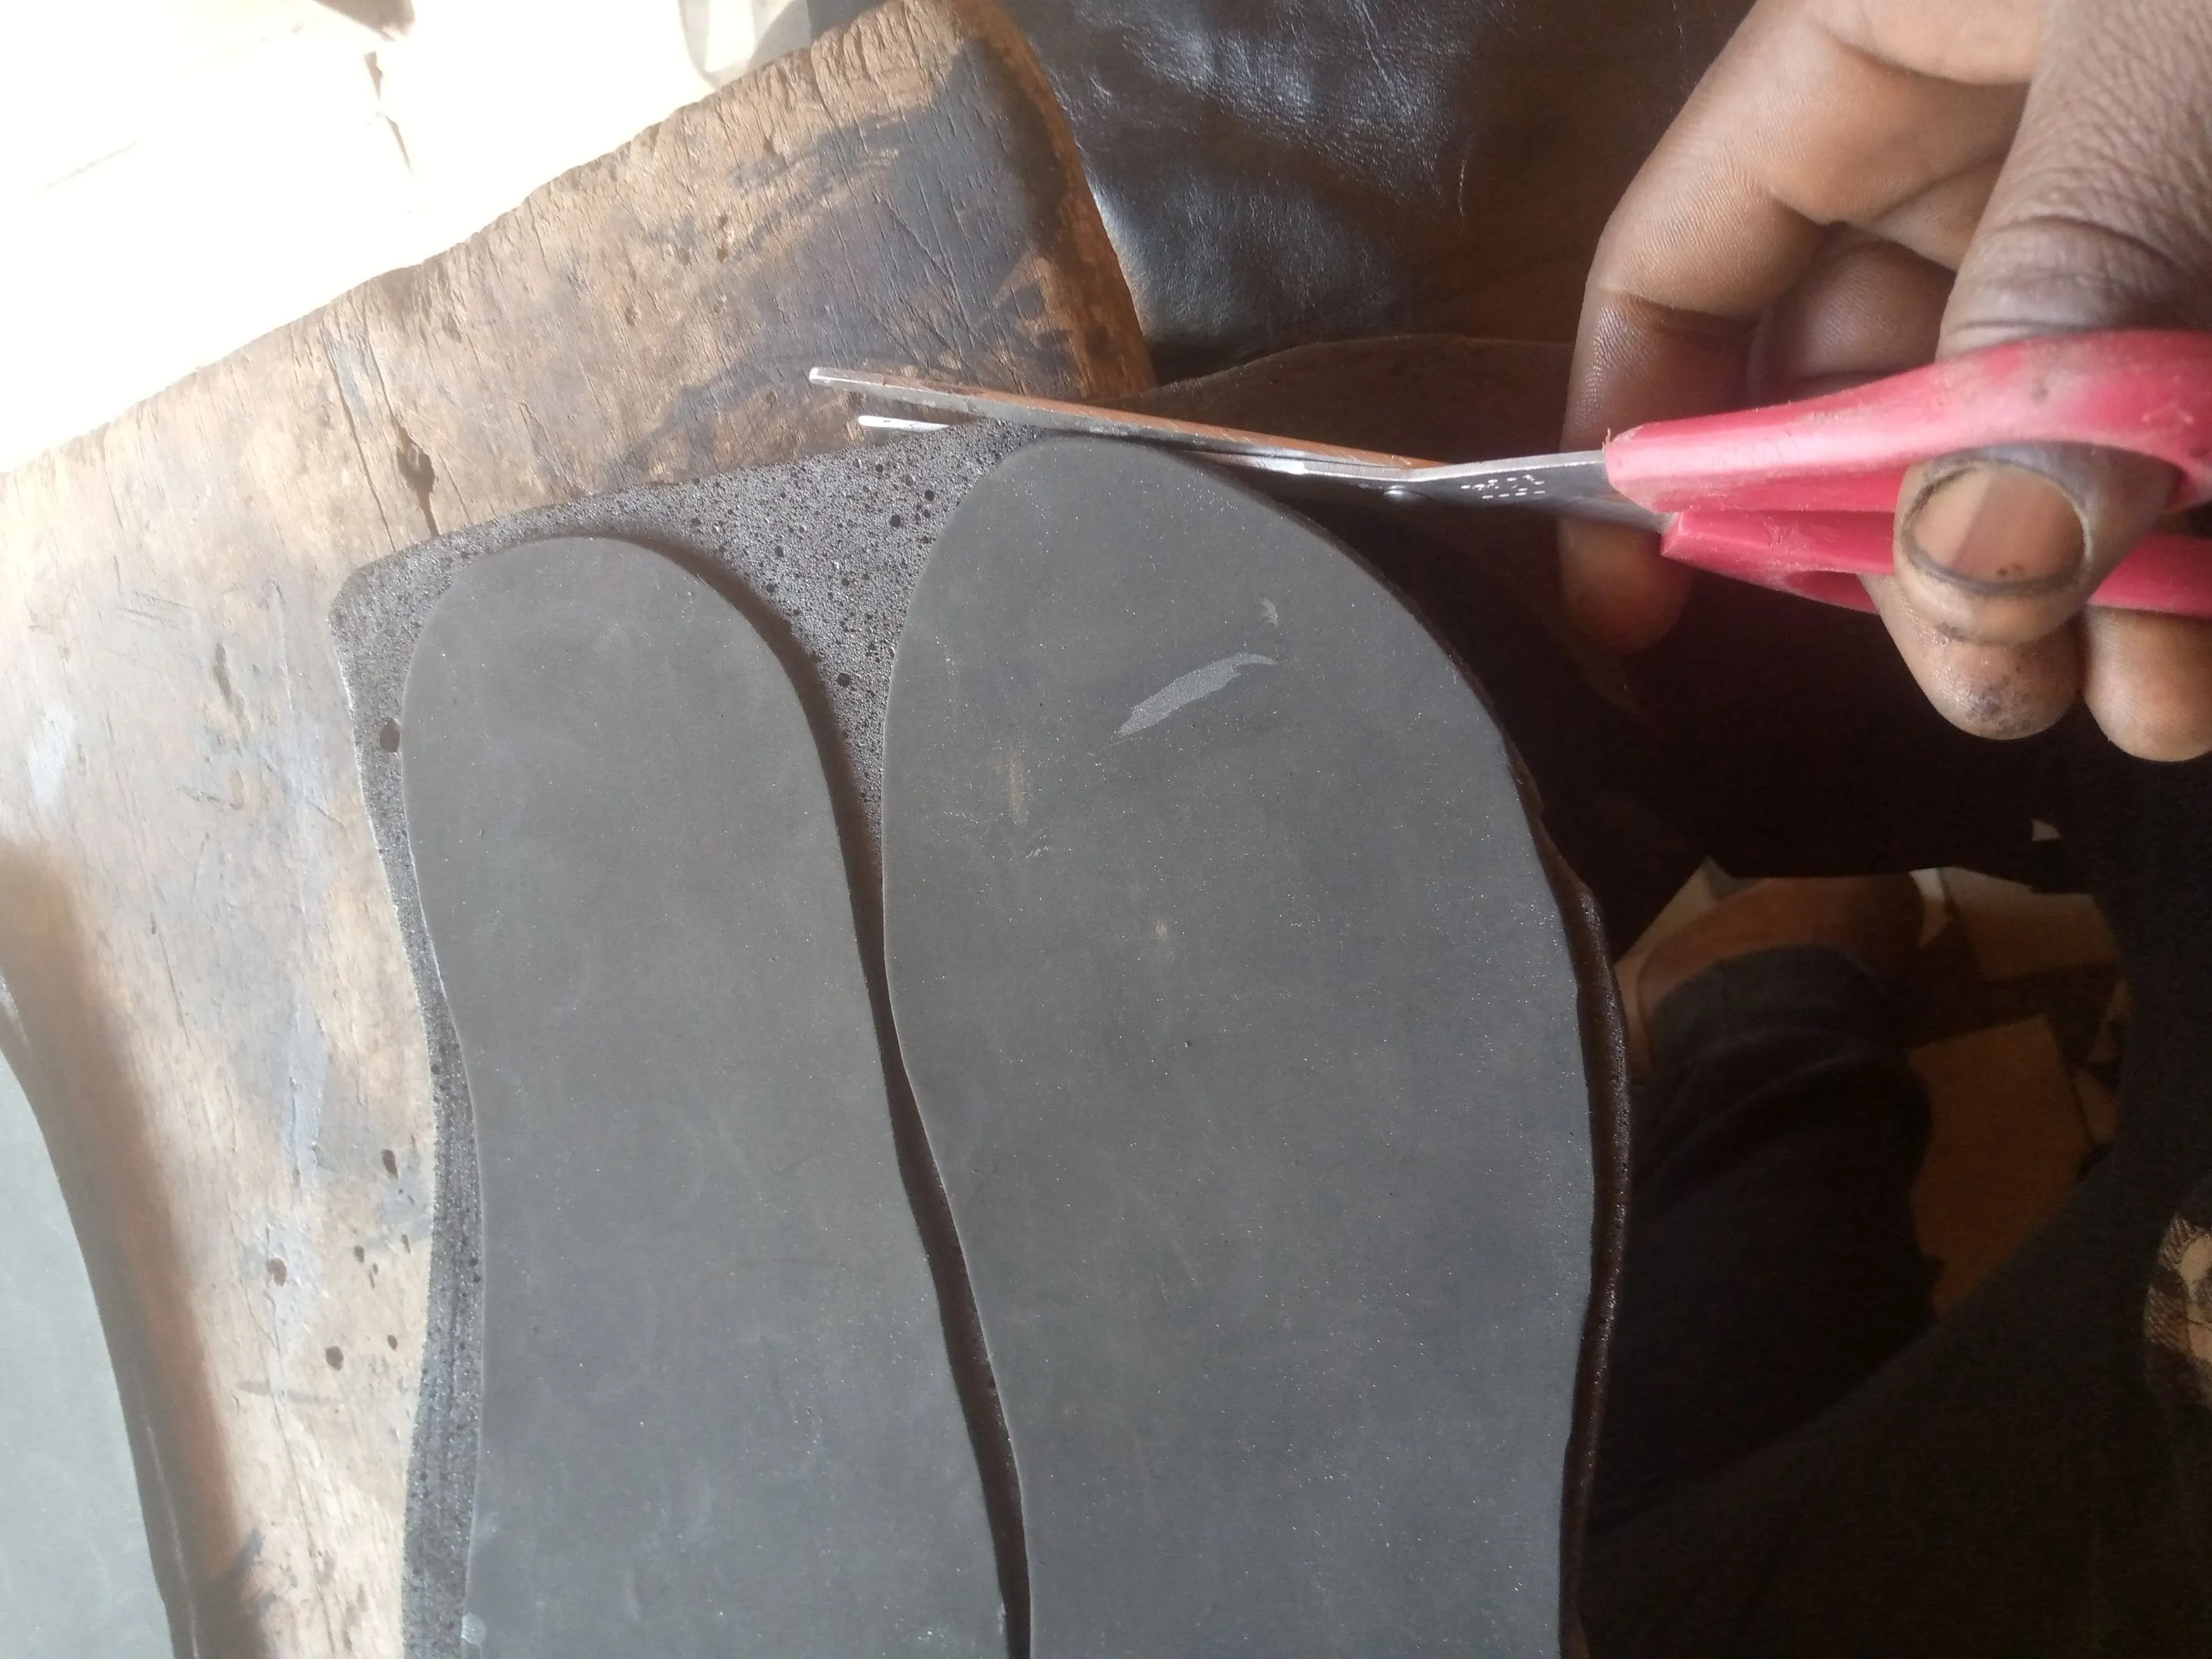
The last phrase after completing that, was wrapping the black leather around the heels, attaching the heels to the sole and lasing every part of the sandals together.
I couldn't take photos of all the steps because most times when working on footwear, one then to get carried away with the job and forget to capture more steps.
As you can see, below is the sample drawing the customer send to me.
And here is the result of the job well done on trying to replicate the description from the drawing into reality.
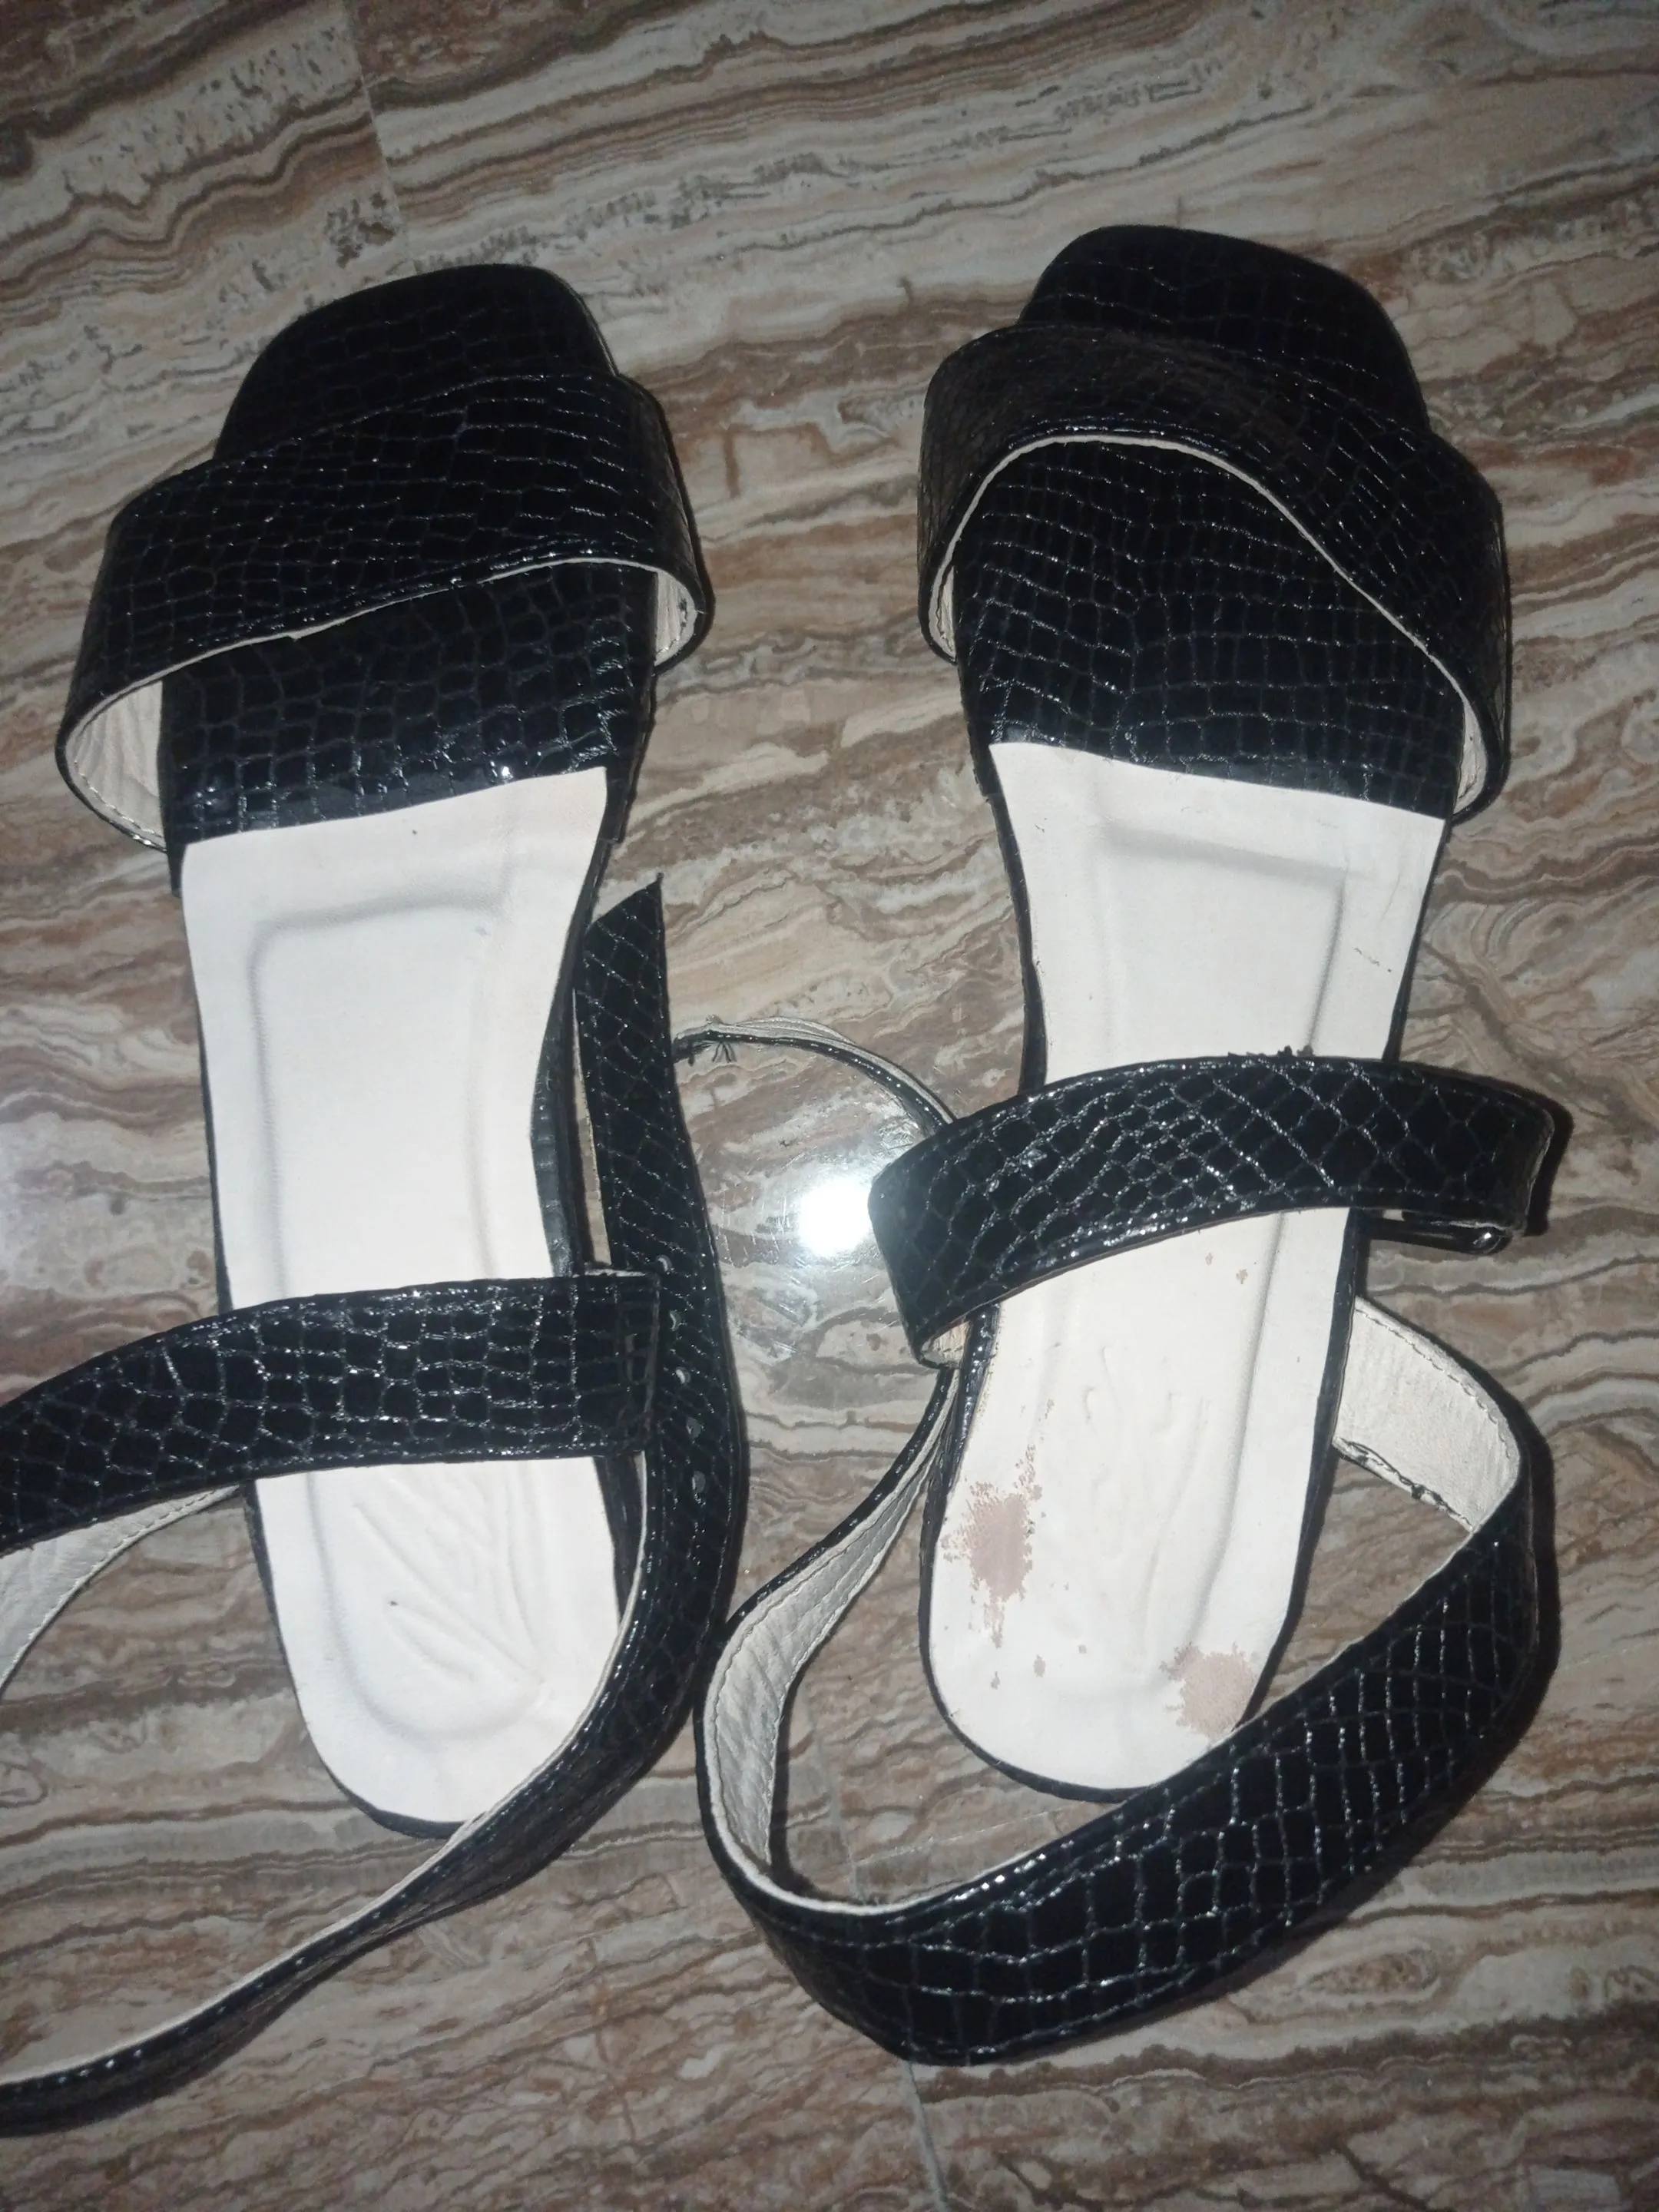
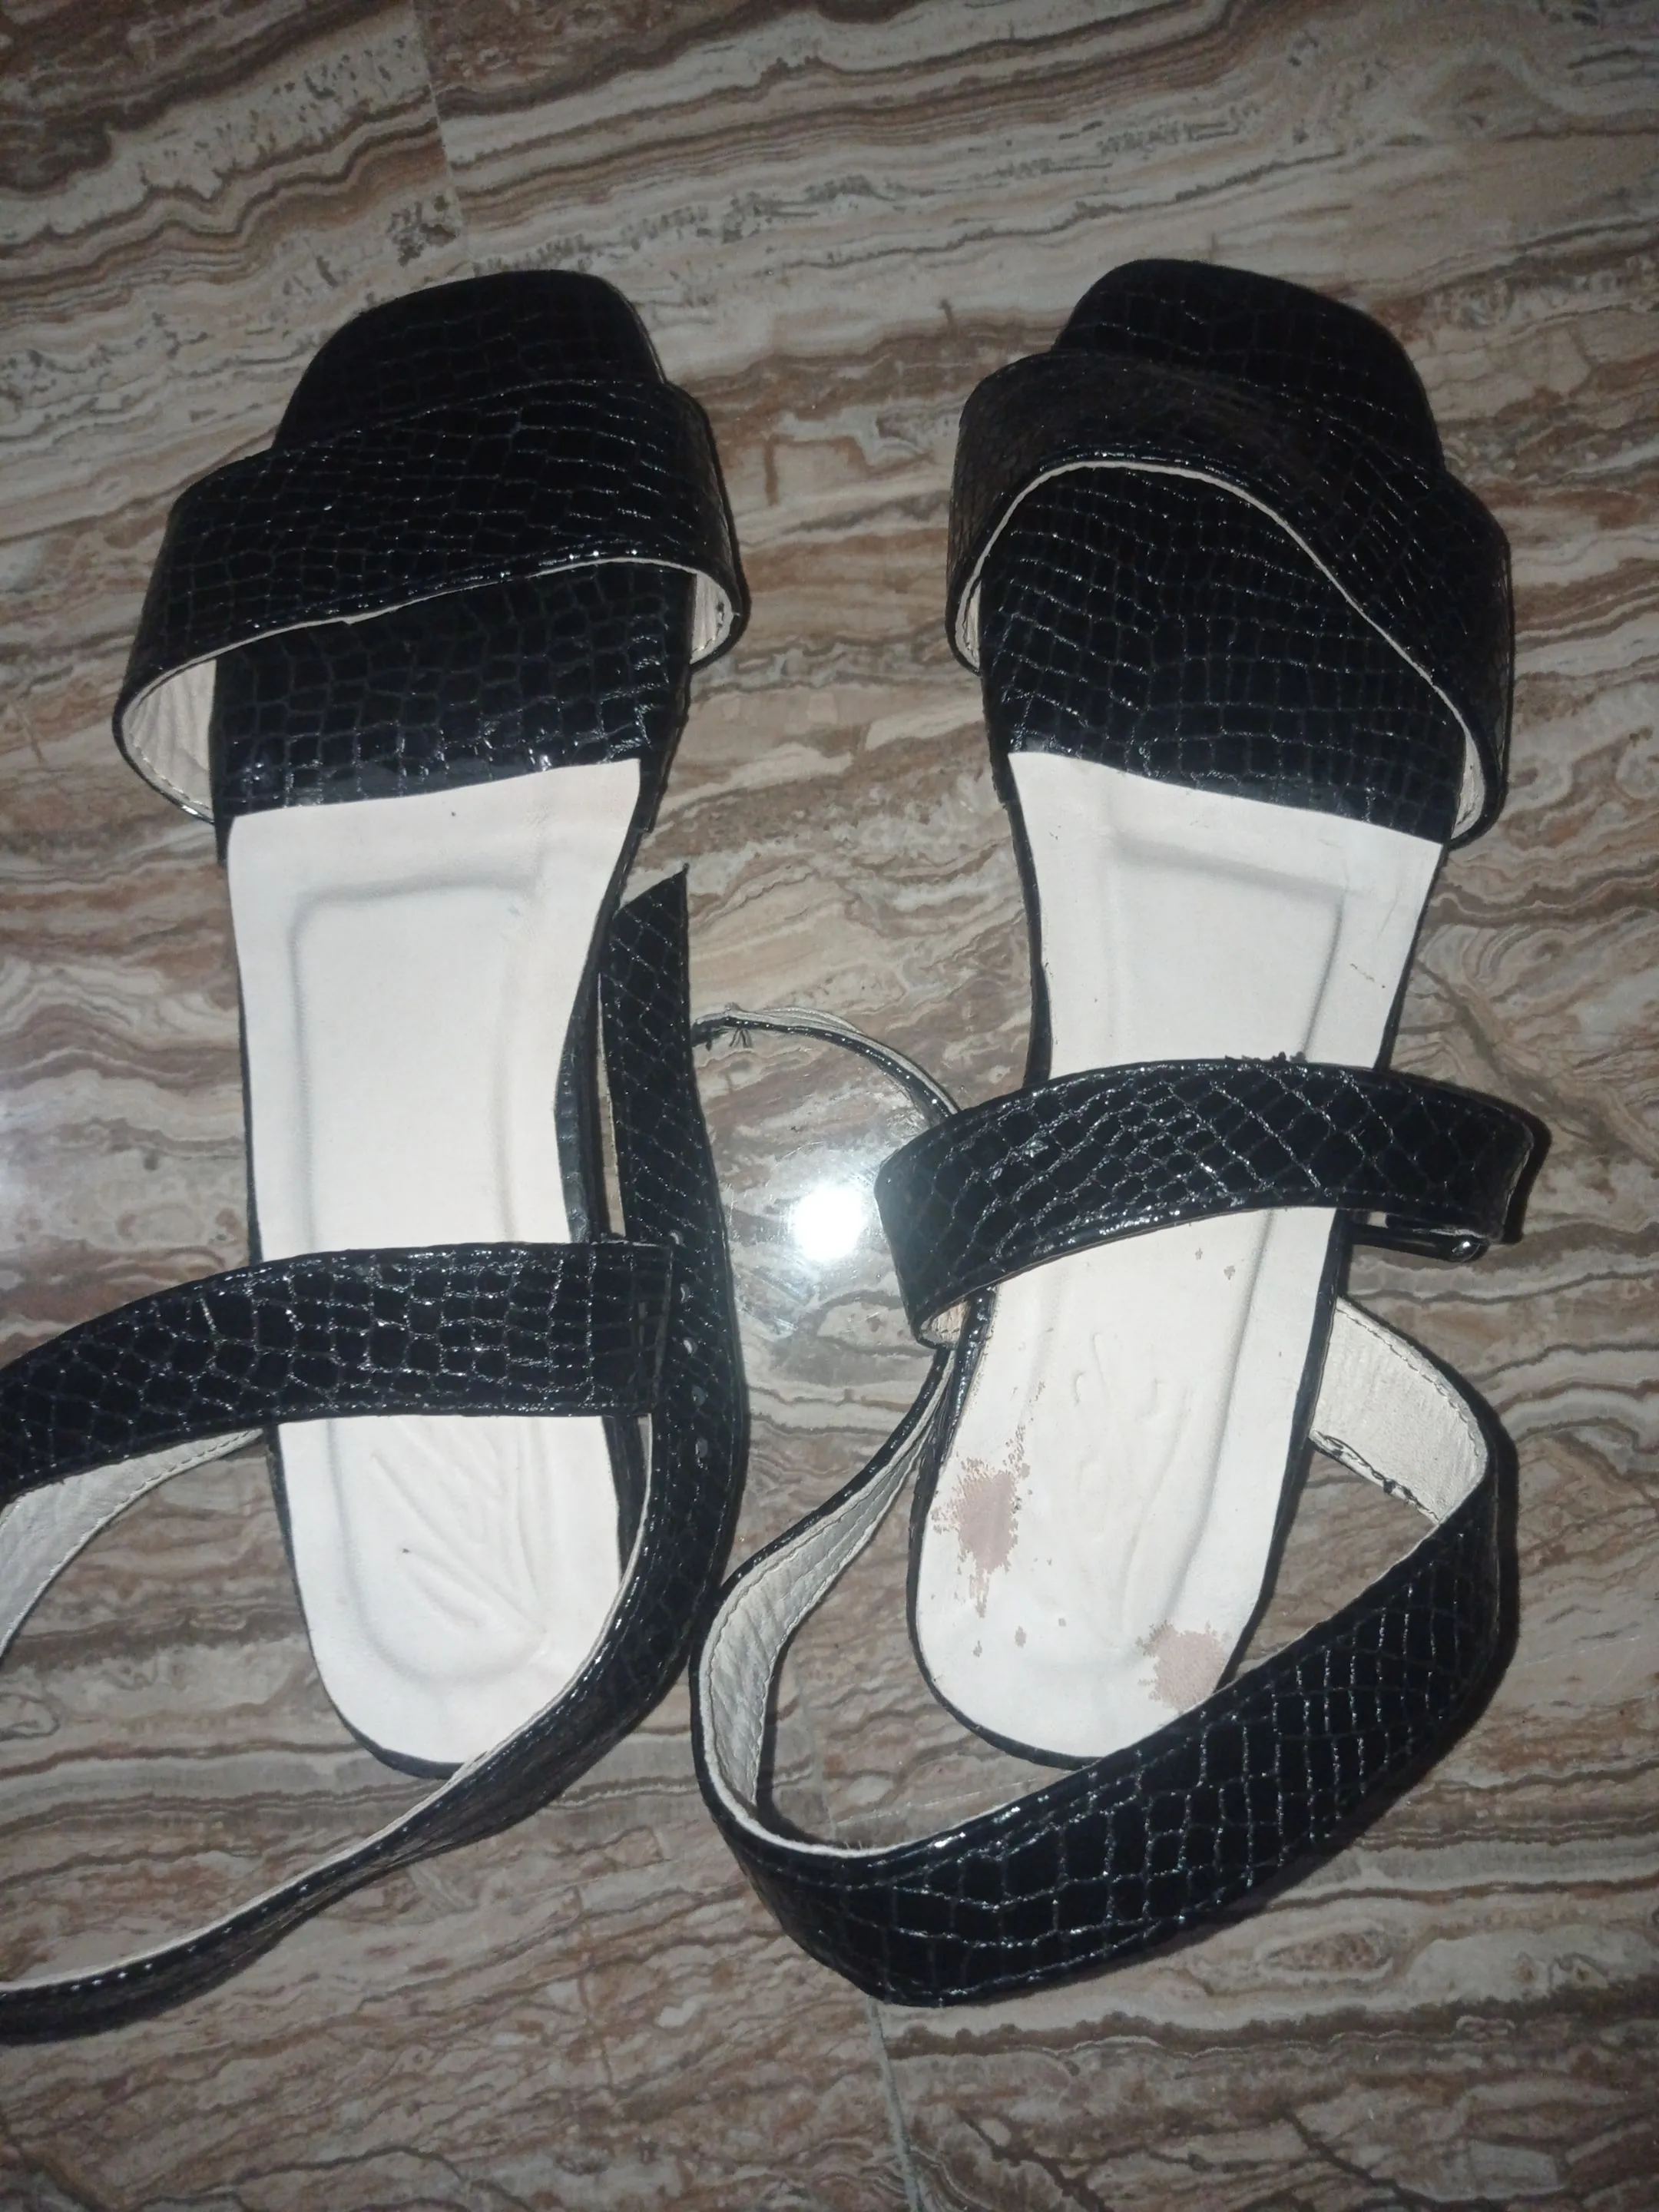
Though the customer was full of praise for hi good and perfect the sandals looks, it's disheartening to know it didn't fit her, as it turn out a little to short, I guess that's one of the downside of not knowing the actual size to work on and no one is to be blamed for that, than the distance that hinders.
Thanks so much for your time, that's all on DIY of how I made these sandals.
Return from From drawing to masterpiece: sandal-making DIY to vickoly's Web3 Blog

