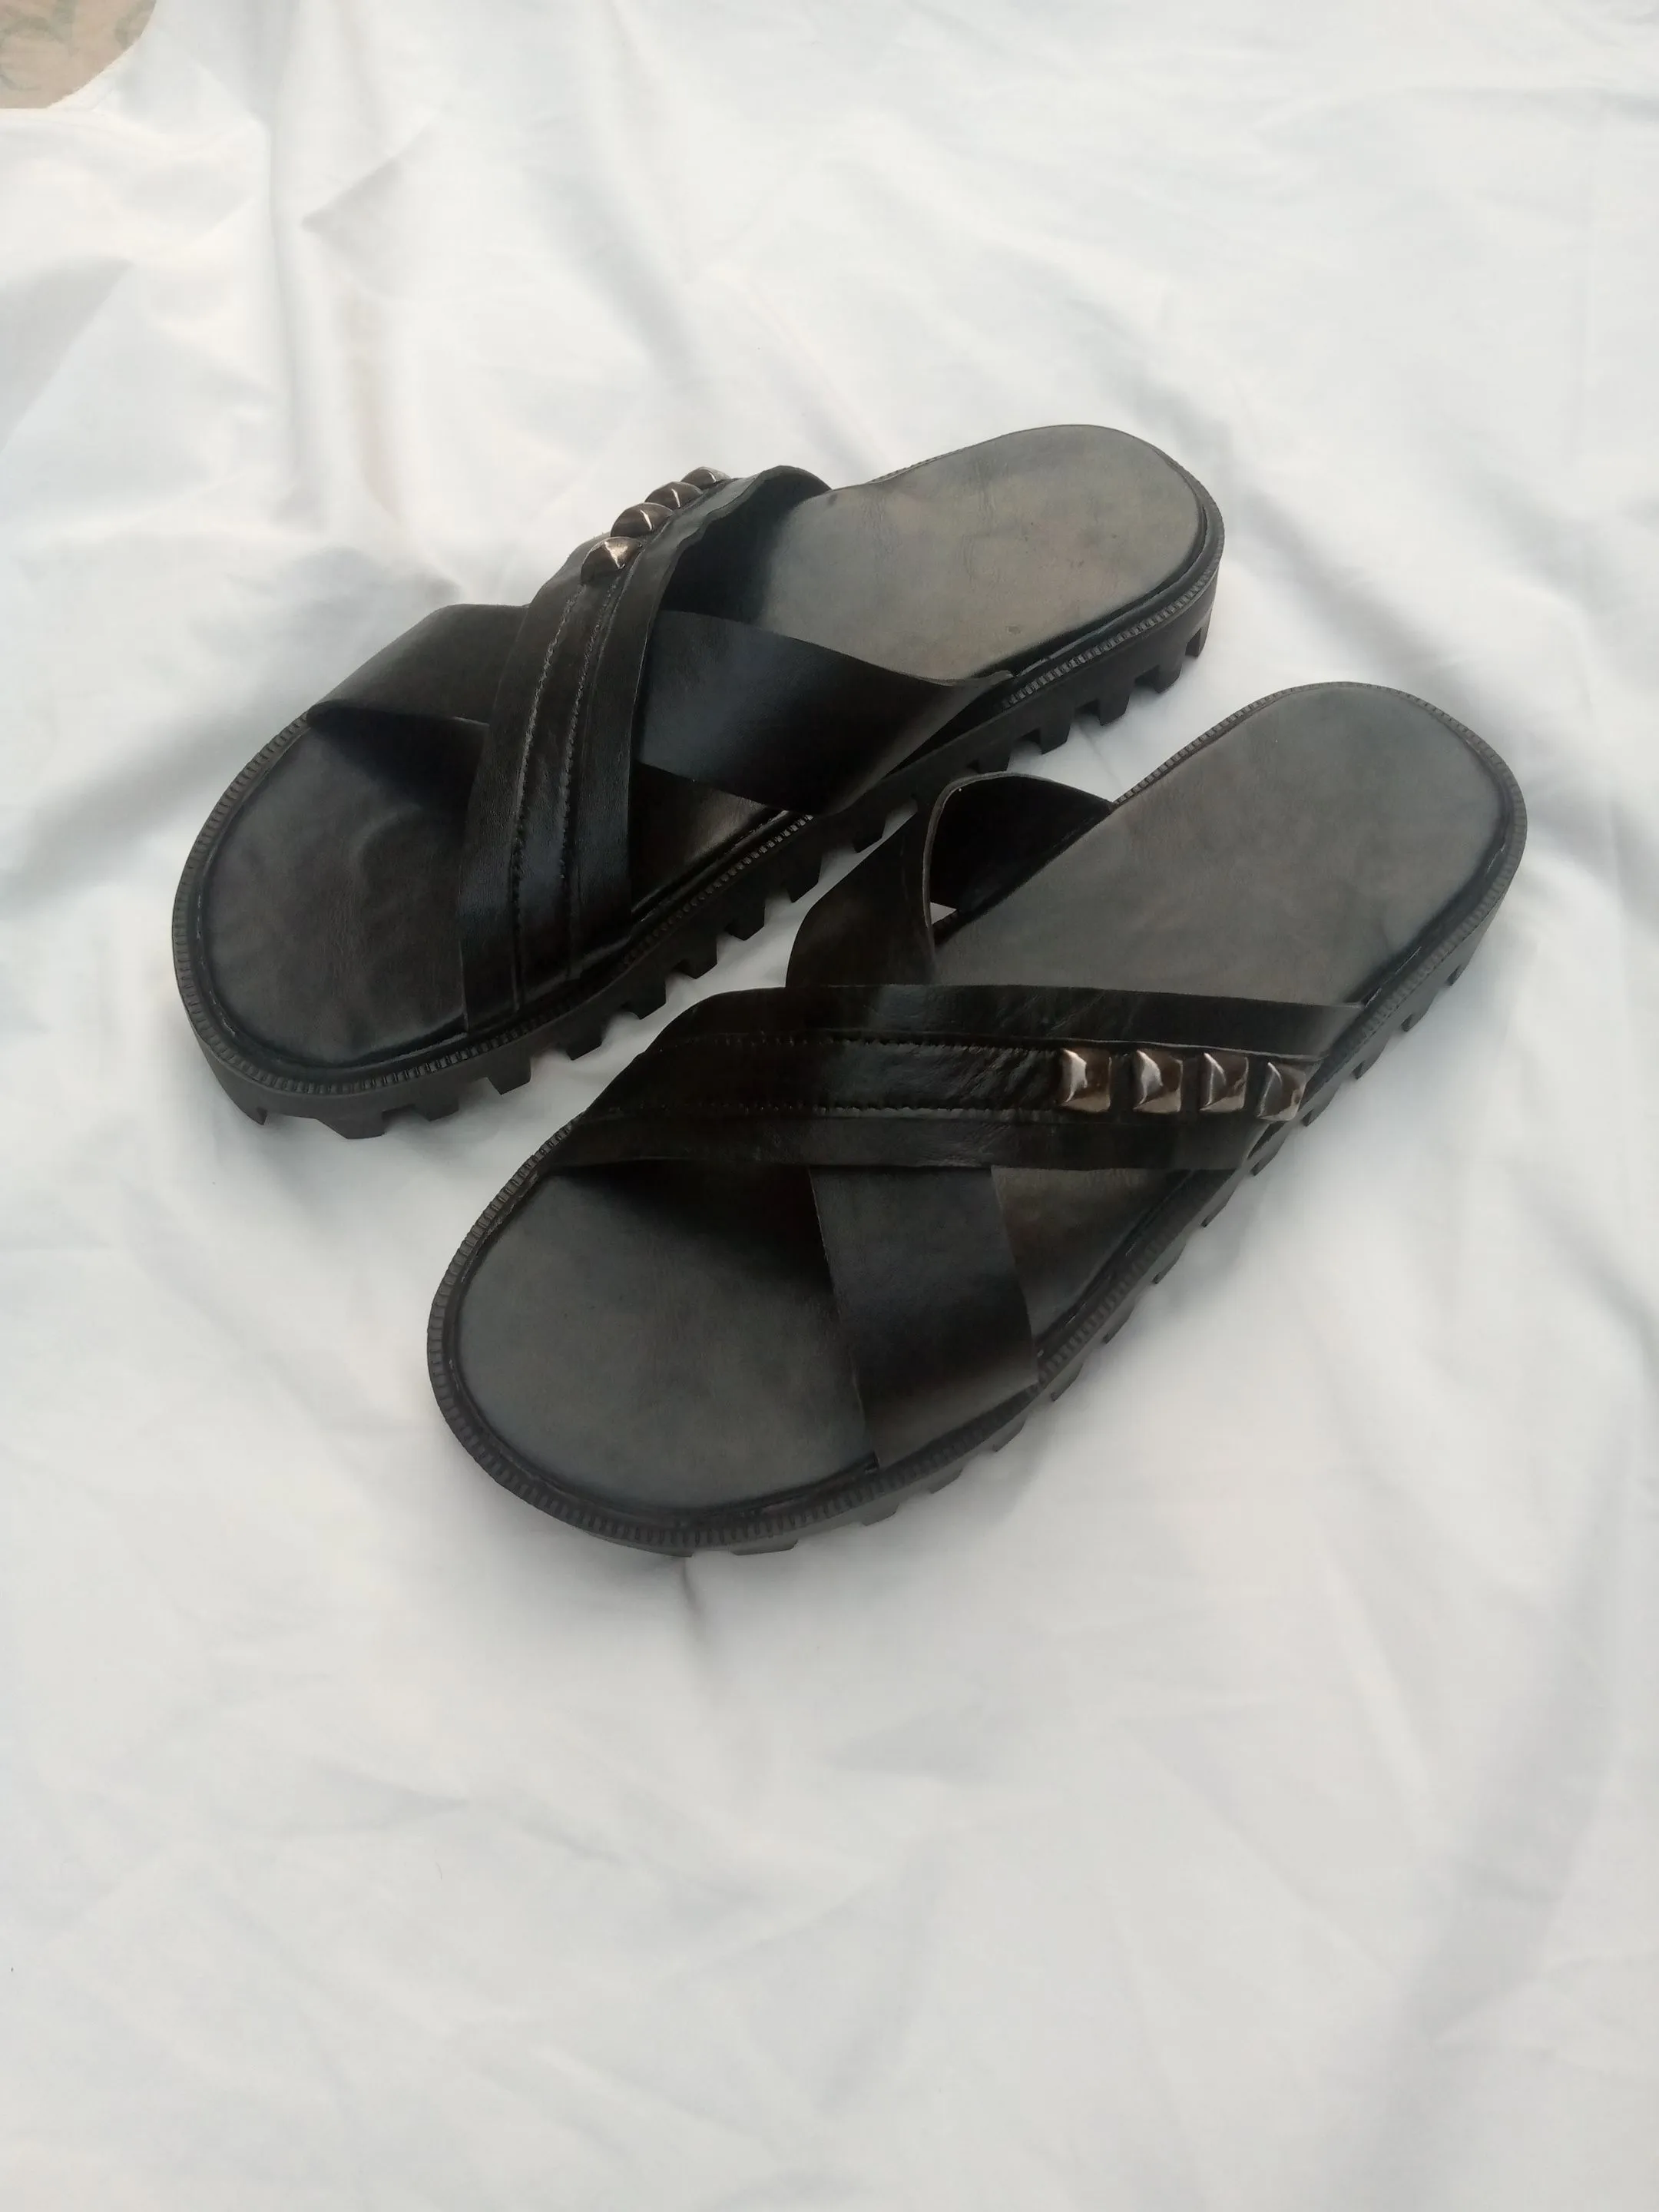
Good day fellow hivians, it's been a wonderful day here and I hope yours has been awesome as well, today I'll love to share a tutorial of a handmade palms slippers I made few weeks ago for my brother, this is a footwear that enate simplicity and elegant together, i hope you'll learn a thing or two from my explanation.

Making shoes or footwear isn't that hard, the most difficult and critical stage of making footwear in my opinion is the cutting of each parts of the footwear as well as the shapes and co, so in a nutshell I believe once you can perfectly learn how to cut, then the other stages ain't too hard to couple together, and in this post I'll share some of the steps I followed in making this palm slippers.
https://files.peakd.com/file/peakd-hive/vickoly/23x1abcXk2RqBSvQFCTSyjYUtnF9iuT4h69CRd45vXCLbNJS2b6593xDrPS9a4HbdhNgp.png
TOOLS AND MATERIALS USED
- Black leather
- Polyurethane outsole
- Black leather lining
- Oci gum
- Scissors
- Eyelet
- Sewing machine
- Marco size 4
https://files.peakd.com/file/peakd-hive/vickoly/23x1abcXk2RqBSvQFCTSyjYUtnF9iuT4h69CRd45vXCLbNJS2b6593xDrPS9a4HbdhNgp.png
SOME MAKING PROCESSES
- After getting all the above listed items, I began work on the palm slippers by cutting all the leathers into the desired shape, after than I arrange each as it ought to be and sew it on the sewing machine, below is a picture that explains that.
https://files.peakd.com/file/peakd-hive/vickoly/23xek67QNiF6ZiHSPvaiQEQDjfPn8Hxoxp7ytB1wbXrRiekM3peGB1H9Ce5mF6gtQPrGQ.jpg
- Immediately this was done, I punched several holes on the leather fabric I just sewed, and inserted some eyelets into it to serve as a design to beautify the palm slipper.
| PUNCHING HOLES | EYELET | INSERTING EYELETS |
|---|---|---|
| https://files.peakd.com/file/peakd-hive/vickoly/243fpXmDFvTnPjctE469Q3GRZmttWqKA7ZVsaja2PMYDA7PR7eVv2gtSaPRUFJprJ4Fg2.jpg | https://files.peakd.com/file/peakd-hive/vickoly/2432FMJj8uHEdvw7RYRojtvXYhatayNFPugYzFWSiD7uBEAsB6nvNyPLE4md1hJnHbryb.jpg | https://files.peakd.com/file/peakd-hive/vickoly/23yTma5XcAhuJ4ChNbVkVvtqc5pwGGoCUZFBBRtZccp4eq5o5advy7dbCnJNnbCArCg4J.jpg |
-
Once this was done, I wrap the lining on the Marko for the insole with my oci gum, and after that I attached the upper part I just sewed and designed to it.
-
The next and final stage was rubbing oci gum on the back of the Marco and the inner of the polyurethane outsole, leaving it to dry for some minutes and then joining both together.
| OUTSOLE | JOINING |
|---|---|
| https://files.peakd.com/file/peakd-hive/vickoly/23wWtsuc5EzvWJNWgoFj1dt7igJhgp3JneRFWAX8qUMuA4MNj8YzSkpnkzvuPKphEDzDD.jpg | https://files.peakd.com/file/peakd-hive/vickoly/244xwkNbFKGzzamUv3aLRHosfPg77vn4NAzxDCjFsW96p2xSm5373UxYaCCJvLbcWkDQP.jpg |
I had to hit the palm slipper with hammers around it so it can stay firm and perfect, below is the result of what we've been working on.
| https://files.peakd.com/file/peakd-hive/vickoly/243g1DdcNgG1bGUEfAL1gS94h2EDvqMoAr1TEHTxs5um2E9V9St4ow2qeVgu2VJdy8DKU.jpg | https://files.peakd.com/file/peakd-hive/vickoly/243BpnViUfKuQQ2GaDgRygRiMytsTcyUcXT5trRHqSoRqKST5v4kpQyWjC41gted5sQWM.jpg |
https://files.peakd.com/file/peakd-hive/vickoly/23x1abcXk2RqBSvQFCTSyjYUtnF9iuT4h69CRd45vXCLbNJS2b6593xDrPS9a4HbdhNgp.png
Thanks so much for staying this far to learn from my handmade palms slippers Tutorial, I hope it was educative, if you have any questions kindly drop them in the comments section.
Have a blessed and productive day ahead.
Return from DIY TUTORIAL OF AN HANDMADE PALMS SLIPPERS to vickoly's Web3 Blog

