Have you envisioned the process of shoe making as being complicated and unachievable? Do you love to learn new skills and craft?
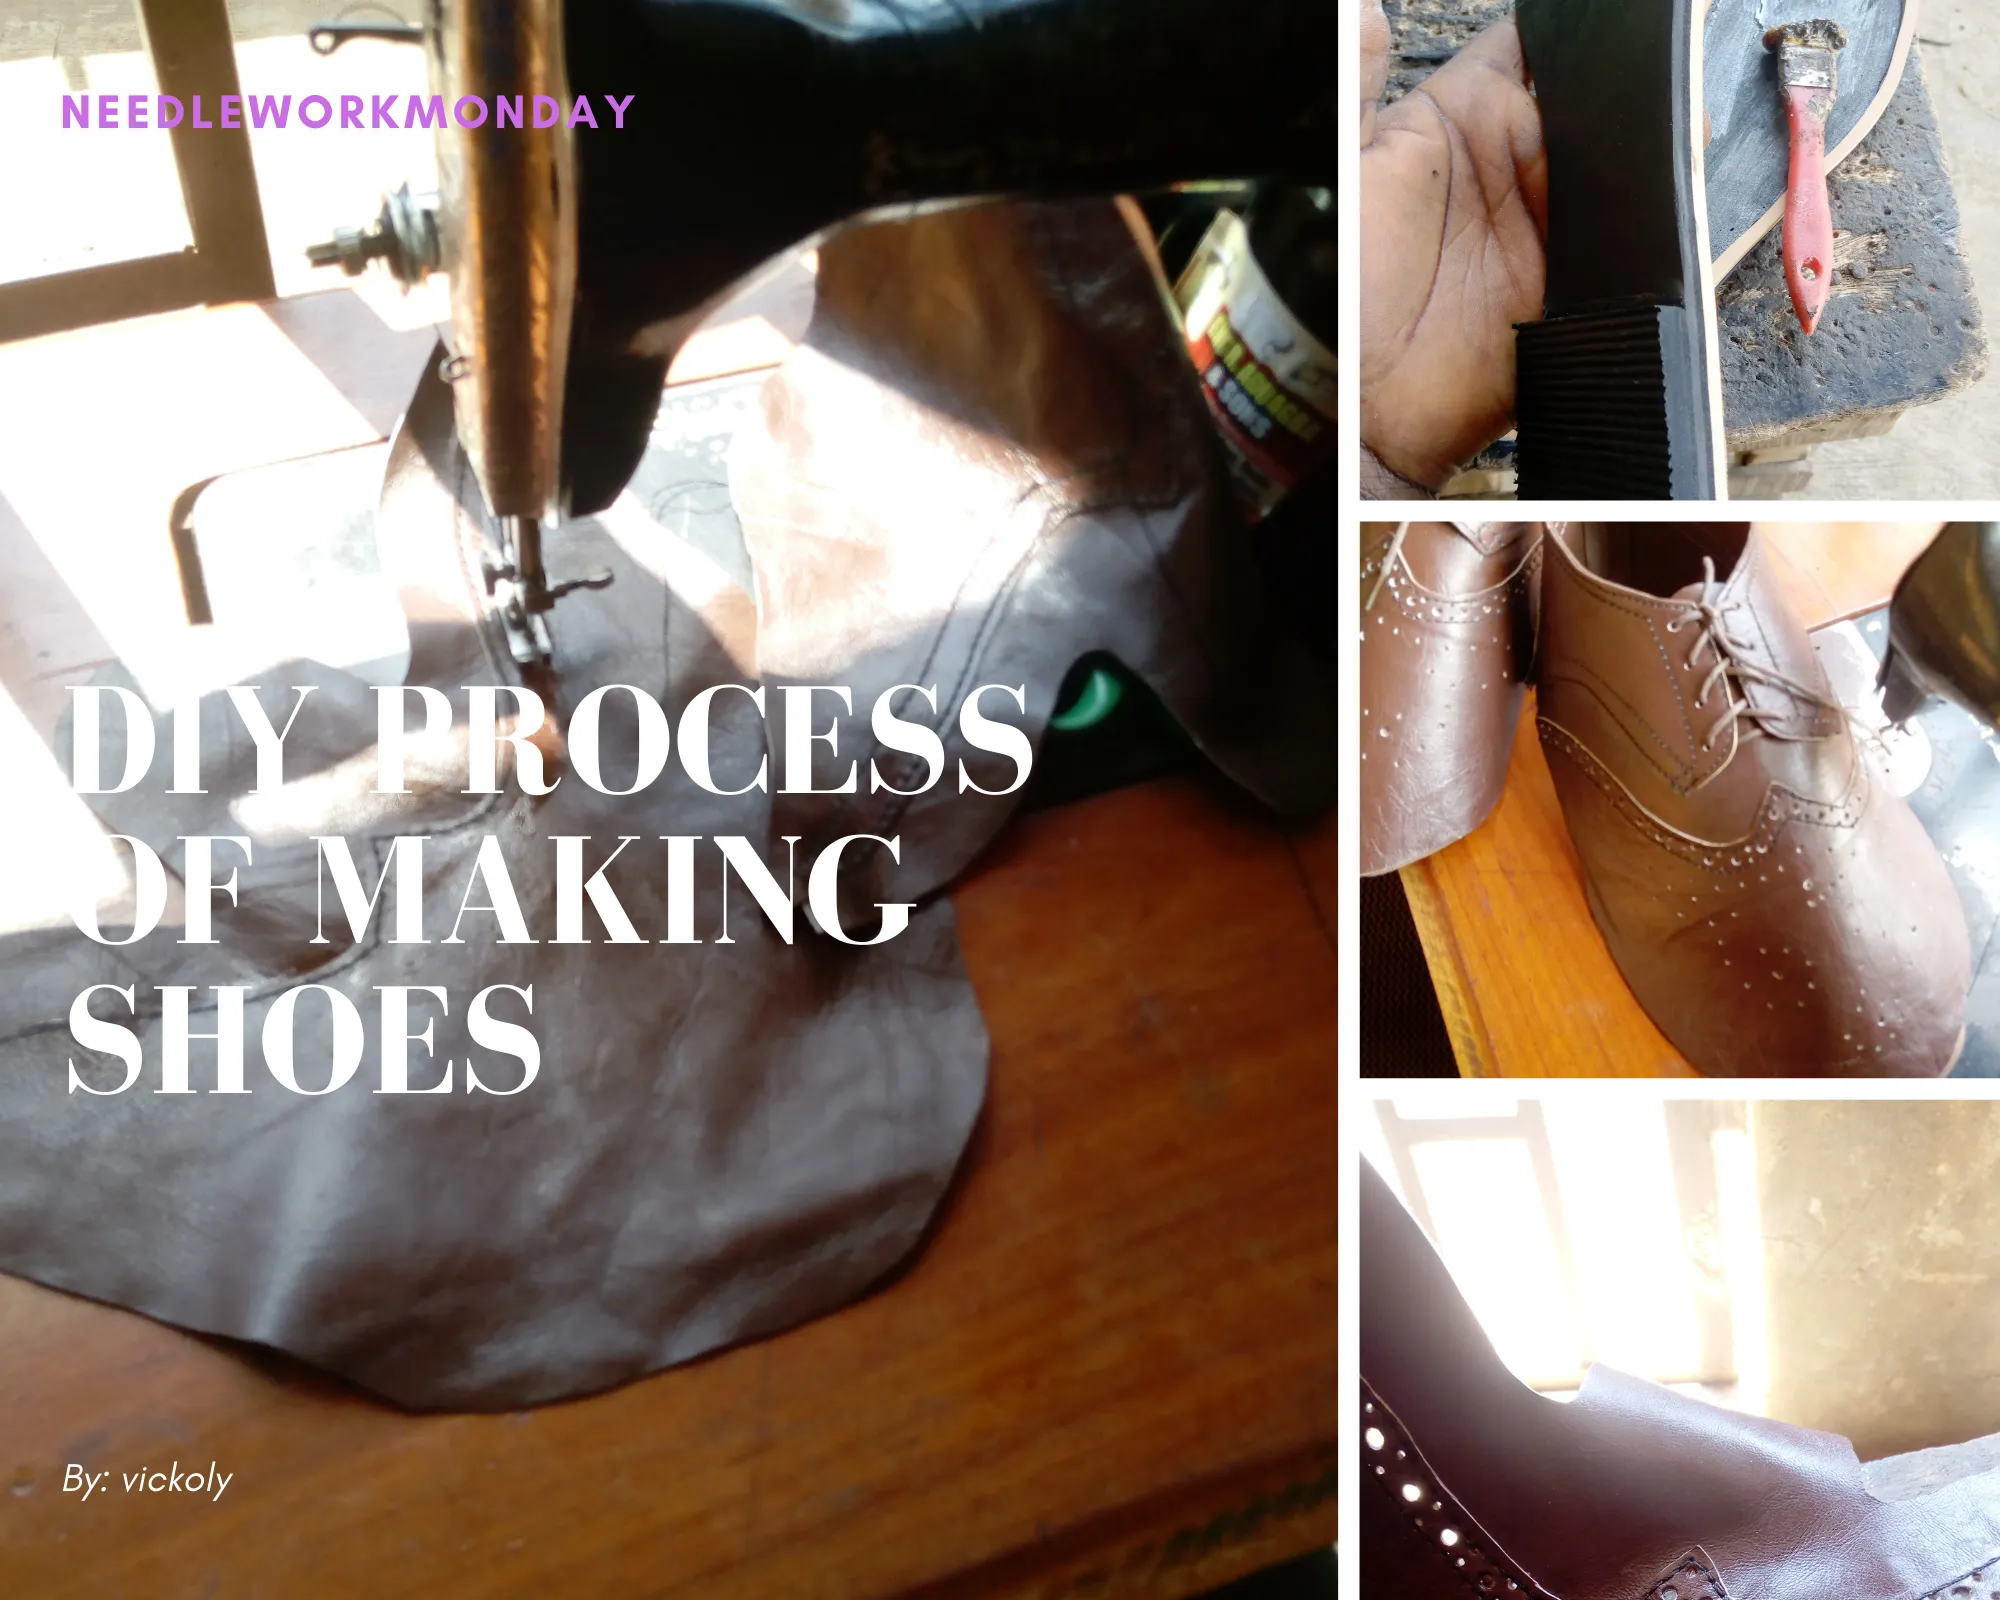
If your answers are yes, then this post is for you, cause I'll be taking you through the DIY process of making shoes.
Personally I love learning new skill and doing things myself, and the joy I derive from wearing stuffs made by me knows no bound.
So let dive into the ocean of shoe making
Step 1: Measuring the foot size of your customer.
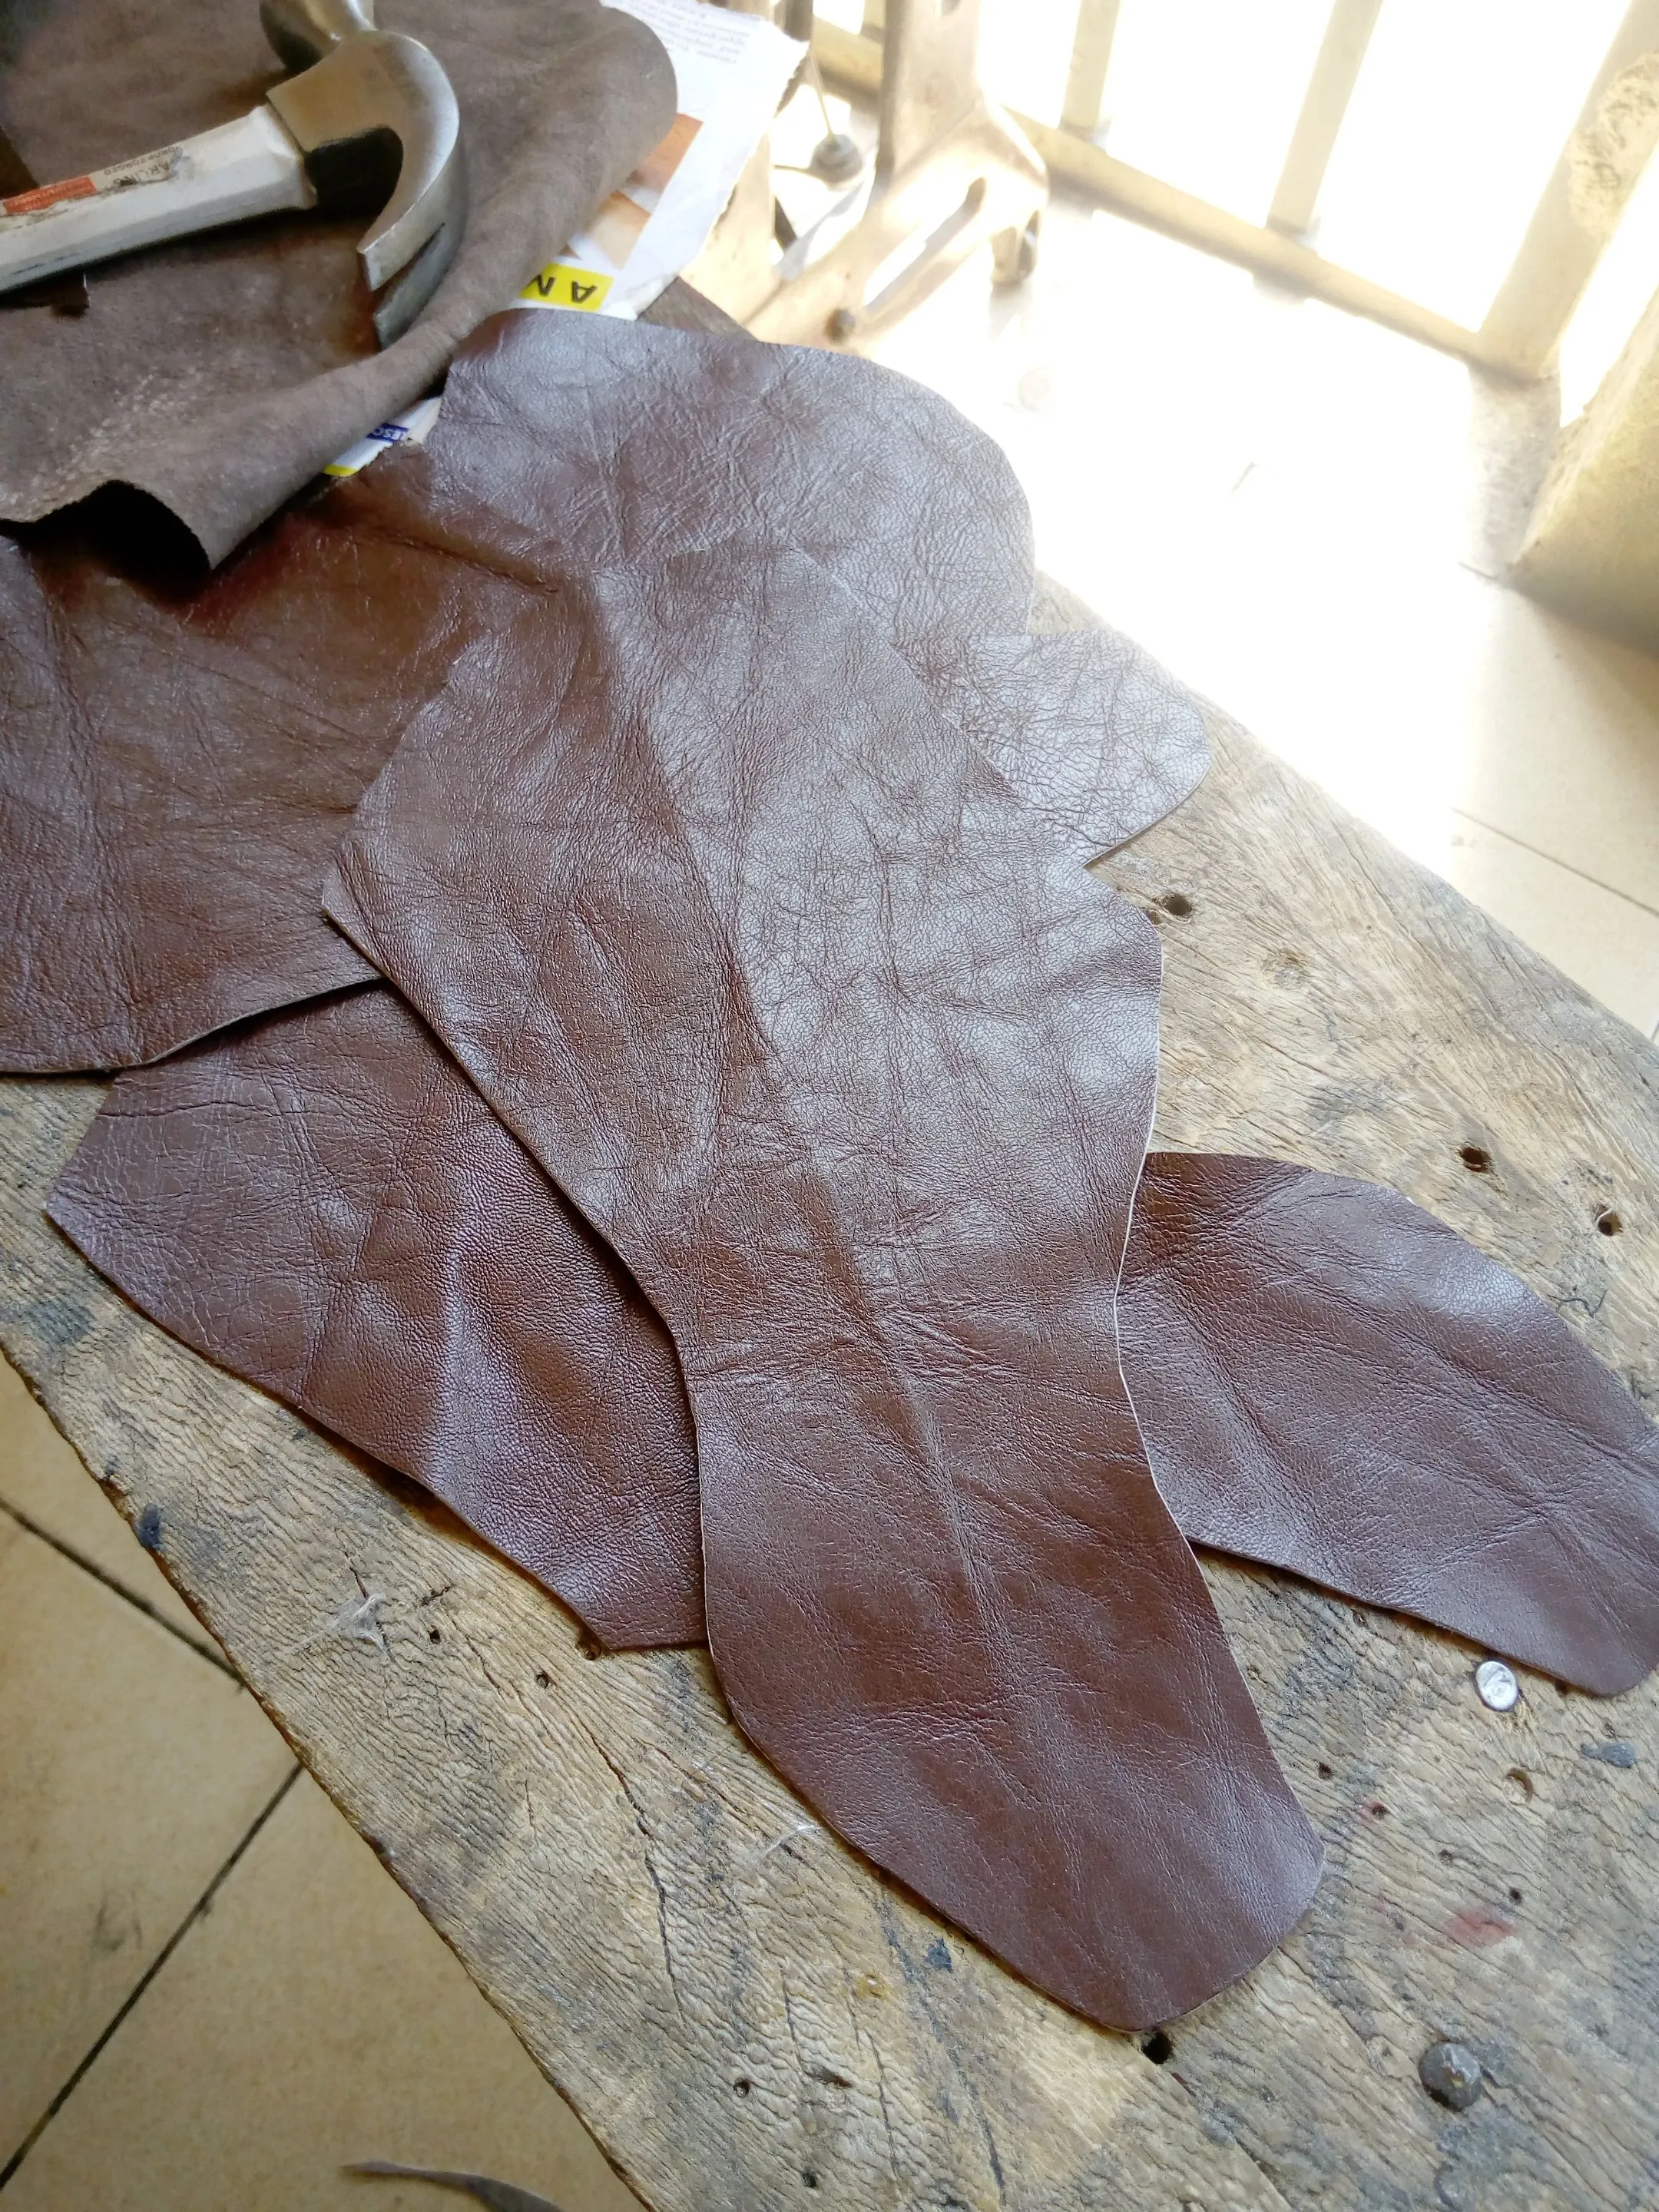
Step 2: cutting of your skin leather to particular pattern you want to mold
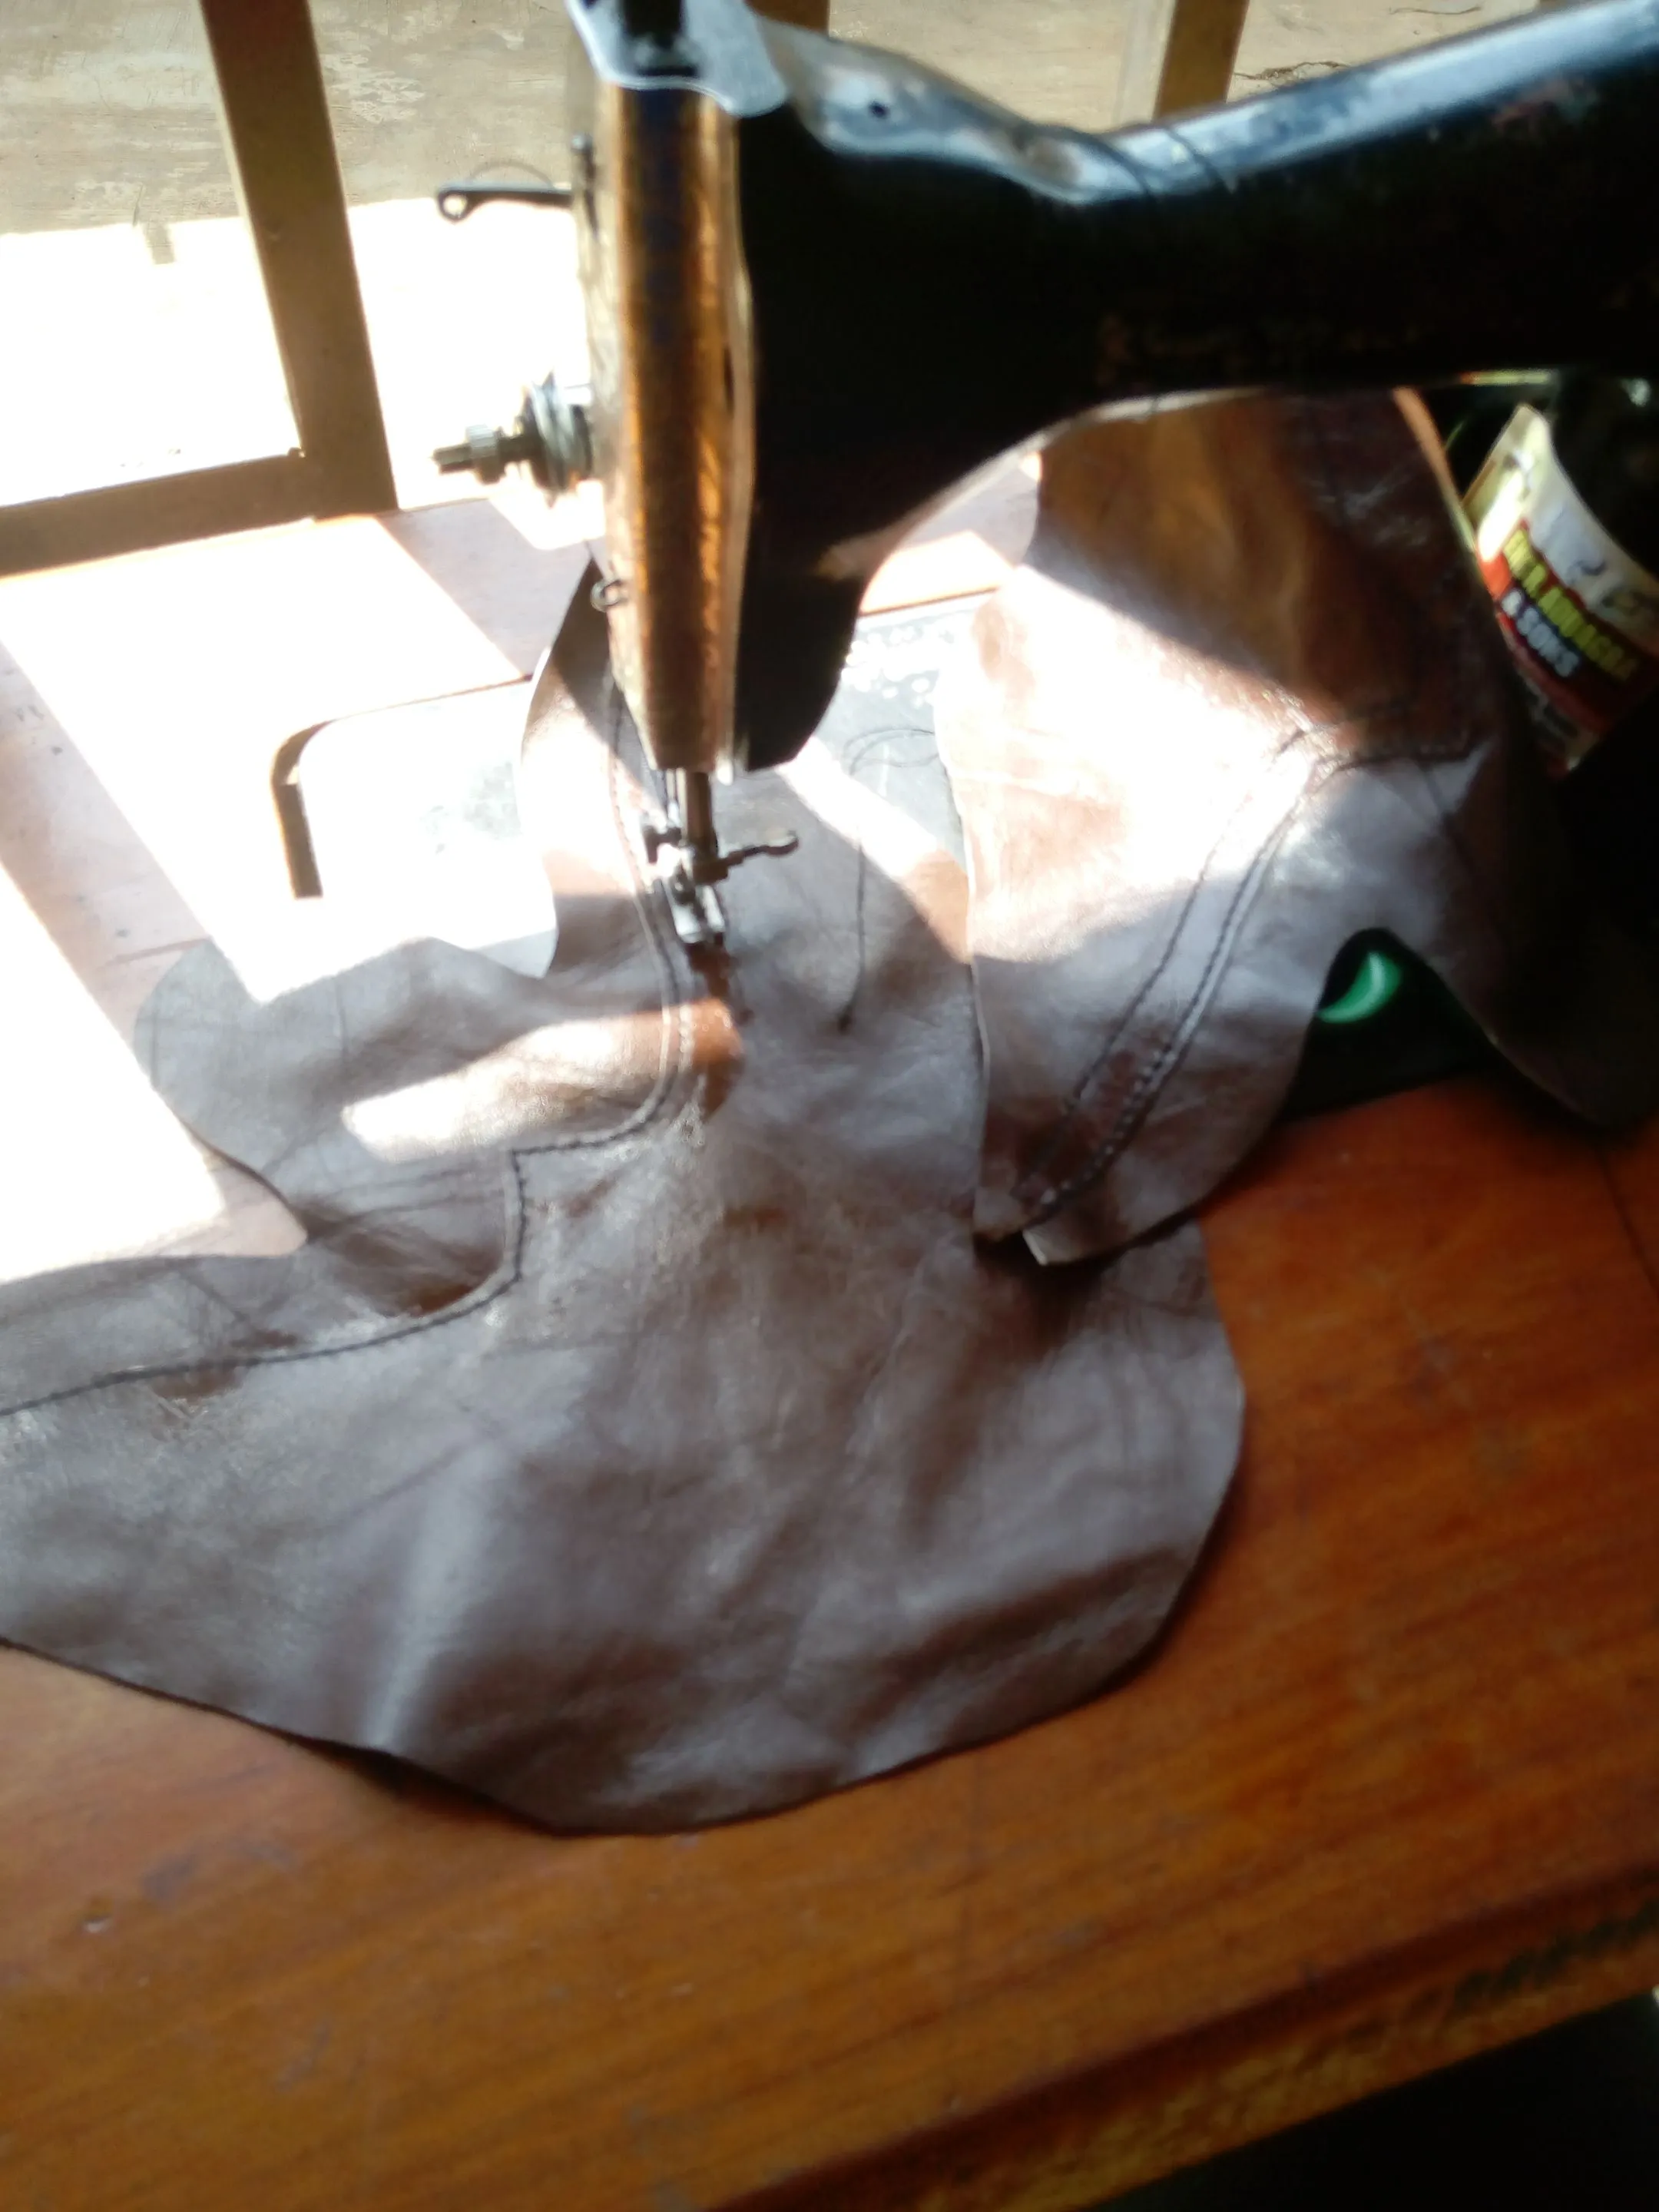
Step 3: sewing of the upper of your shoe leather together to form your pattern.
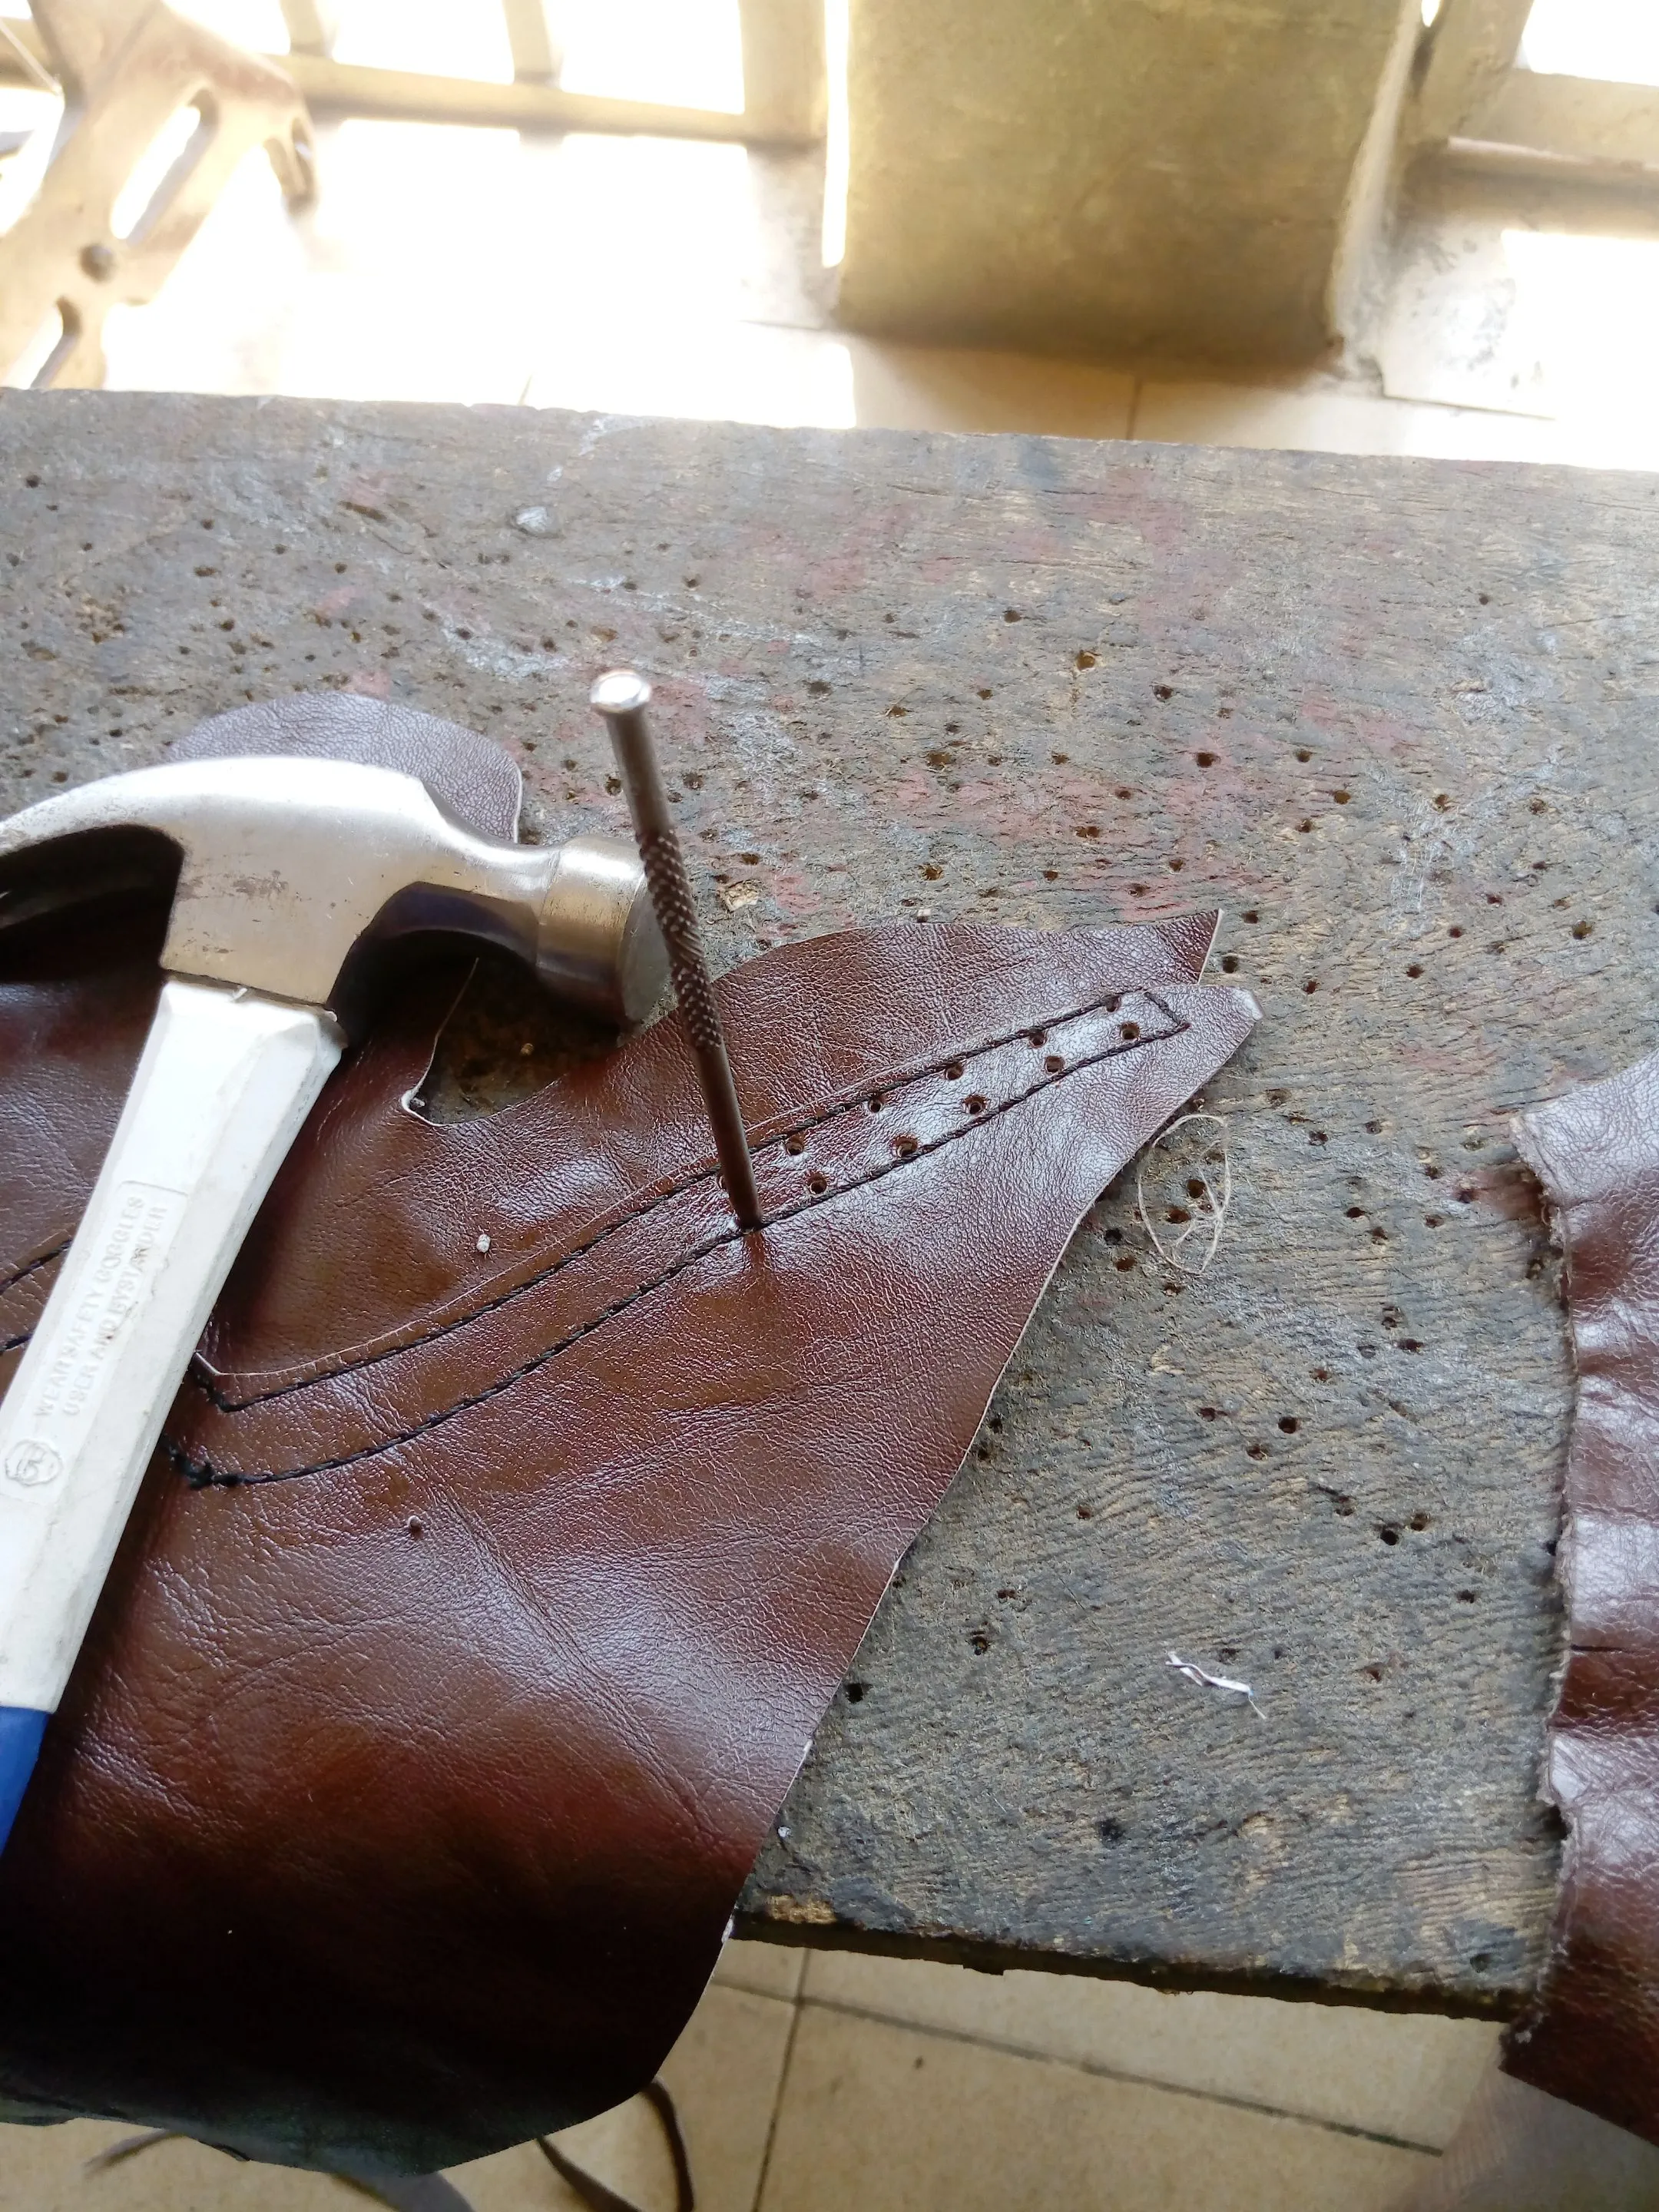
Step 4: Punching of your skin leather to make hole desigh of your pattern, continue until Punching is fully achieved on the upper layer of your skin leather.
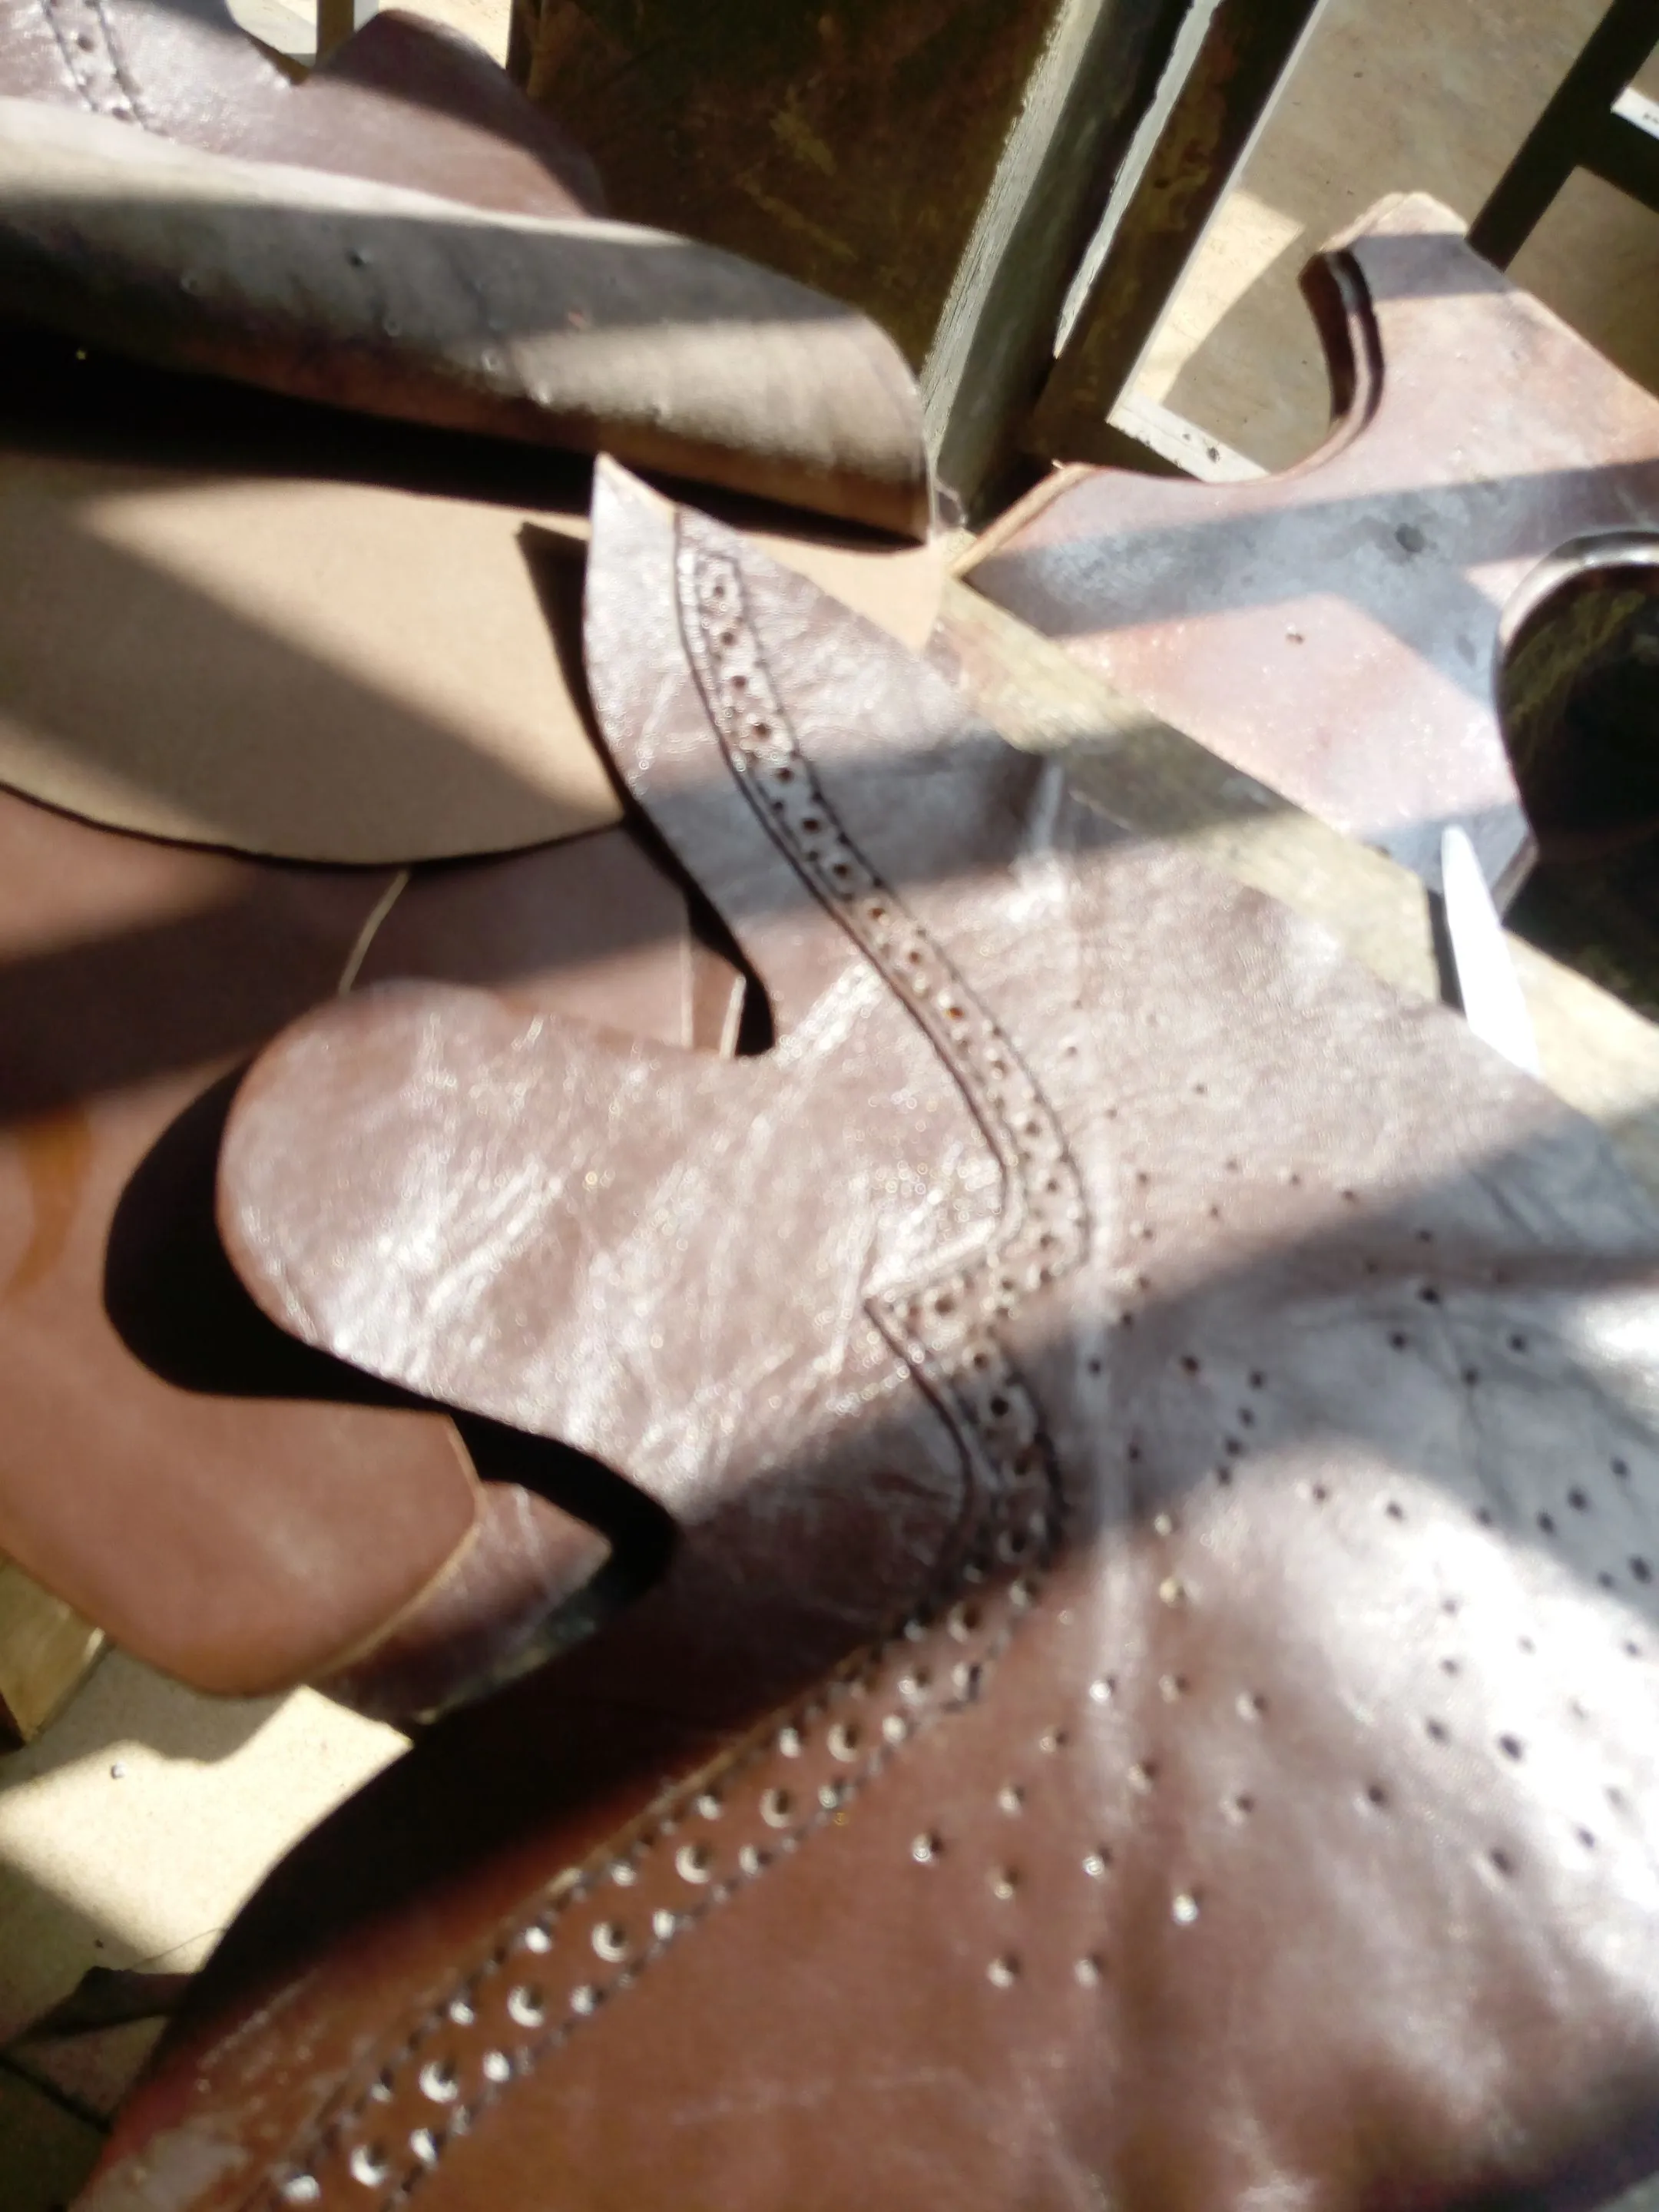
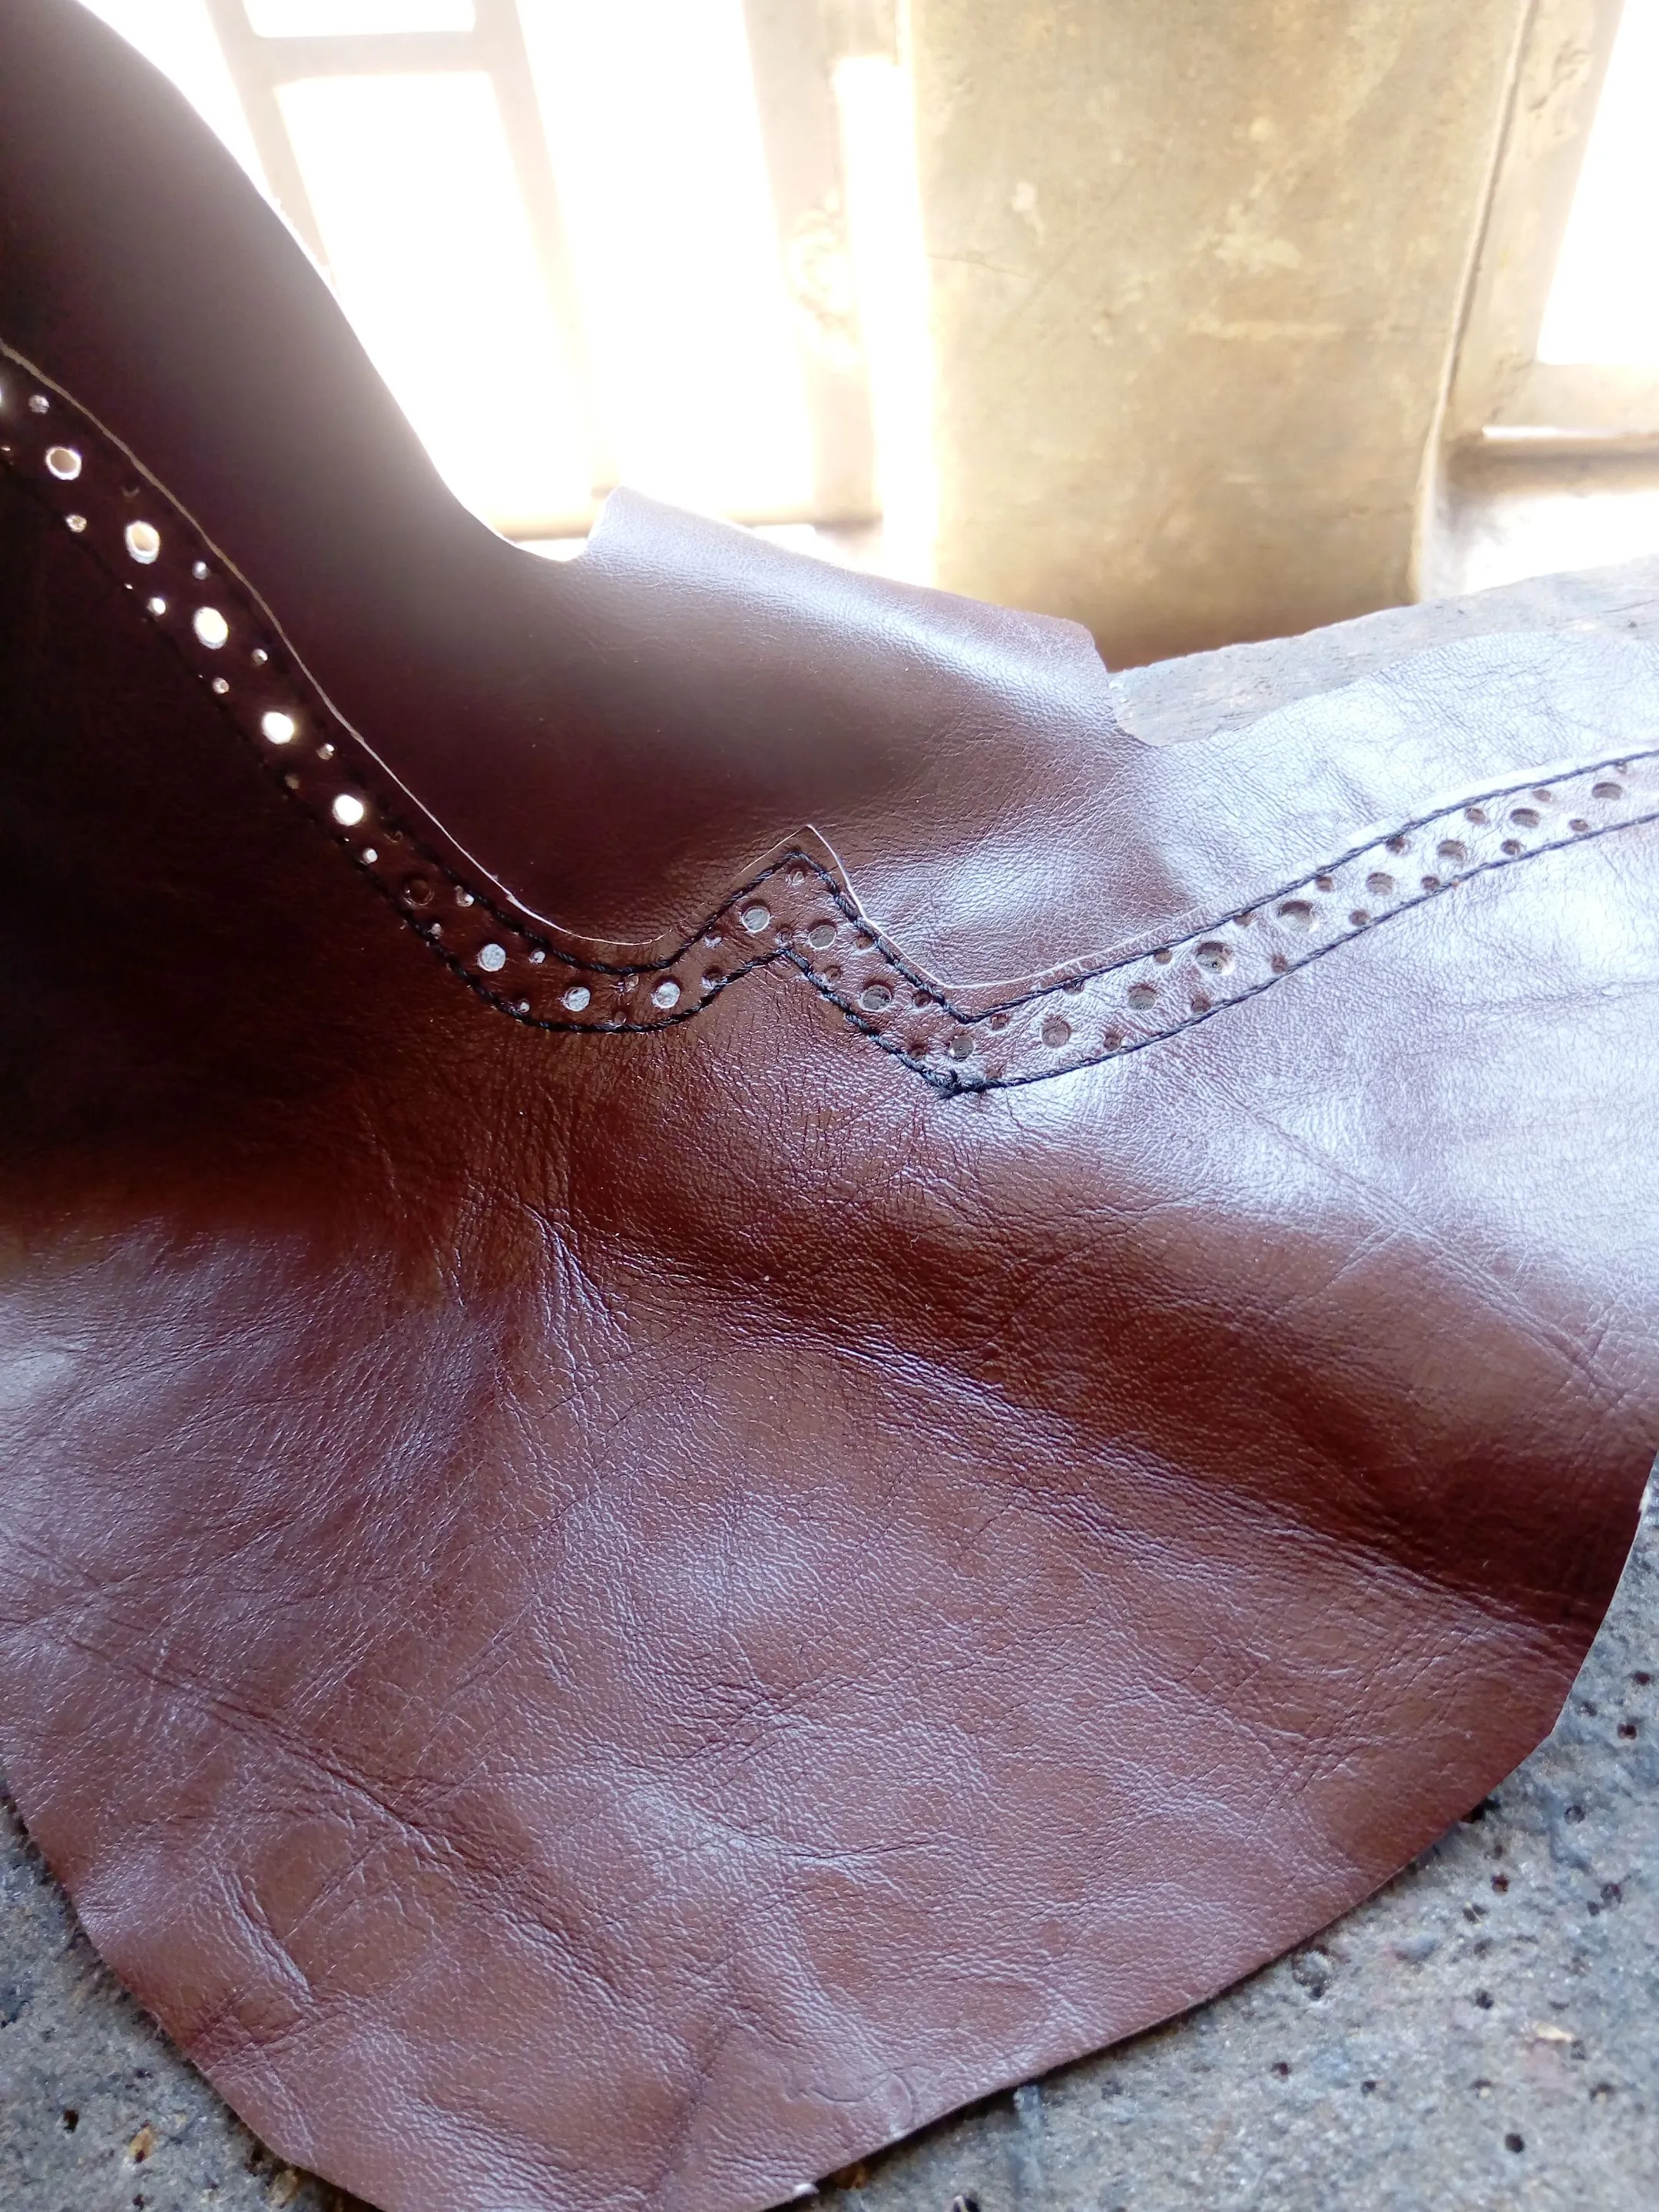
Step 5: Applying gum and setting up of your shoe pattern(this is achieved by place your sewn leather part on a last)
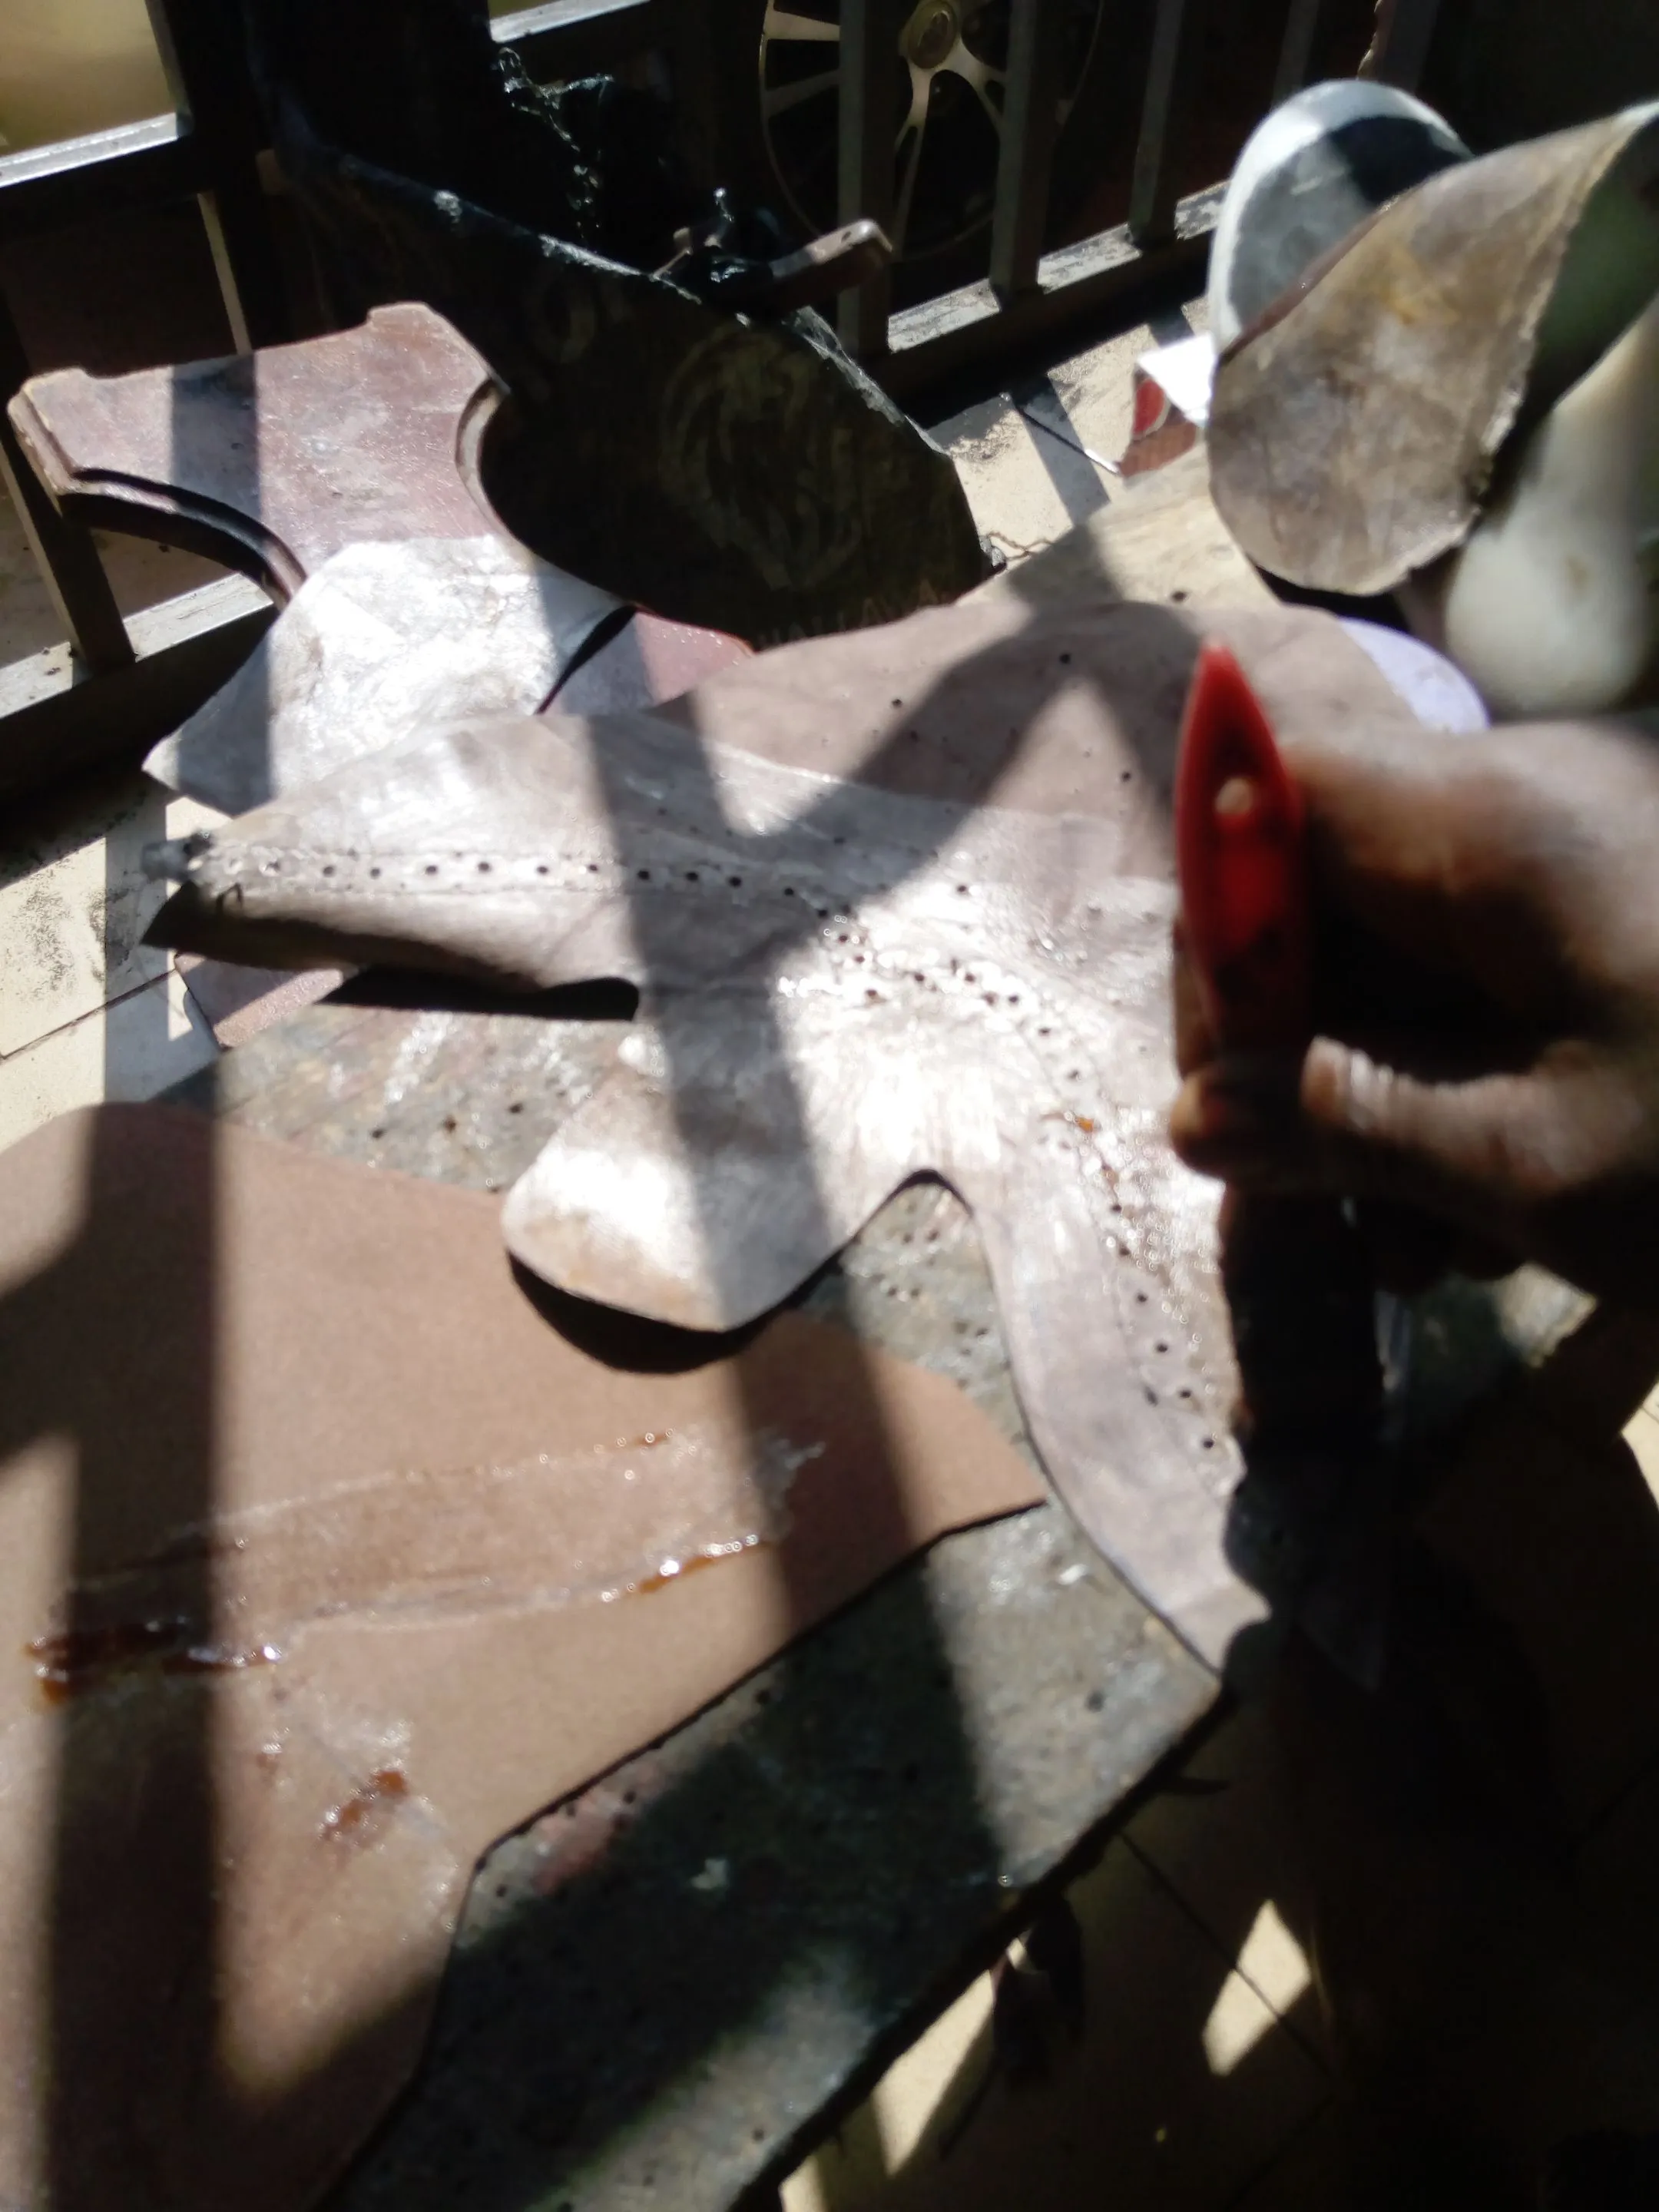
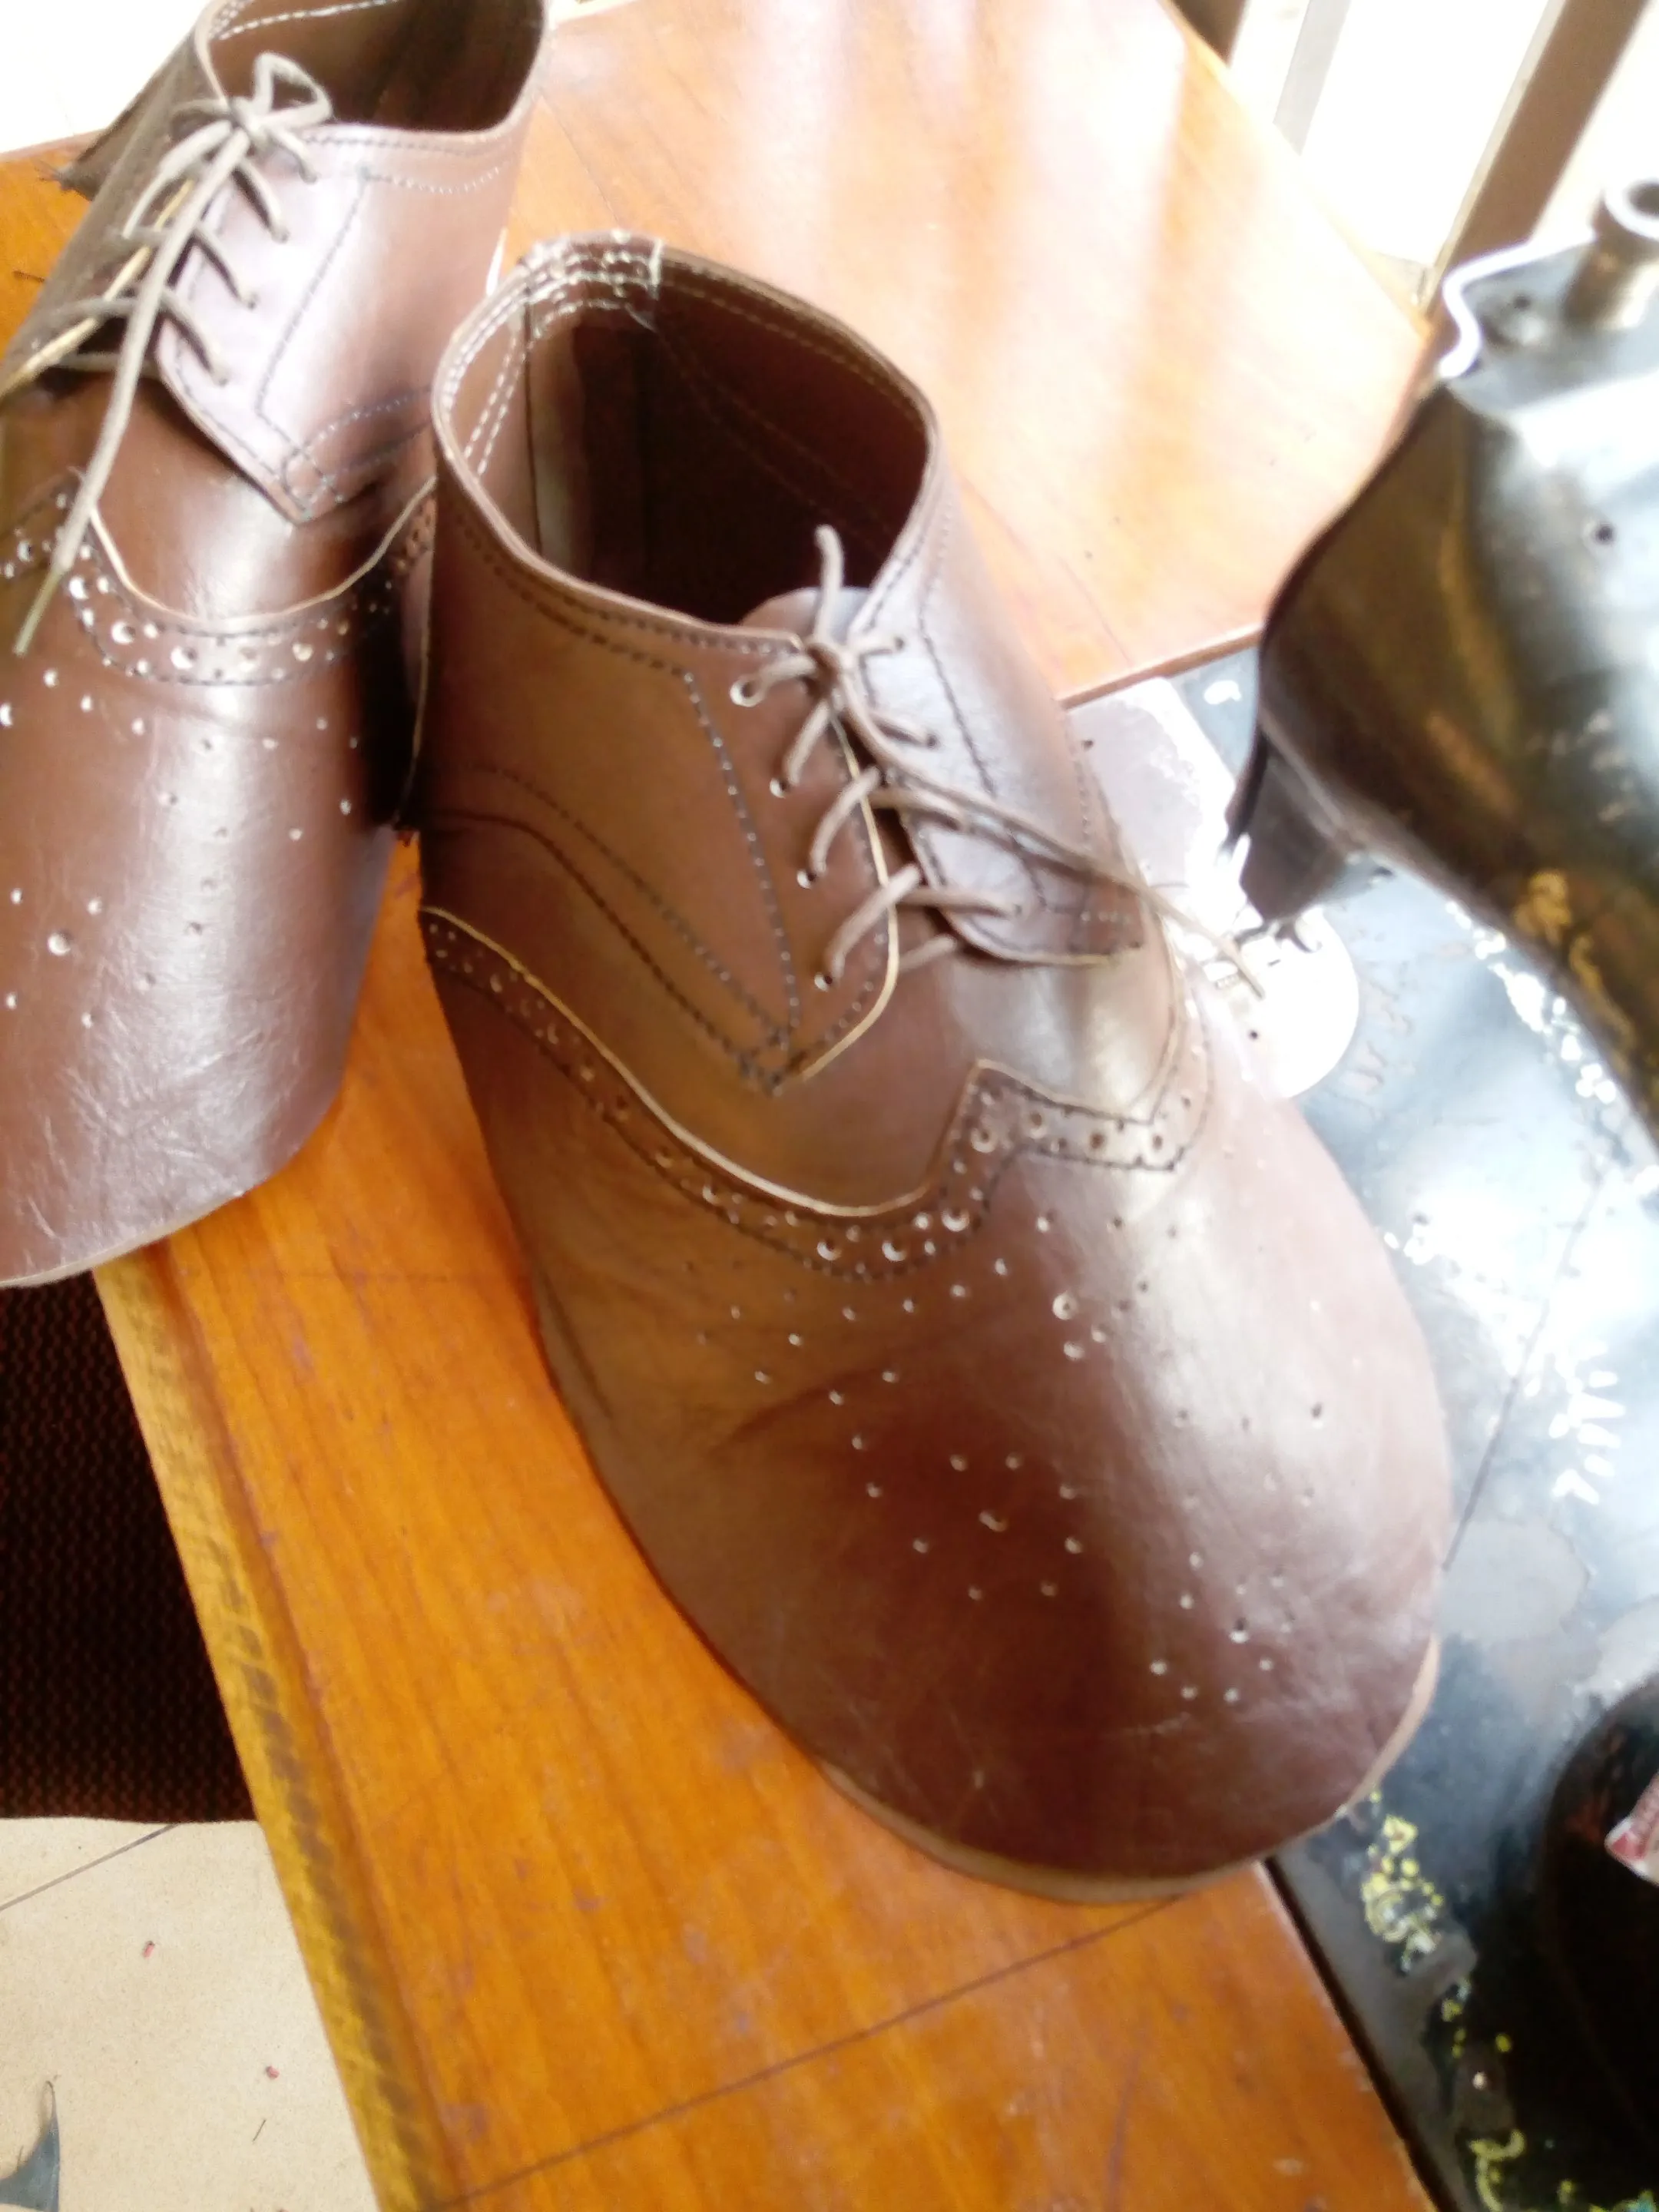
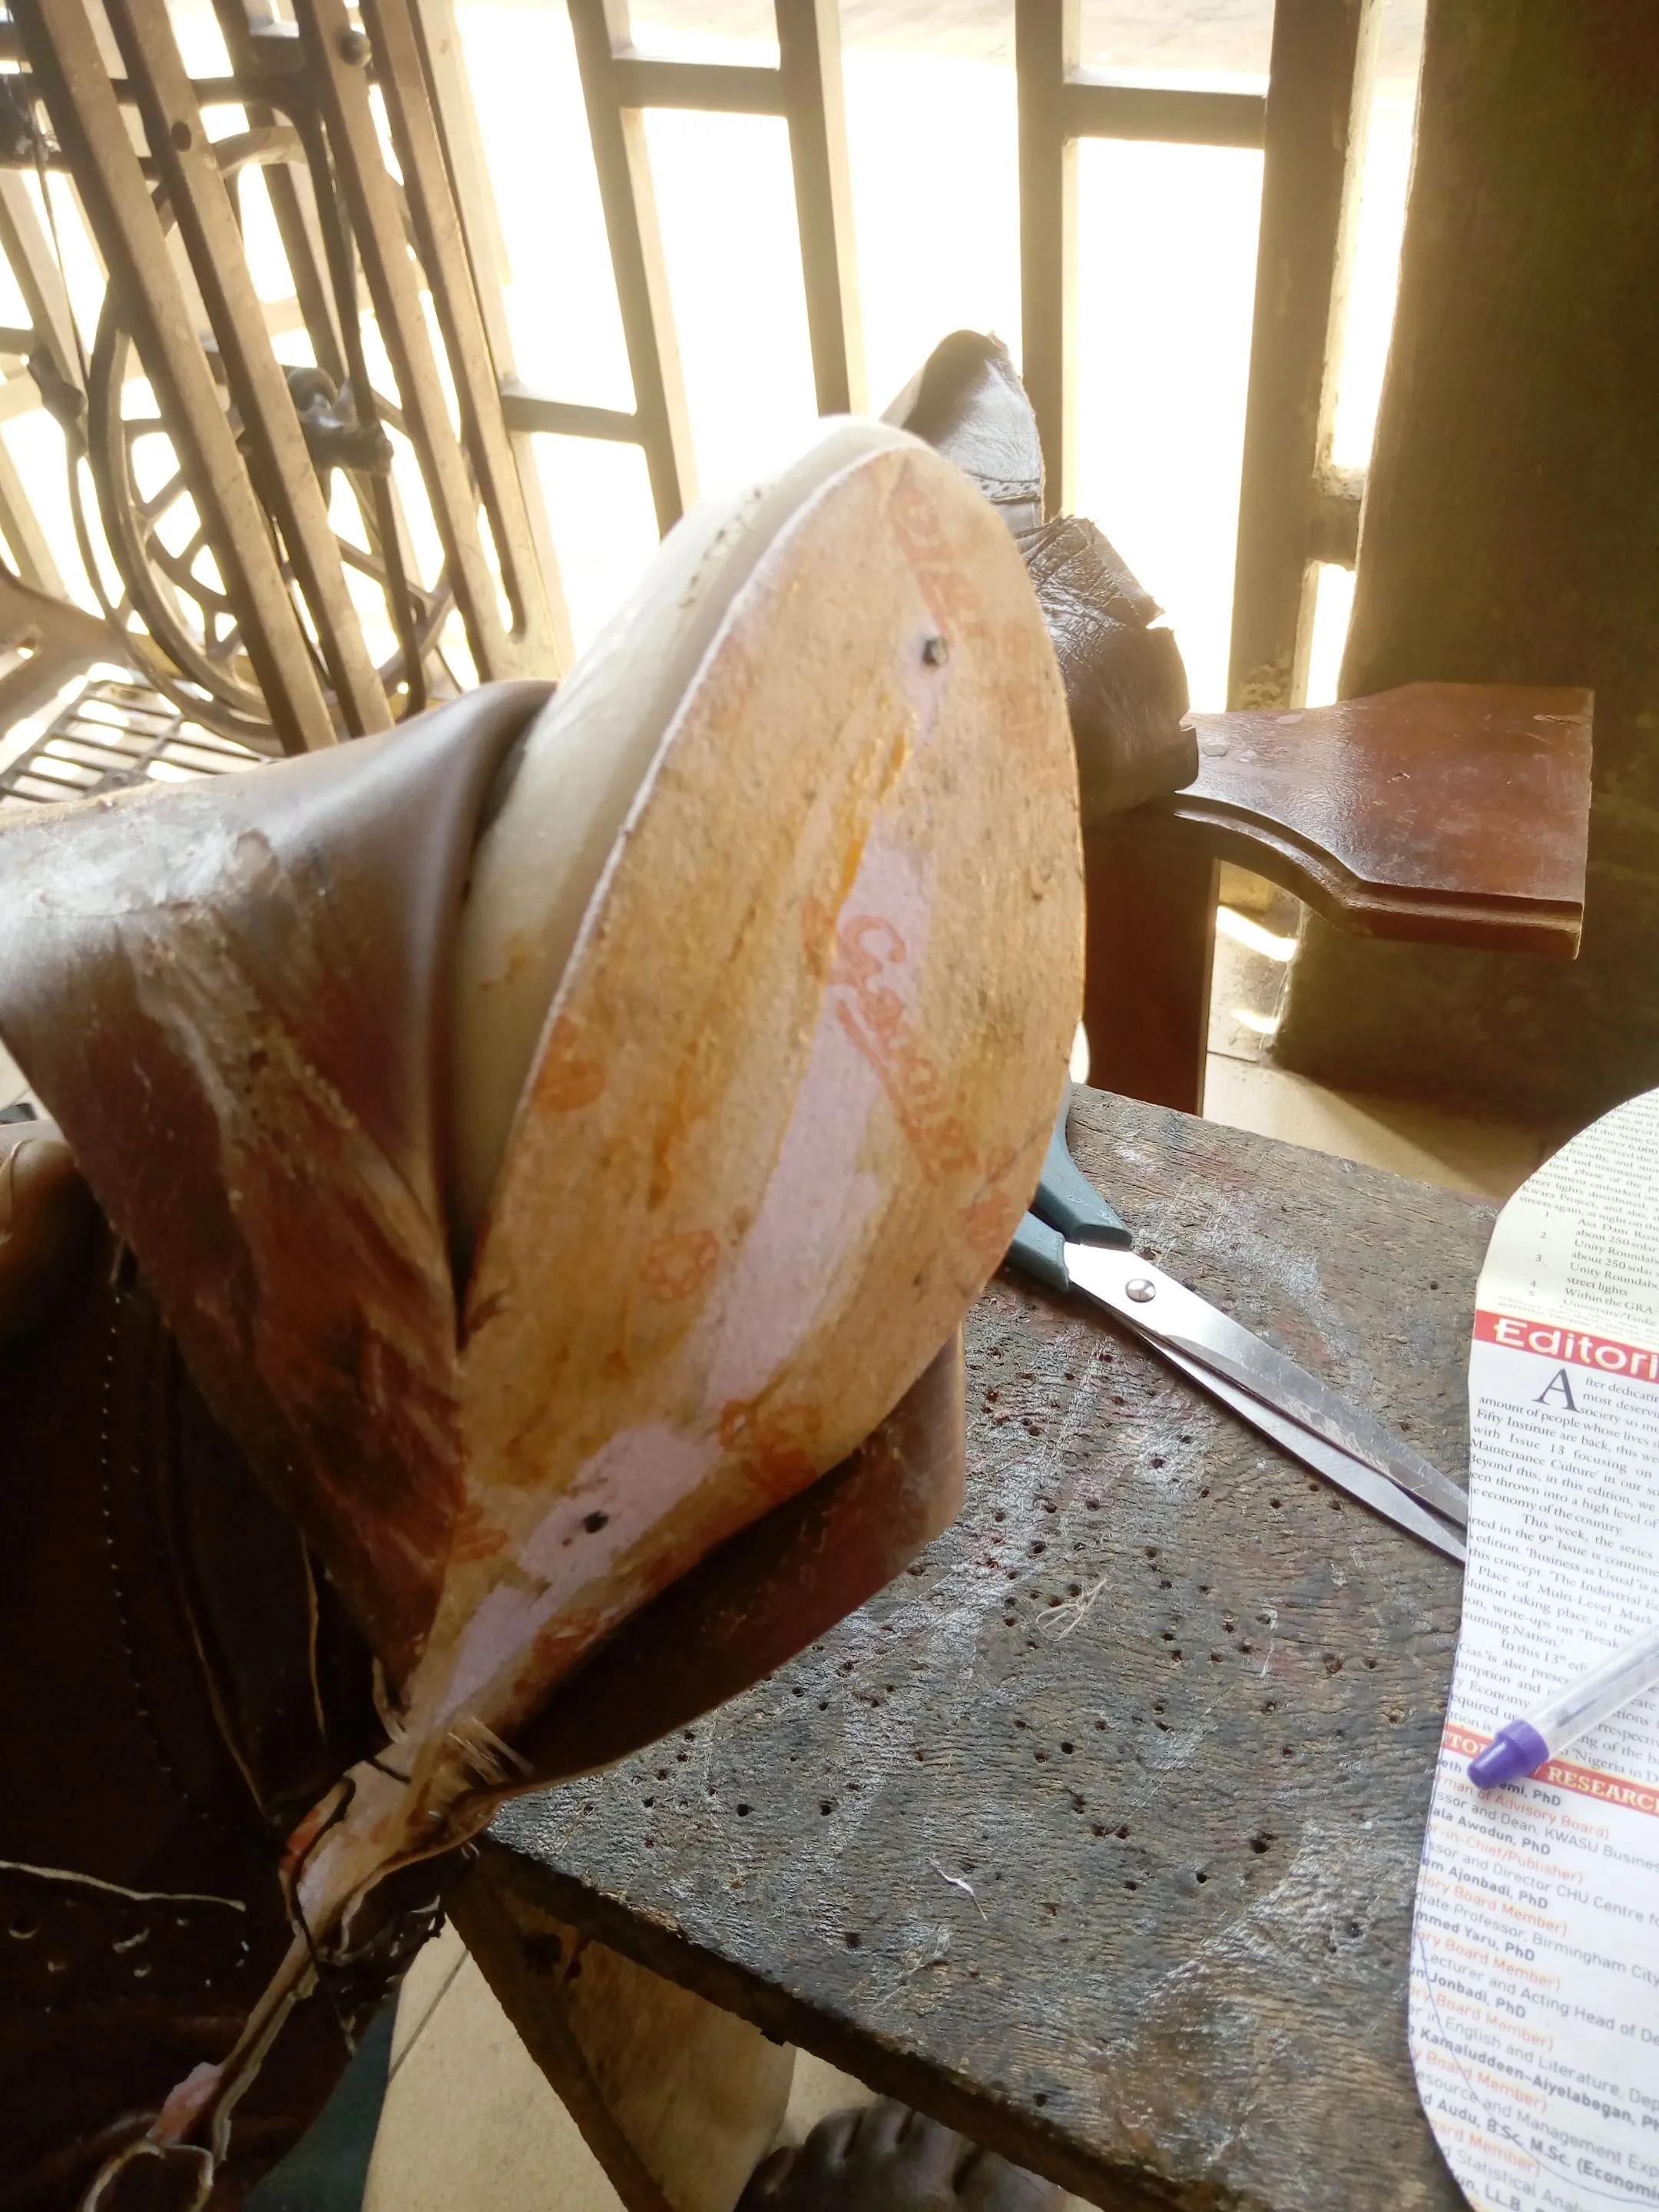
Once your shoe pattern is fully set and achieved, that mean We are done with the upper of the shoe
NOW WE MOVE TO THE SOLE MAKING
Step 6: cutting of your shoe sole (Nora, fiber and heel)
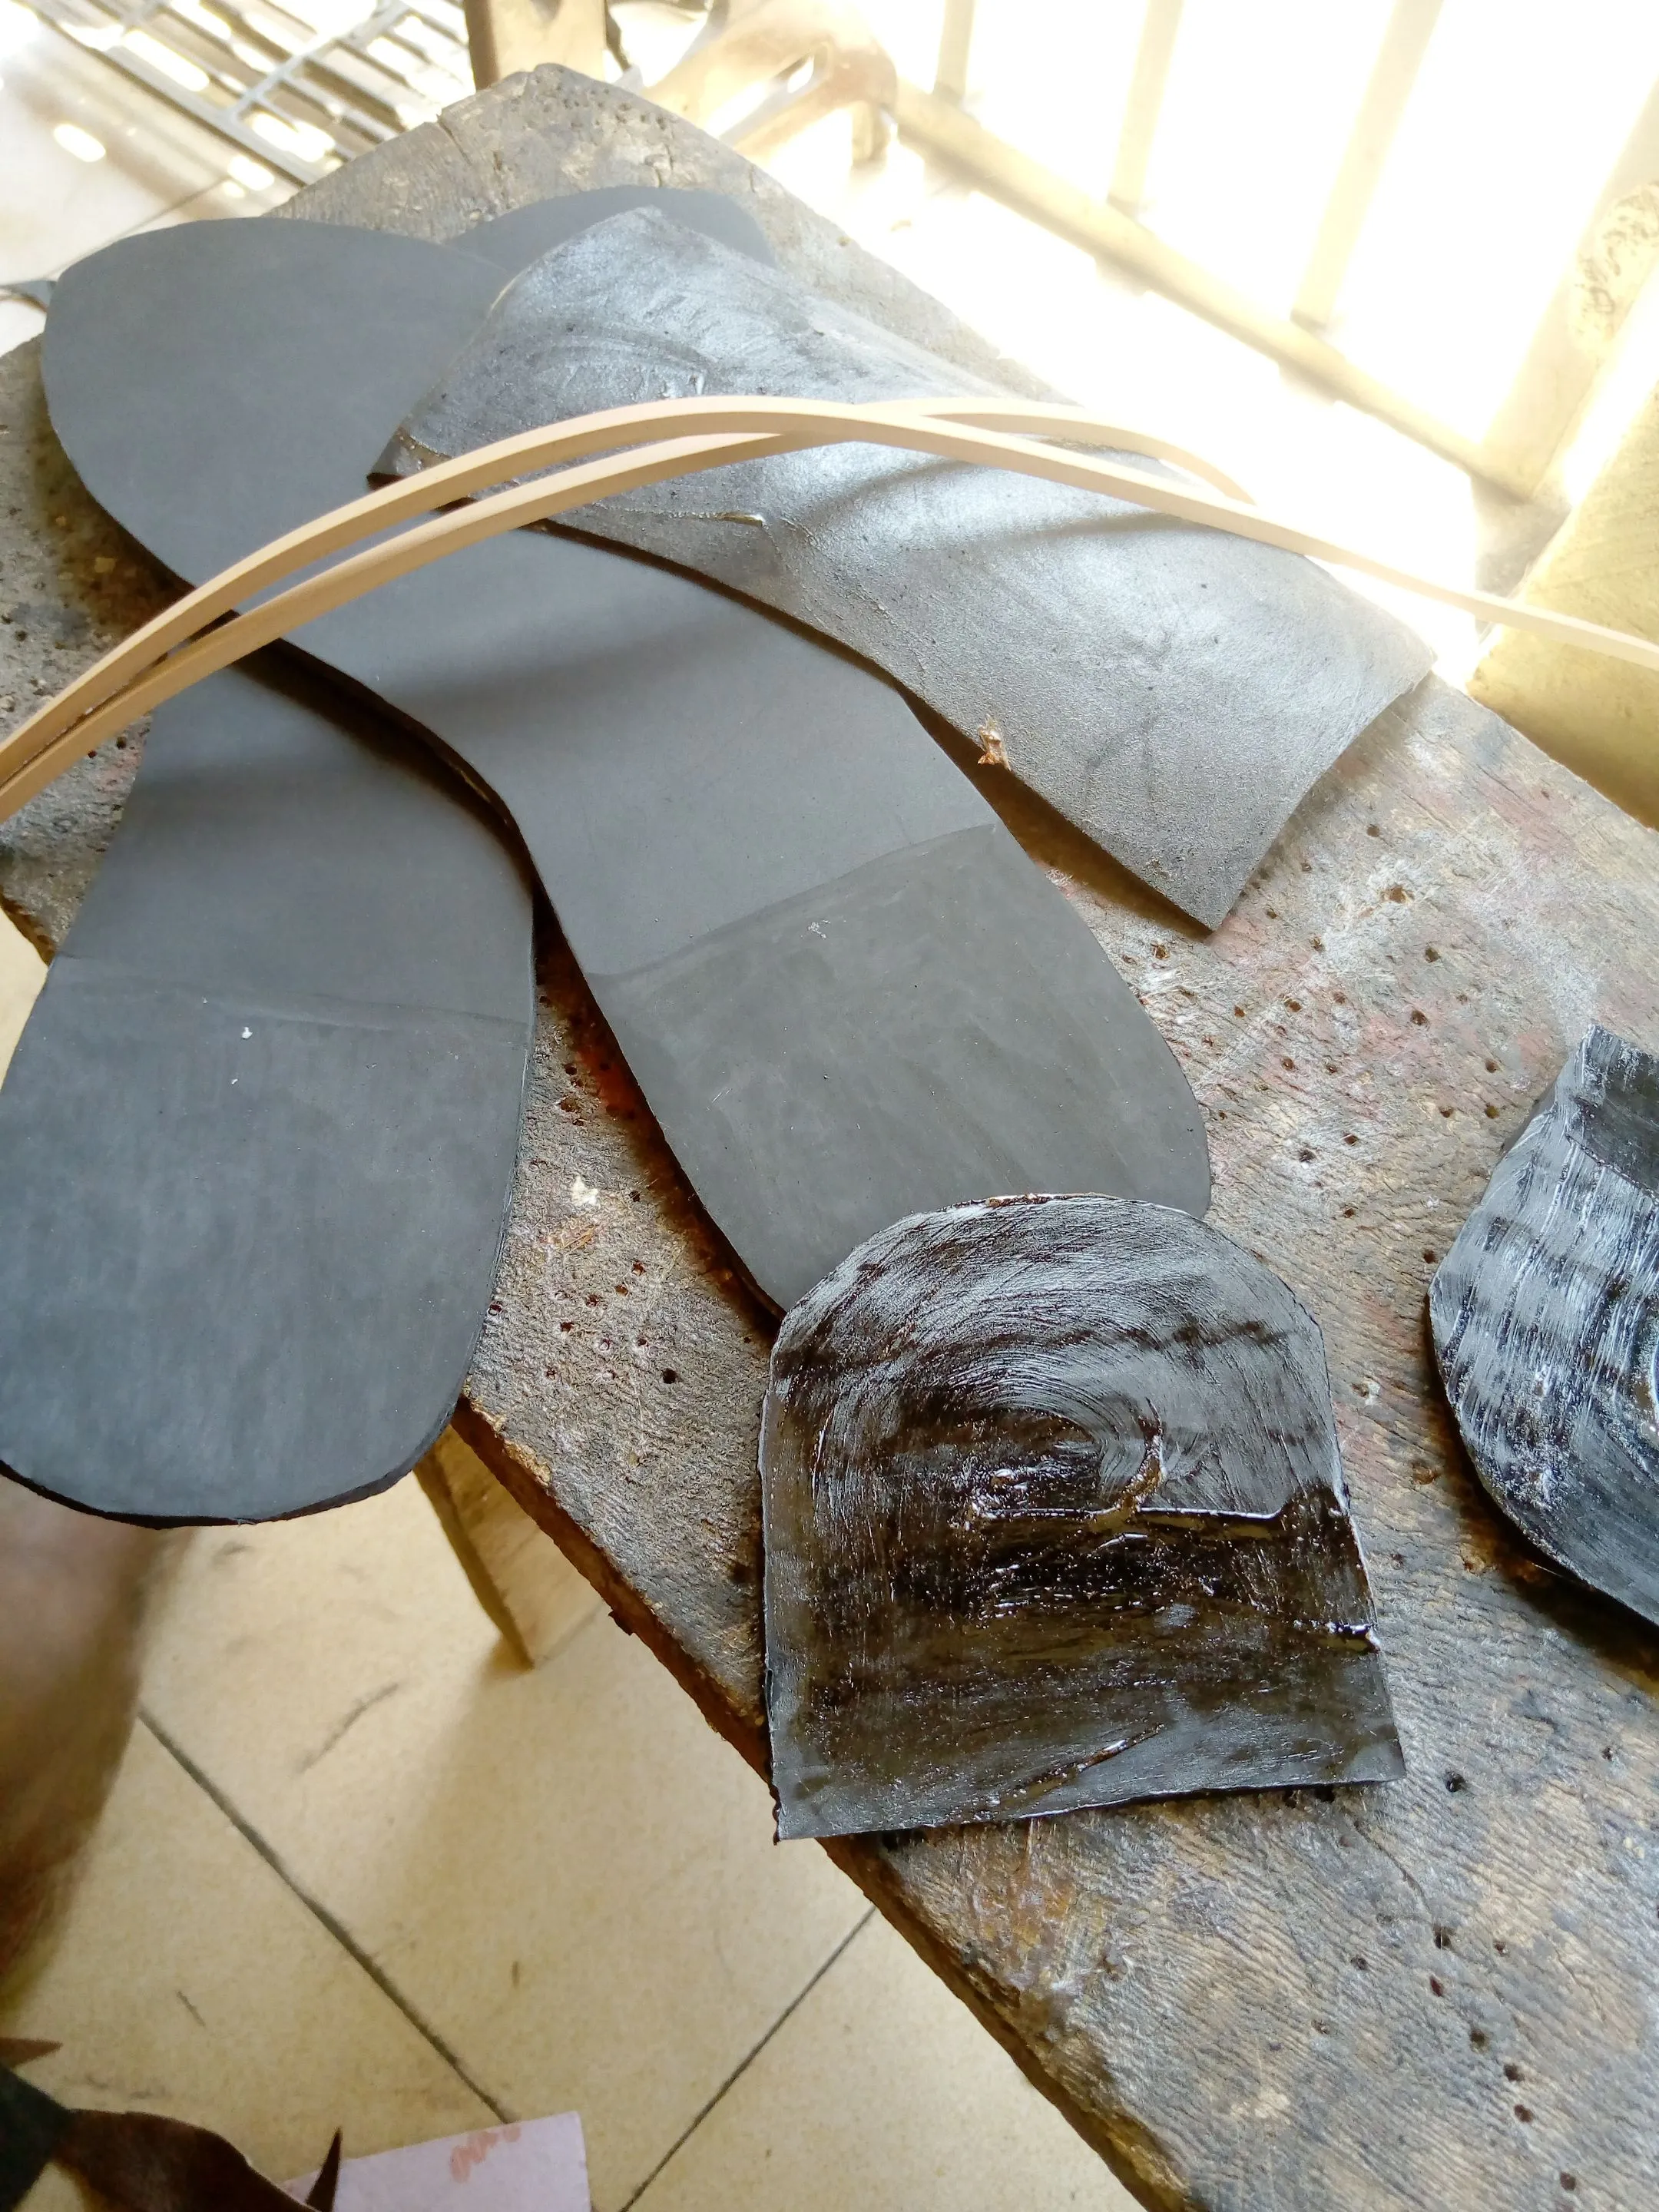
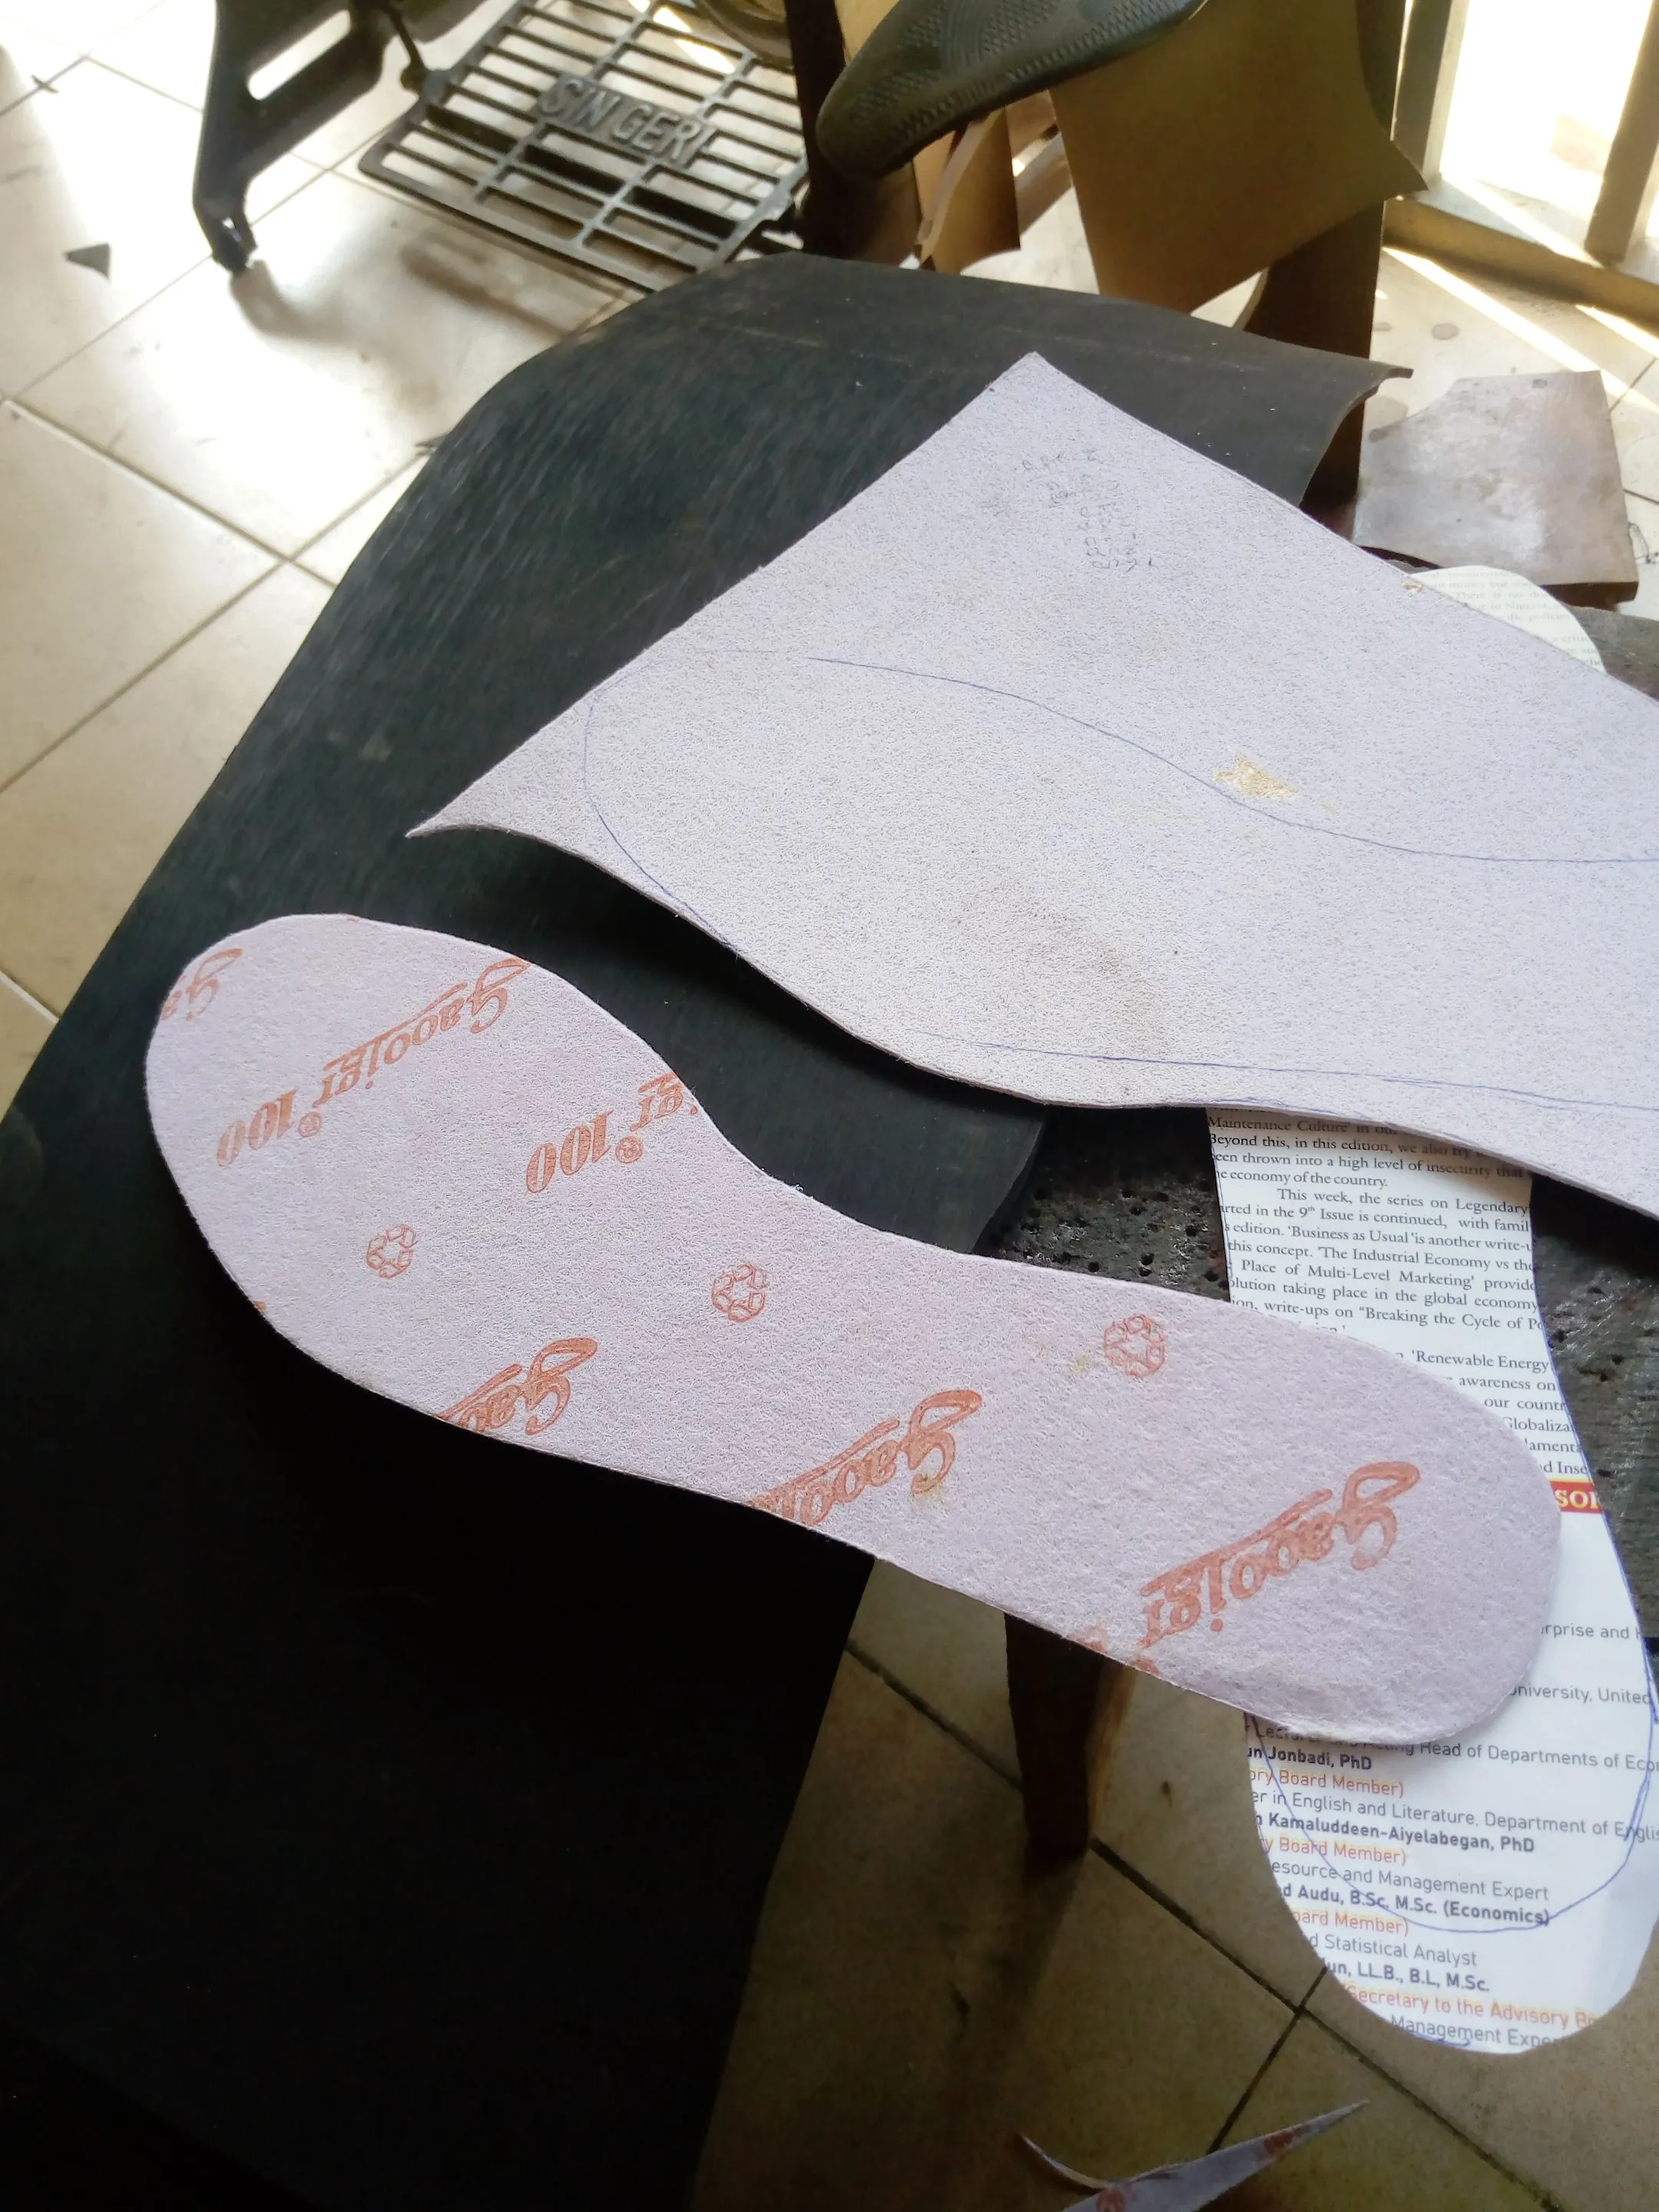
Step 7: lasting of your skin leather on a Fibre (sole)
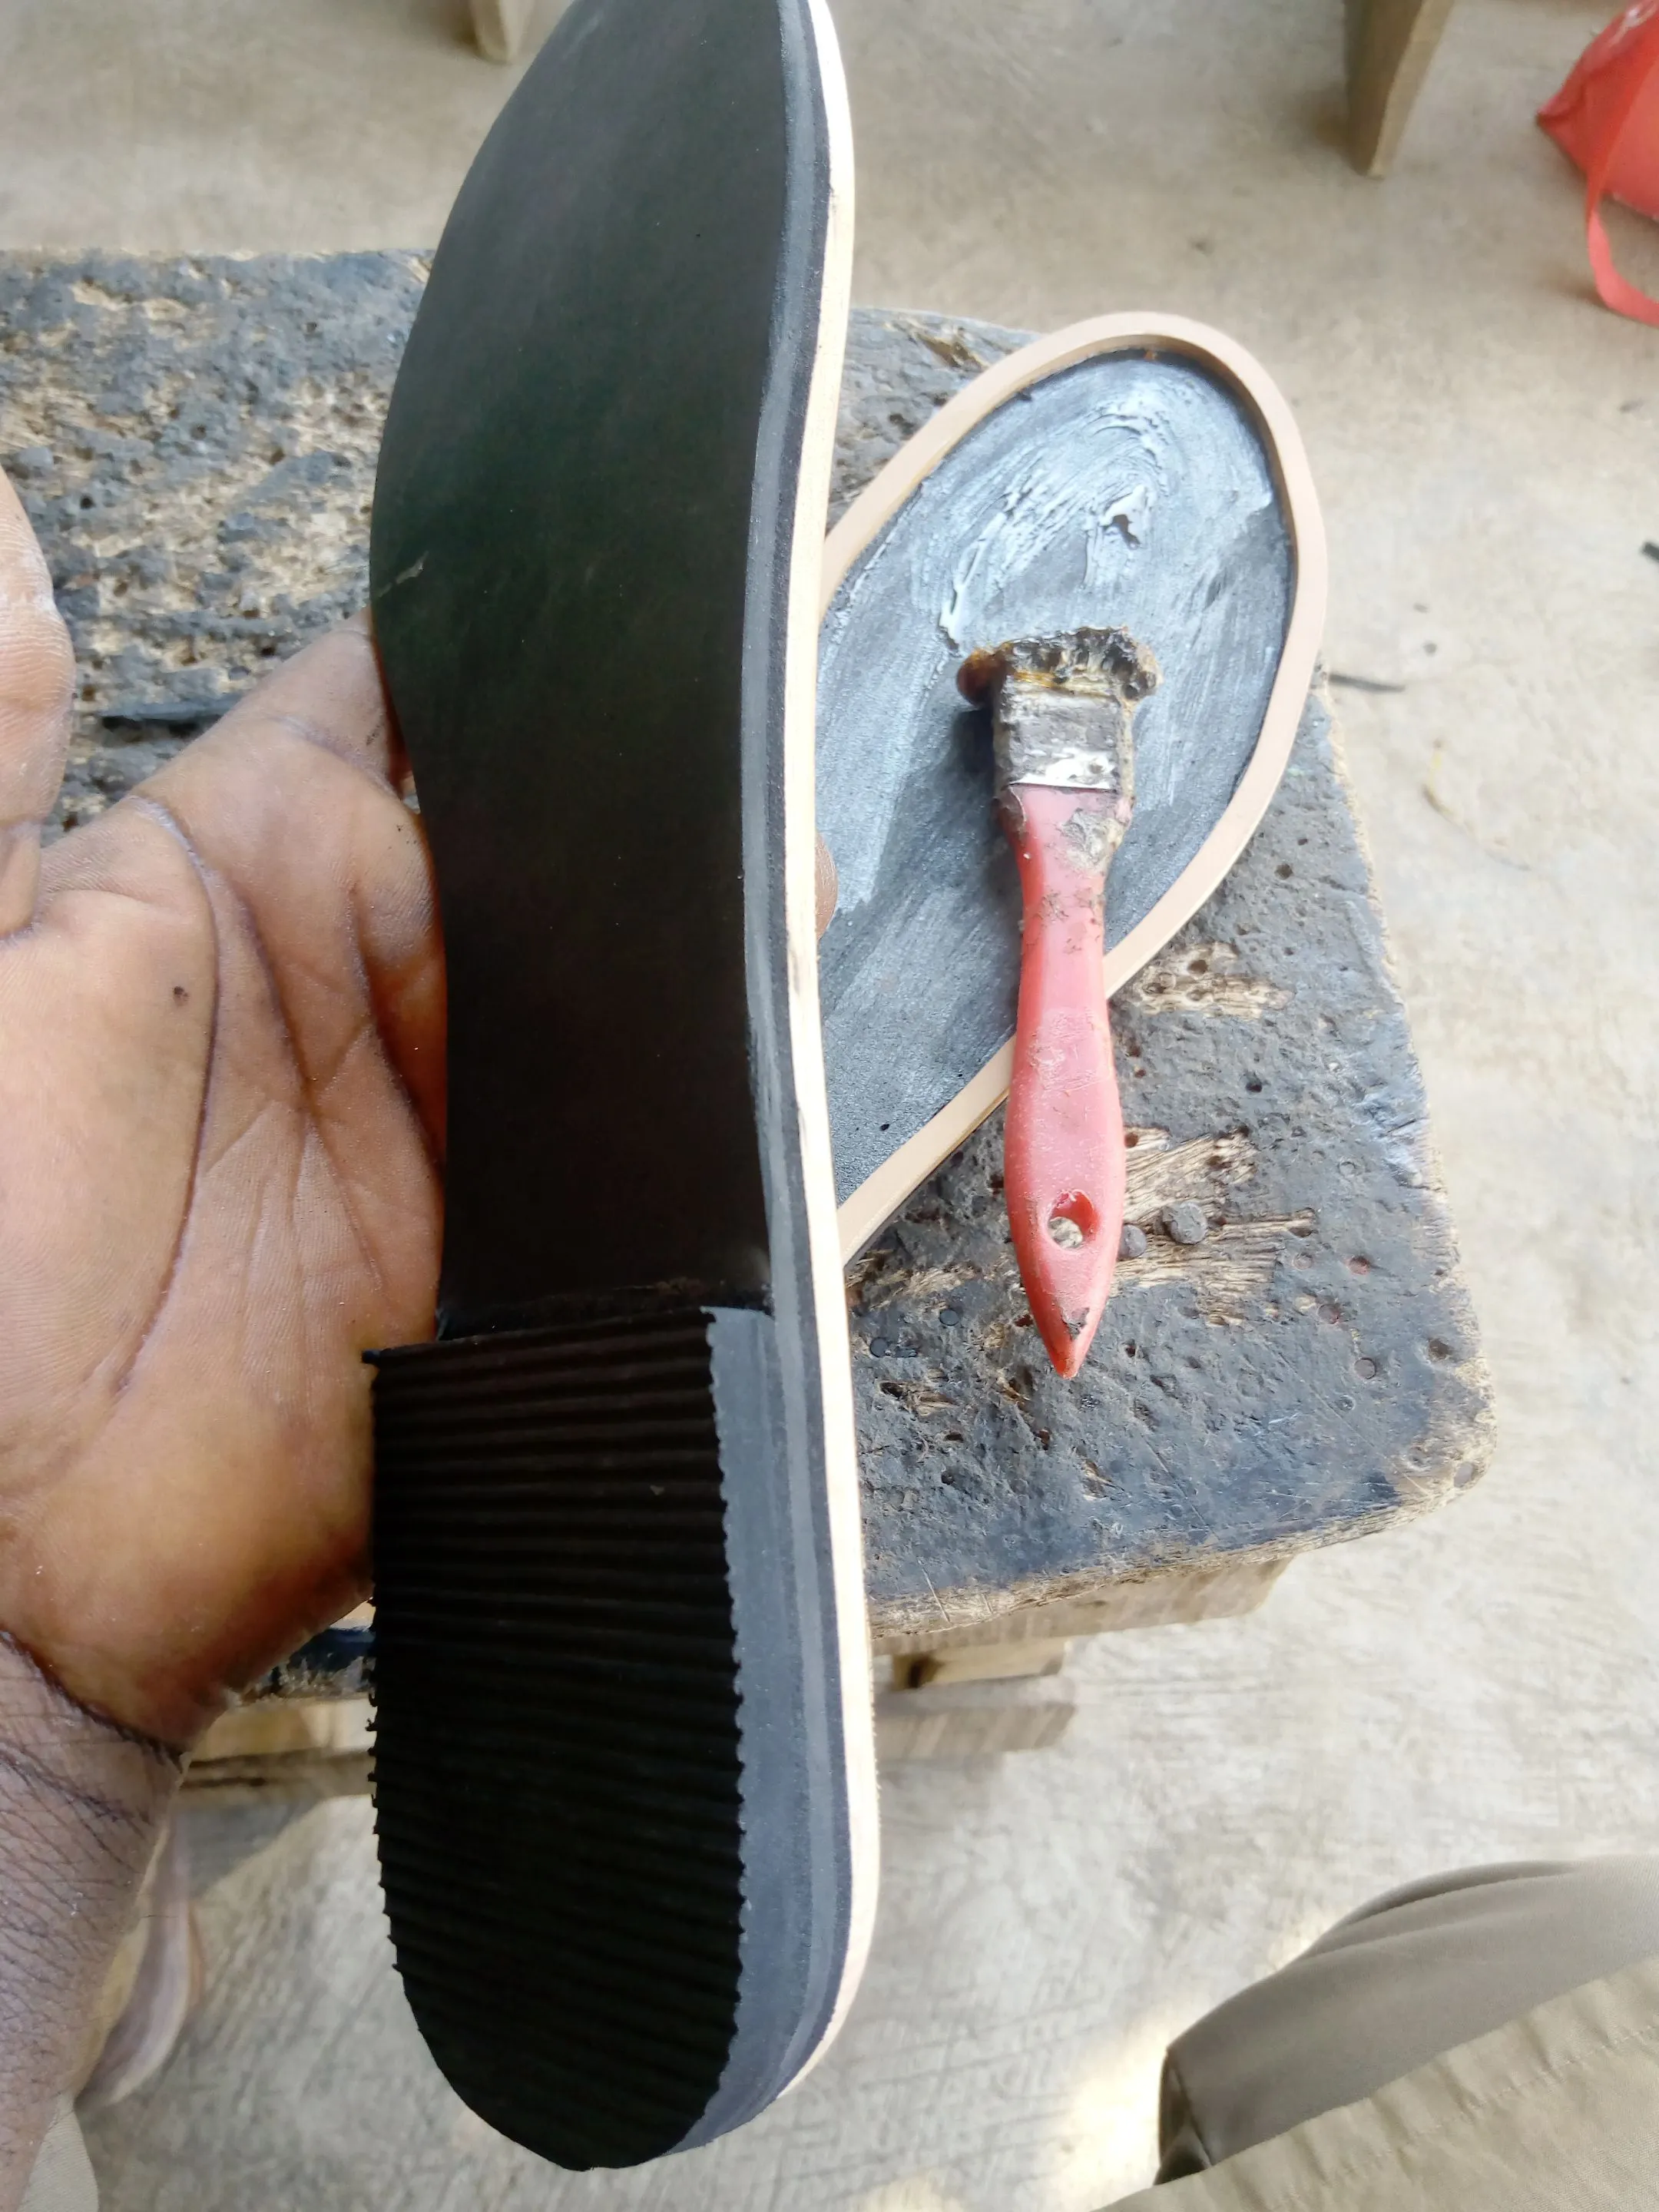 Sole making process using Nora,wet, and heel.
Step 8: once Sole pattern is achieved, then applying gum for final lasting of the shoe
Final step: lasting and guming of the upper part of the shoe to the sole.
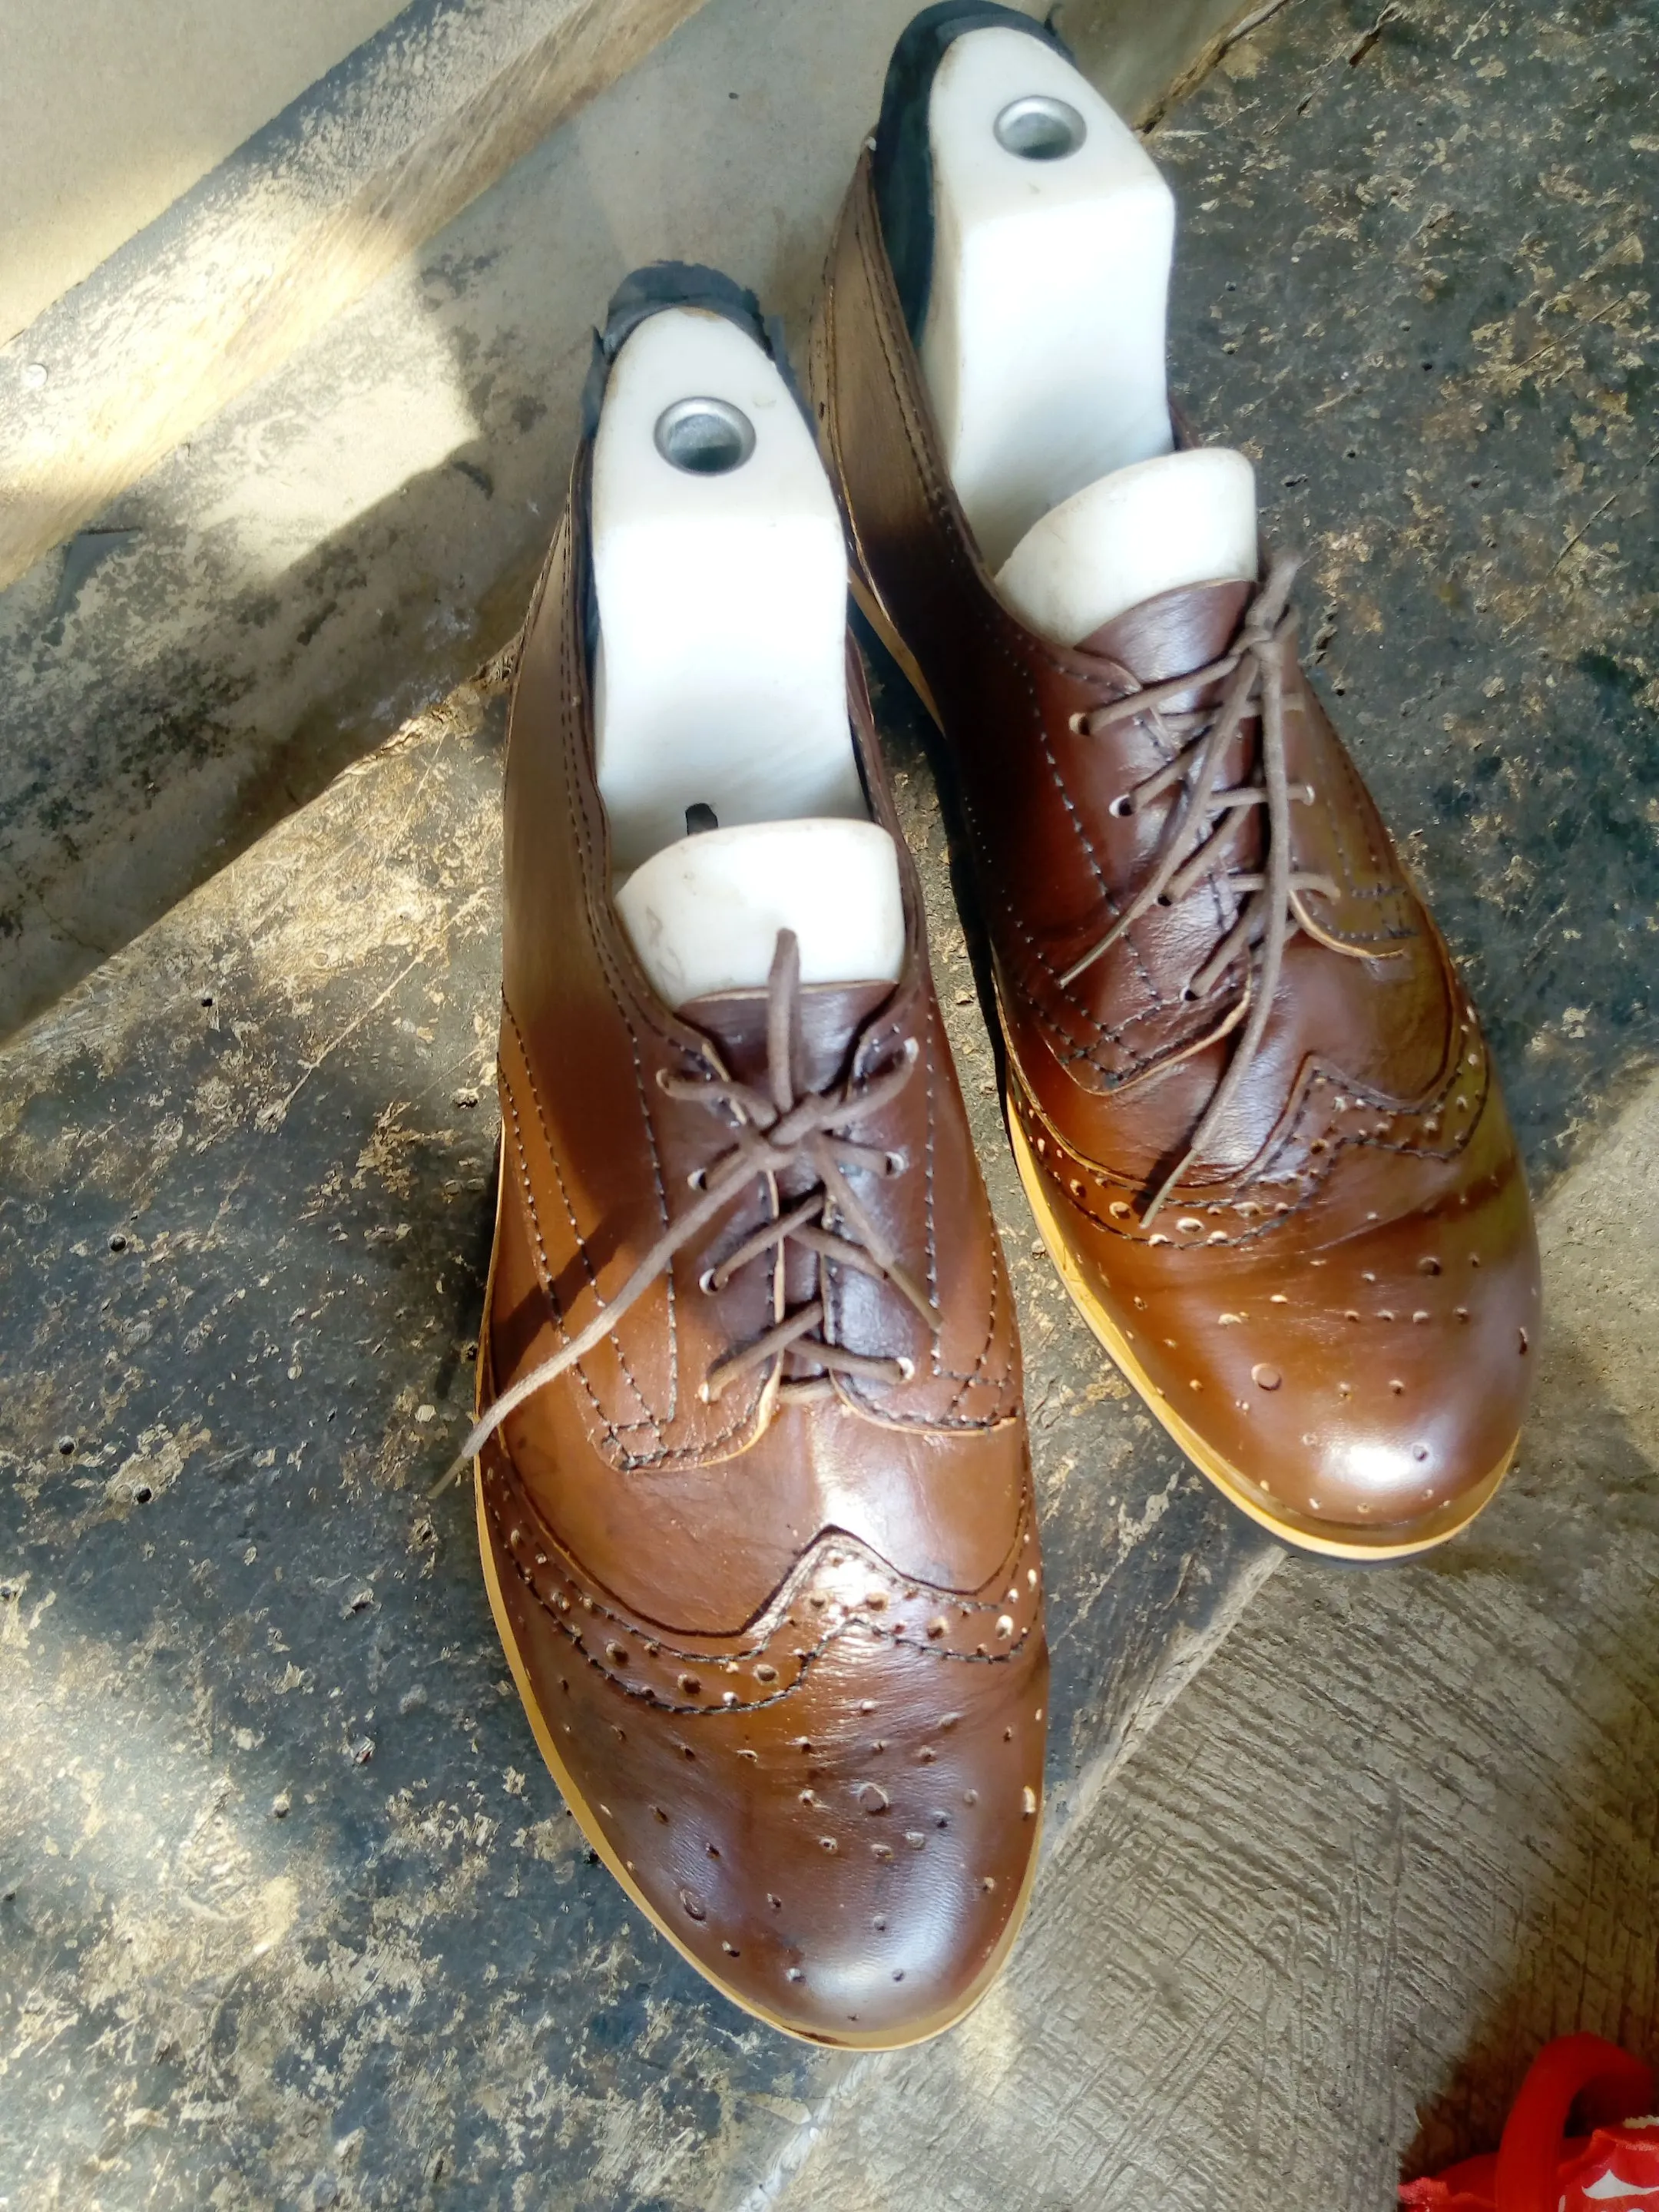
Final stage: removing of shoe last to see how your shoe look like.
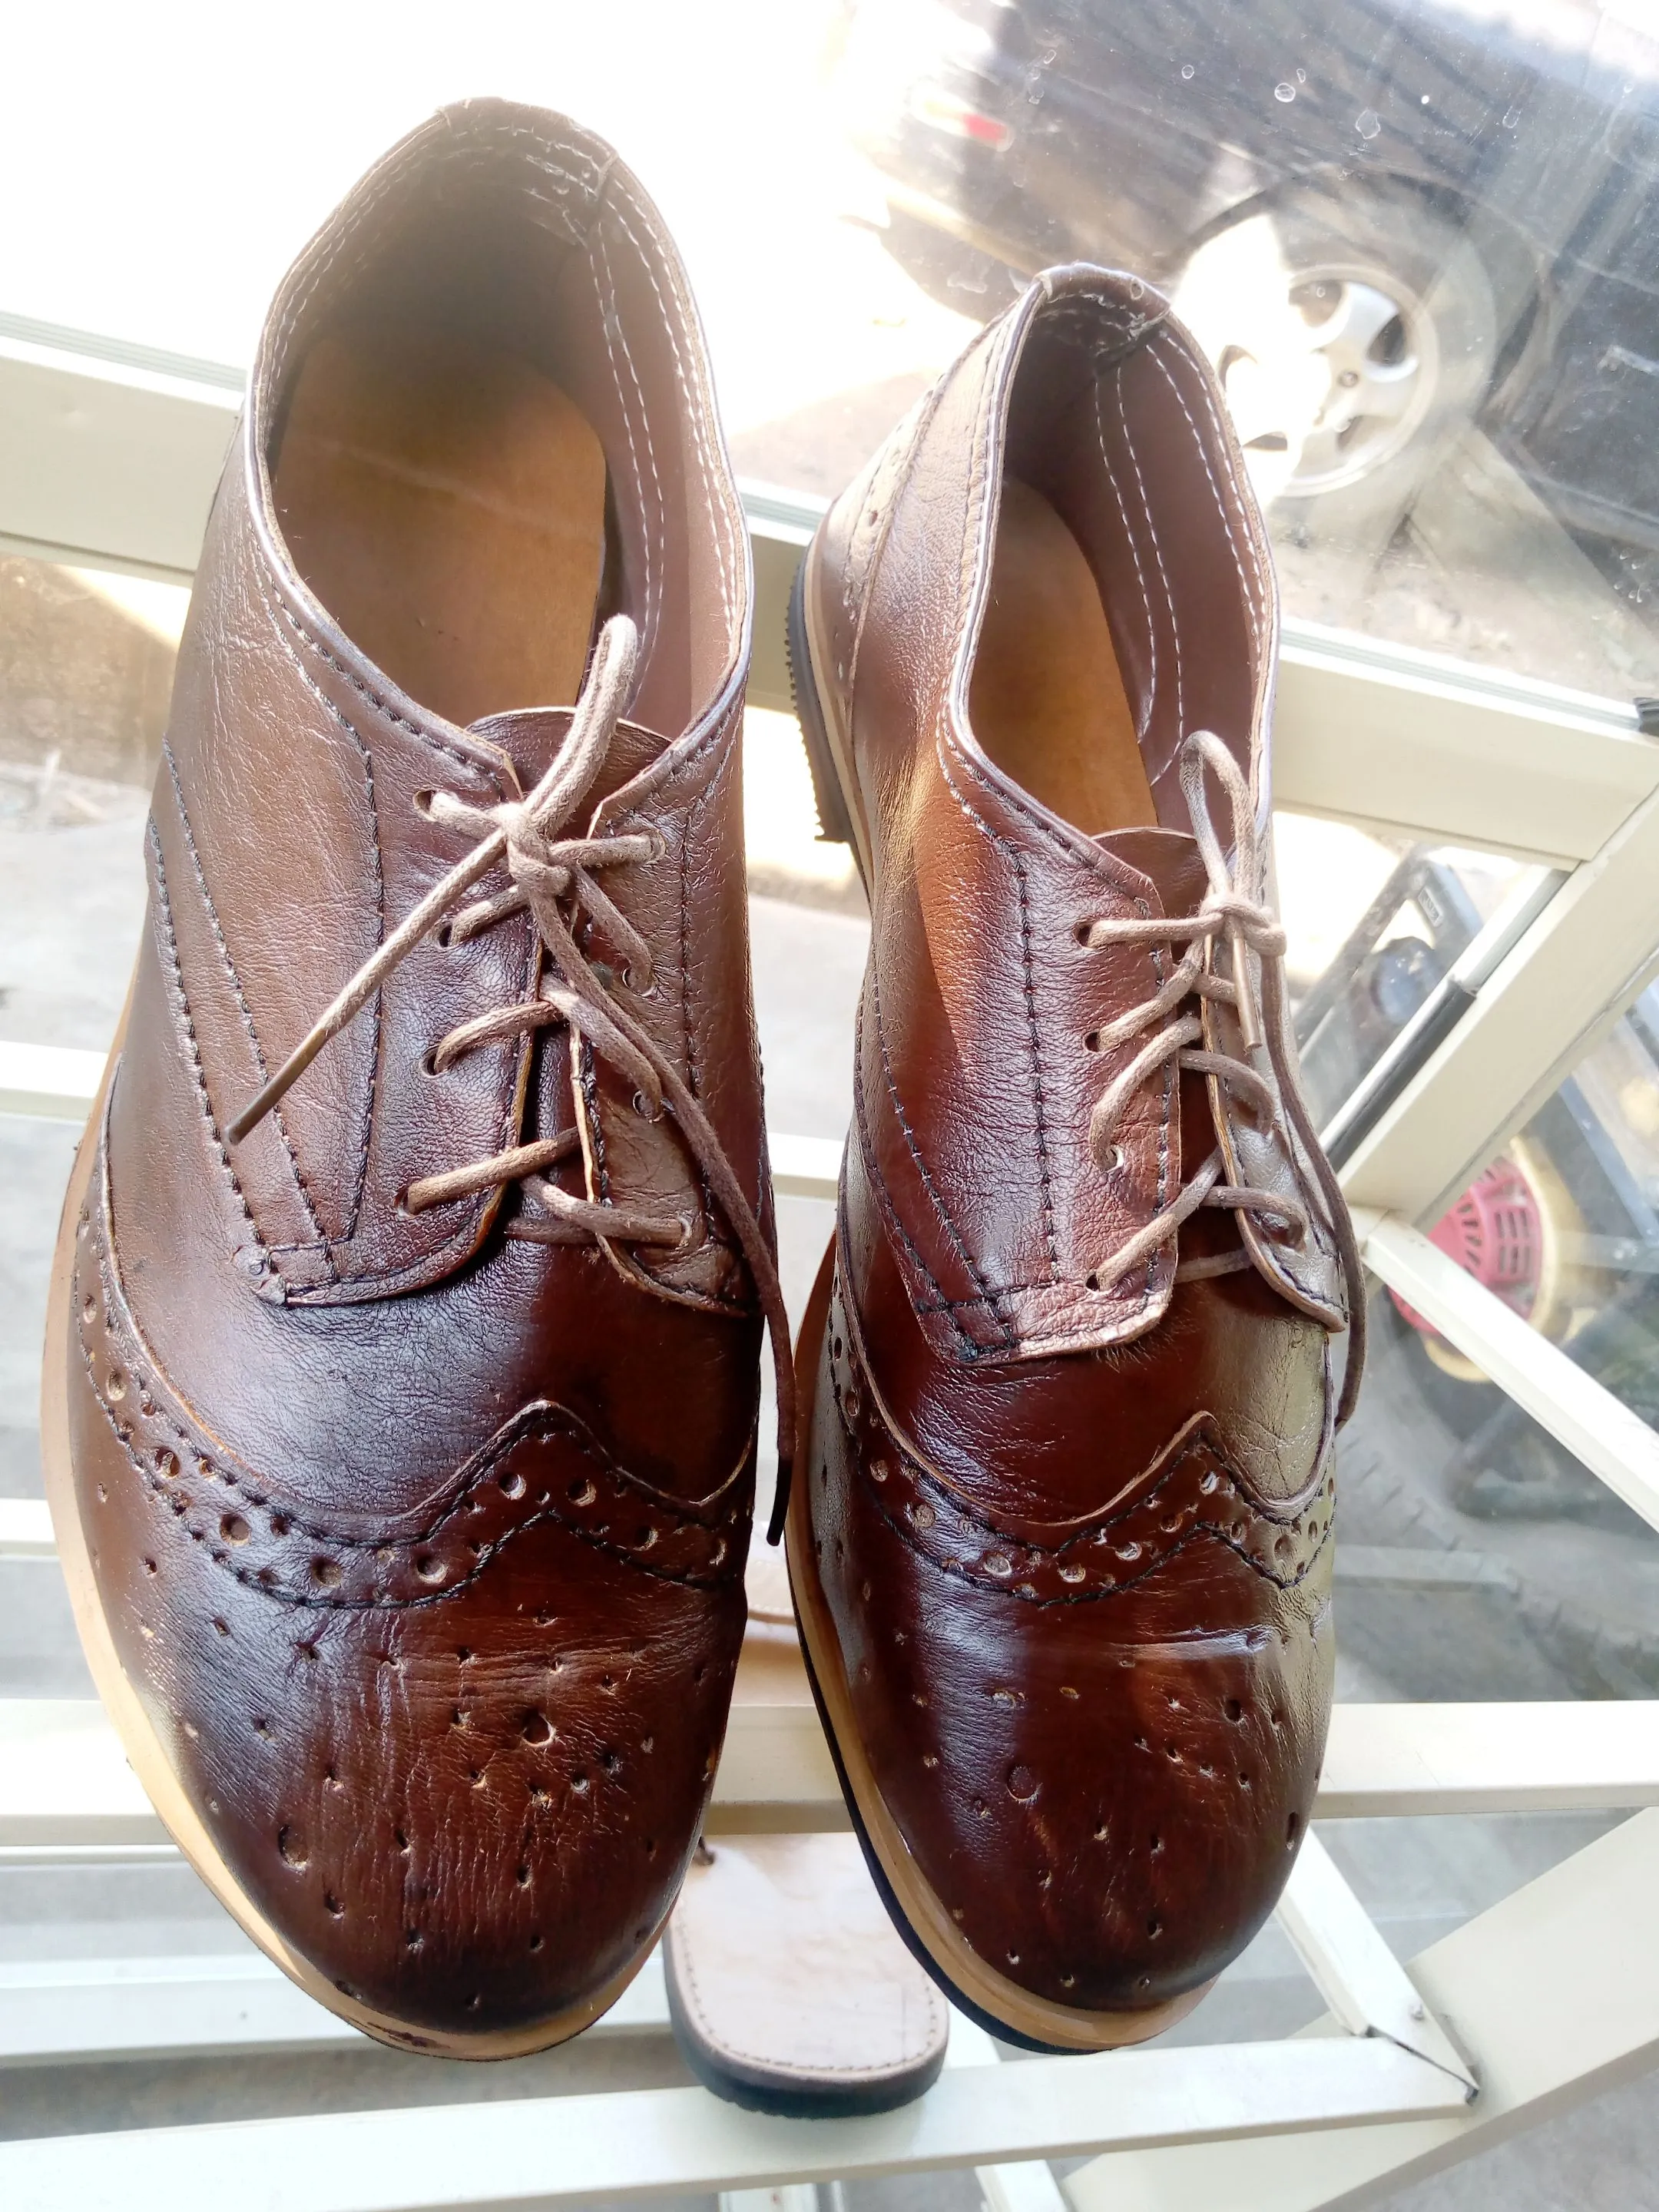
And here is a picture of me wearing the shoe to a event

Thanks for coming by my blog, I hope you got value and learn a new skills!
For further learning, check my brand out on Instagram
Return from DIY PROCESS OF MAKING SHOES to vickoly's Web3 Blog

