HELLO HIVE
I hope this meet you well, while I was contemplating on what to post today, I decided to go through my photo gallery so as to derive inspiration from my collections of photography, and then I saw the of this gorgeous footwear, and realized I haven't share it here, so today I'll be taking you through the process of how I craft this out from the beginning to how it ended up being this gorgeous.
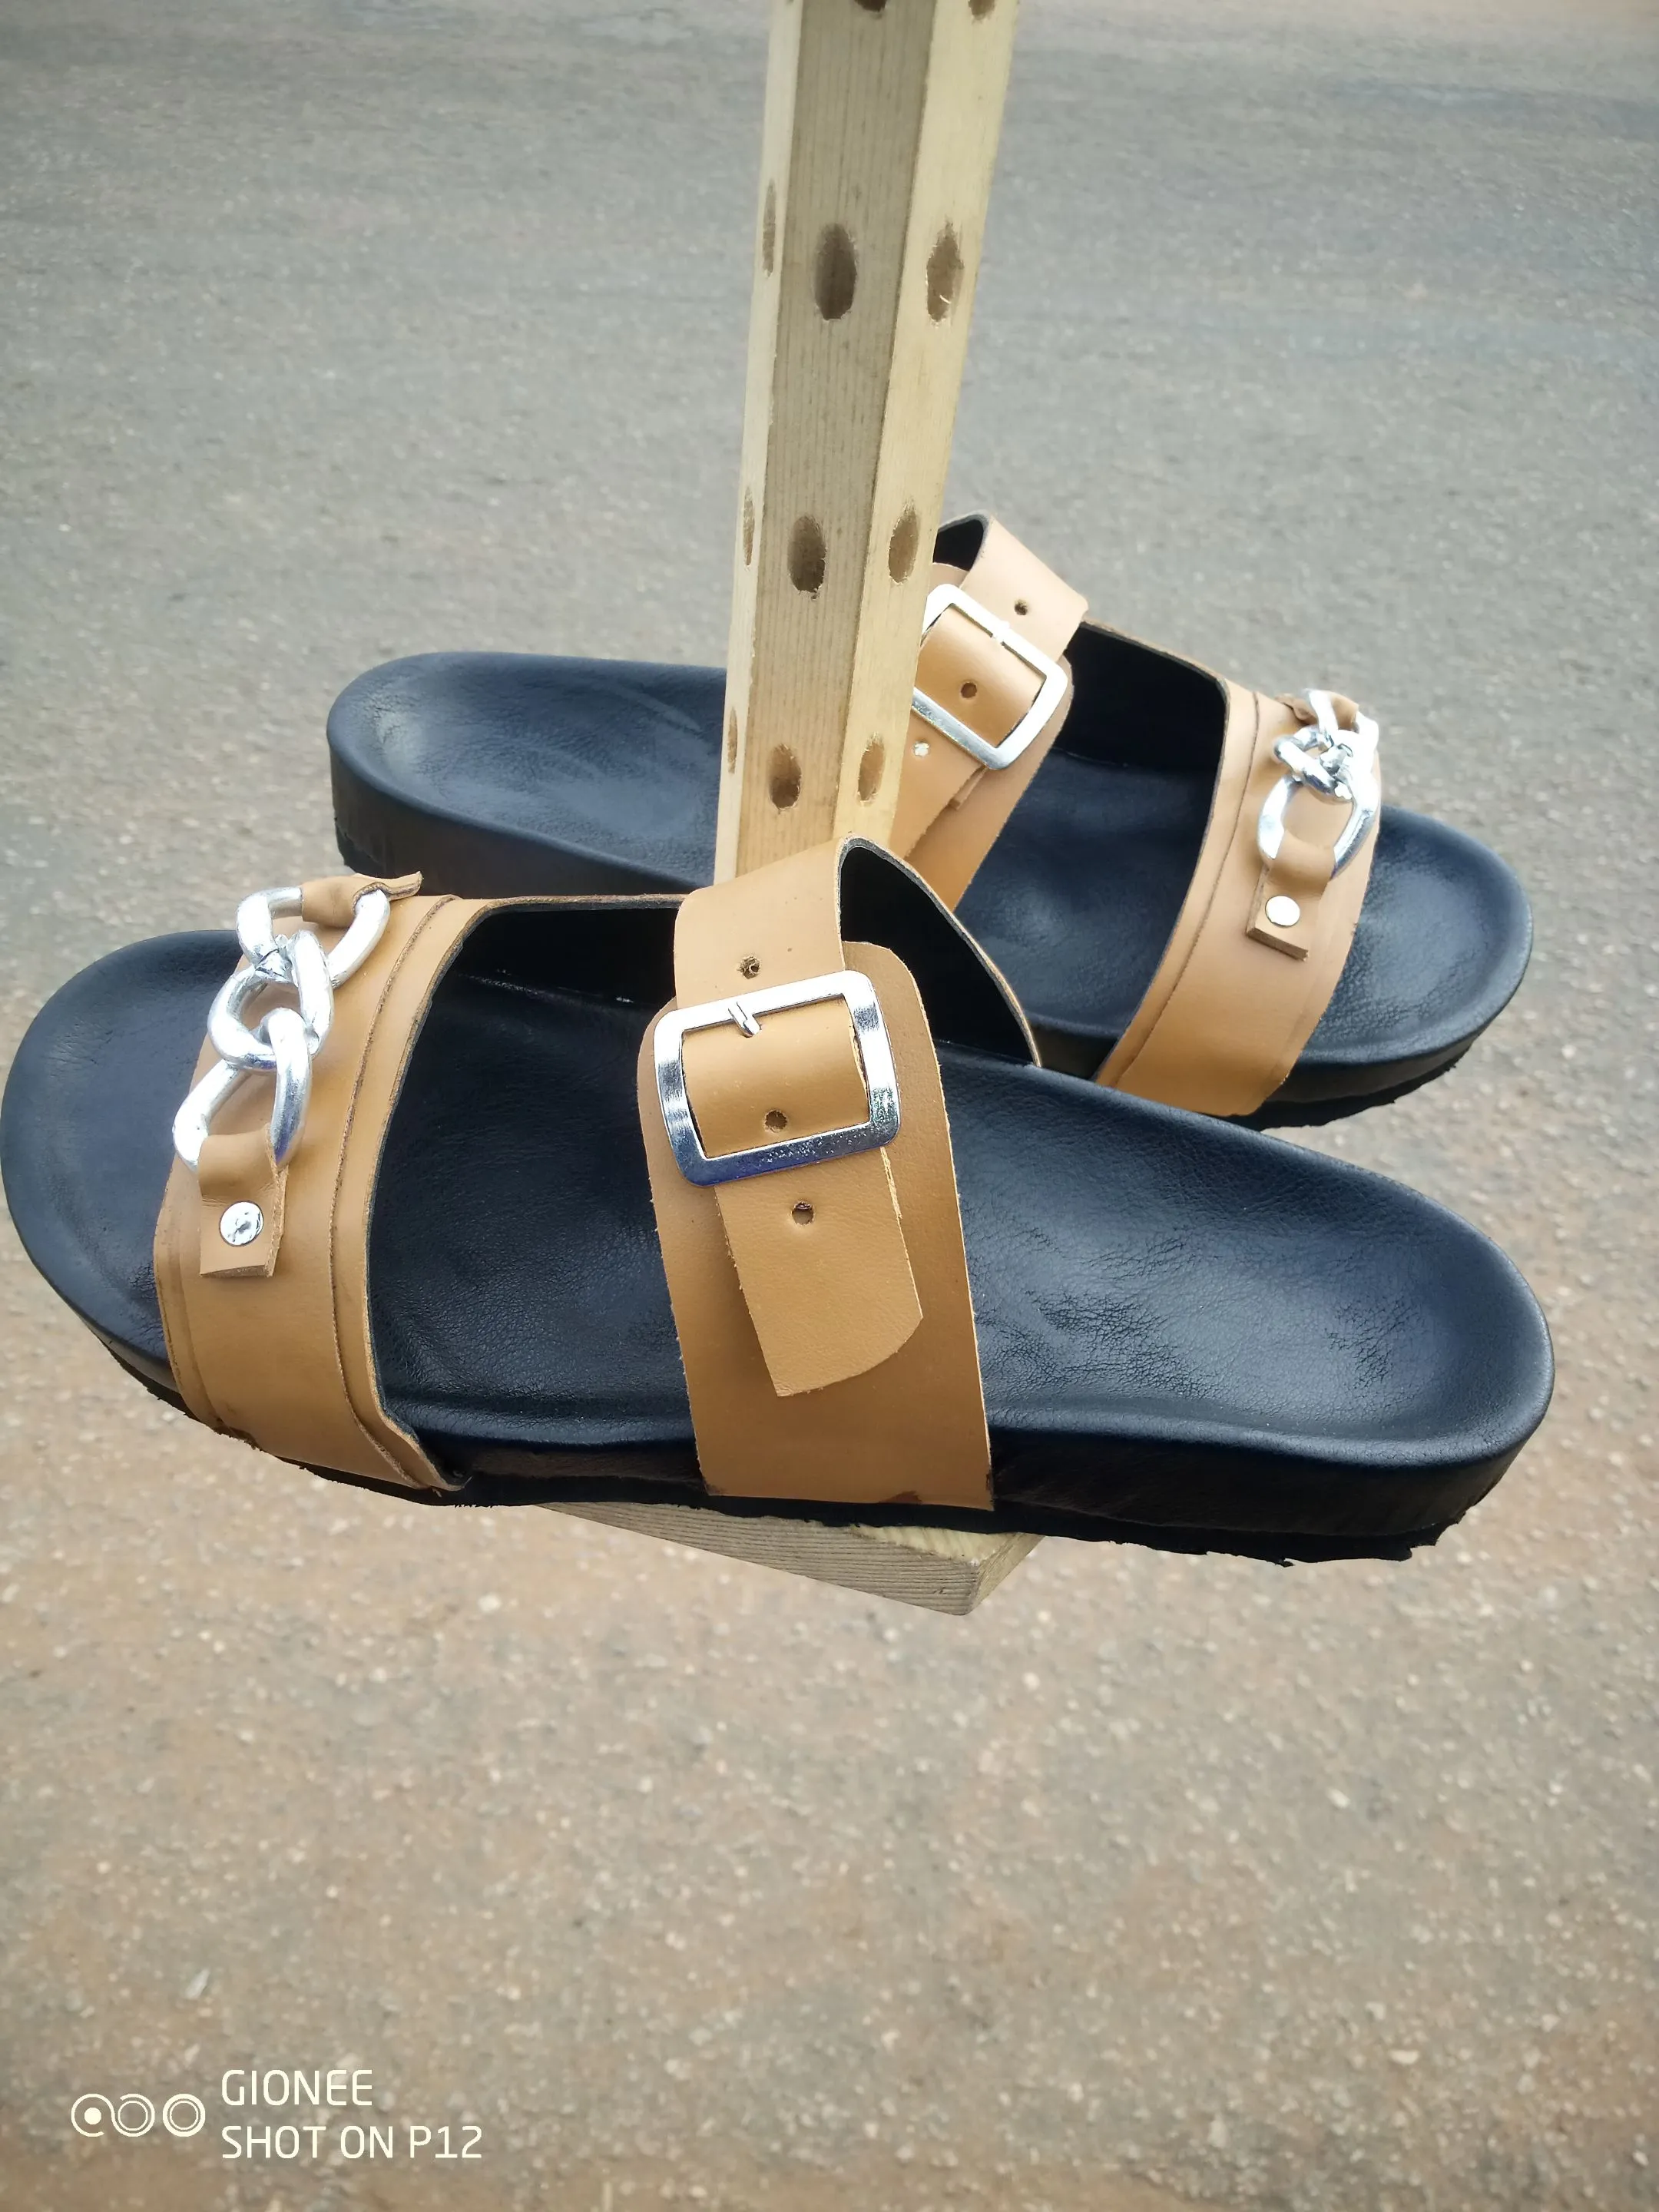
MATERIALS USED
- Leather Material
- Brikenstock insole
- Marco sole
- linning
- Buckle
- gum
- chain
- super glue
PROCESS
- Just like every other crafting and shoe making, the size of the foot of whoever you're making the footwear for must be known, cause it'll determine the every process and the sizes of materials you'll be using.
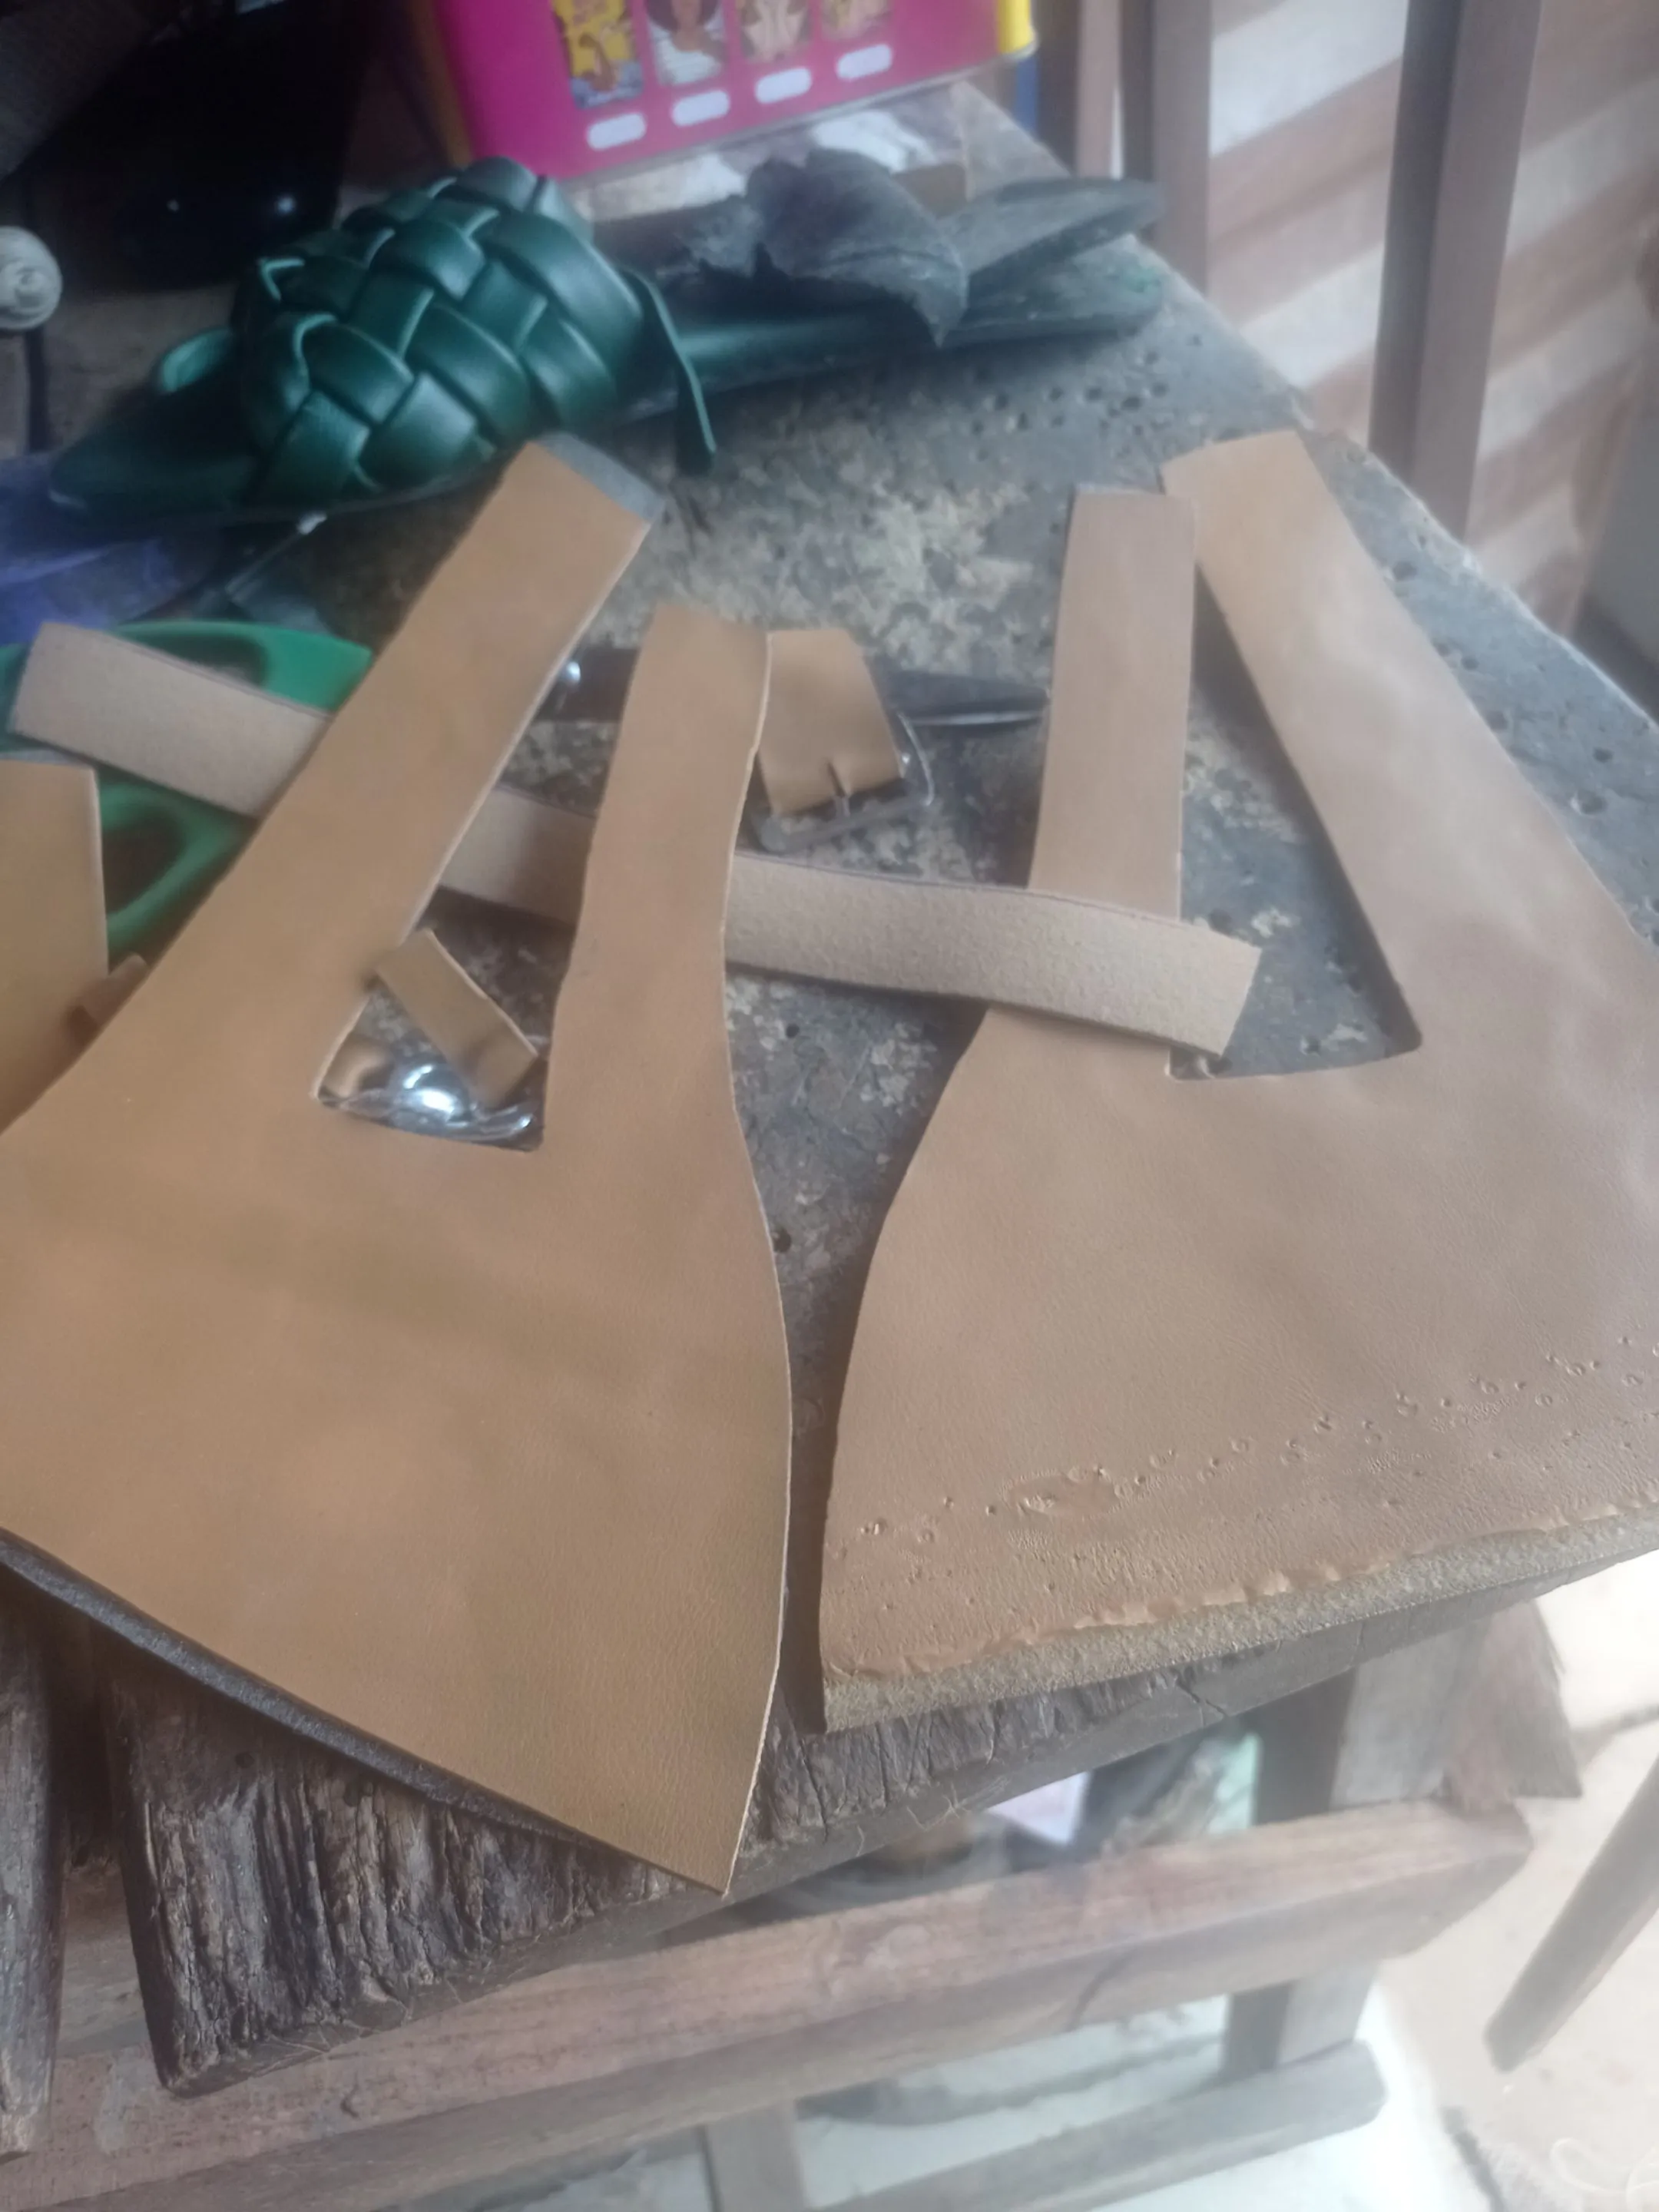
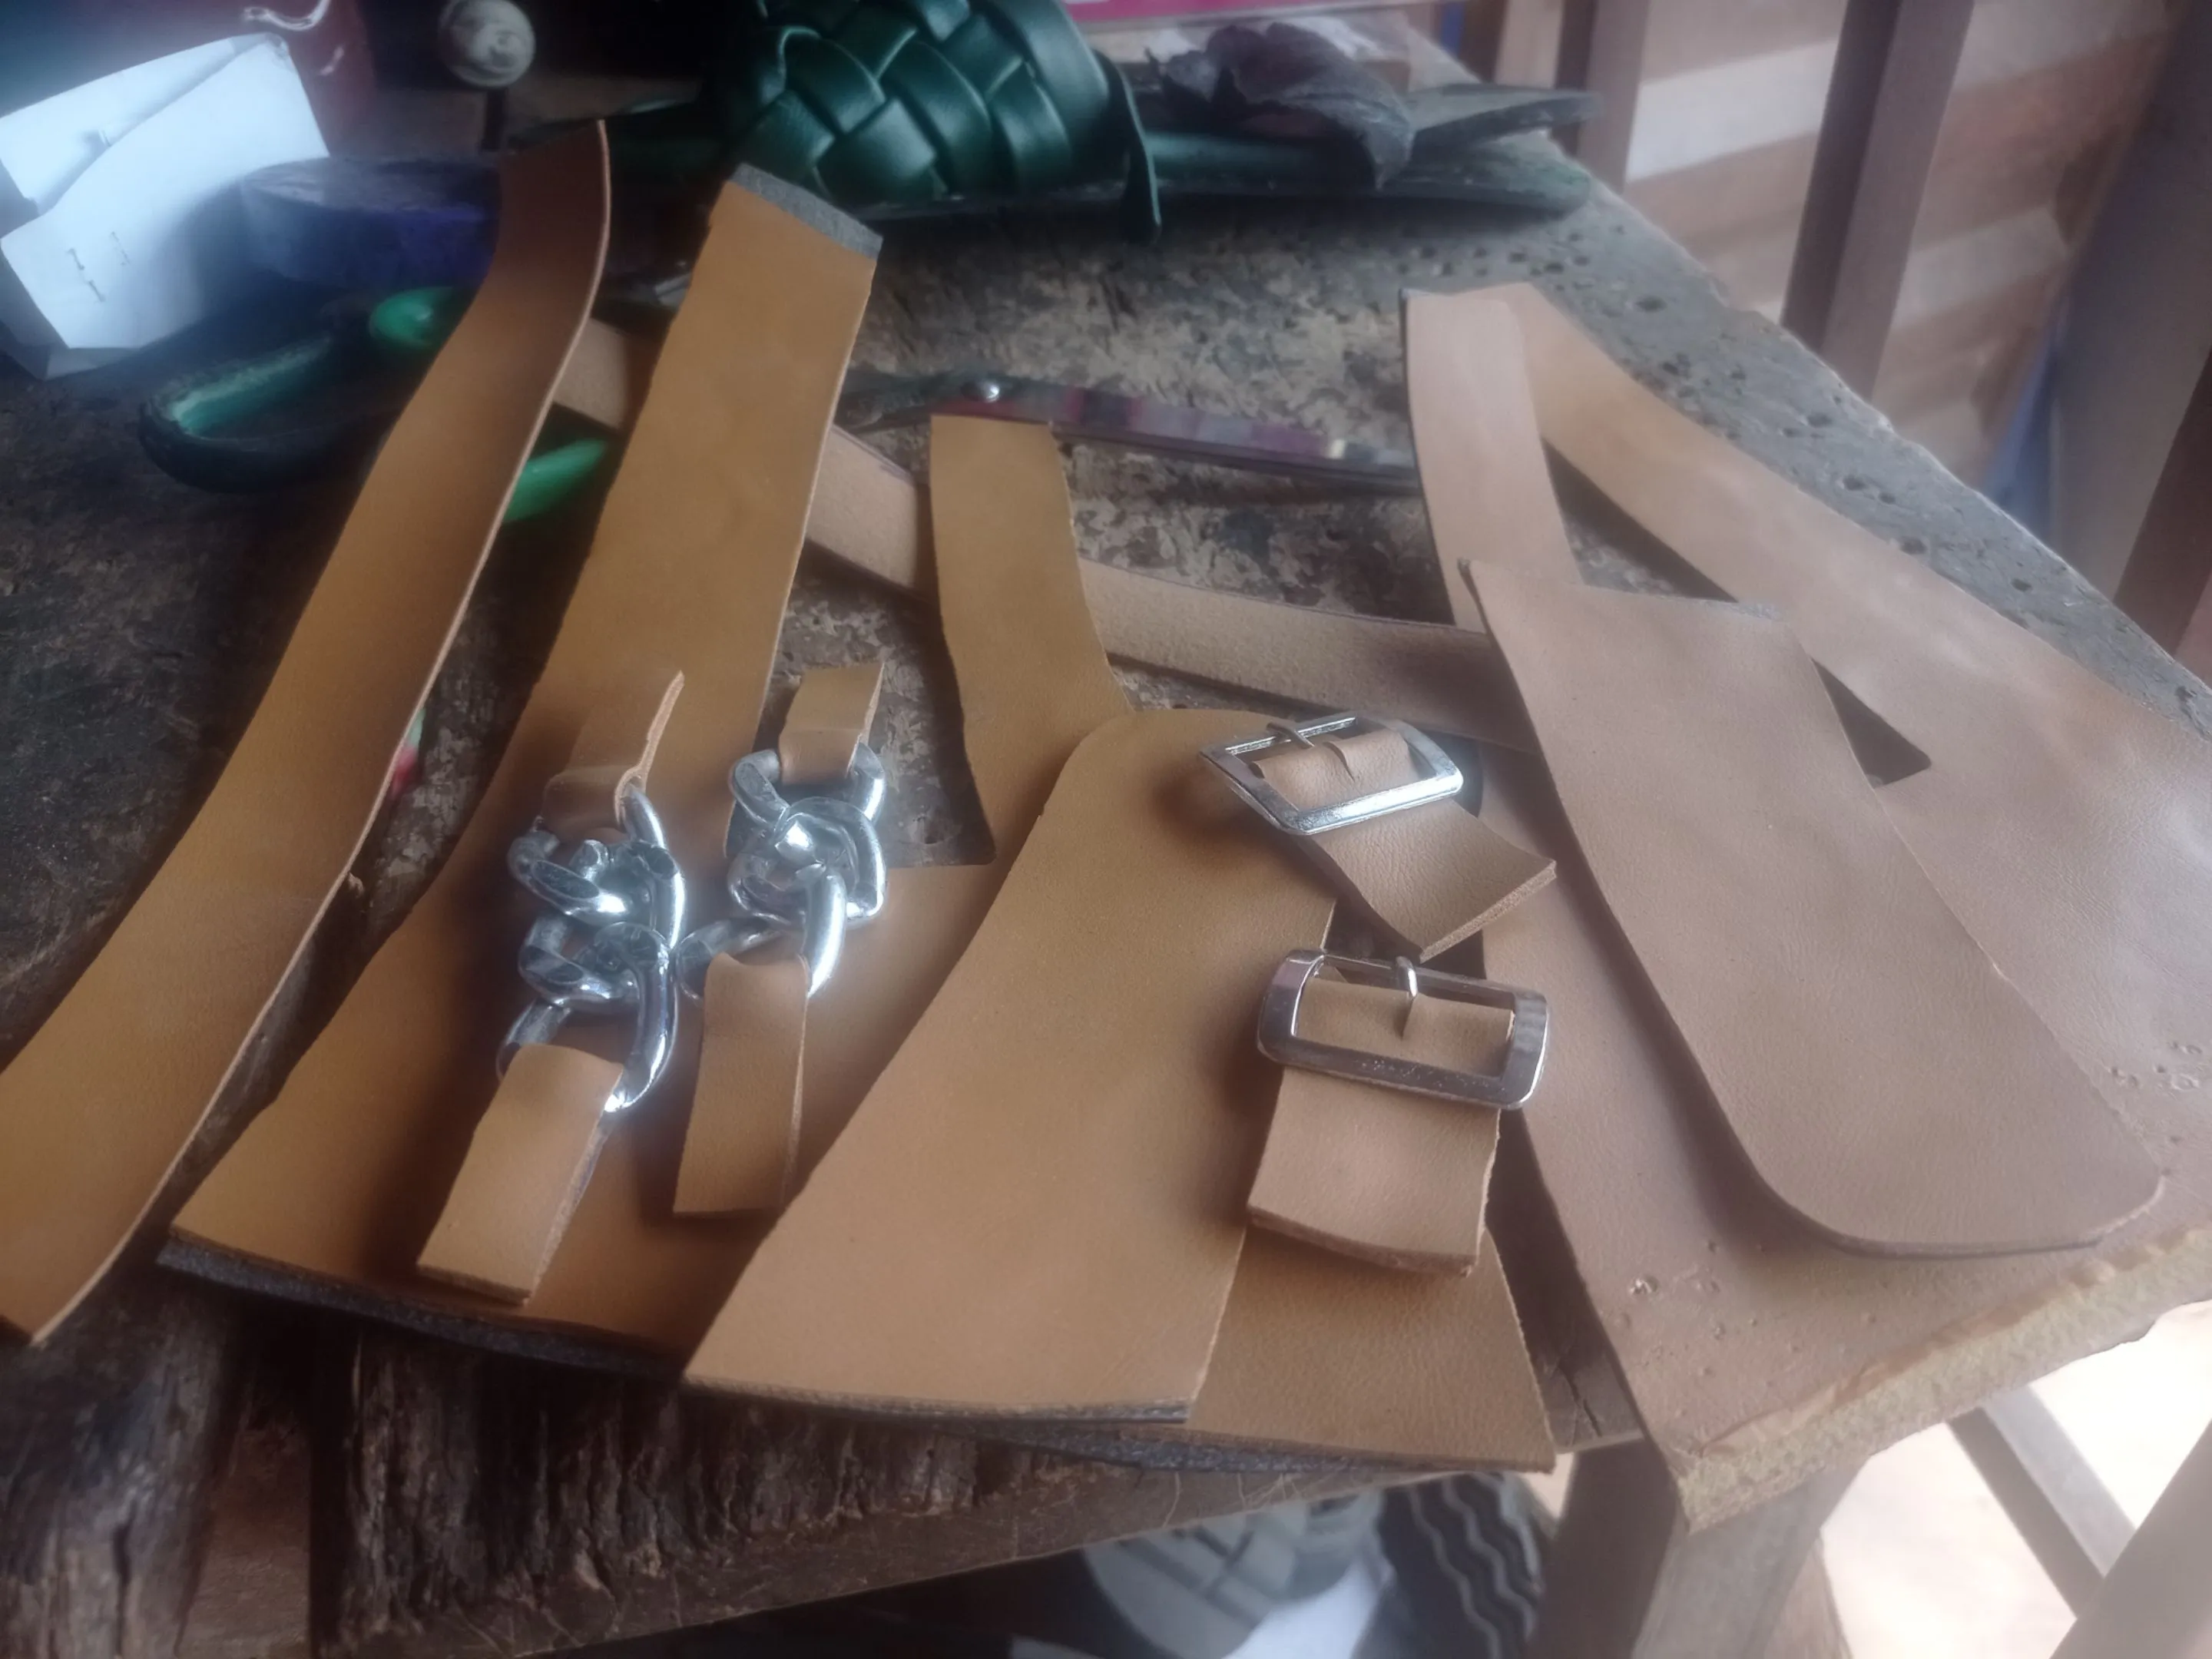
- After Purchasing the material and ascertaining the foot size of your clients, then you'll cut out each materials like the upper, sole, linning and insole, but if you're a beginner, it's best you first do a pattern drafting by cutting out your desired shape out first on a cardboard or paper, and then you can placed it on the real material once you're sure you've accurately cut it out perfectly.
 |
 |
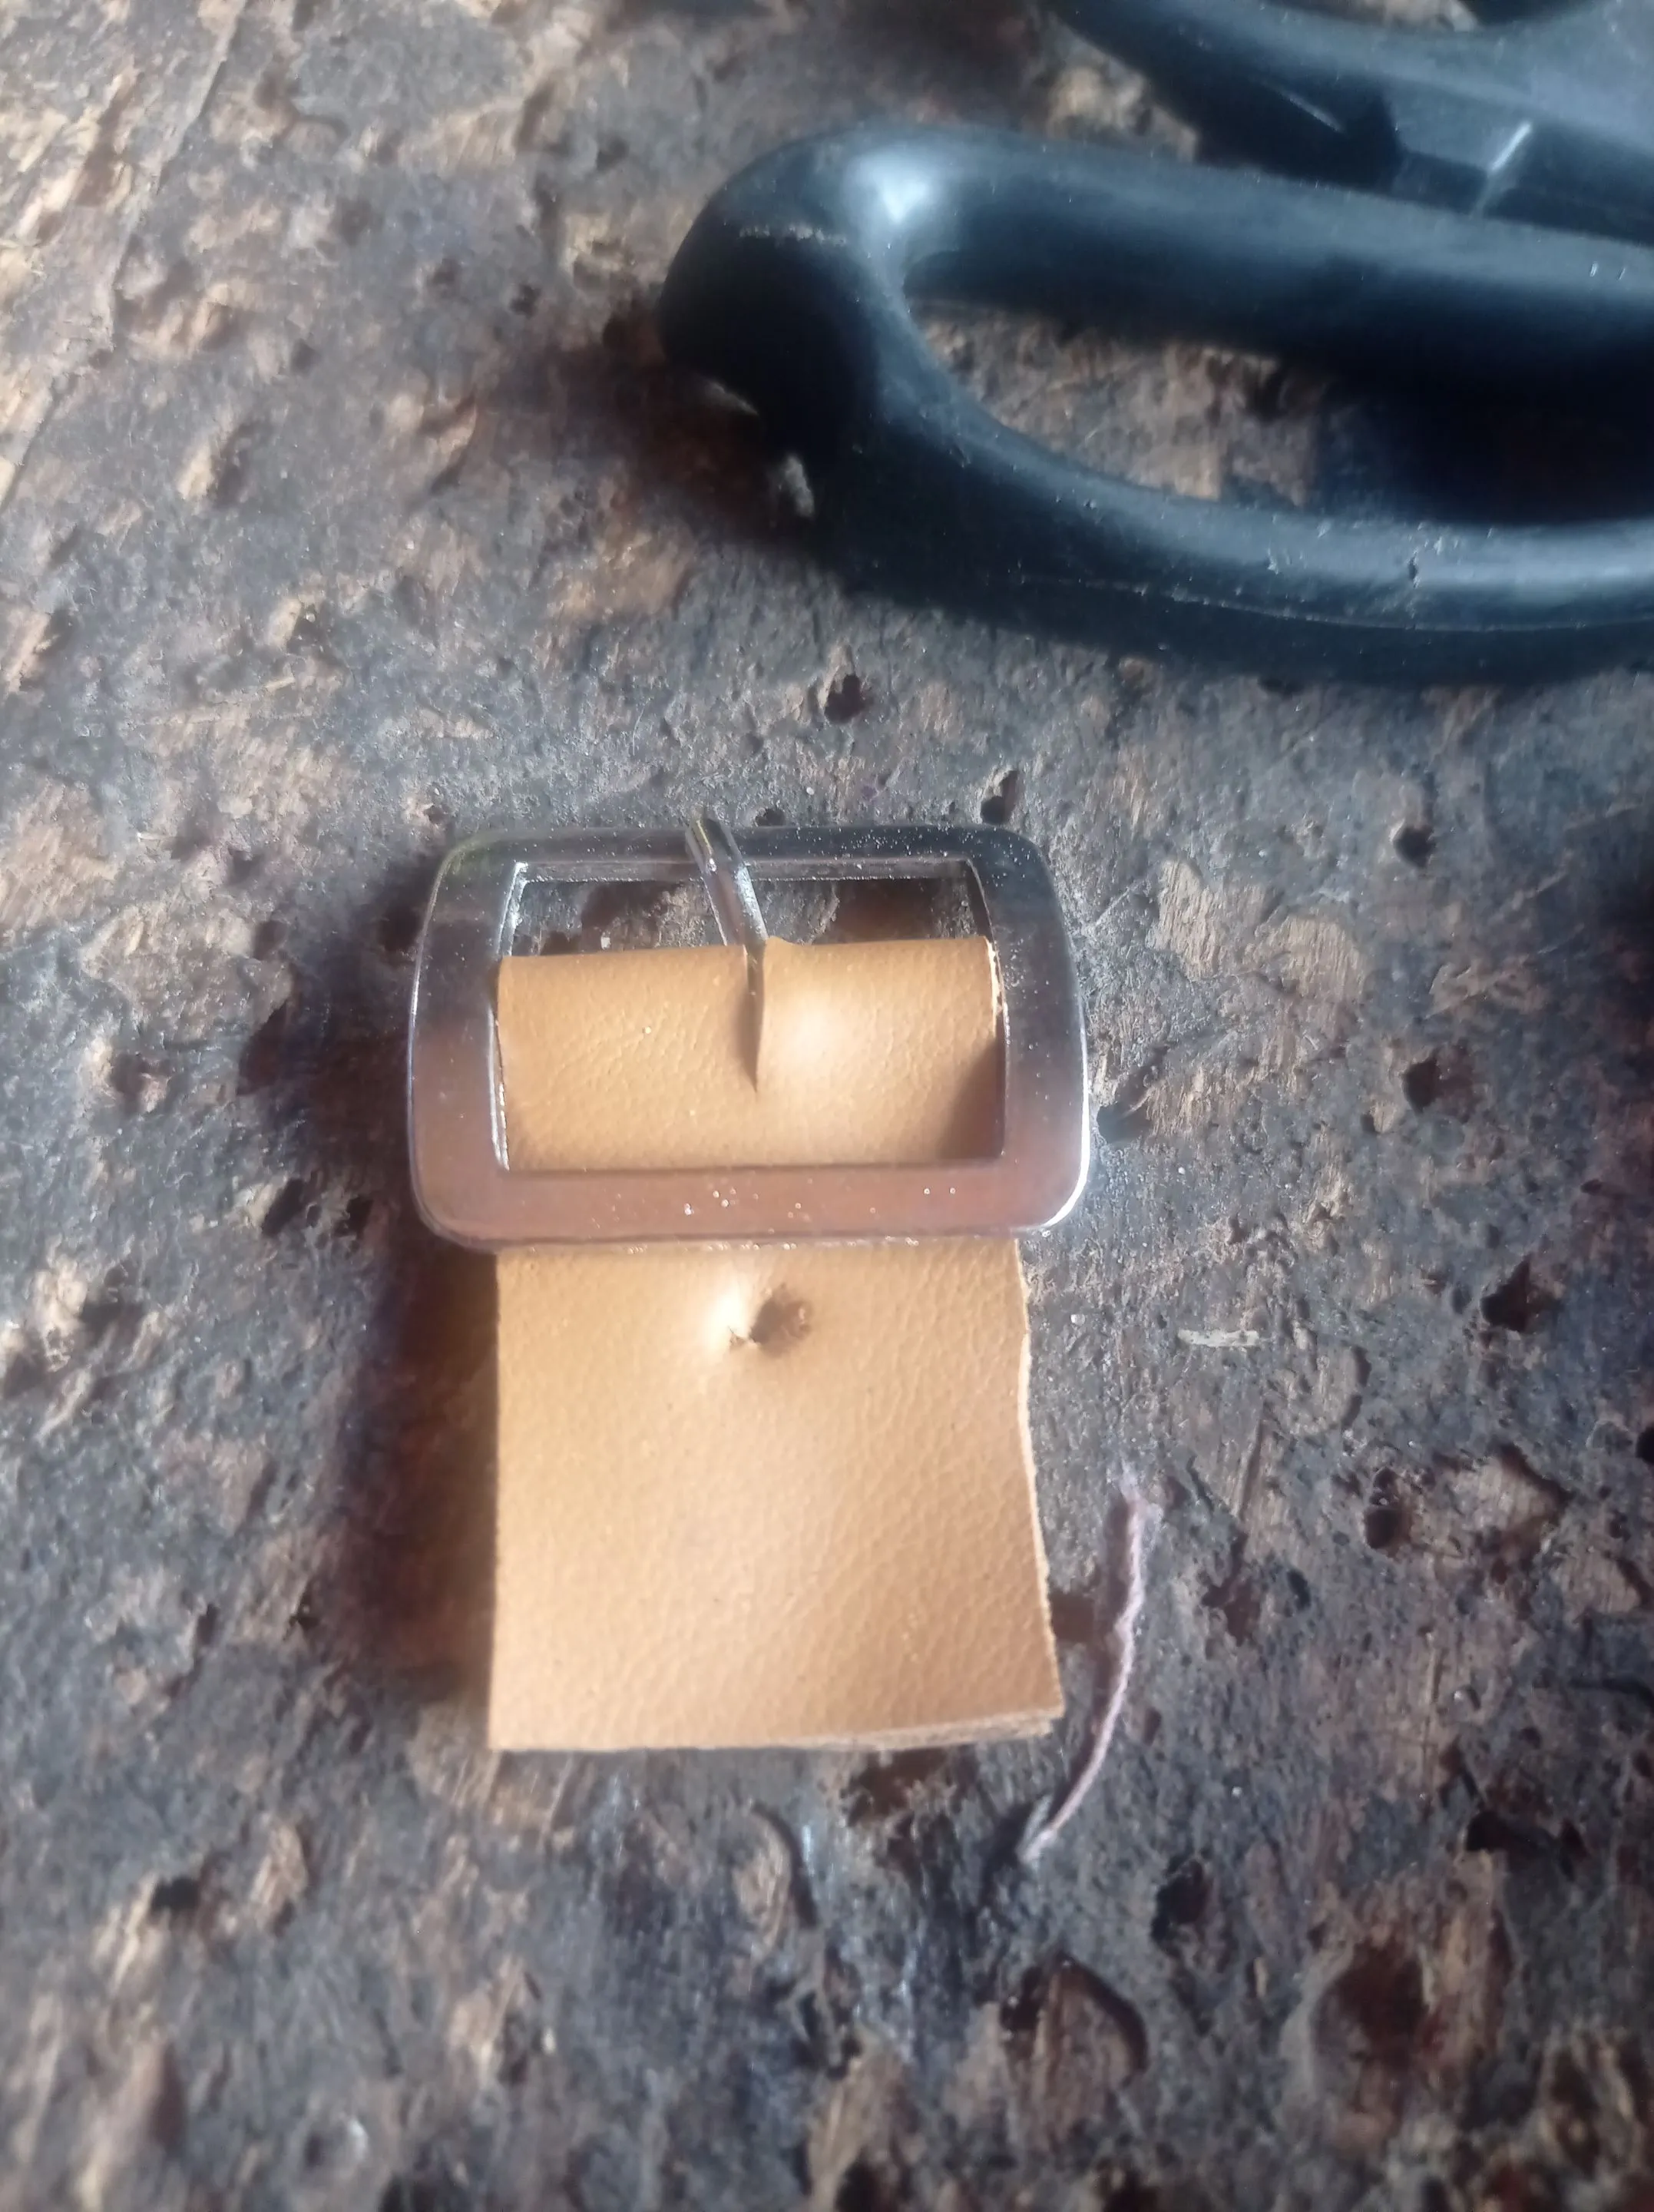 |
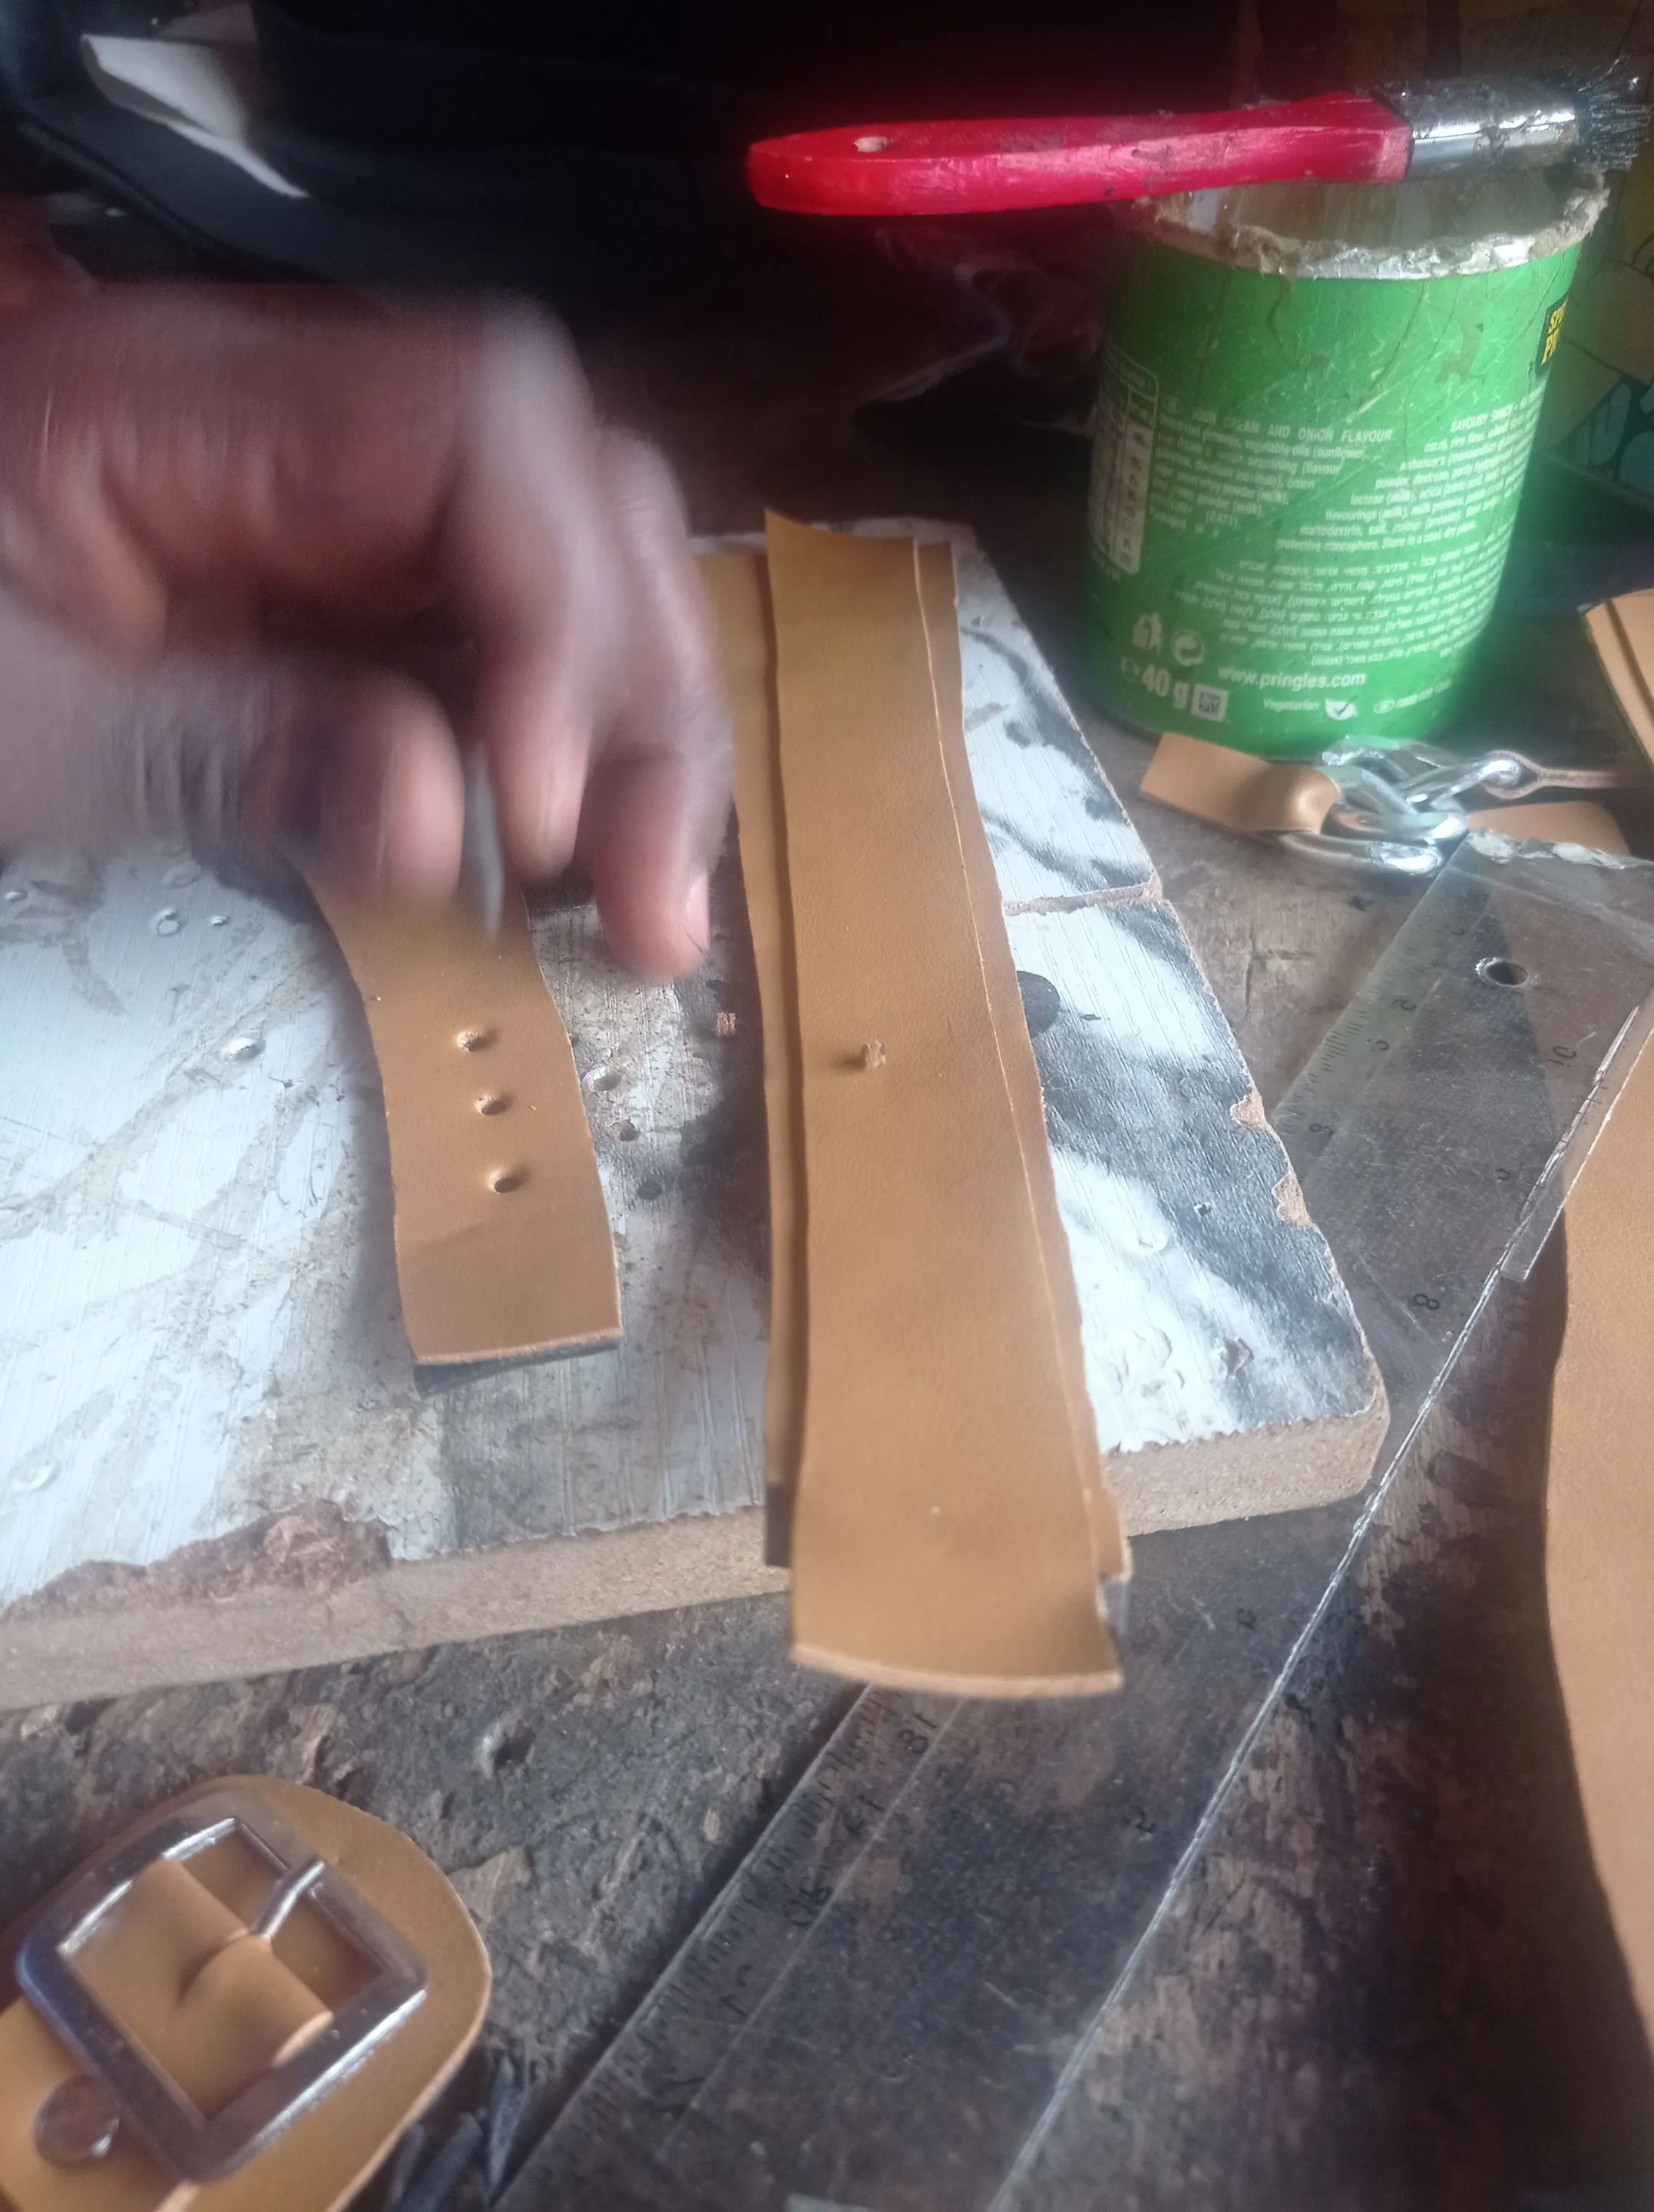
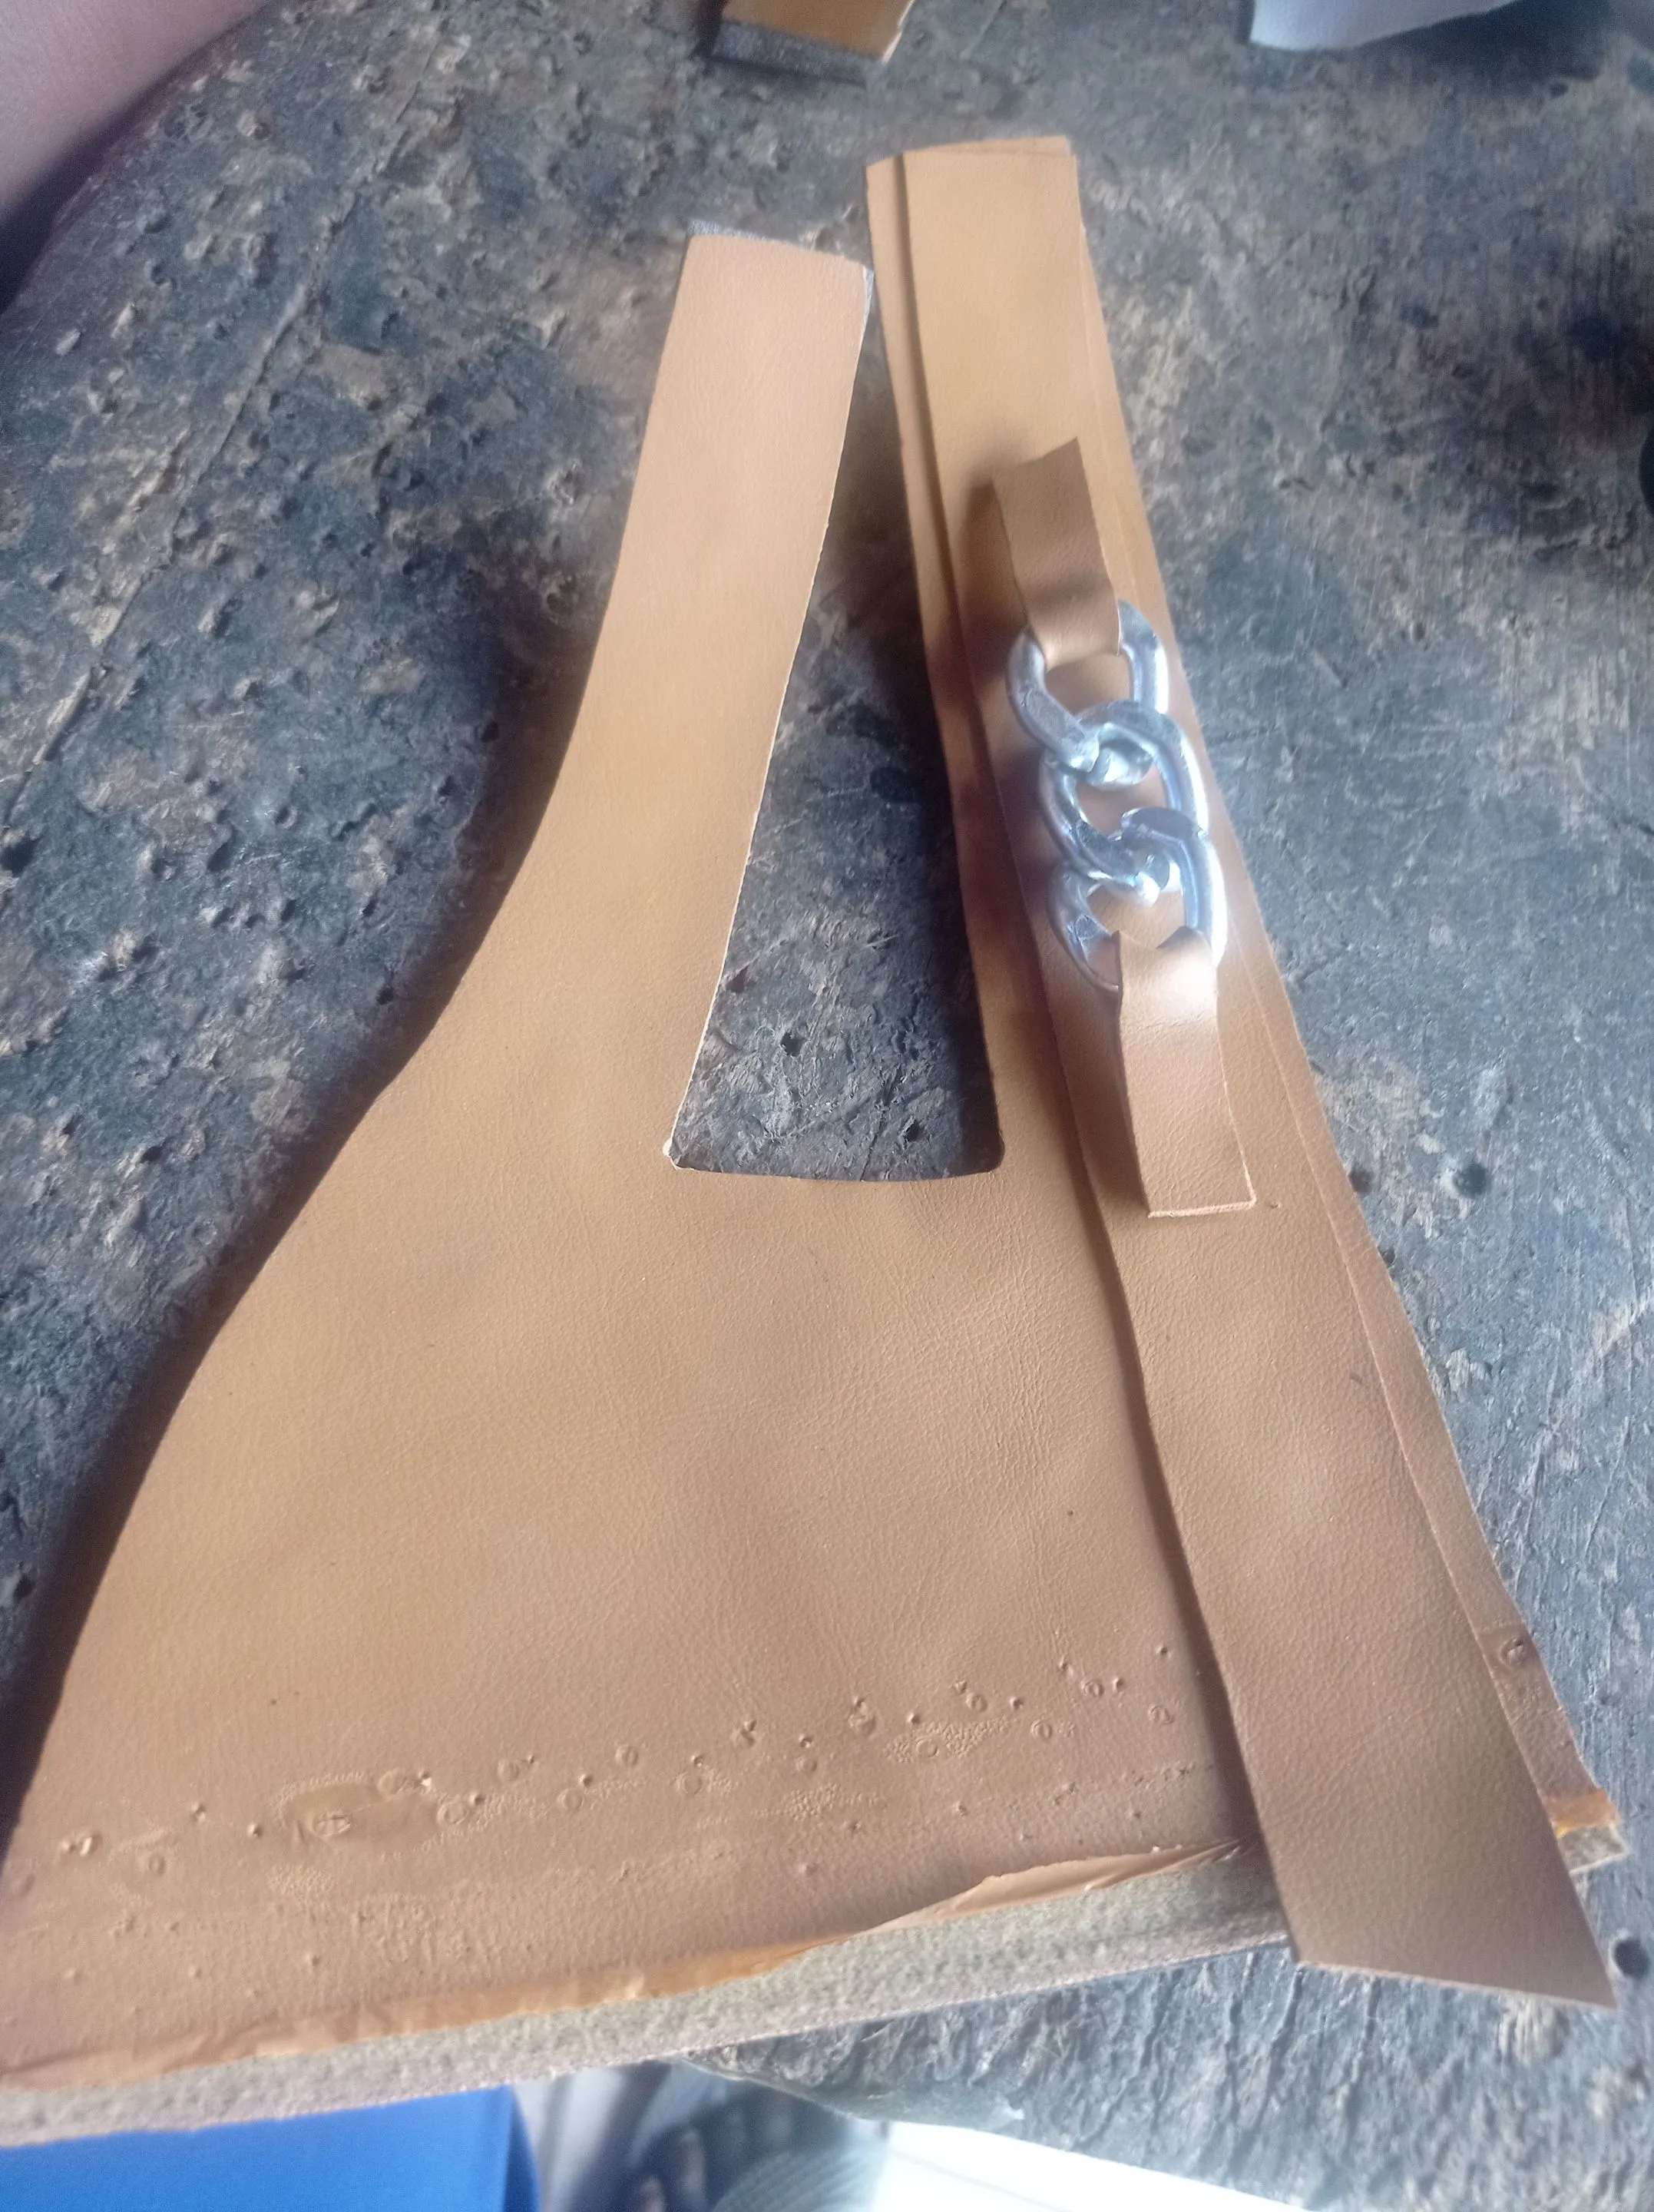
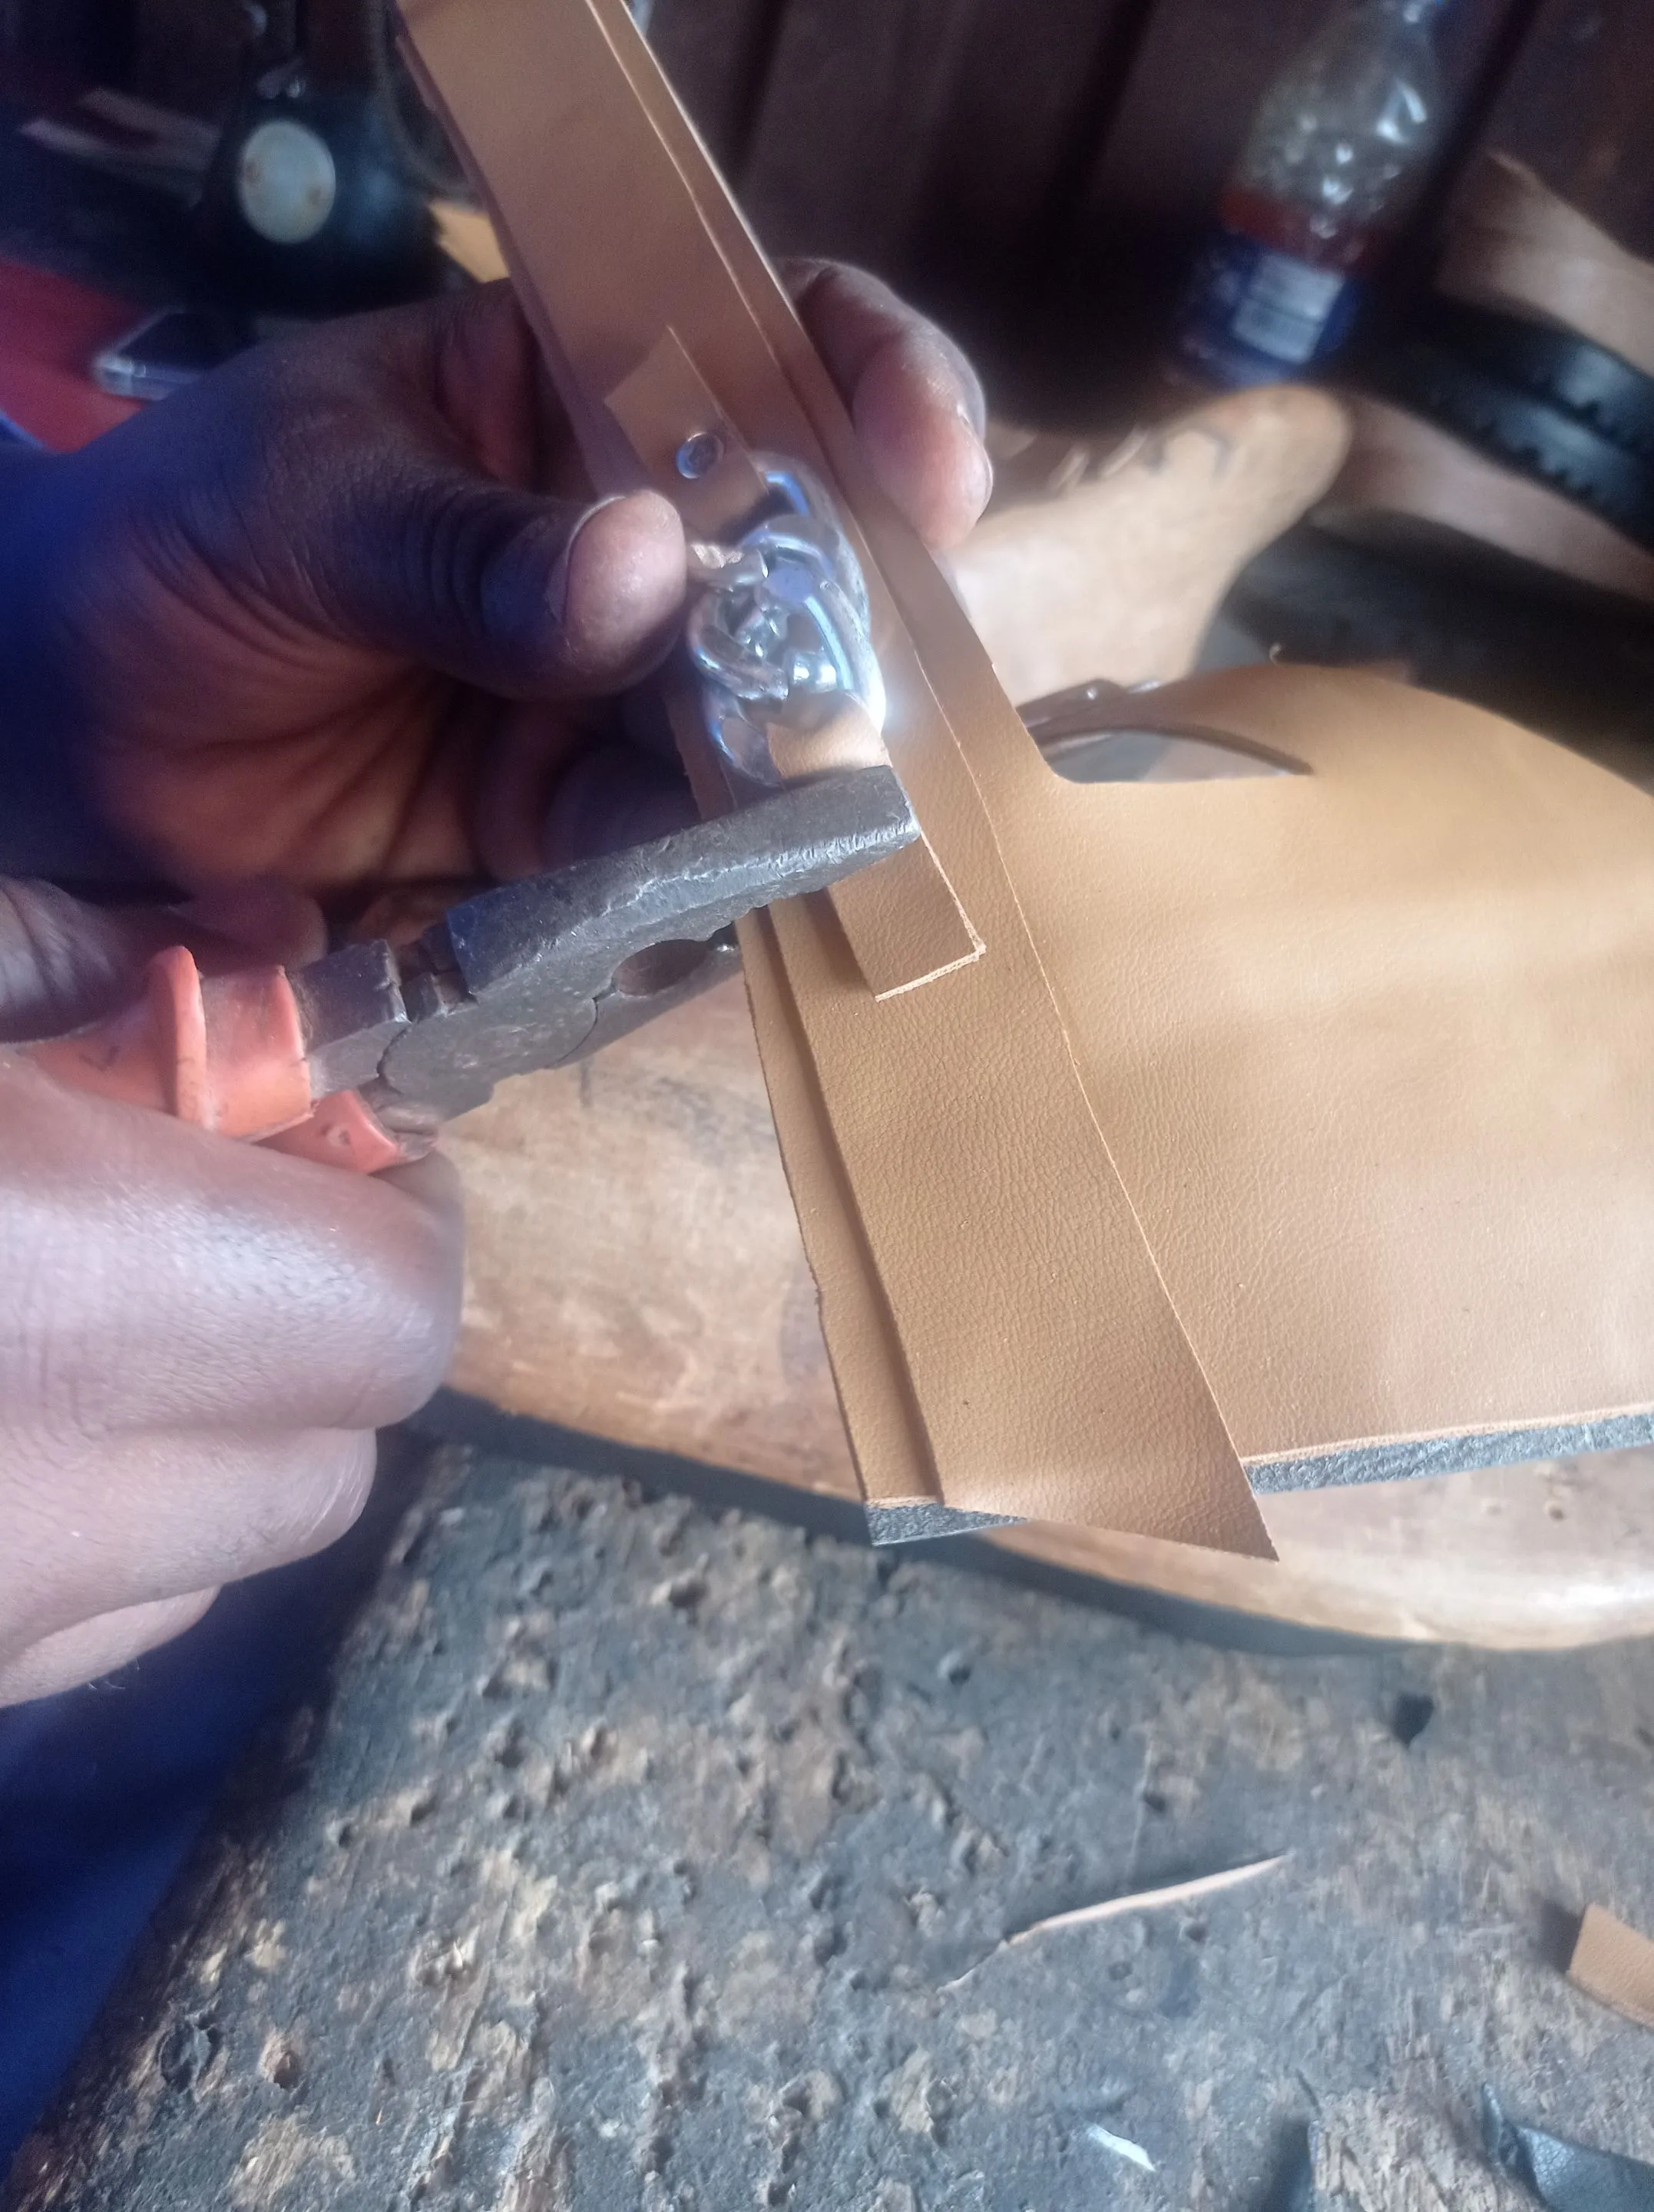
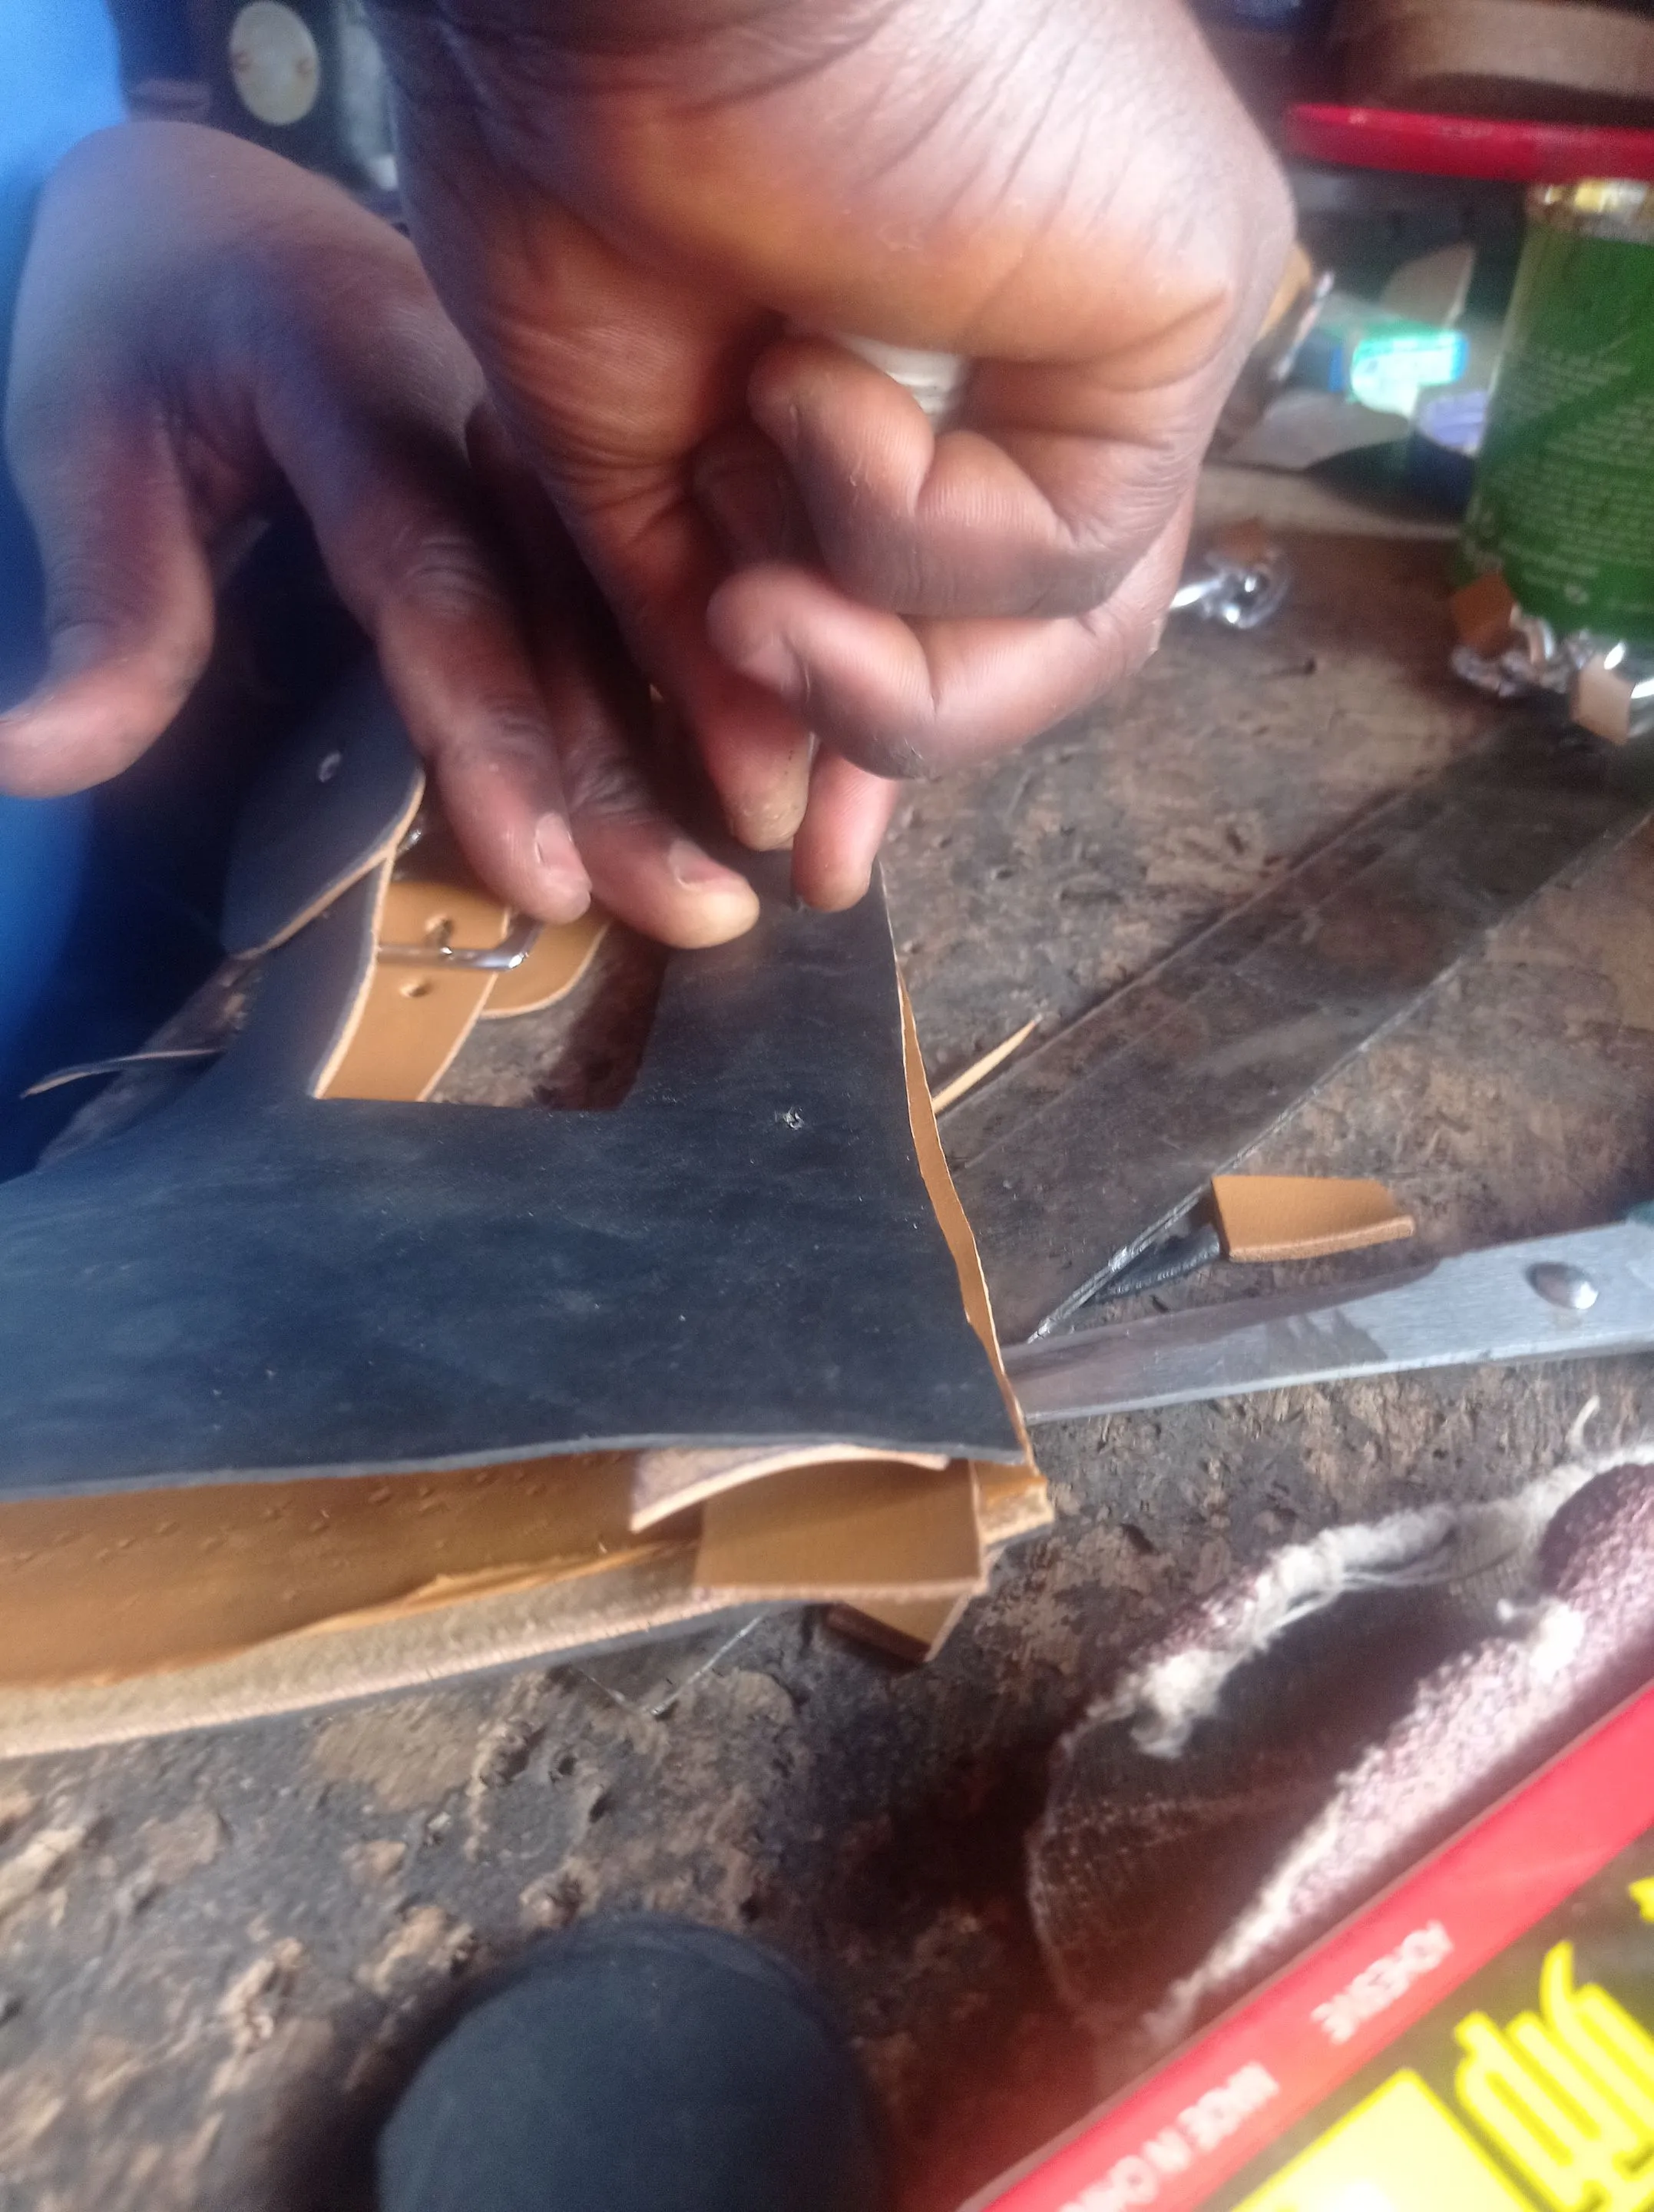
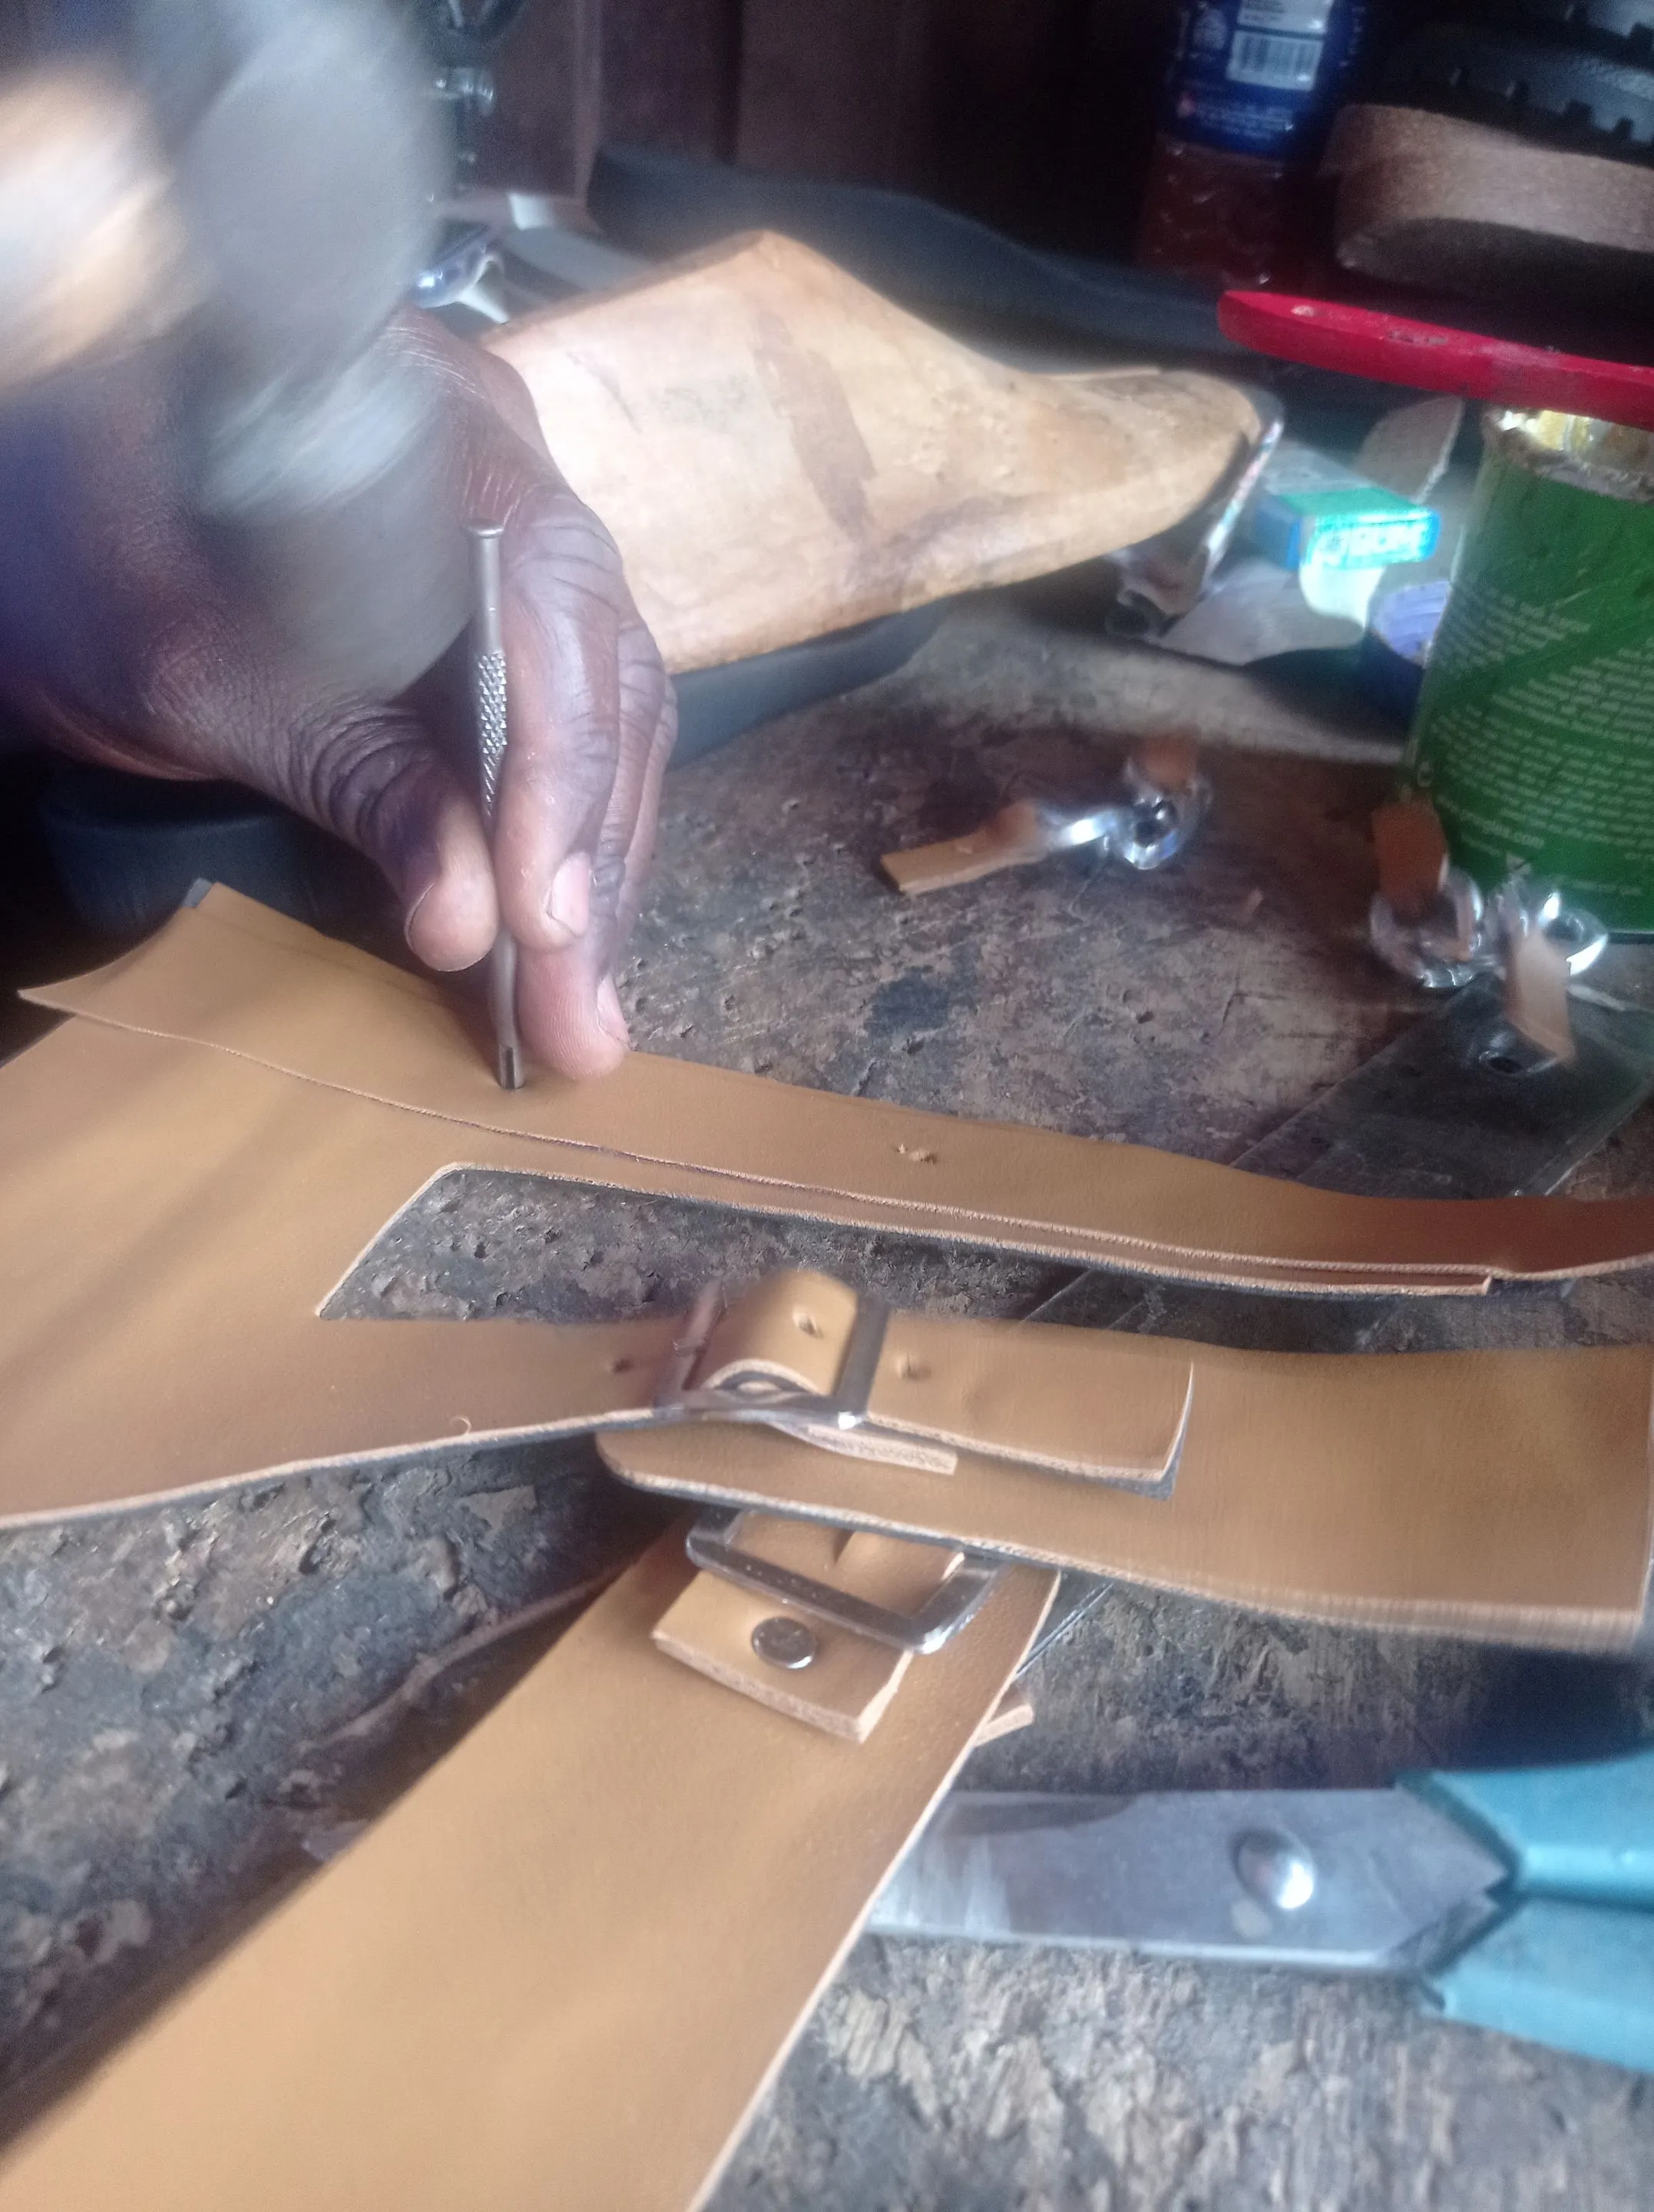
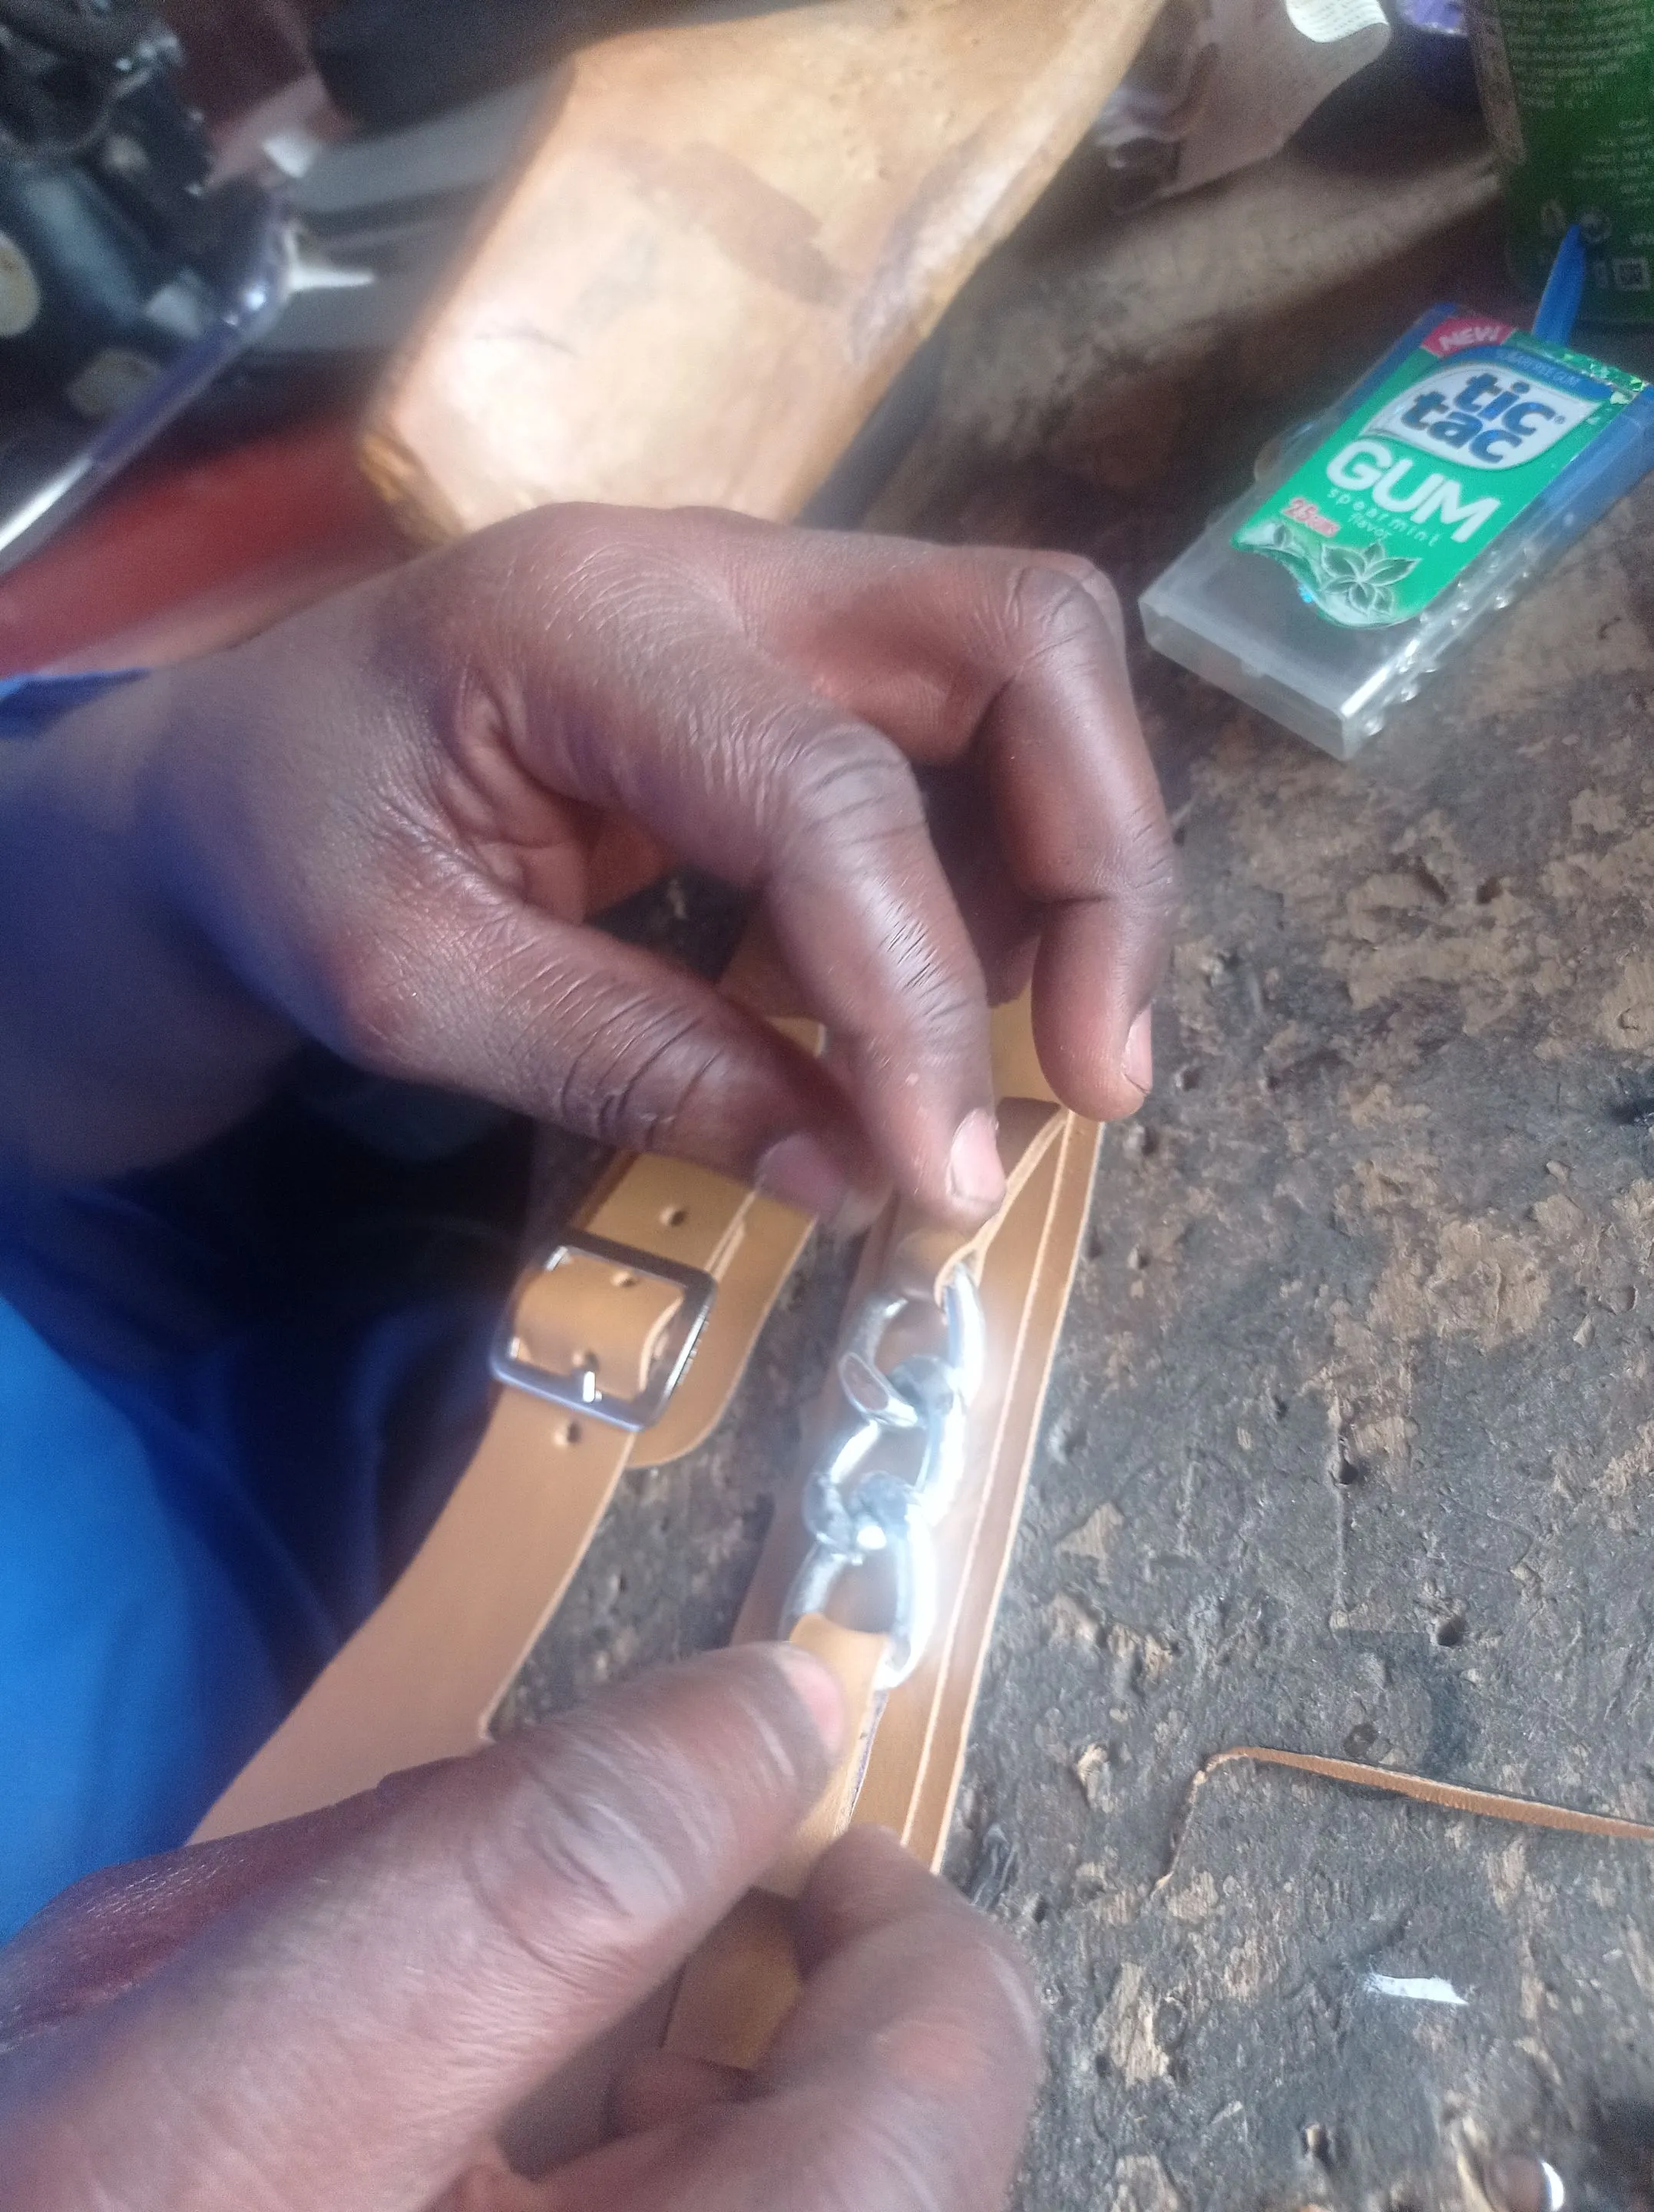
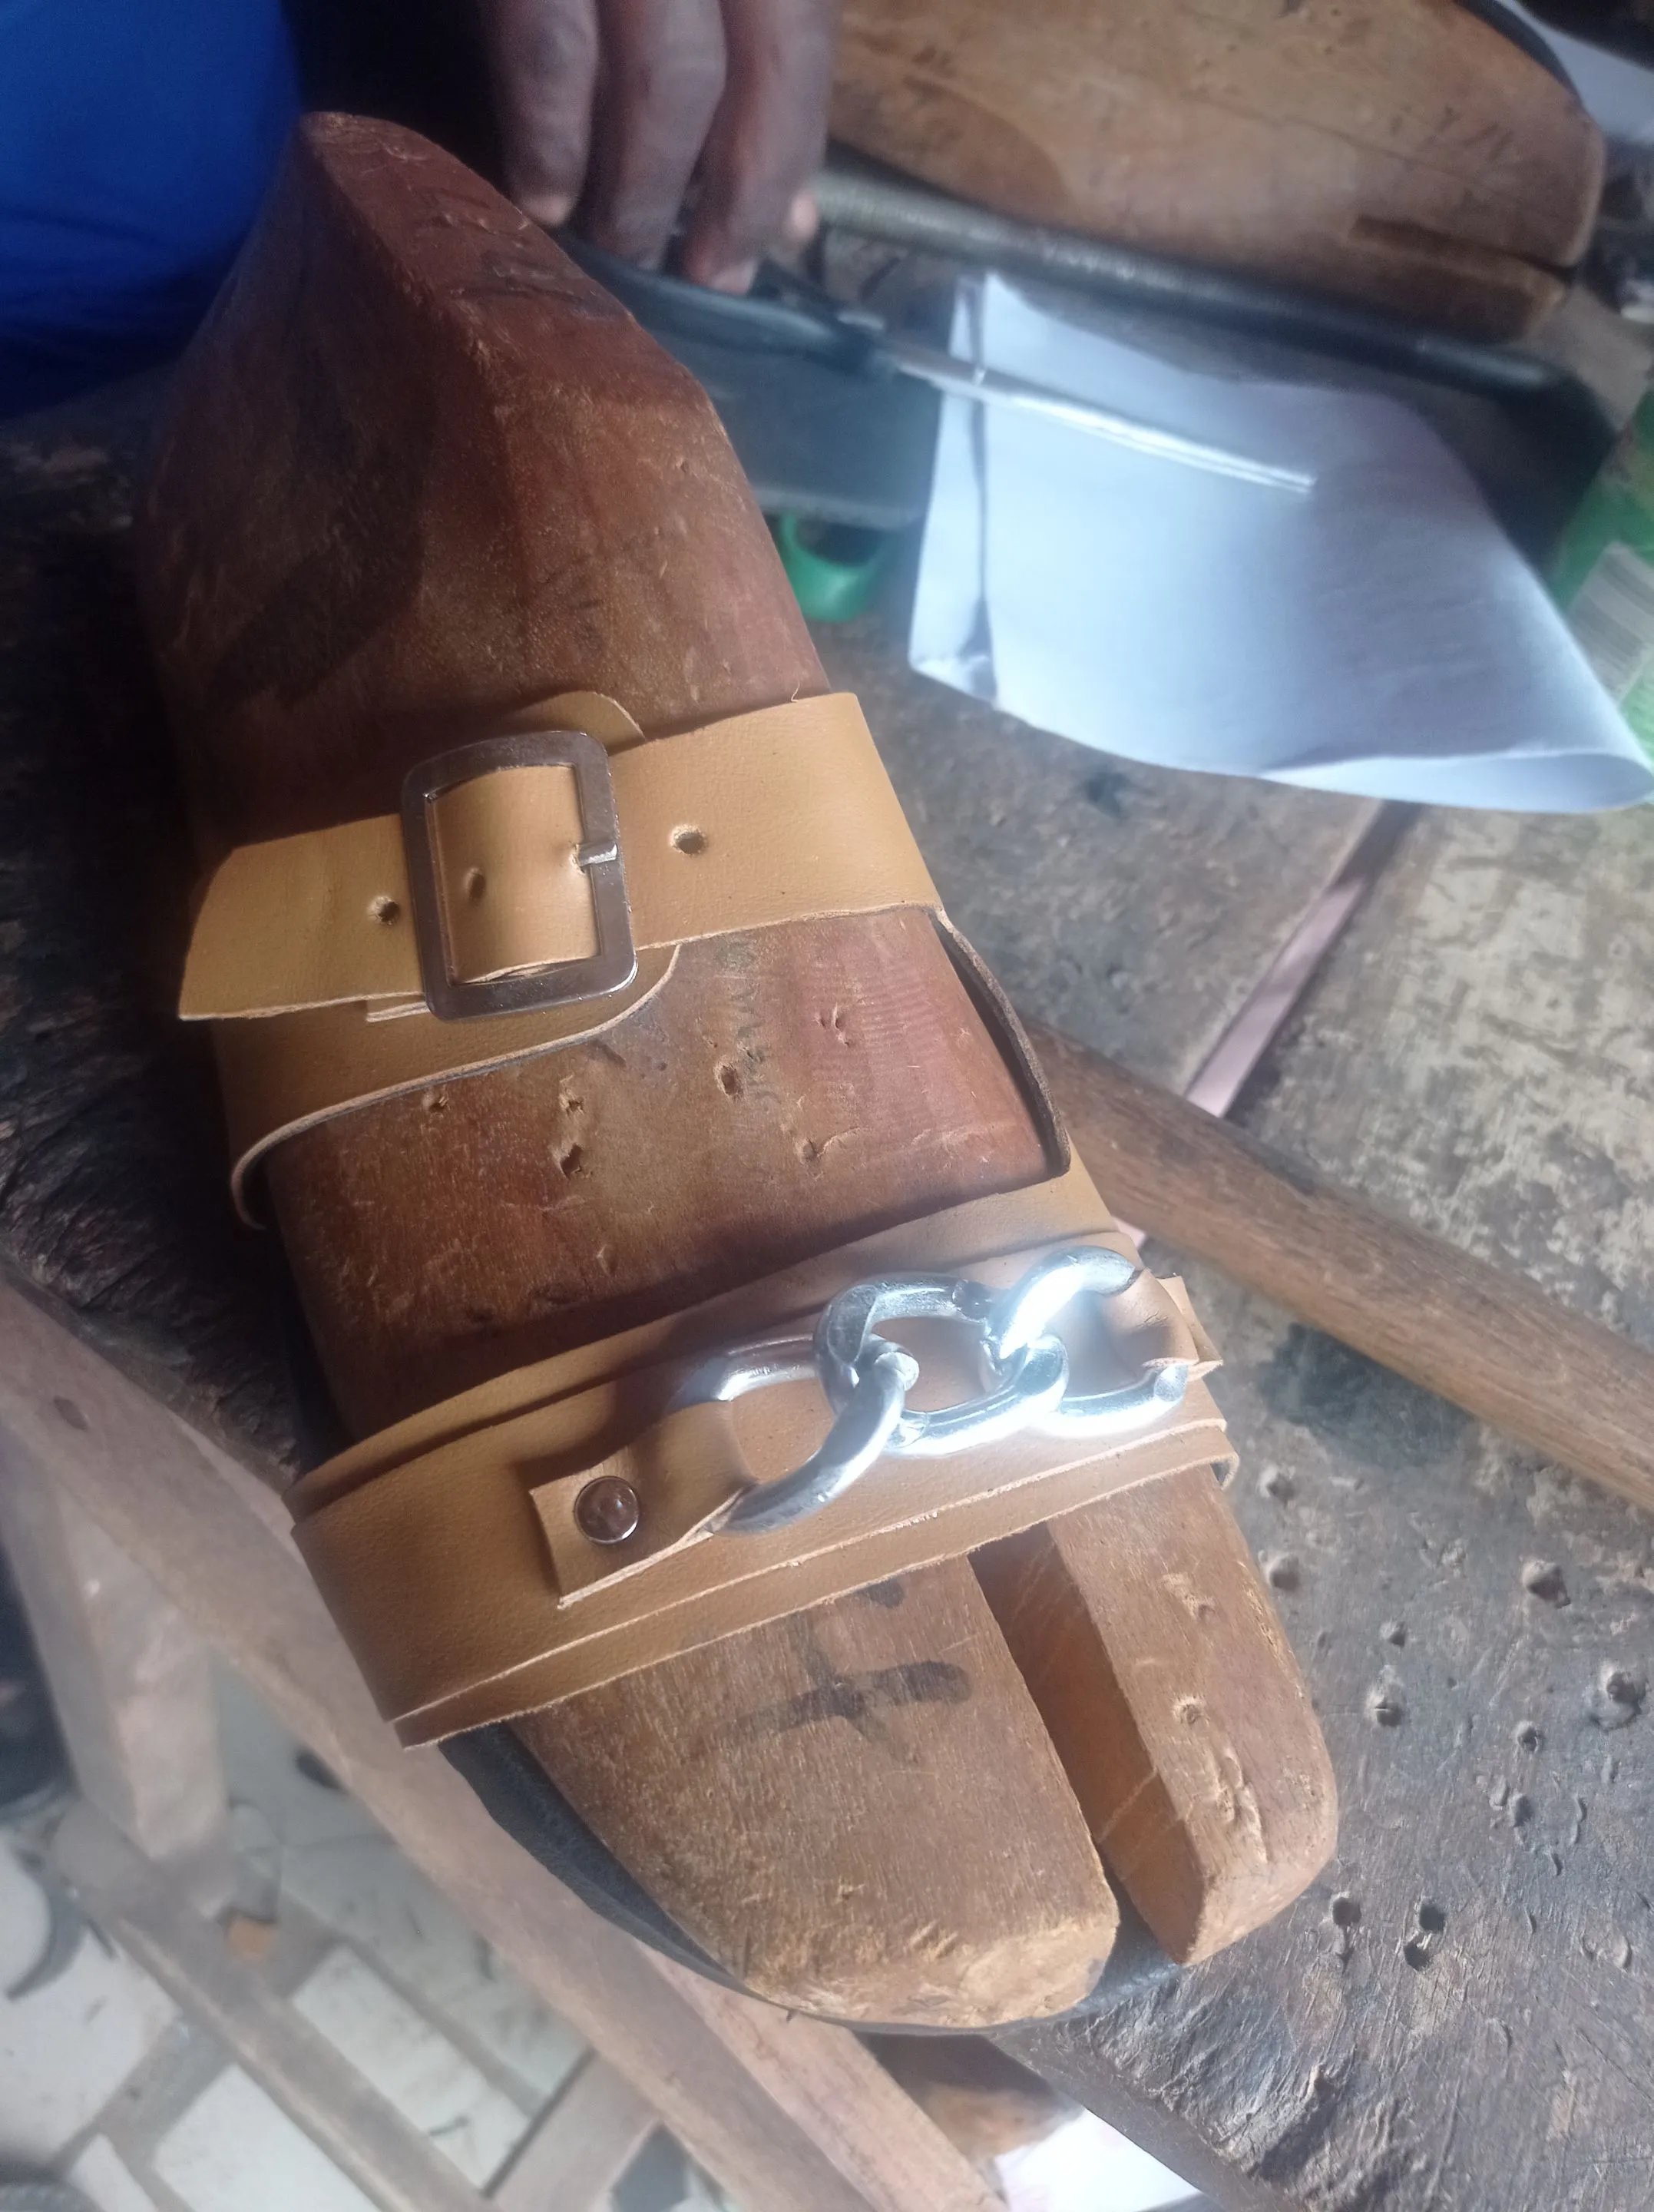
- once that's achieve, you can stand by building and Marging all parts of your shoe upper material together so as to achieve you're desired style, like I did here, where I started joining each part together, inserting the buckles, gunning parts together and adding the chain design to enhance the beauty of the slippers.
 |
 |
 |
|---|---|---|
 |
 |
 |
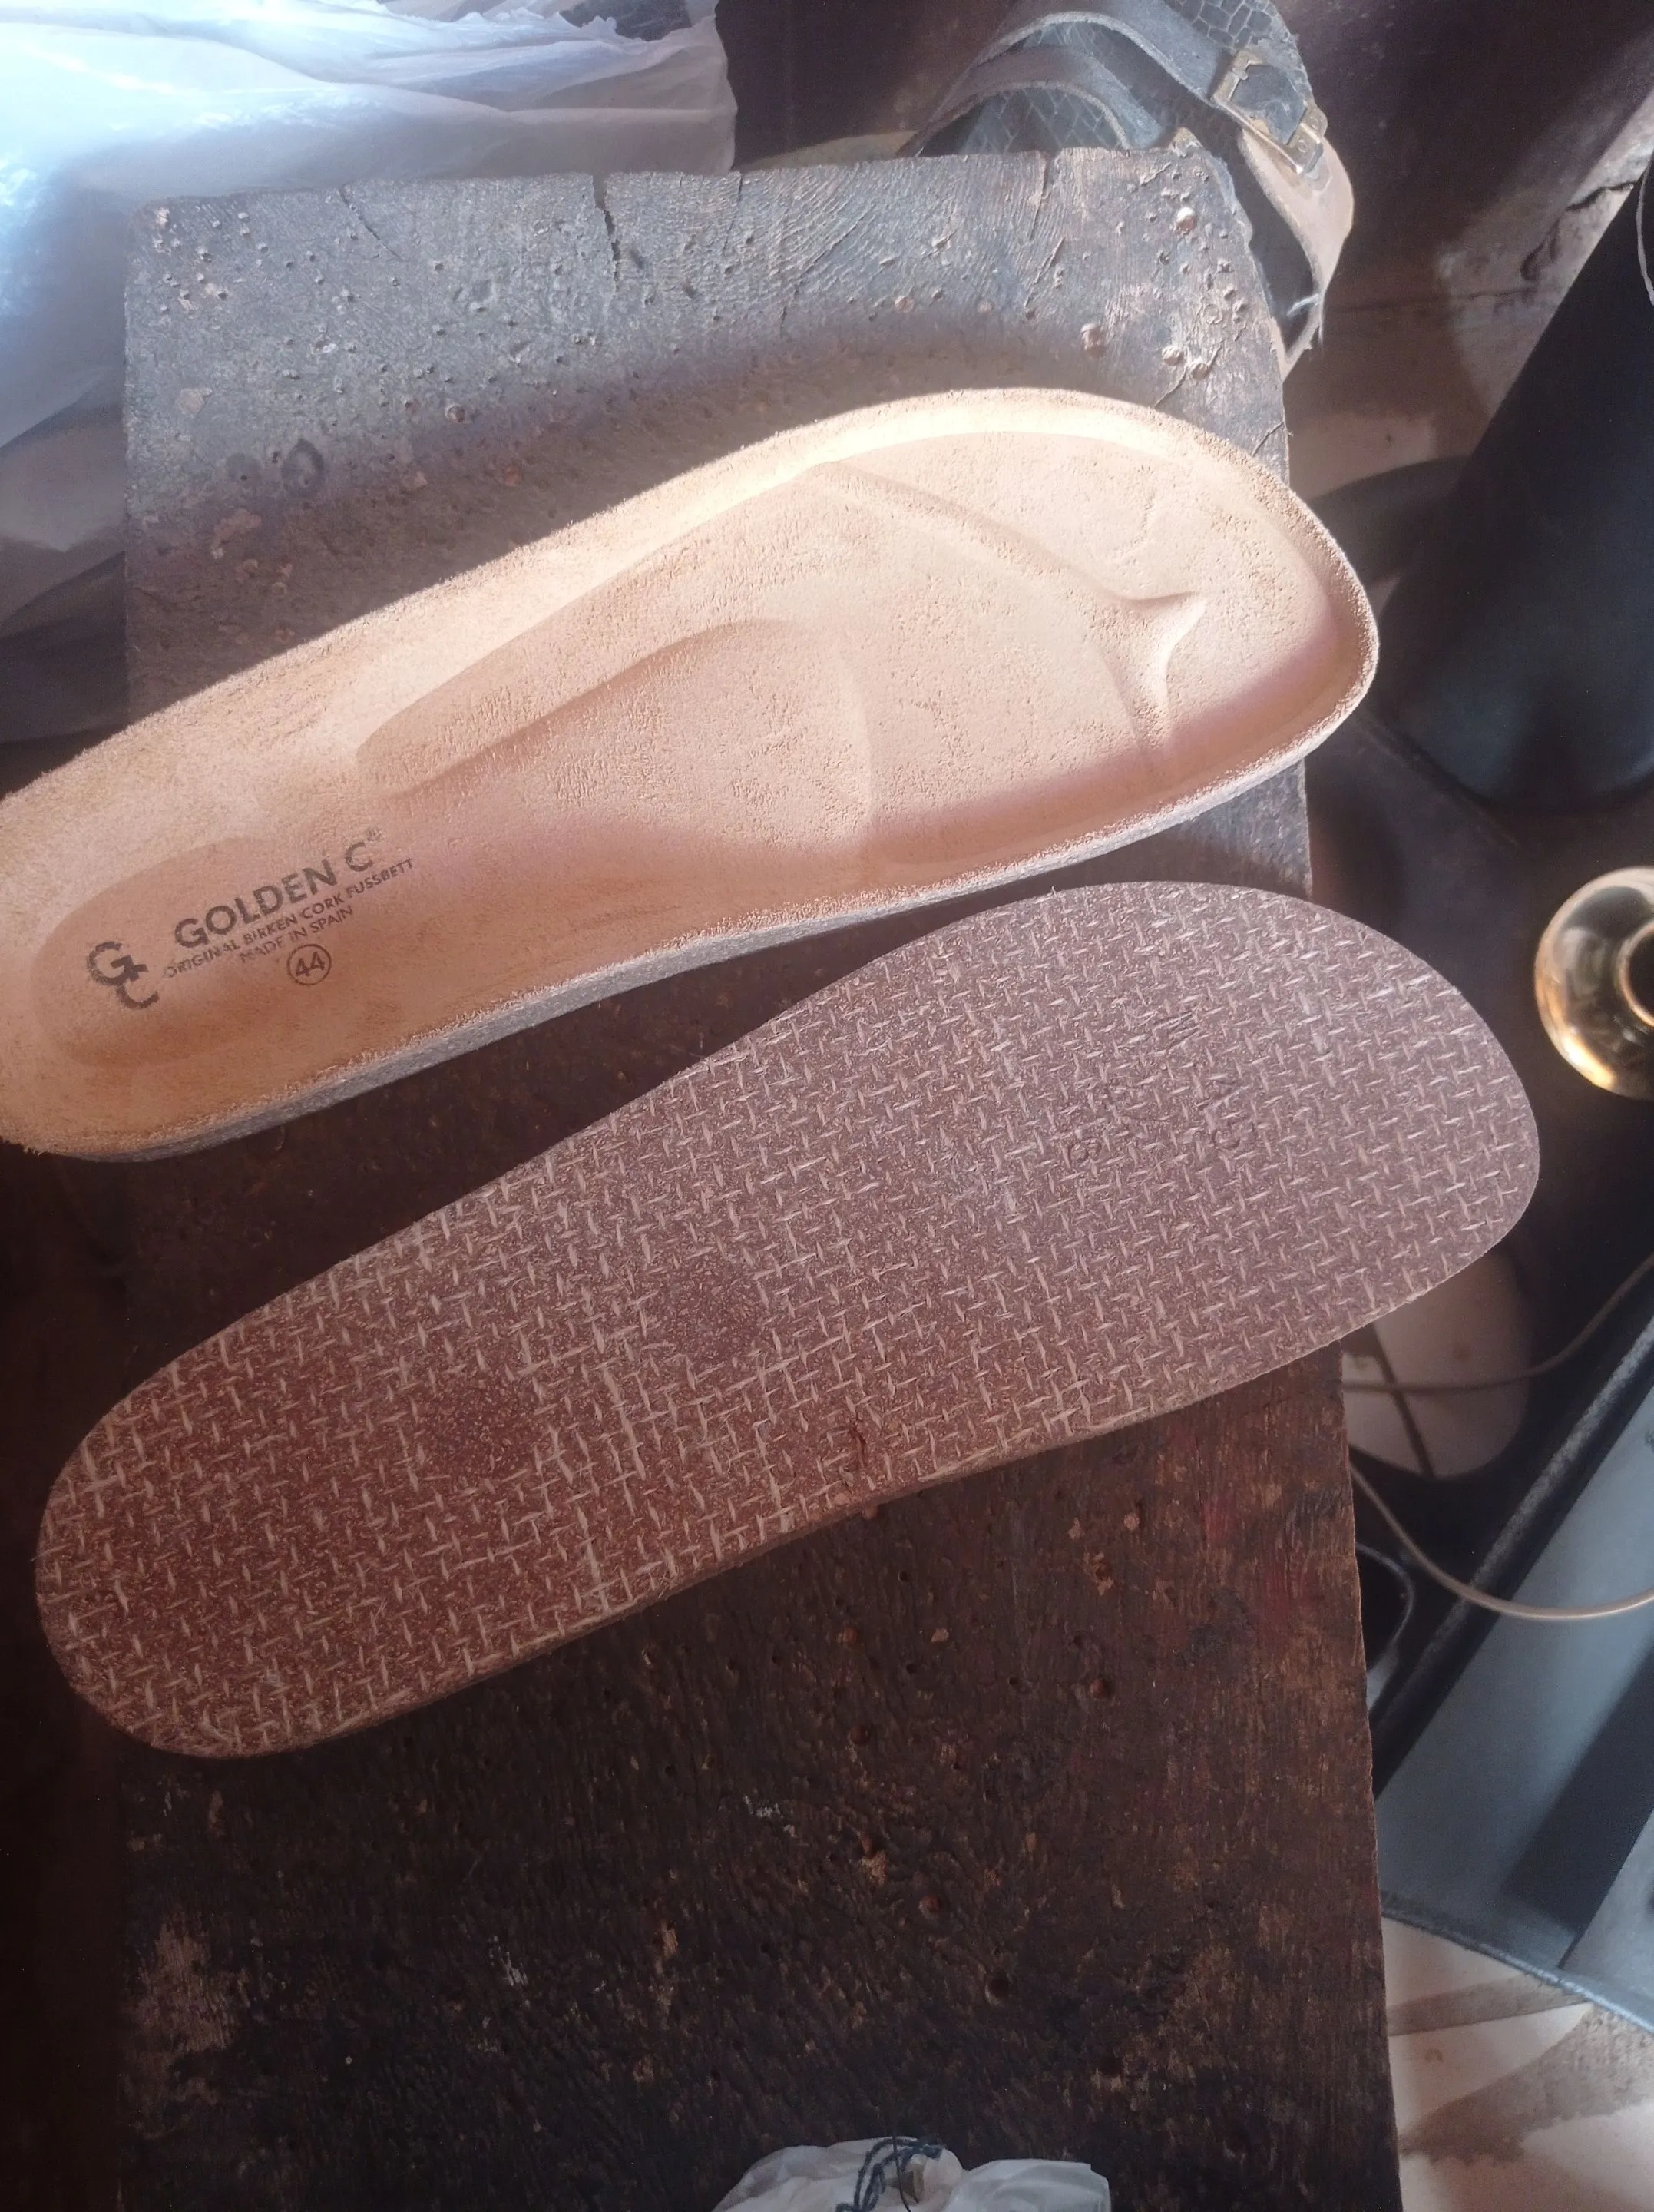
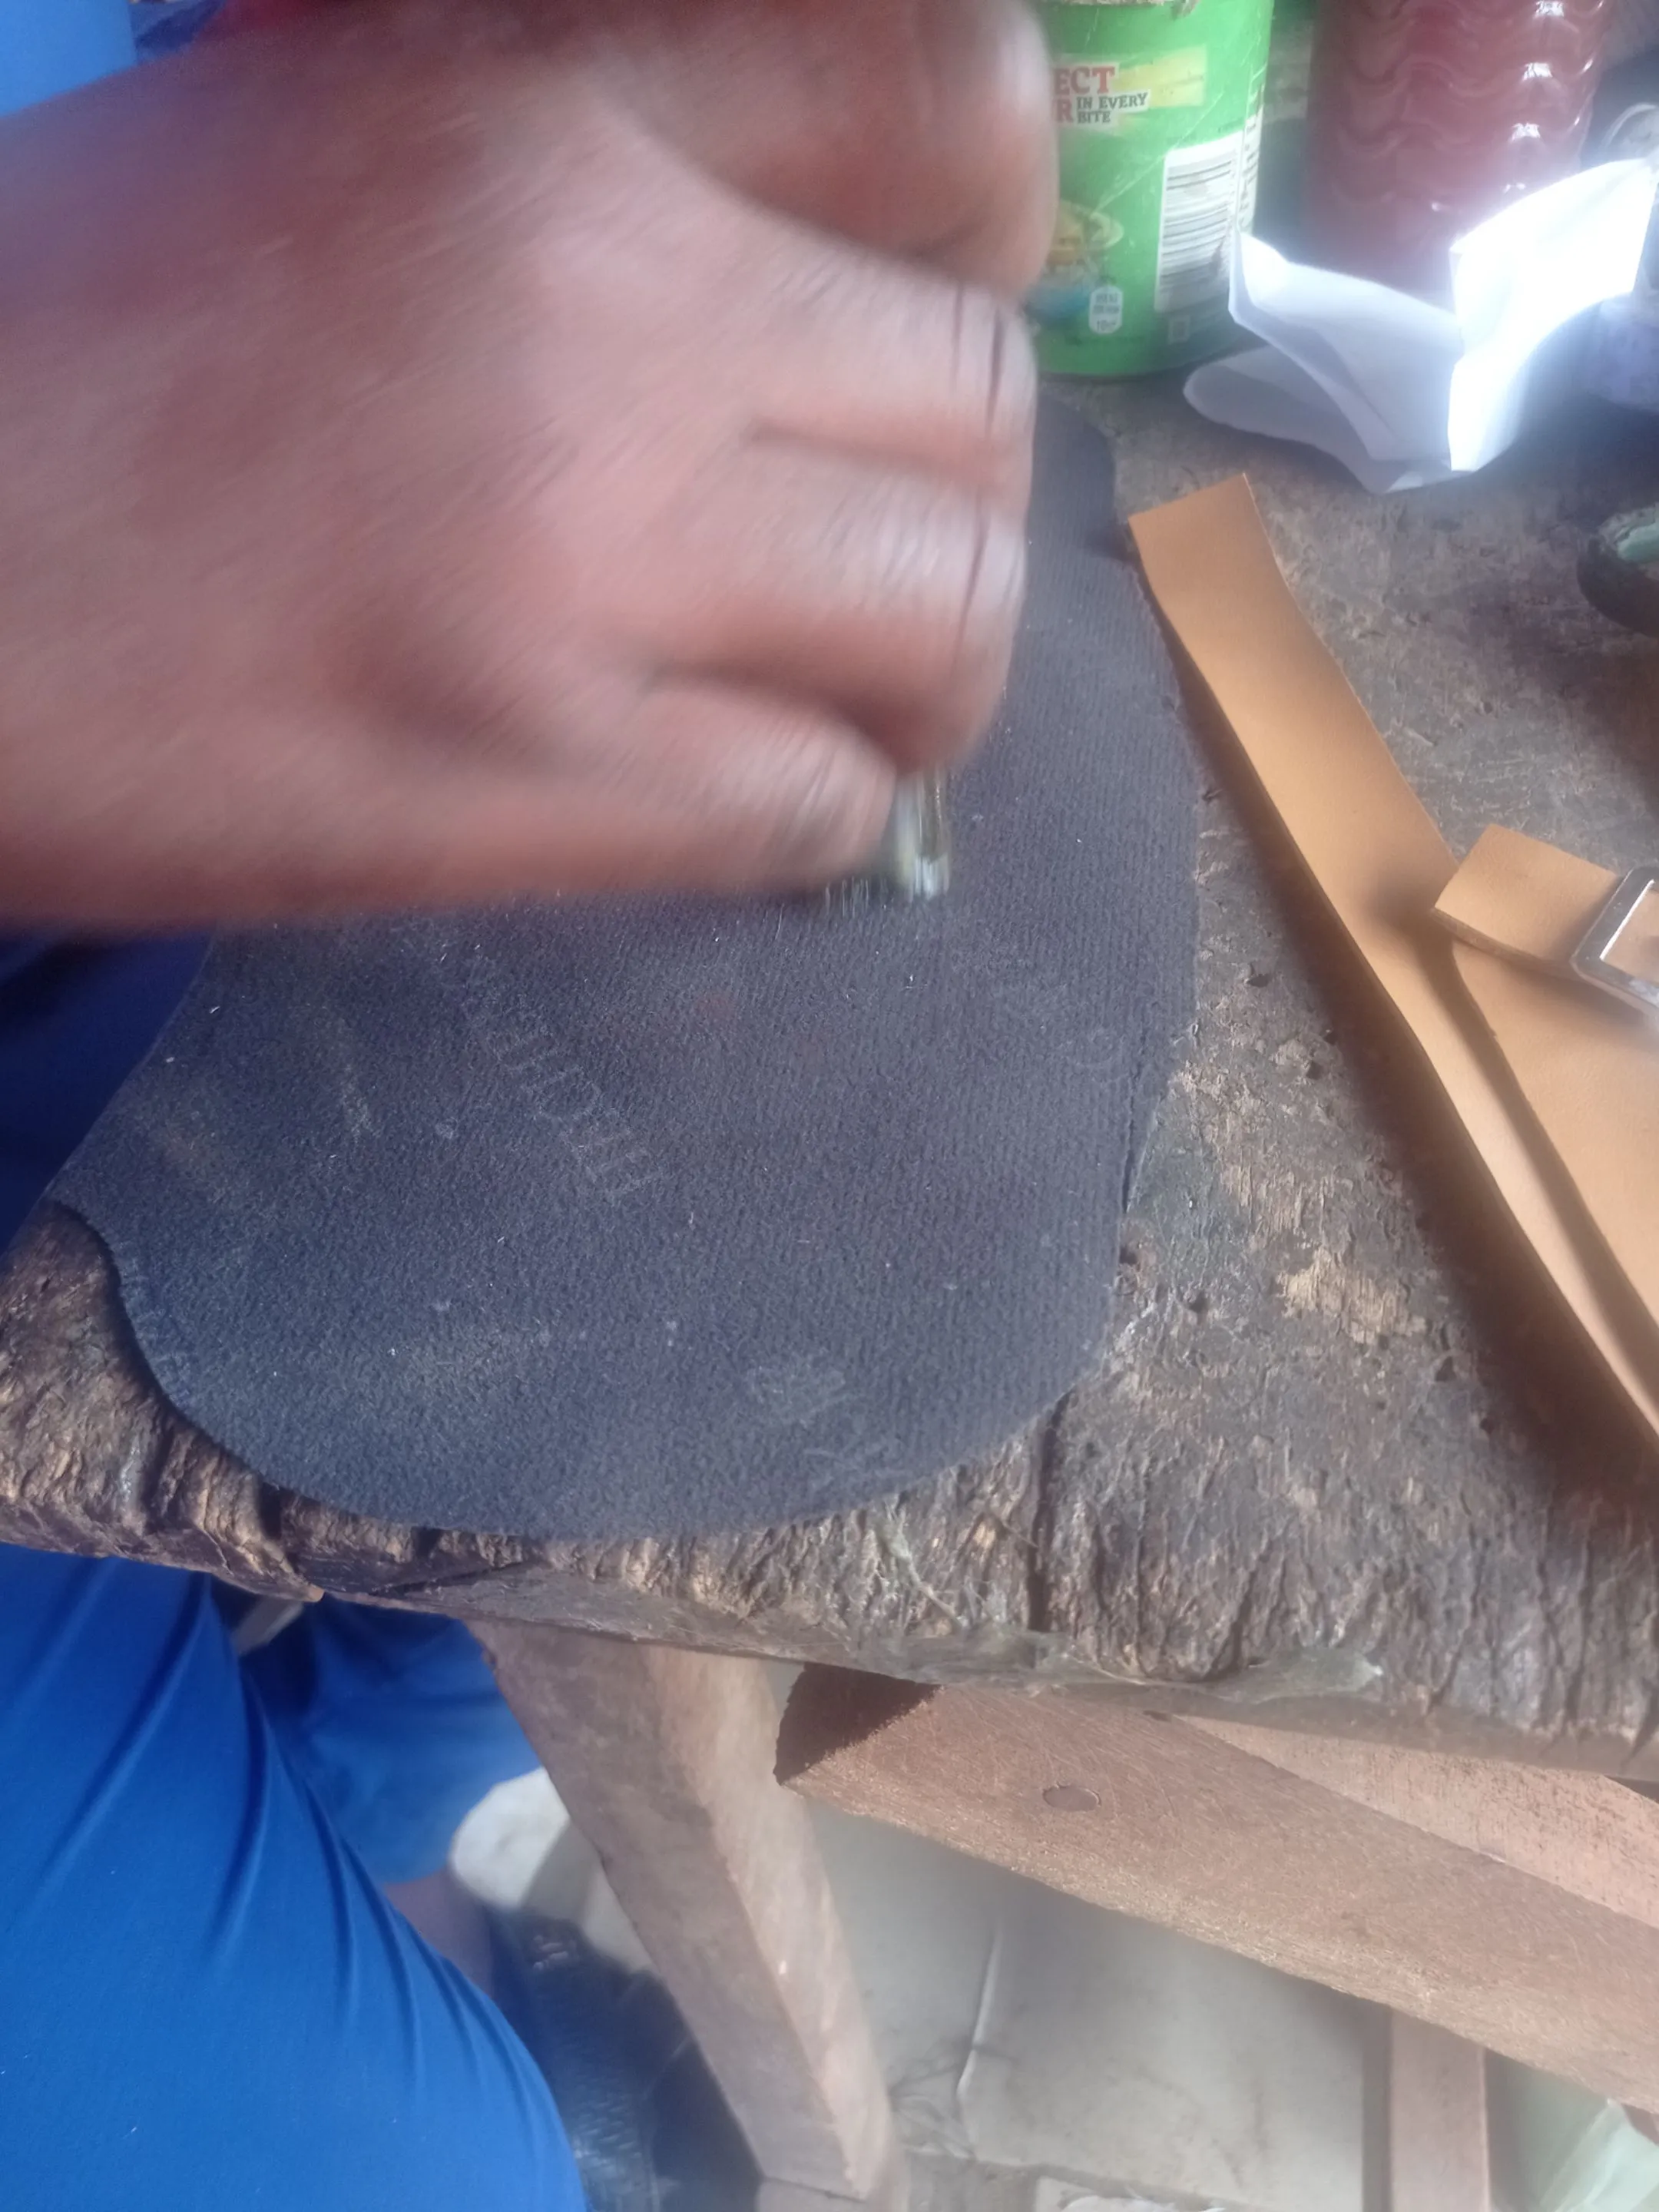
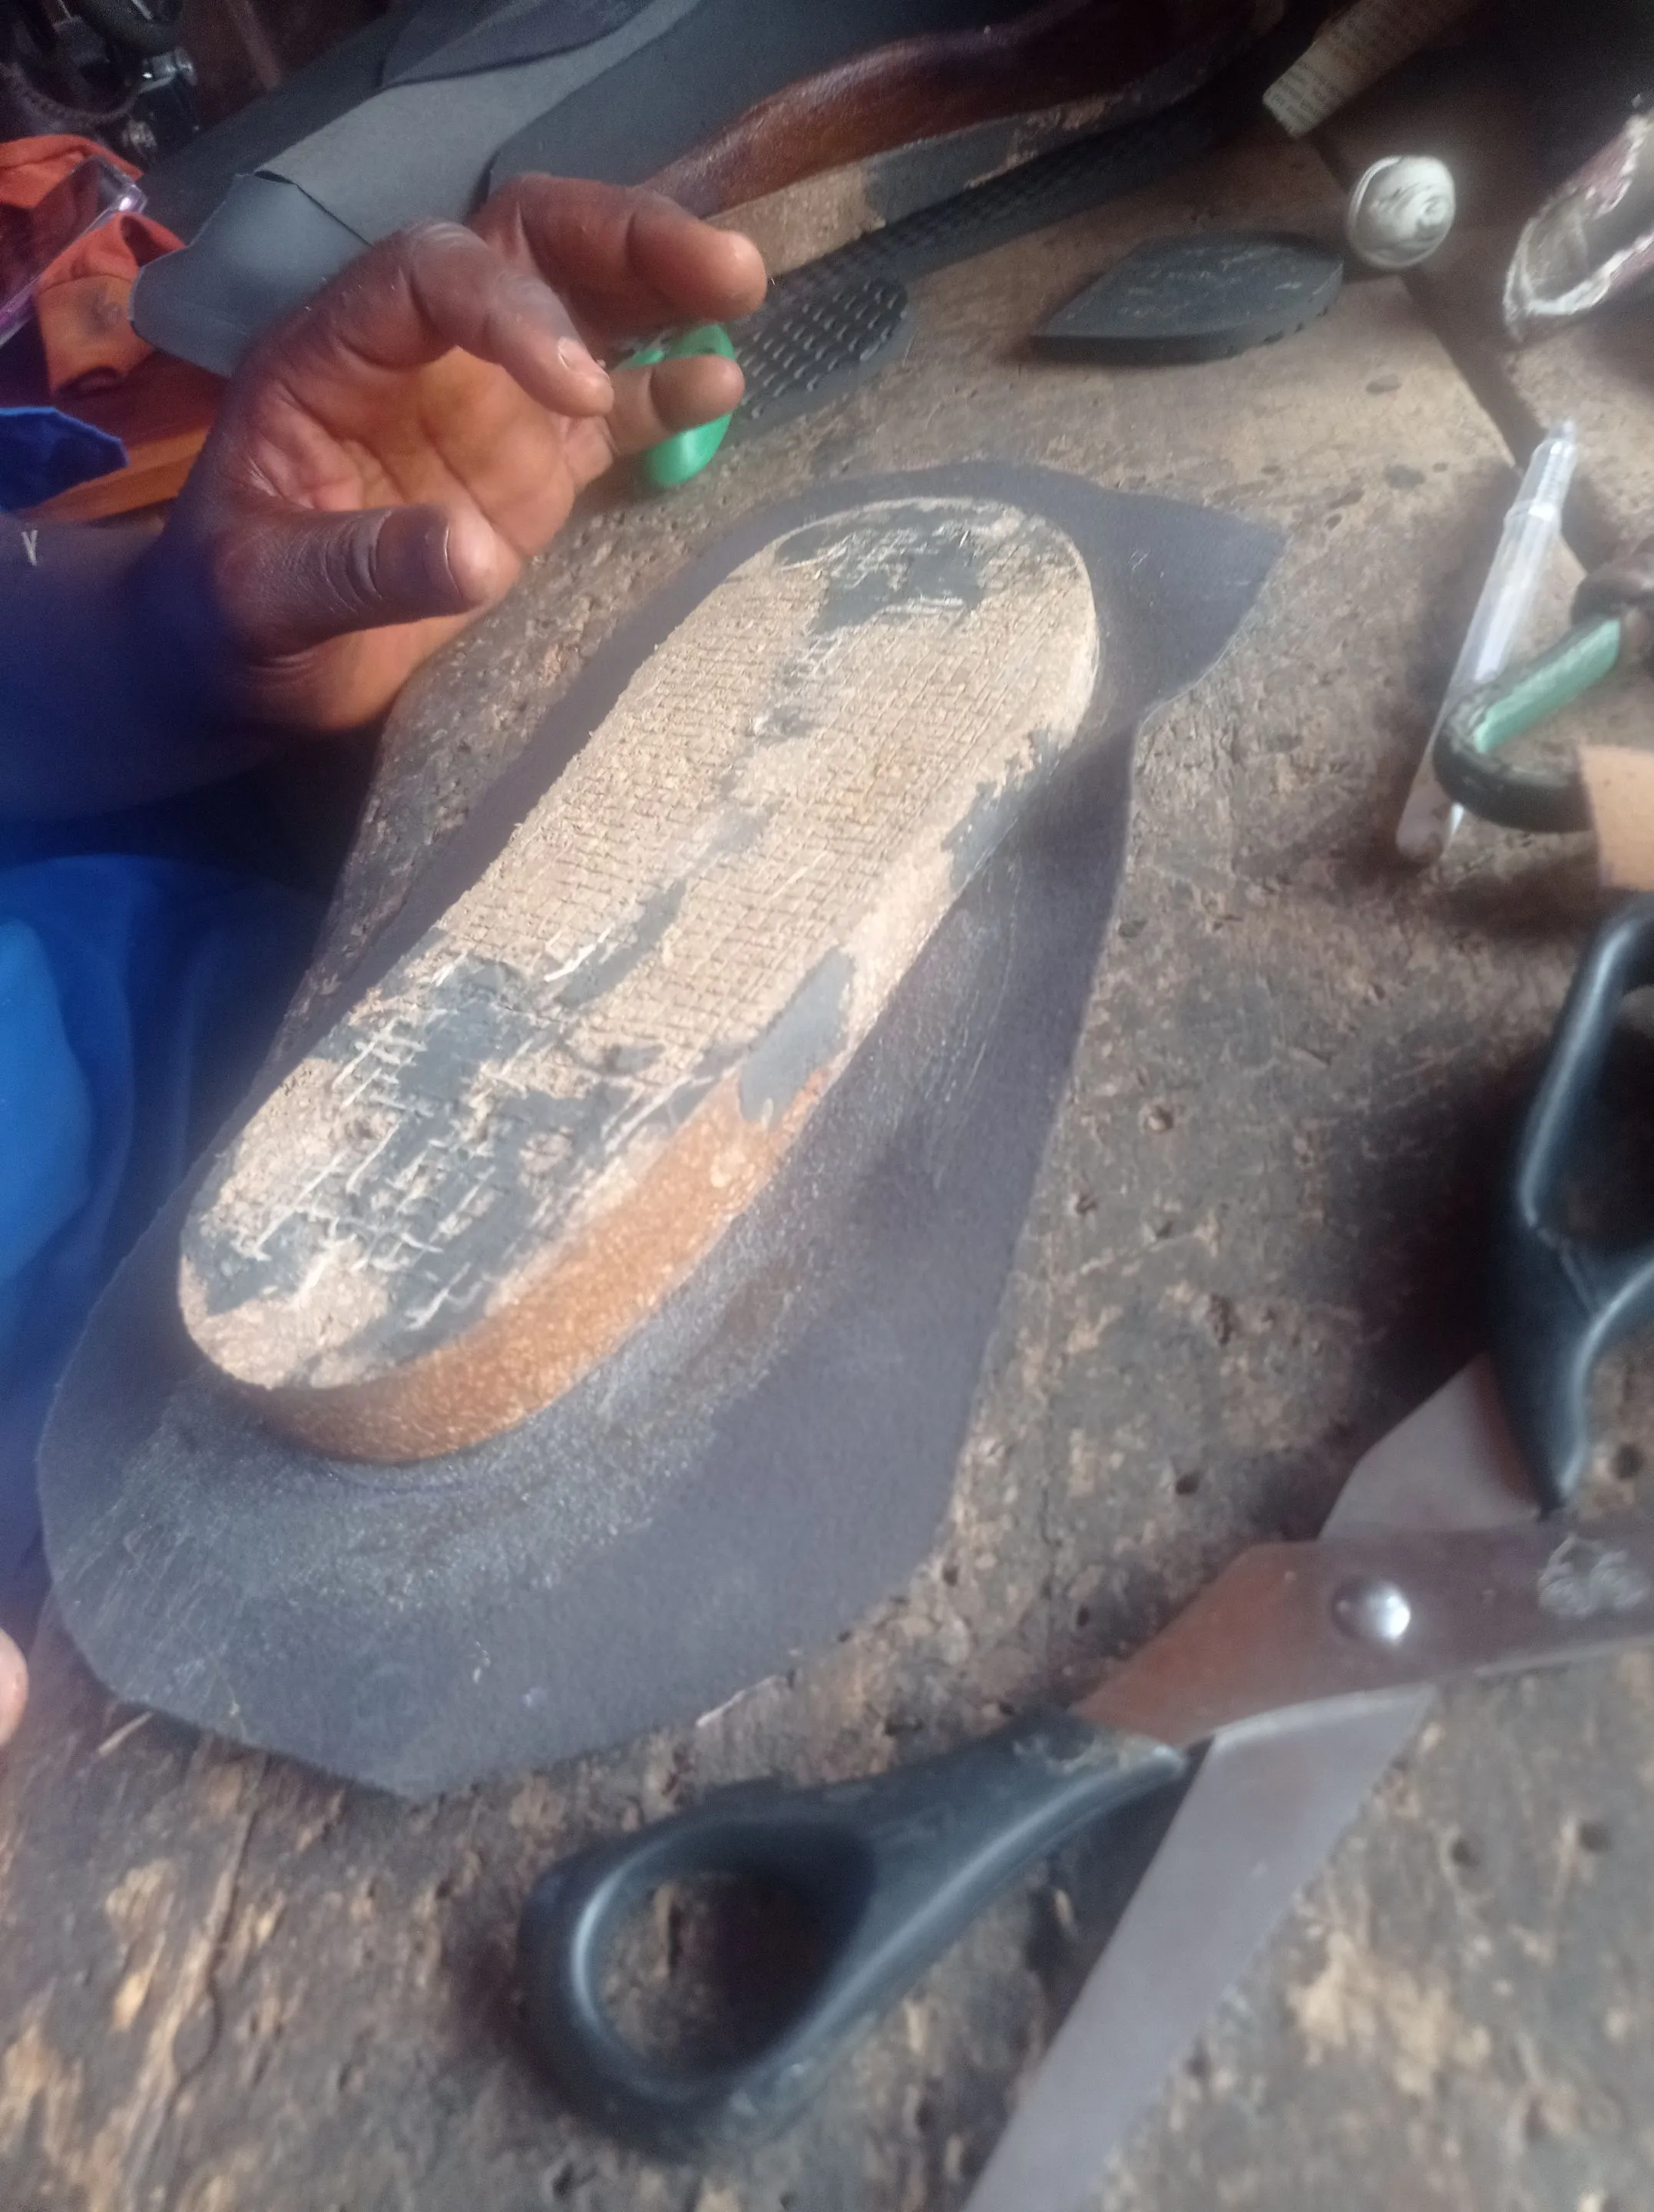
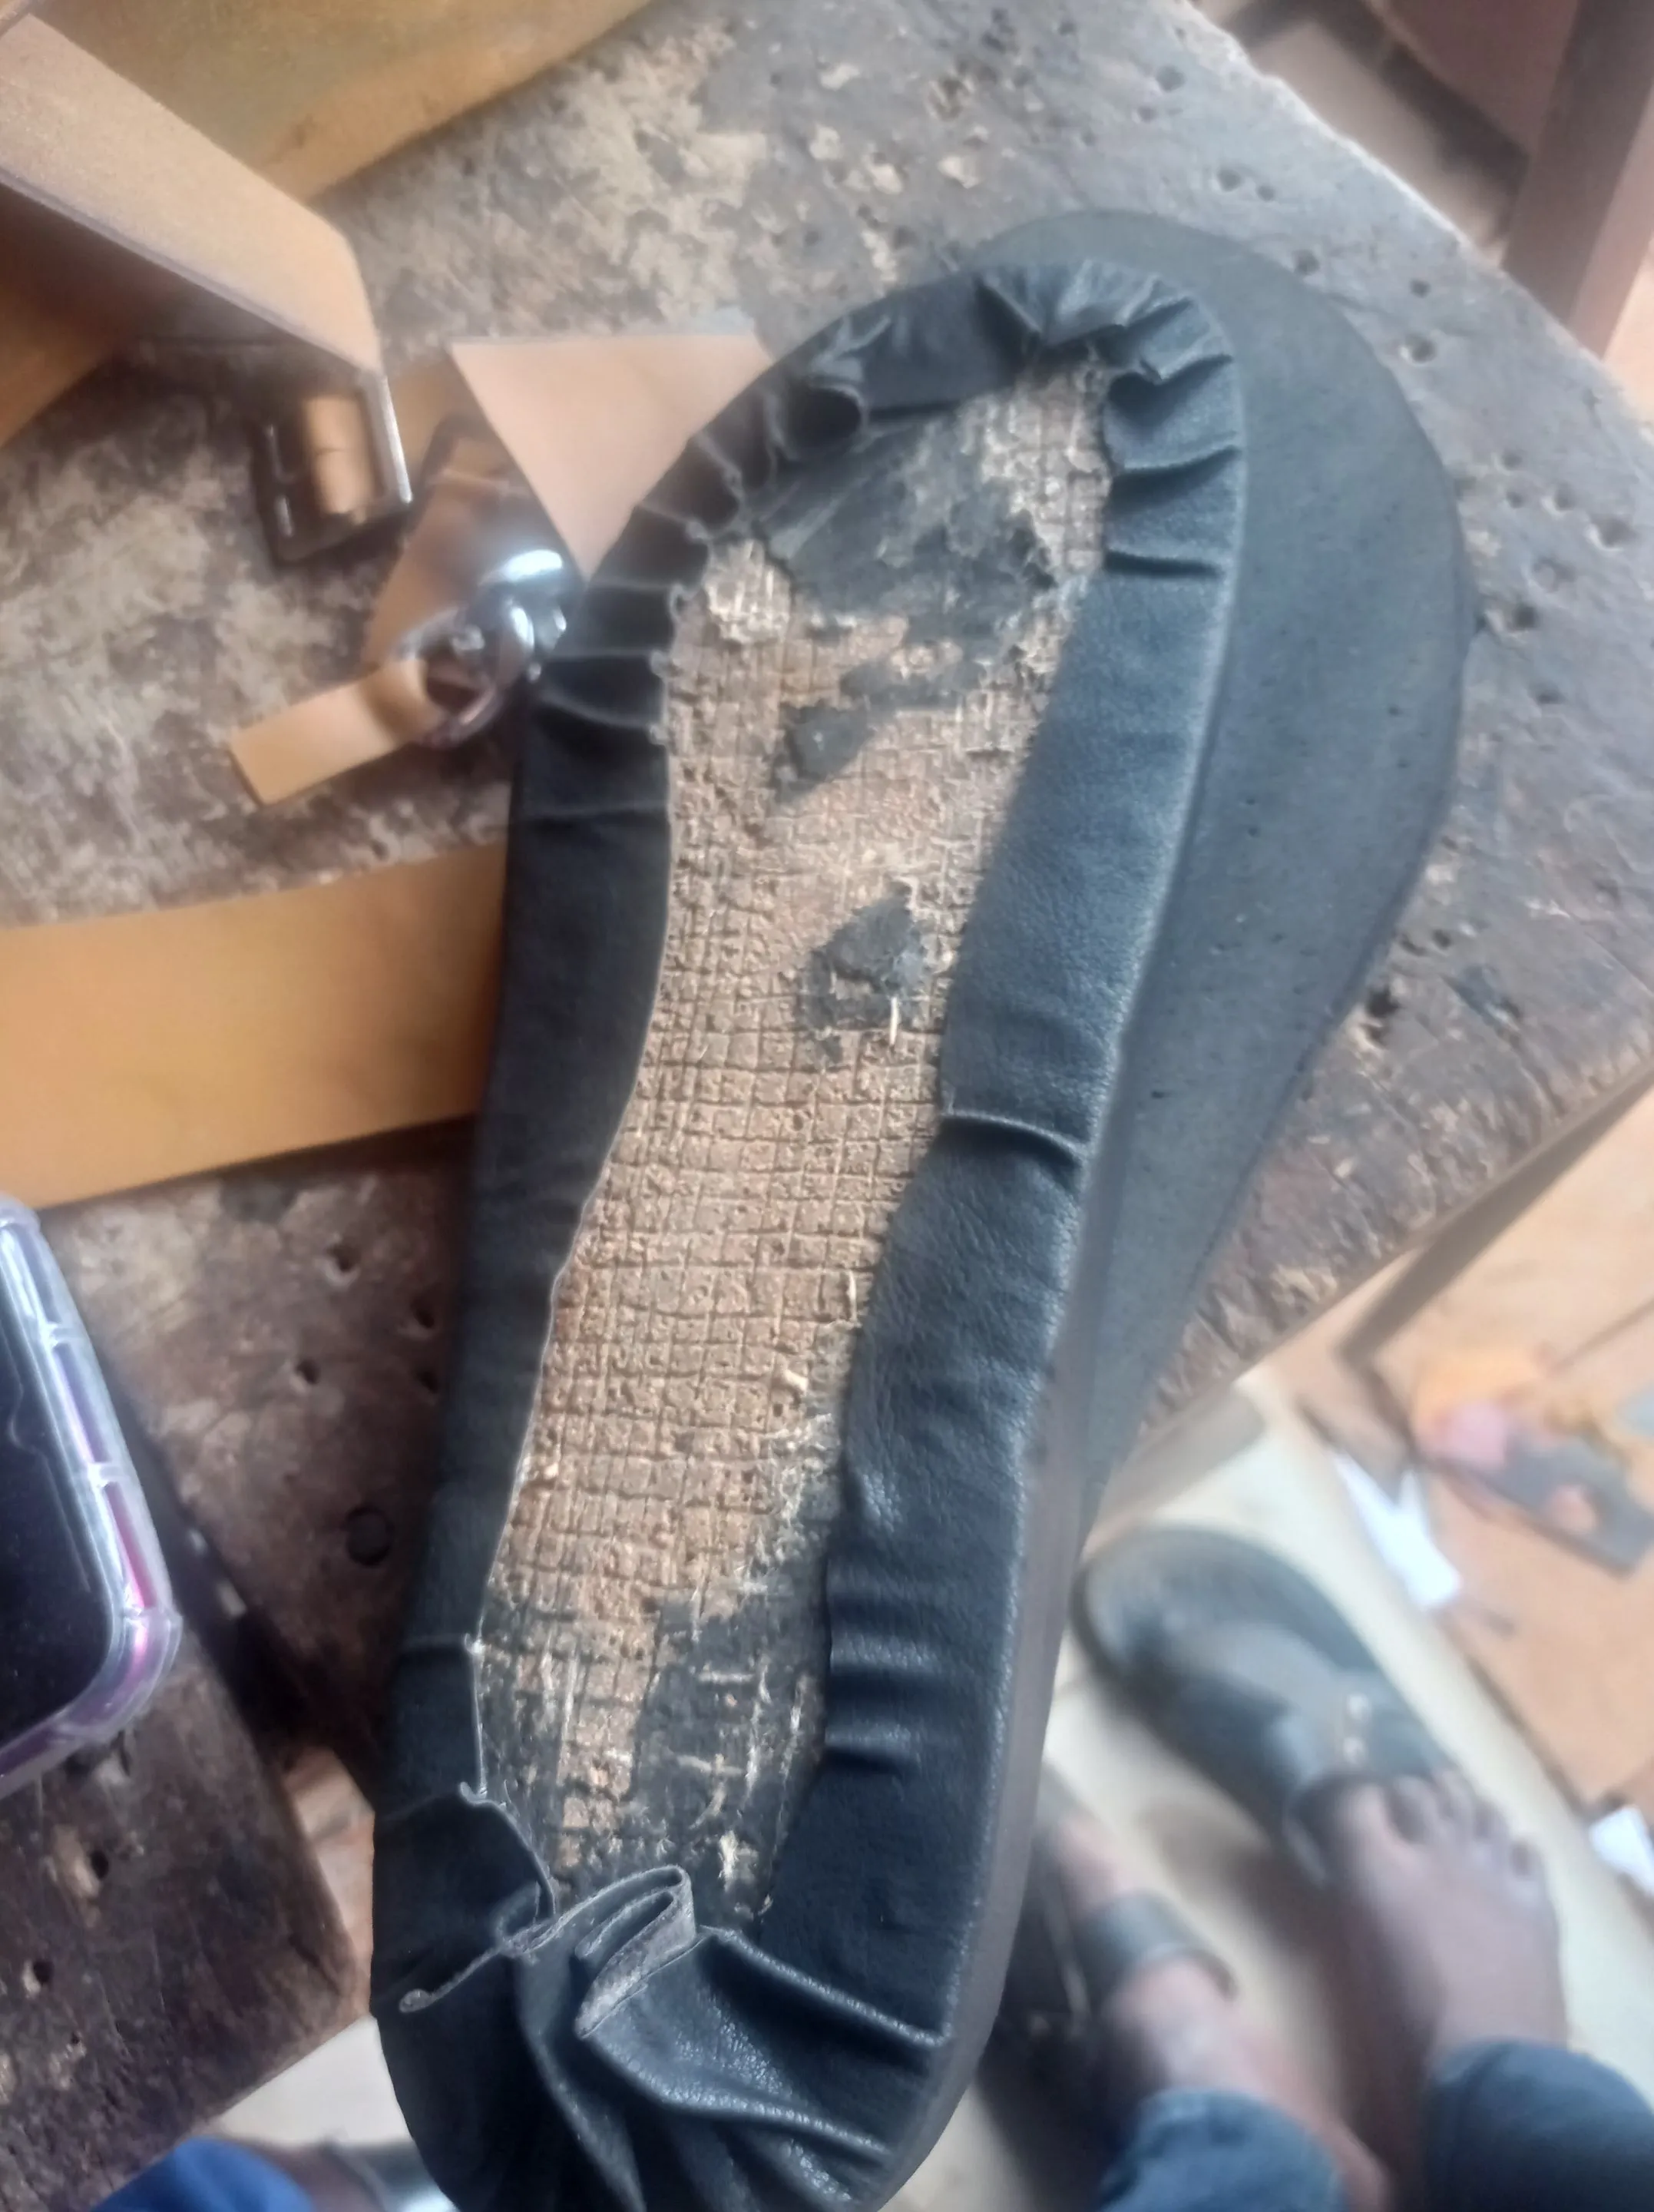
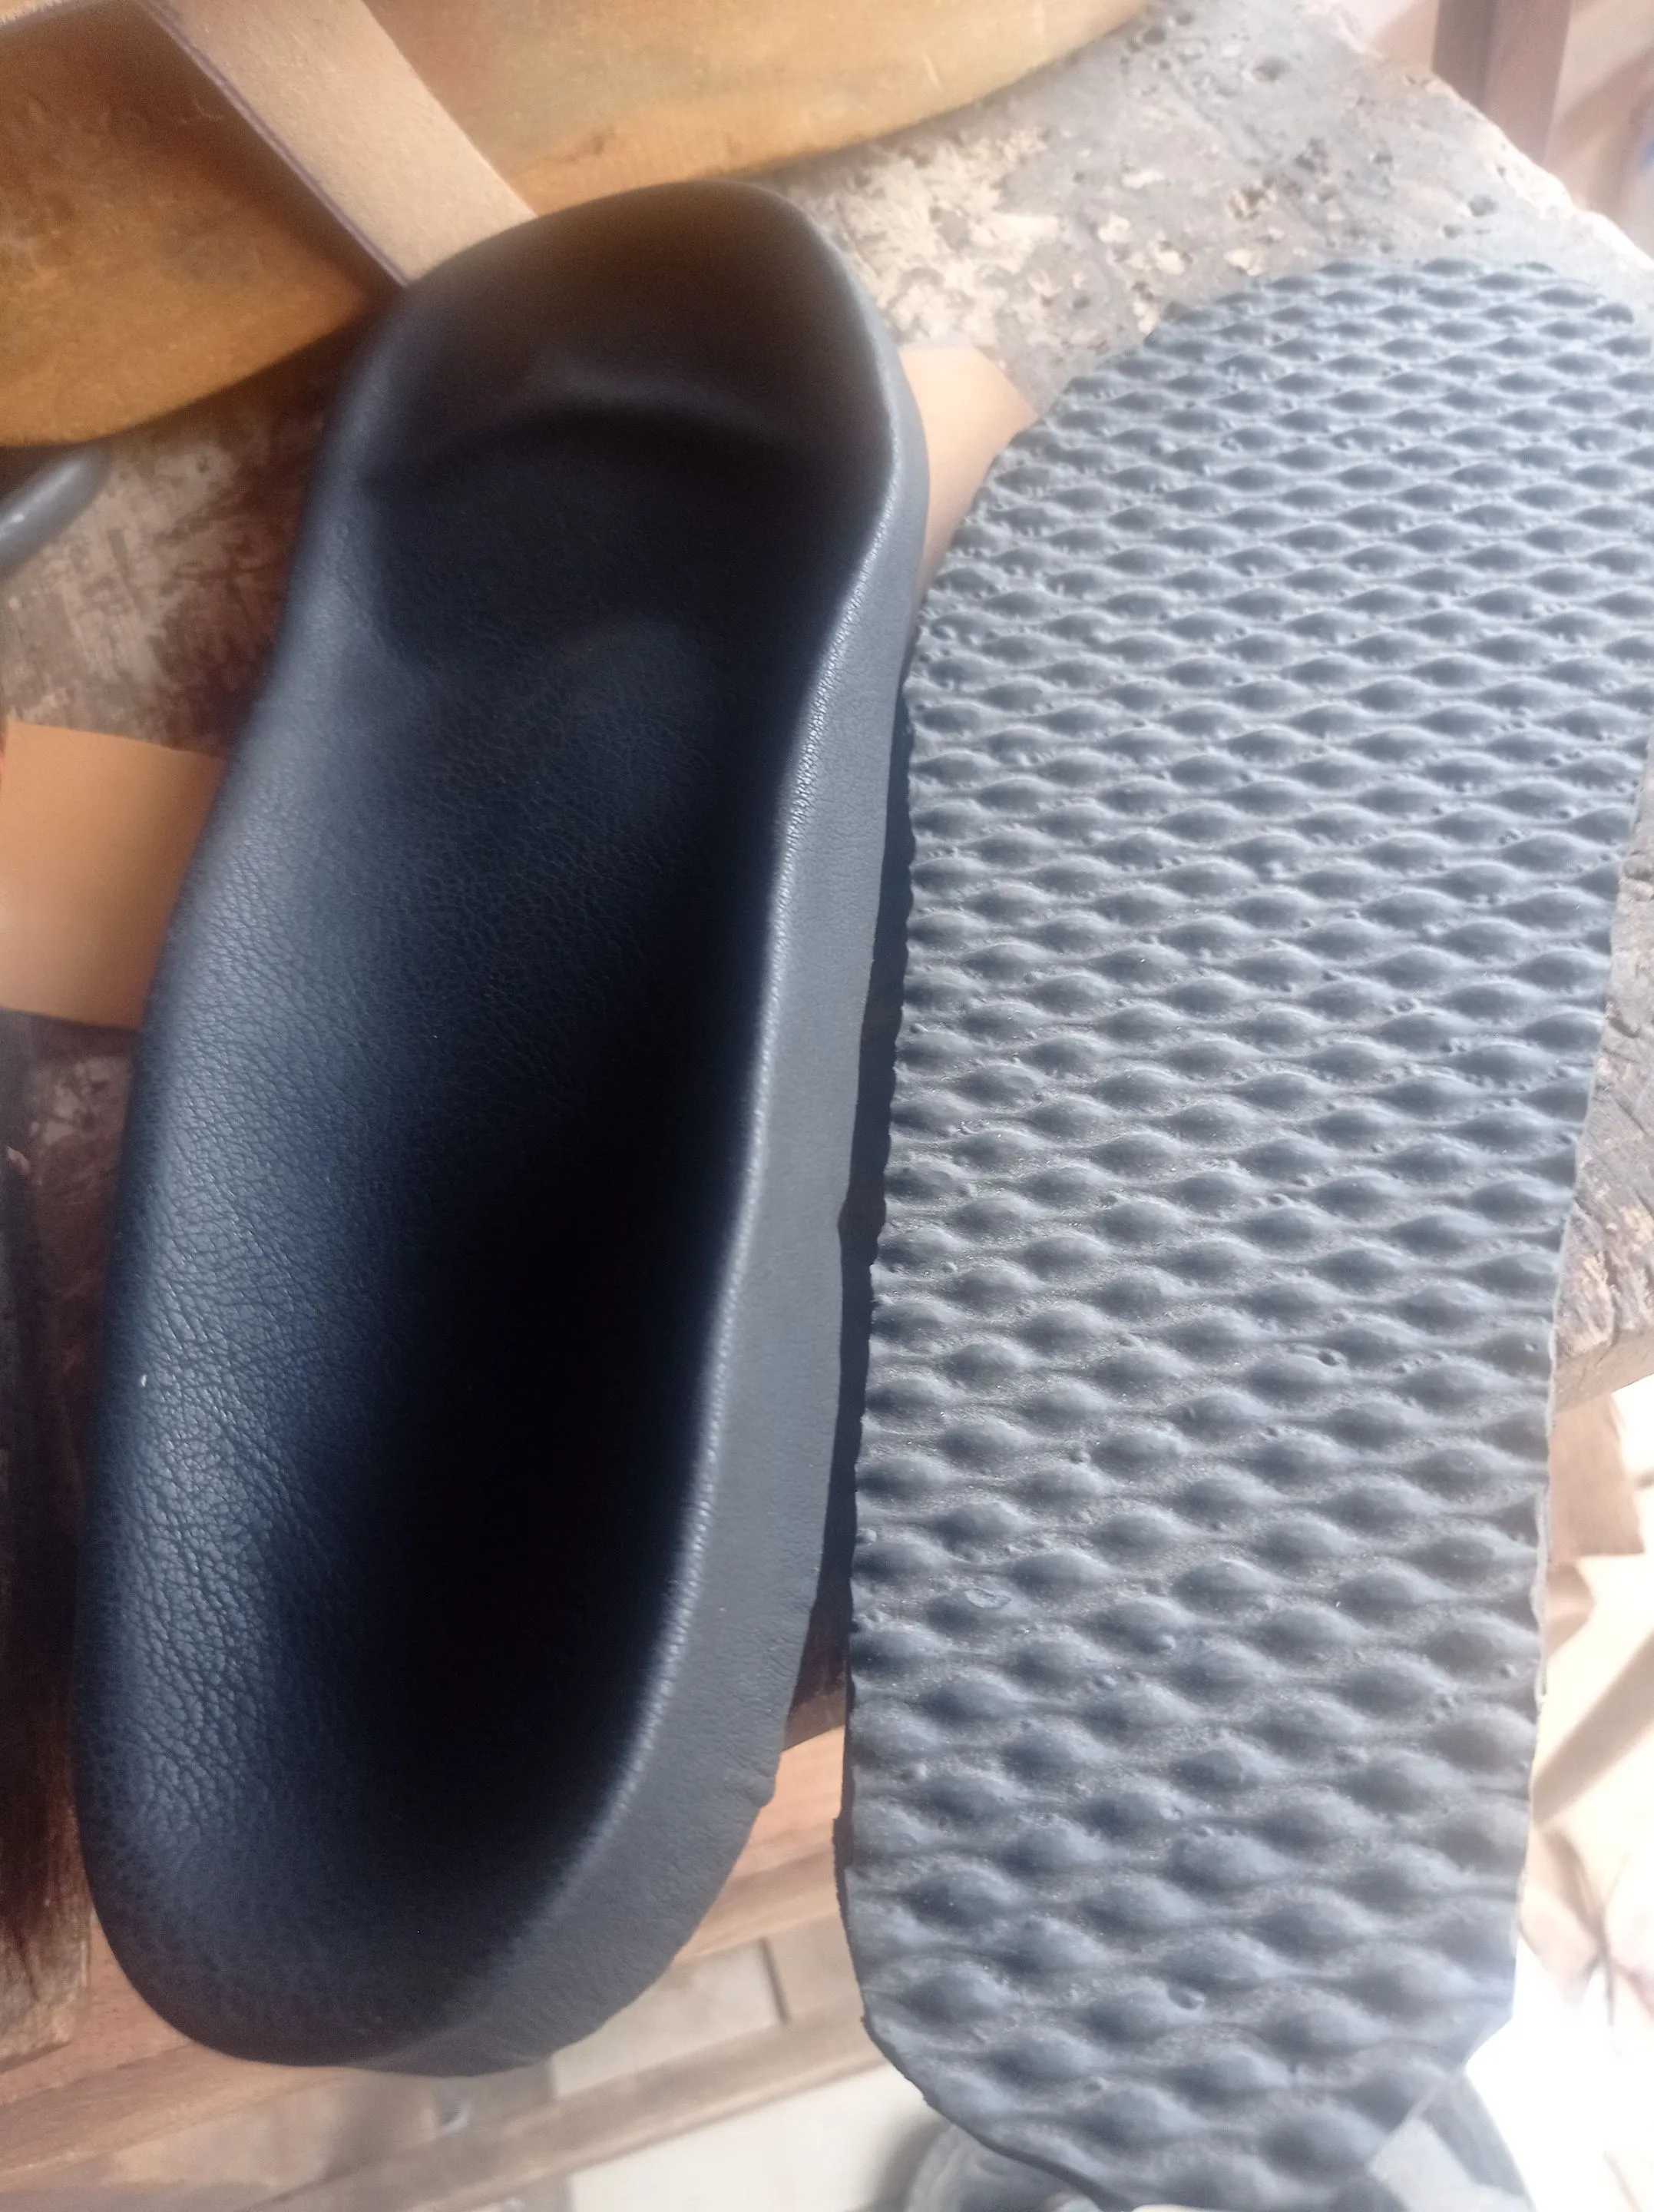
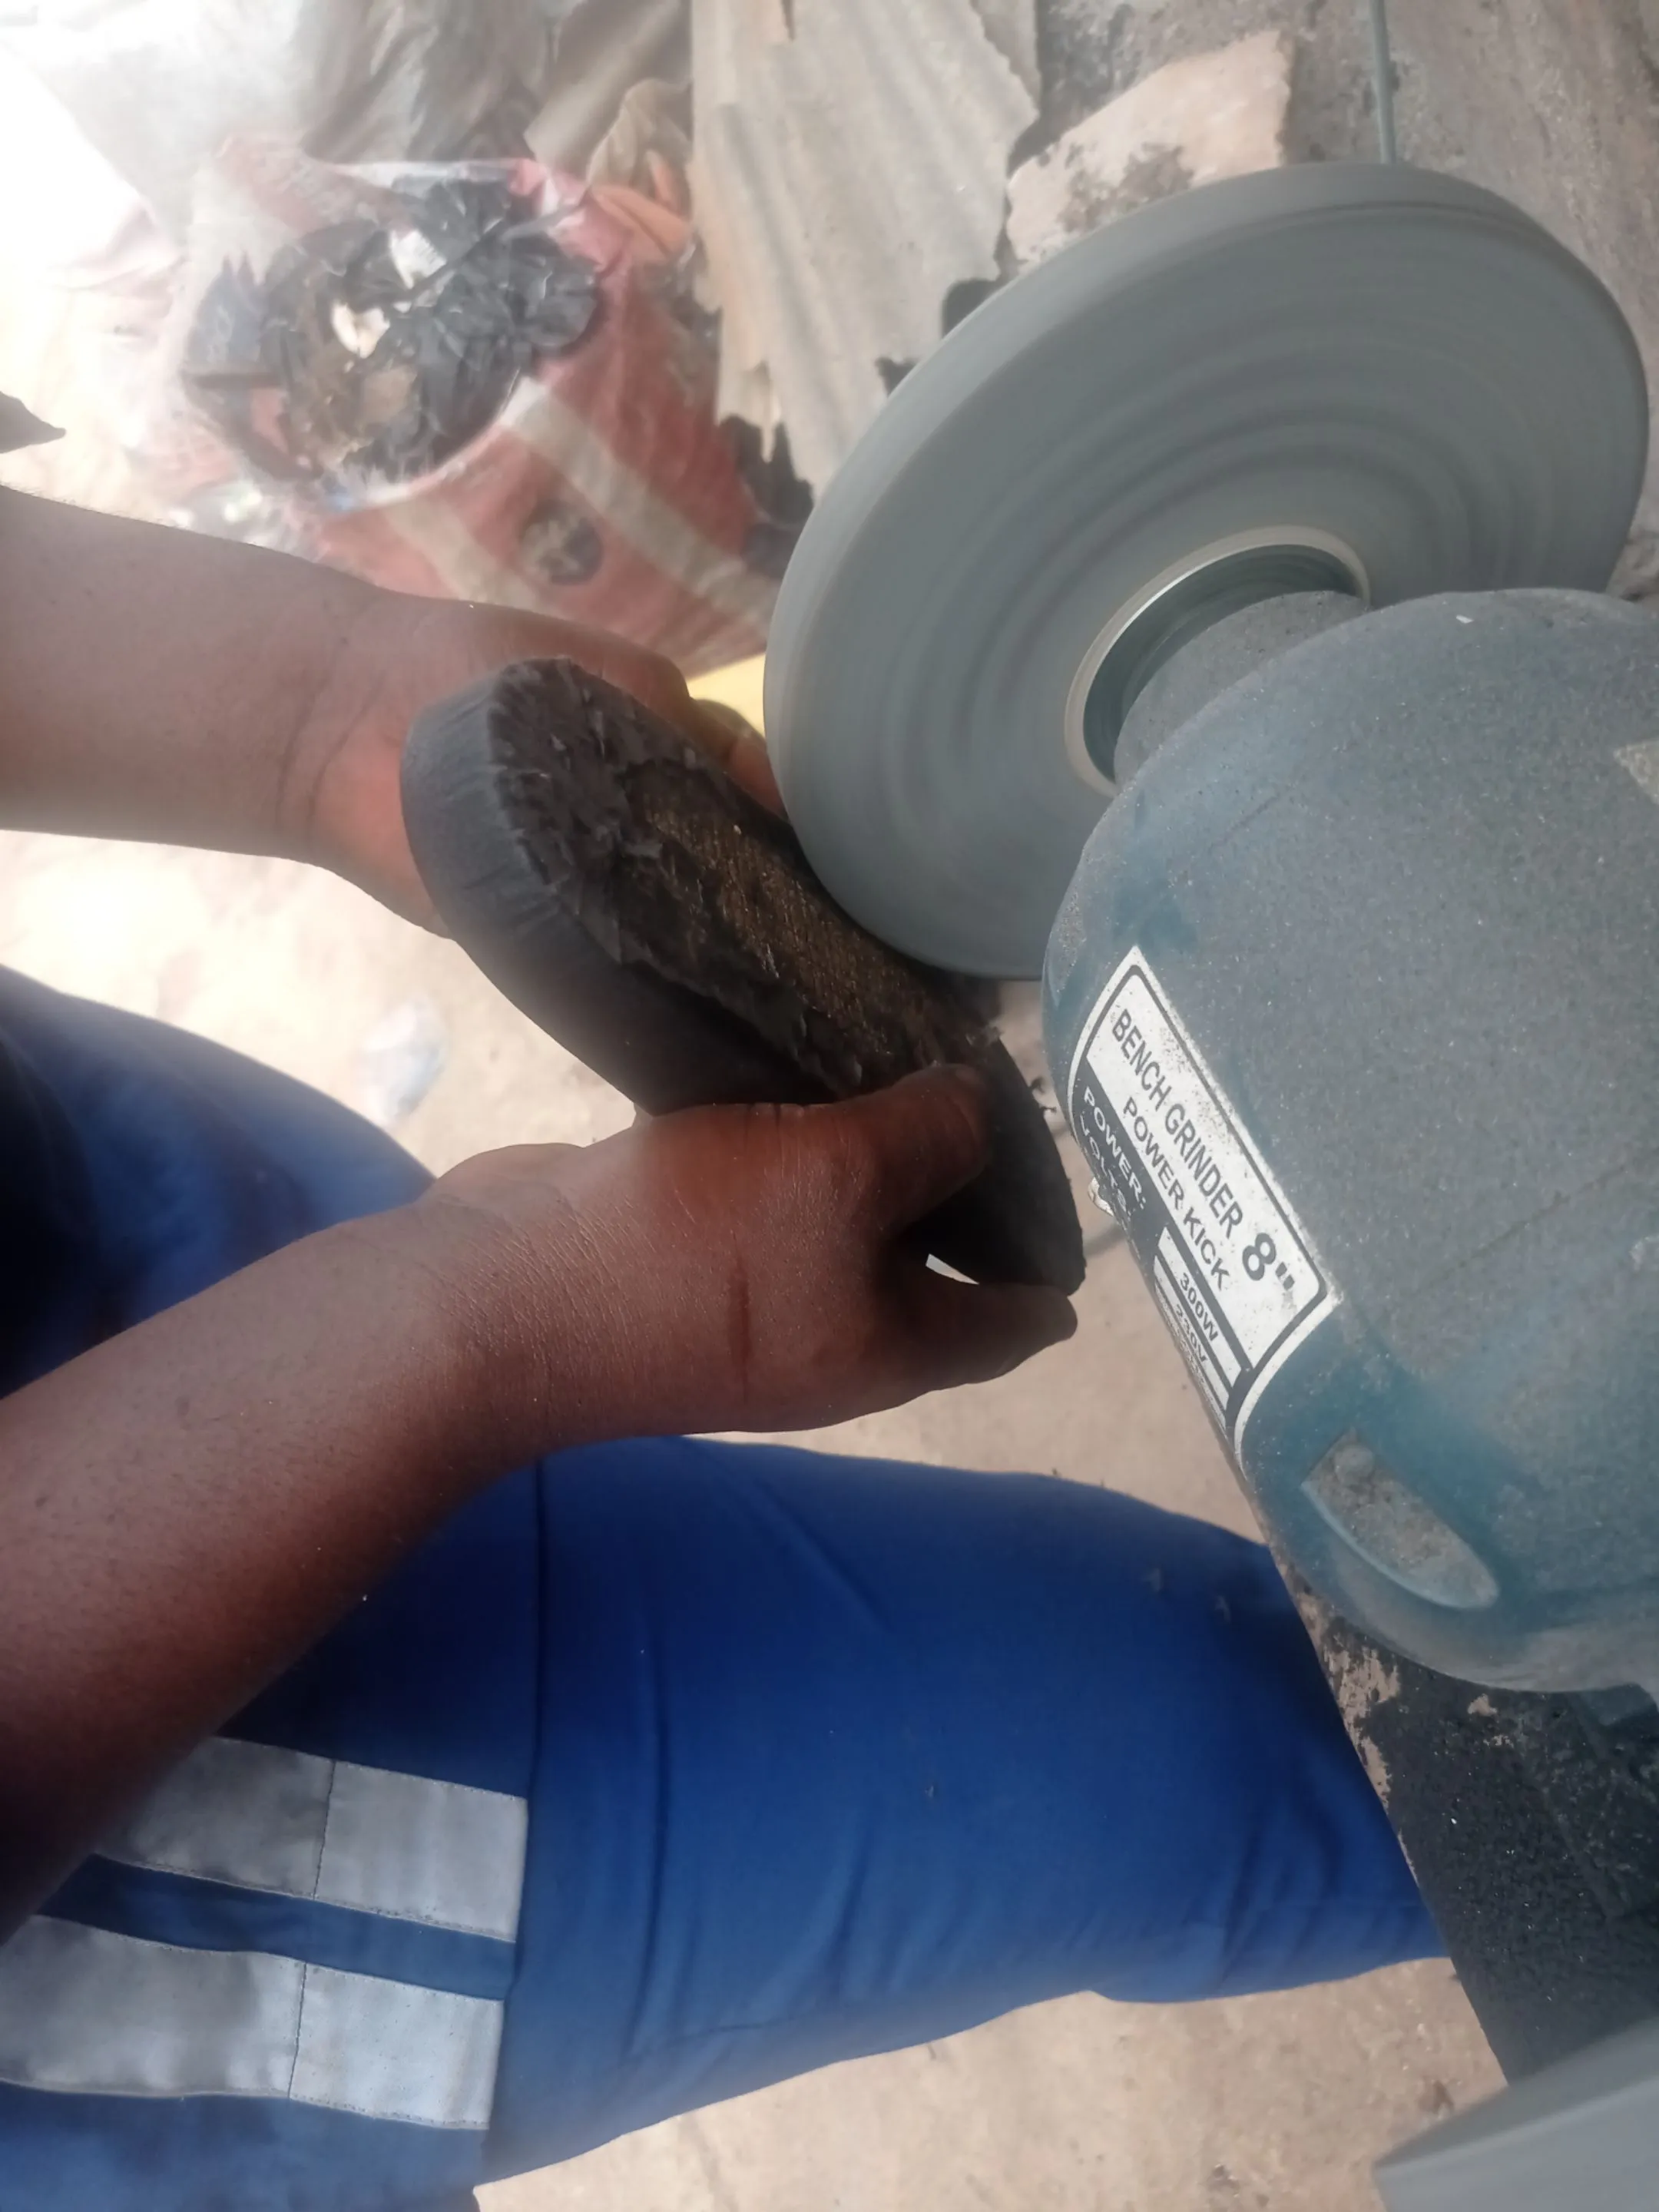
- After which you can start working on how to build your sole and insole, cutting and adding of the linning to the insole and grinding of the edges for firm sticking after joining together with gum.
 |
 |
 |
|---|---|---|
 |
 |
 |
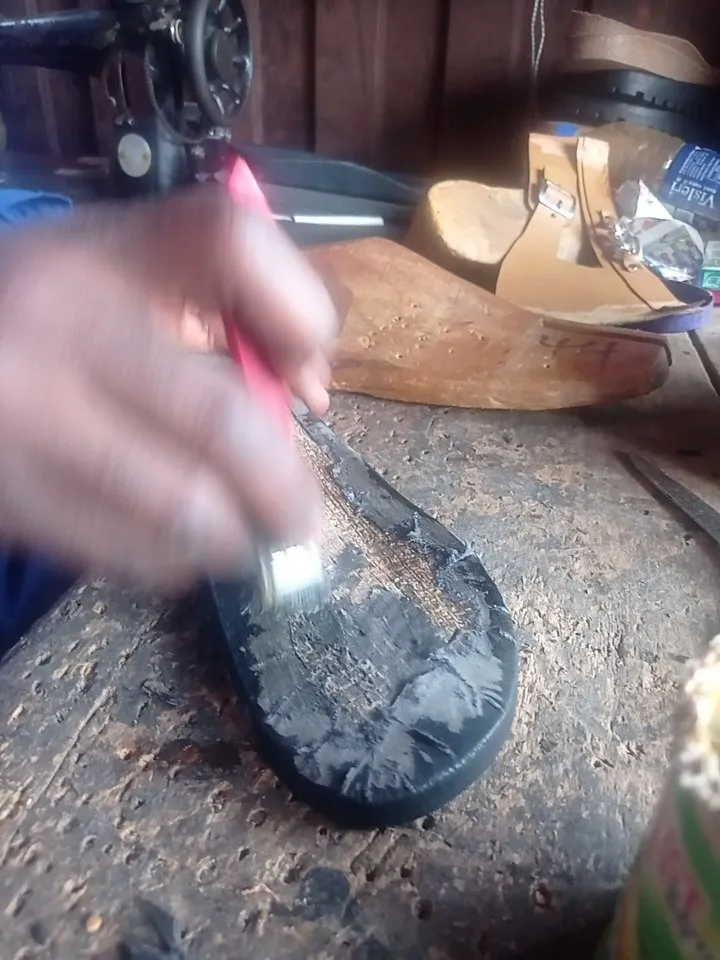
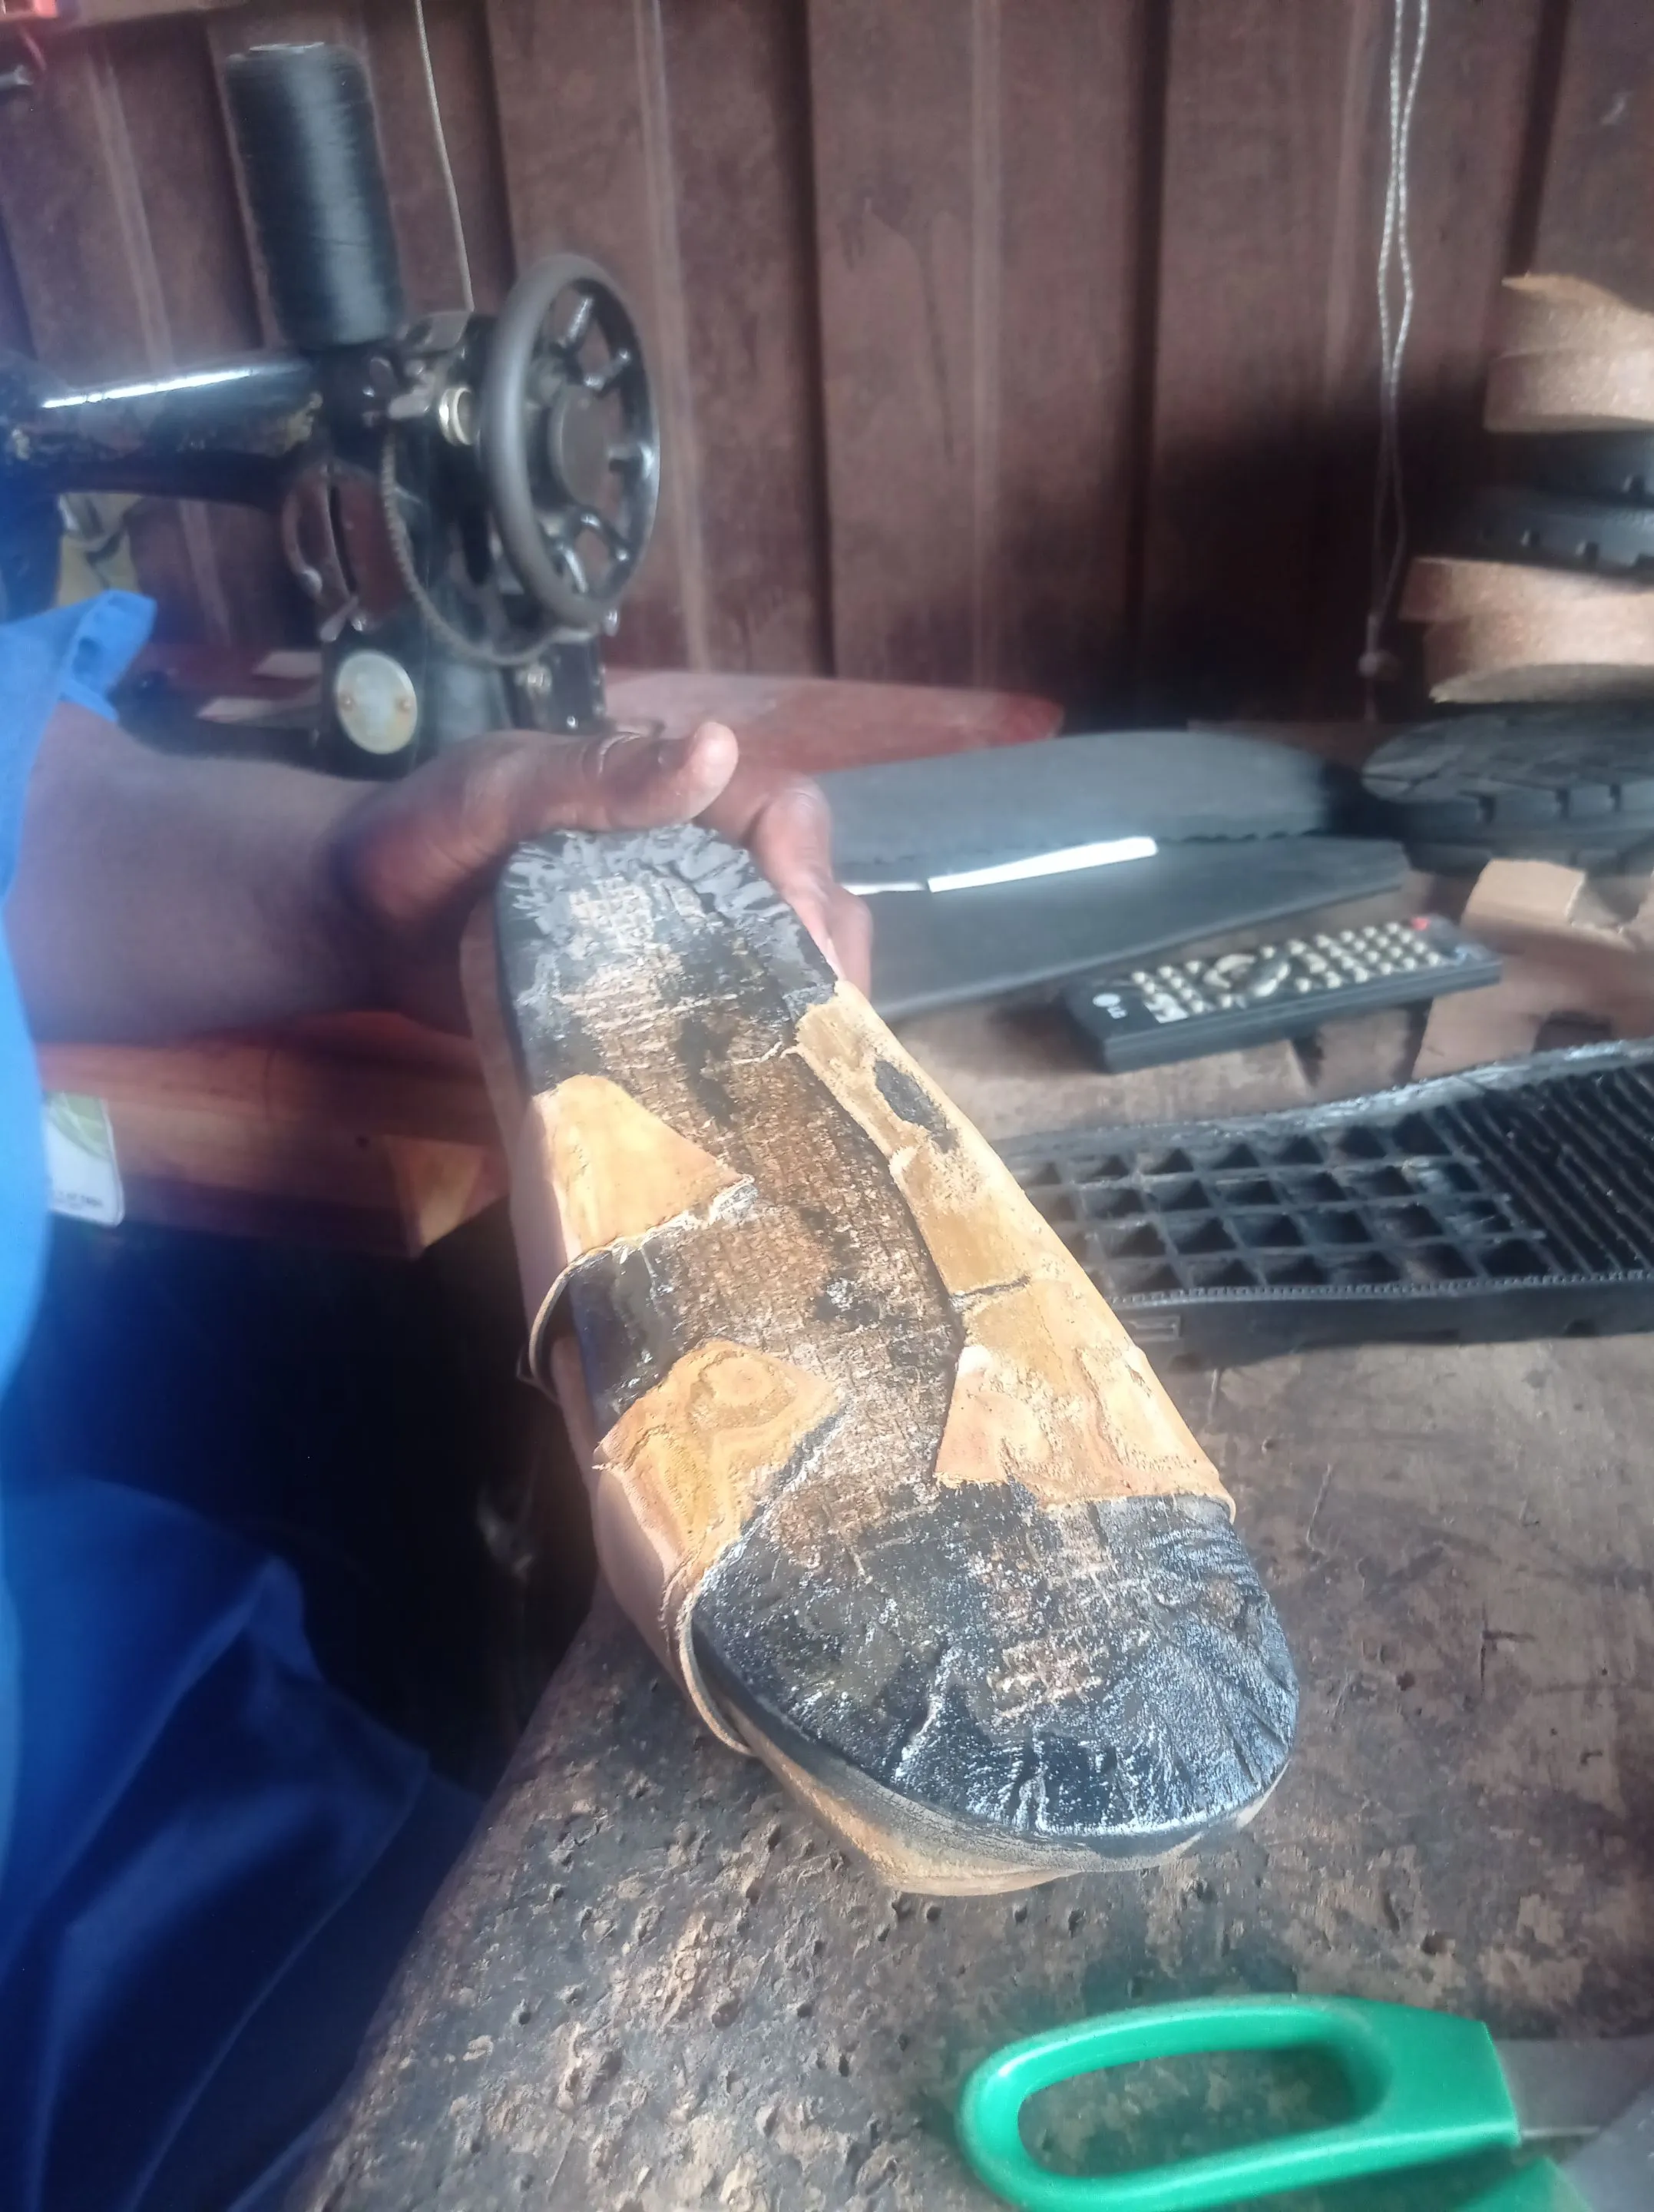
- You can't then proceed to attaching the upper of the slippers alto the insole, test it with a shoe last, to determine if it is of the same size you wish to achieve and if not, you can easily adjust it.
 |
 |
 |
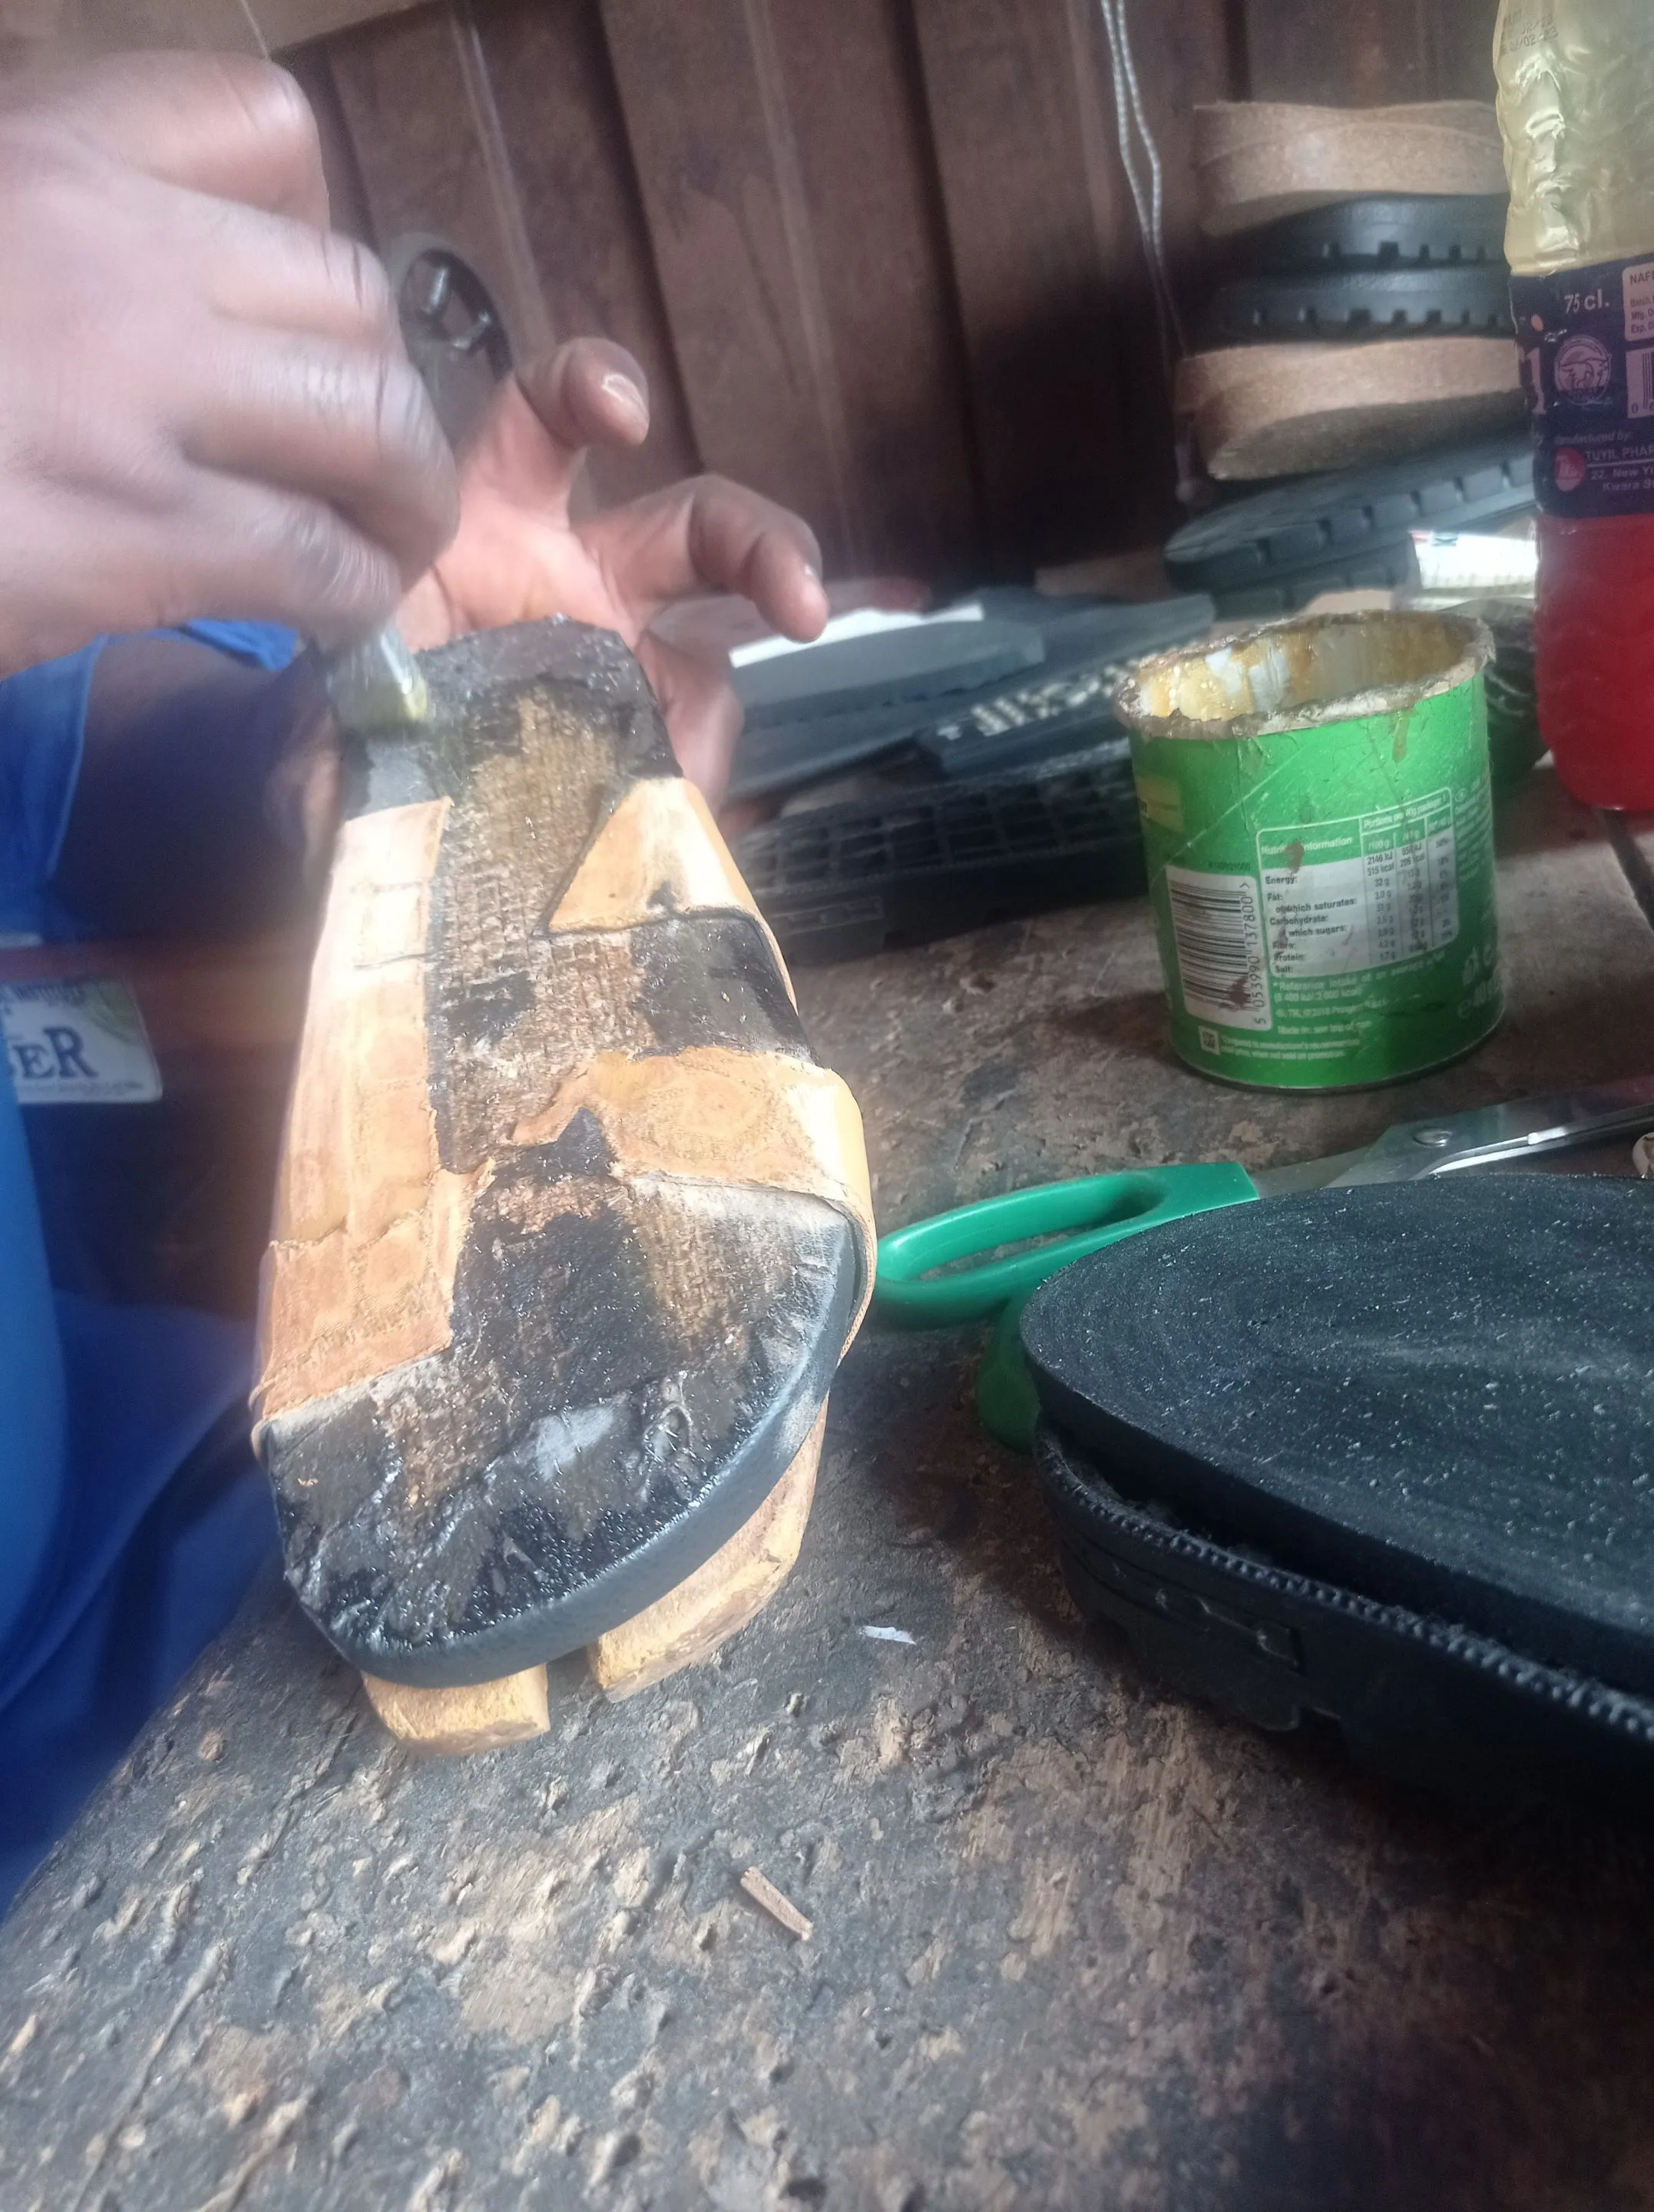
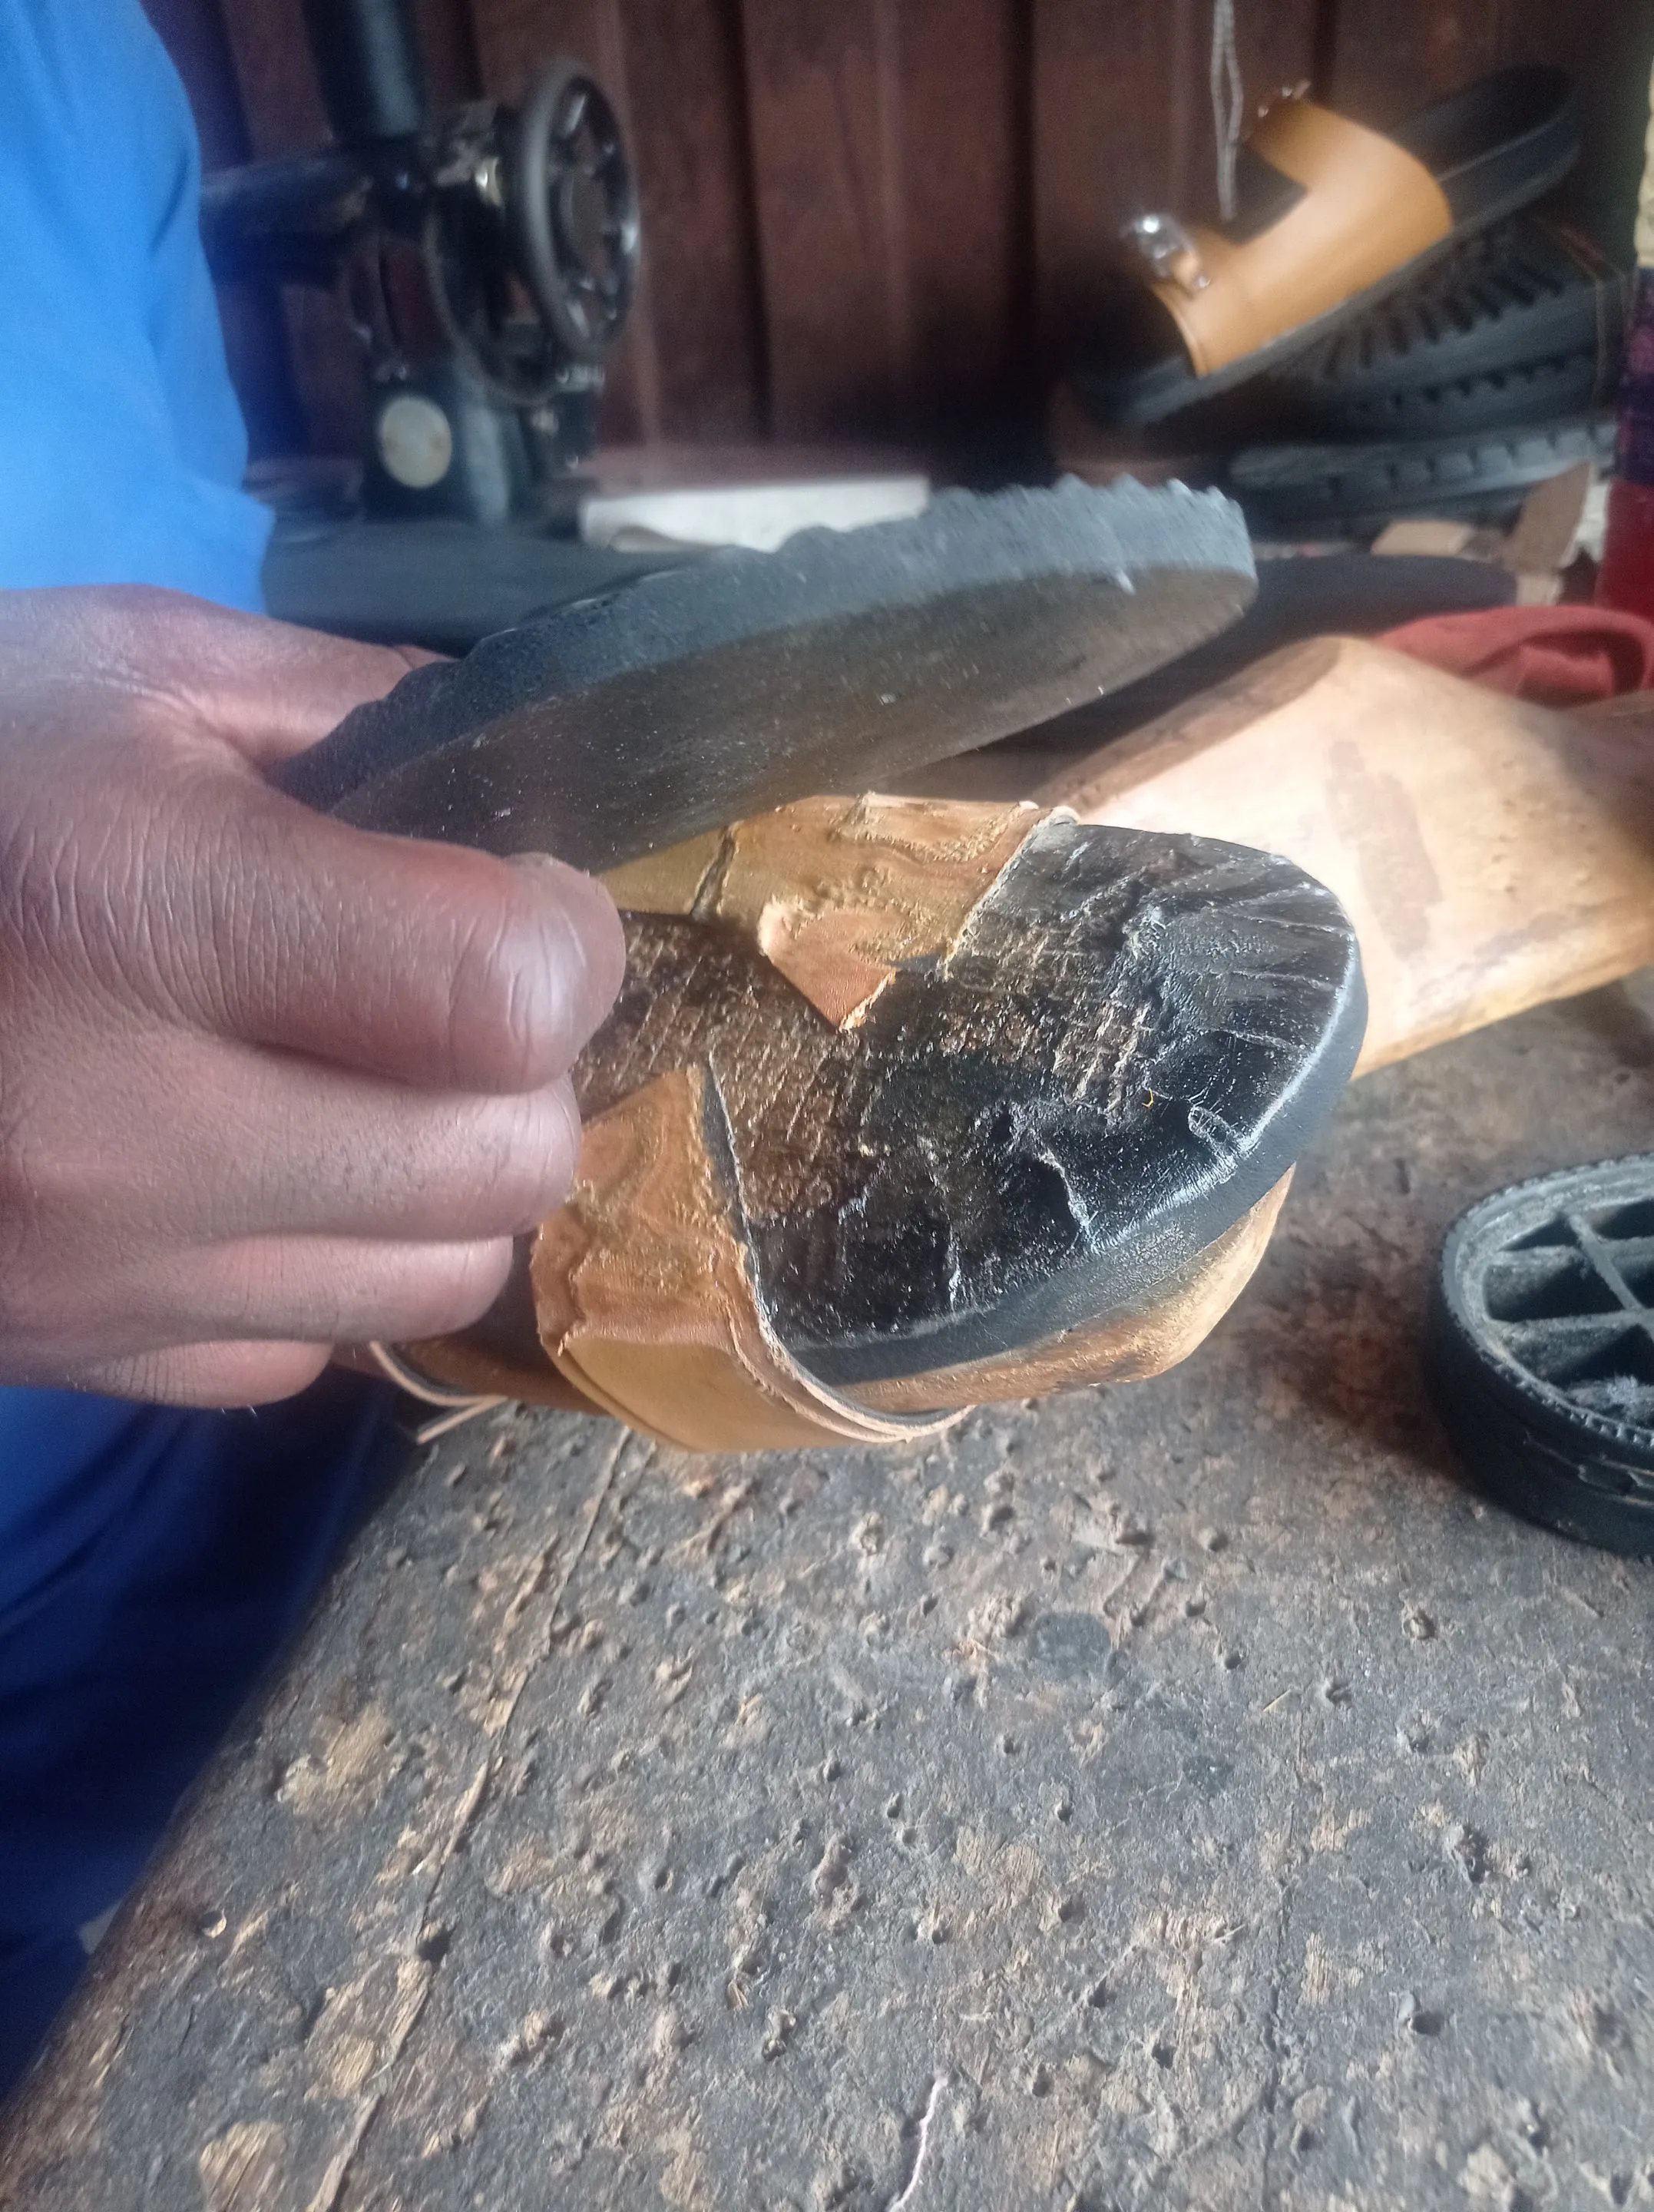
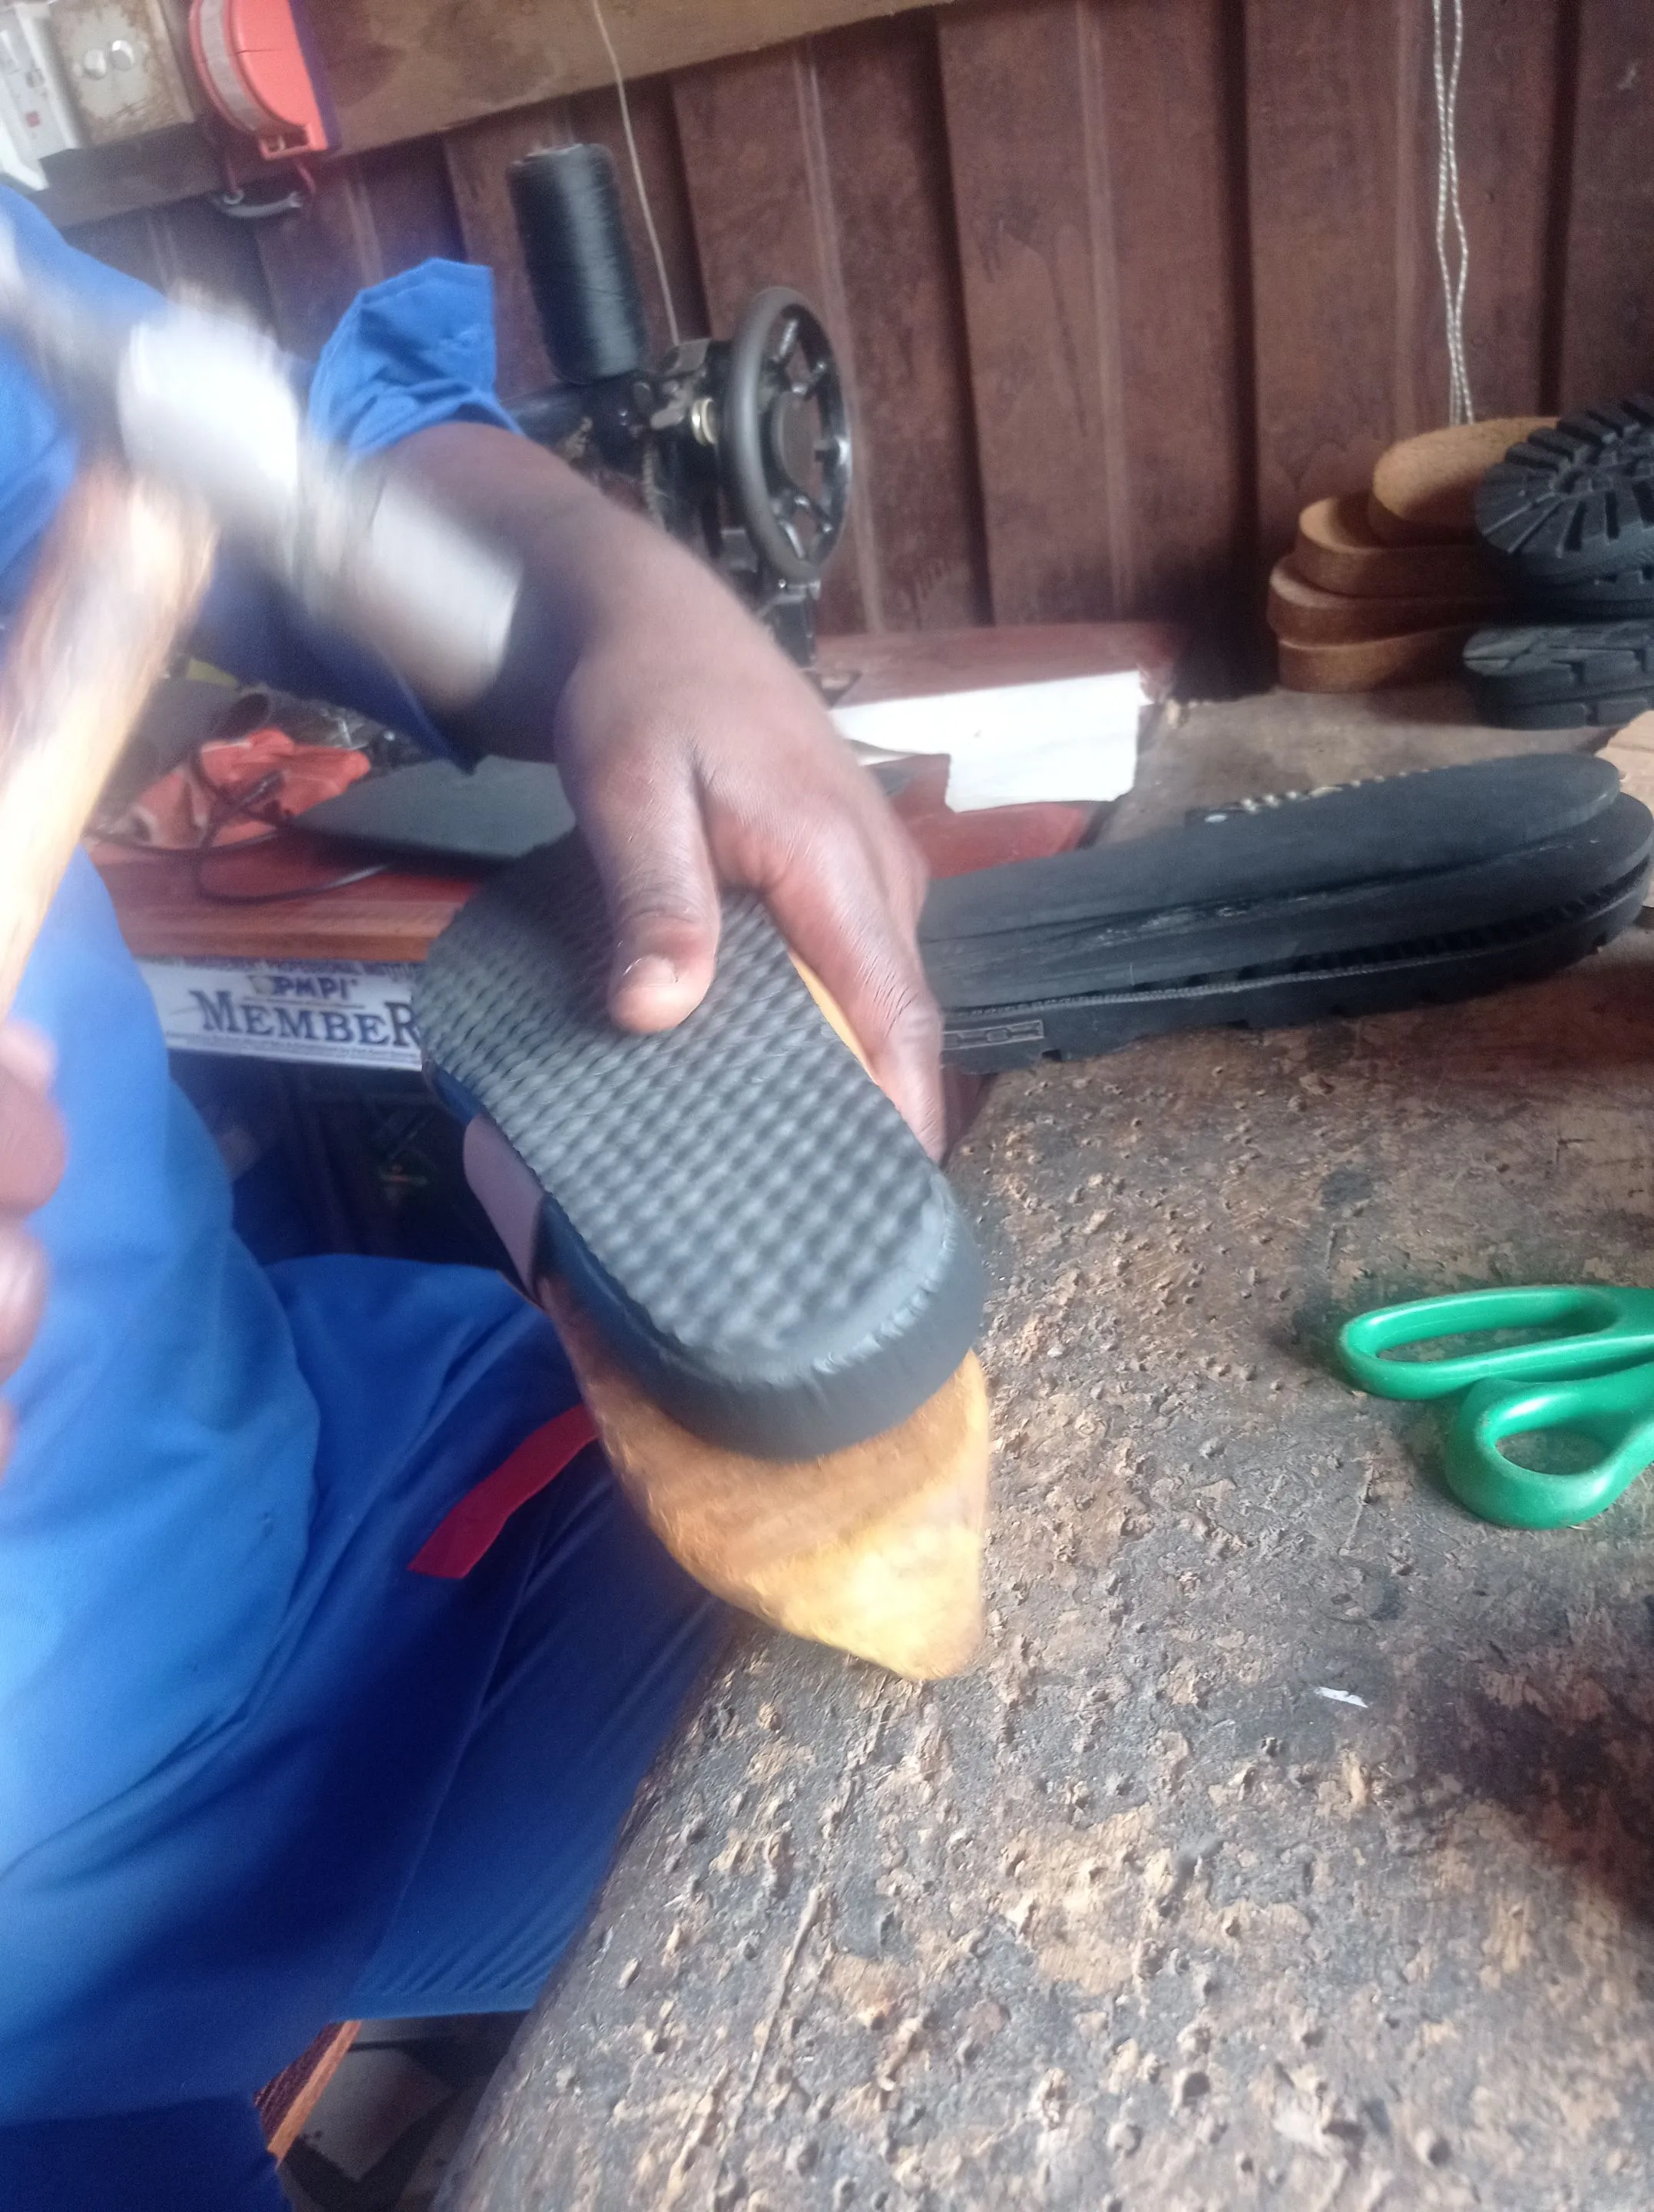
- The final stage is joining of the merge insole and upper with the sole one gum as been applied on both, then you can it with a hammer to stick firmly, and then do a finishing work by applying super glue around it for firm and solid sticking for a long lasting footwear.
 |
 |
 |
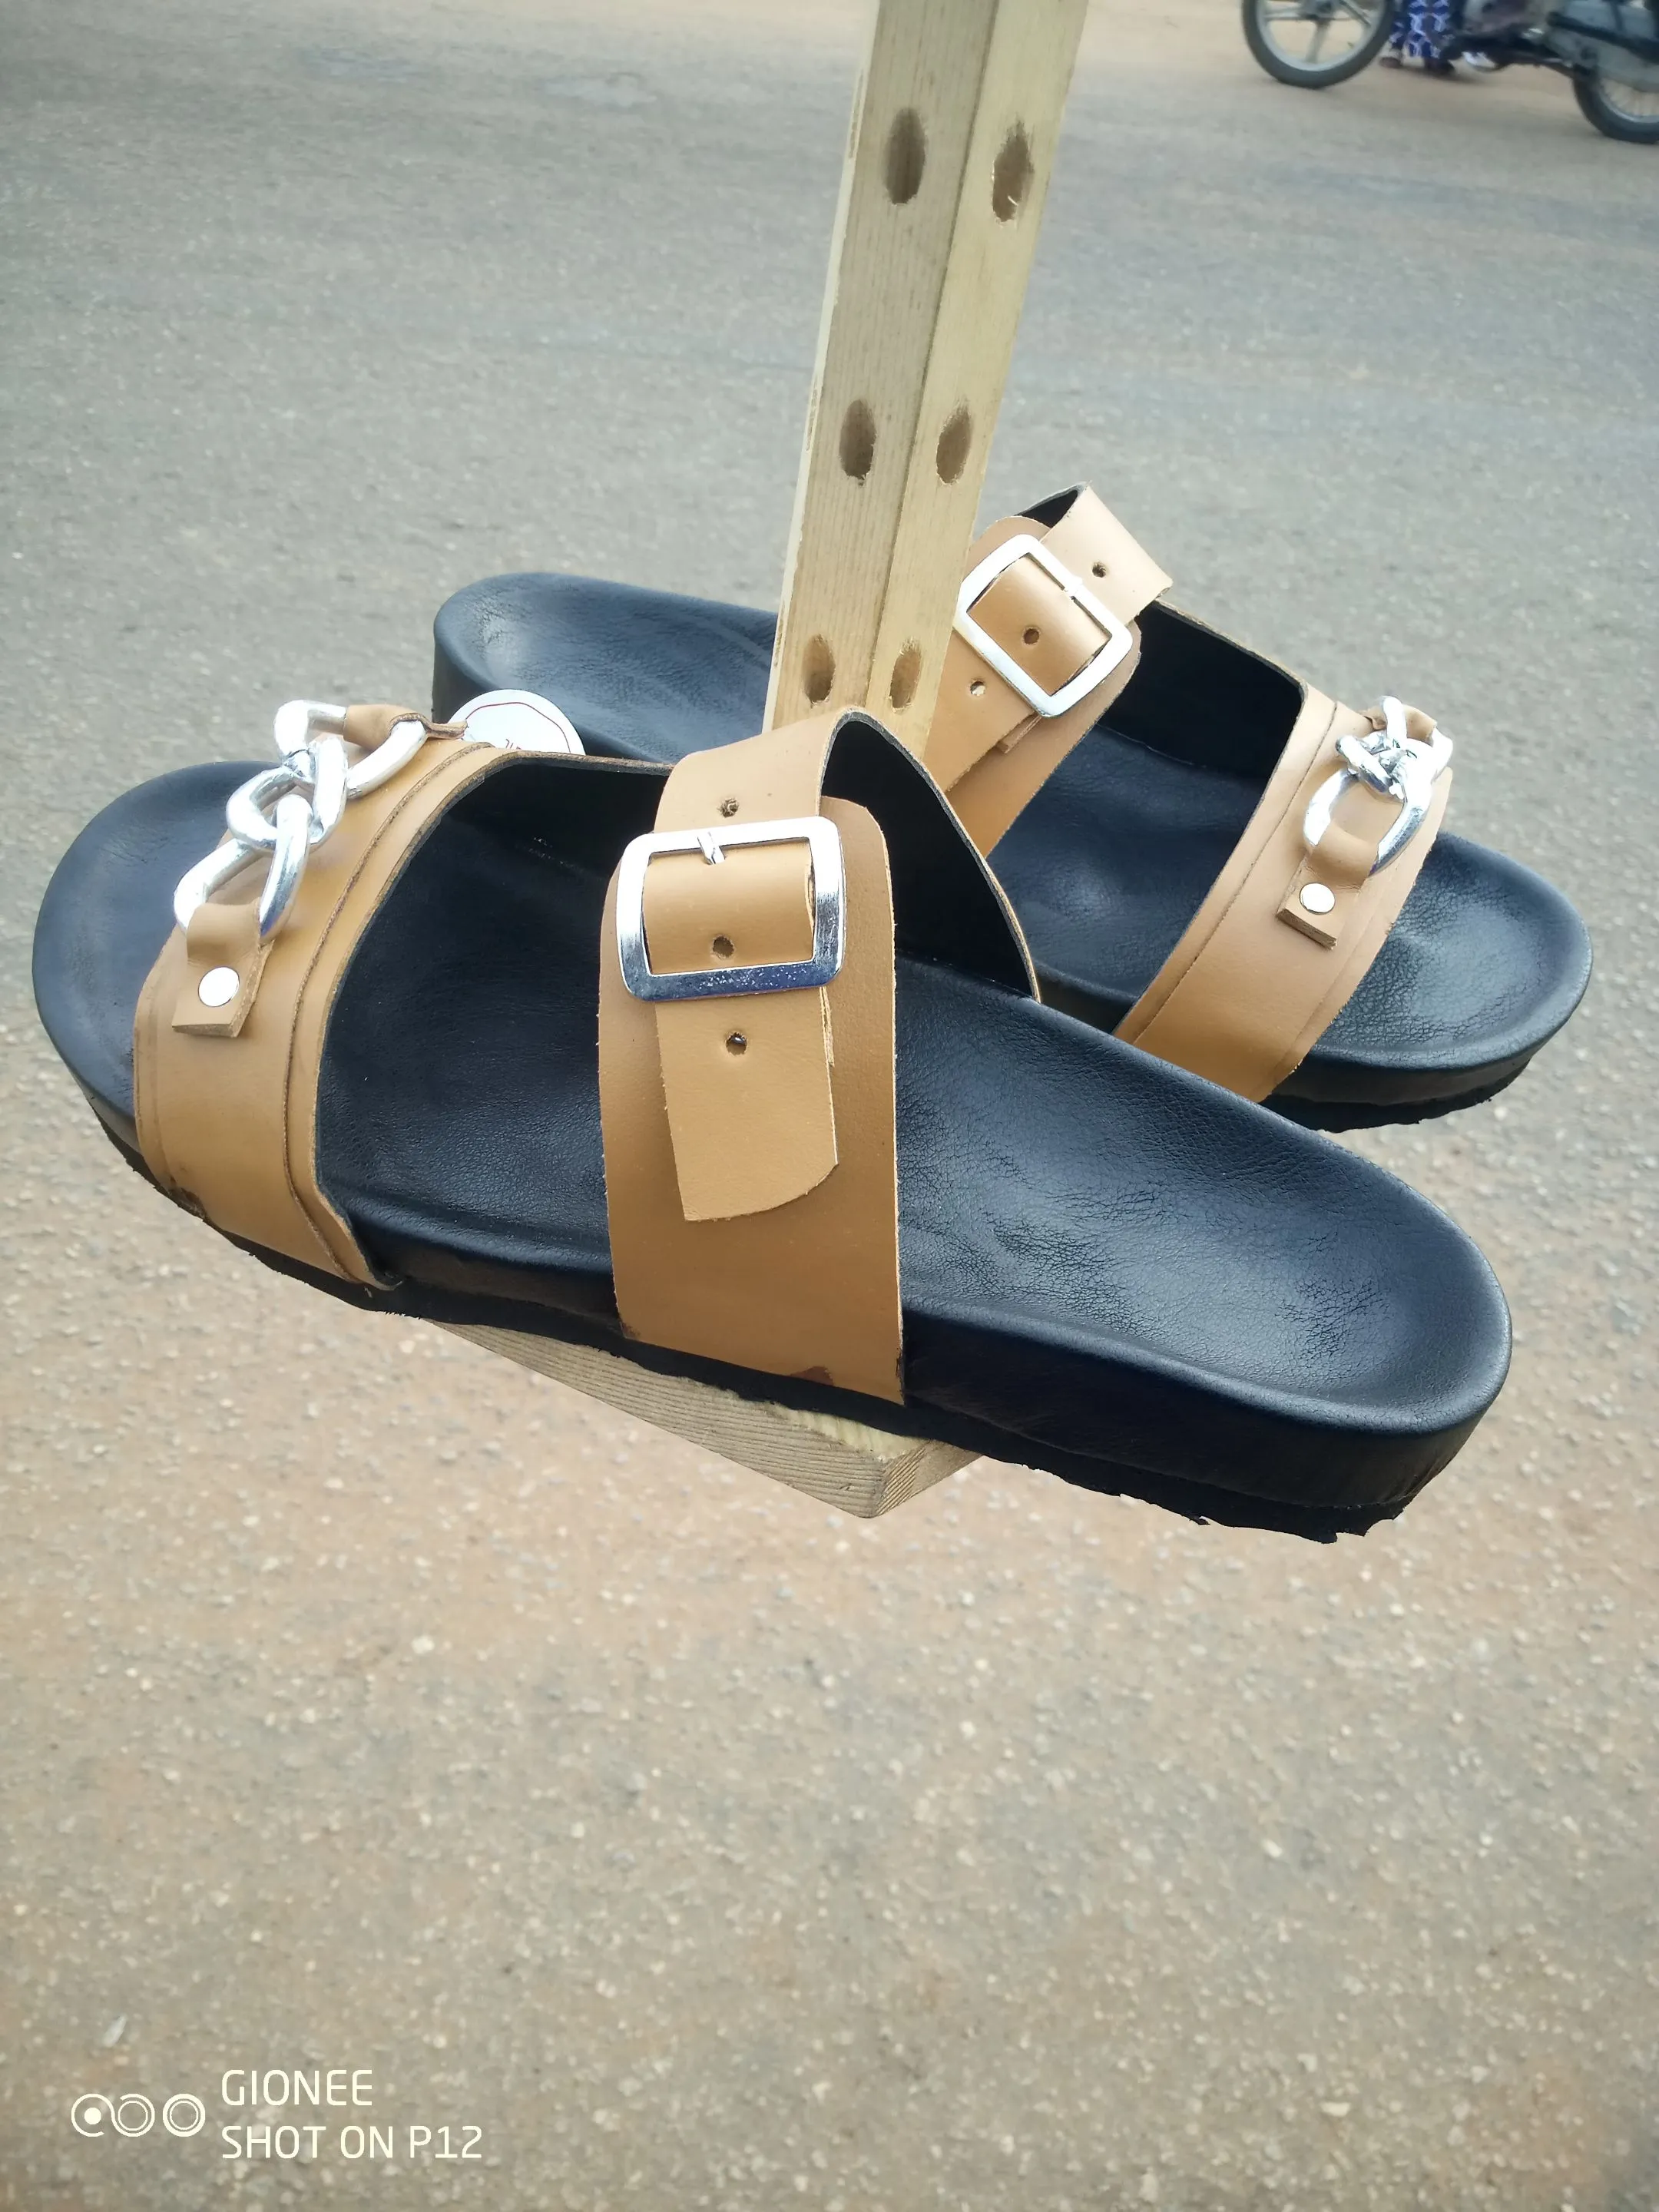
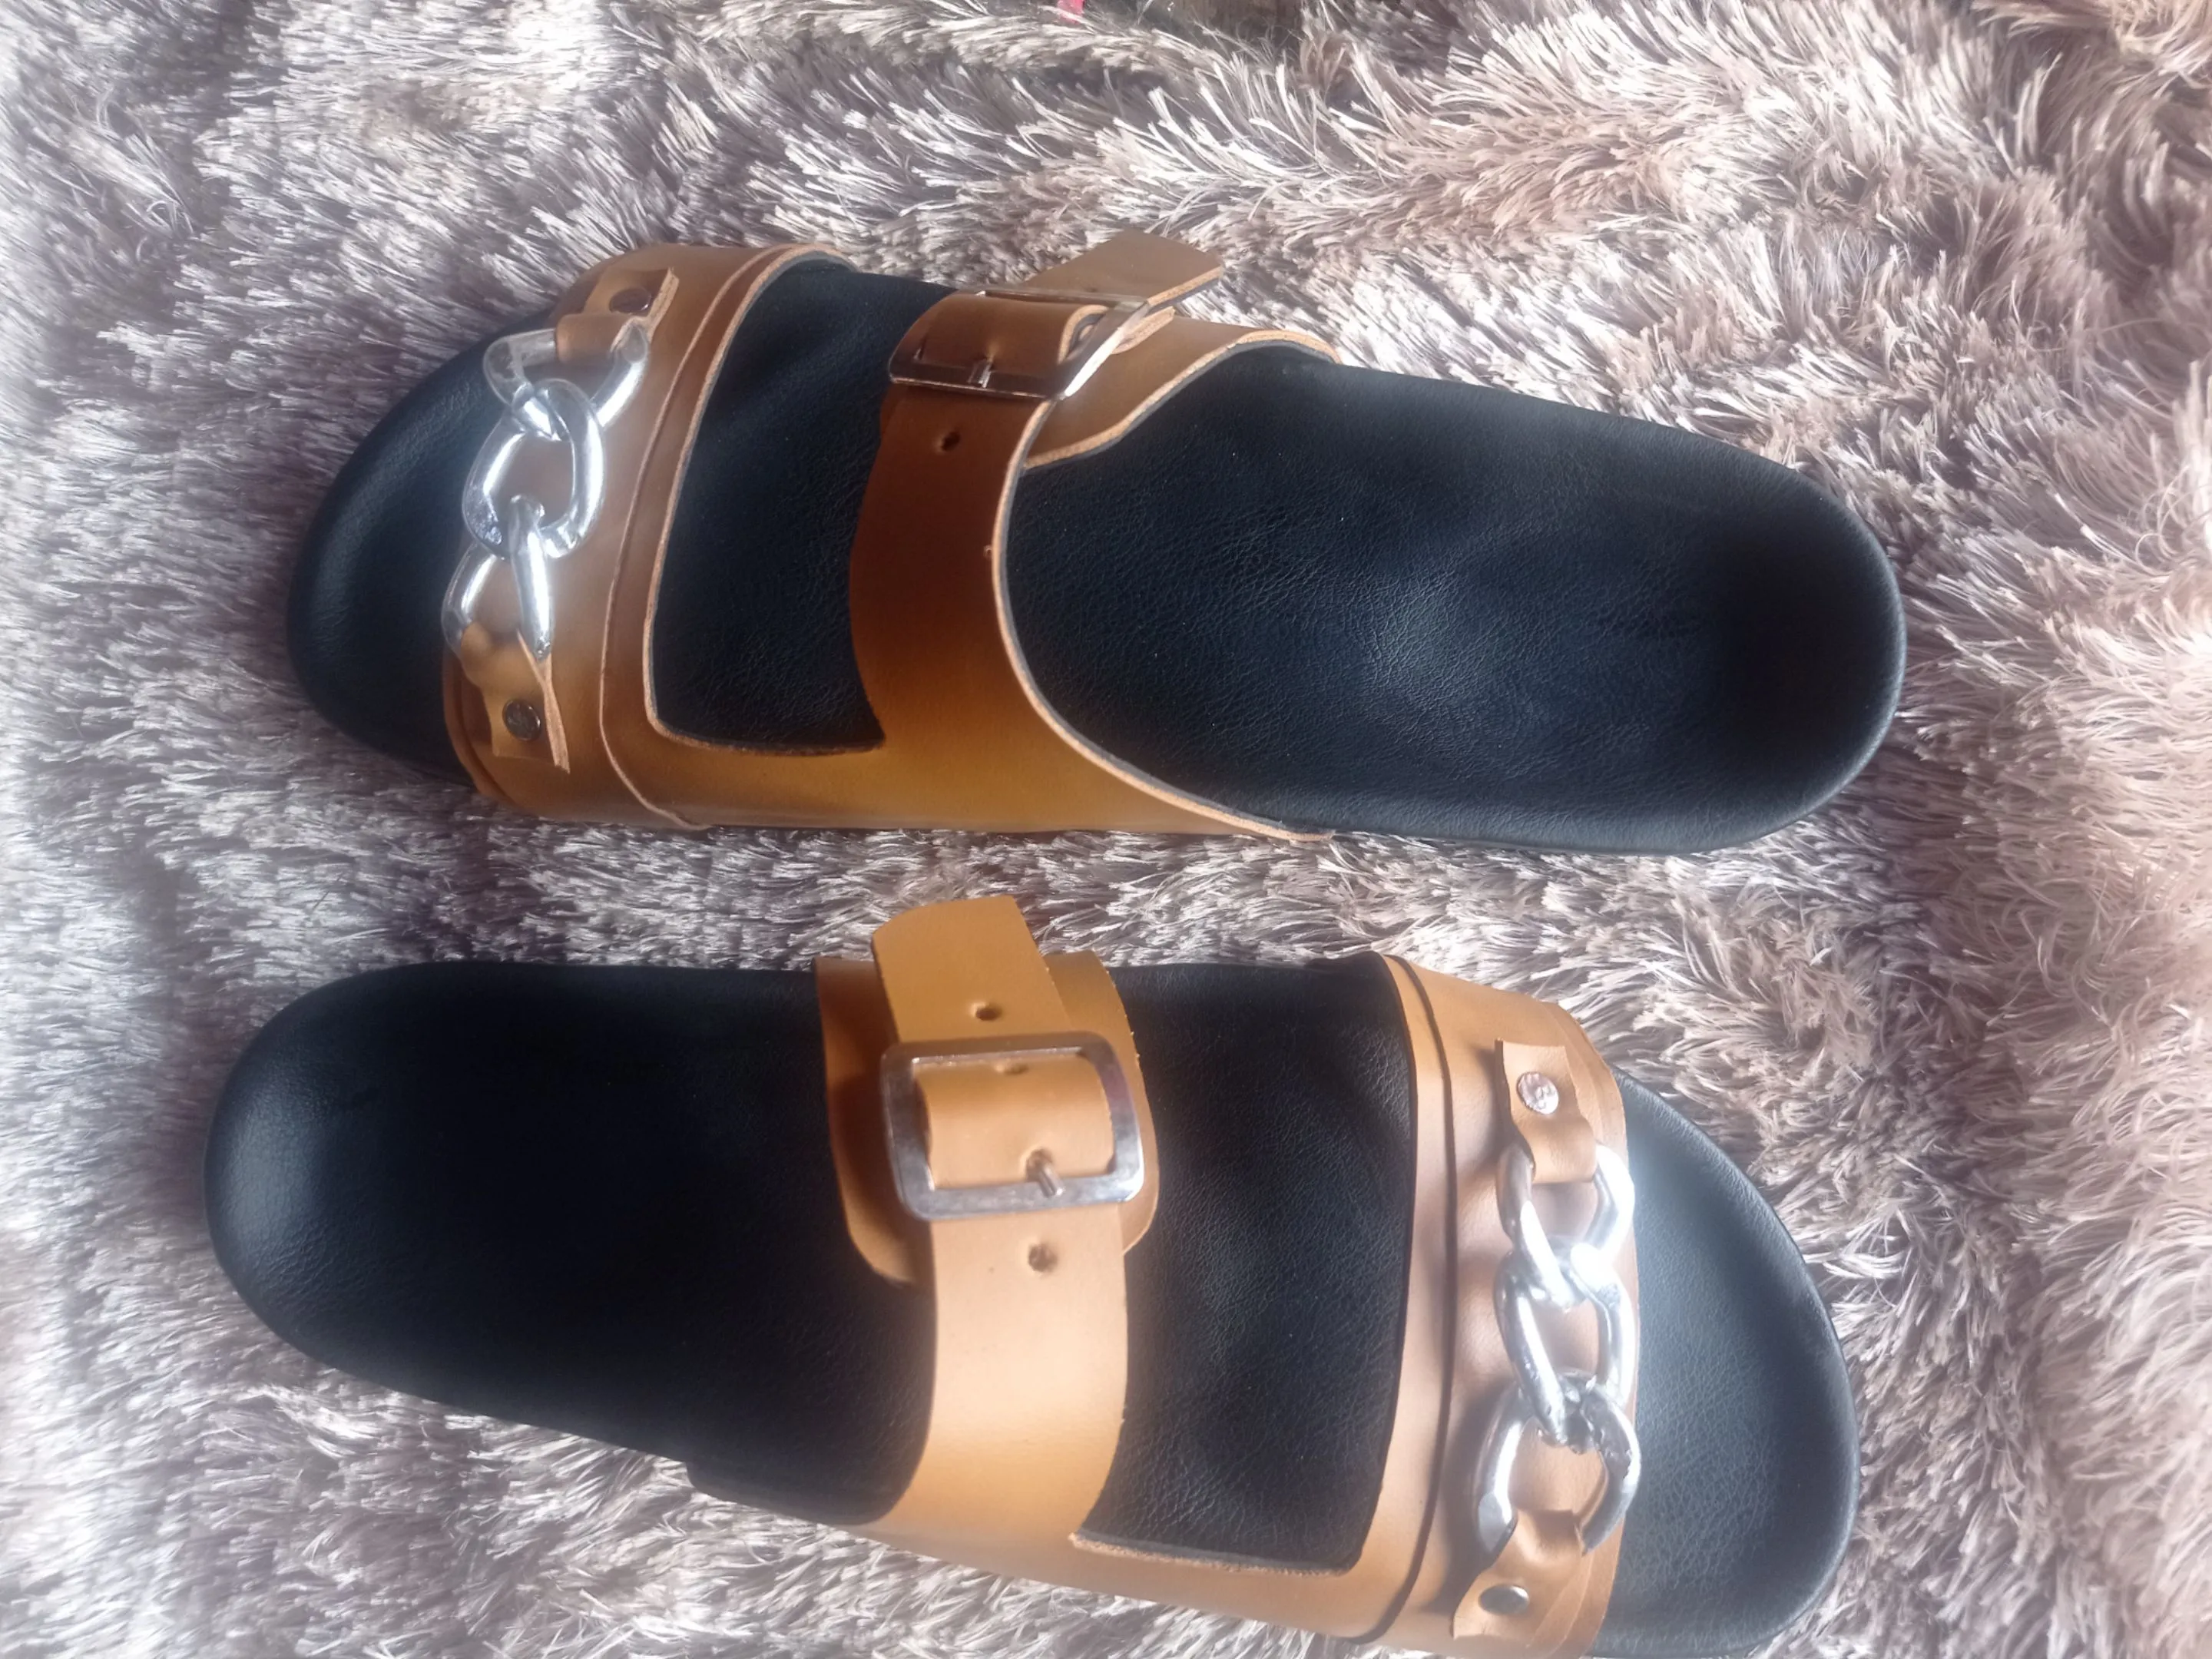
And here is our footwear in all its splendor 👇 .
 |
 |
- You Should give it a try someday, and when you do, feel free to stop by for any question.
THANKS FOR CHECKING OUT MY BLOG POST, I HOPE YOU'VE GOT VALUE, AND LEARN A THING OR TWO, I'LL BE IN THE COMMENTS SECTION TO ANSWER ALL YOUR QUESTIONS RELATING TO SHOEMAKING TIPS.
GREETINGS FROM: @vickoly
Return from DIY PROCESS OF HOW I MADE THIS GORGEOUS SLIPPERS to vickoly's Web3 Blog

