###
Happy new month to all my fellow needleworkers and friends on the blockchain, July was a fulfilling month filled with so much blessings, and I hope August also as the best in store for me in all aspects, it's good to be back here among like-minded individuals and I'll love to grace your sight with some of my latest completed #WIP project from the initial Introduction list.
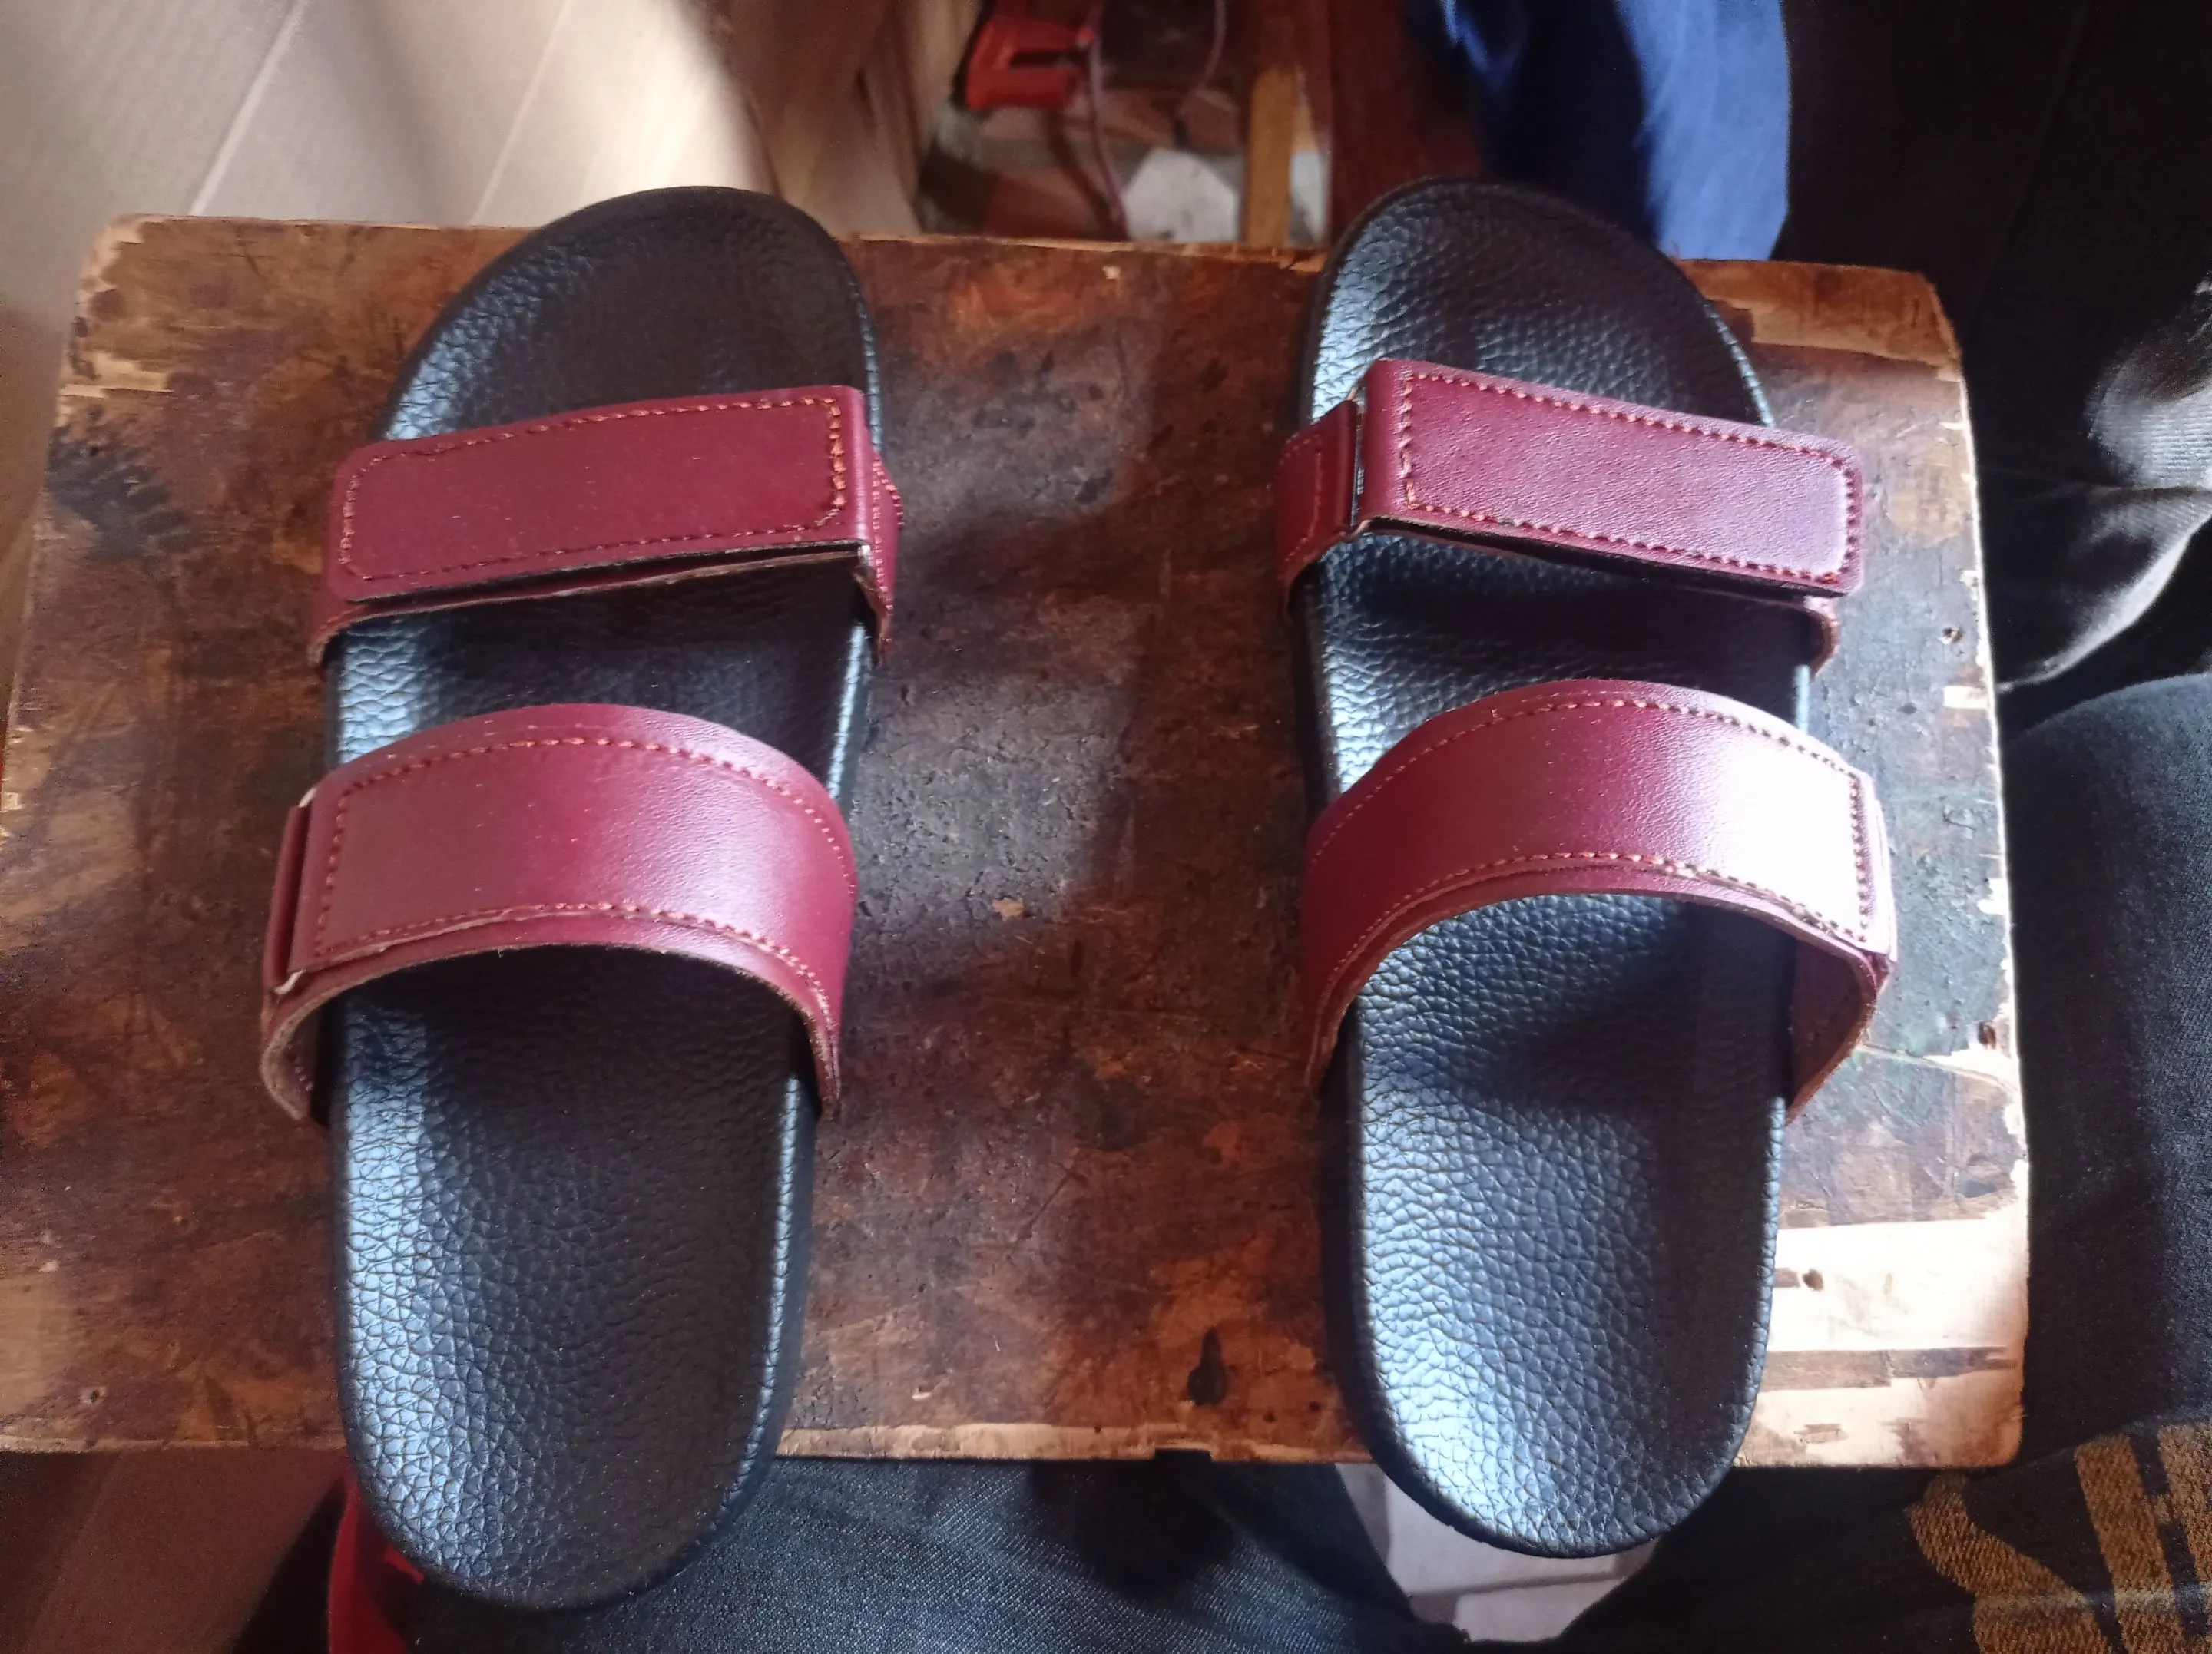
It'll be recalled that's I said I've got about 17 footwear to complete within the next 5 days, of which I now have 2½ days to day, but luckily for me I seem to be doing just fine, because as the time of writing this post, I've fully completed 9 of these projects, meaning I've got just 8 more to work on, the good thing is that I've done some work on the remaining 8 too, though they're still far from completion.
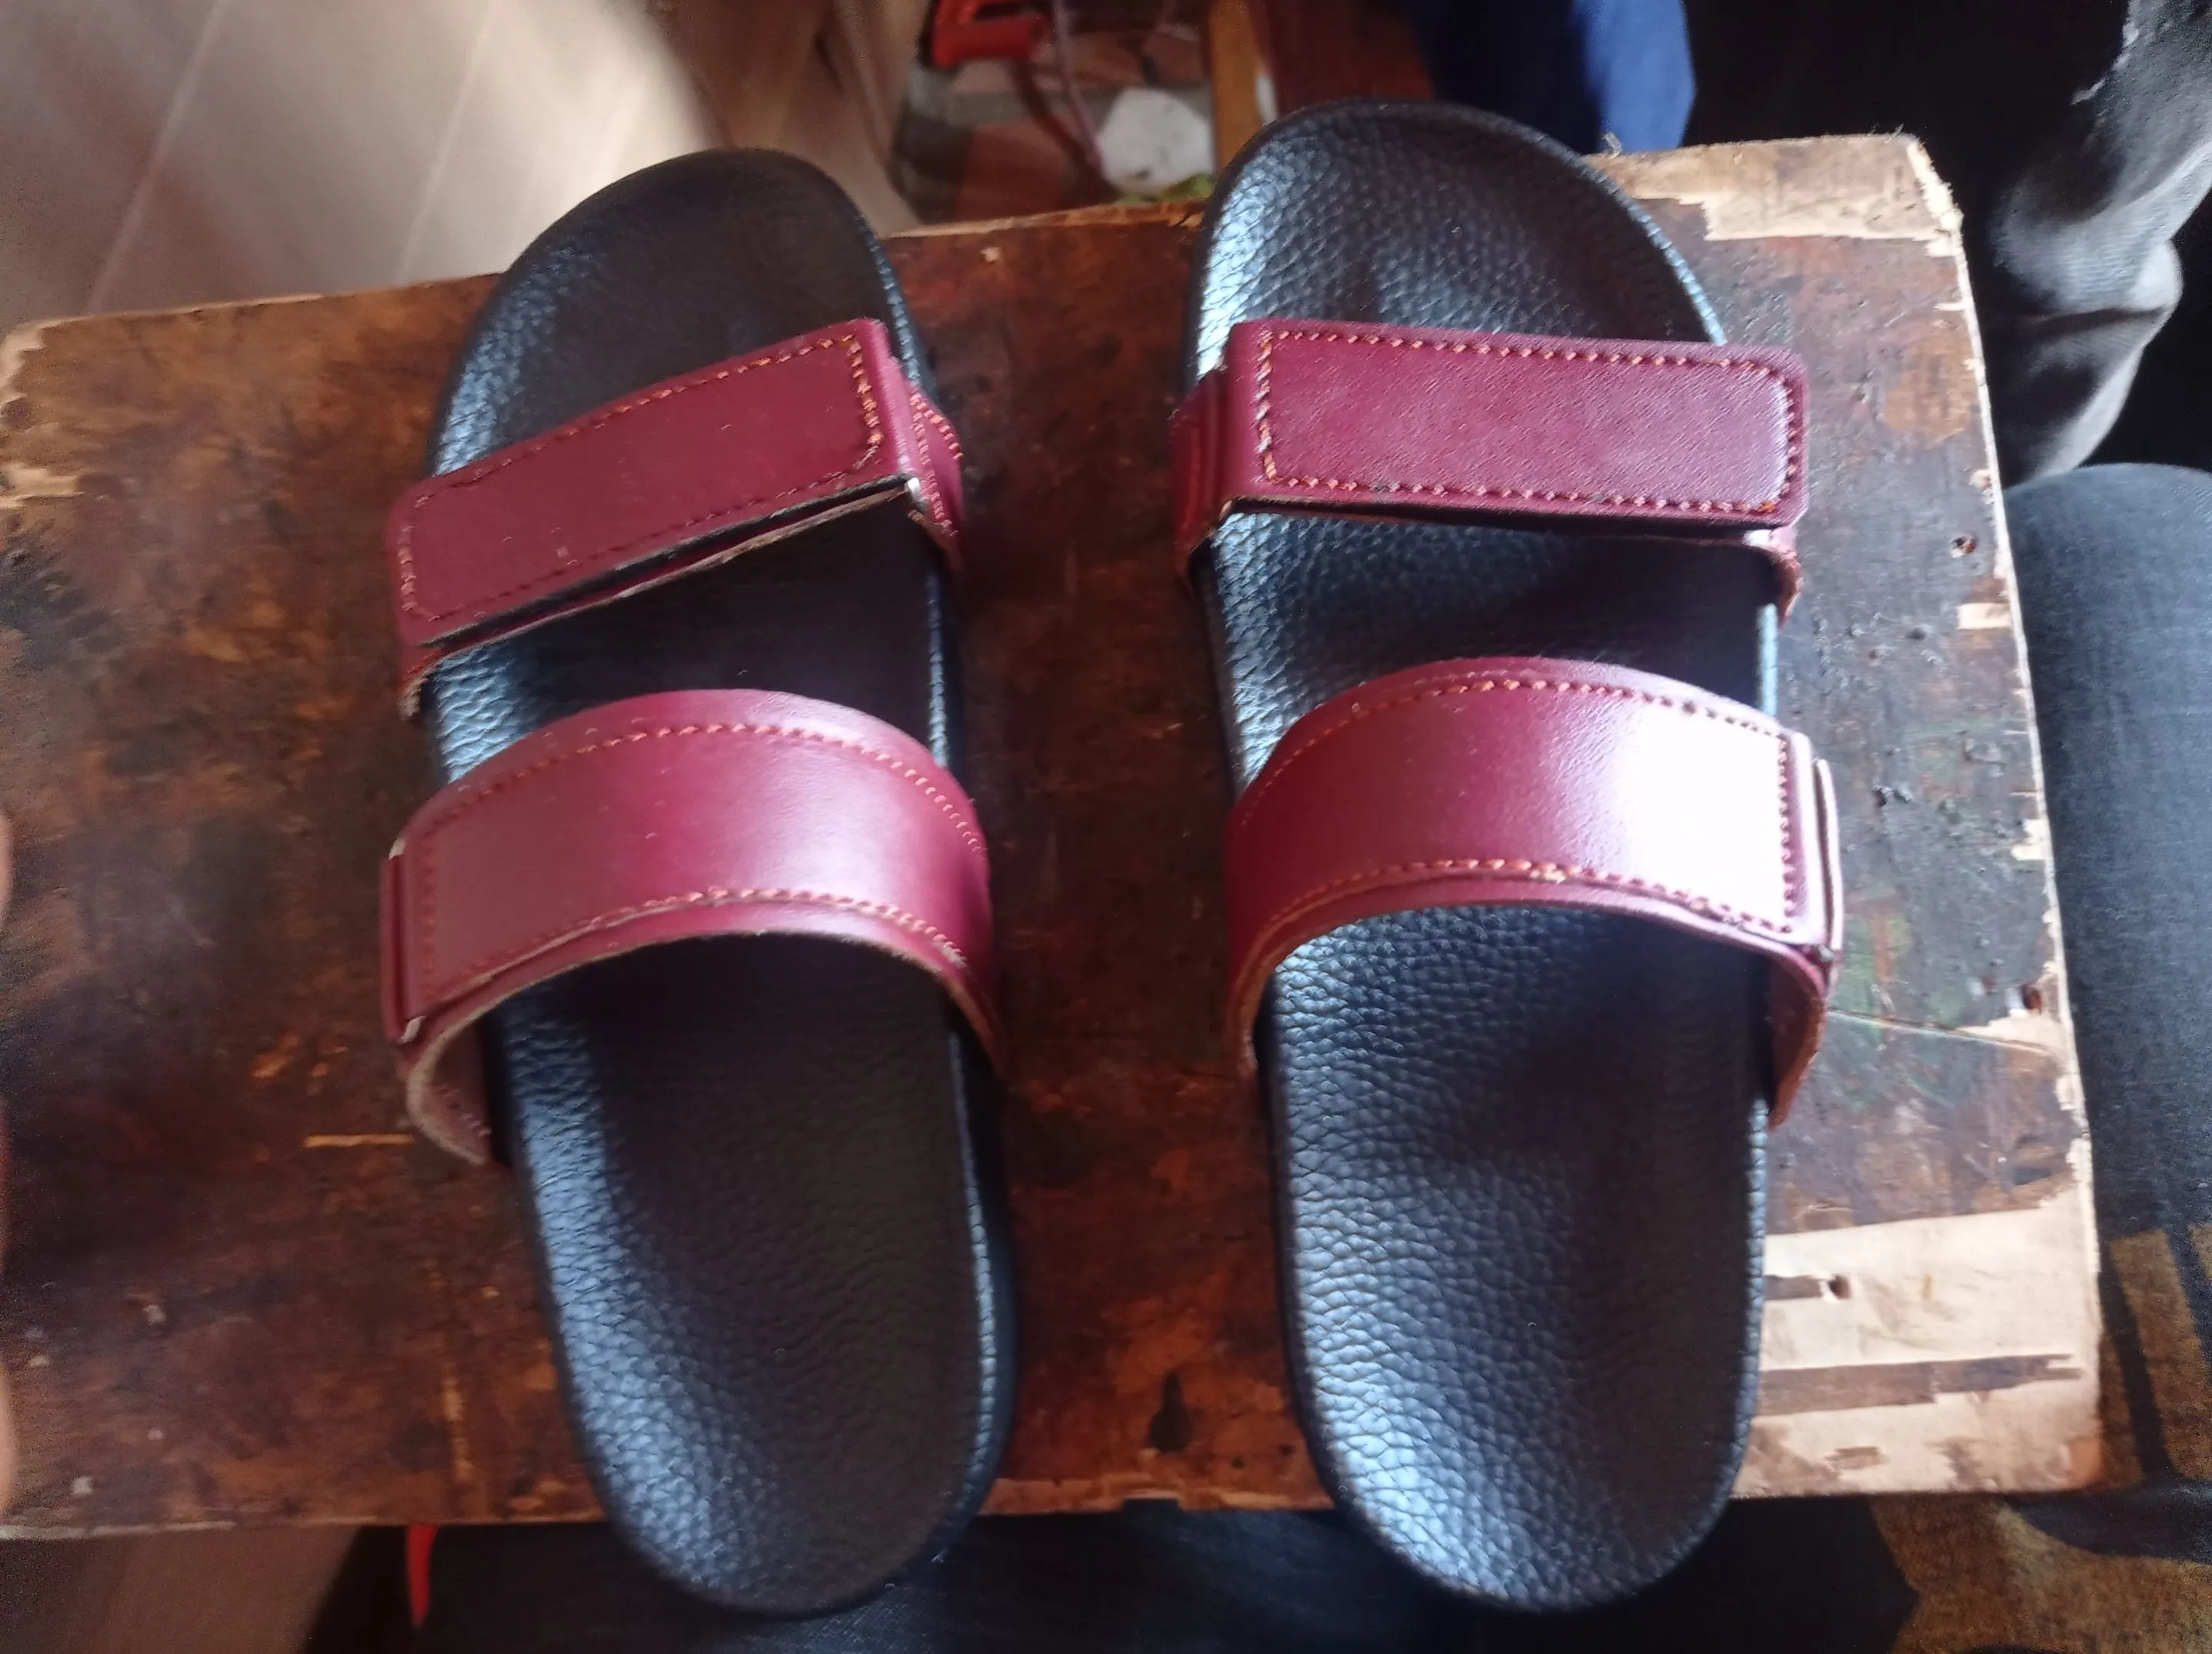
Accomplishing these in such a short period wasn't an easy task at all, in fact it took me some extra working hours and some help from my colleague and apprentice to get these done, below is the step by step process of how I made these beautiful wine colour leather sandals.
https://files.peakd.com/file/peakd-hive/vickoly/23x1abcXk2RqBSvQFCTSyjYUtnF9iuT4h69CRd45vXCLbNJS2b6593xDrPS9a4HbdhNgp.png
MATERIALS USED
- Leather material
- Foreign sole (polyurethane Soles)
- lining
- Gum
- Super Glue.
https://files.peakd.com/file/peakd-hive/vickoly/23x1abcXk2RqBSvQFCTSyjYUtnF9iuT4h69CRd45vXCLbNJS2b6593xDrPS9a4HbdhNgp.png
MAKING PROCESSES
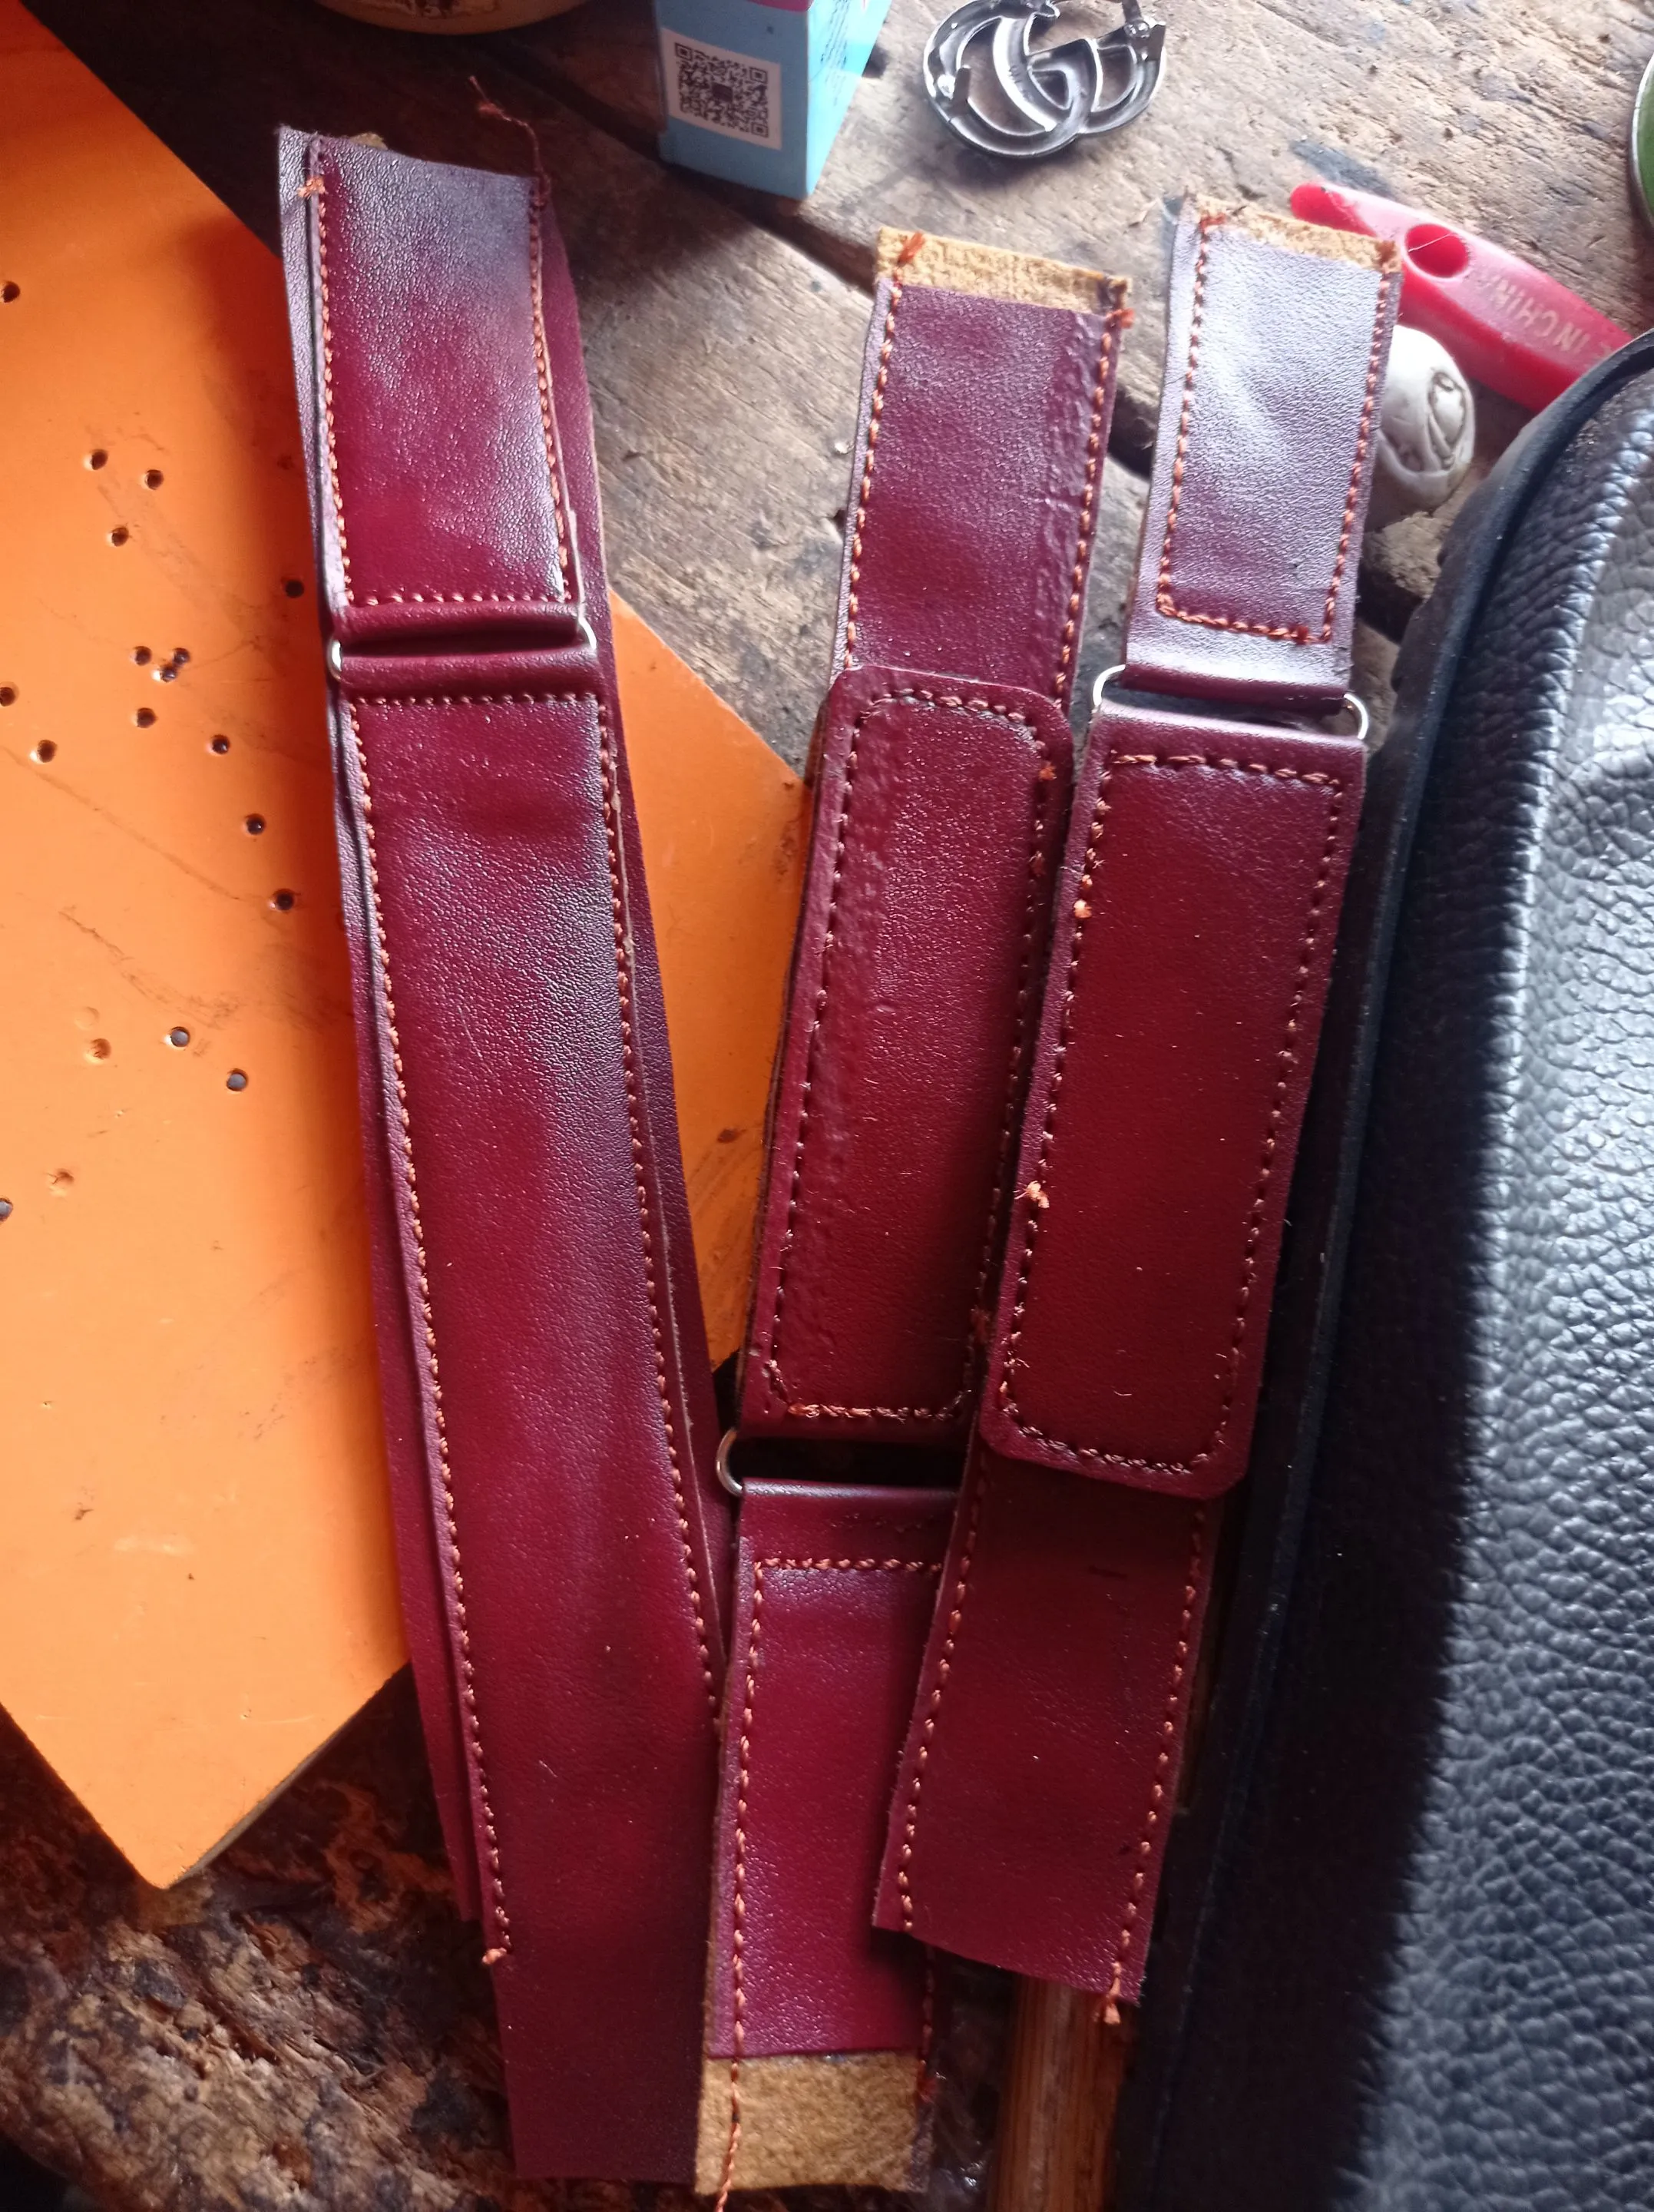
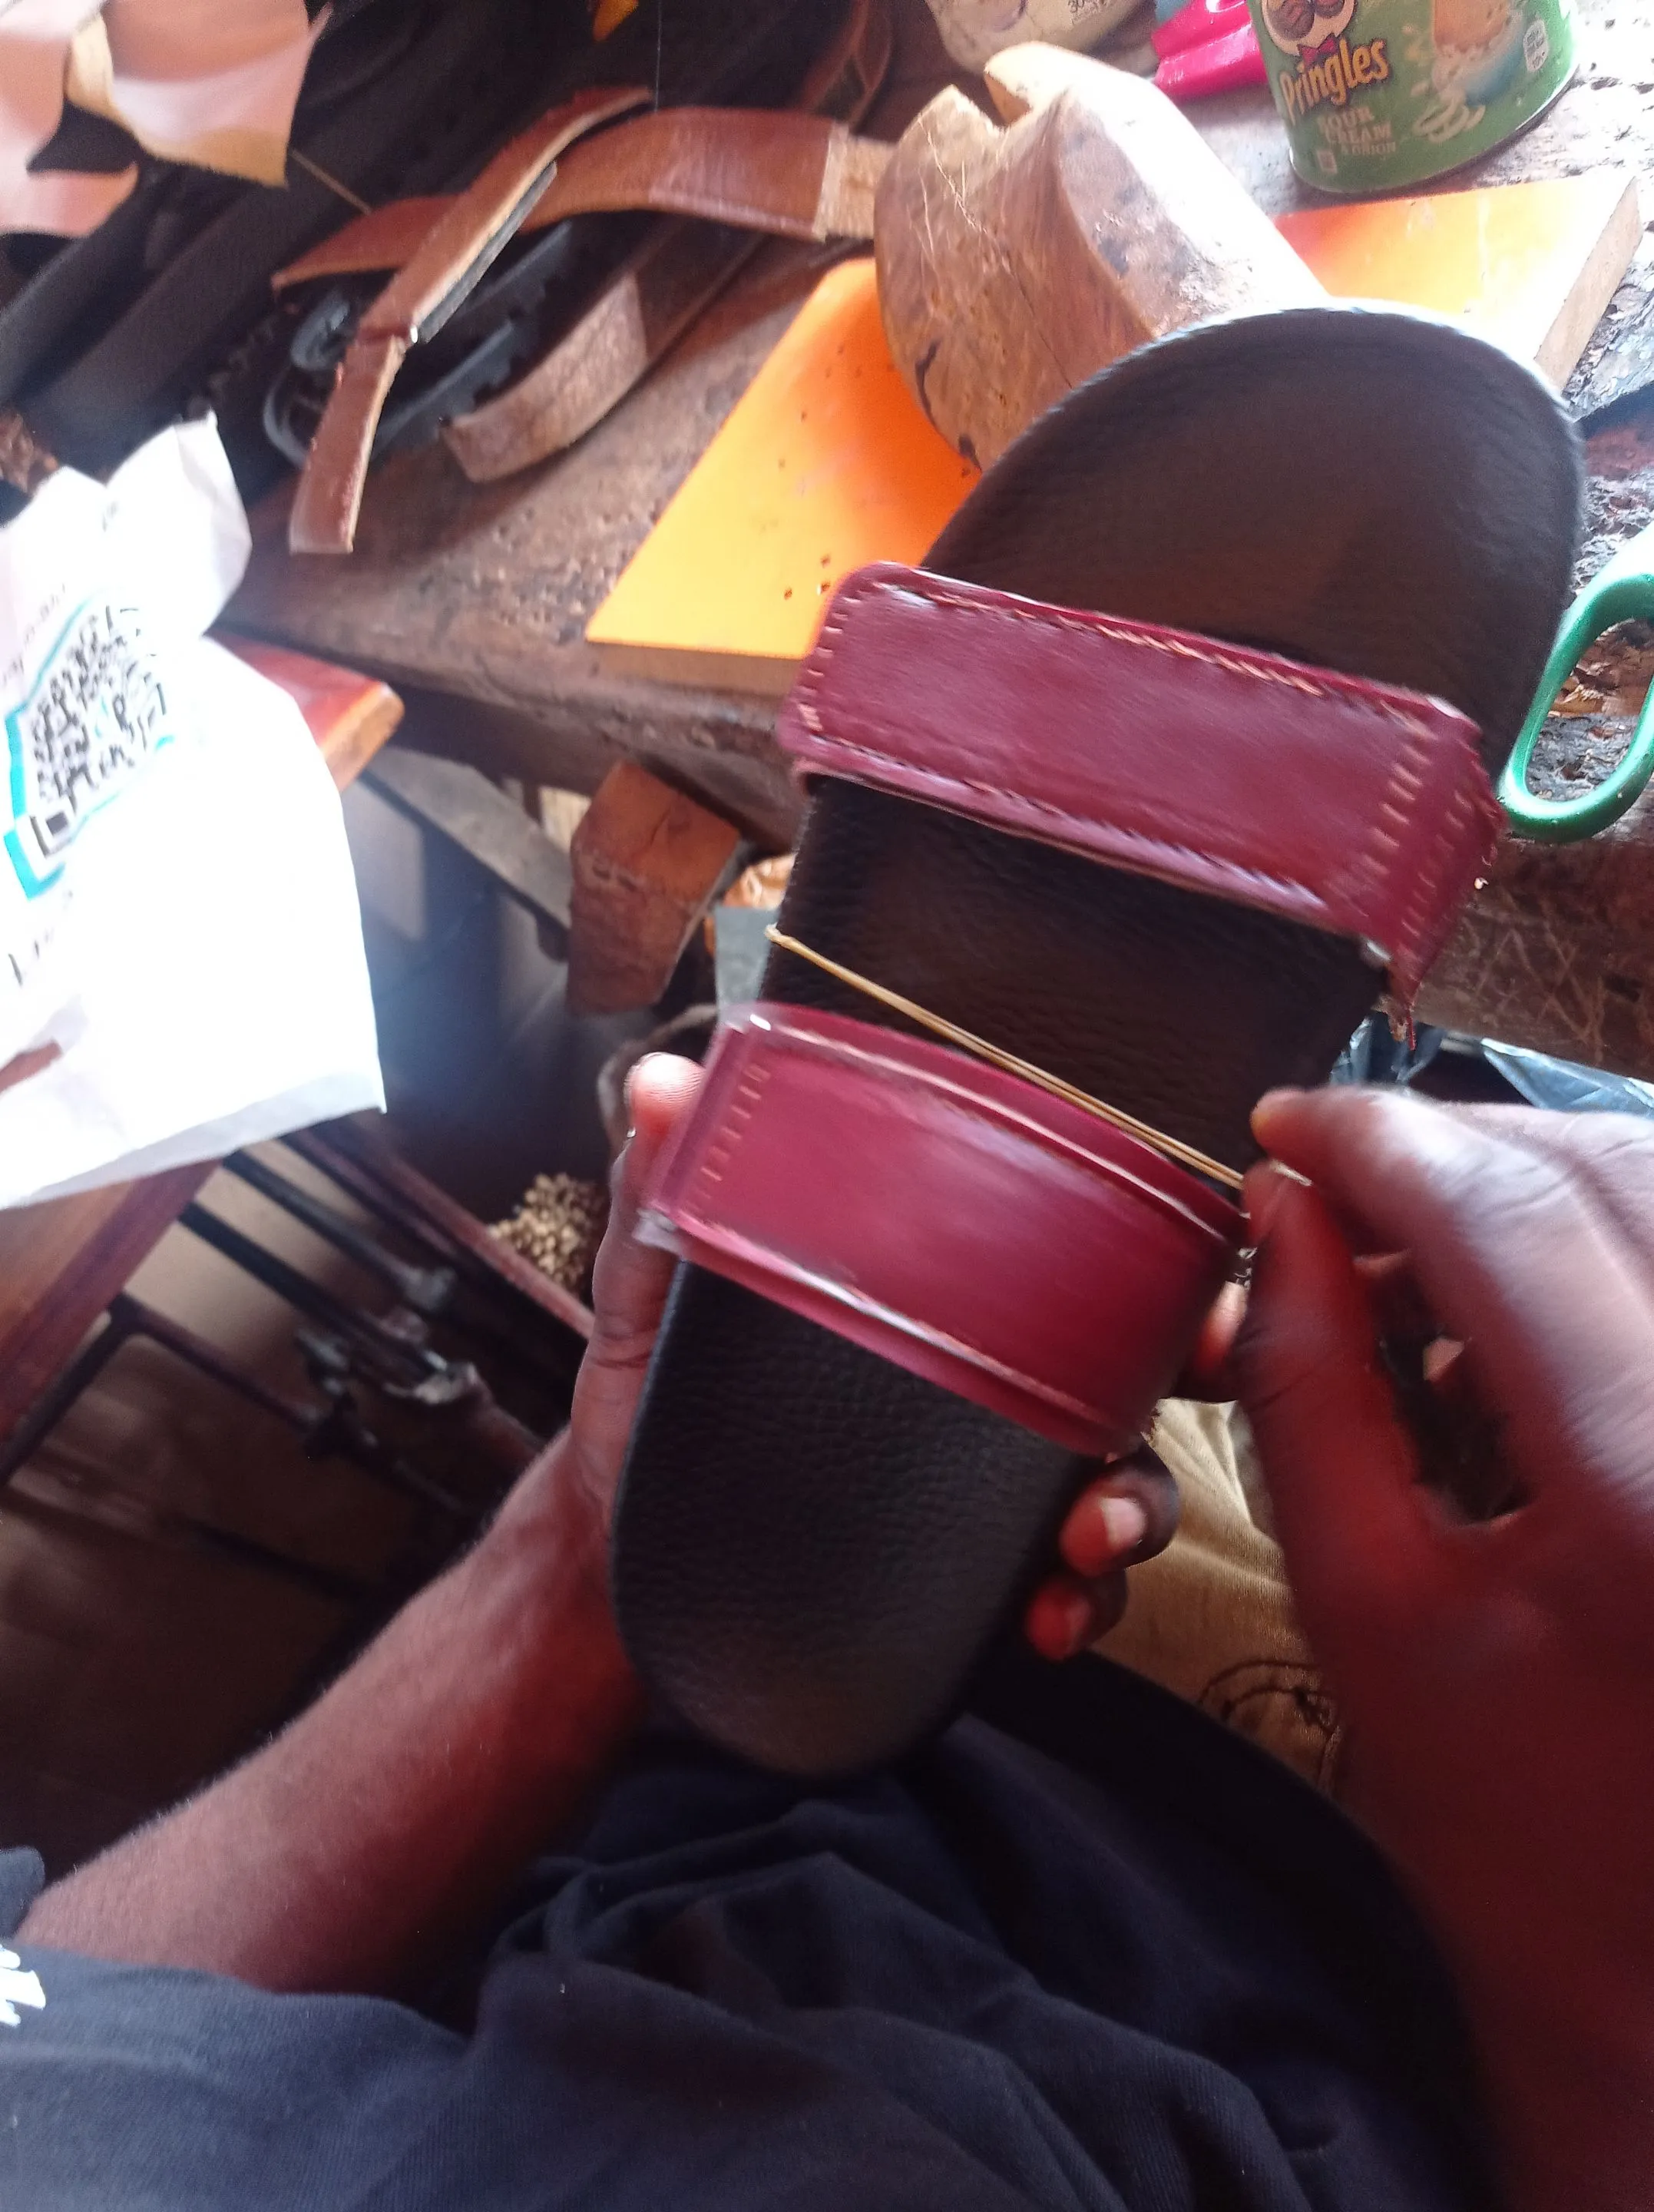
- So I just took the leather and sole to the filling making, so the part to be joined together can have a rough surface, after which I rub gum on those edge.
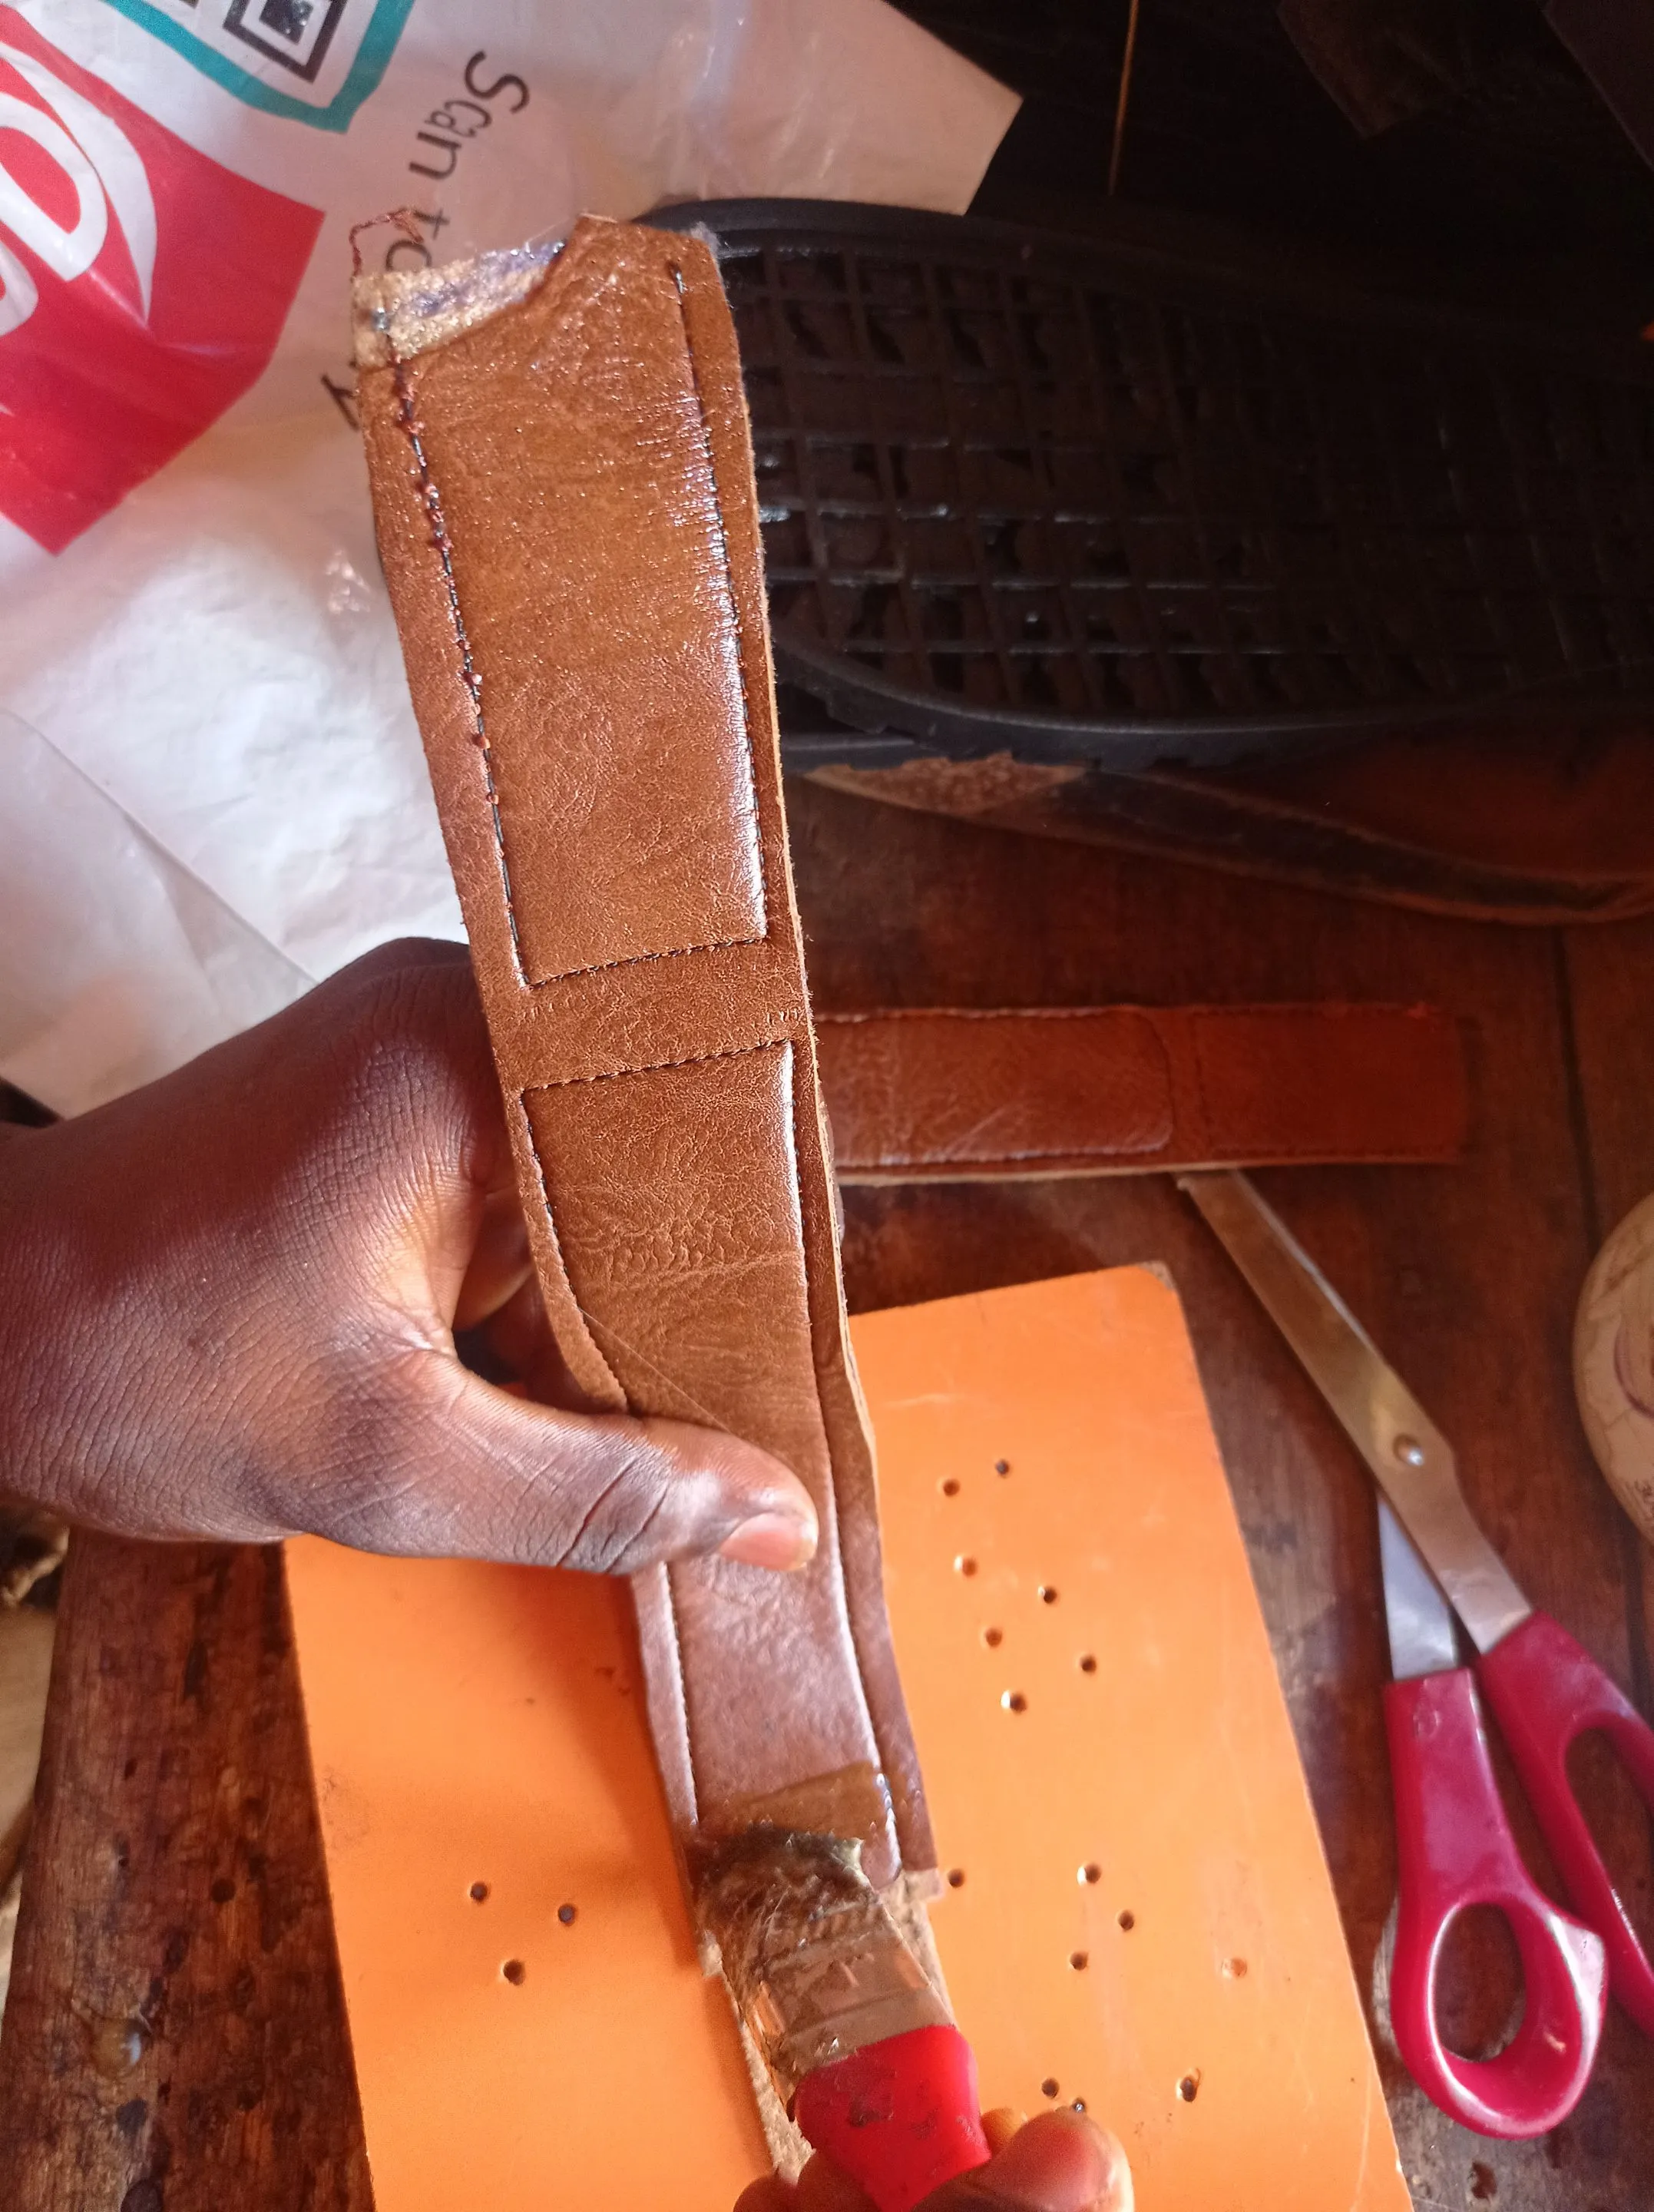
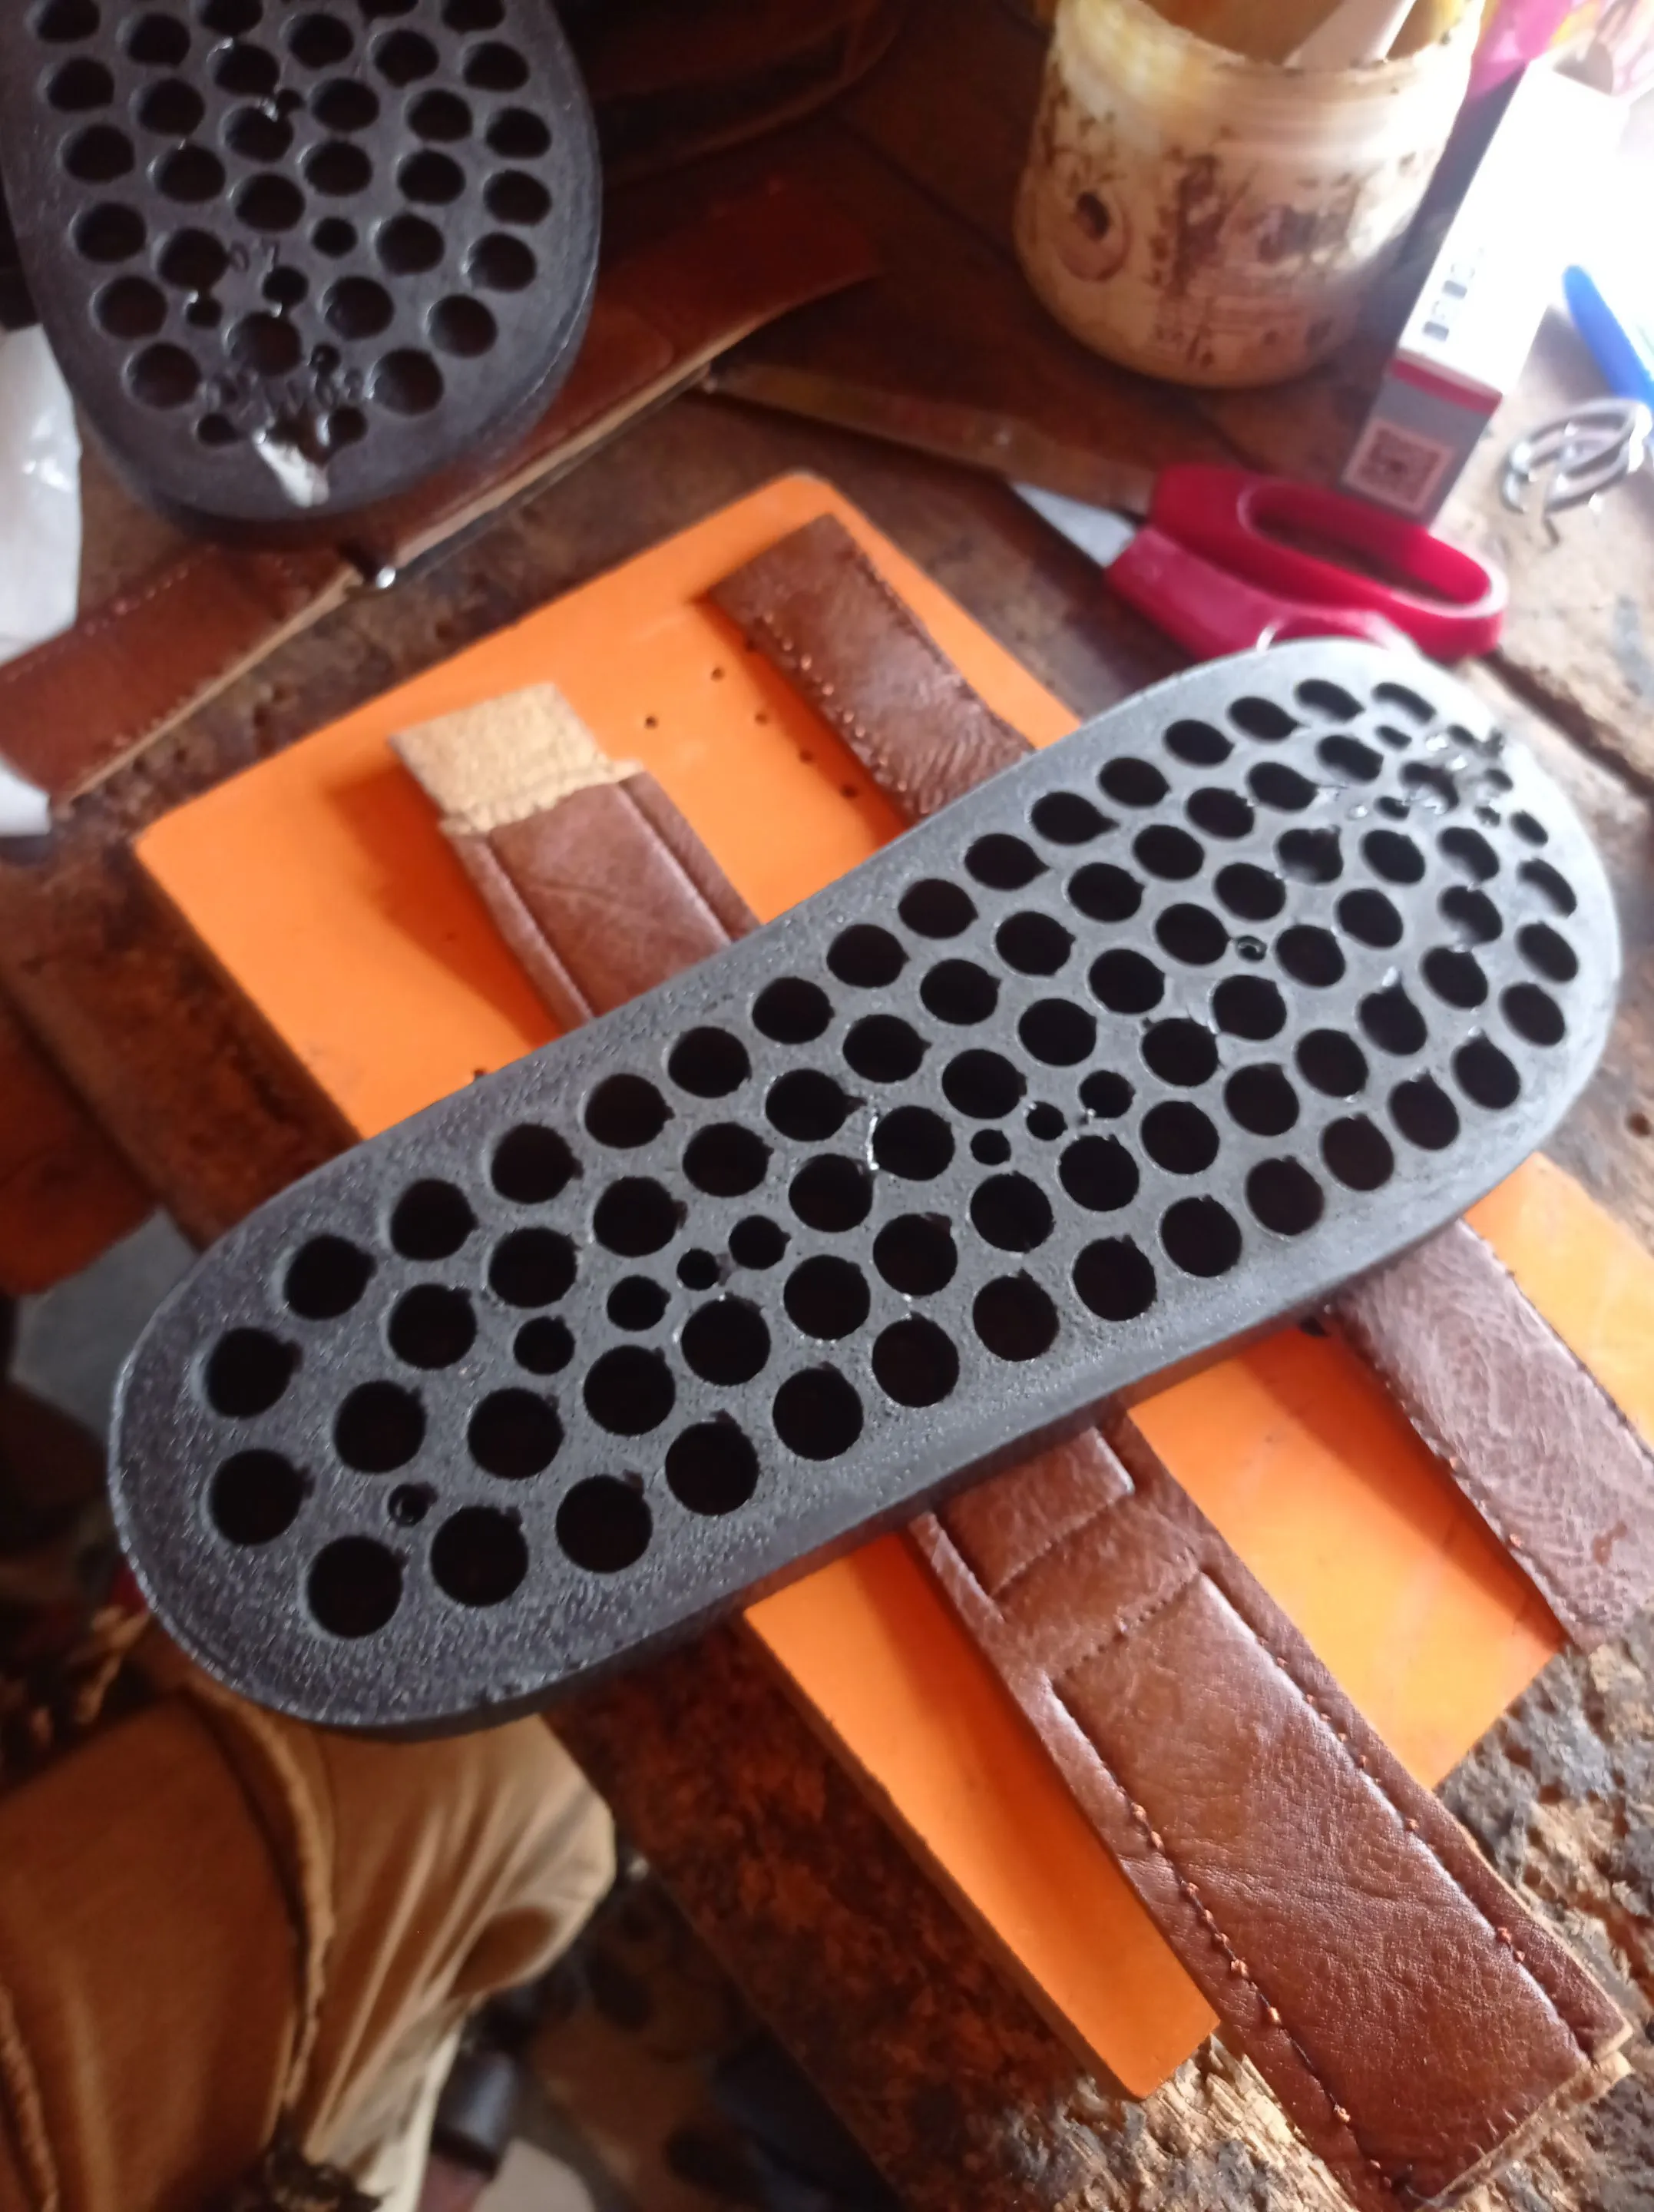
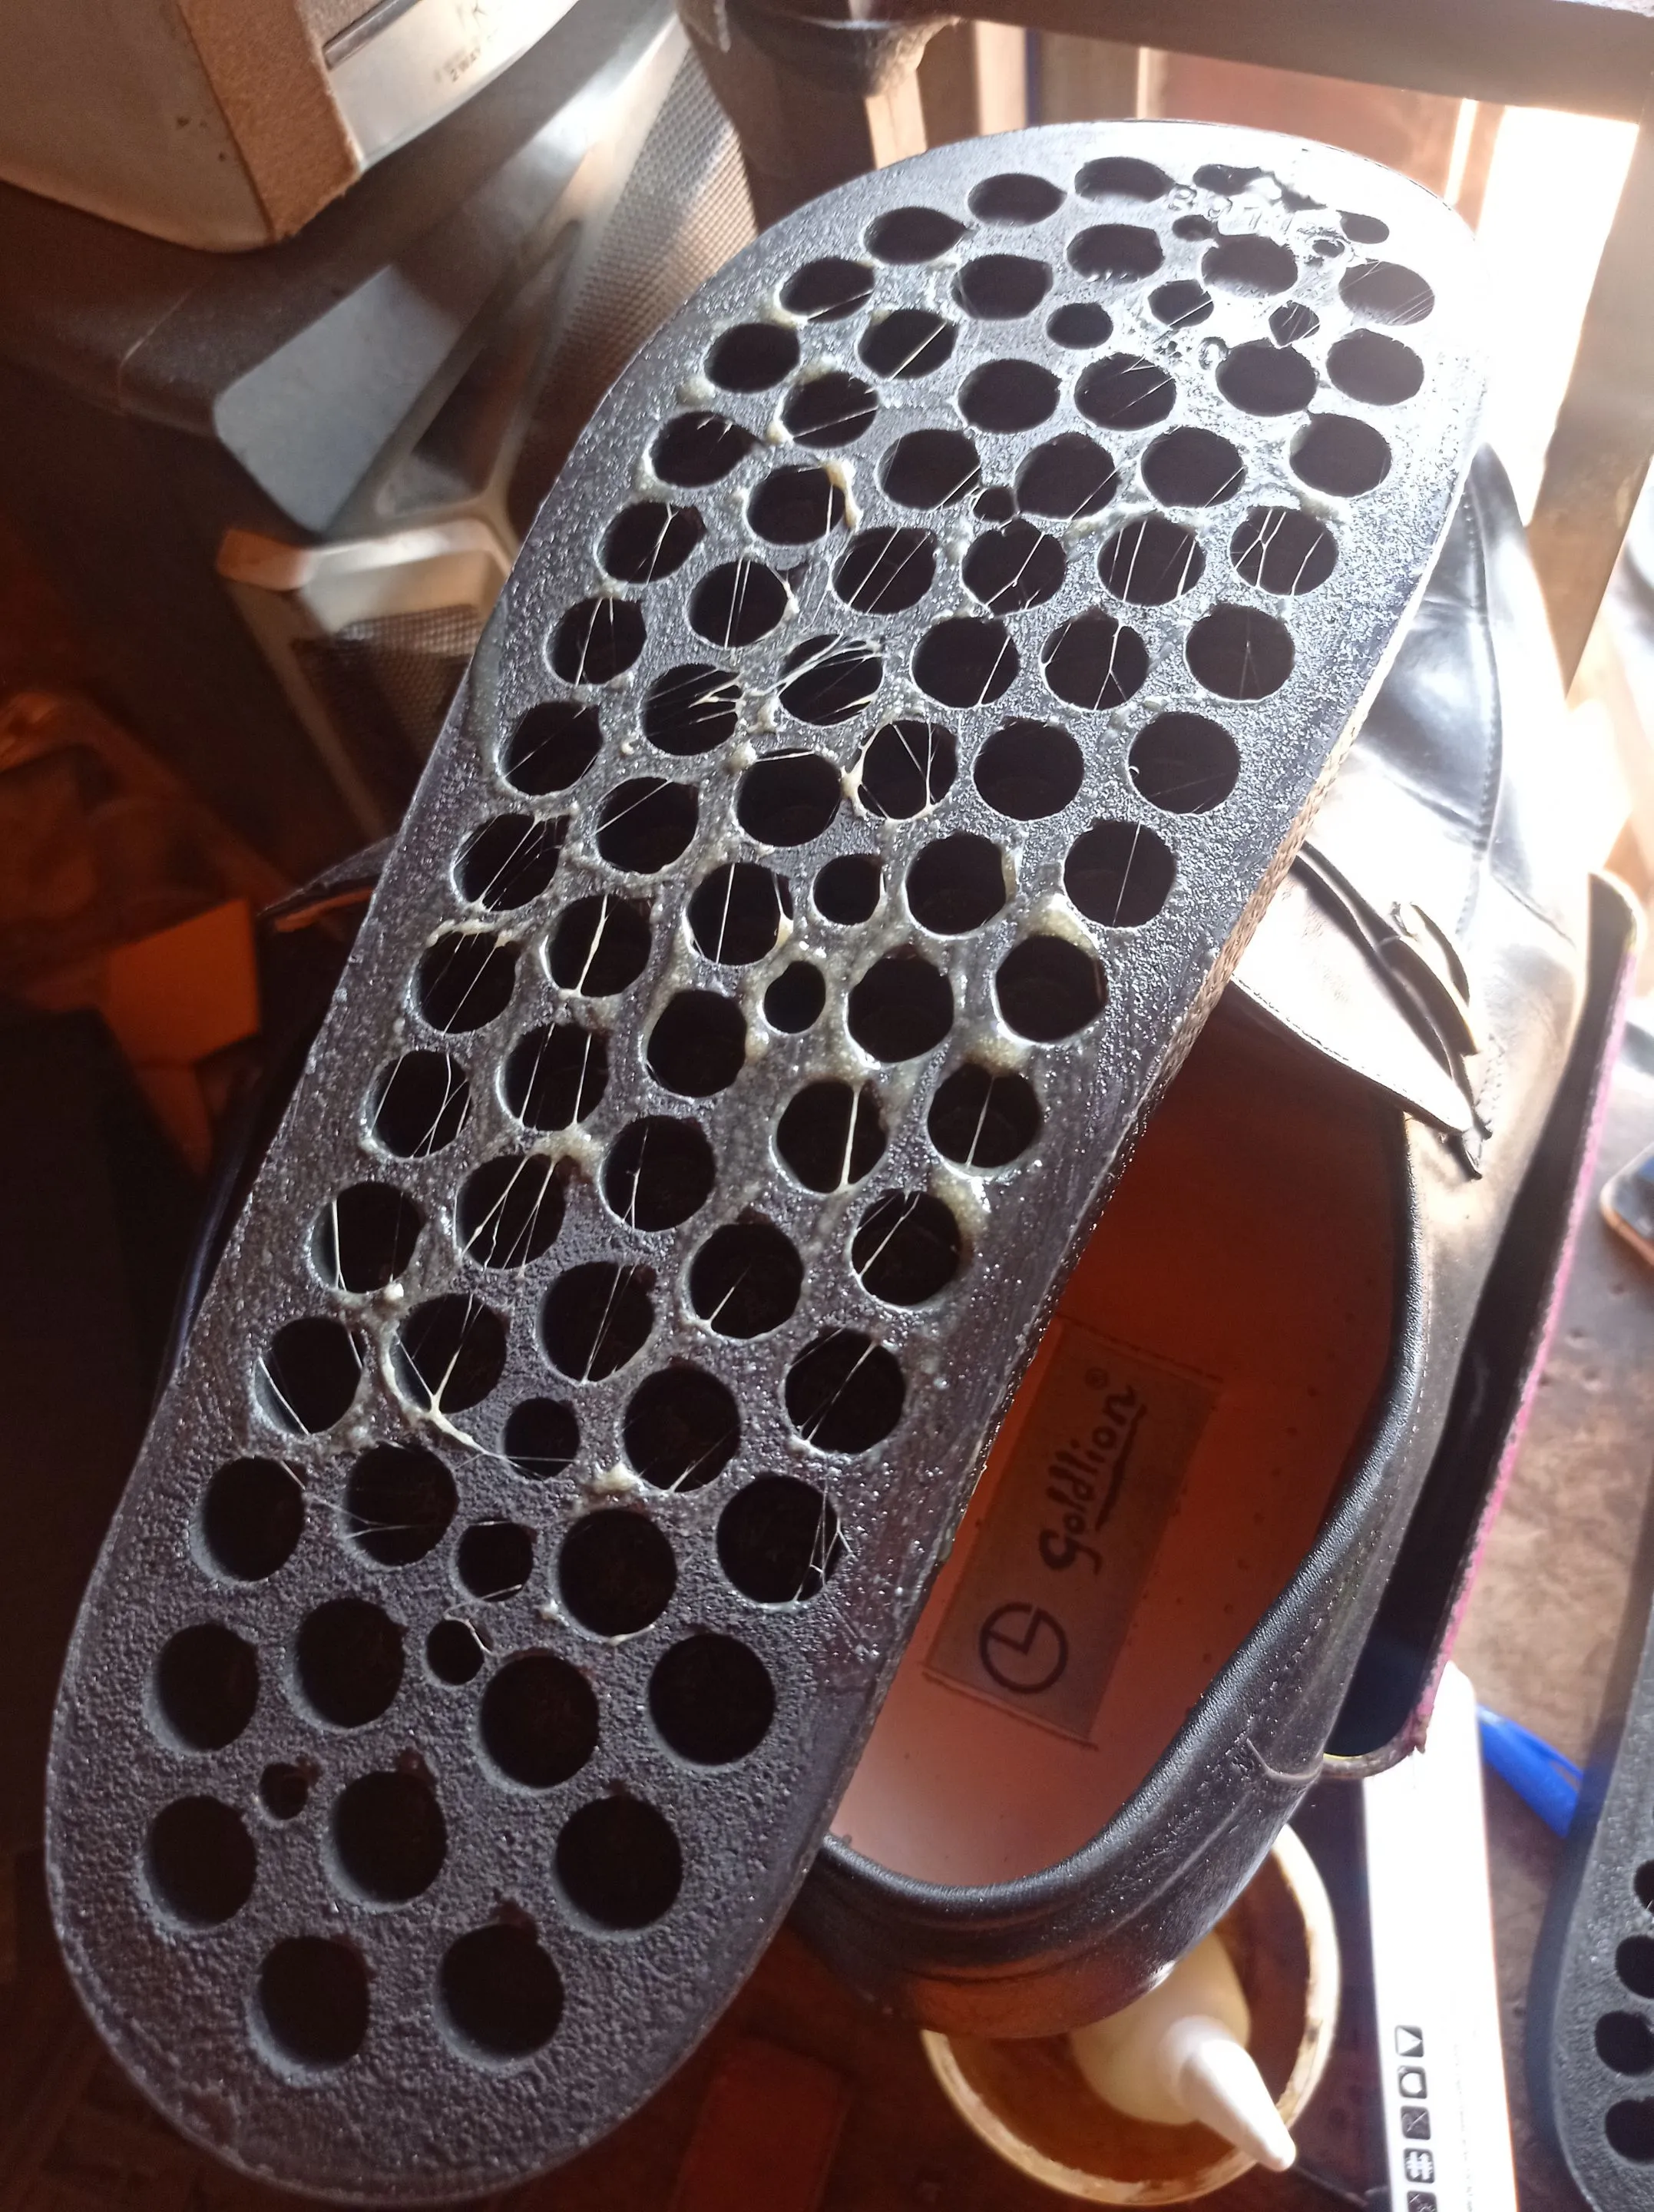
- When the gum dry a little, I place a wooden shoe last on the polyurethane Sole, and began lasting each of the upper design to it, till it was all completely joined.
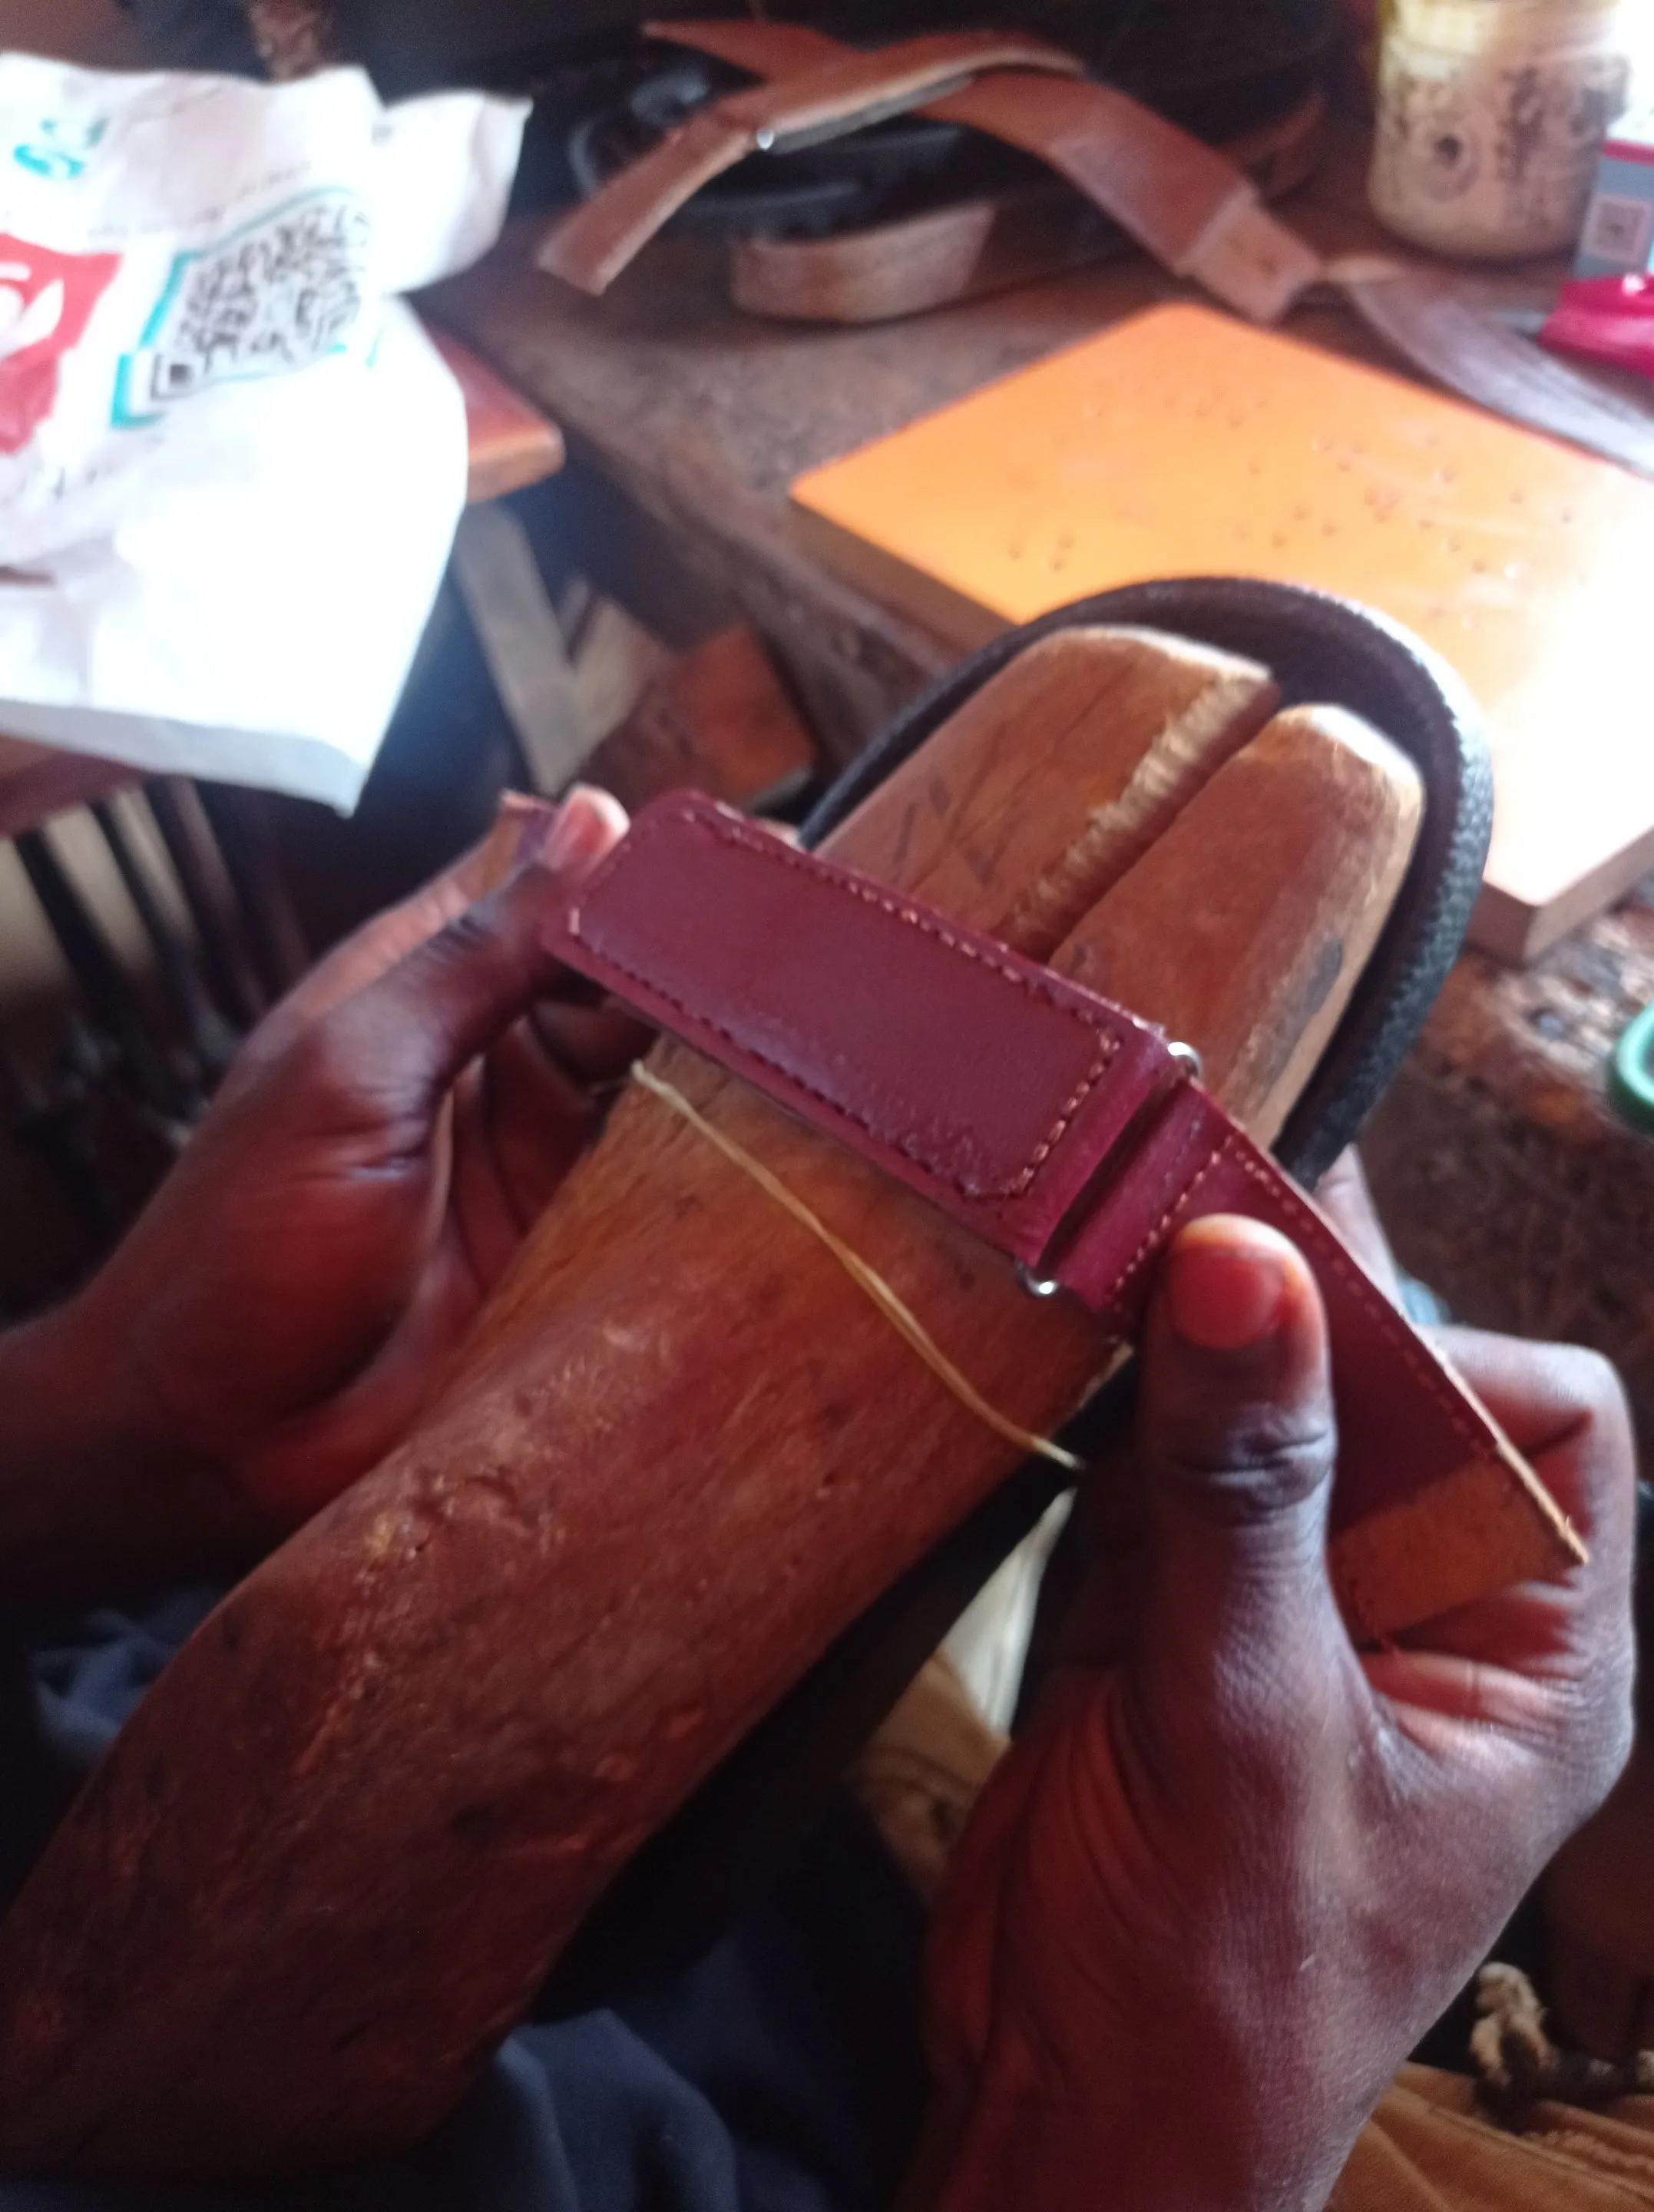
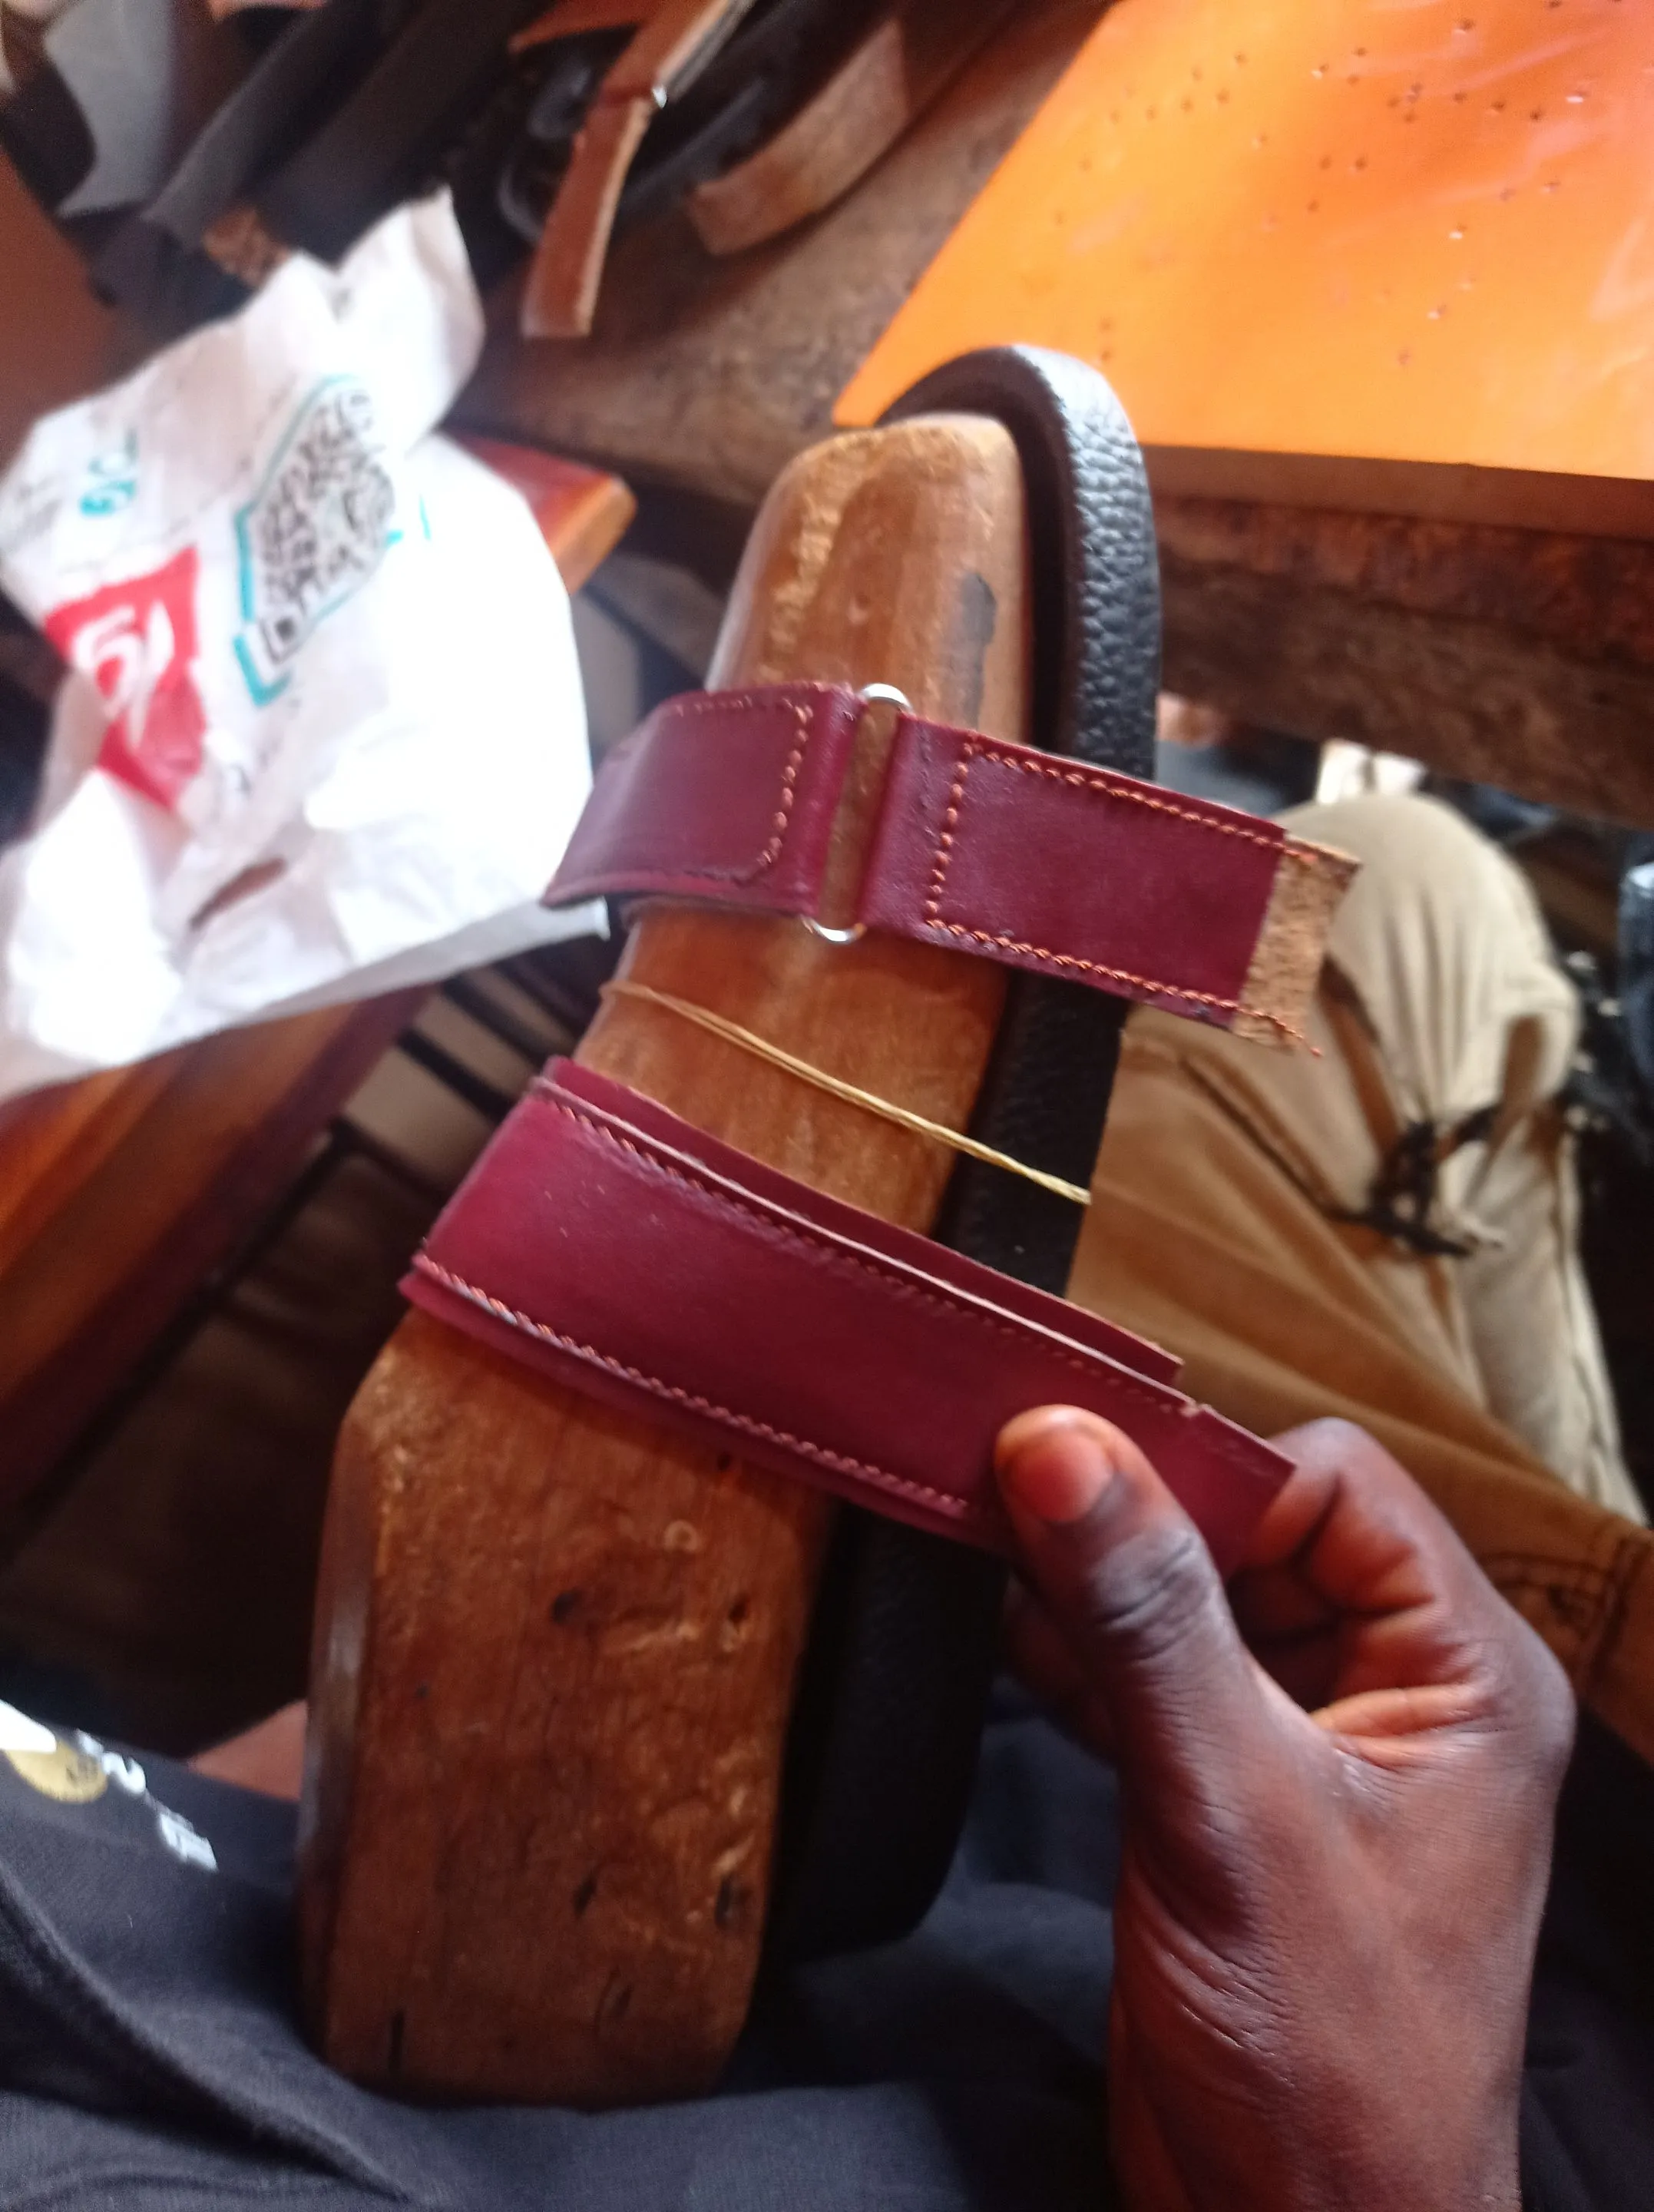
Lastly I rub gum and super glue on the outsole and the insole, and join both together.
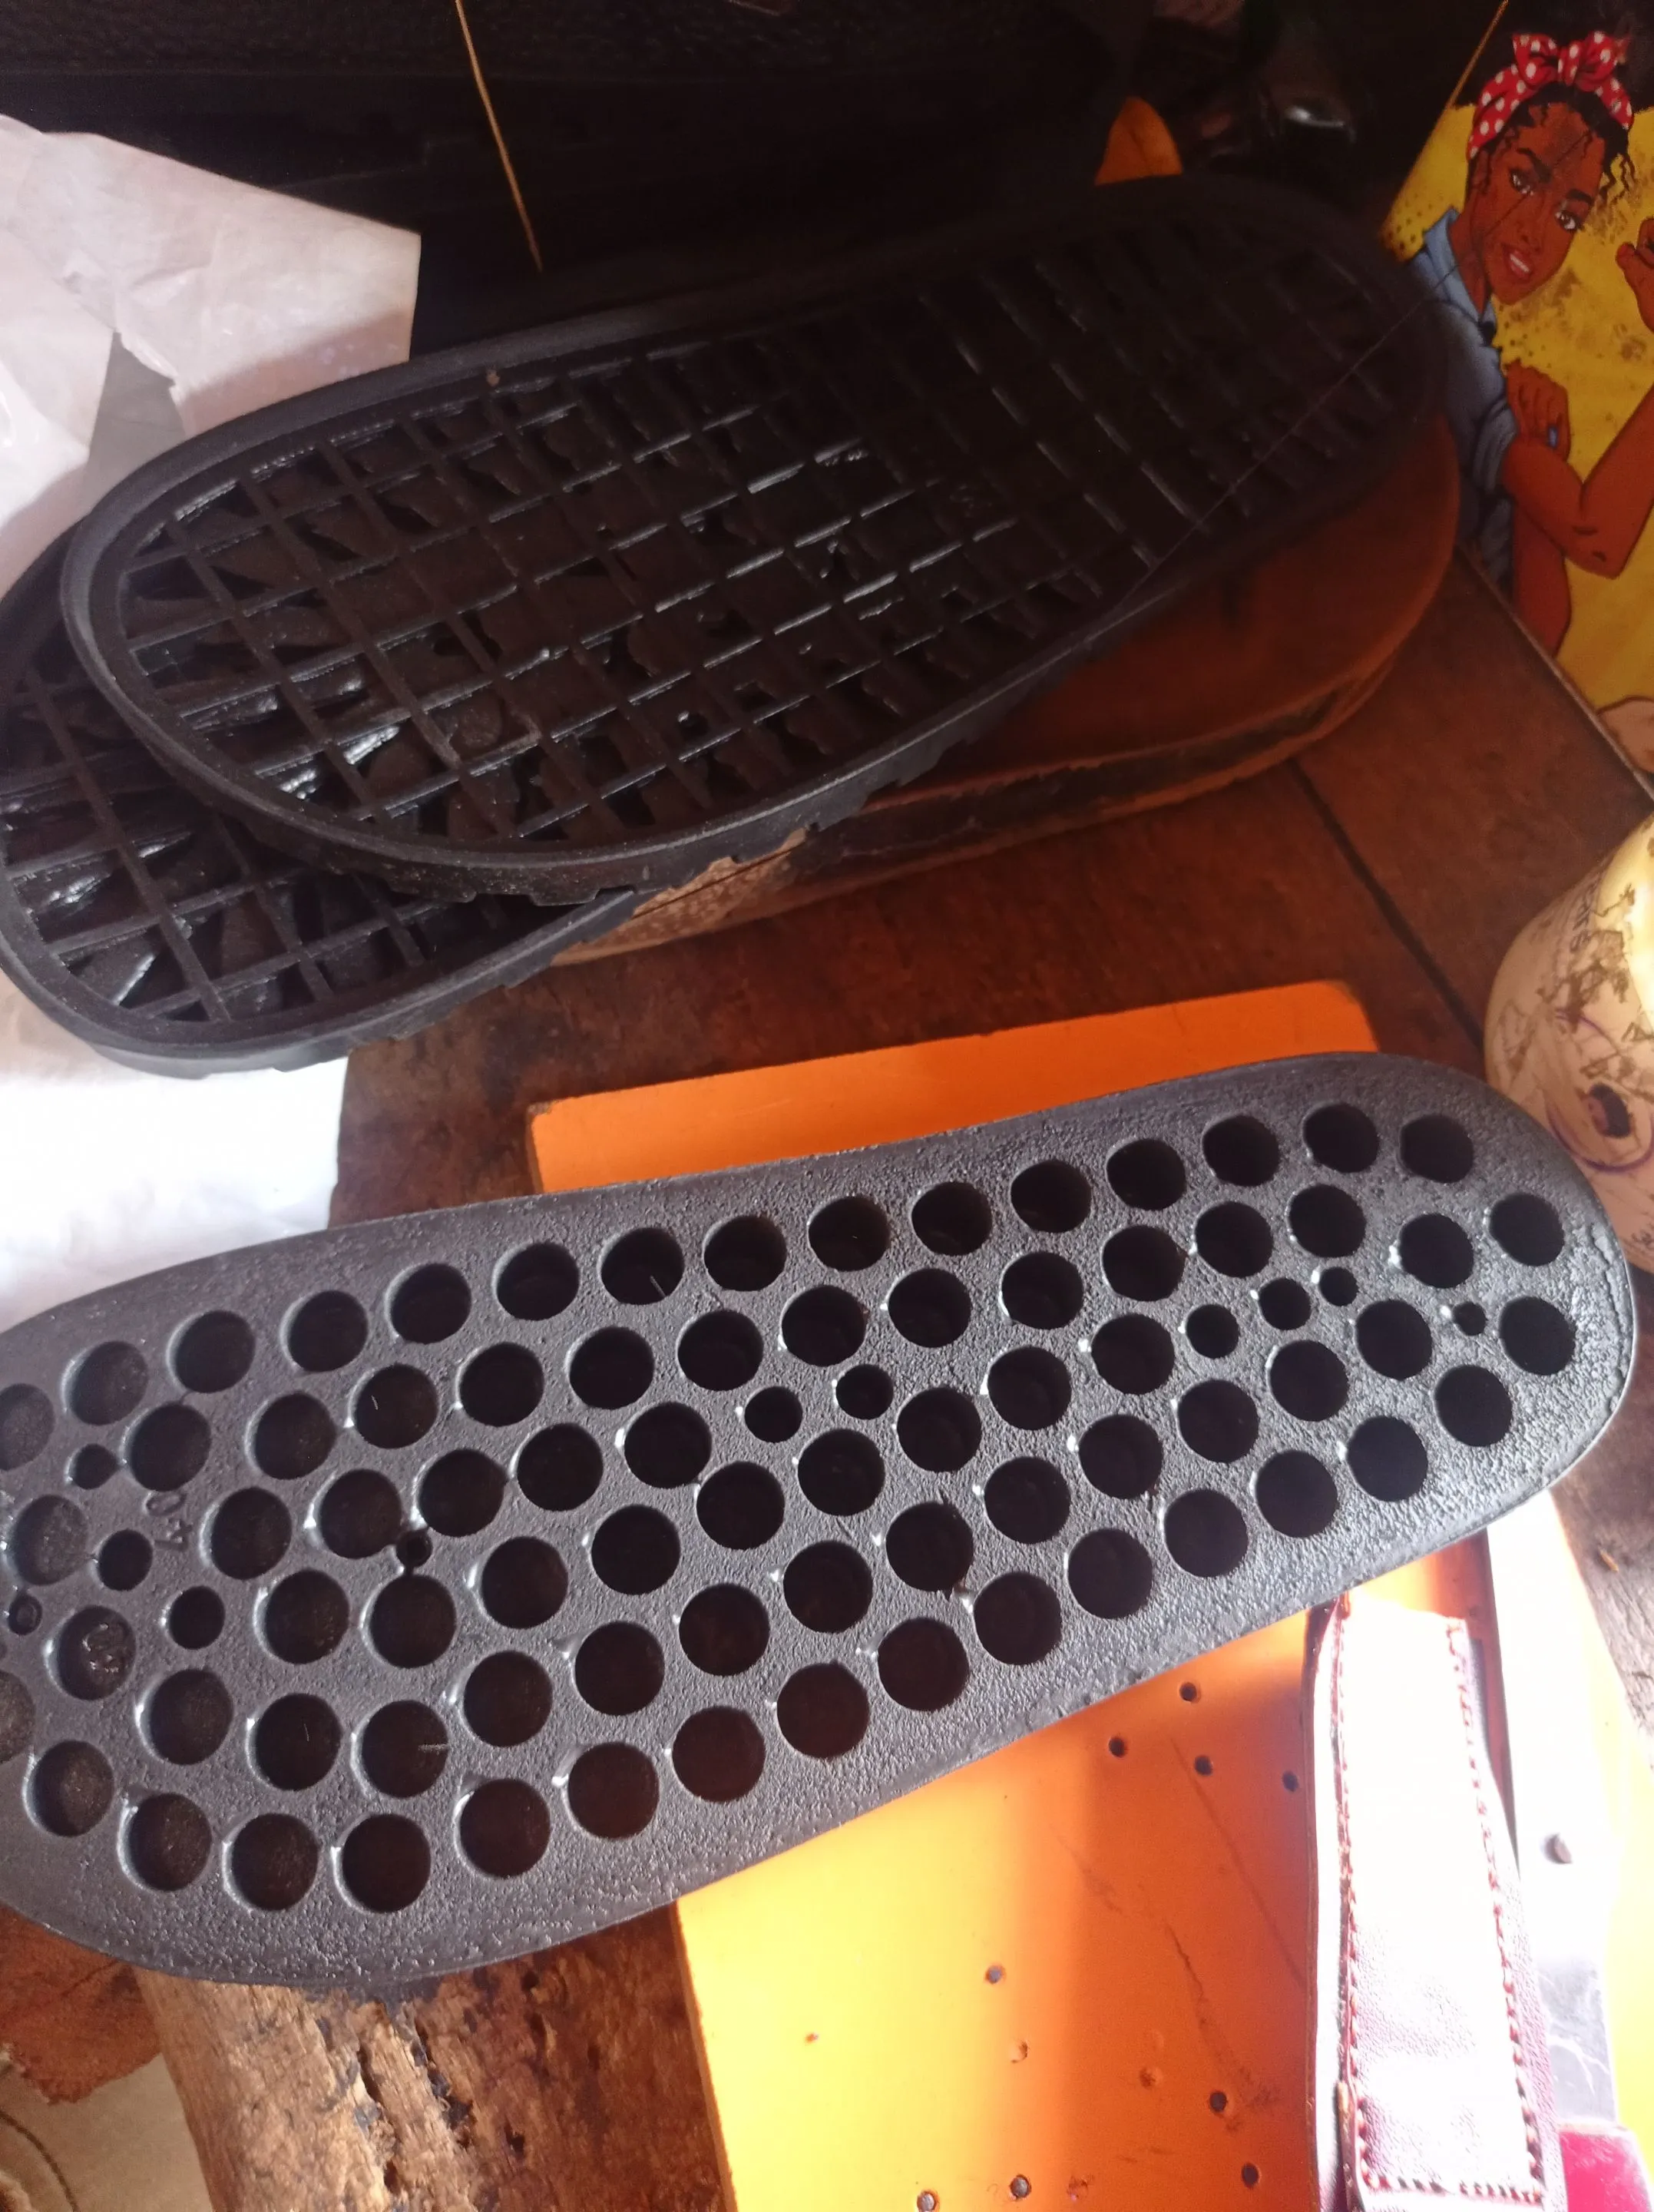
- Here is a the sandals looks in the end.
https://files.peakd.com/file/peakd-hive/vickoly/23x1abcXk2RqBSvQFCTSyjYUtnF9iuT4h69CRd45vXCLbNJS2b6593xDrPS9a4HbdhNgp.png
- Here one of the other project that was introduced in the last post, it as also being completed, although I'm a little disappointed, because I apprentice added a logo design that's bigger and not meant for the sandal, assuming I notice it before he punch the hole where it'll be out through, I would have corrected him, but now we just join it like that, and hope the customer won't see anything bad in how the logo size is, though if he complain, then I'll have no choice than to make him another footwear.
I guess that's one of the downside of having too much to door within a short period, or having someone else help you do you work, since they don't know your mind or how you wish to make your project, then you cant blame them for helping.
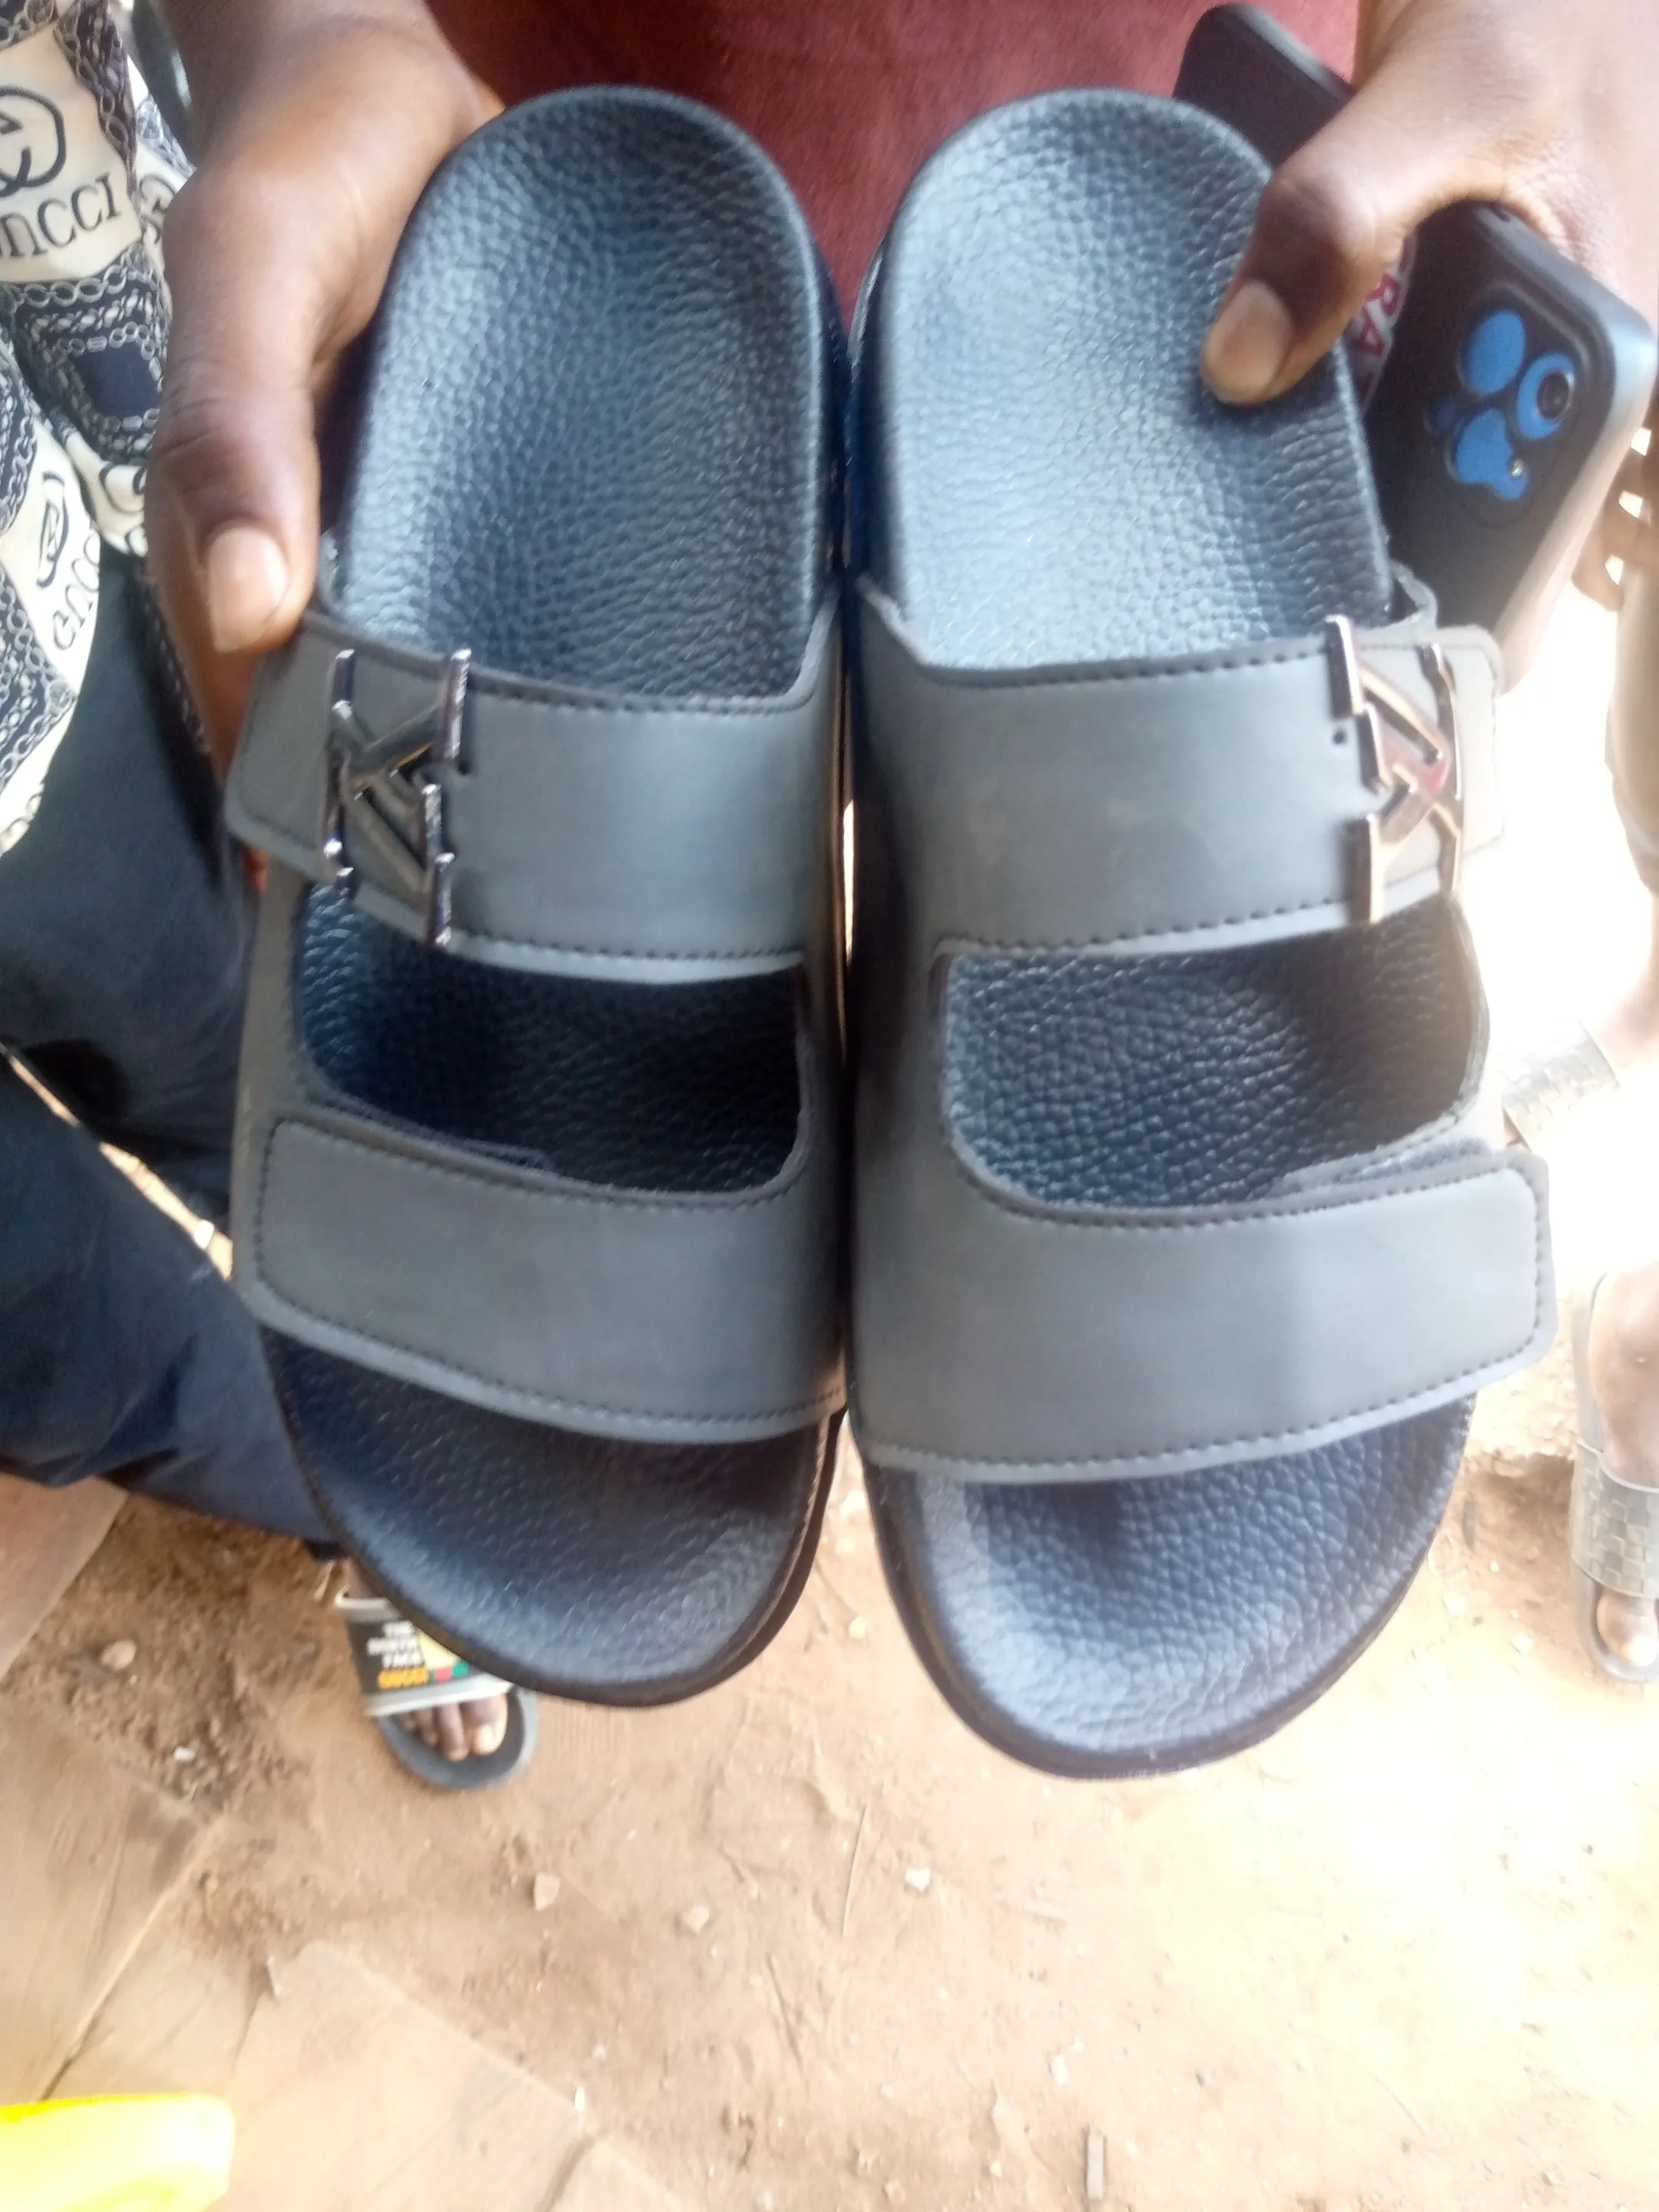
Well I've learn my lesson, so I'll either always have a pictorial draft of how each footwear be look like or I just do it all by myself.
https://files.peakd.com/file/peakd-hive/vickoly/23x1abcXk2RqBSvQFCTSyjYUtnF9iuT4h69CRd45vXCLbNJS2b6593xDrPS9a4HbdhNgp.png
Return from DIY PROCESS OF HOW I COMPLETED SOME OF THESE WIP FOOTWEARS PROJECT to vickoly's Web3 Blog

