Good day to everyone in the #Needleworkmonday Community and hive blockchain as a whole, it's another Monday, meaning another time of the week where the community is been flooded with mind-blowing needlework project in the various fields of needwork related craft, and today I bring to you a slippers I made for a teacher friend of mine.
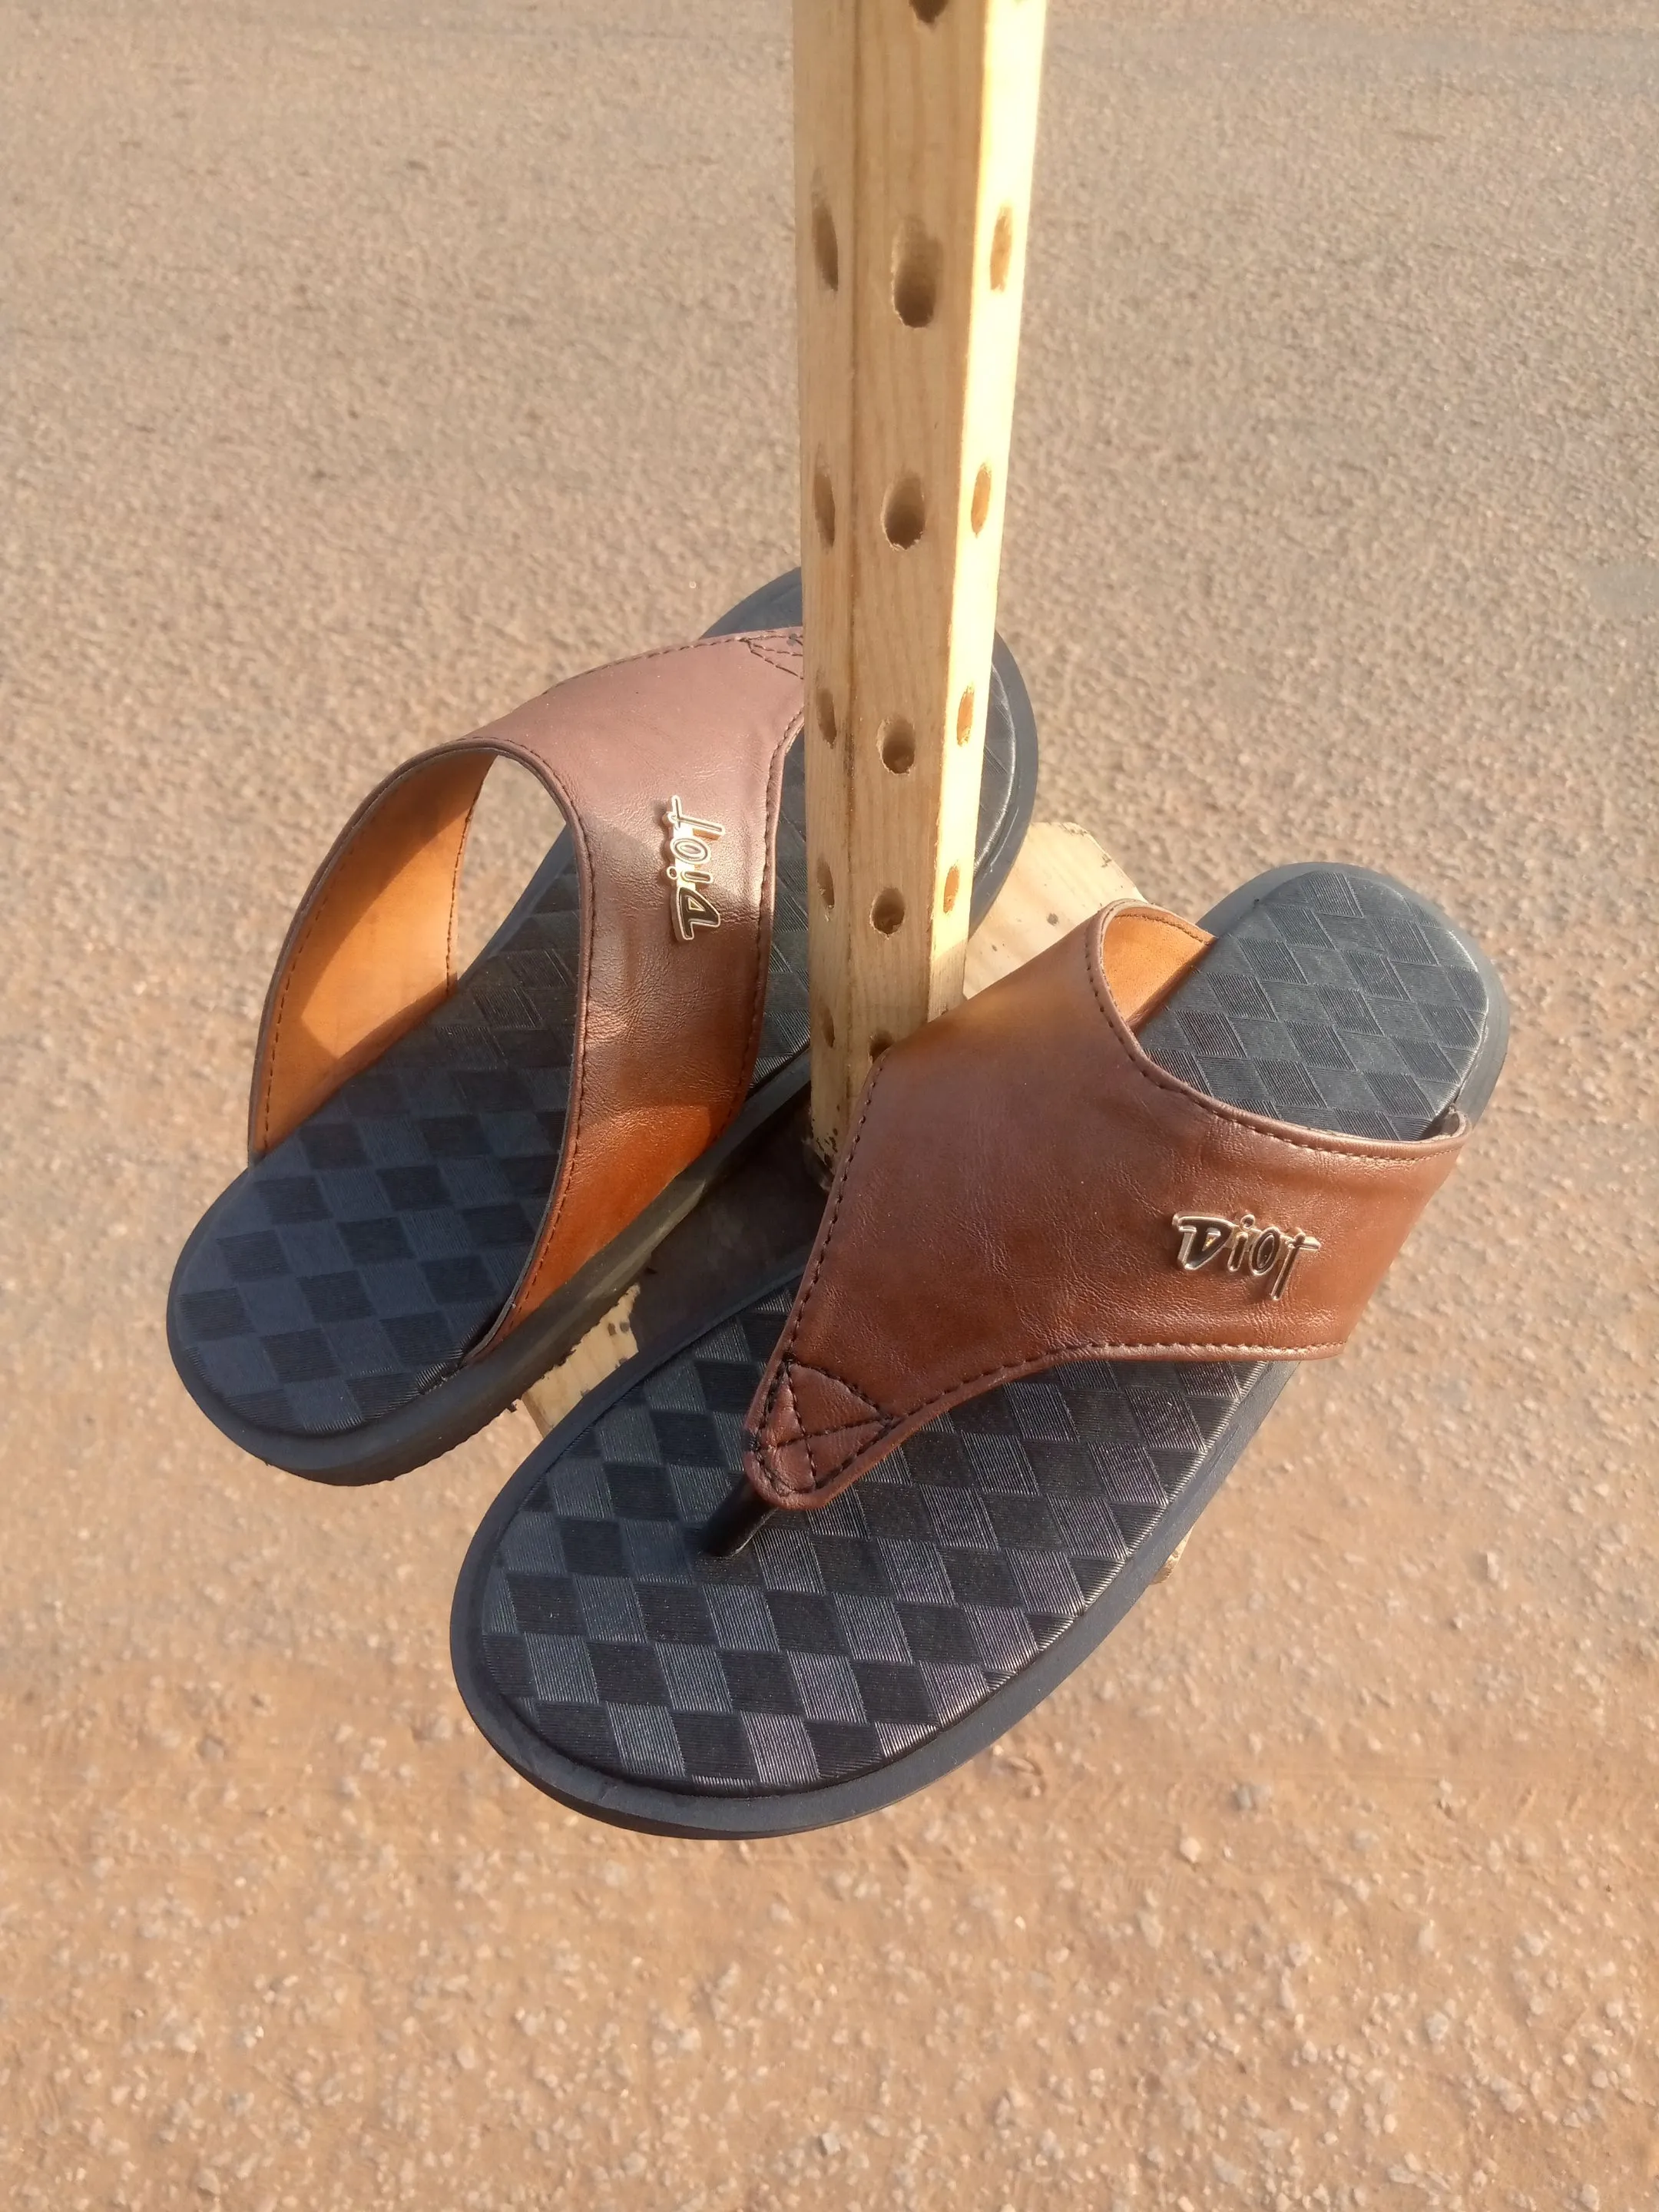
I usually teach for free twice a week at a school located in my village of origin, so I can help groom out the best out of the children being bride in such a rural settings, and that's where I met this guy, who happen to be a government worker in the school, unlike me who work as a free volunteer there.
During one of our discussions about movies, and he trying to send the movies from my phone to his, was how he got to know I'm a Shoemaking via the difference footwear images he saw on my phone, so he showed a sample of a Slippers he liked and ask that I help him make something that looks just like it.
So the next time I traveled back to the city, I immediately visit the market and purchase the materials need for his Slippers and other pending orders I've on ground, and below is the process of how I made the Slippers for him.

MATERIALS
- Leather
- Lining
- Heels
- Gum
- Black thread
- Marco
- Shoe wet etc.
https://files.peakd.com/file/peakd-hive/vickoly/23t7DKQuANApv95zLC7XkAX7EwRQi3ZwkcZ8cfH3SnE8cDgJWYMeNfF87sbhkw6PhSphY.png
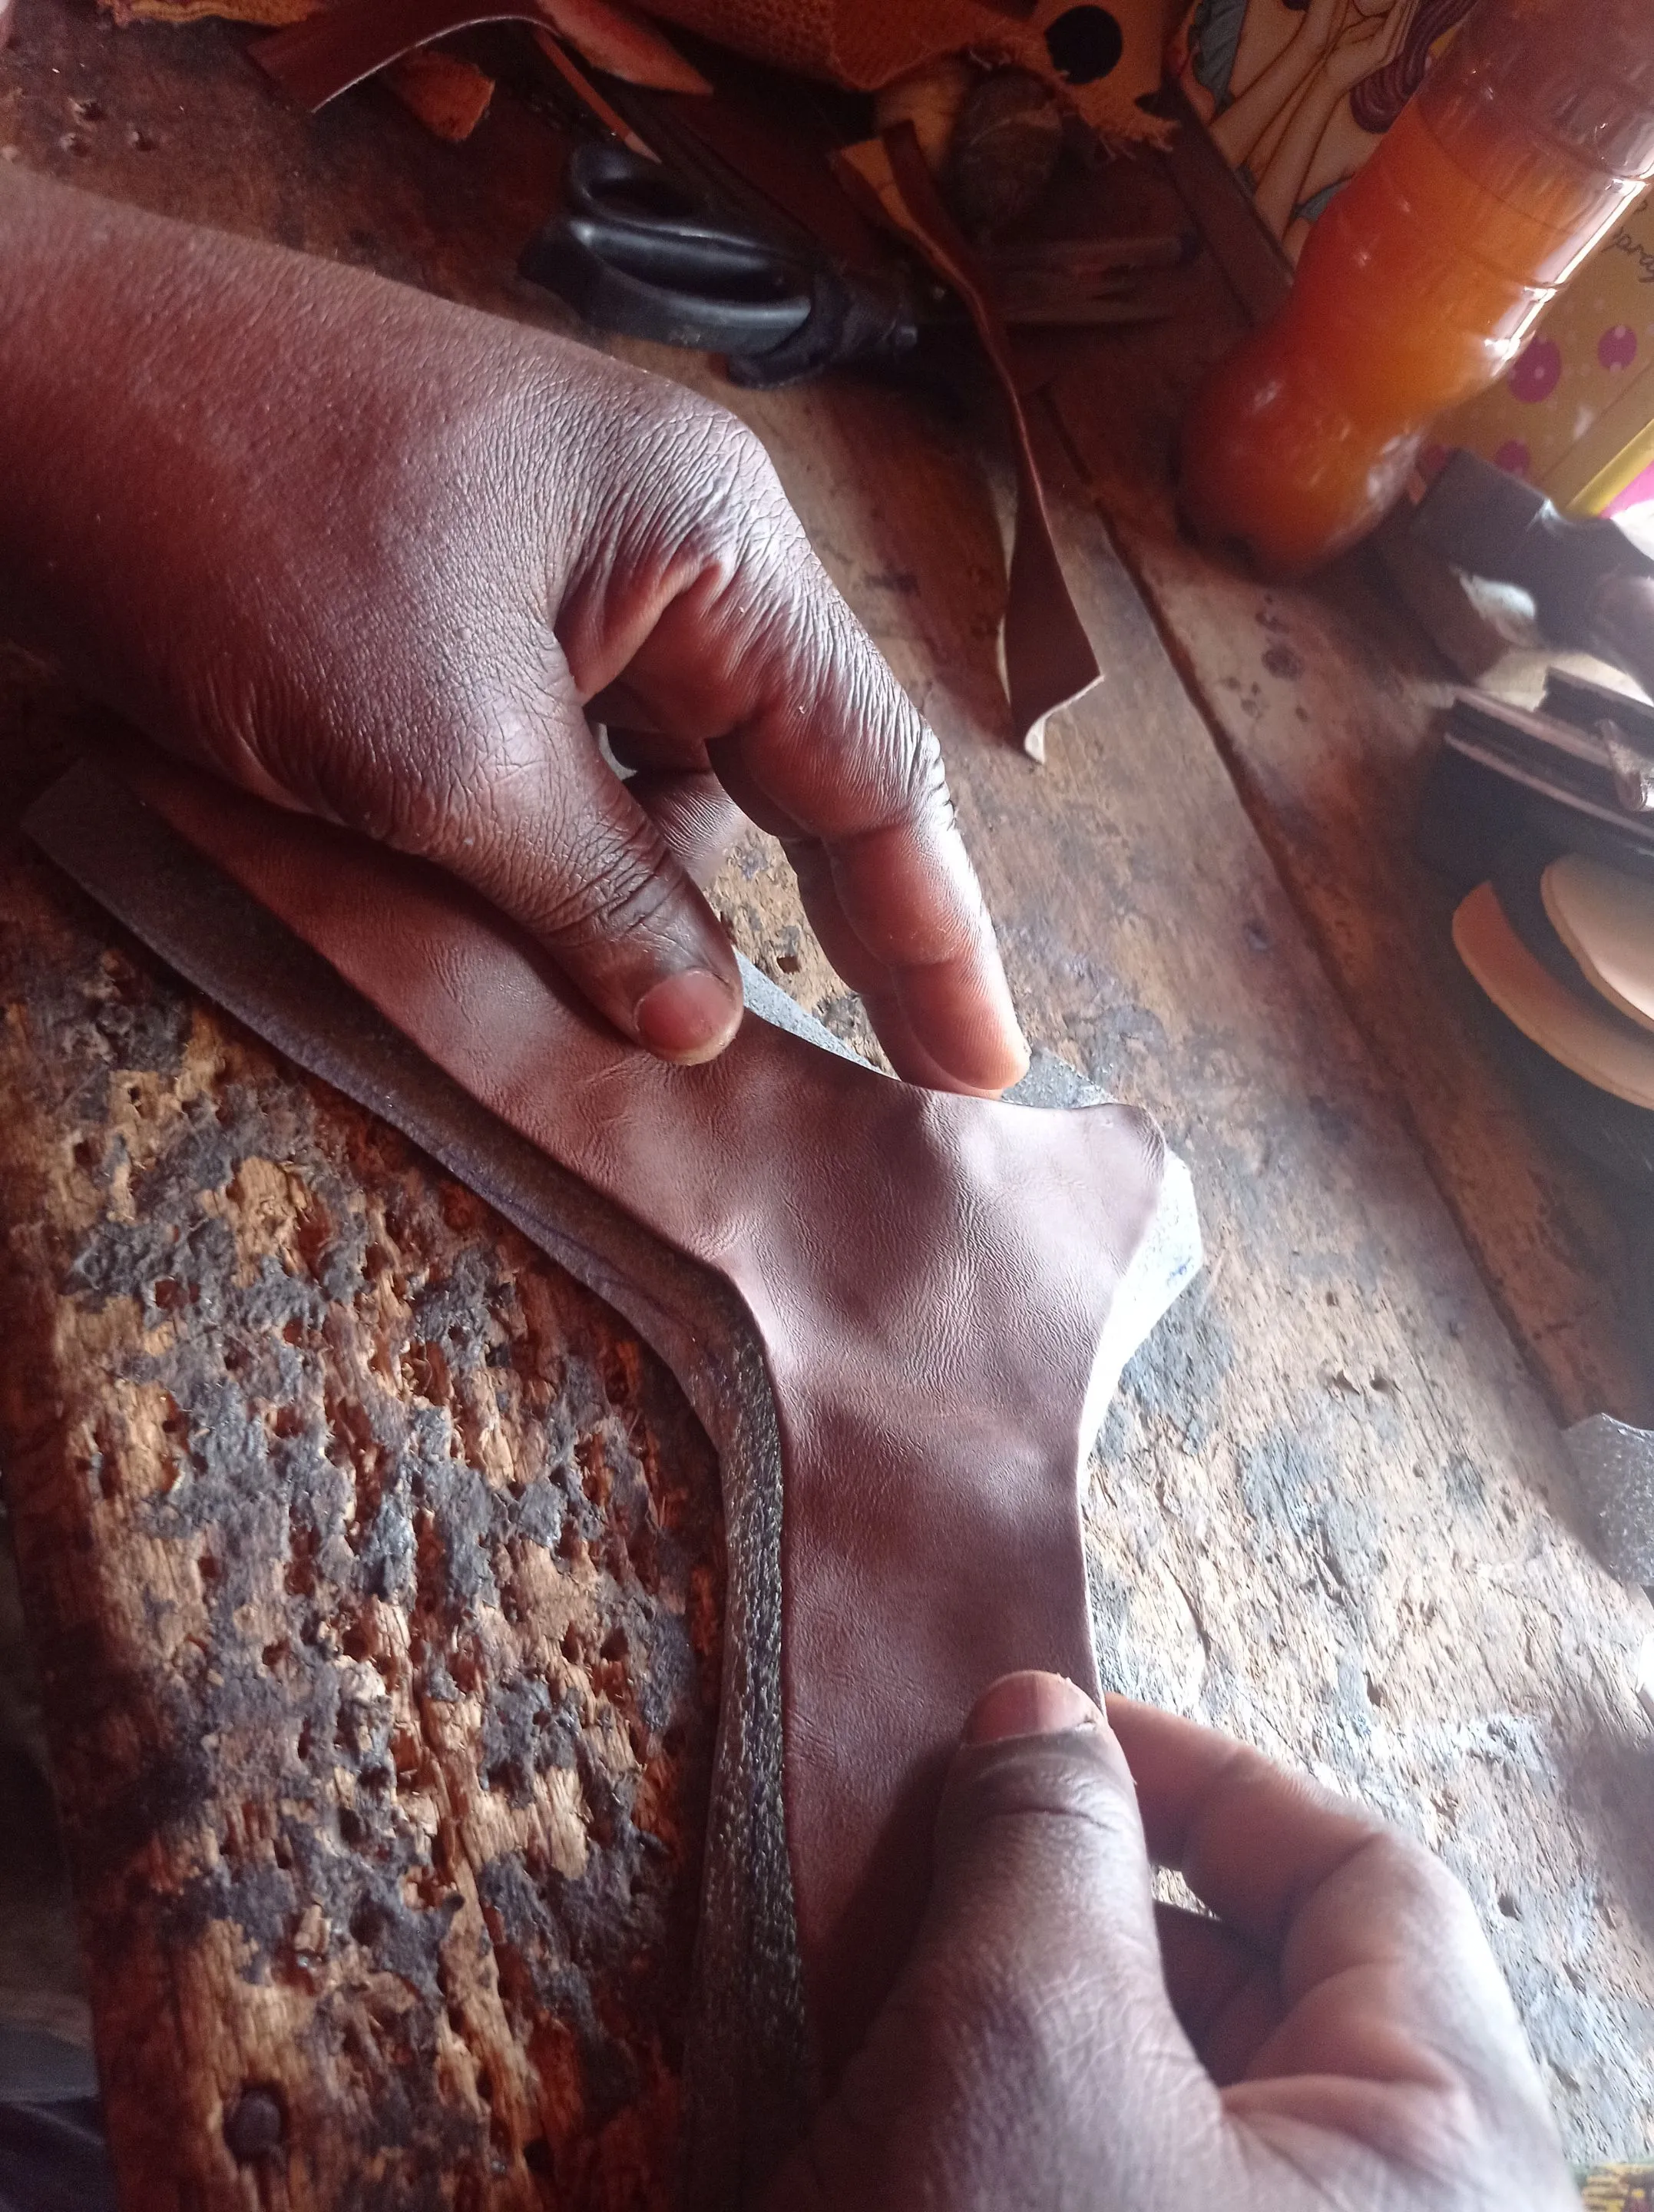
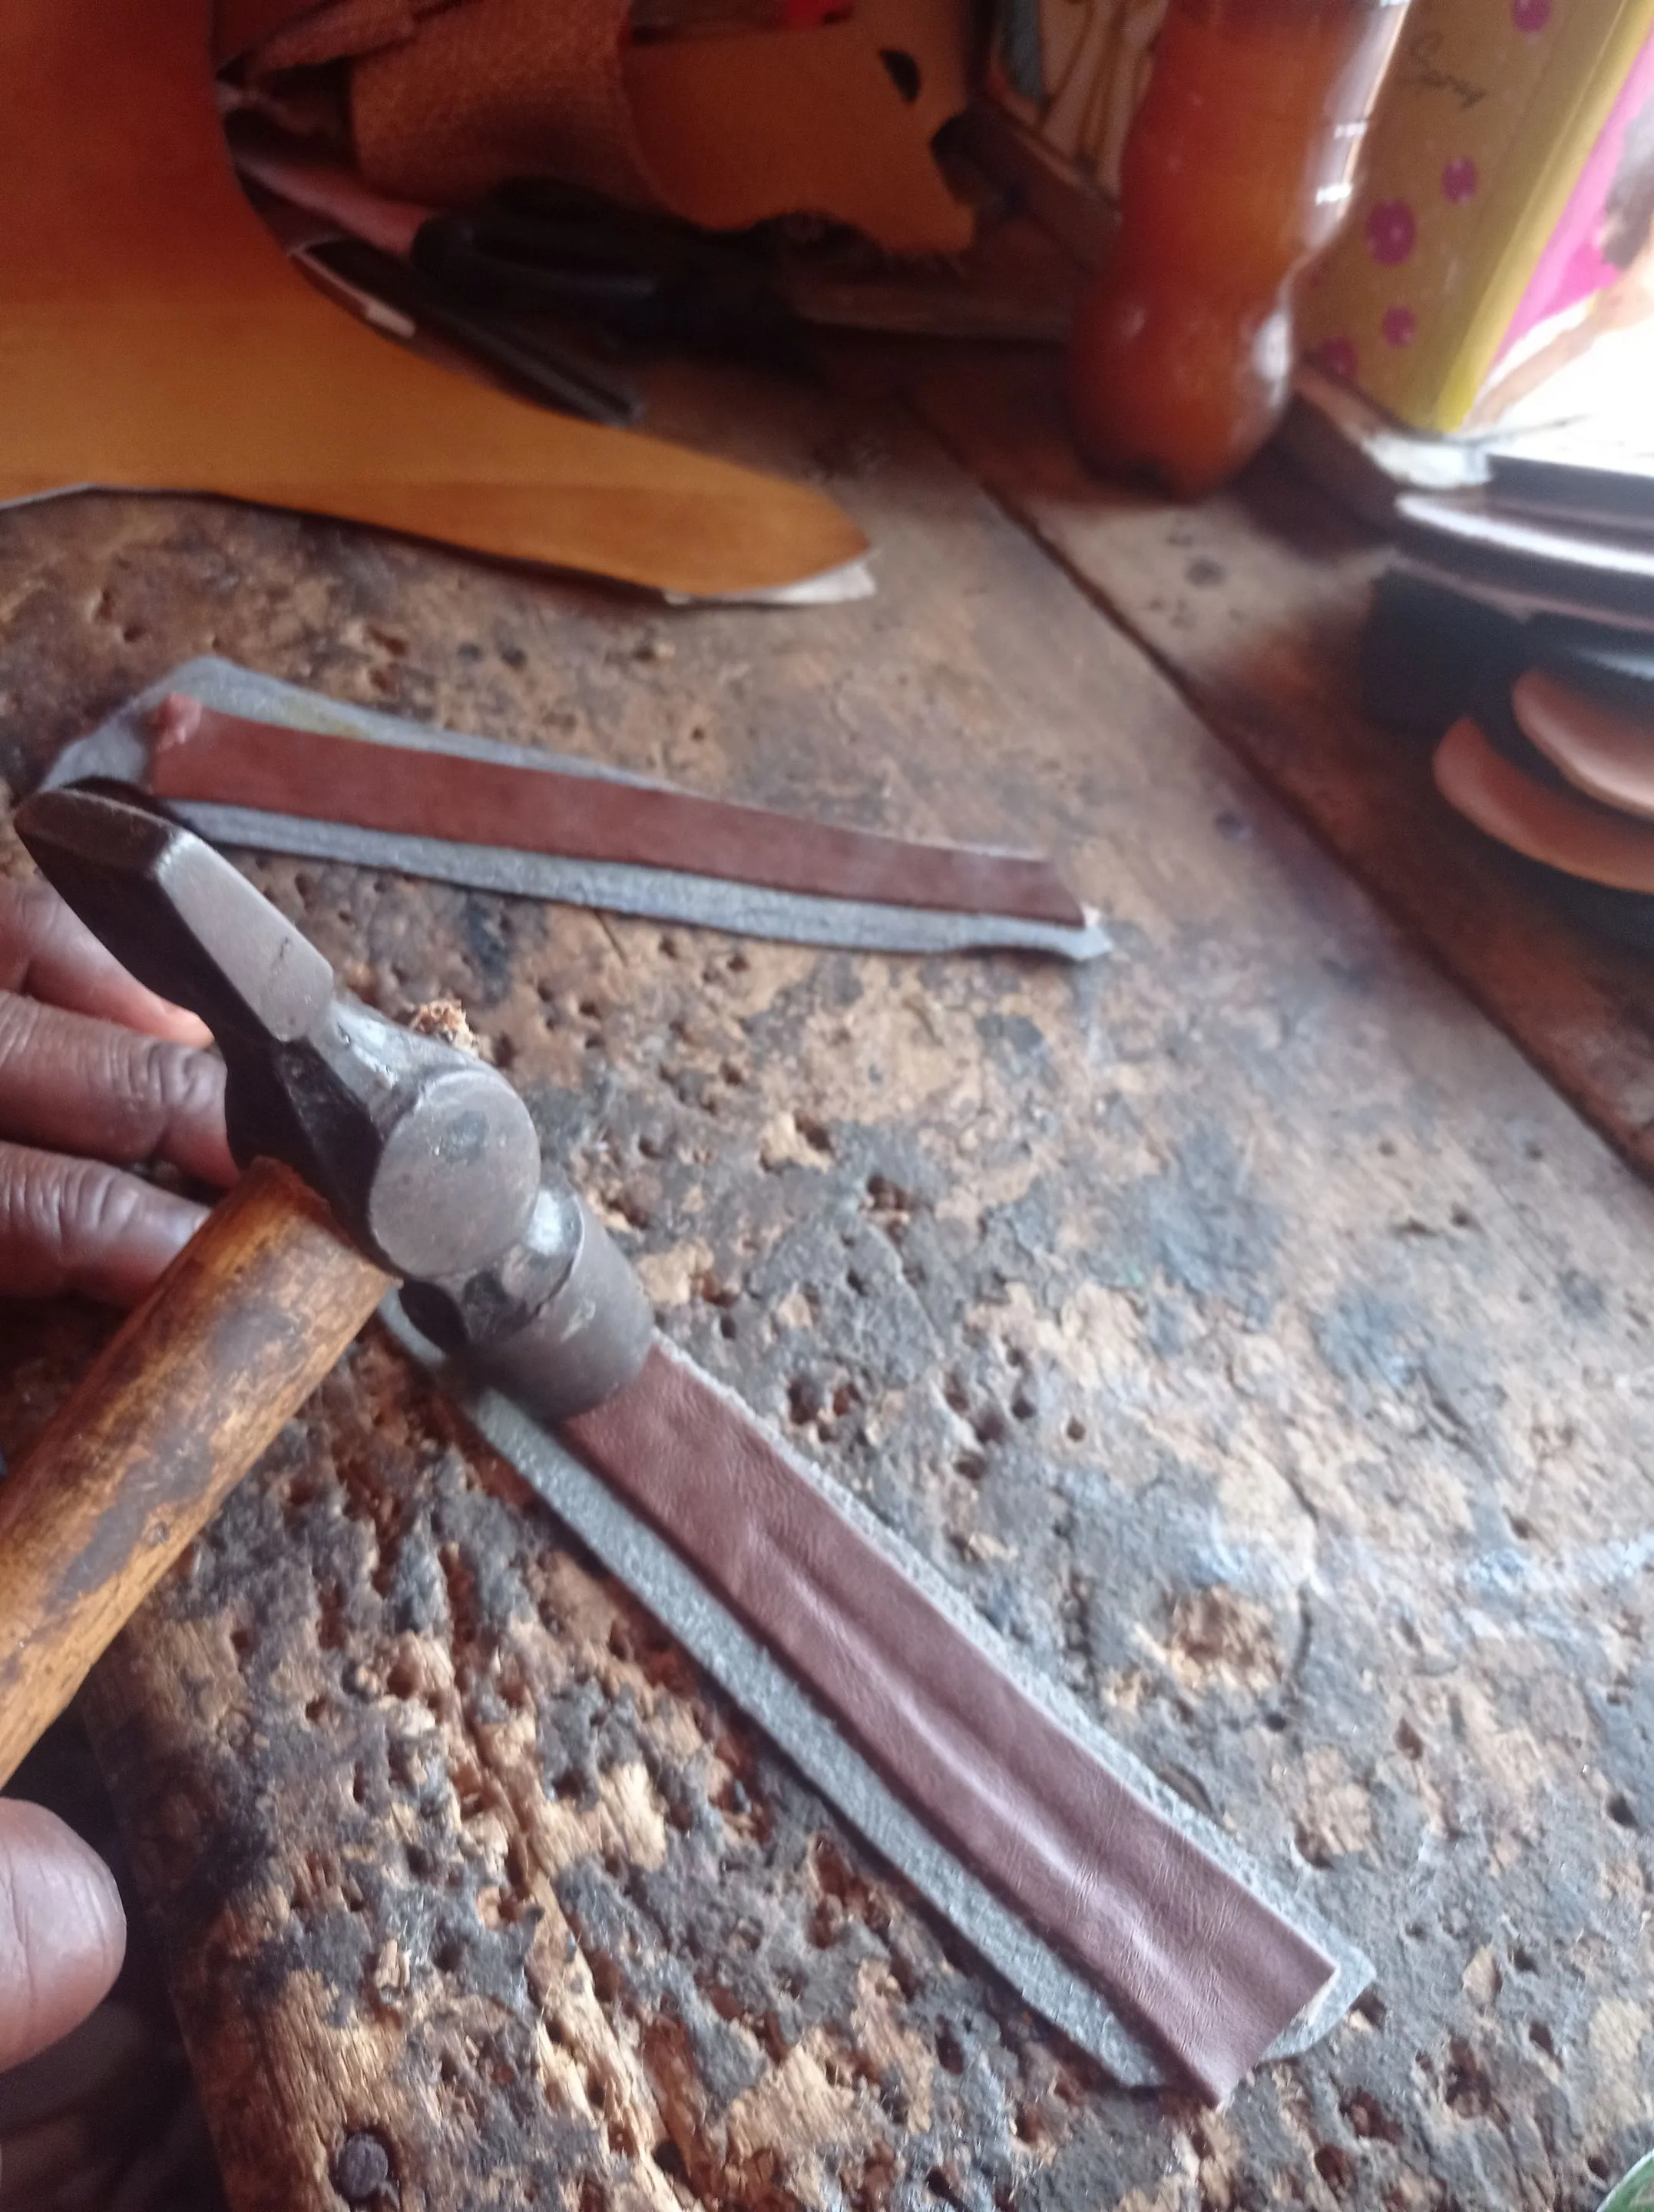
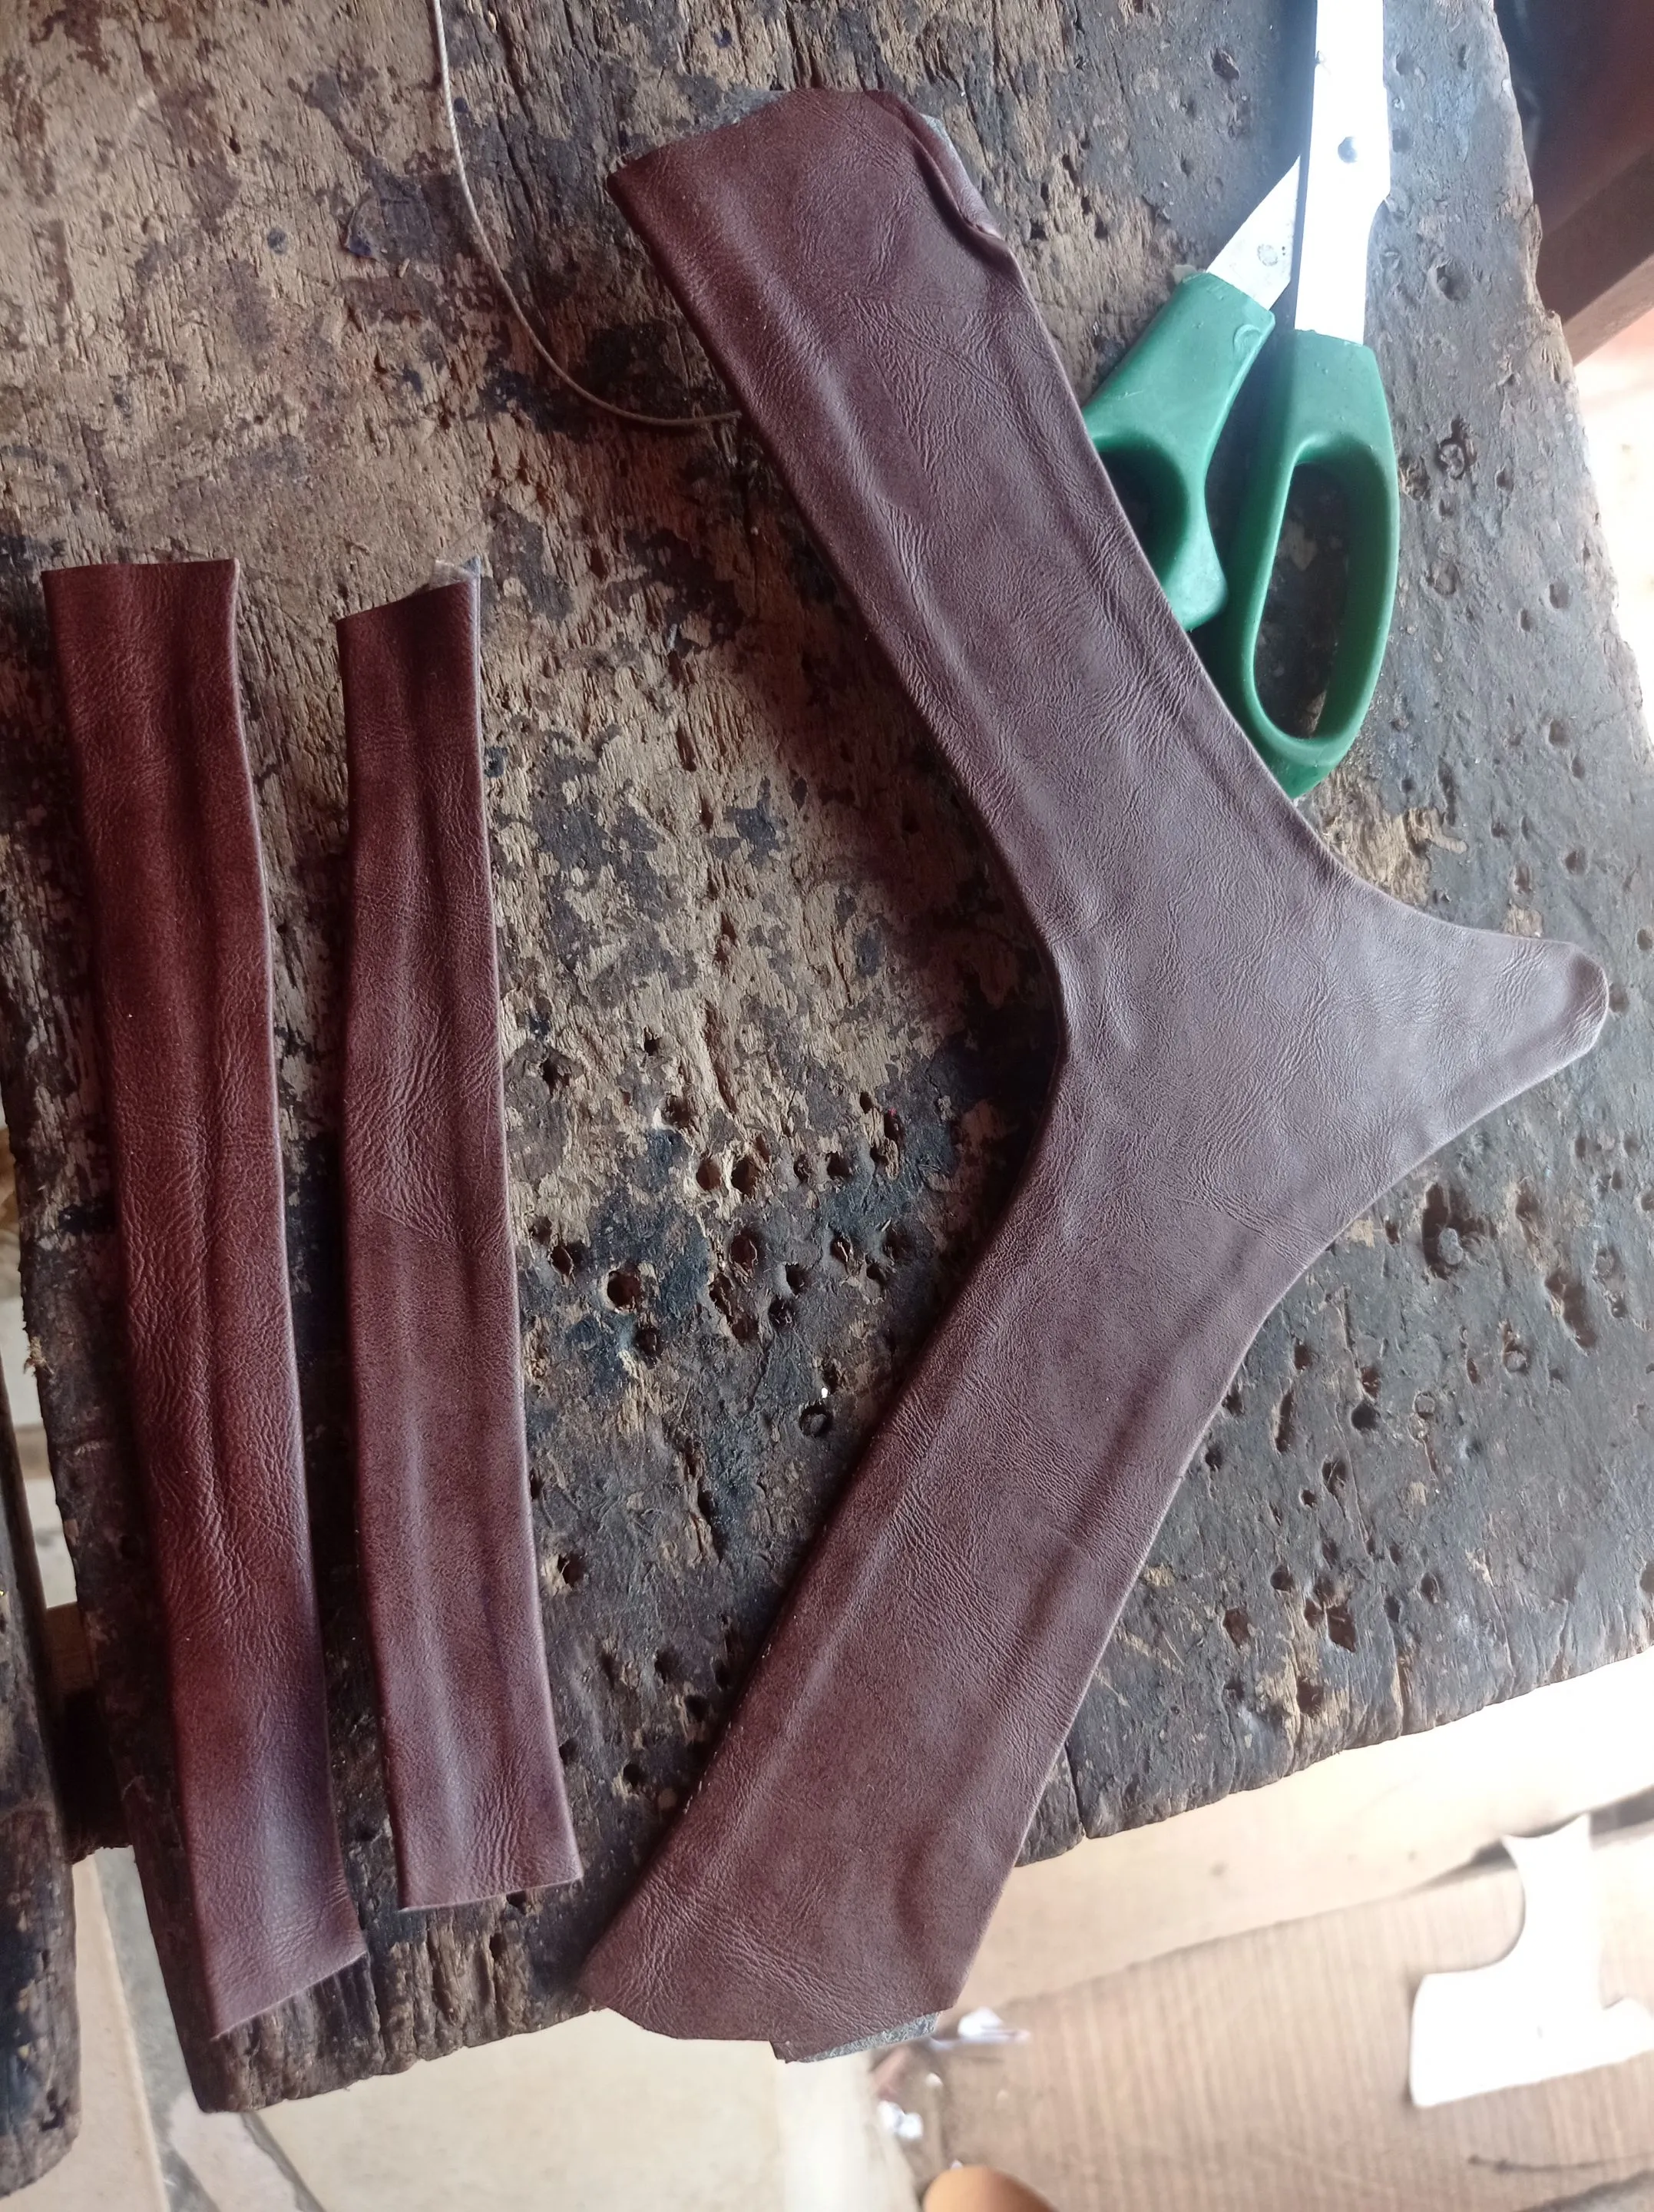
- I cut the the Material of the upper, sole, linning and wet.
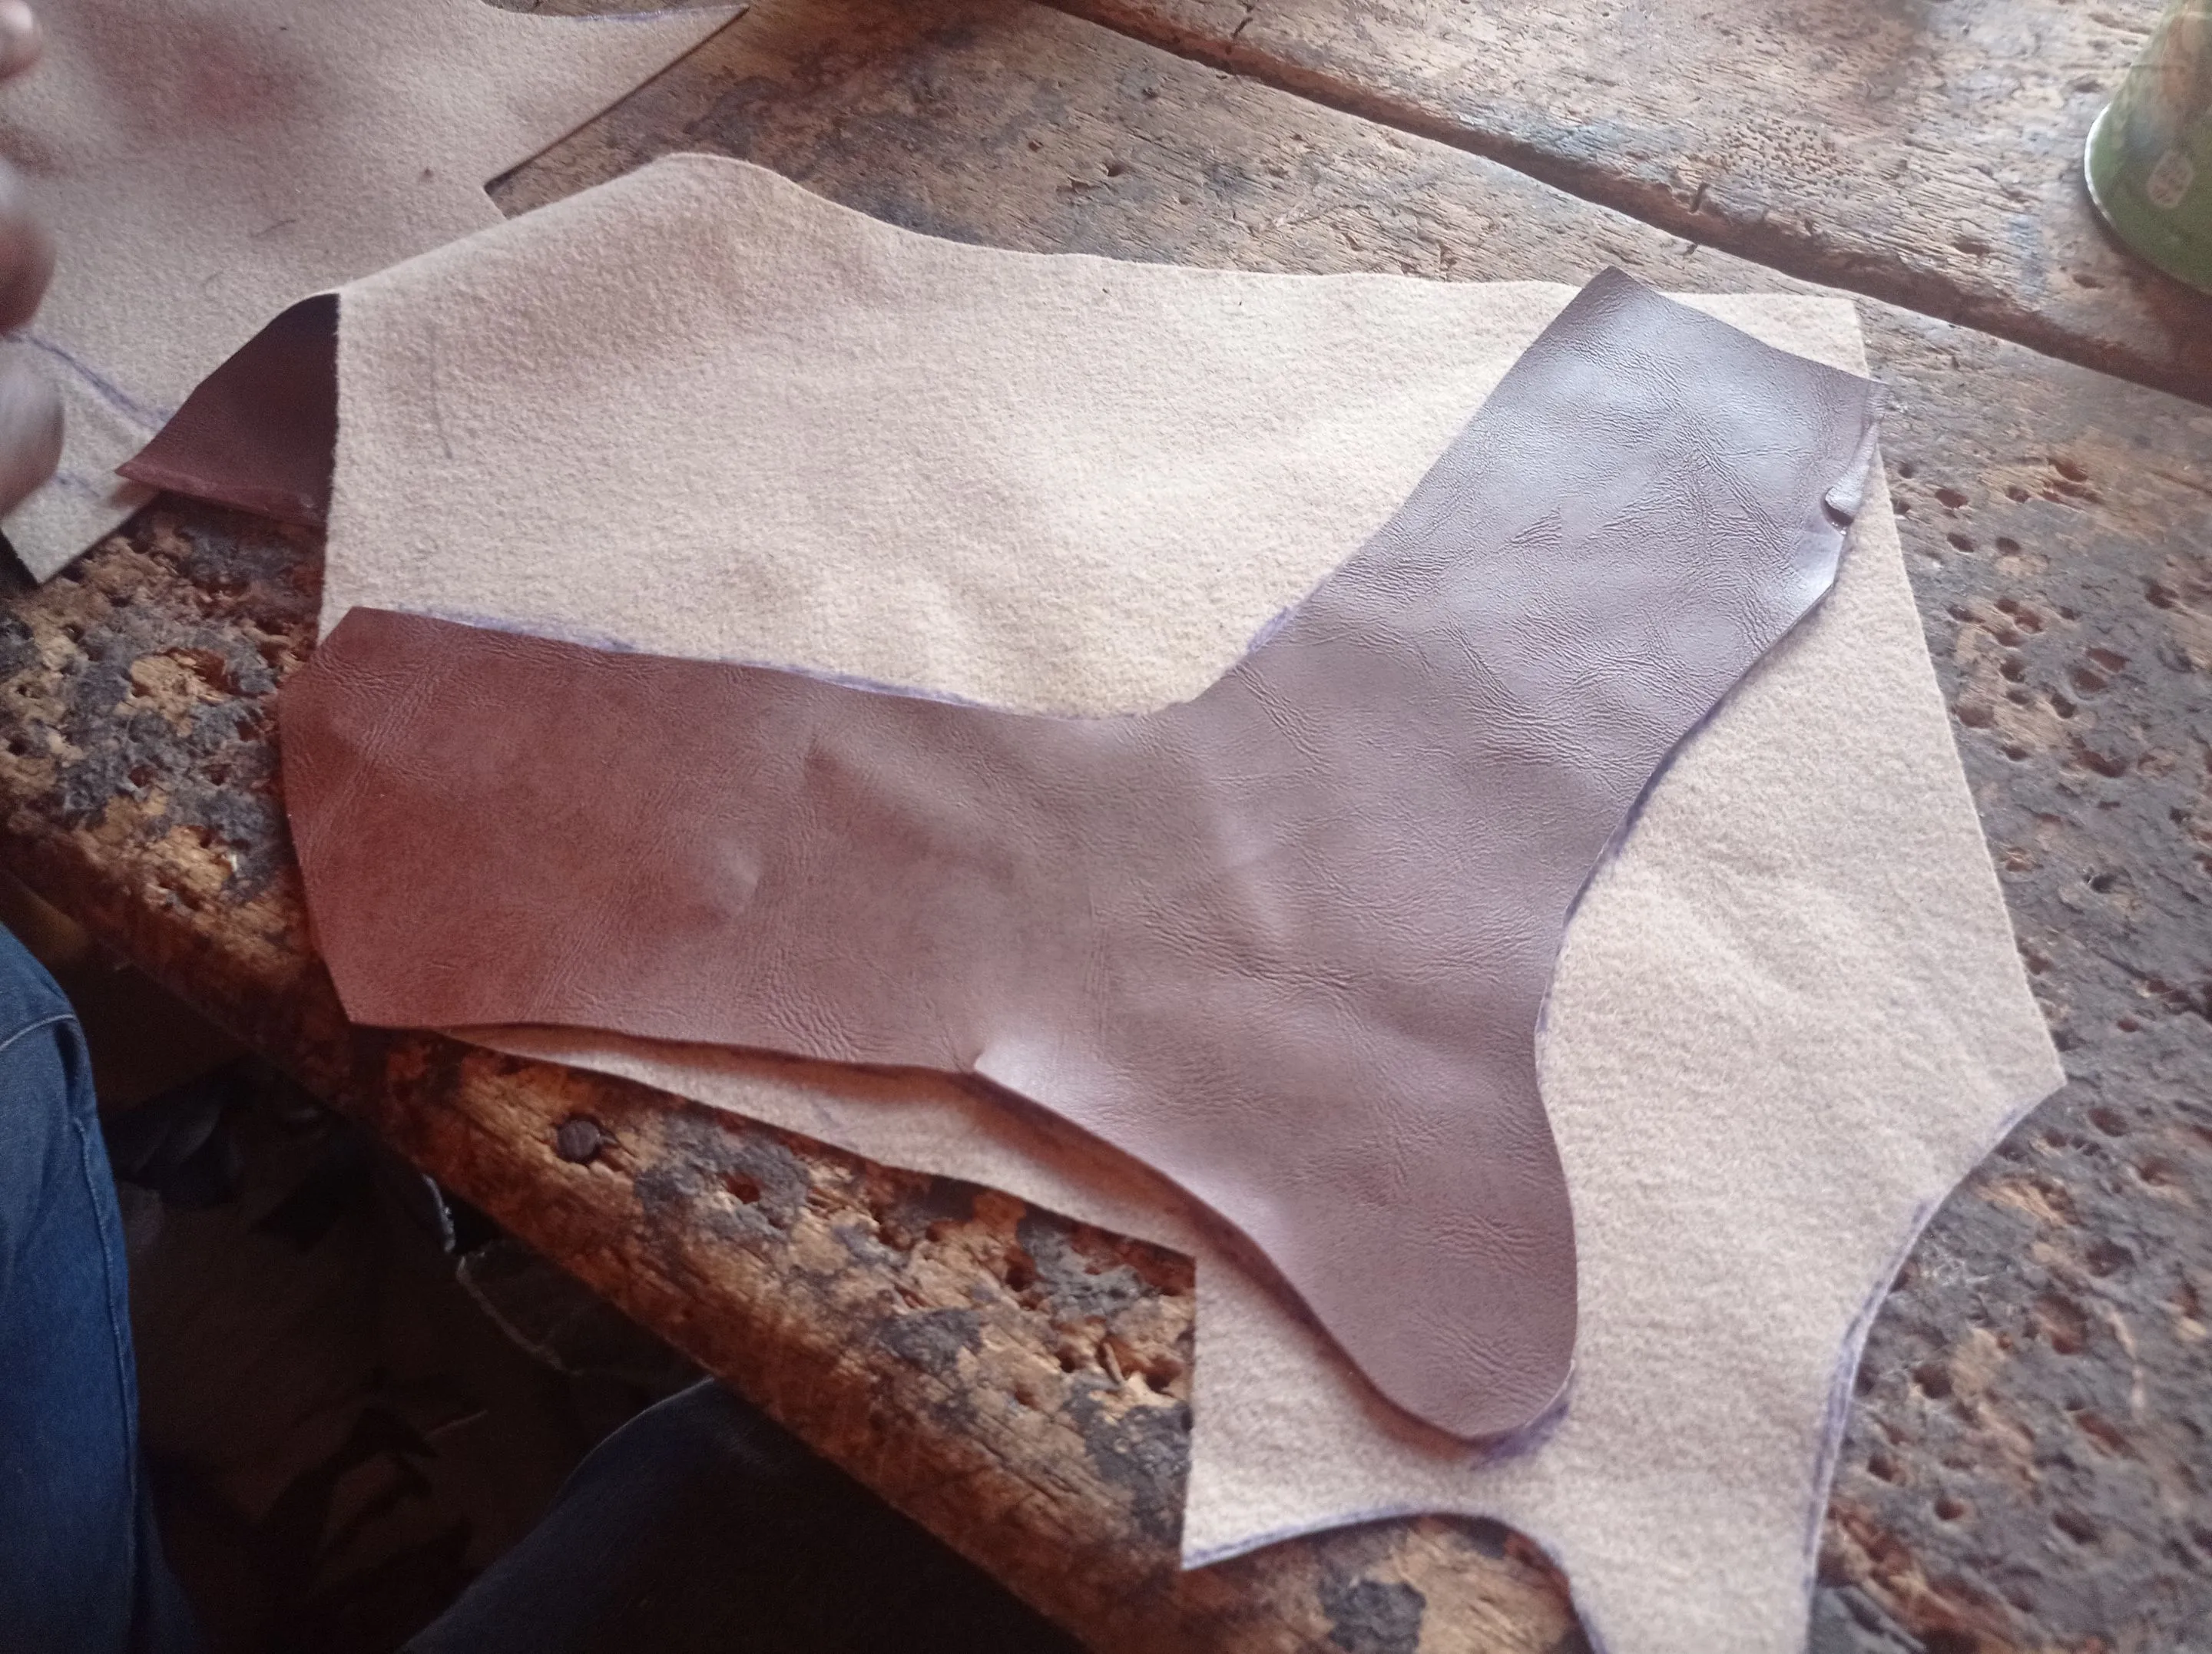
- I cut each into the appropriate shape, apply gum on them and join the leather and lining together.
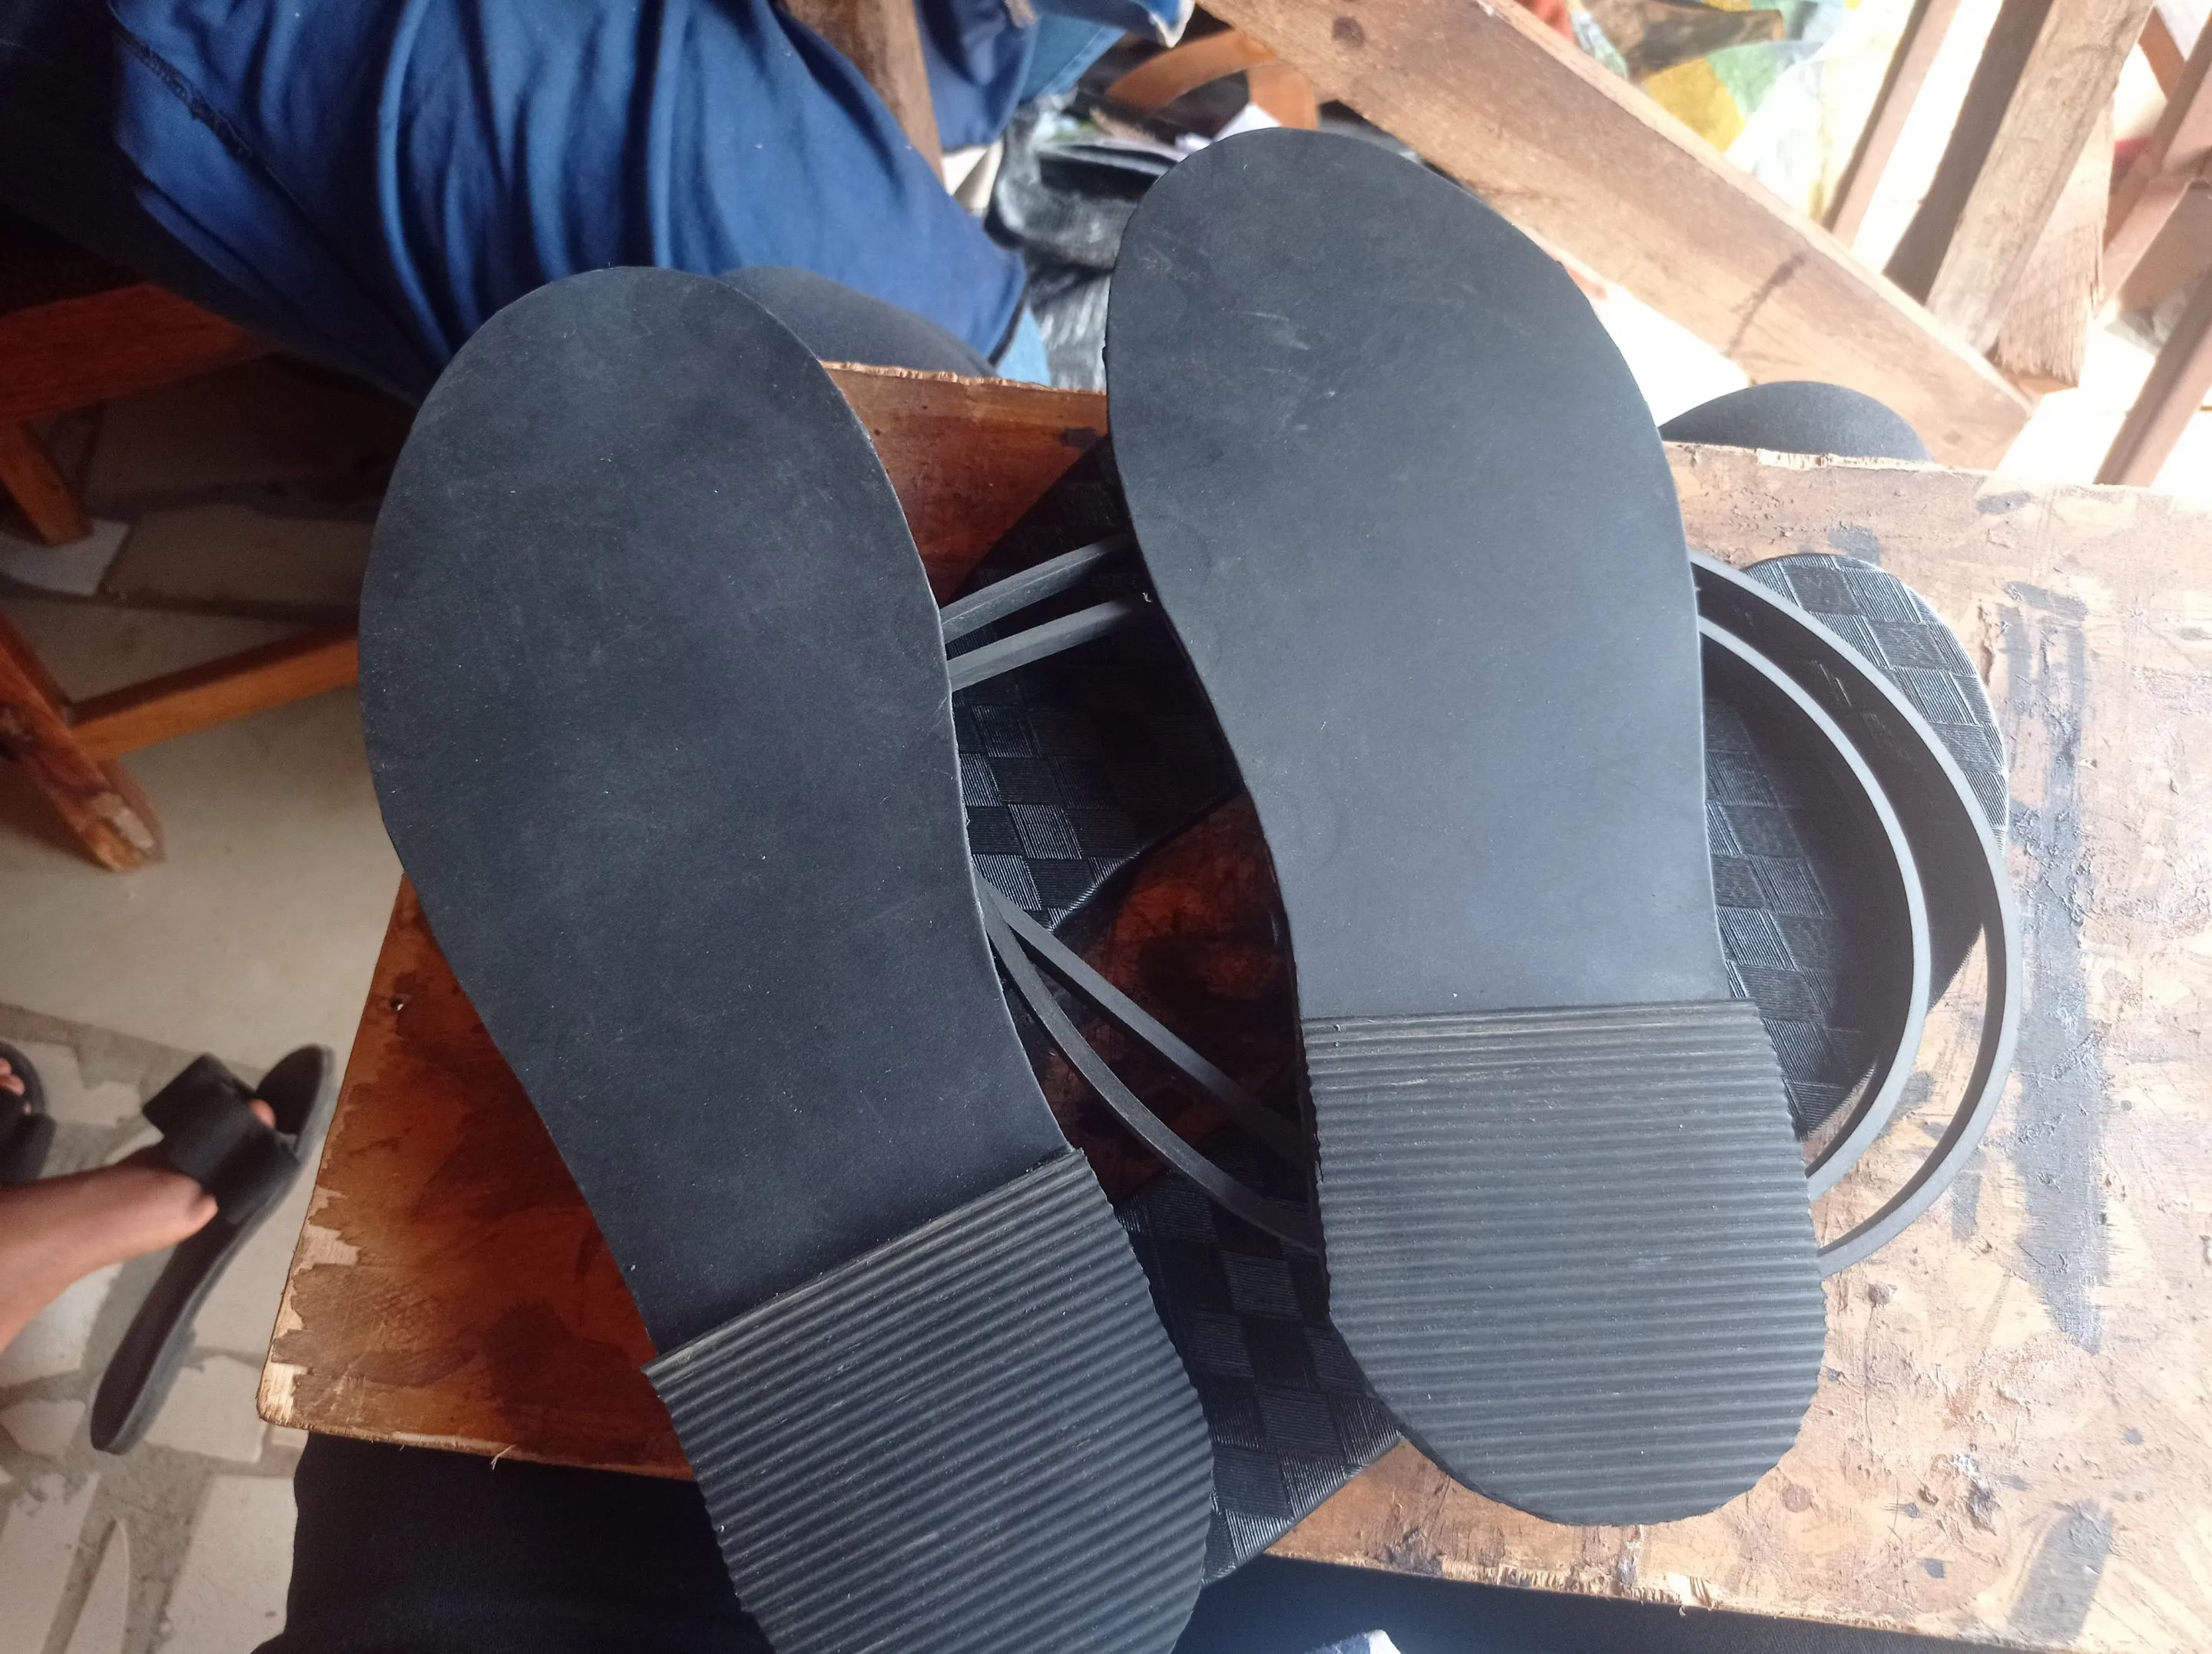
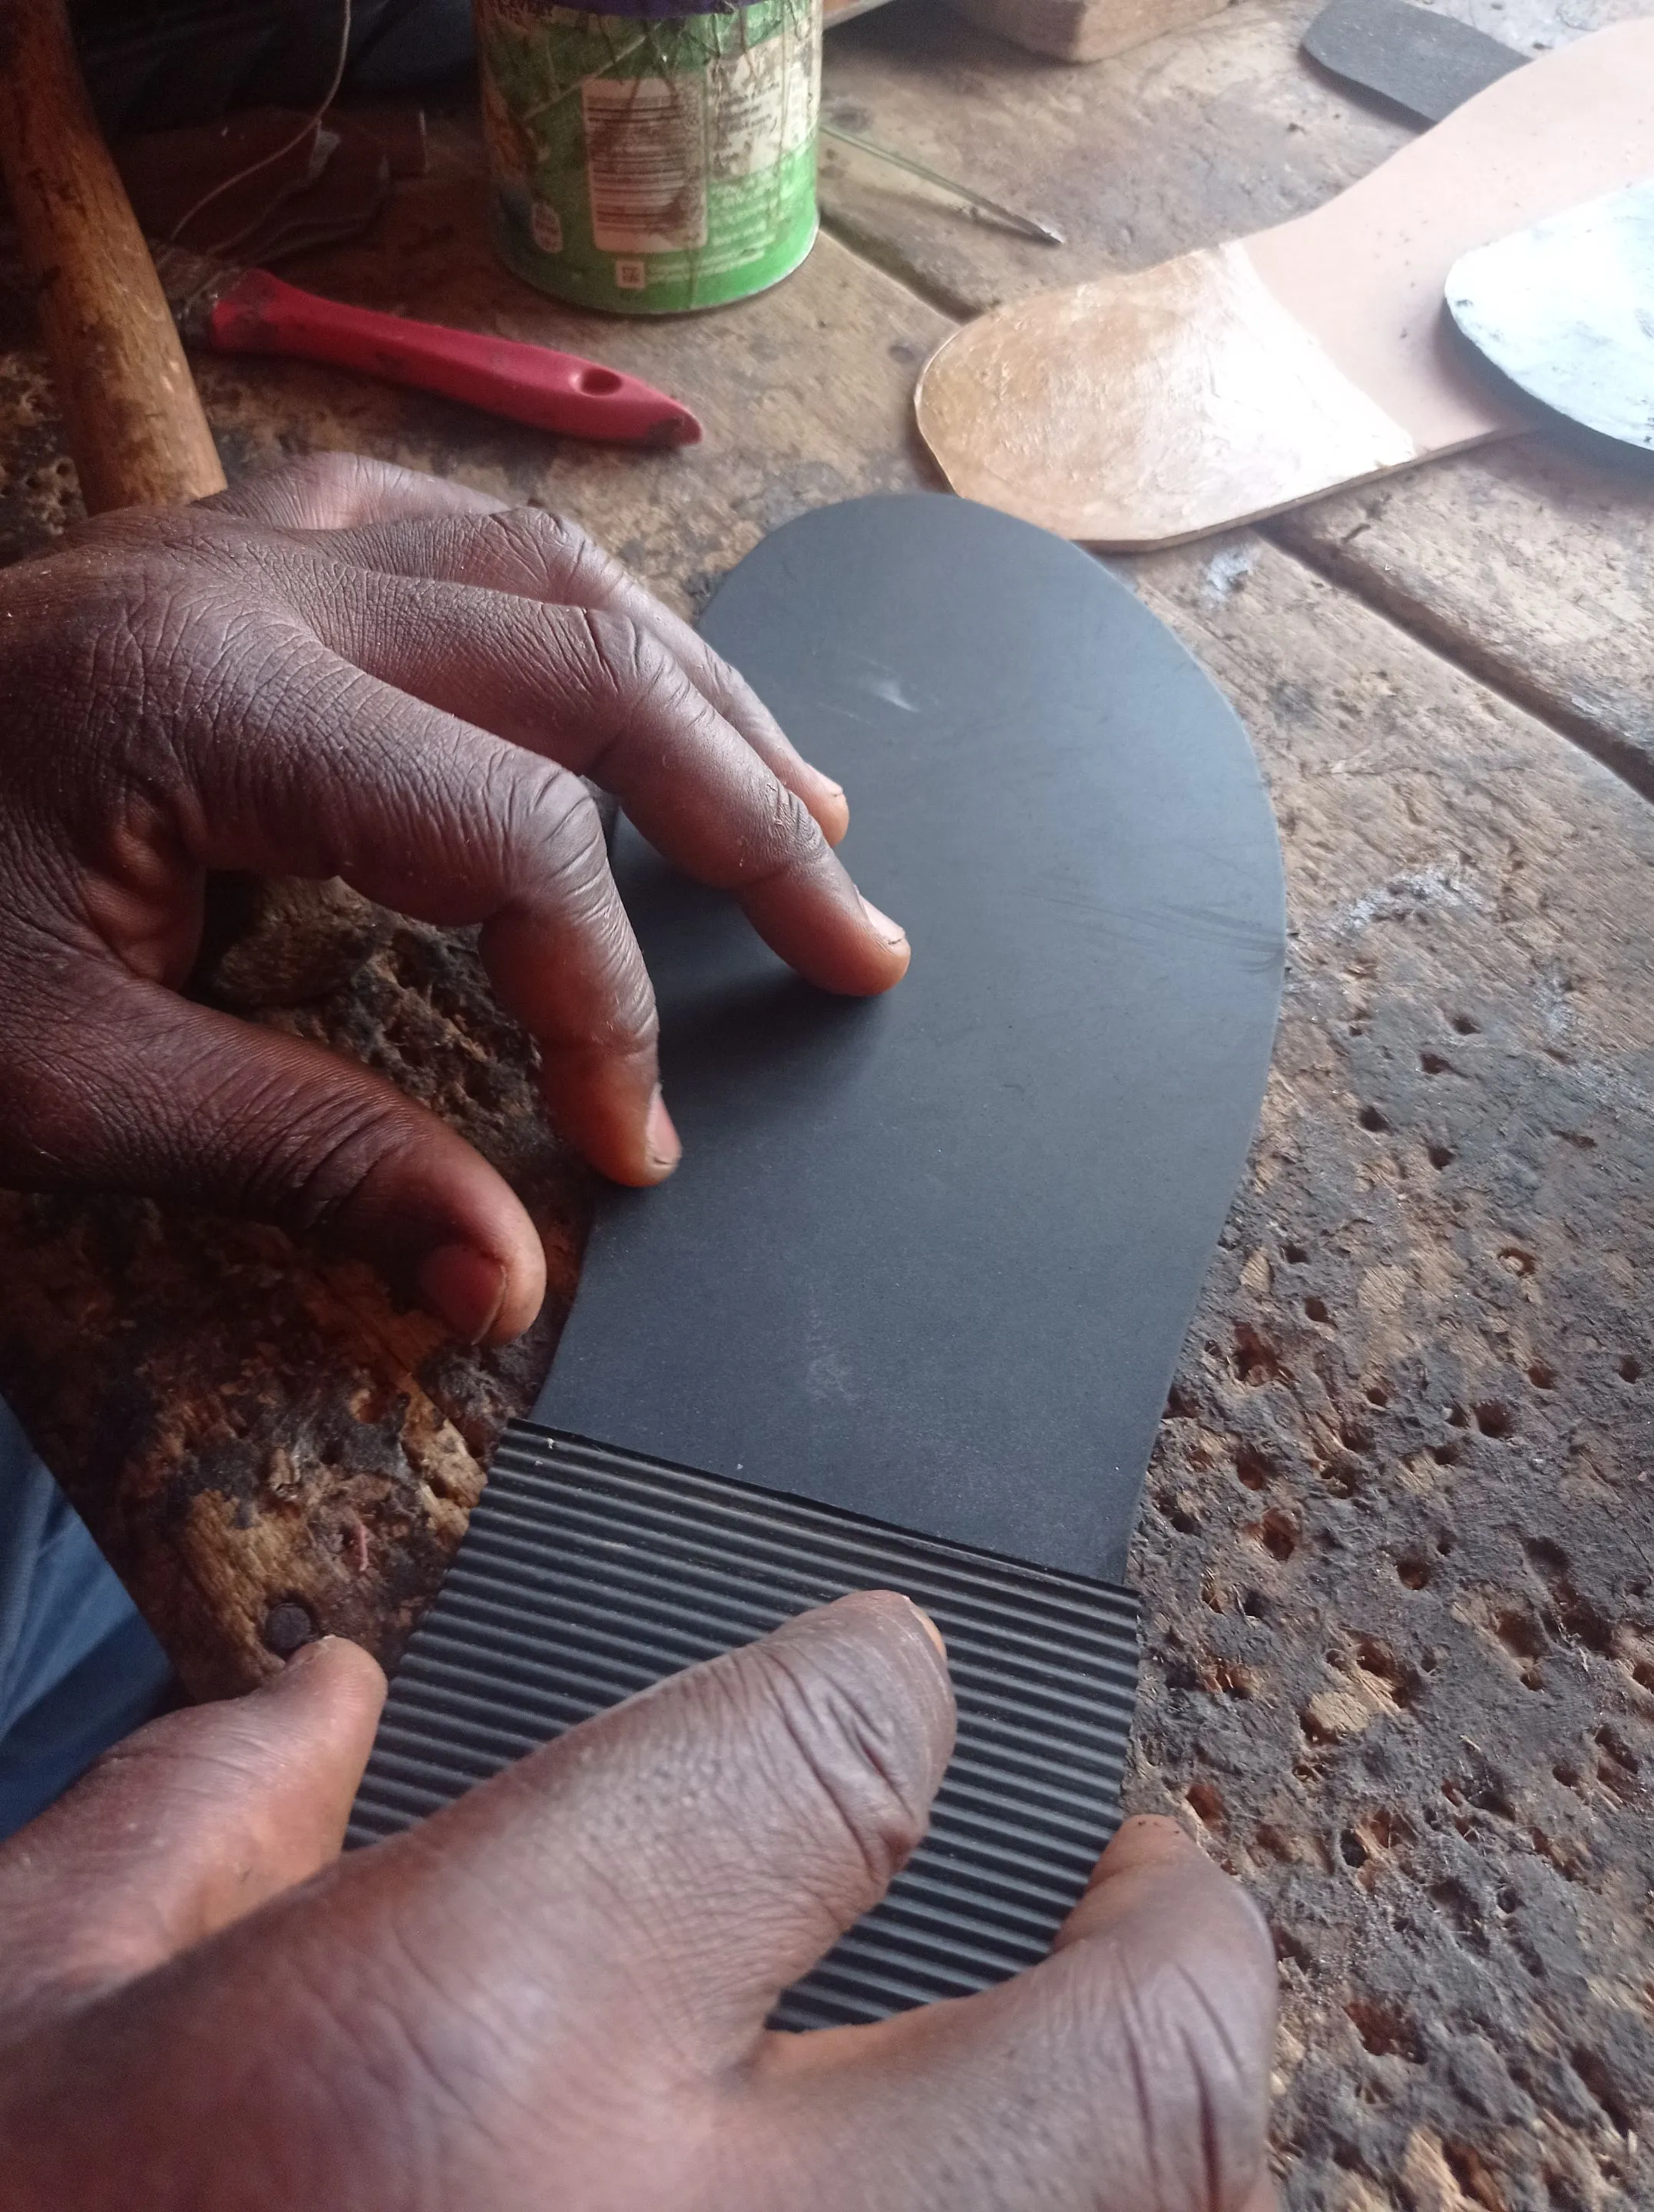
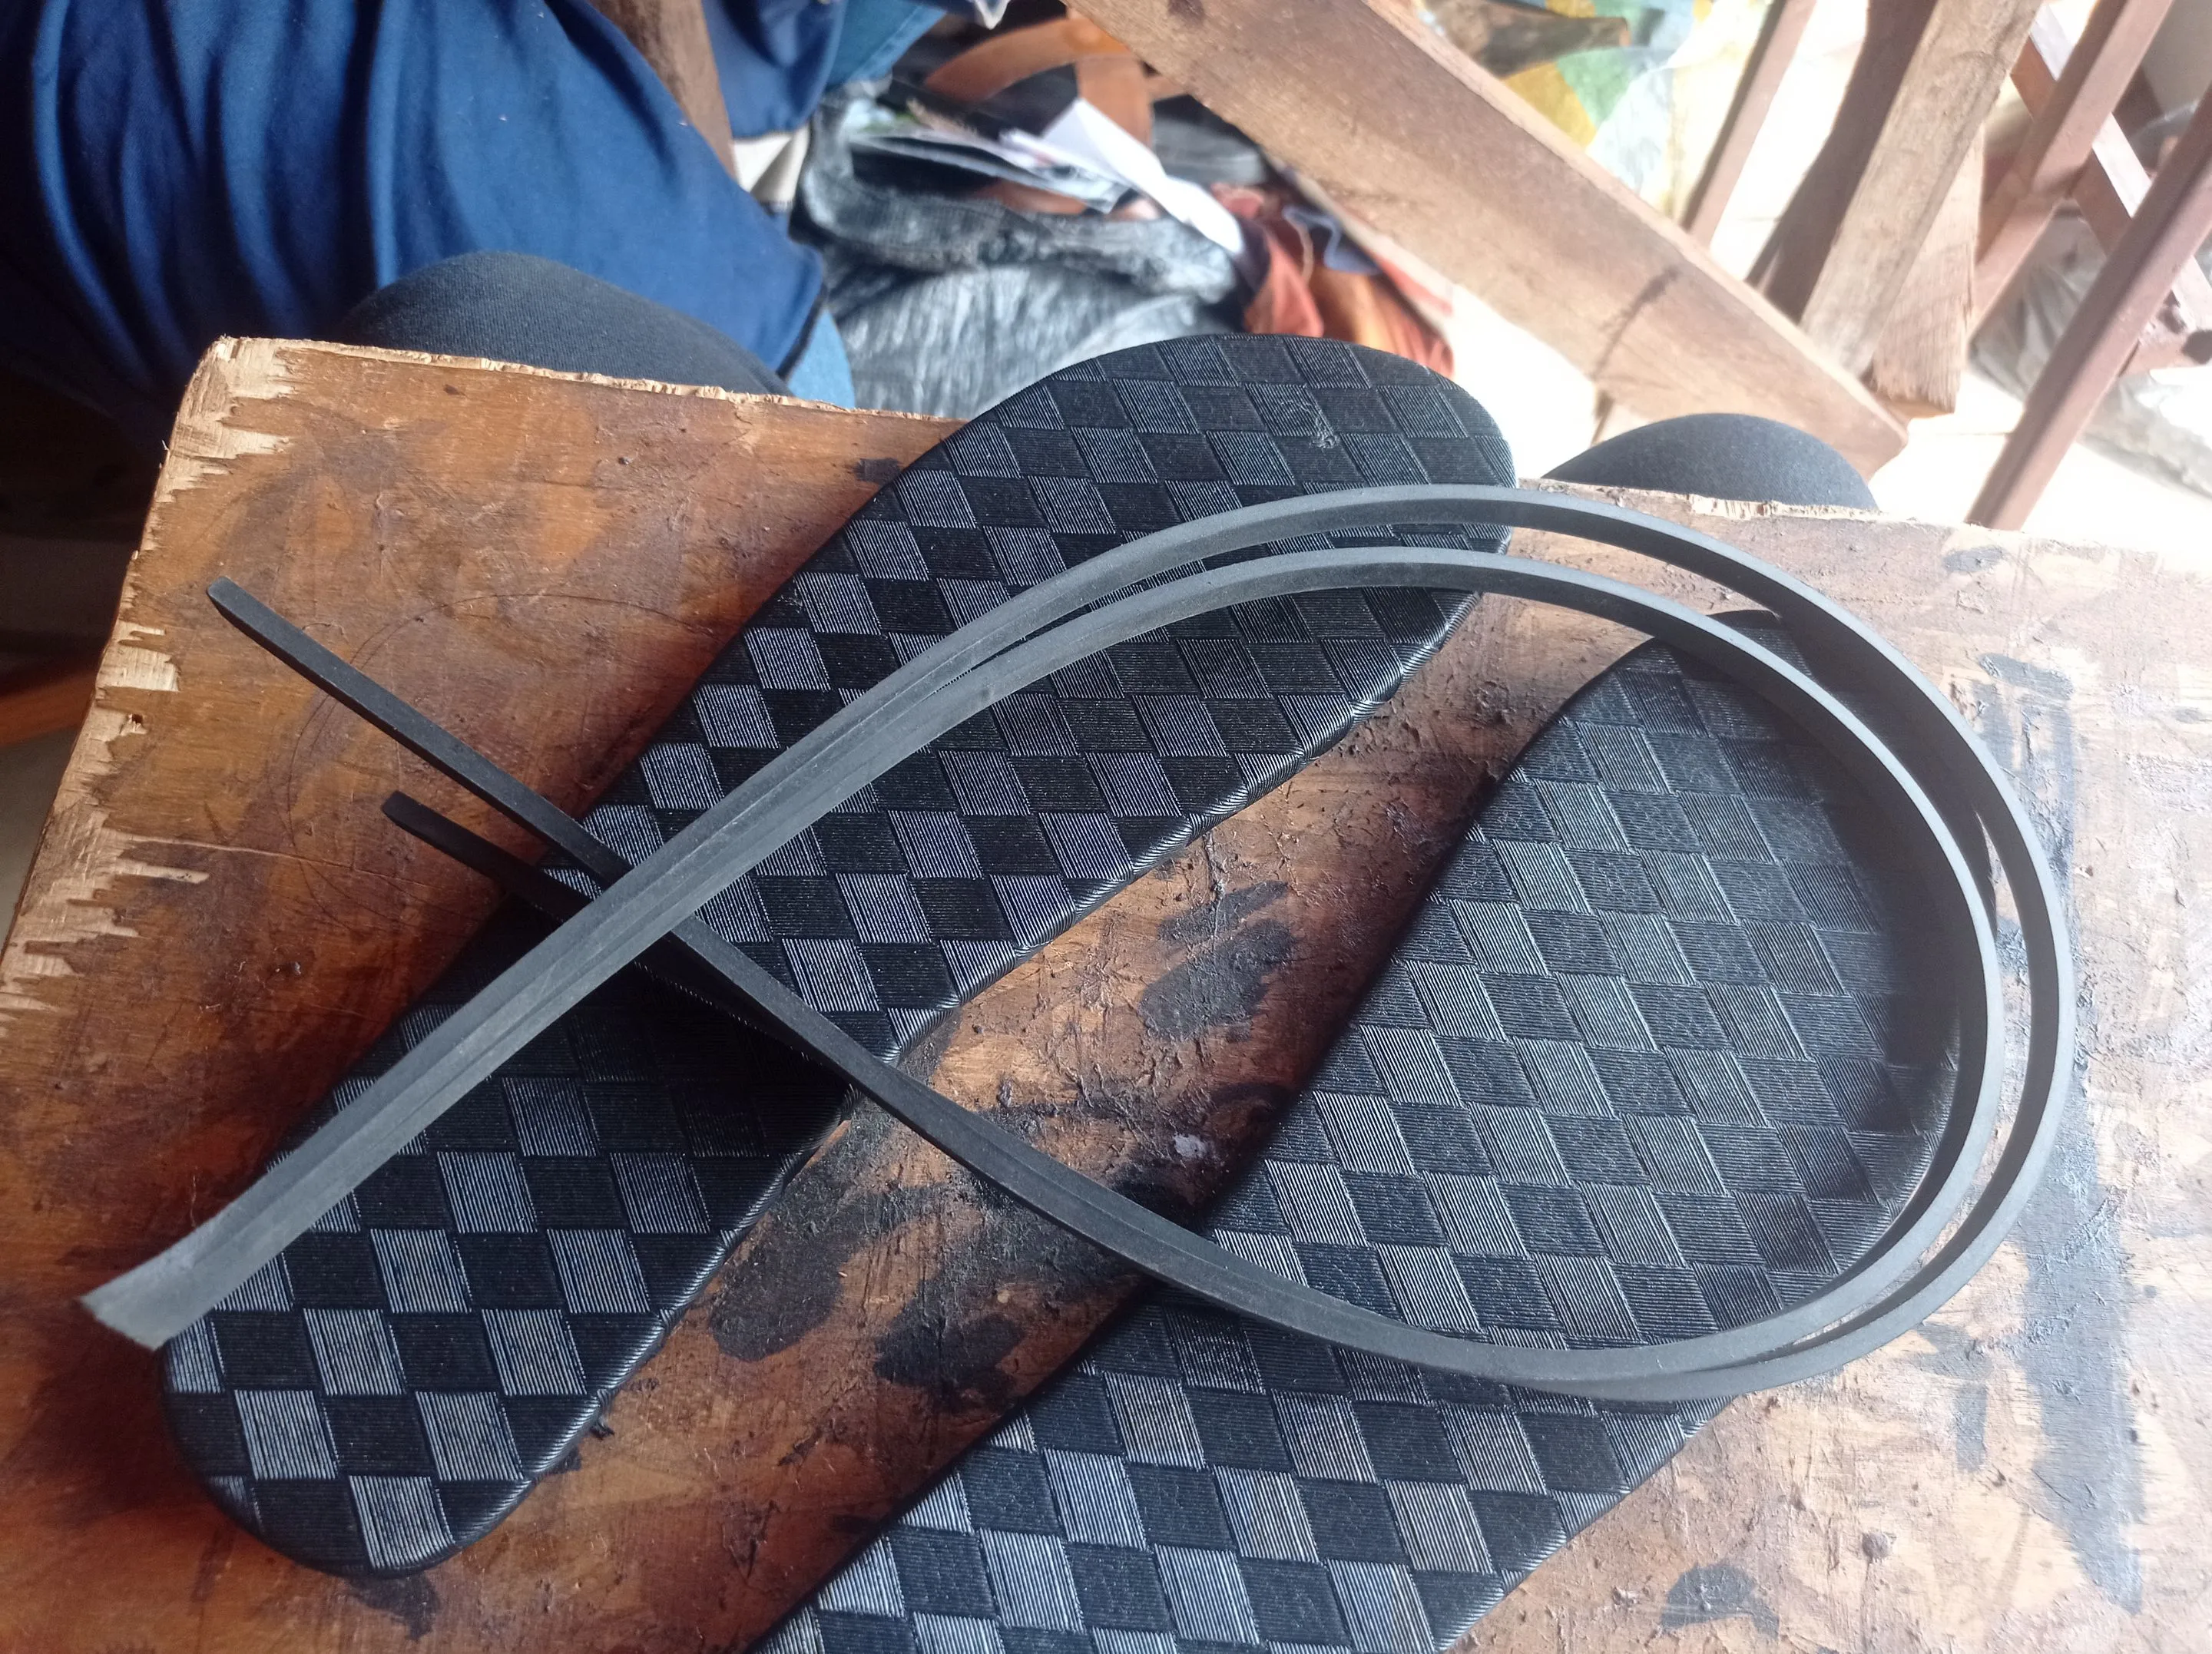
- I cut the Marco material in the shape of a Footwear's and cut a ticker Marco as the heel of the Slippers, apply gum on both and join them together.
- I wrap the lining on the fiber material meant for the insole.
- I then tested the shape and size of the upper on a shoe last, tested different buckle on it to see which one match perfectly, and then sew the edges of the upper.
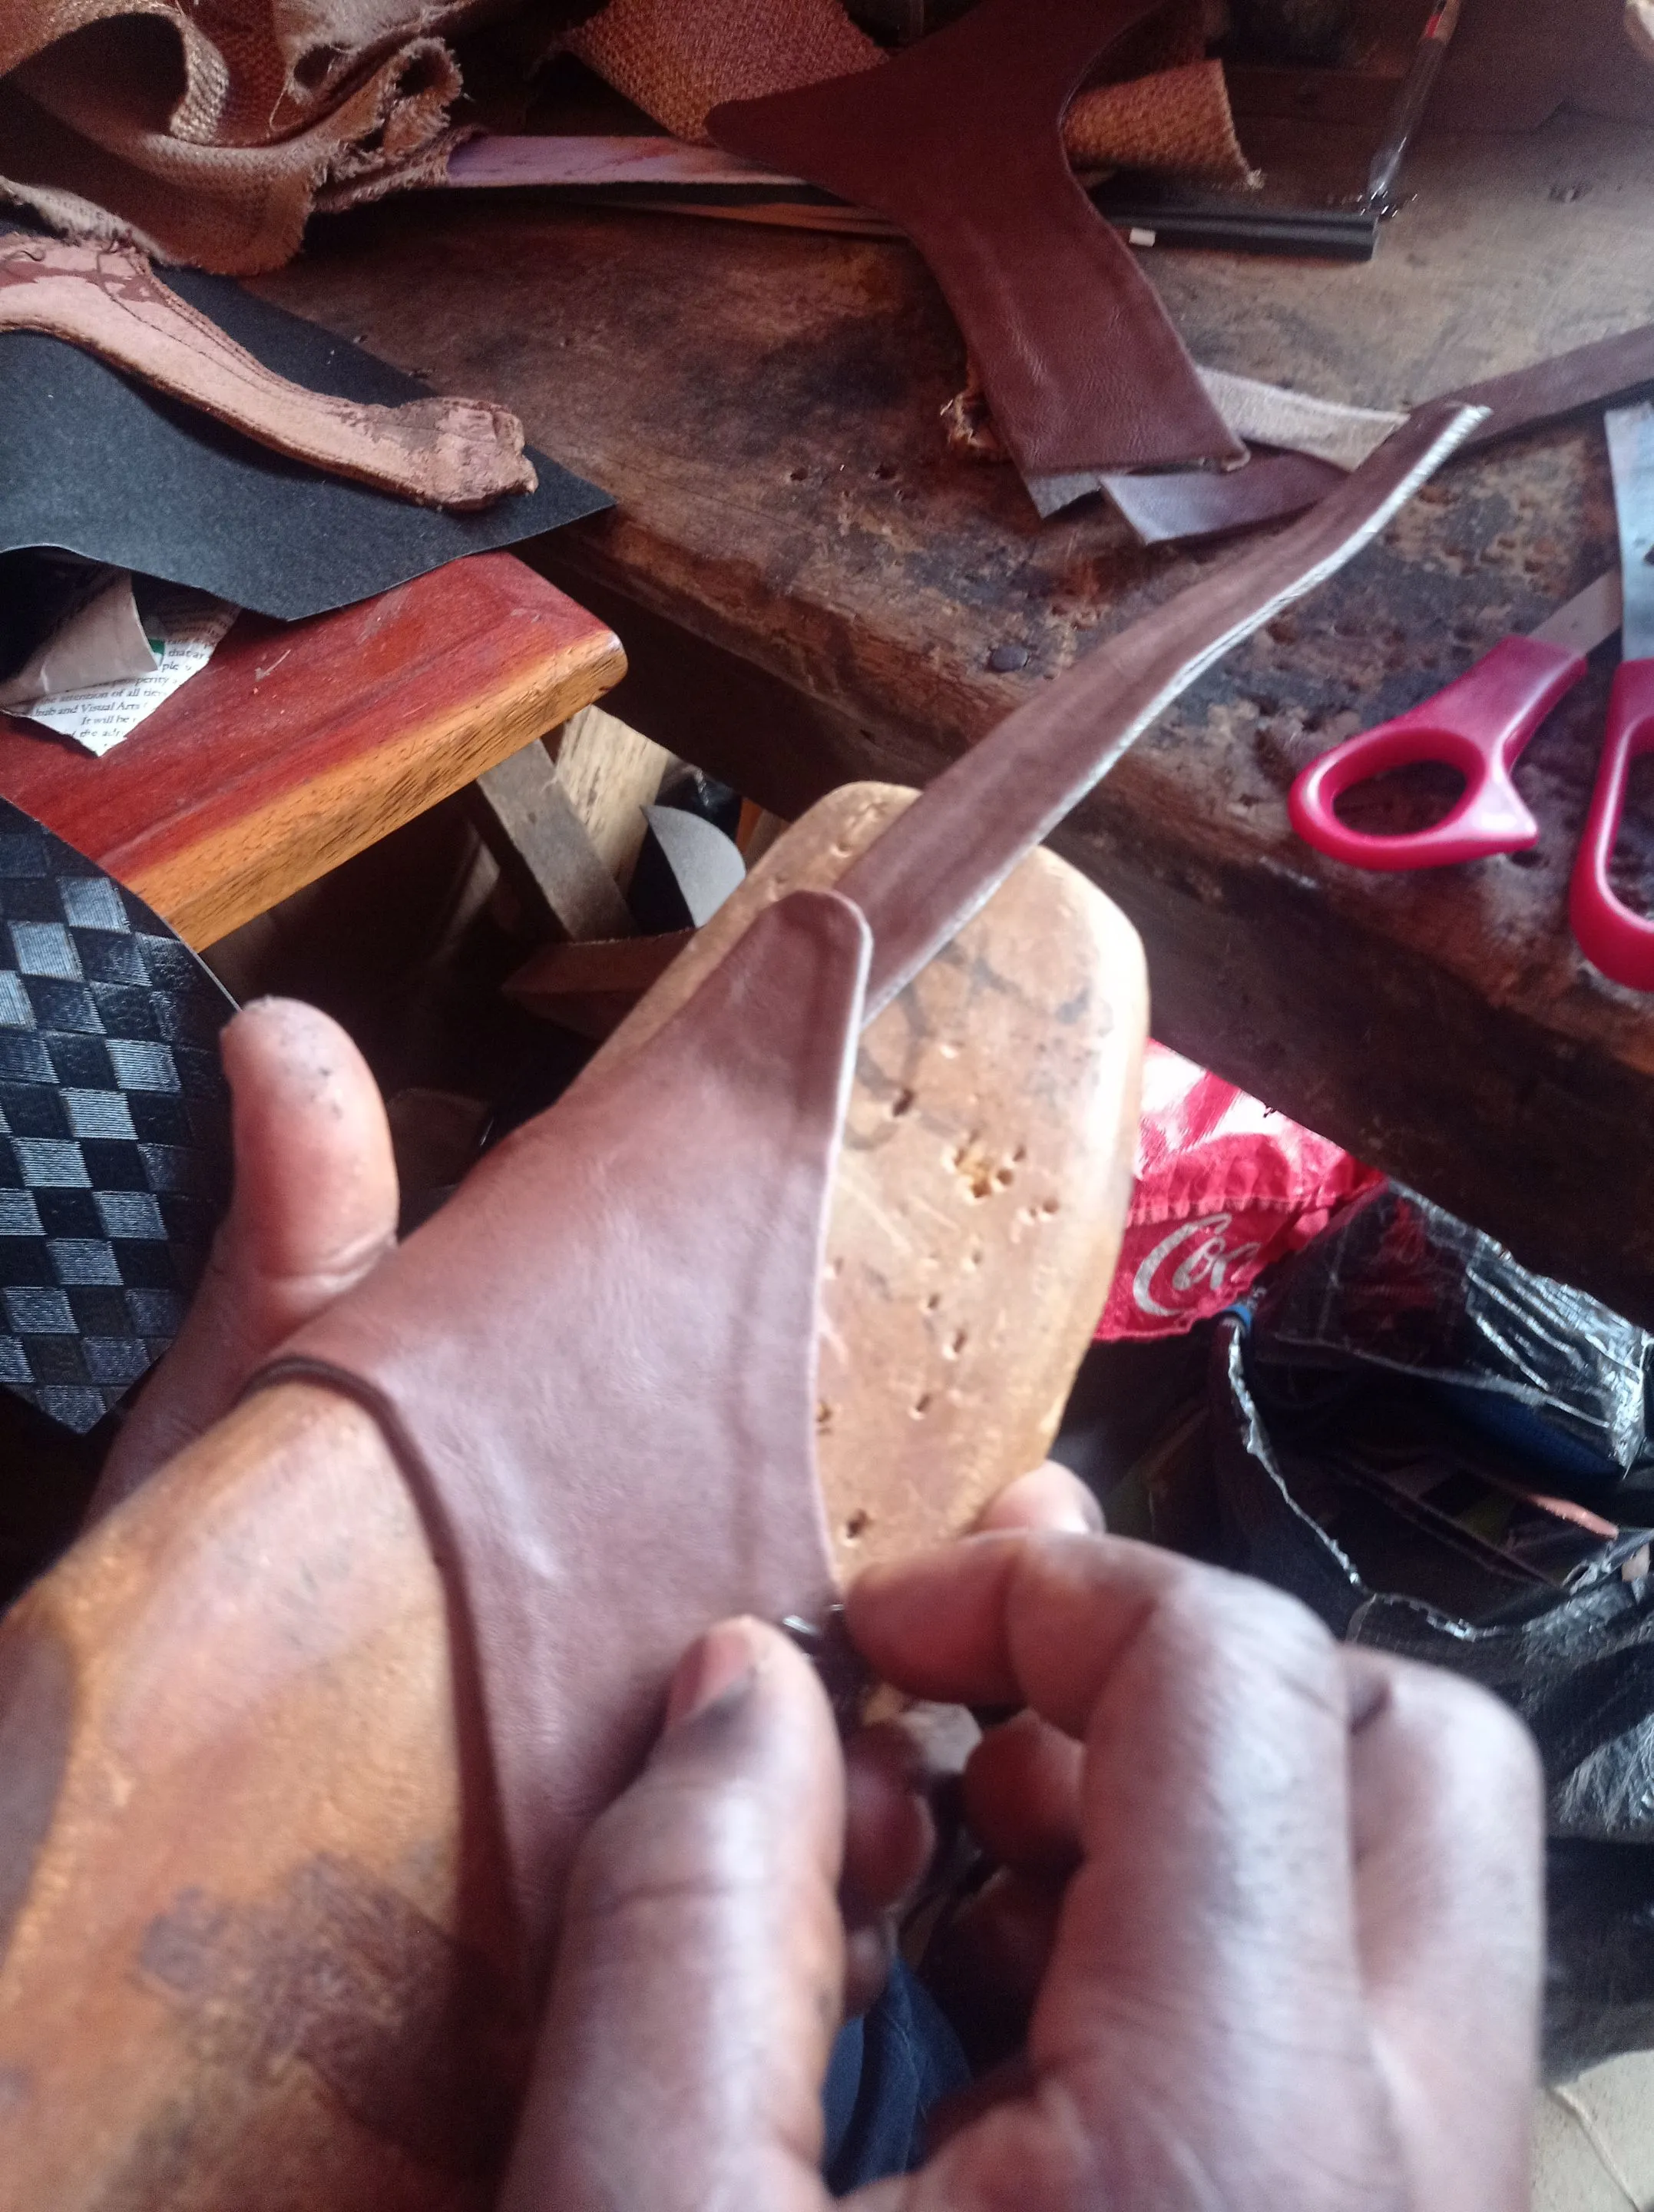
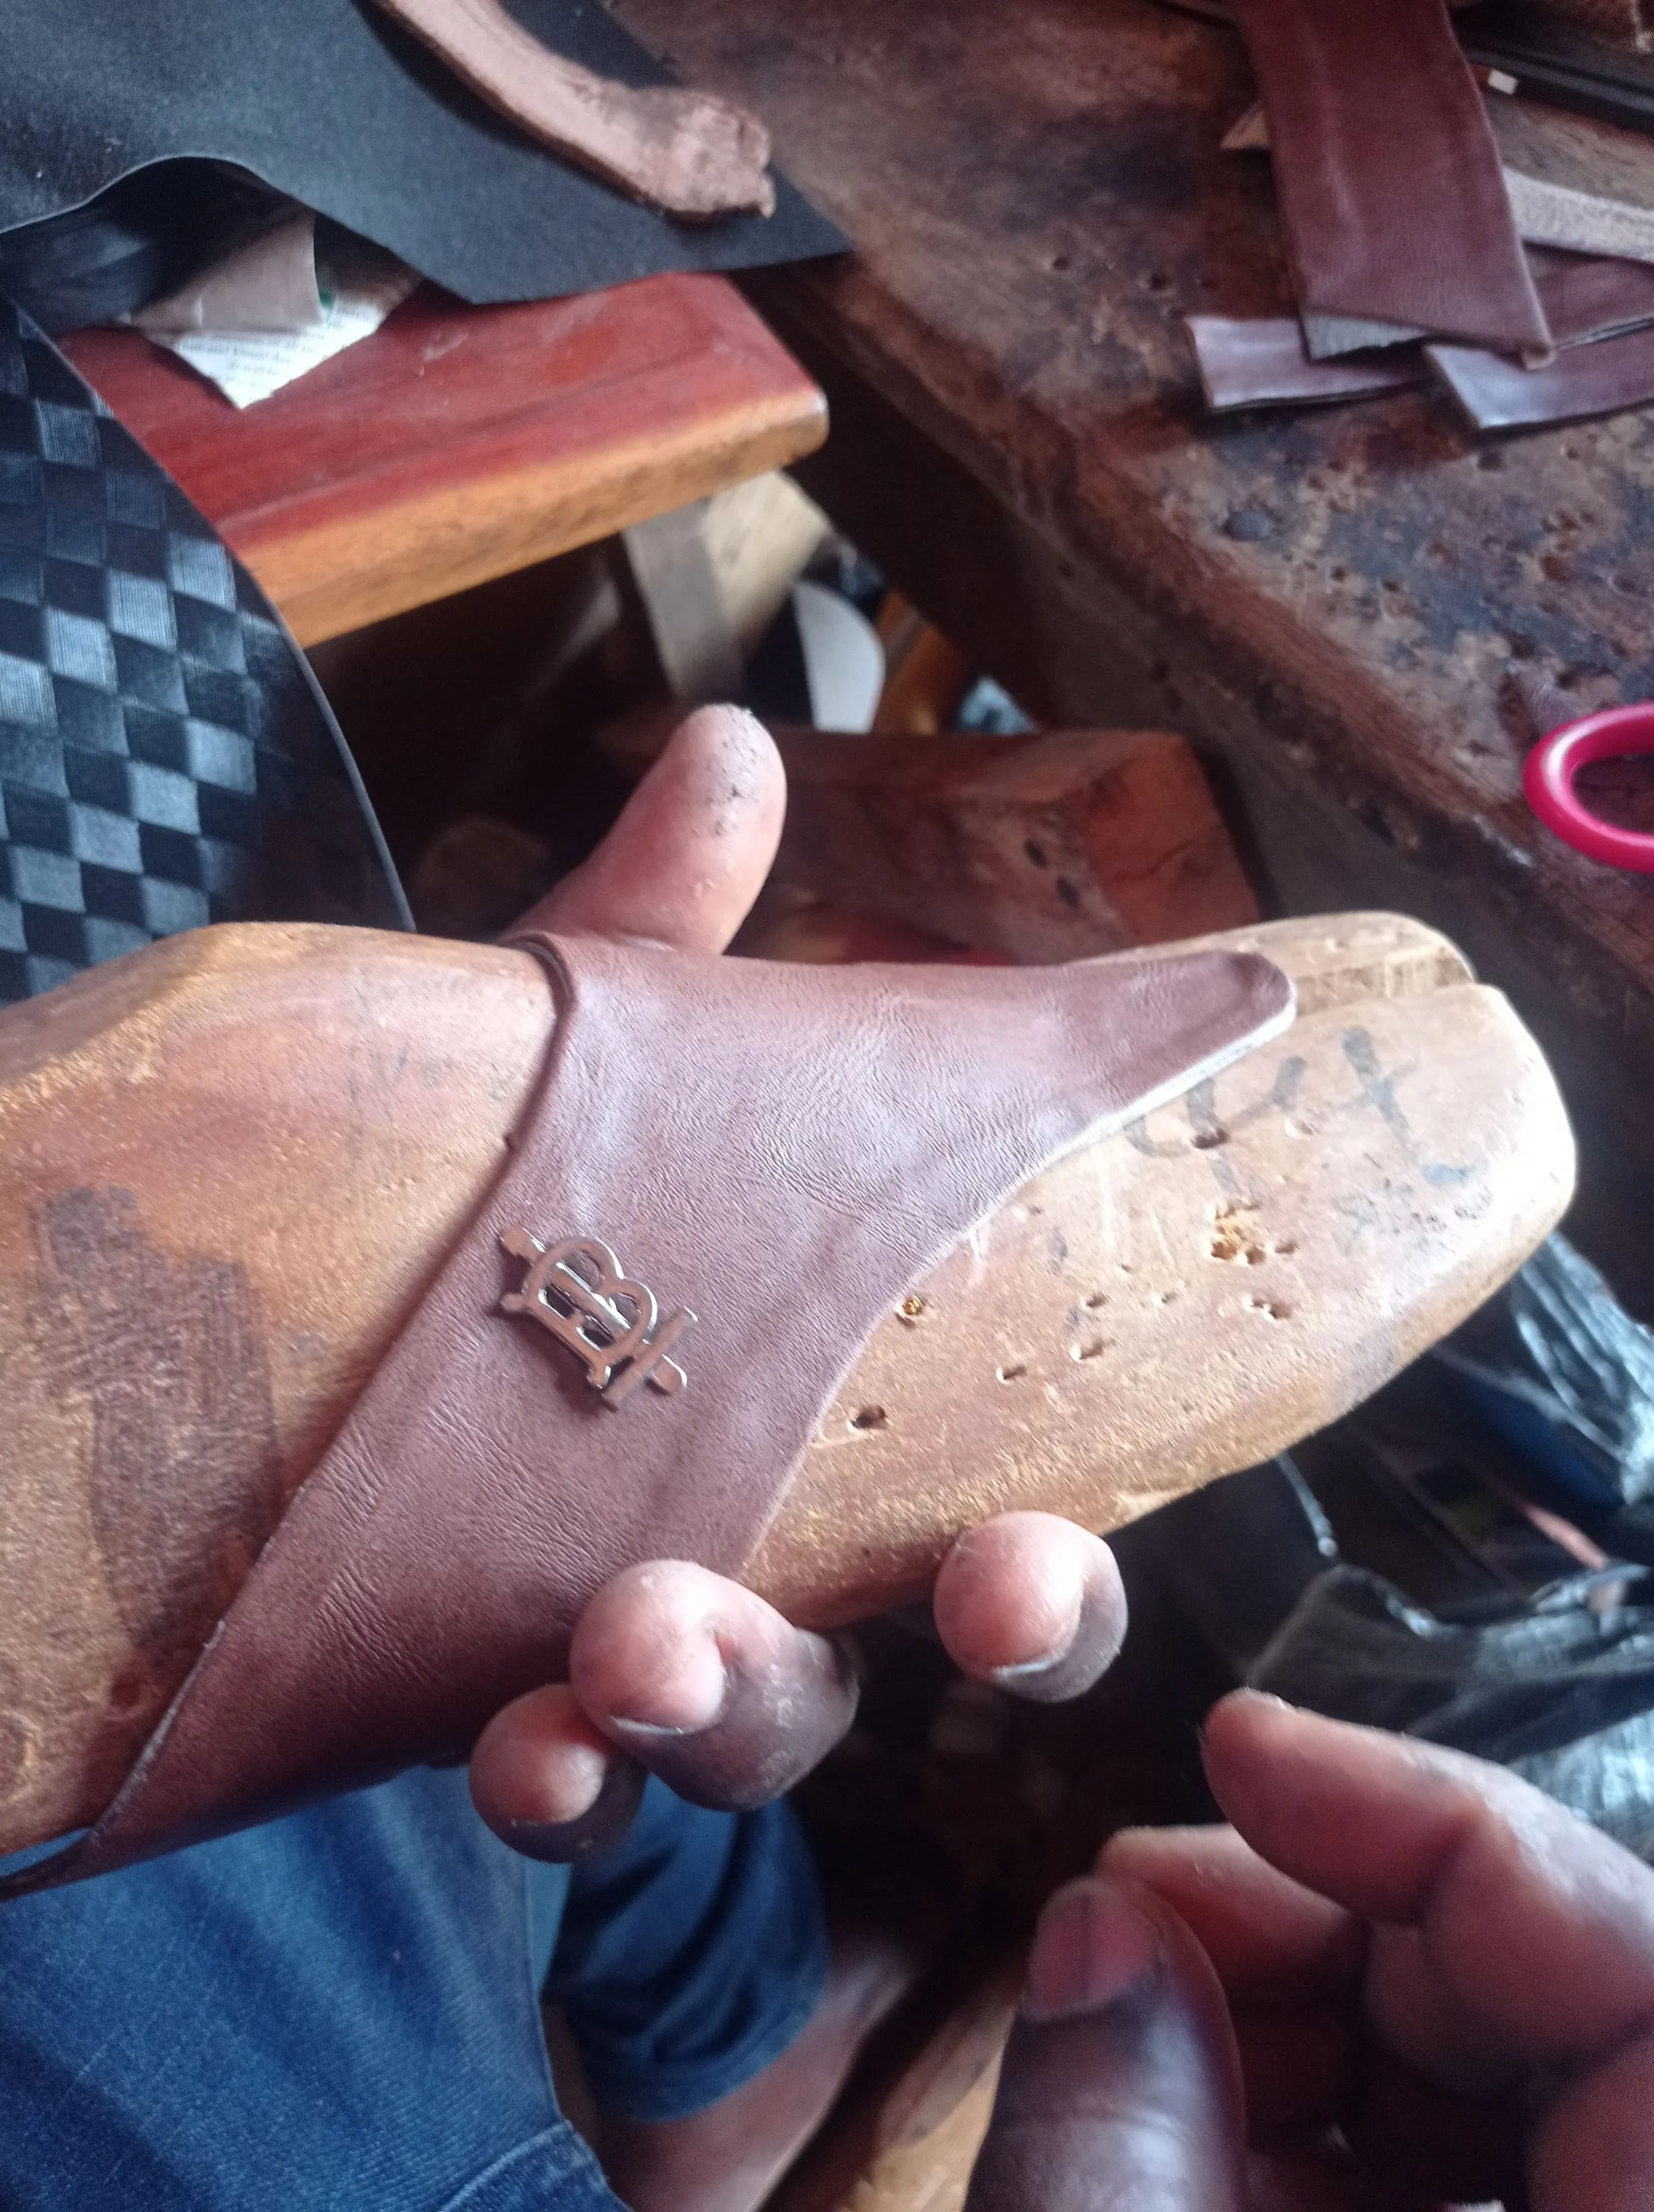
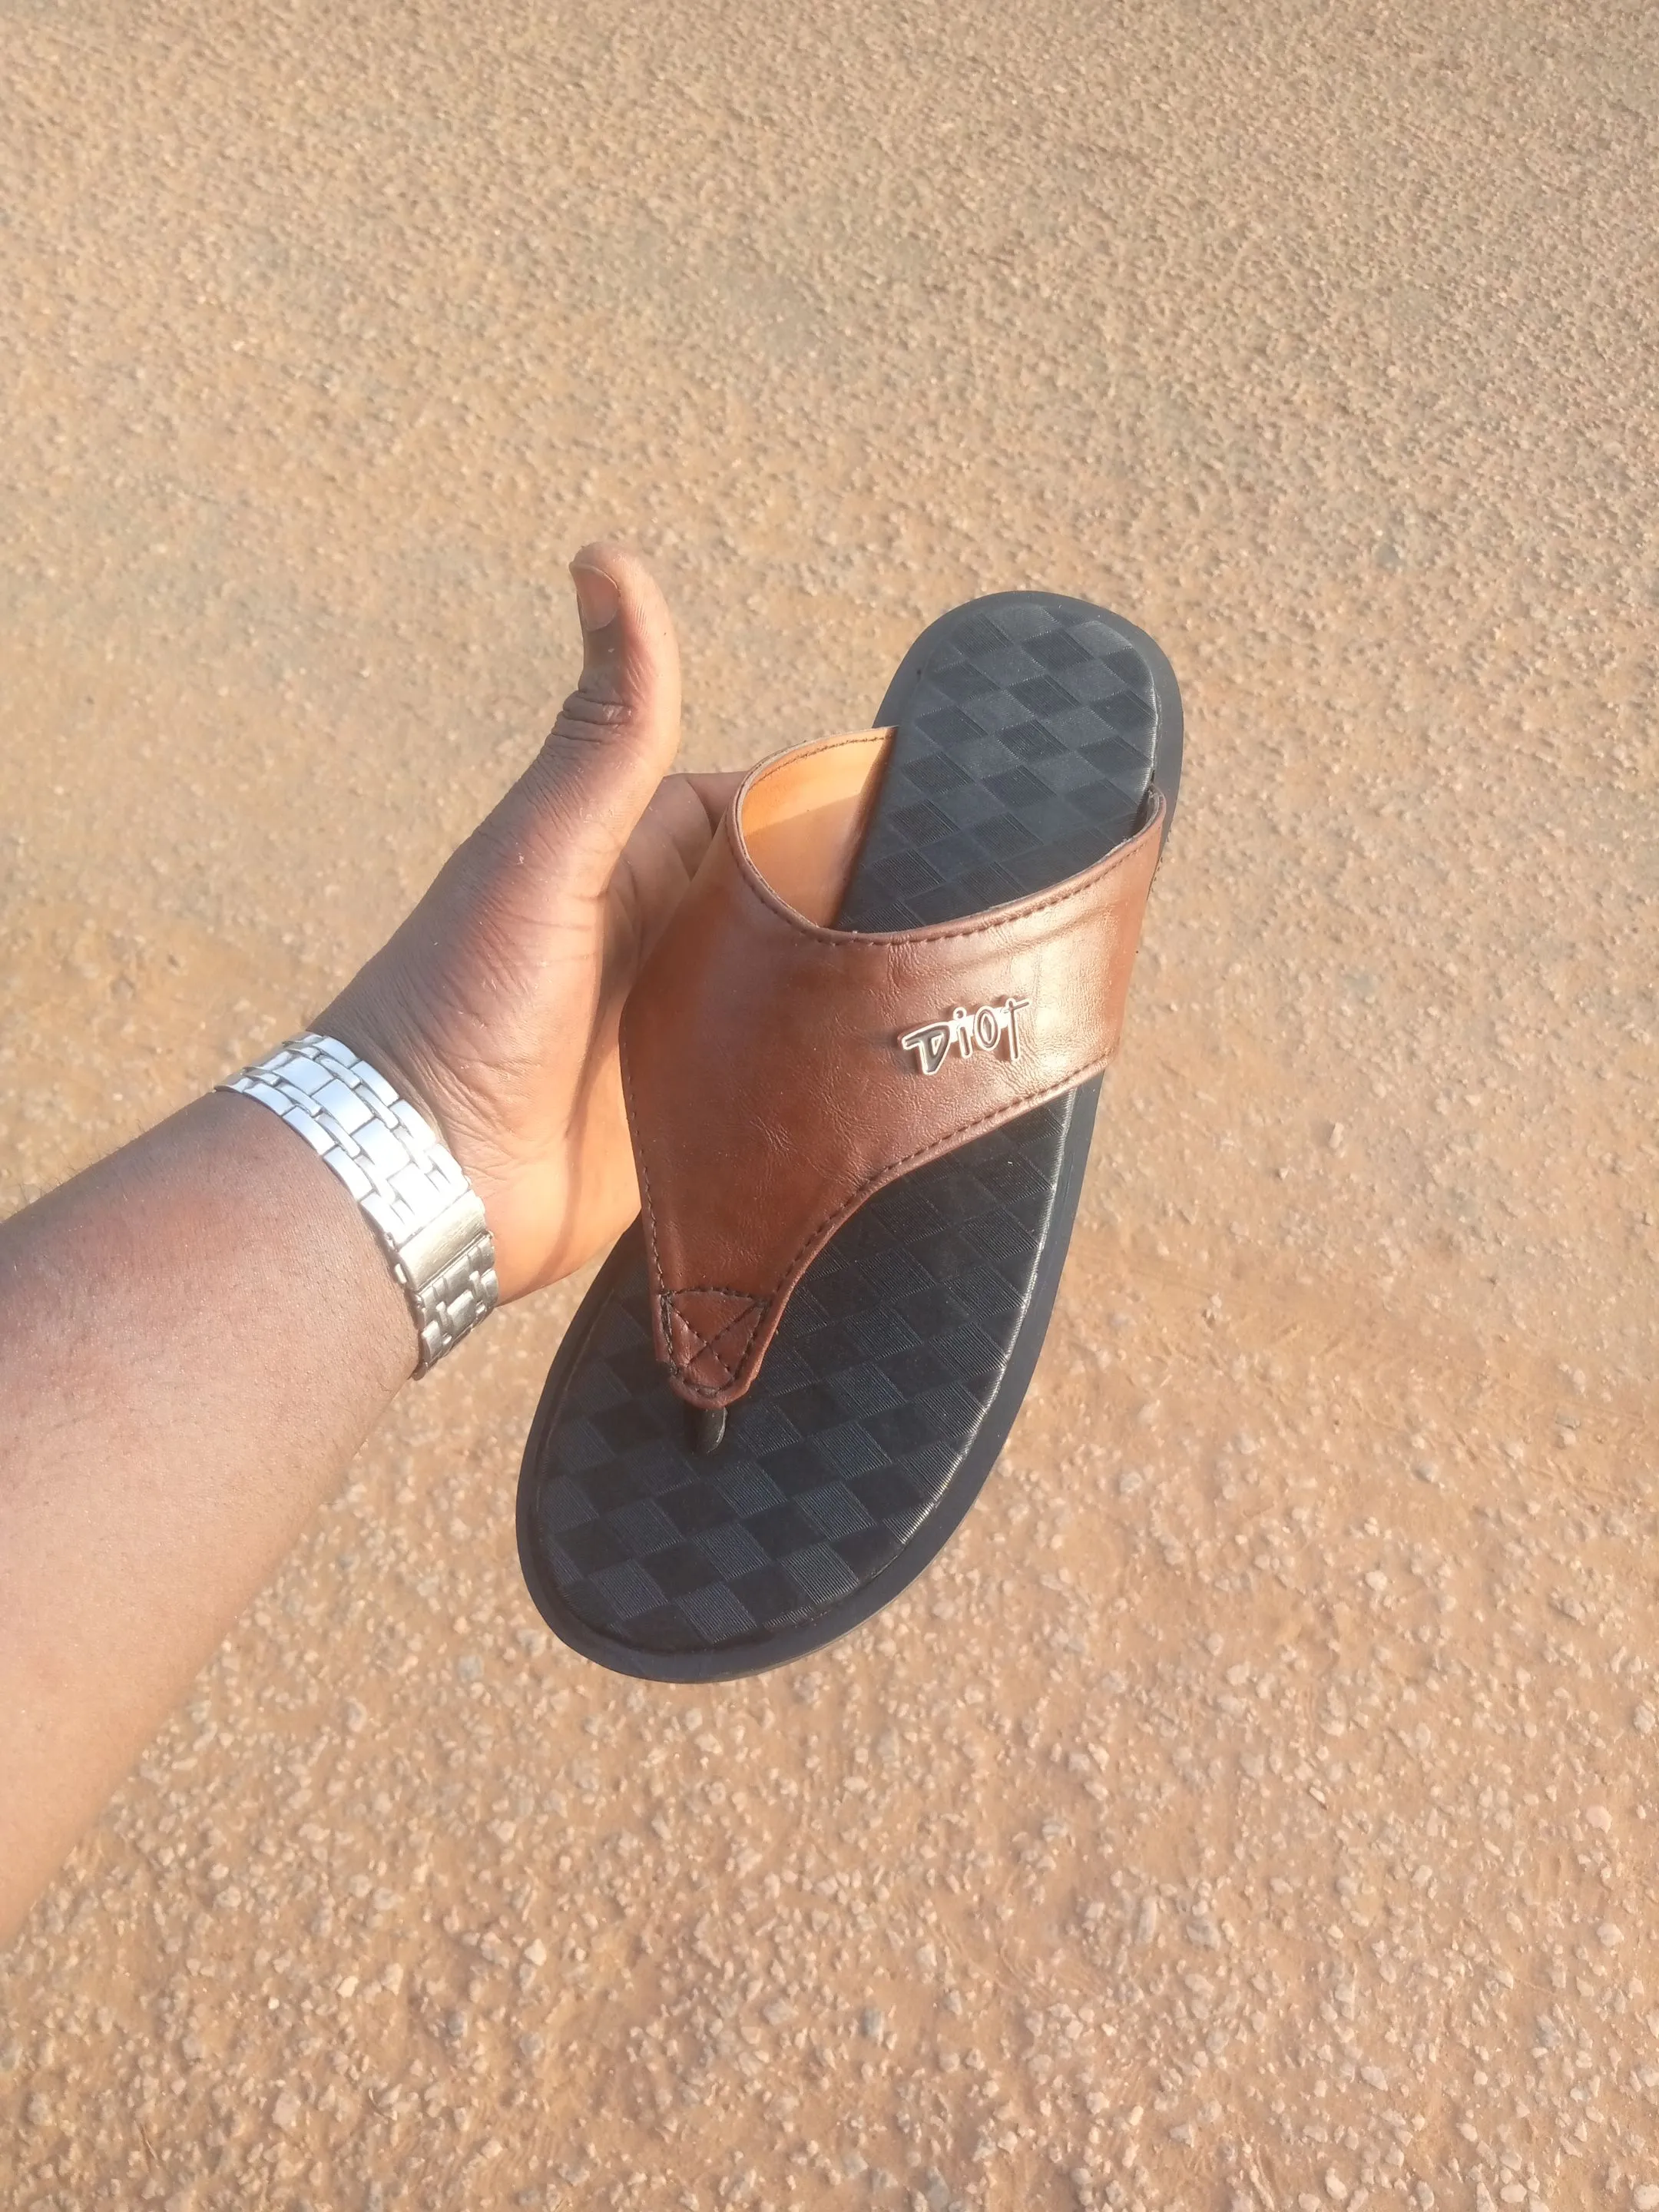
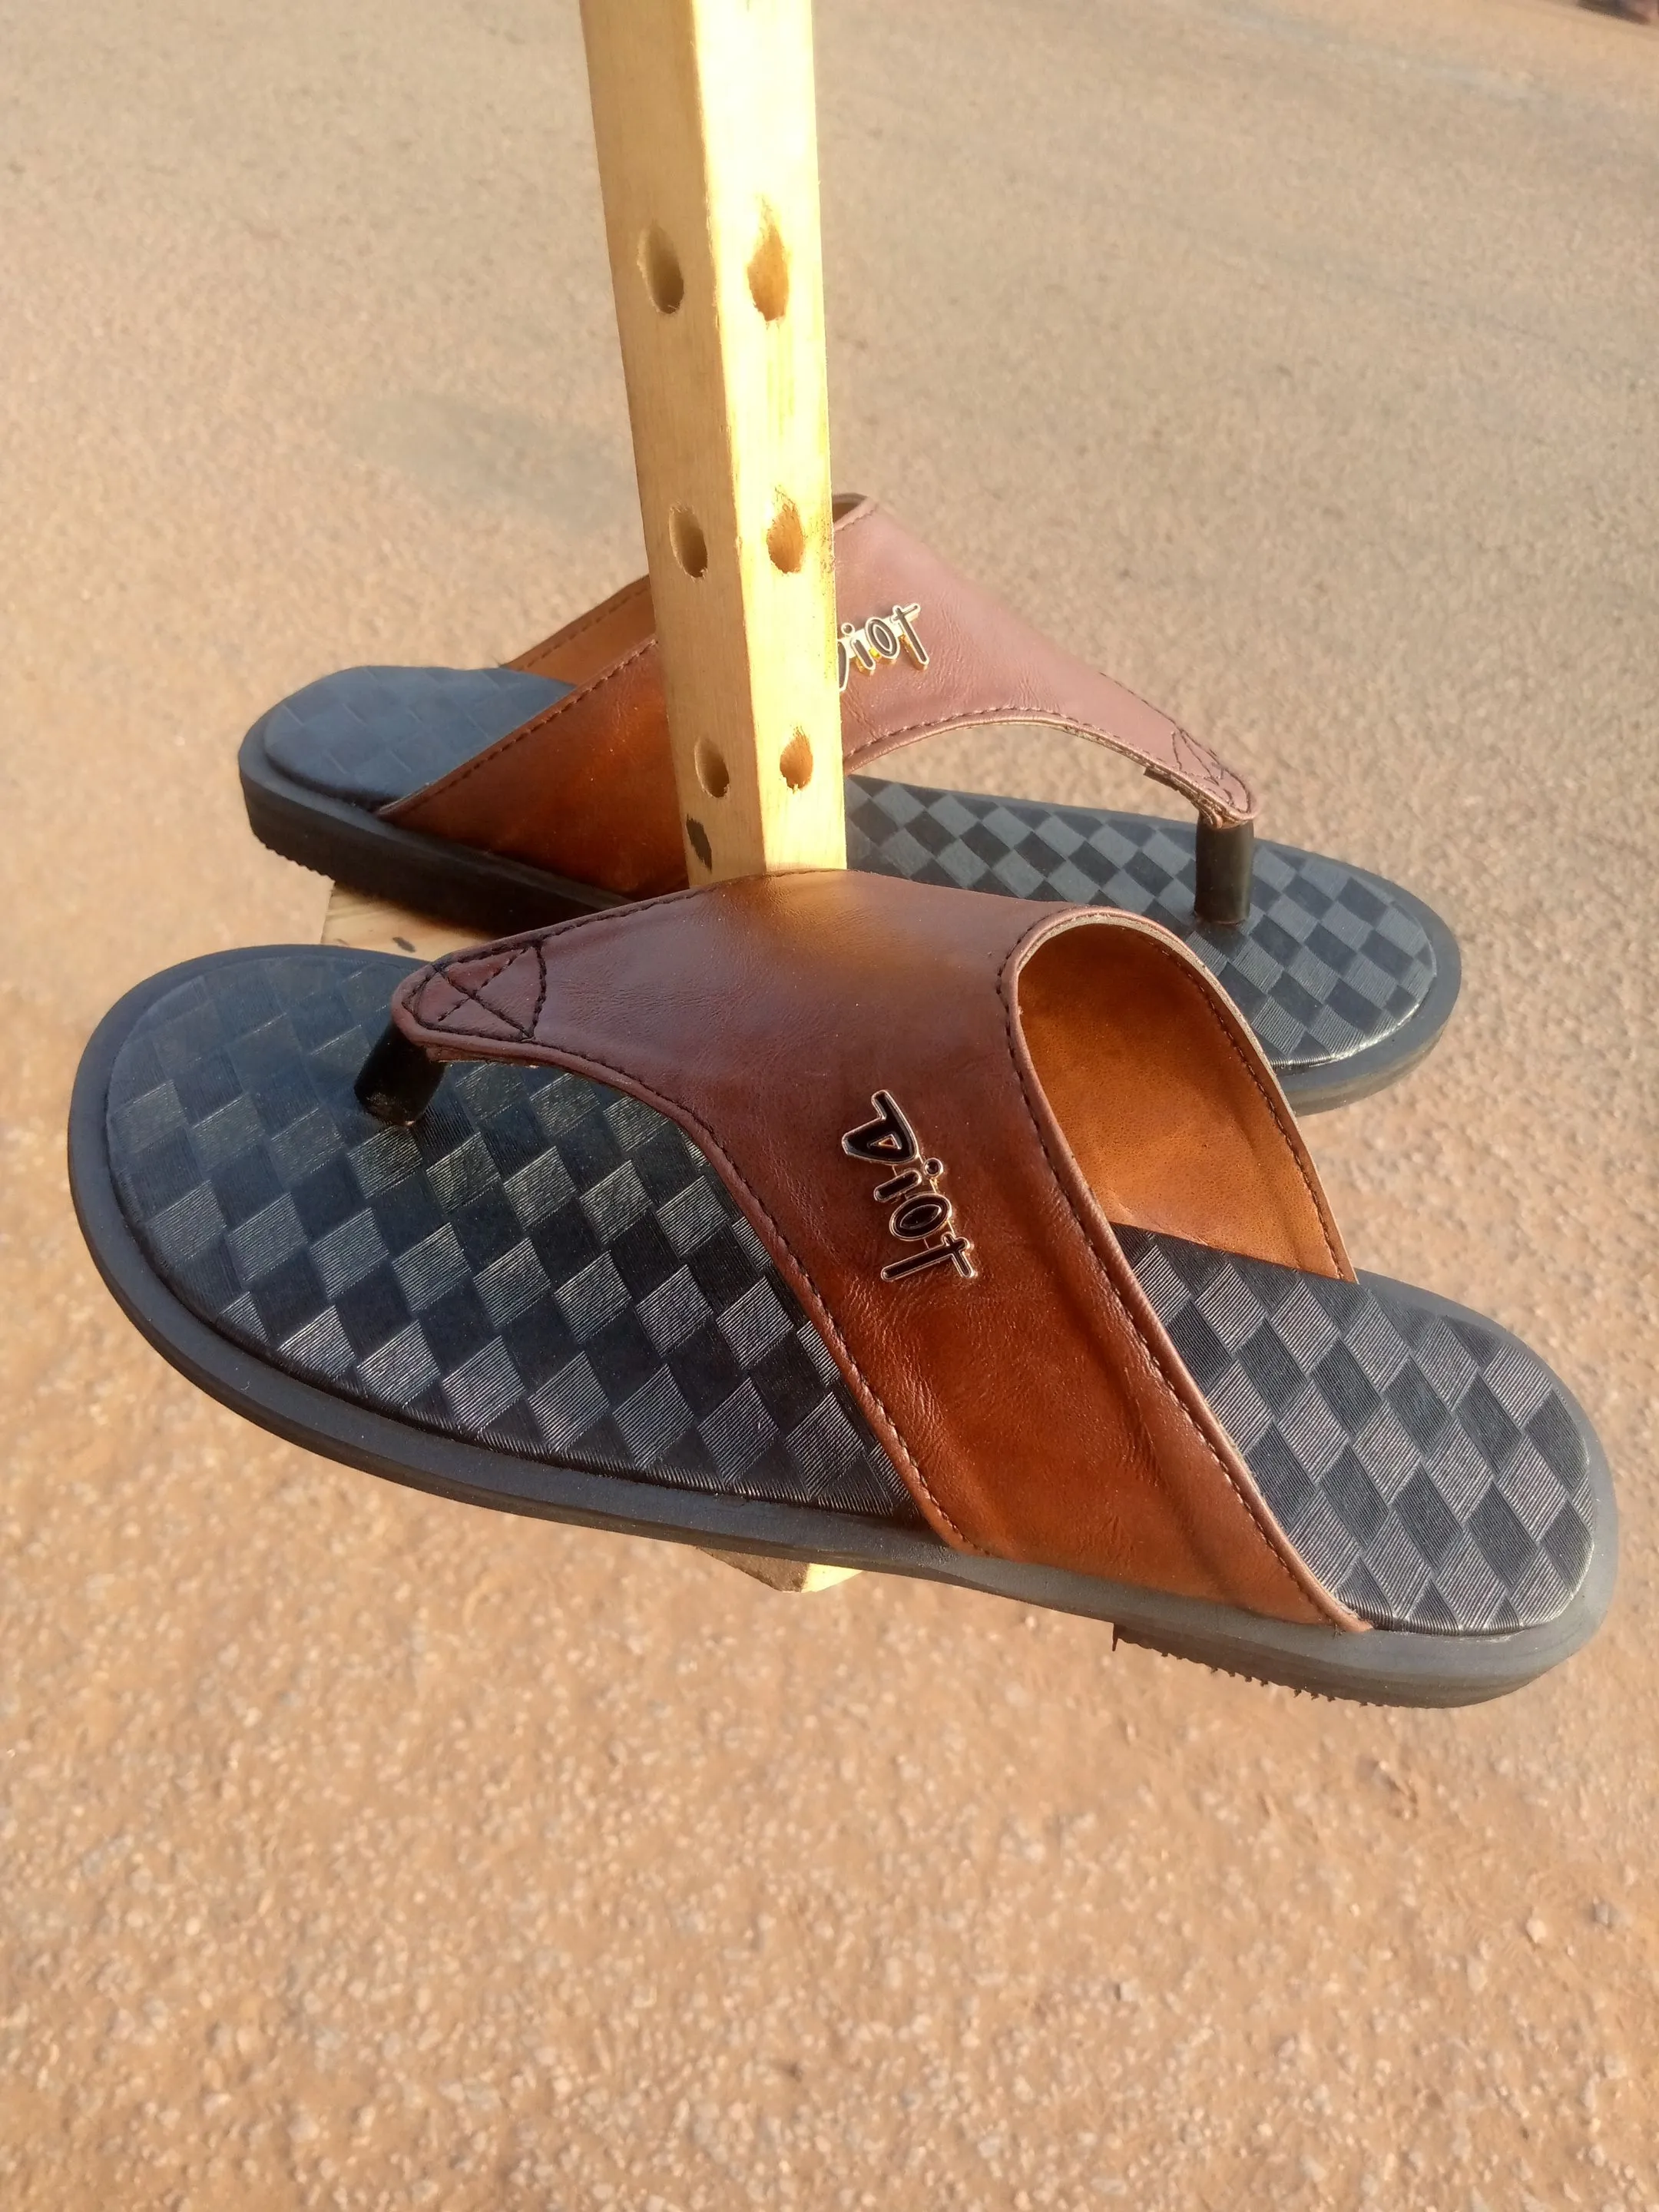
- Finally I rub grinder the insole and outsole, apply gum on both and then join them together alongside the shoe wet, and here is how the slippers look.
https://files.peakd.com/file/peakd-hive/vickoly/23t7DKQuANApv95zLC7XkAX7EwRQi3ZwkcZ8cfH3SnE8cDgJWYMeNfF87sbhkw6PhSphY.png
And by the time I gave him the Slippers, he was full of praises for me, stating that the Slippers looks exactly like the sample he show me.
I'll love to say a big thank you to you for staying with me thus far, taking out time to go through my blog post and for your support, have a blessed and productive week ahead.
Return from DIY OF HOW I MADE A SLIPPERS FOR MY TEACHER FRIEND to vickoly's Web3 Blog

