Greetings all my friends in the Needleworkmonday family and the hive blockchain at large, how are you all doing, and hope you're having a fruitful time with all your businesses?, Today I'll love to grace your sight with the beautiful set of sandals I made for three jolly friends.
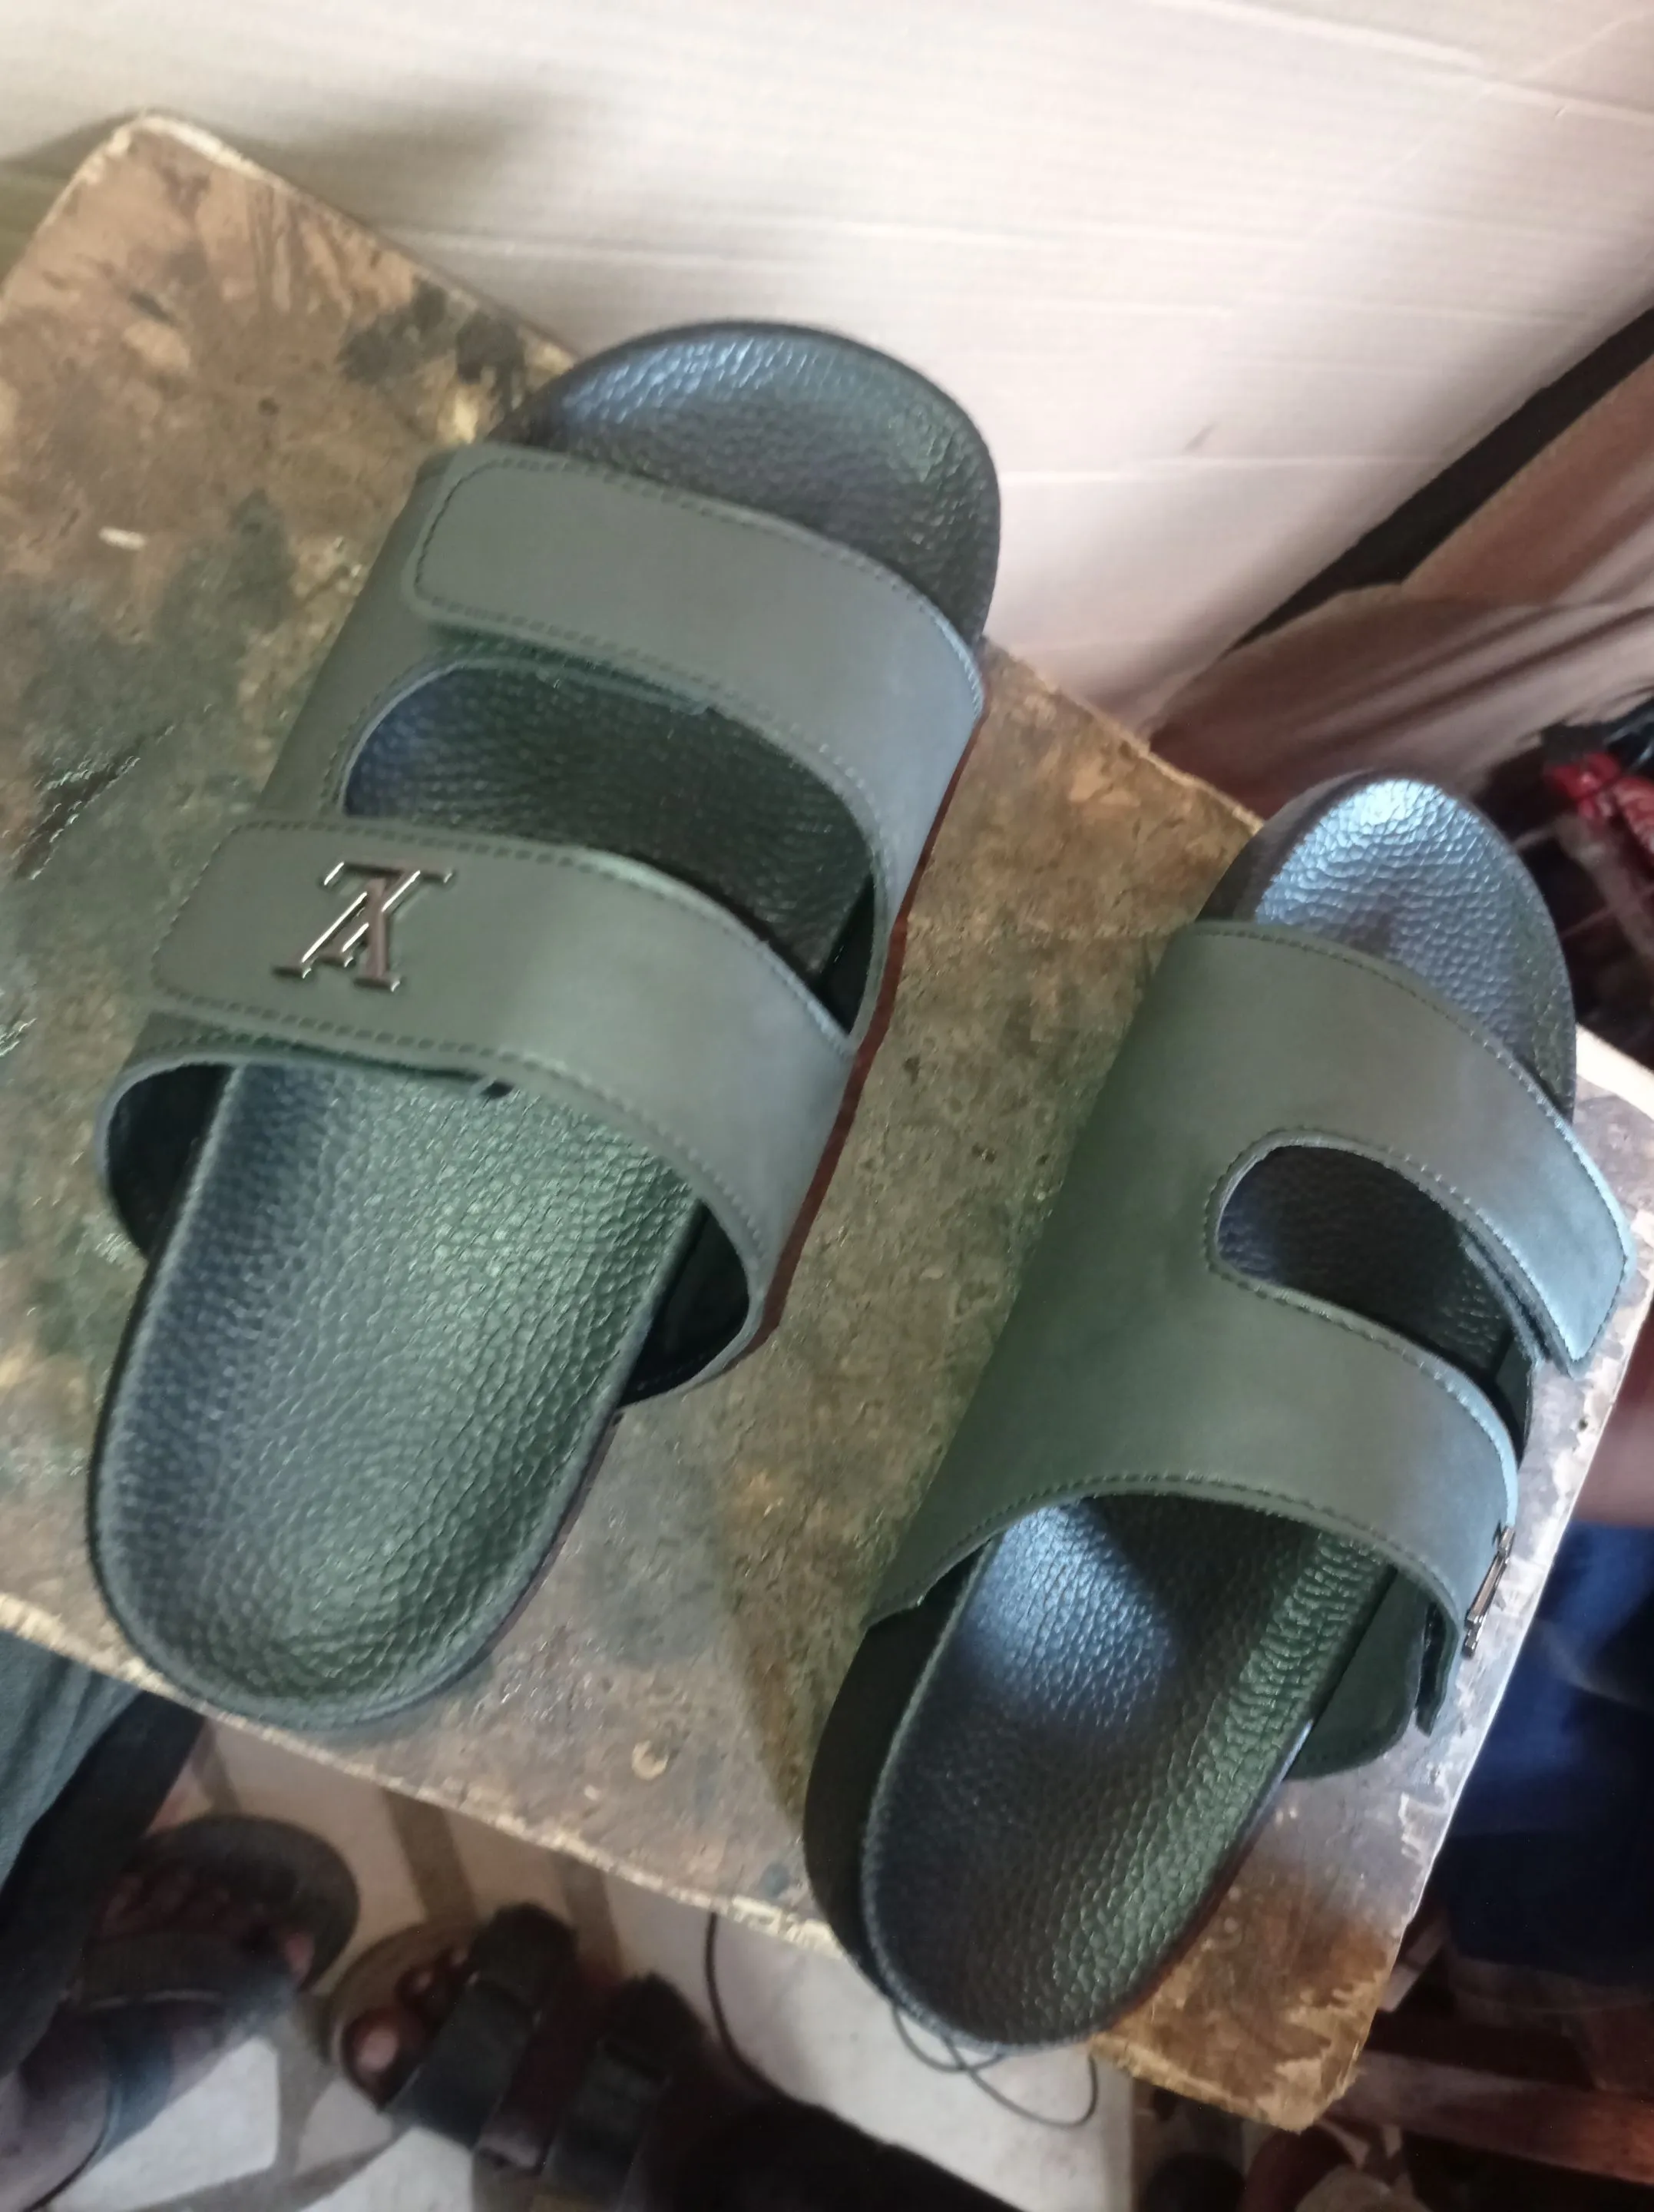
In my wip challenge introduction post, I talked about having a project meant for three friends who wants to have a sandal of similar styles and materials and I'm happy I was as able to finally able to complete their projects and as well deliver it to them on time in accordance with our agreed time.
And also aside that's I'm happy to let you know I'm done with all 17 footwear projects I embark on since last week Monday, although I couldn't complete on the Wednesday I envisioned, but I was able to get through with them earlier today.
Though never orders have come in during those period, but now at least I know I've some breathtaking space, so below are the step by step process of how I made this beautiful sandals.
https://files.peakd.com/file/peakd-hive/vickoly/23x1abcXk2RqBSvQFCTSyjYUtnF9iuT4h69CRd45vXCLbNJS2b6593xDrPS9a4HbdhNgp.png
- Leather material
- Gum
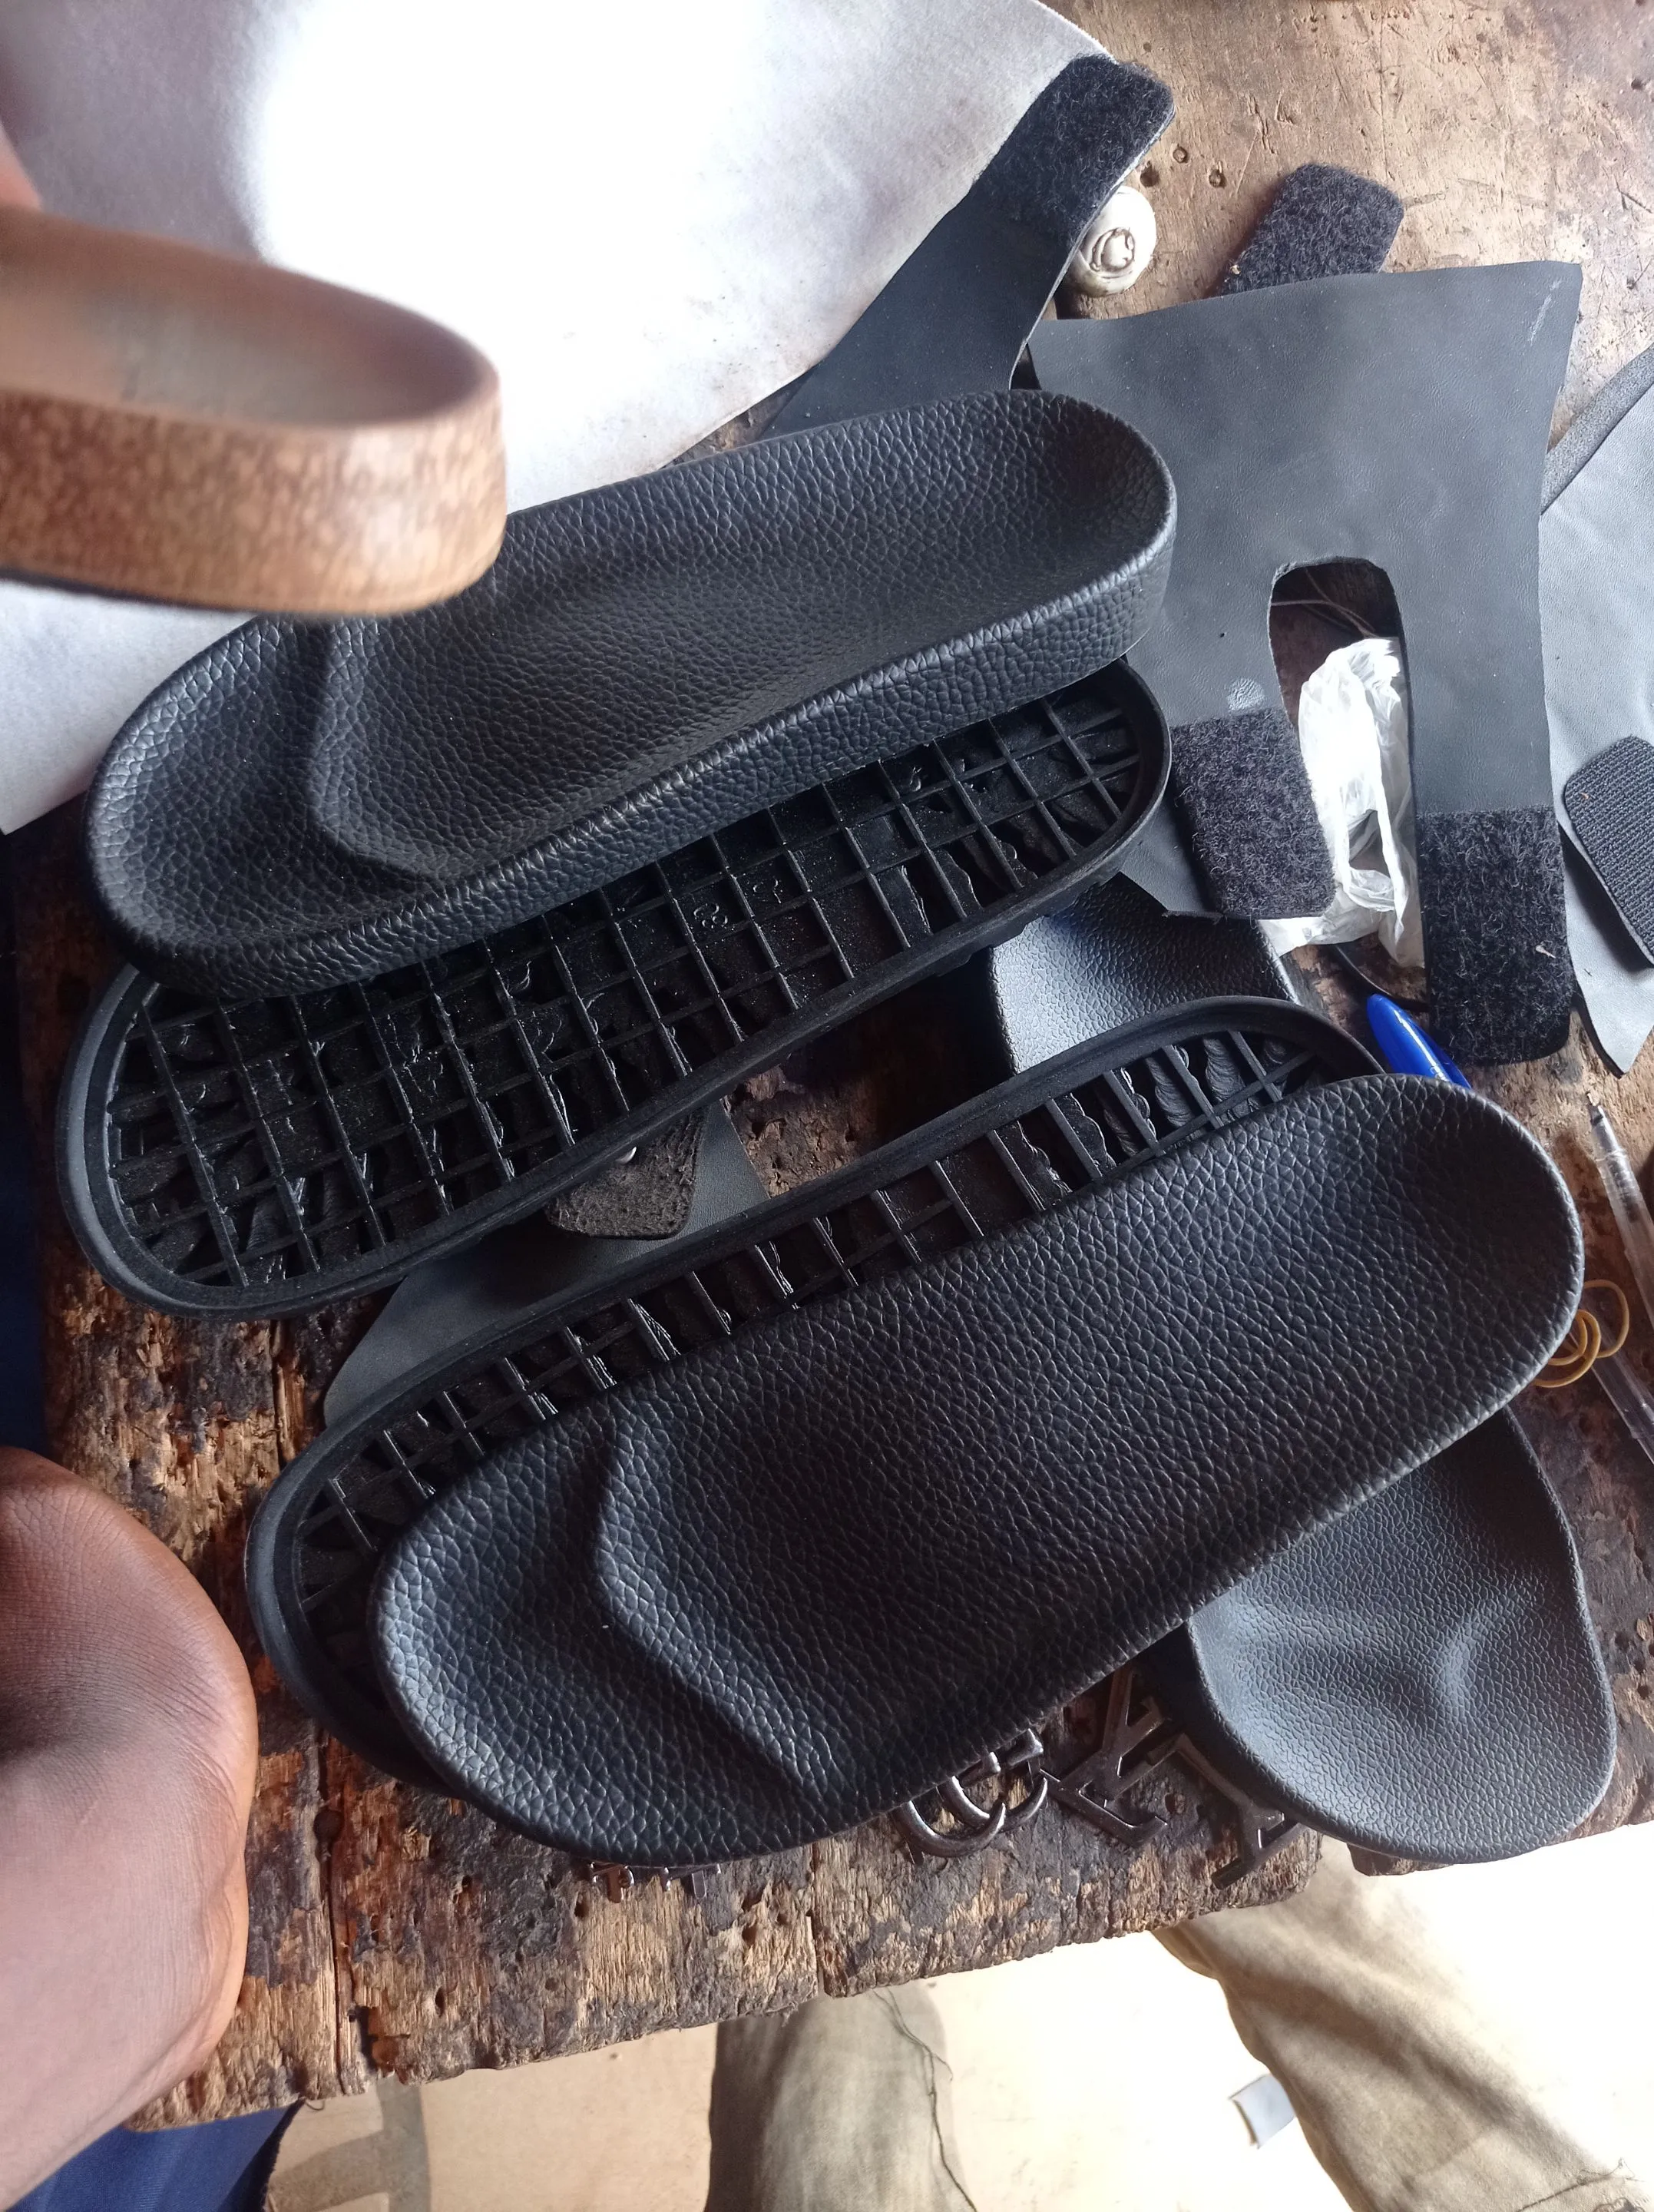
- Foreign readymade sole
- Flip open and close
- VL Logo
https://files.peakd.com/file/peakd-hive/vickoly/23x1abcXk2RqBSvQFCTSyjYUtnF9iuT4h69CRd45vXCLbNJS2b6593xDrPS9a4HbdhNgp.png
- Firstly I cut the parts of the upper design, join it to their linning with gum and then join the flip open and close to it.
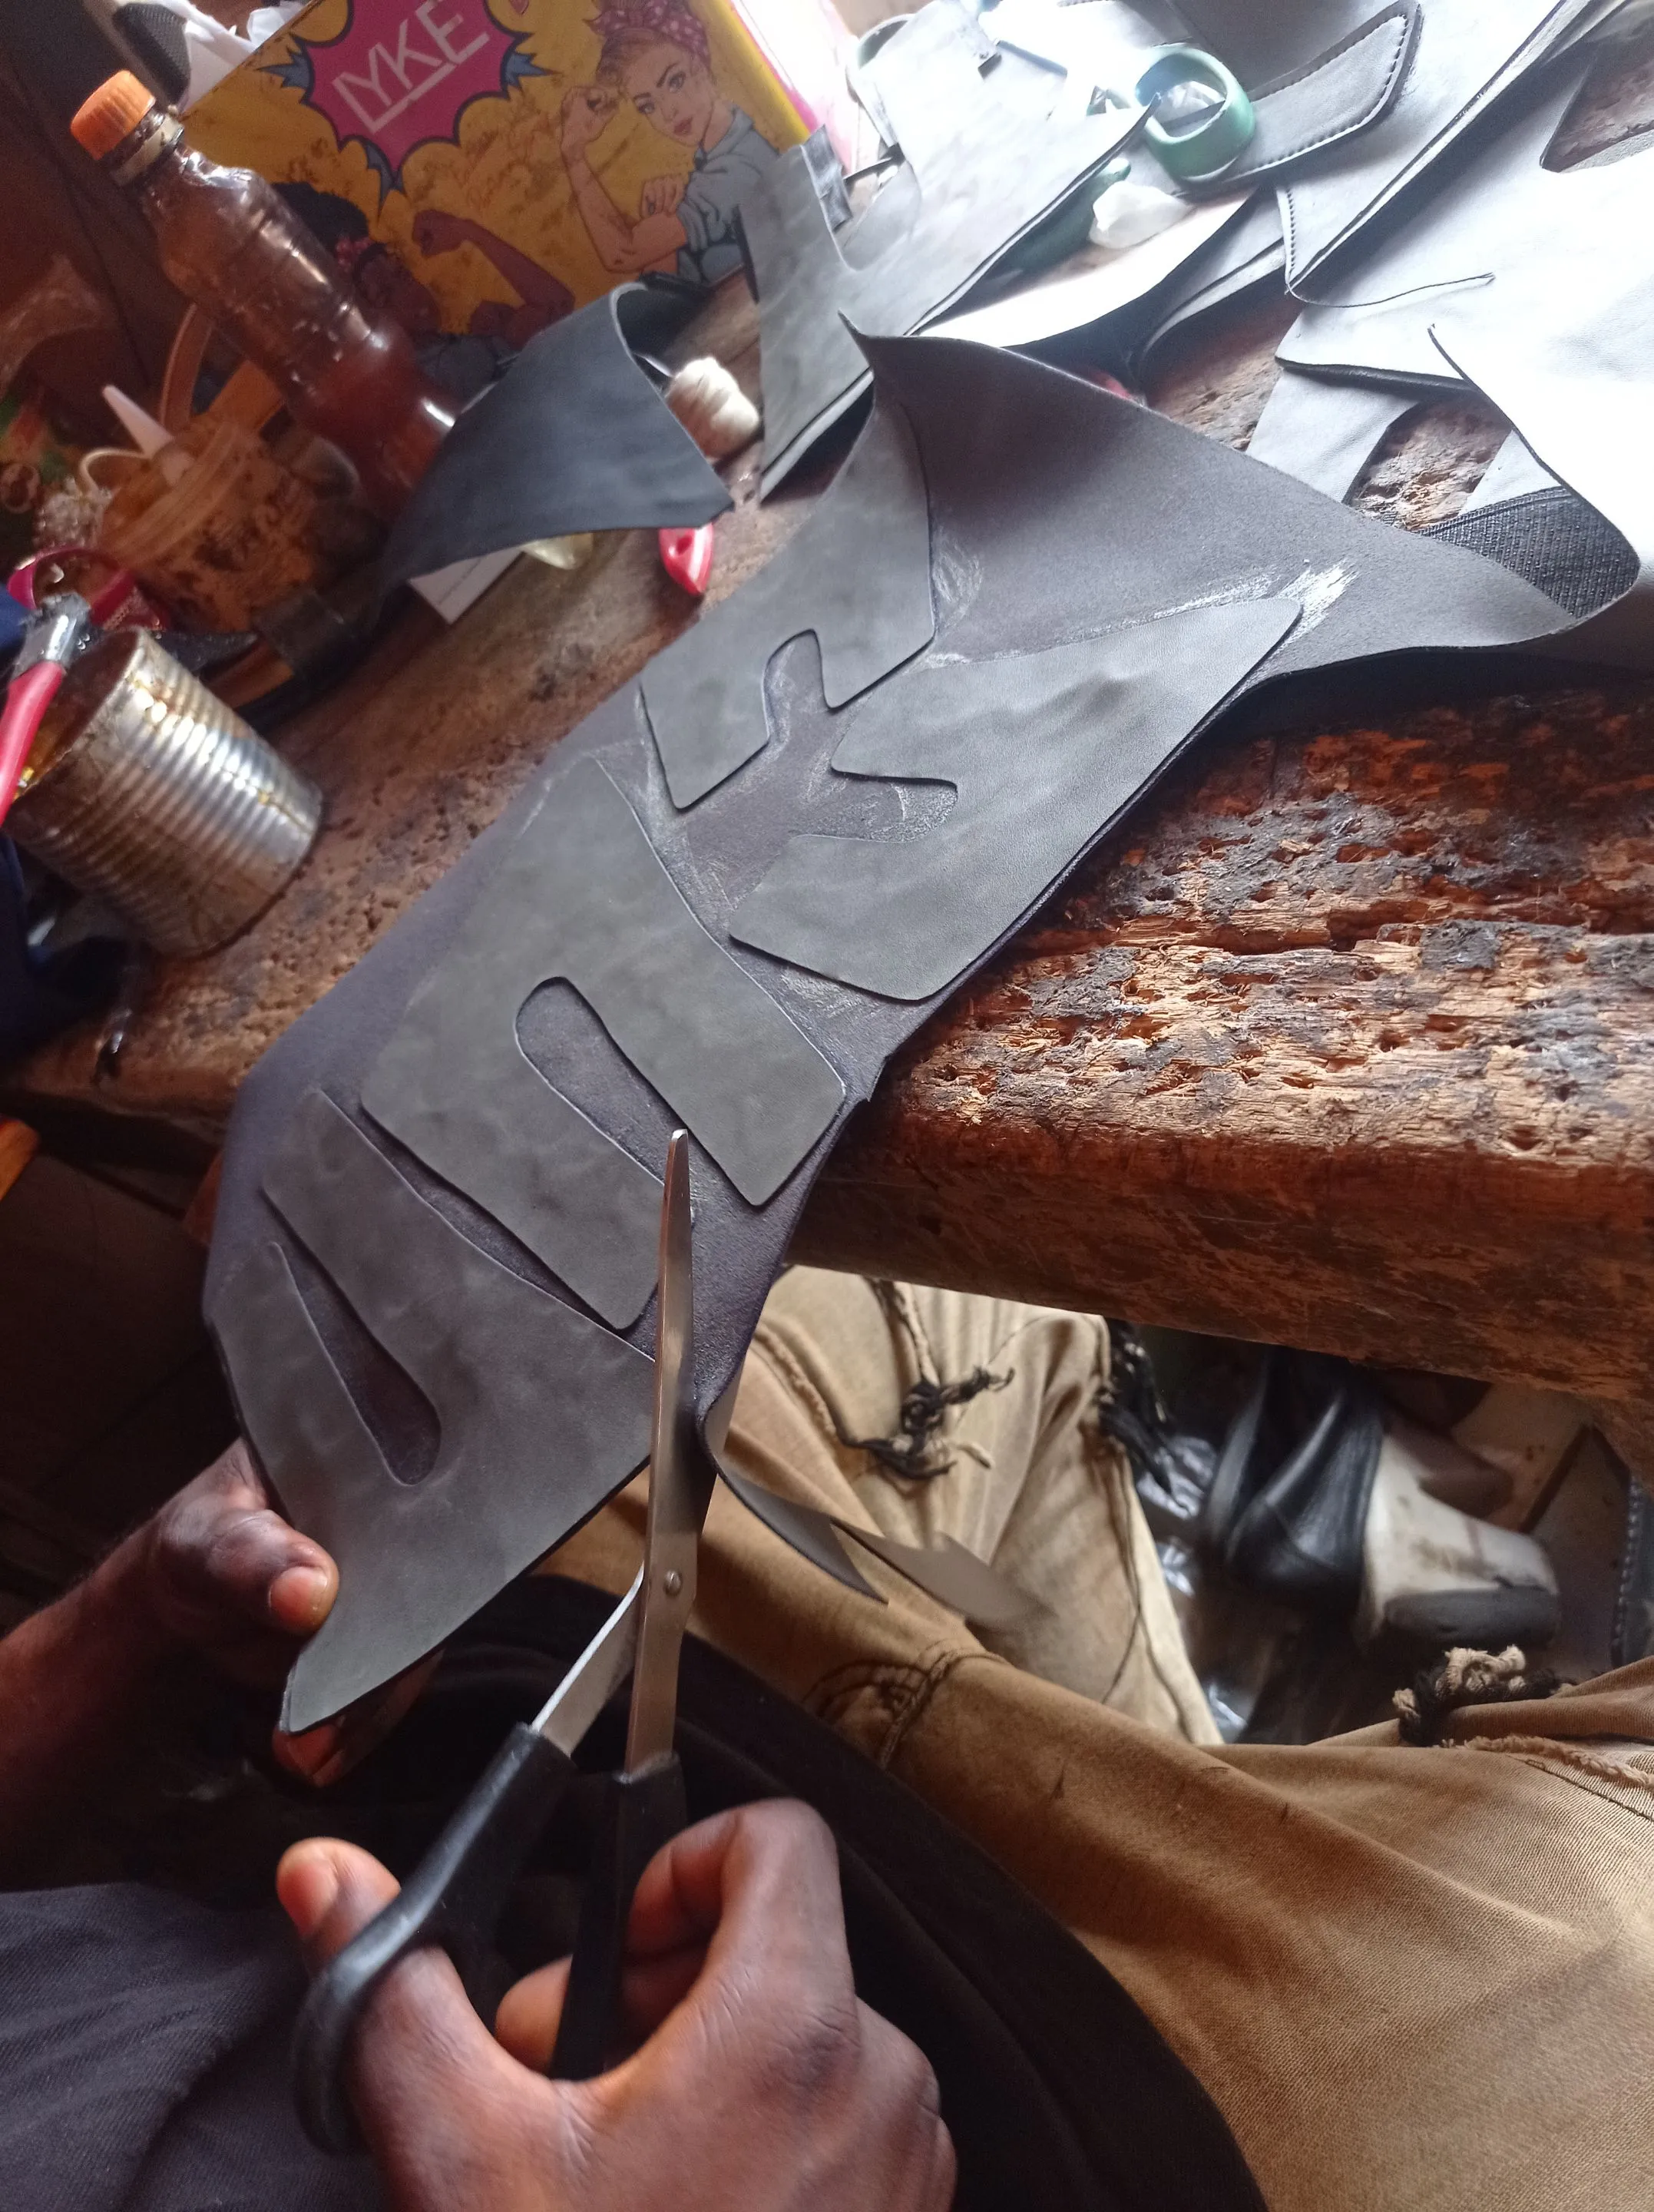
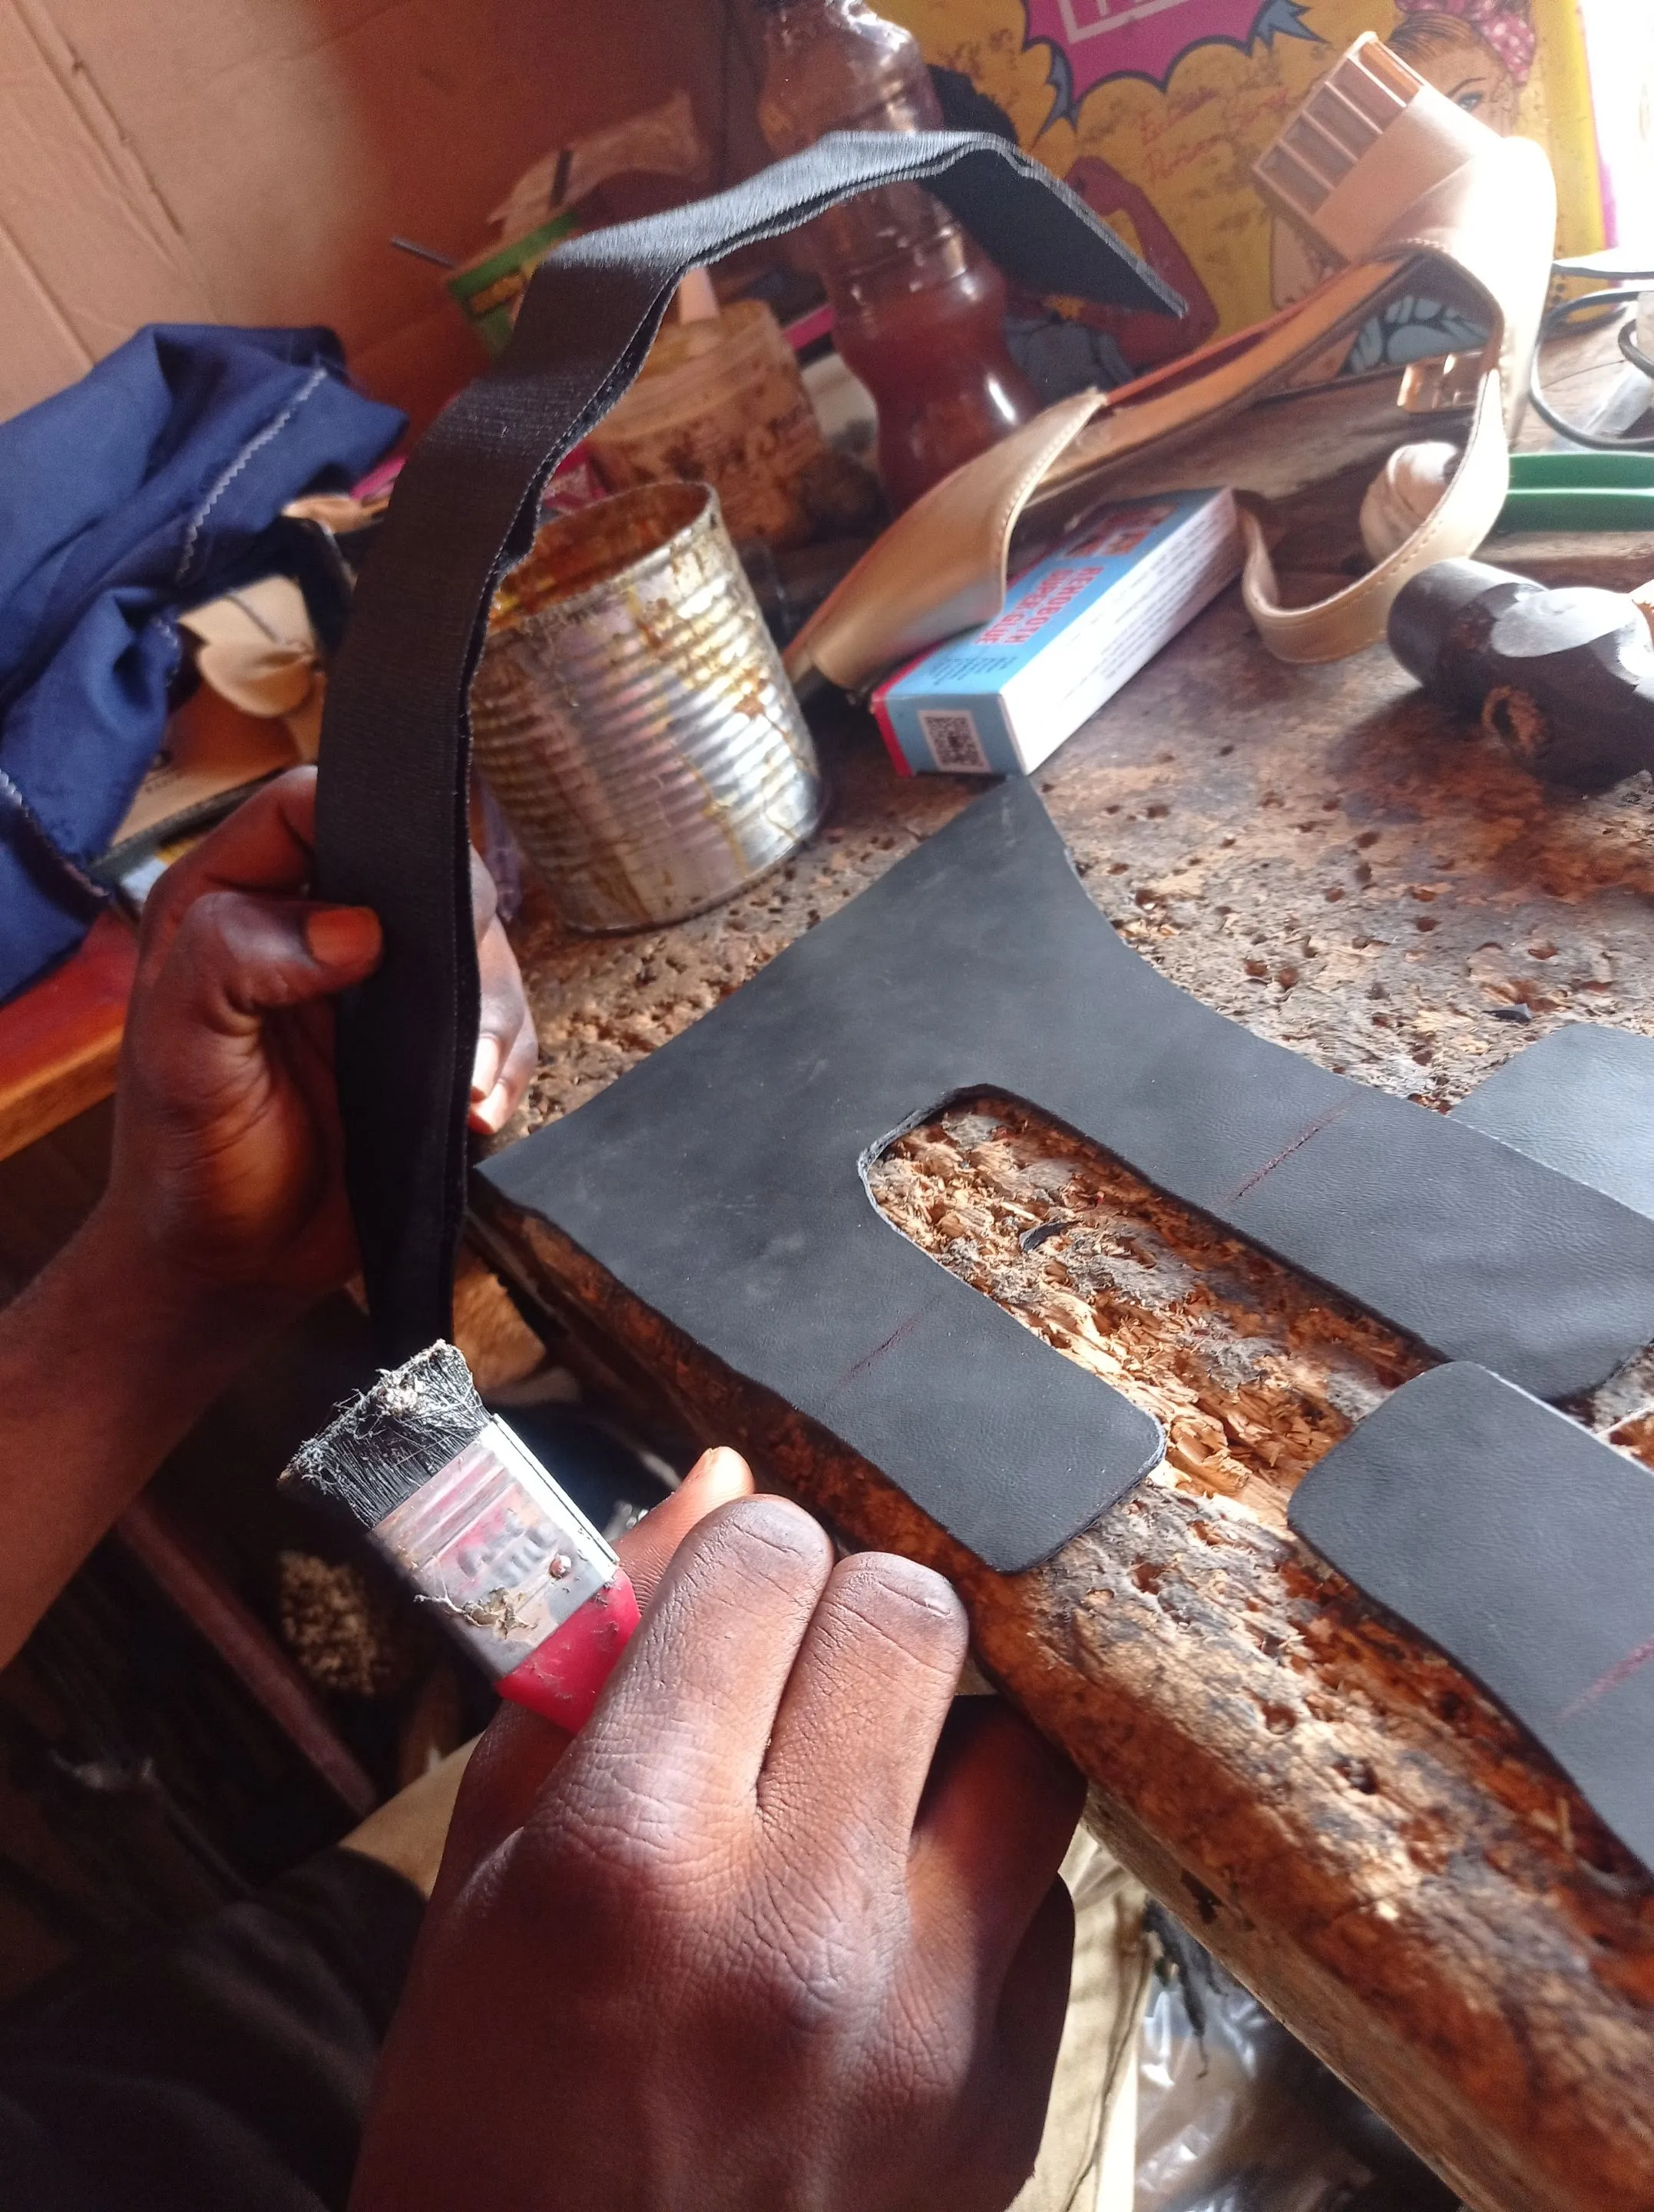
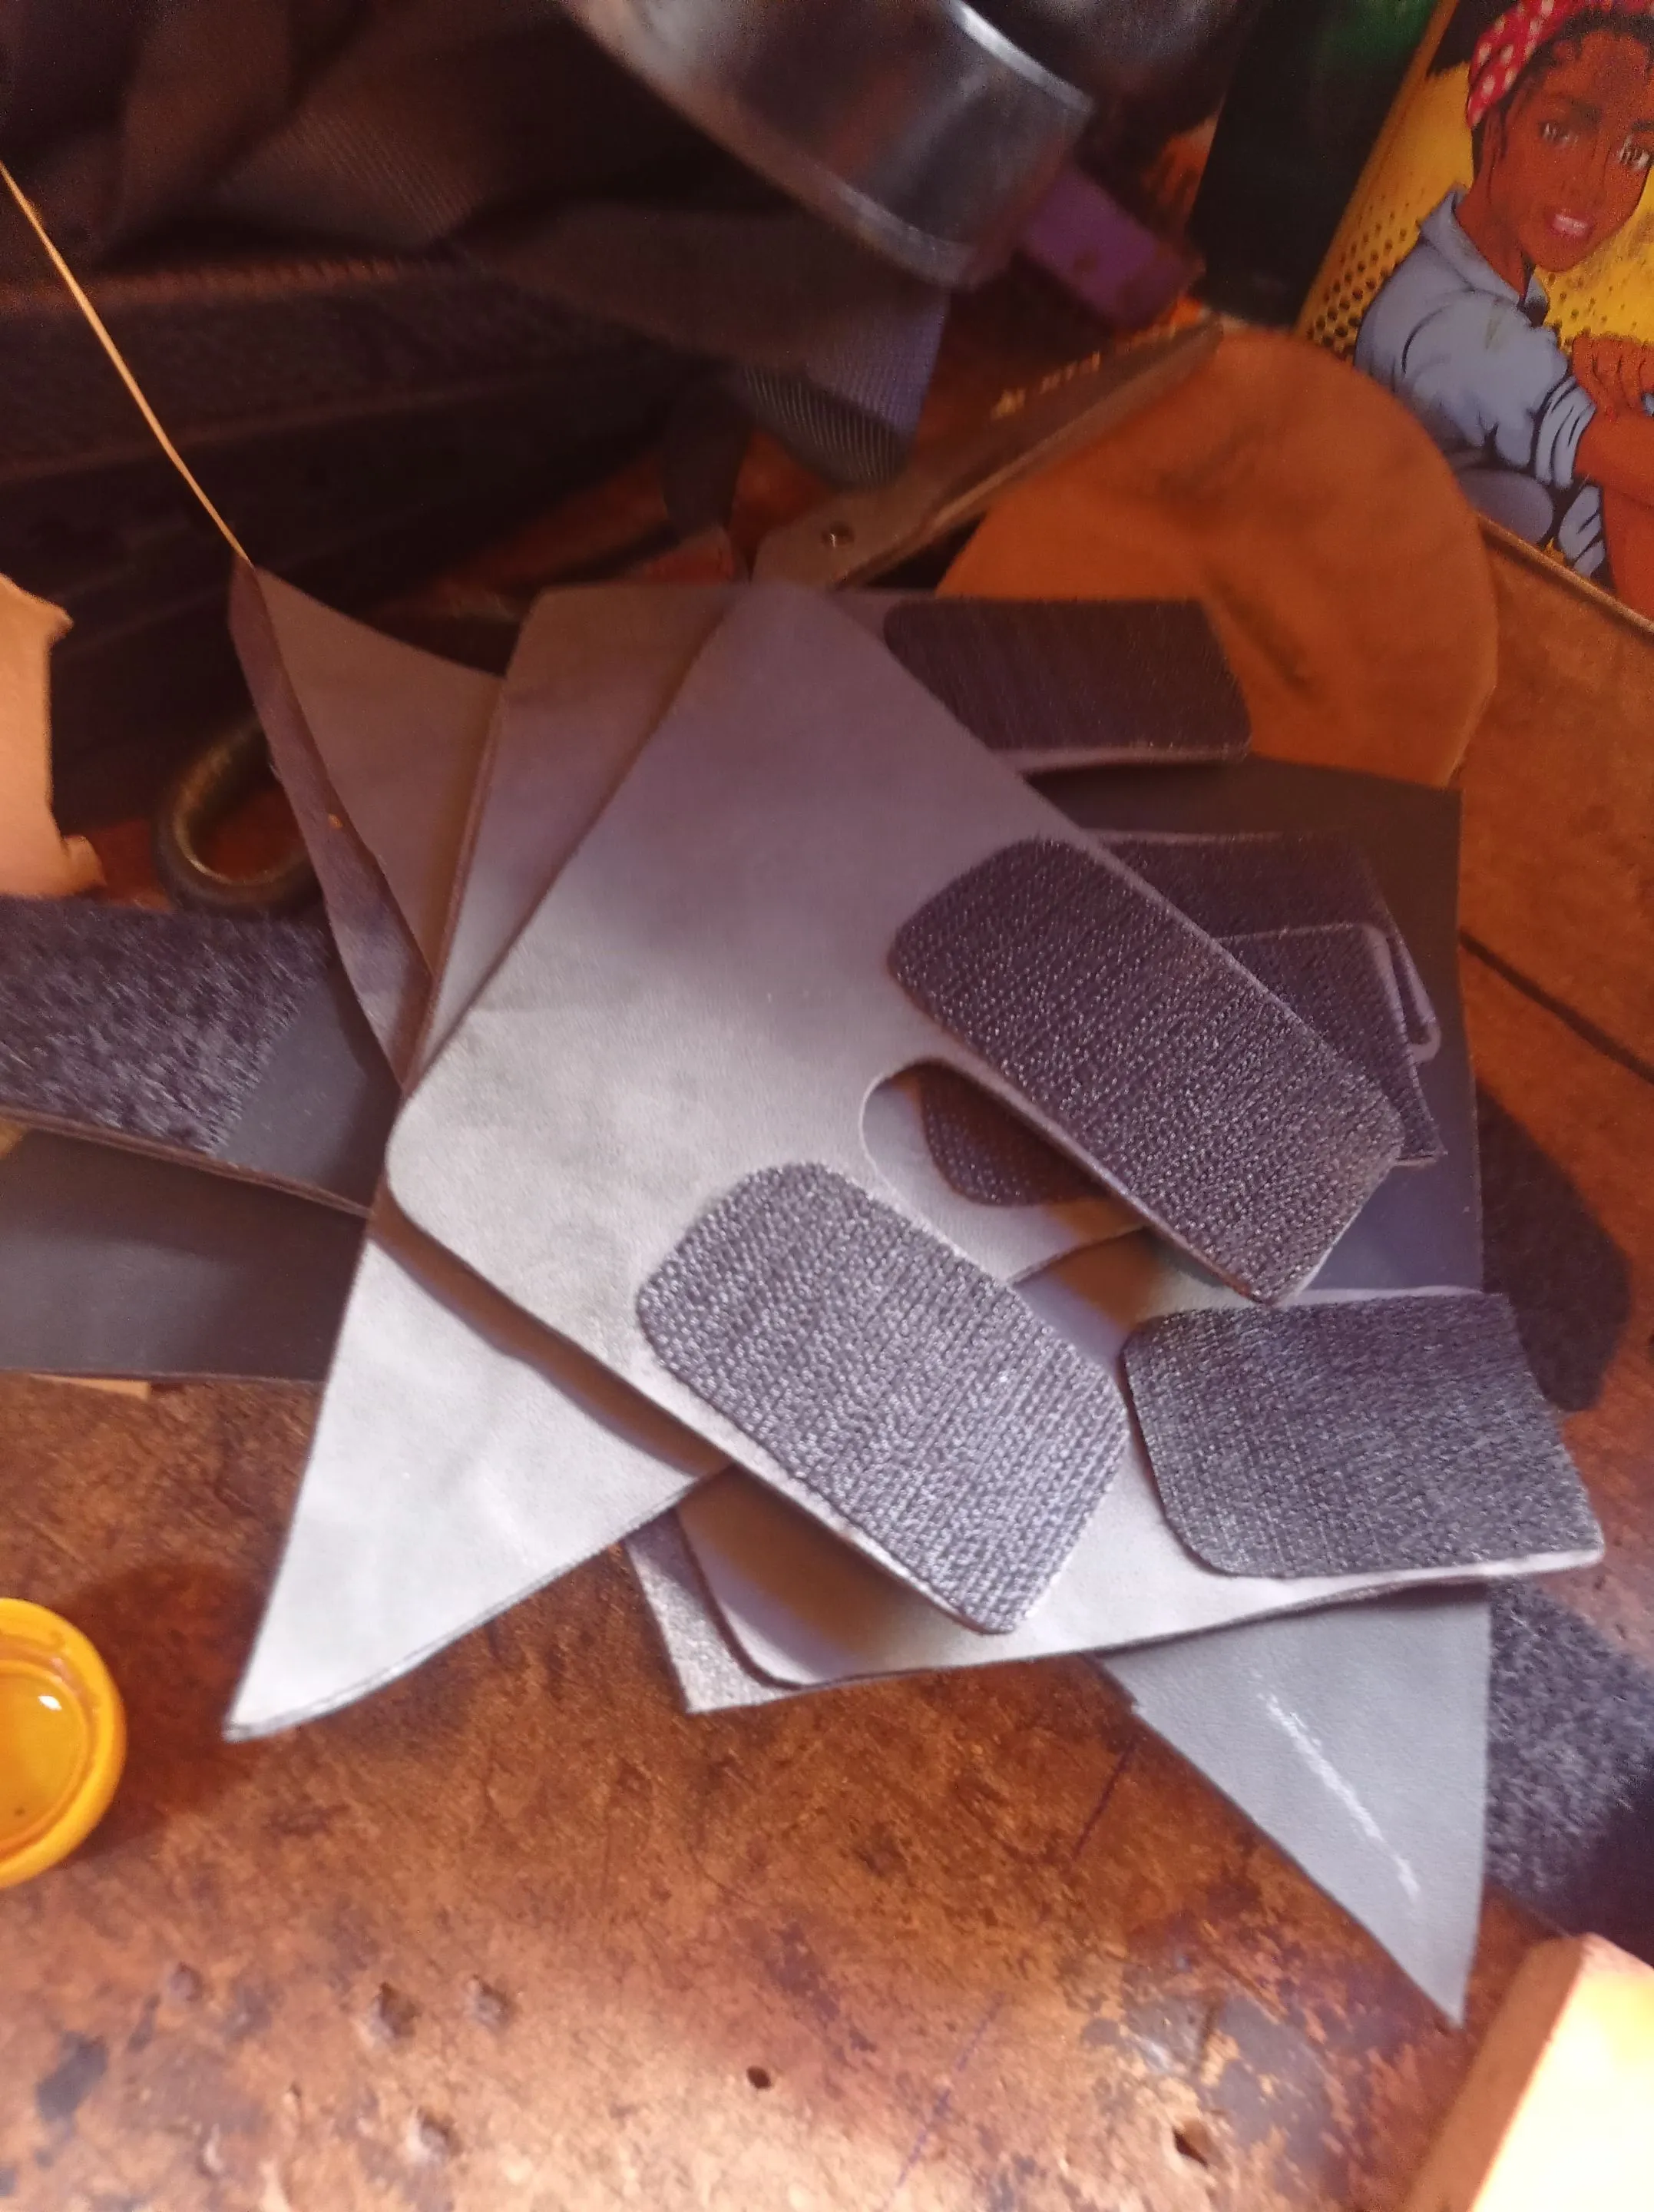
- Then I start sewing around each one of the upper design, after which I punch hole on a part and attach the VL logo to it.
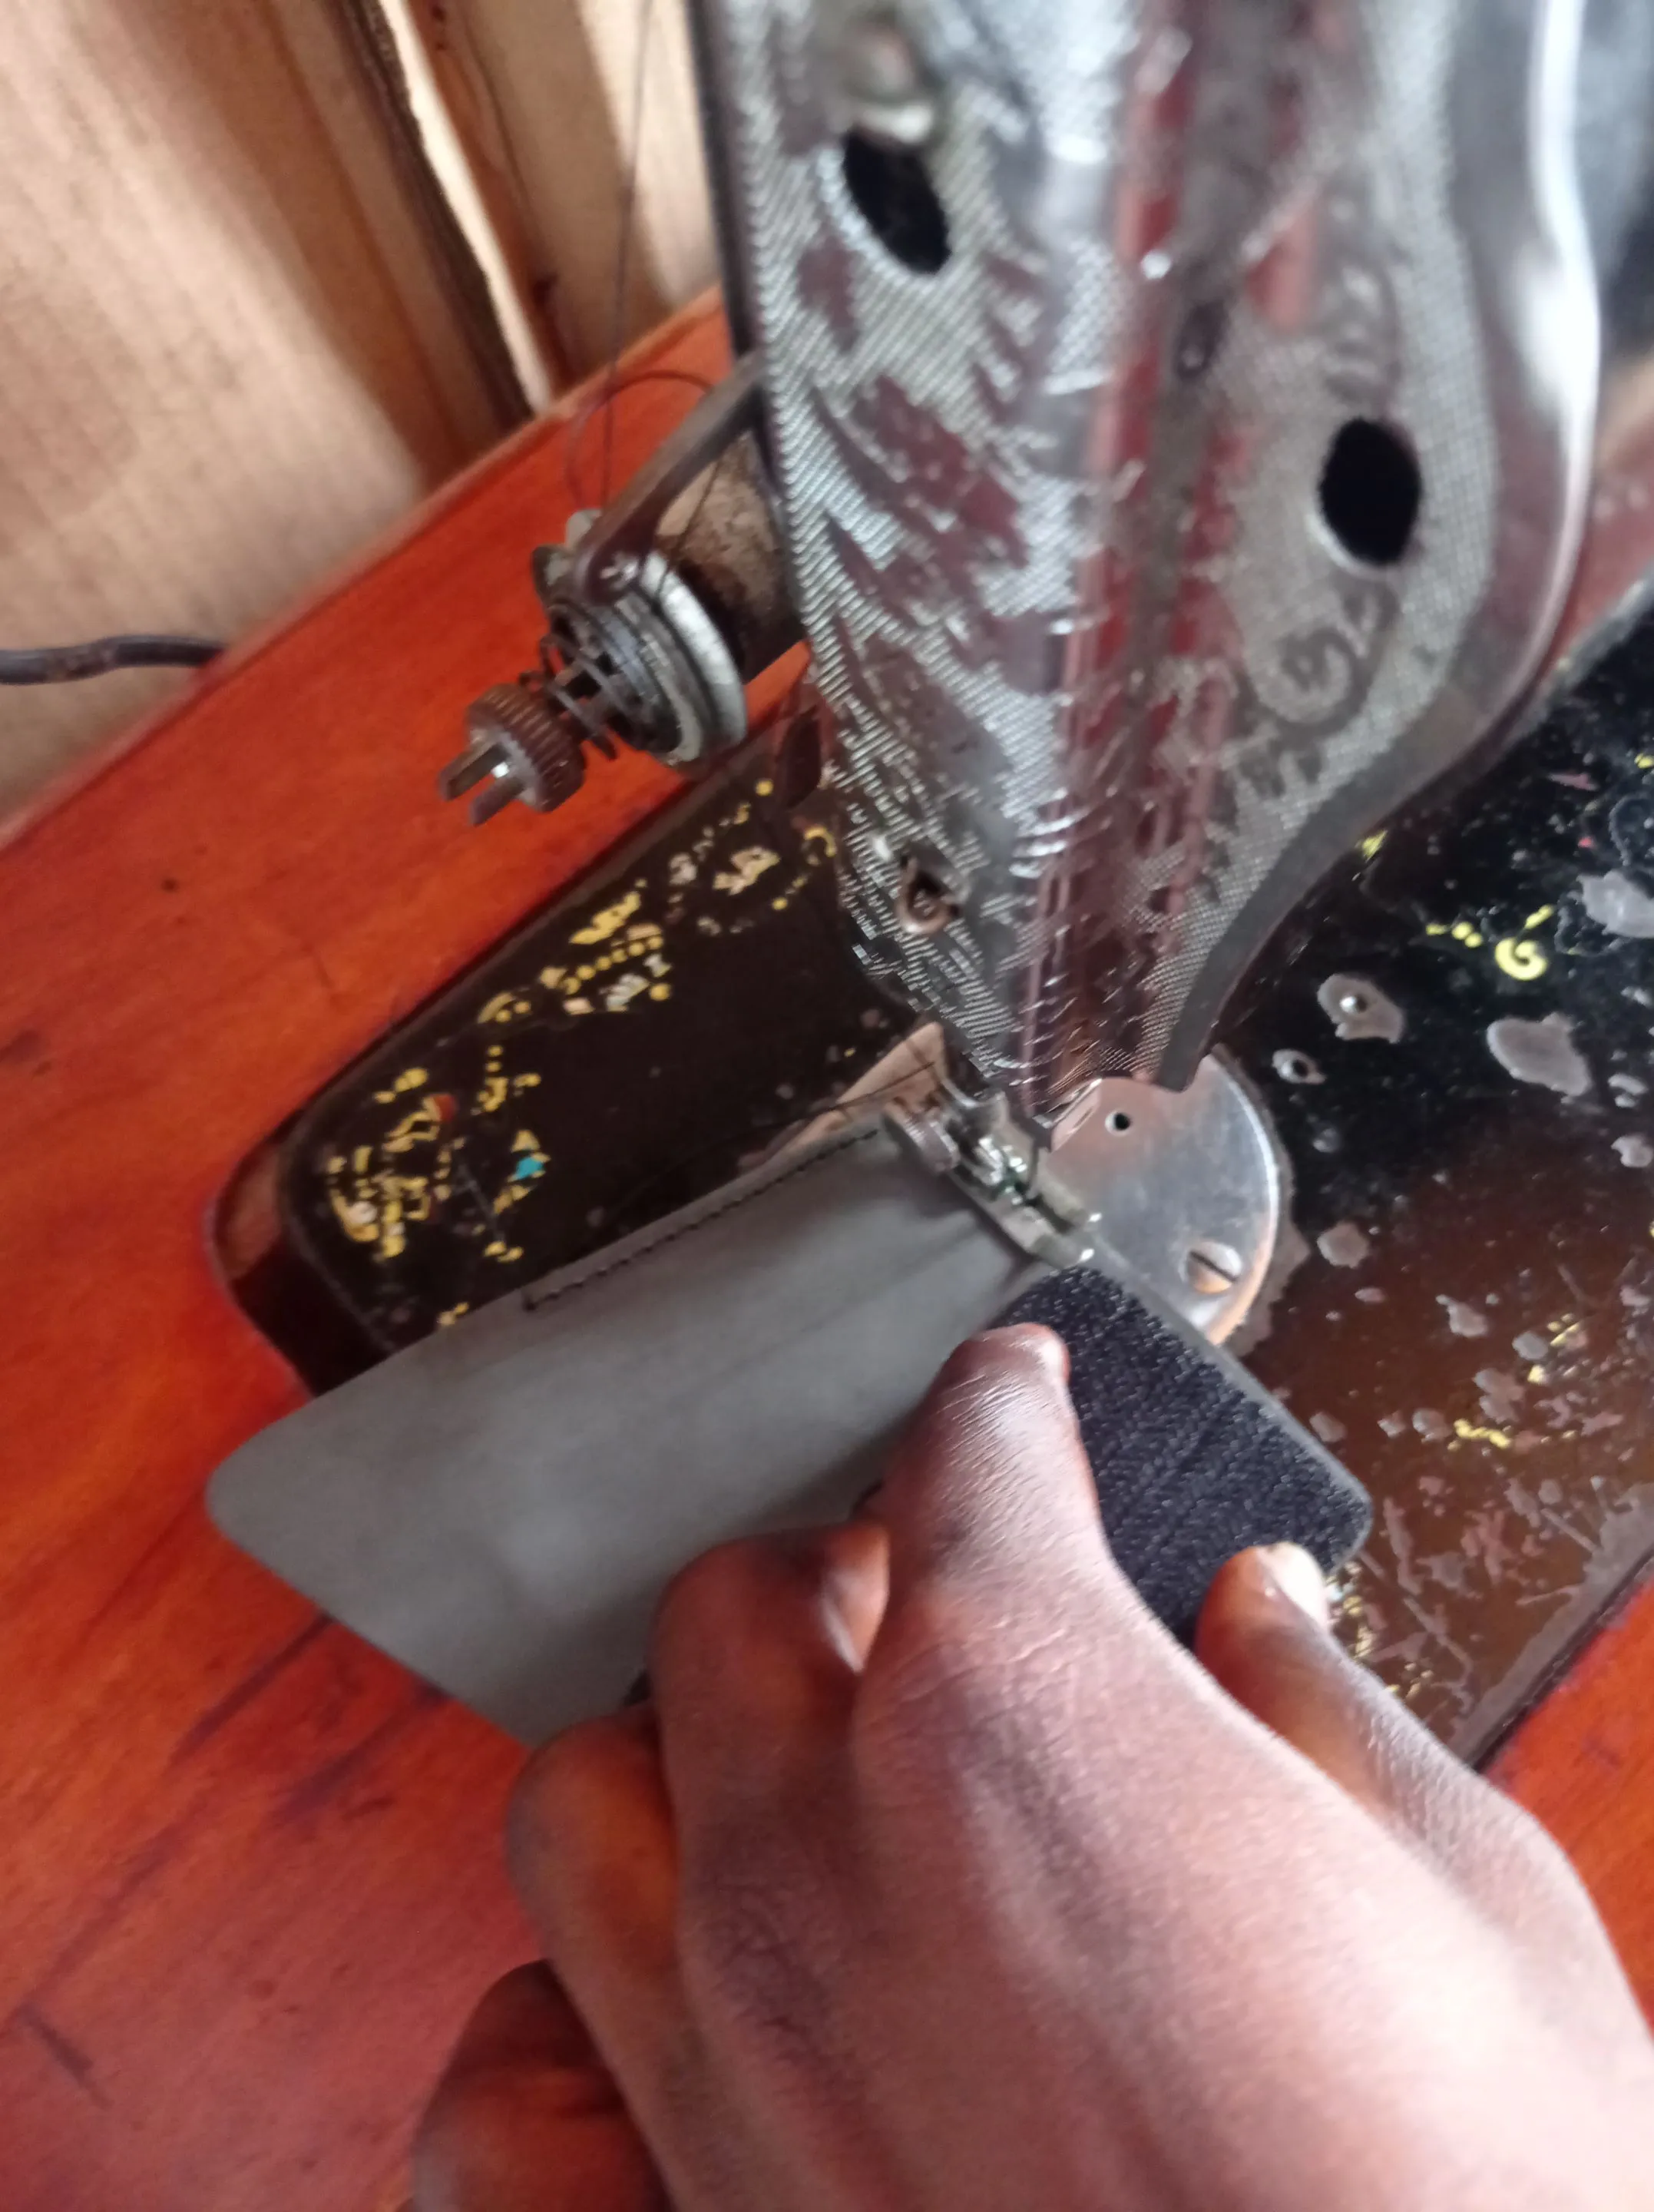
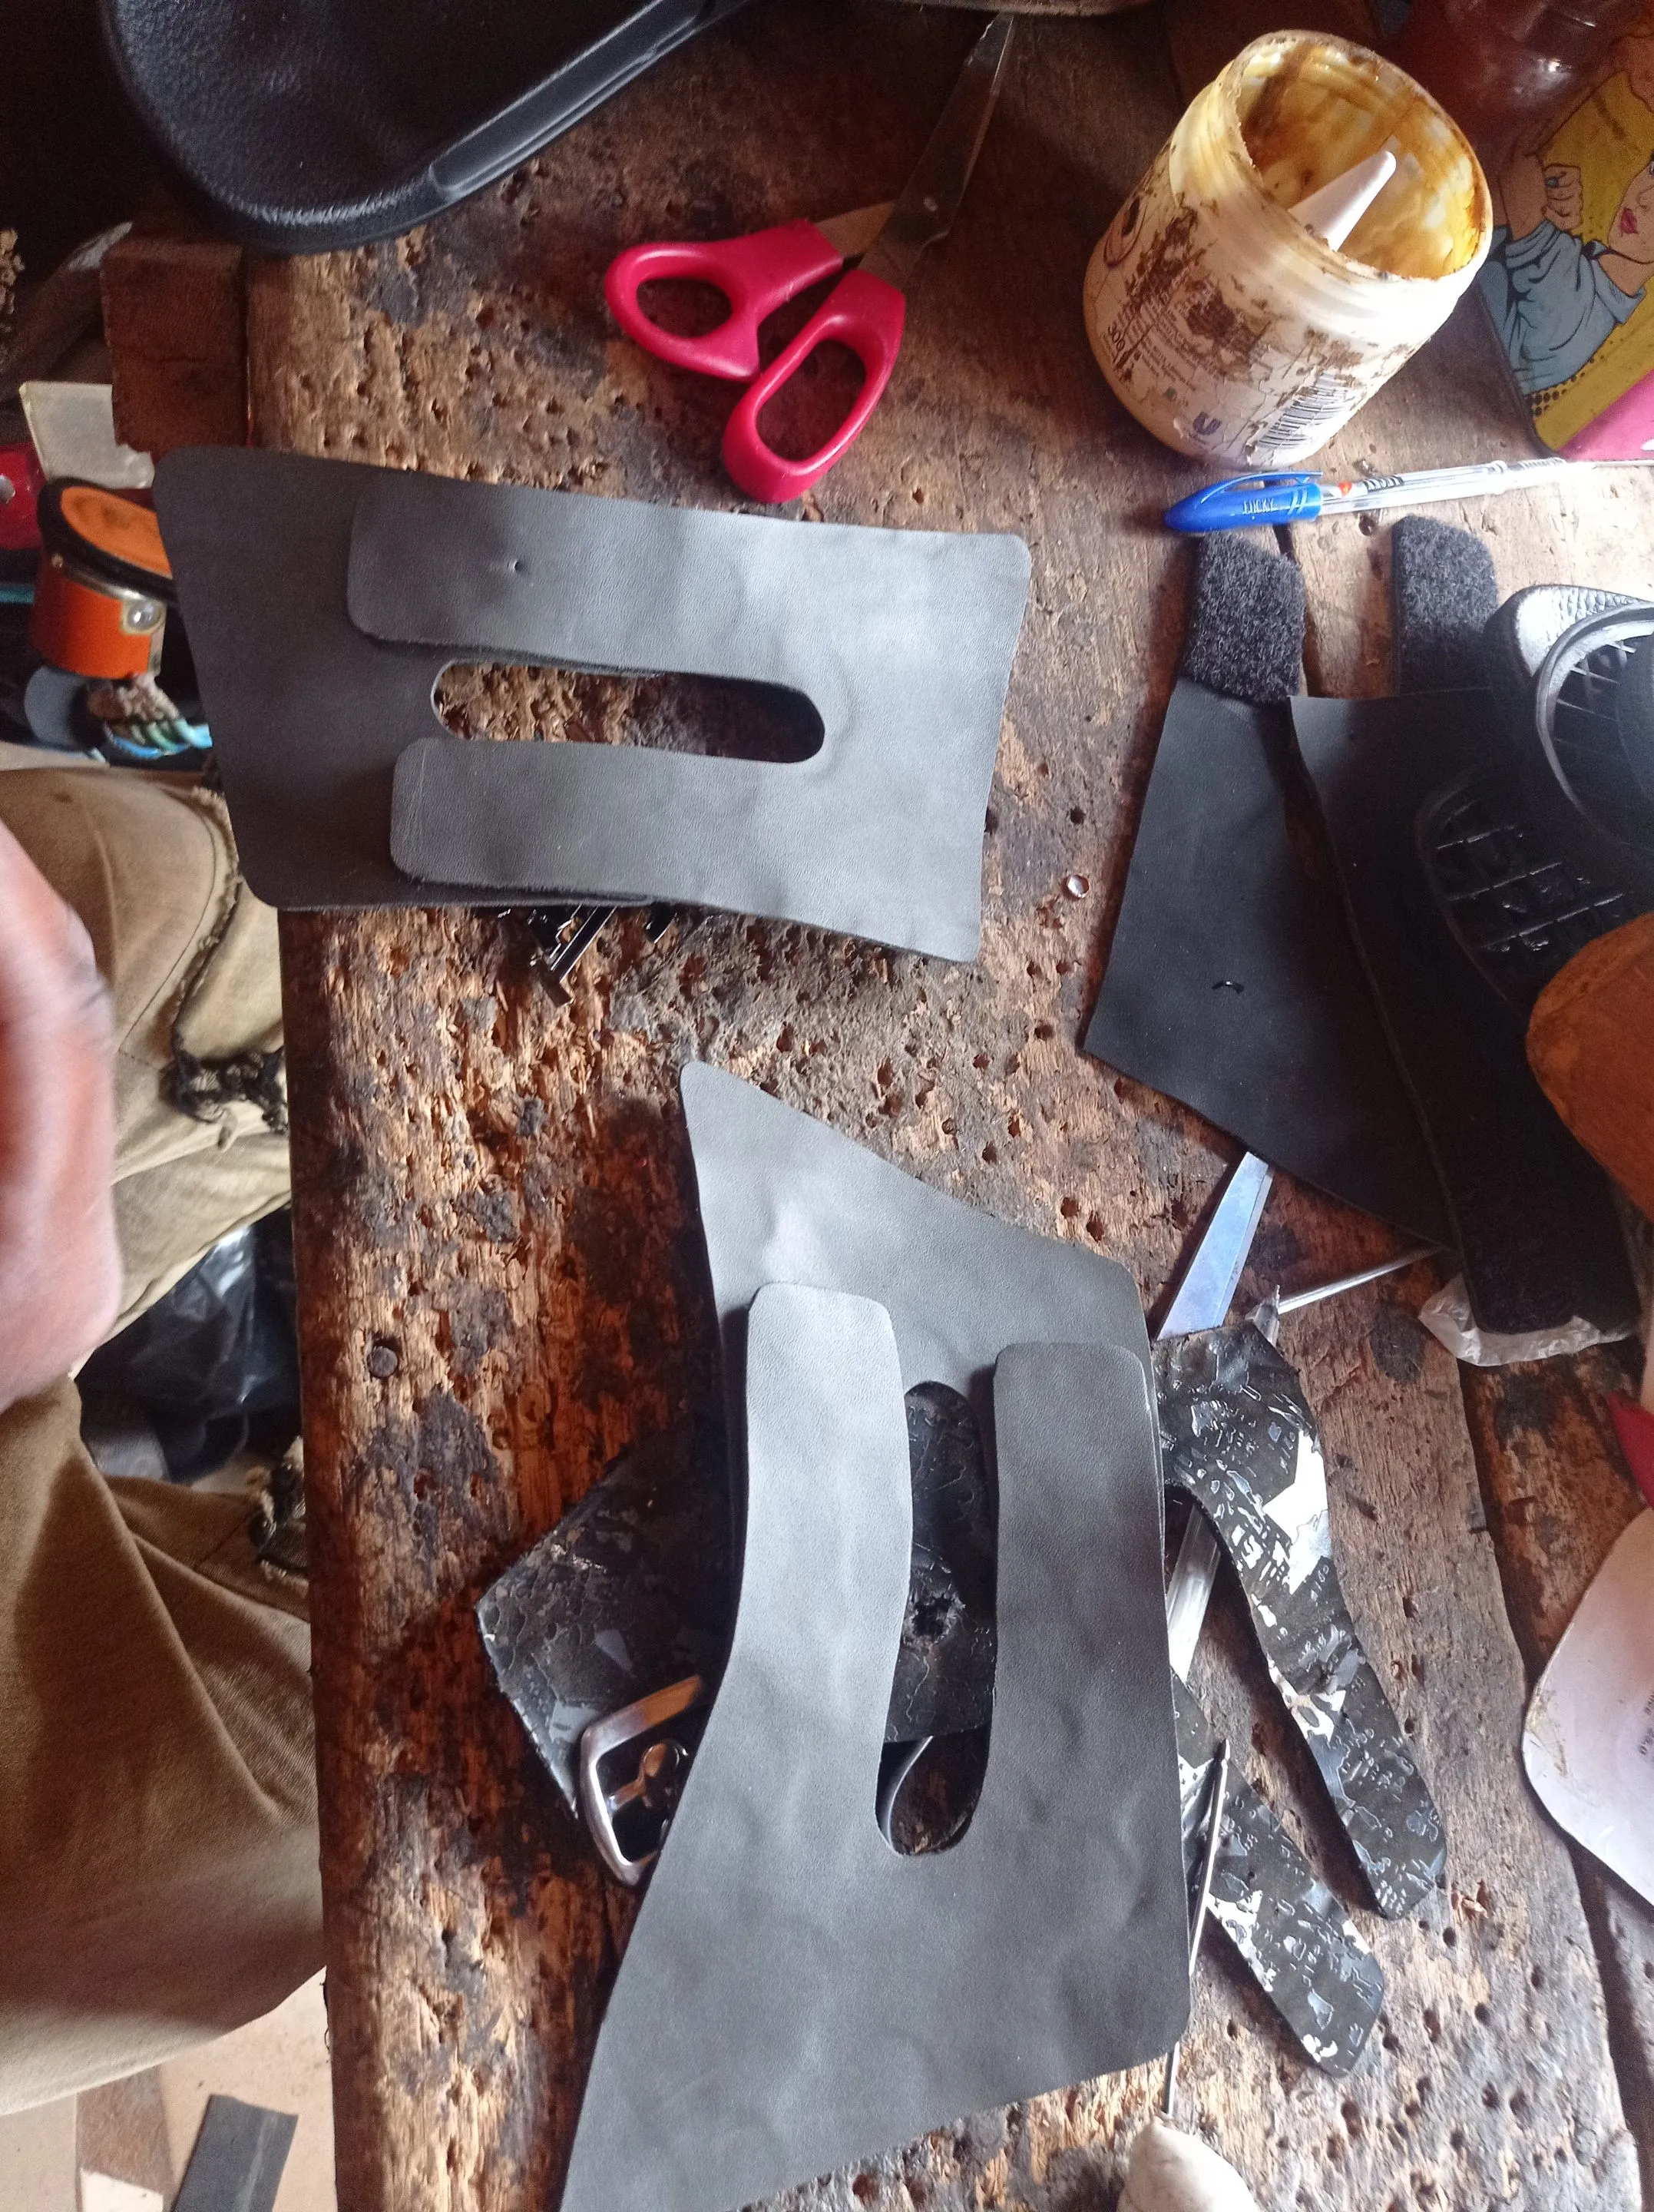
- Once the design on the upper have been achieved, I start lasing (joining) the upper design to the soles, since the sole is a readymade sole, then I don't need to make any adjustments on it, so I put it on a wooden shoe last and join the upper to it with gum.
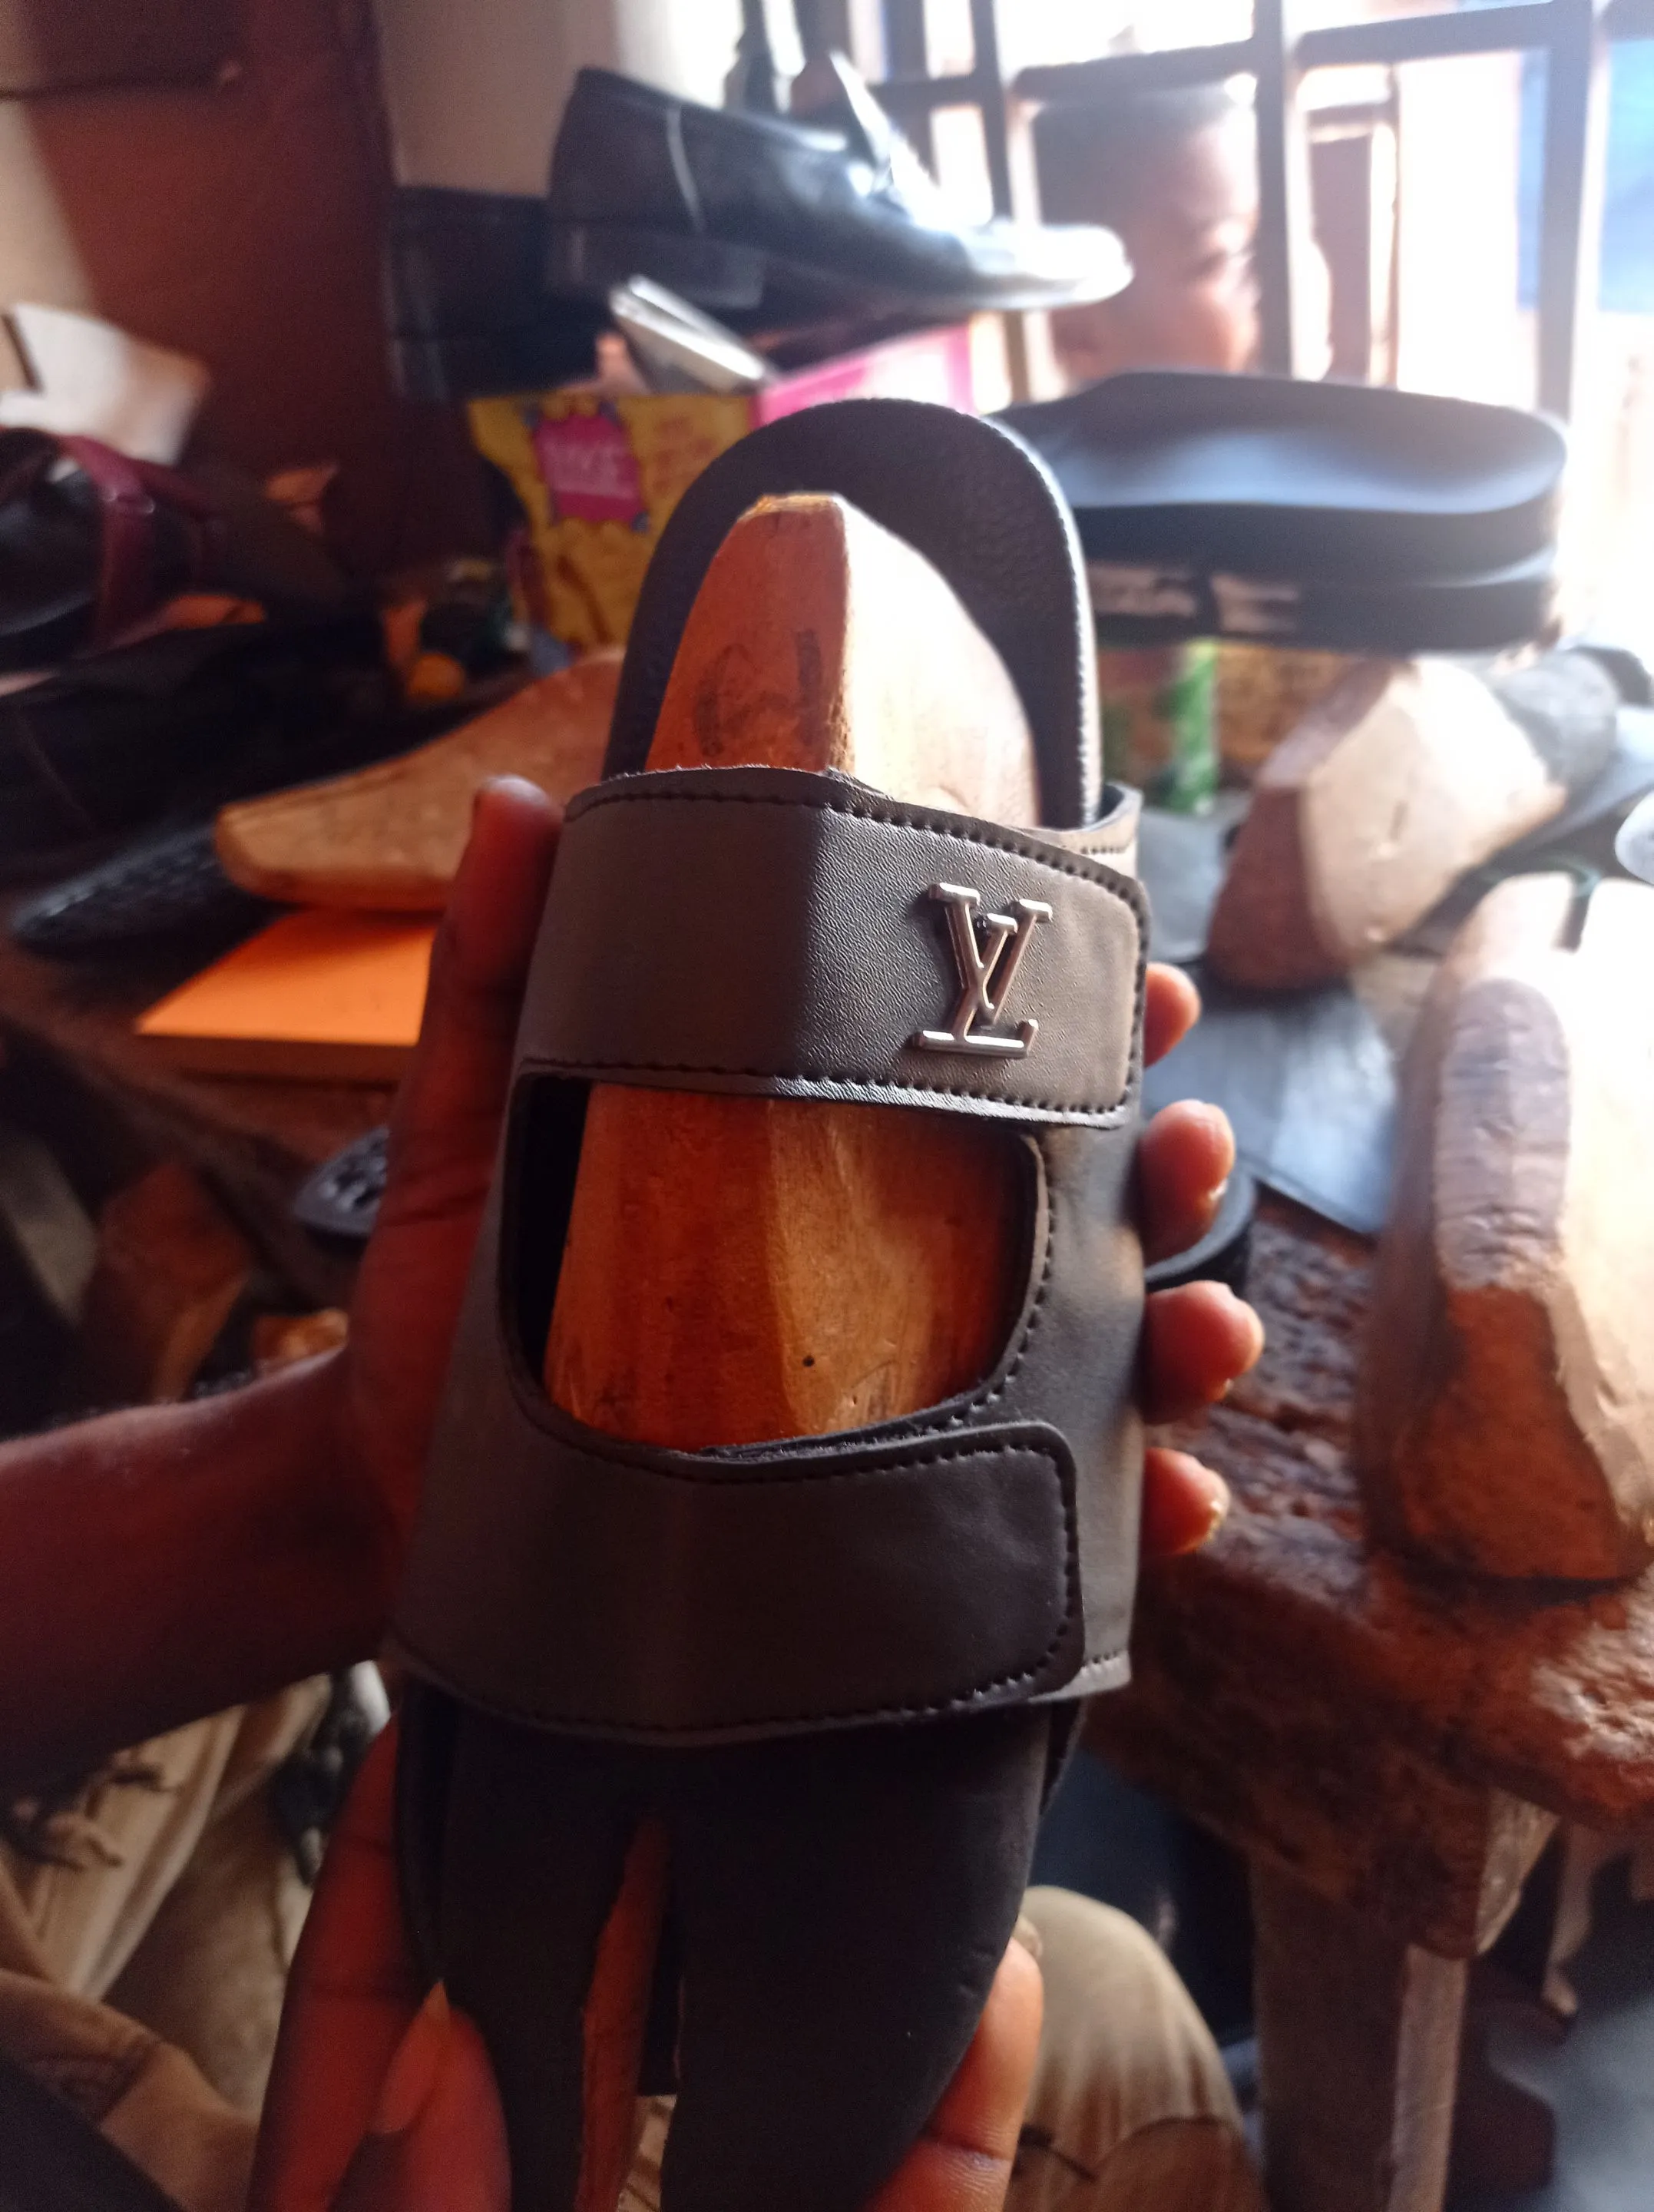
Here is how gorgeous the sandal looks like at the end of my work on it, what are your thoughts on the design and their look.
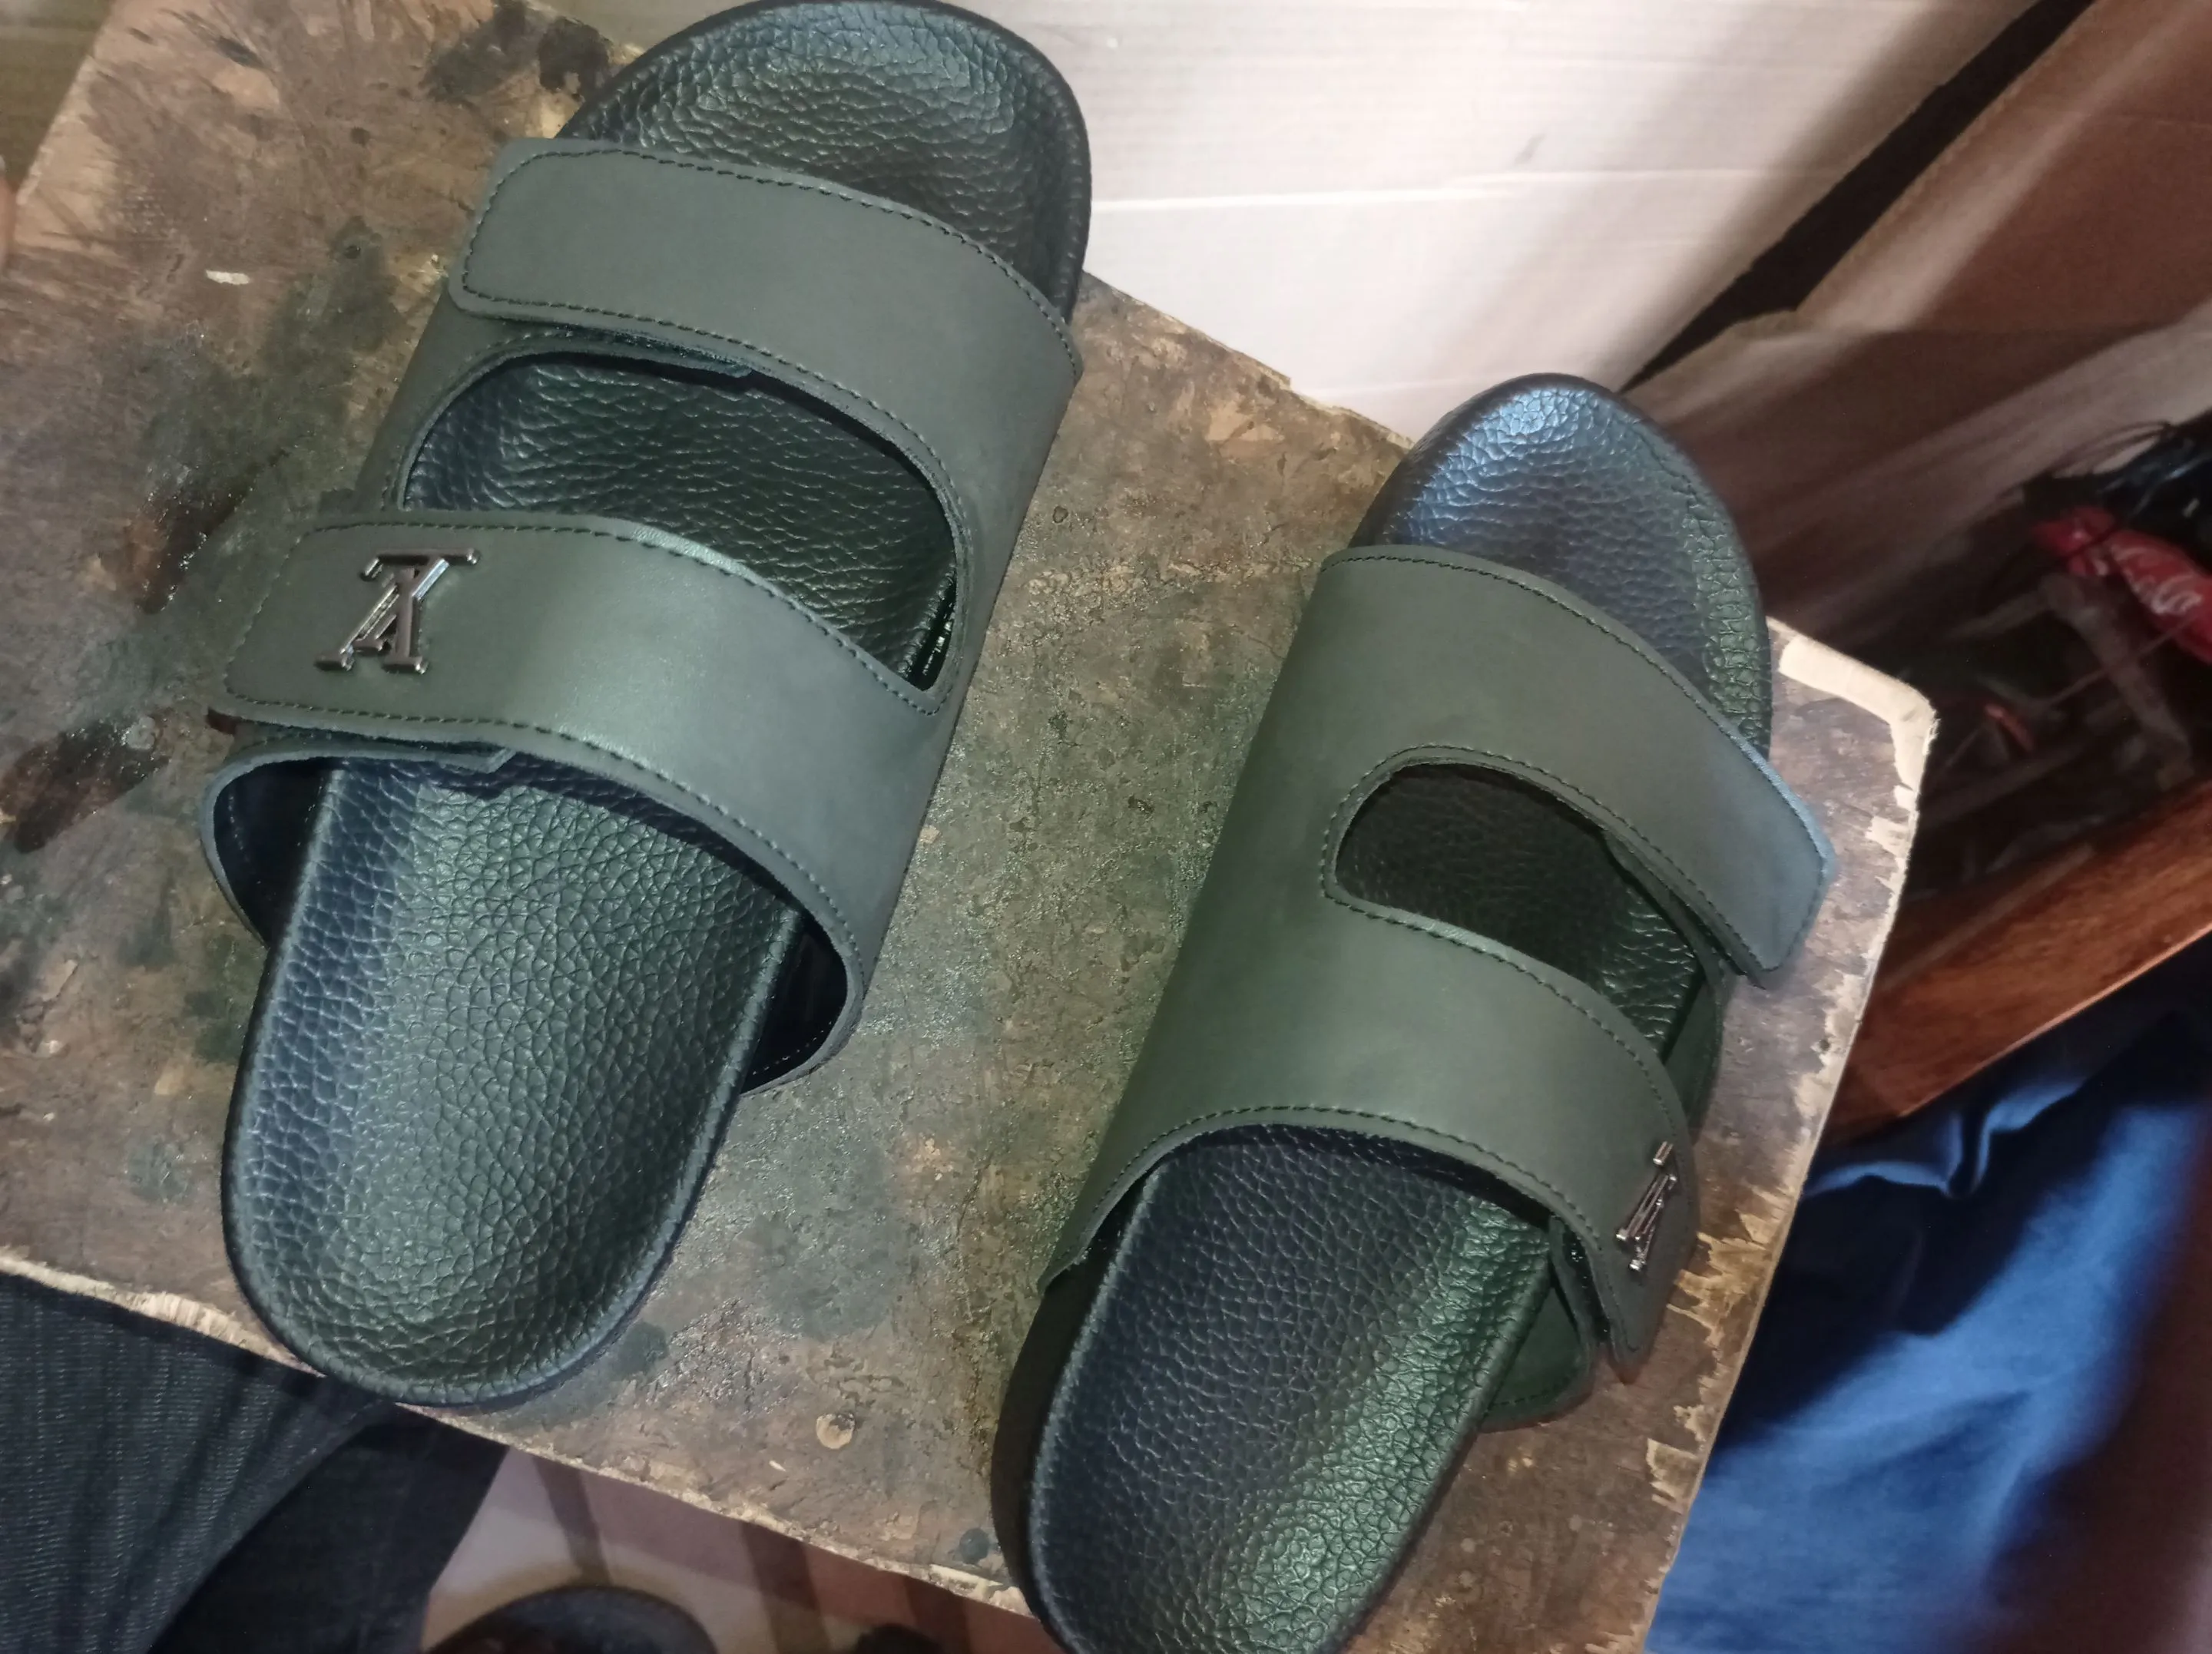
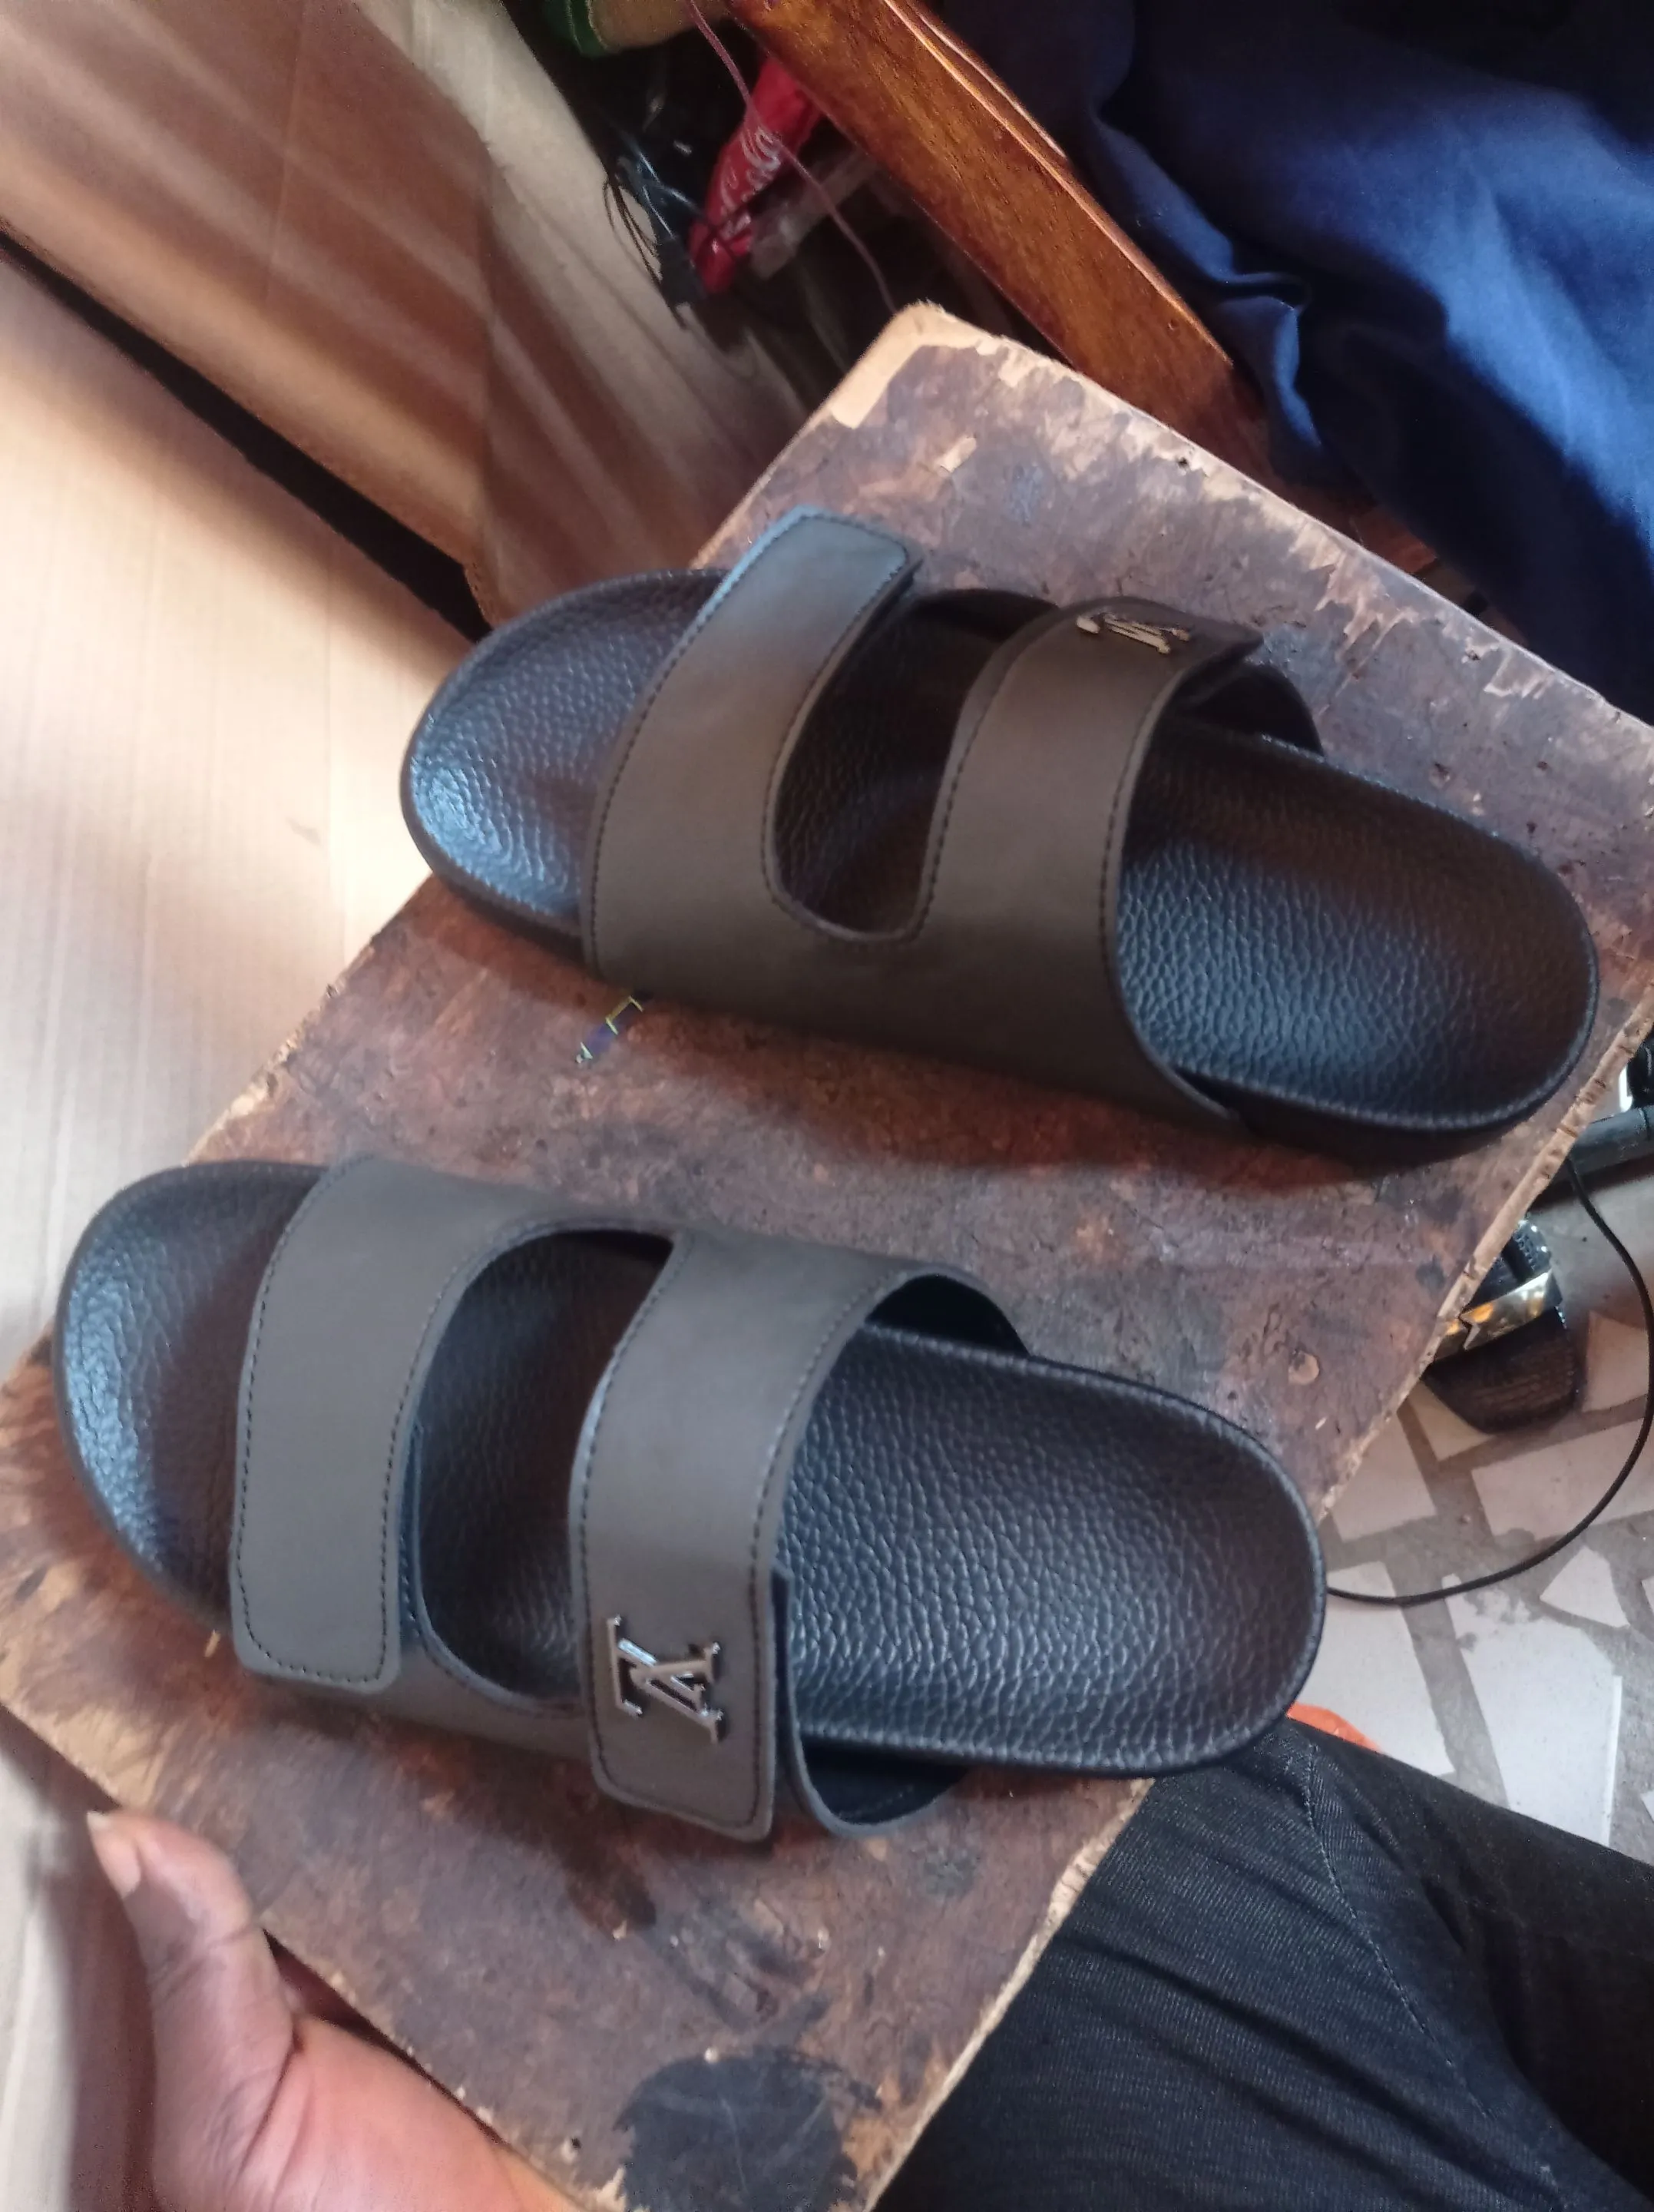
Here is one of the once I made for the other friends, which I share here.
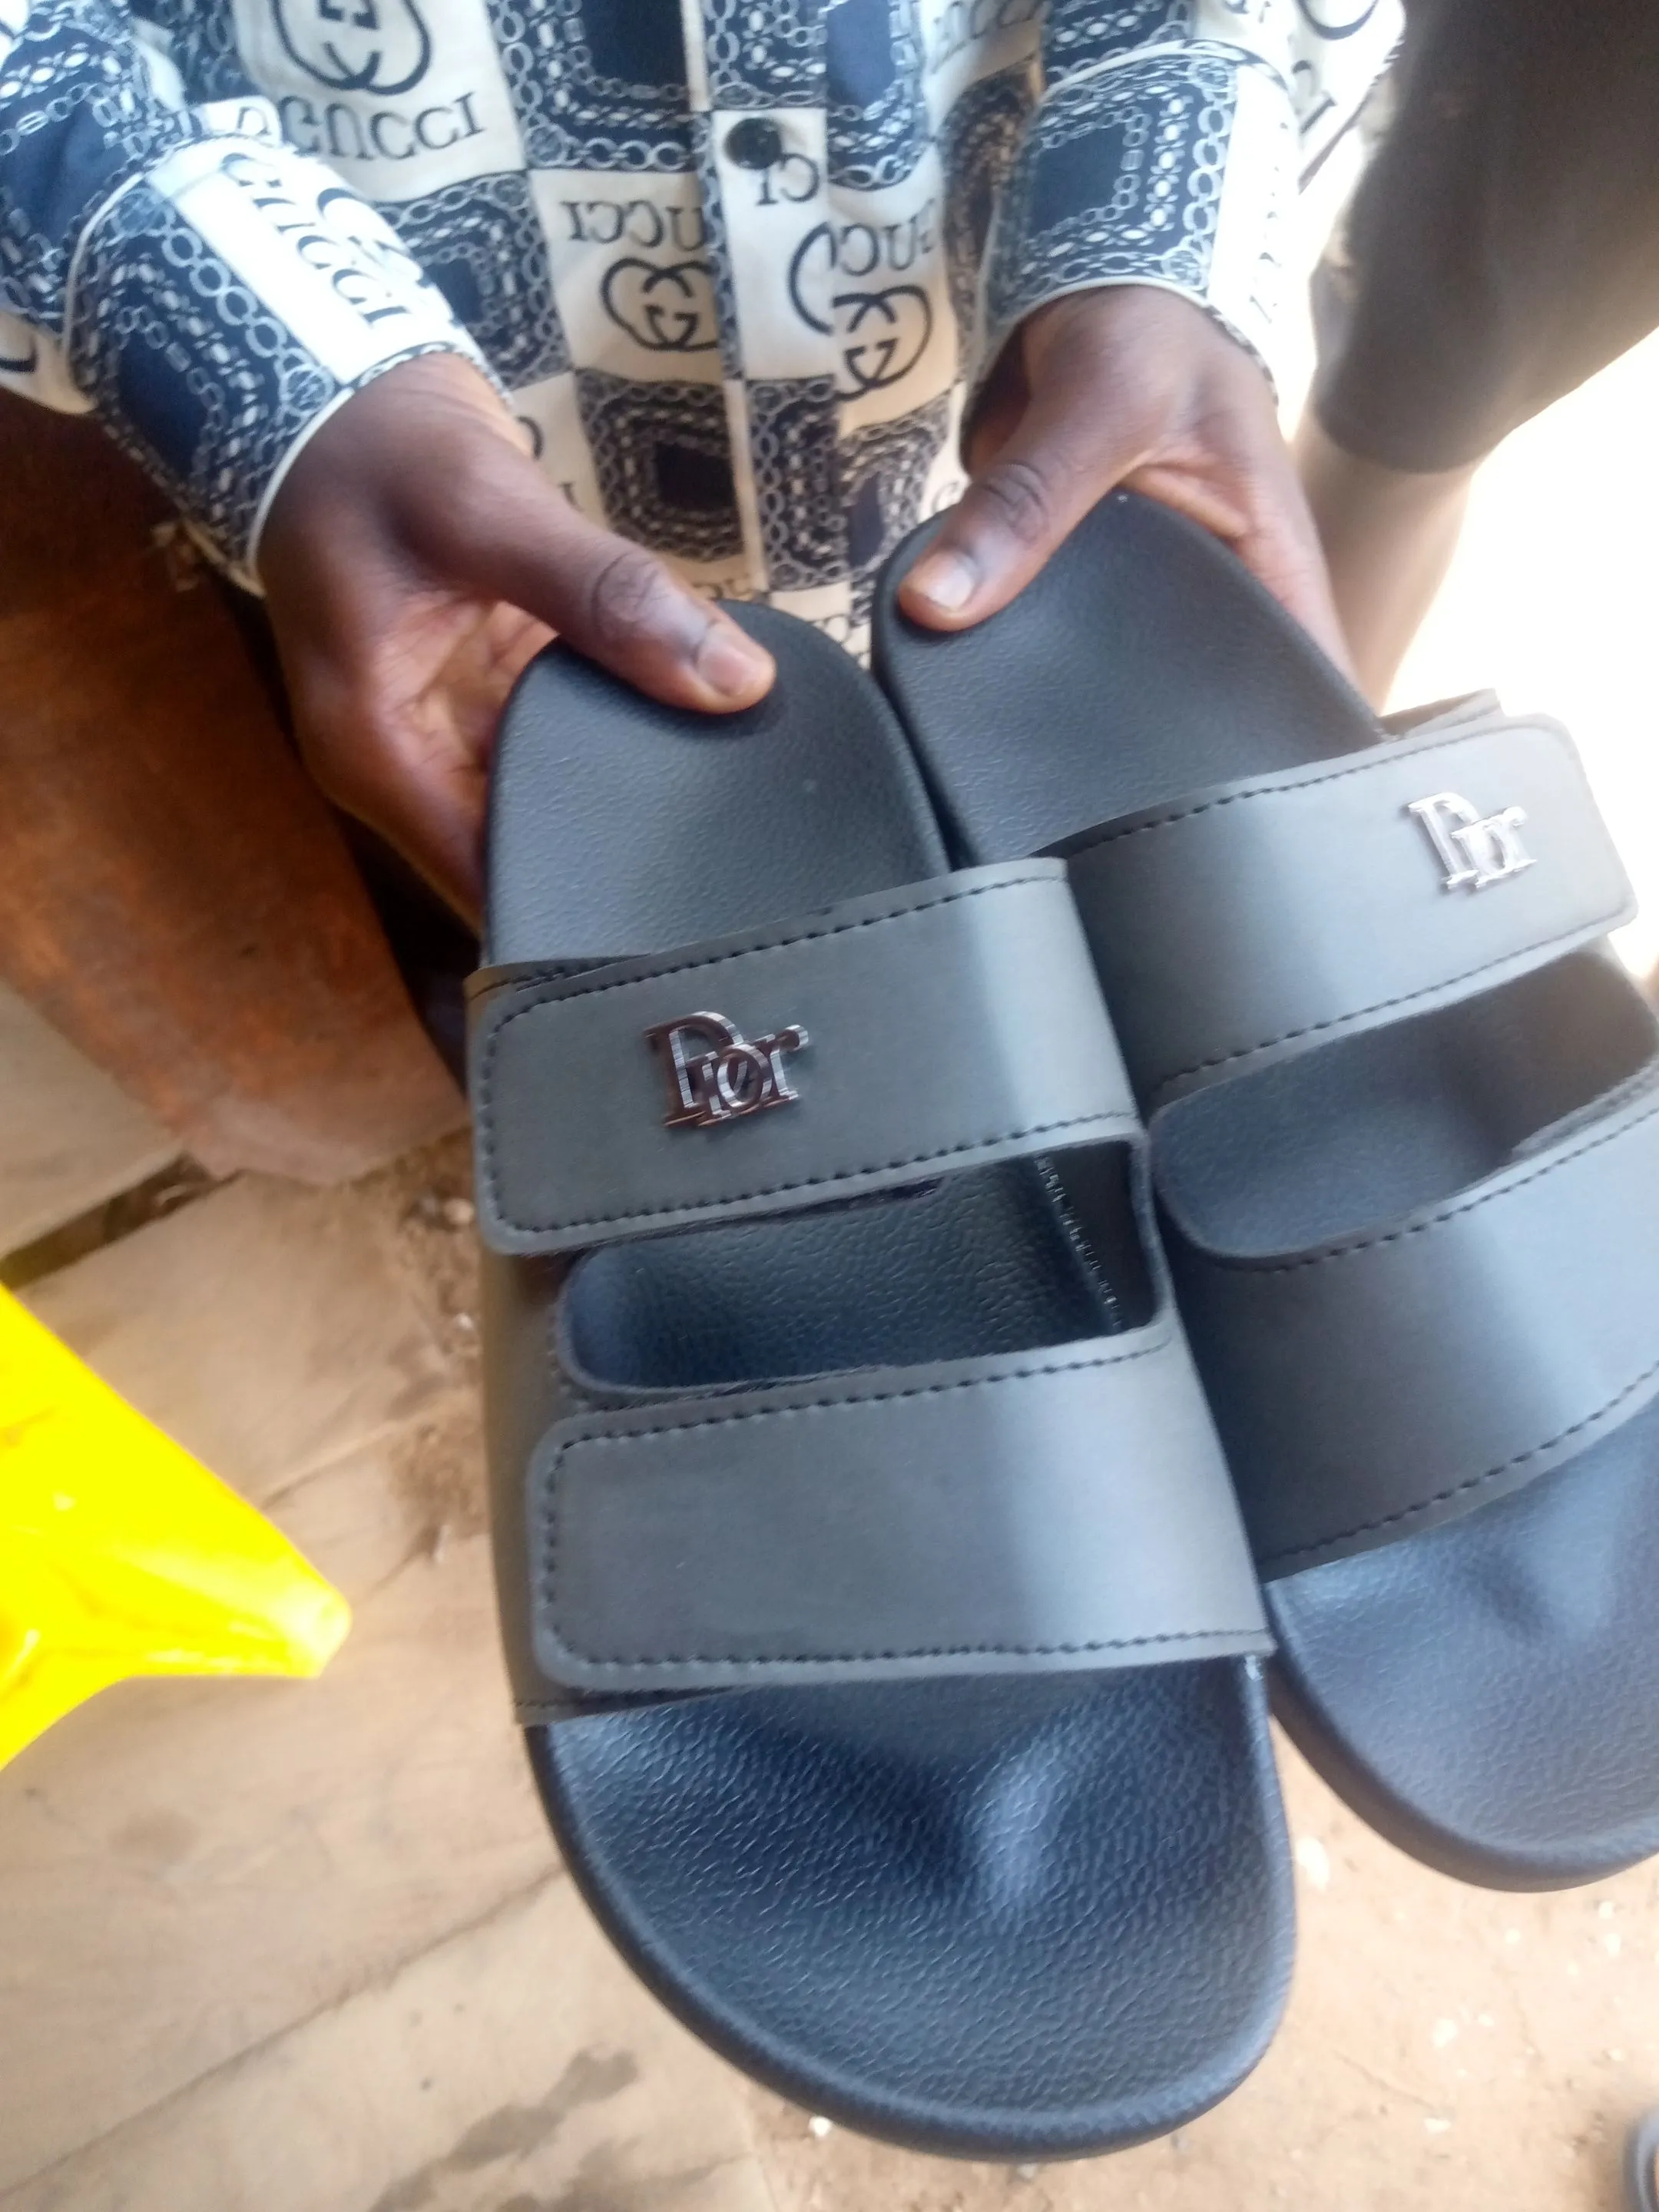
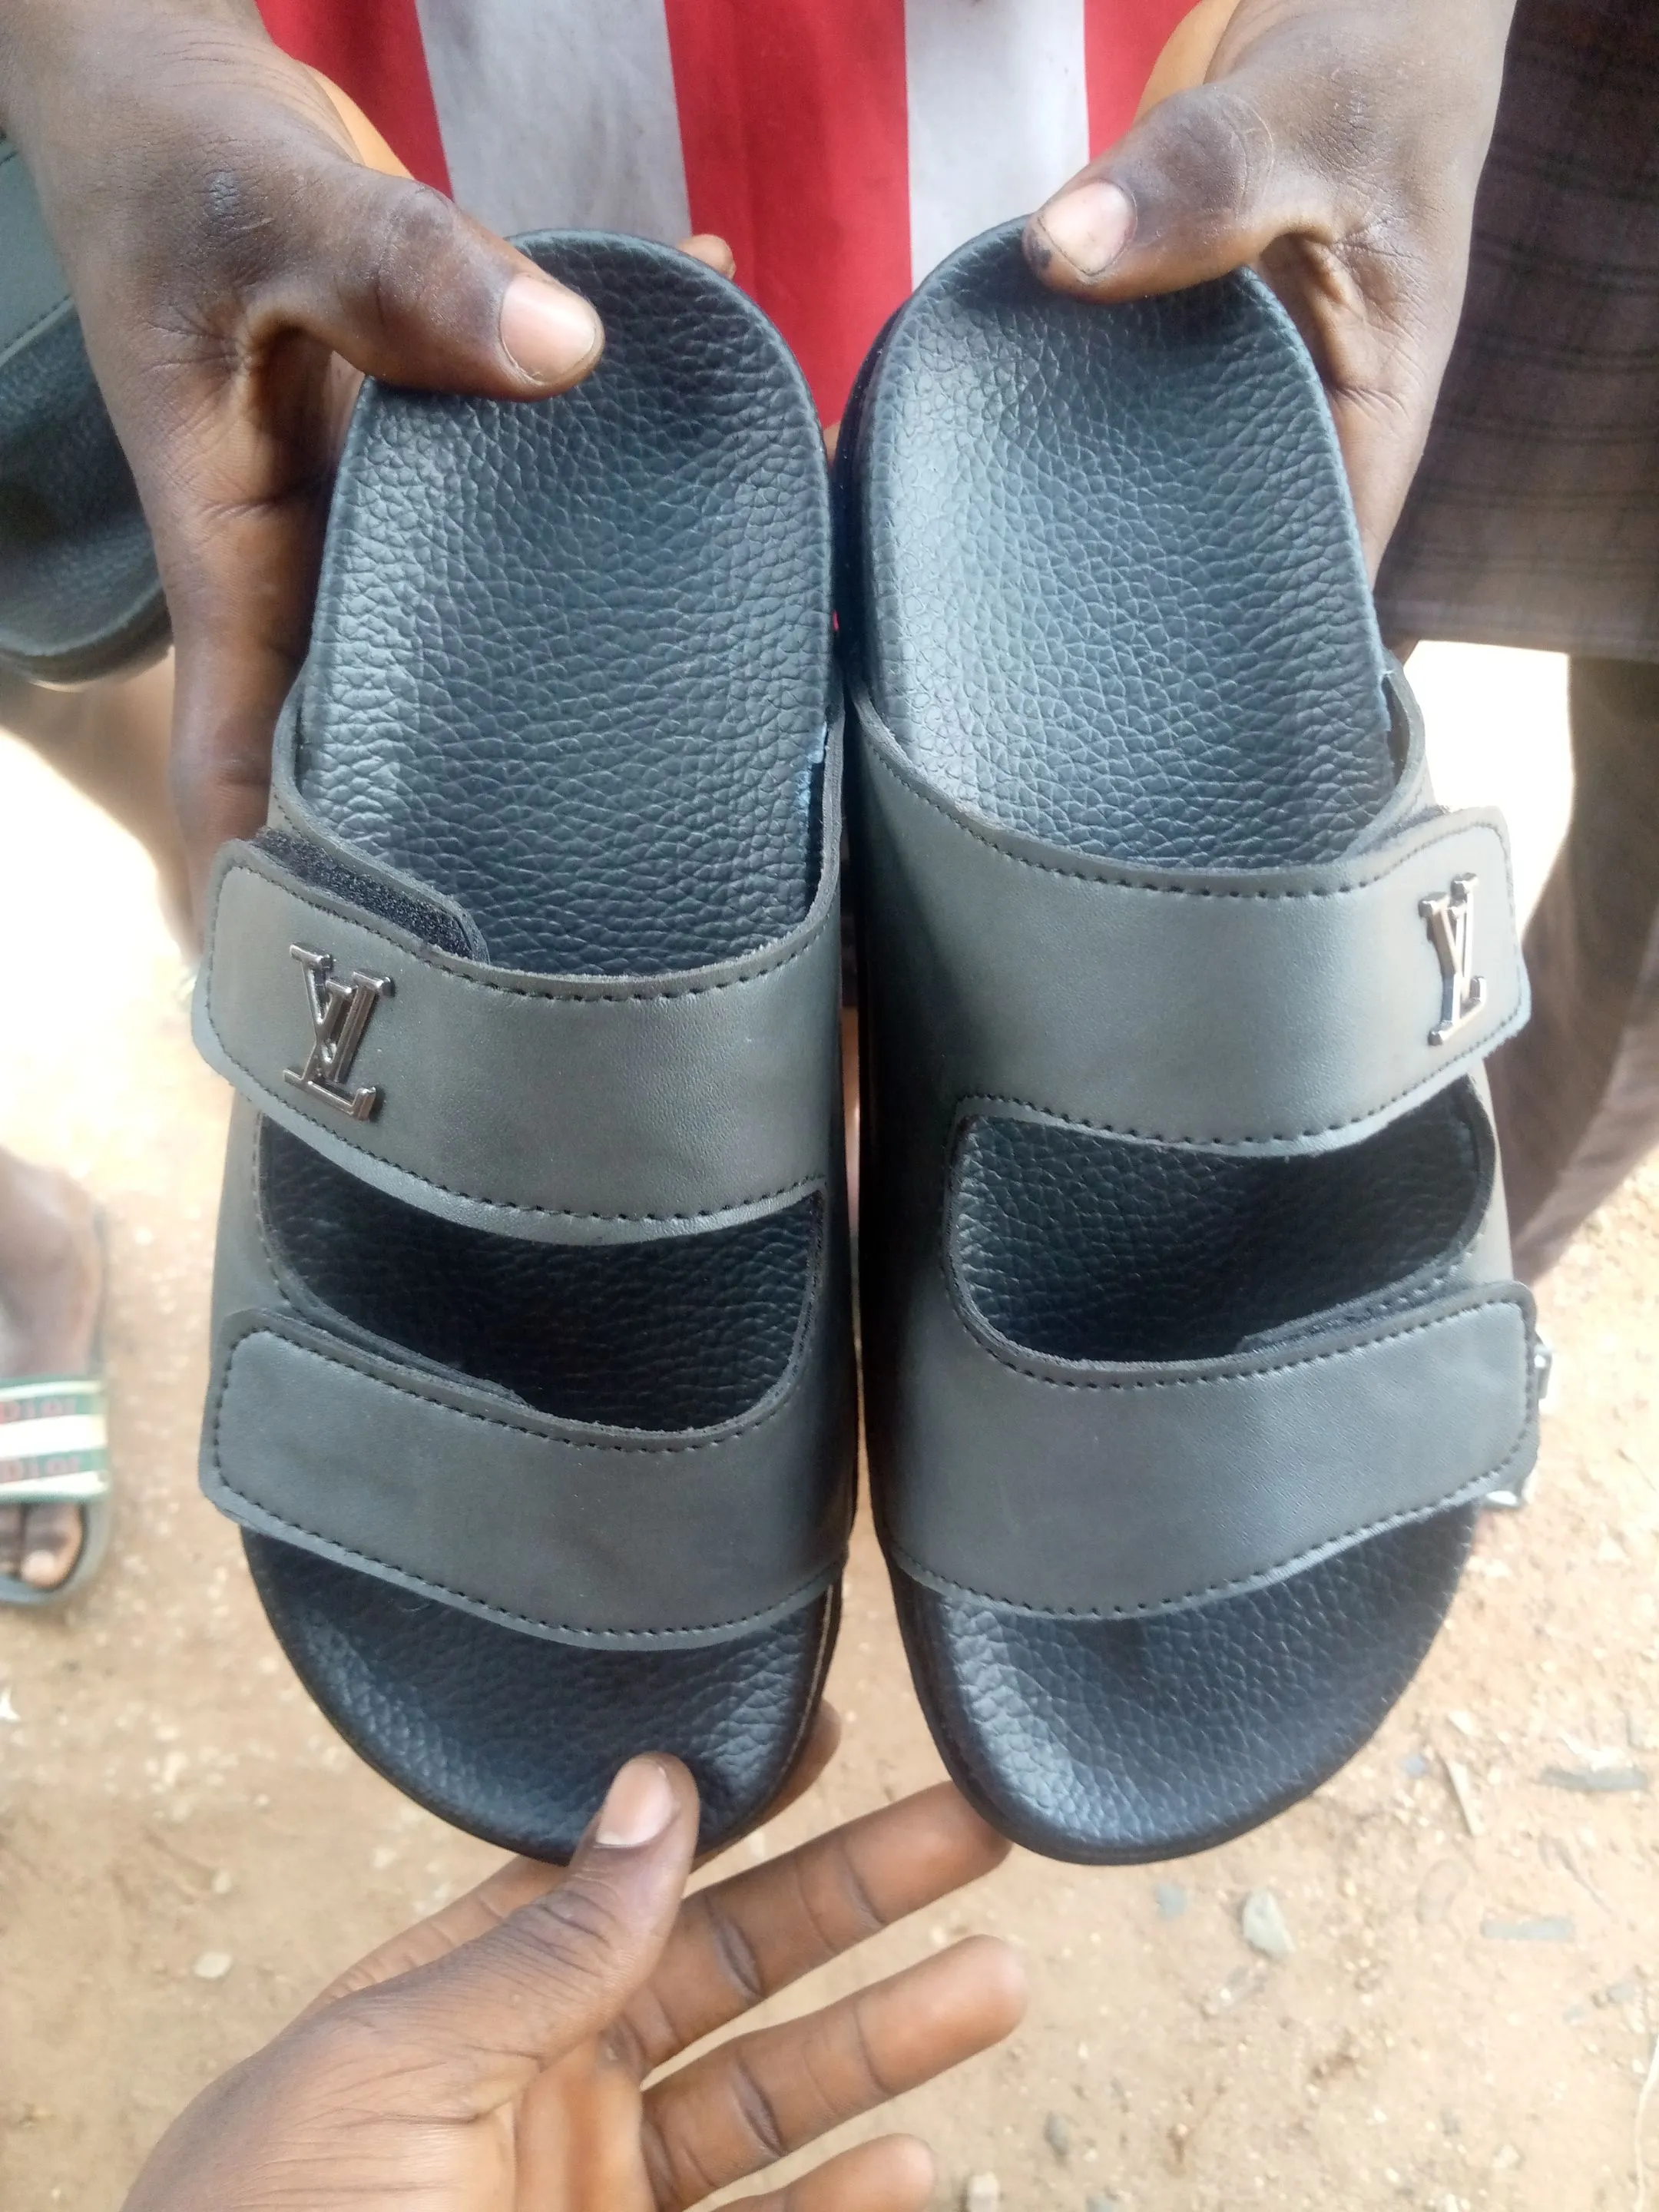
https://files.peakd.com/file/peakd-hive/vickoly/23x1abcXk2RqBSvQFCTSyjYUtnF9iuT4h69CRd45vXCLbNJS2b6593xDrPS9a4HbdhNgp.png
Return from DIY OF HOW I ACCOMPLISHED THE WIP SANDALS I MADE FOR THREE JOLLY FRIENDS to vickoly's Web3 Blog

