HELLO HIVE
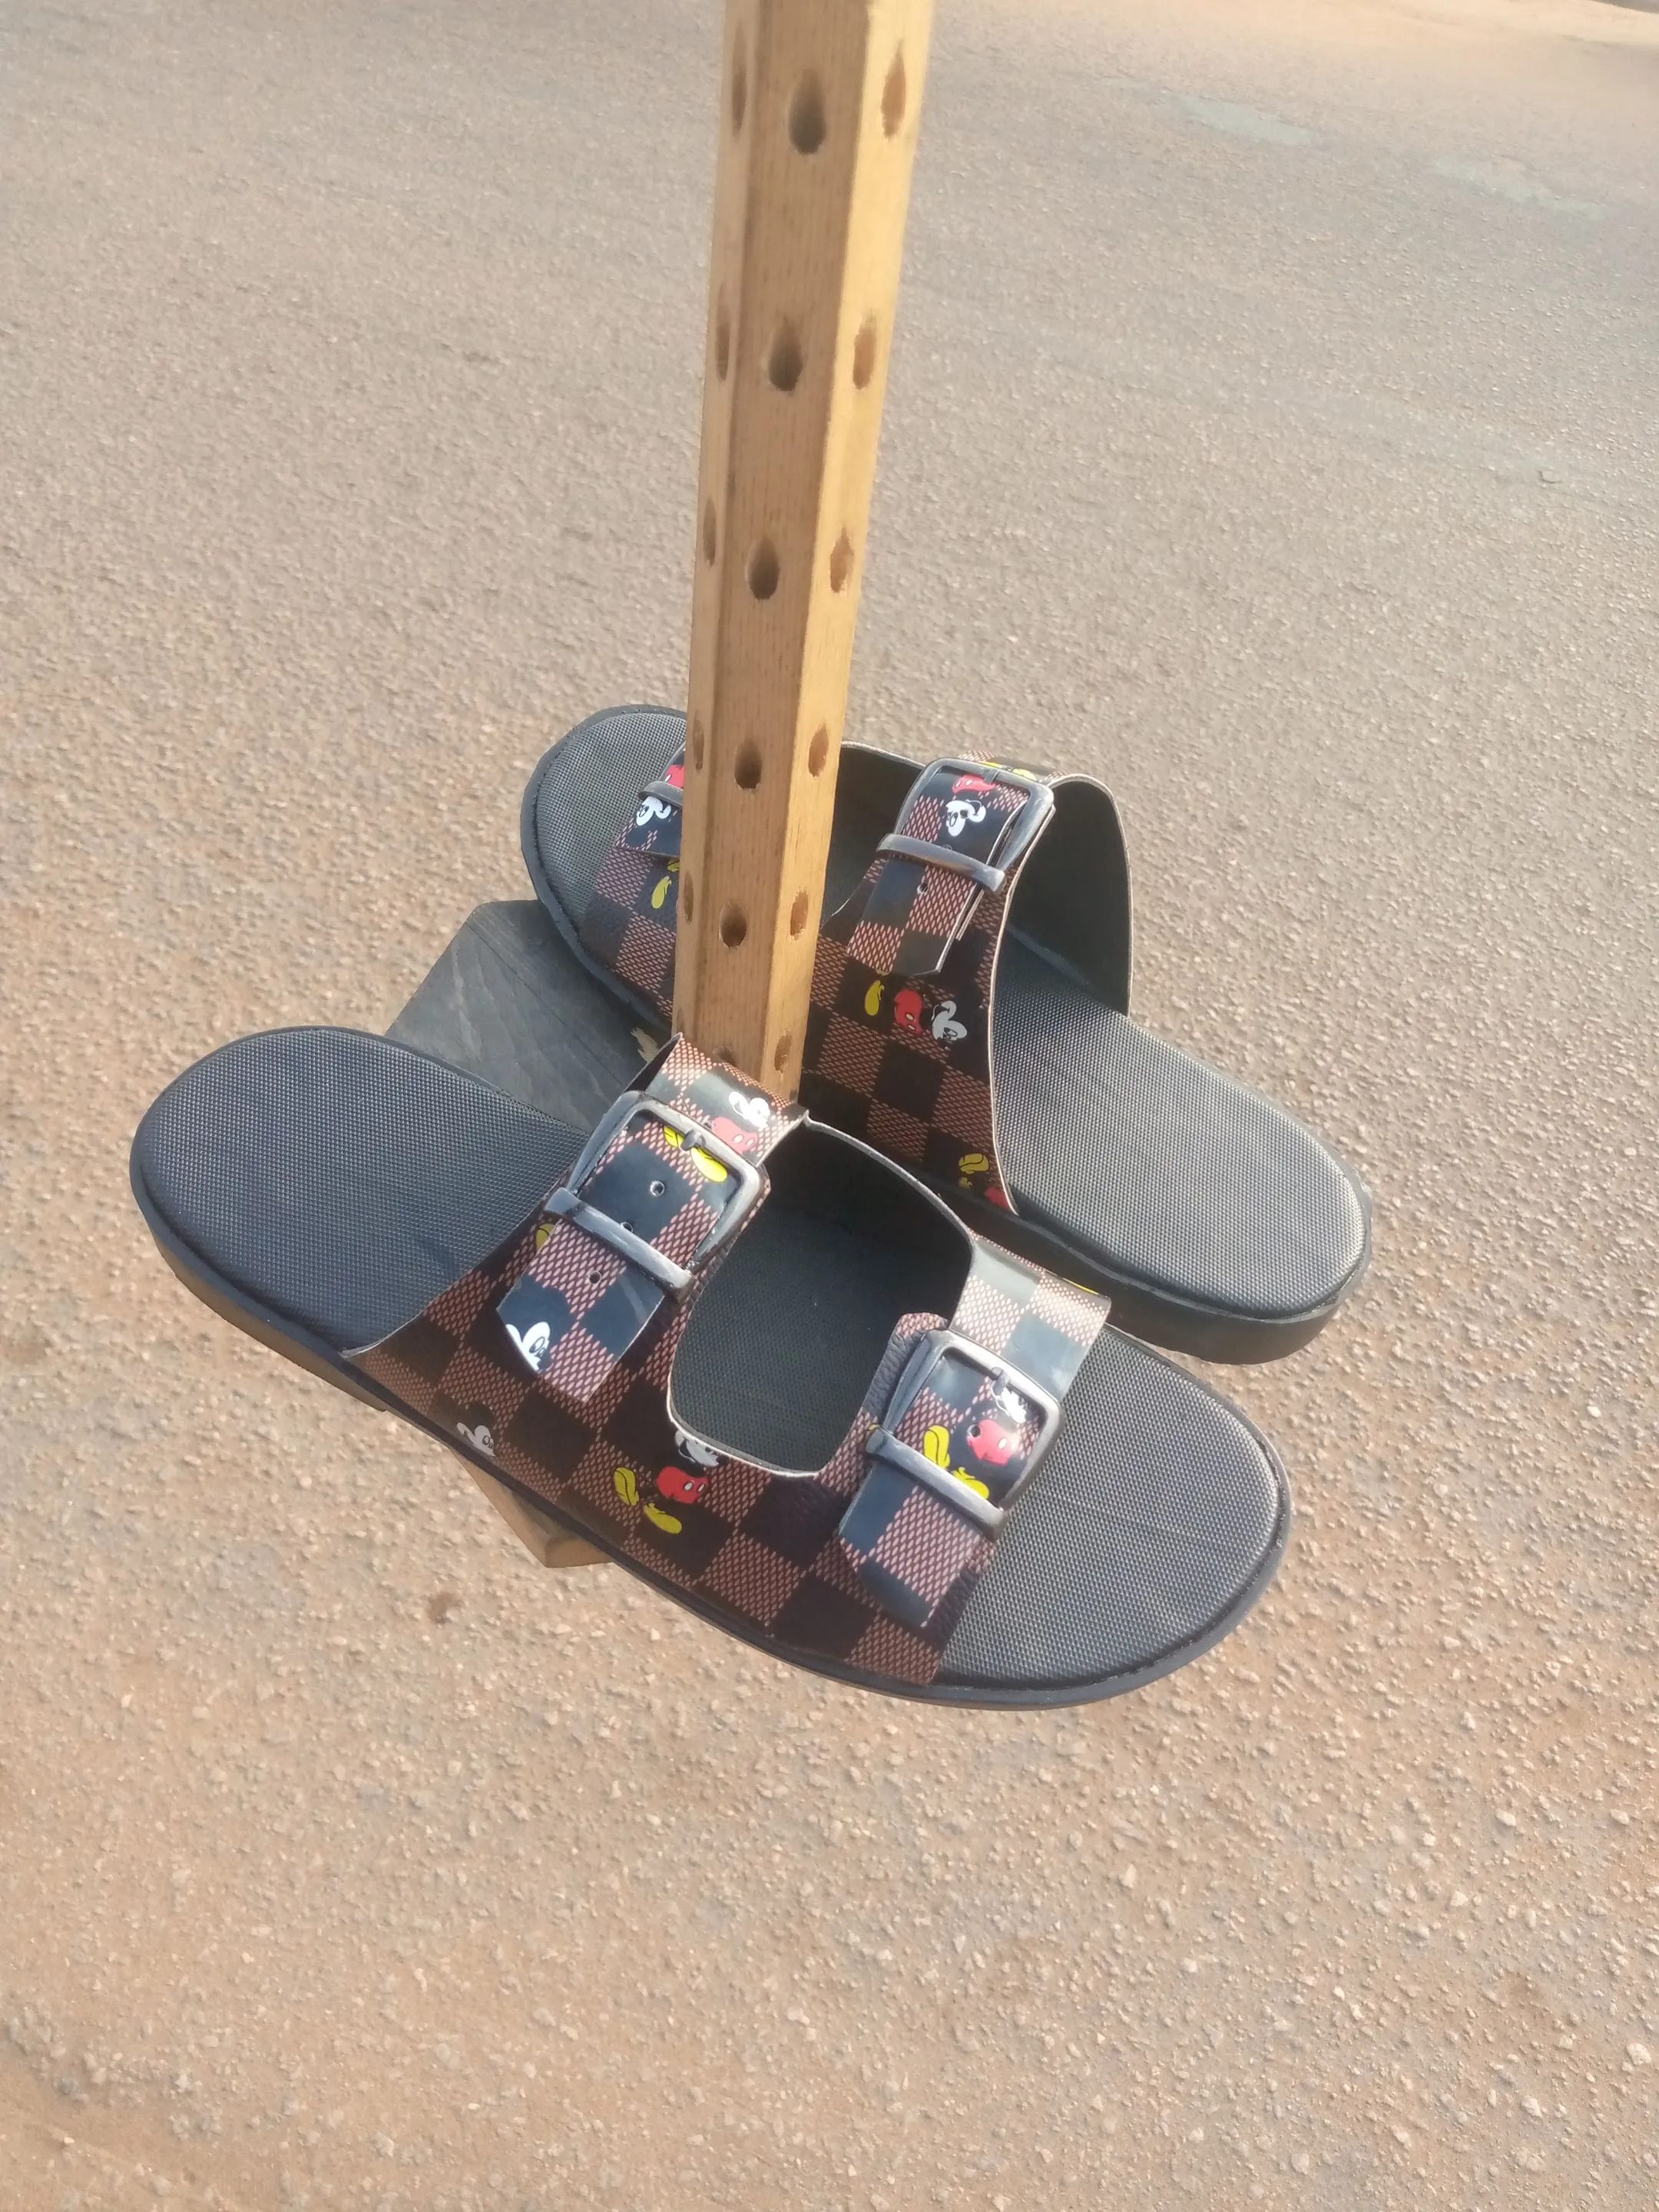
Hello everyone, Welcome to my blog this Sunday afternoon. I hope your weekend has been enjoyable. It's been a week since I last showed up the creative aspect of me, and today I'll continue in that trend as I'll love to take you through the process of how I made this footwear made with Mickey Mouse leather material for an old customer.

He then called me and requested that I construct him shoes with any leather design that features a cartoon or anime character since he was attending an event where such footwear was required as a gate pass. I went to the market with that in mind, and after looking around for a while, I saw the Mickey Mouse leather and decided to just make do with it.
https://files.peakd.com/file/peakd-hive/vickoly/23x1abcXk2RqBSvQFCTSyjYUtnF9iuT4h69CRd45vXCLbNJS2b6593xDrPS9a4HbdhNgp.png
https://files.peakd.com/file/peakd-hive/vickoly/23x1abcXk2RqBSvQFCTSyjYUtnF9iuT4h69CRd45vXCLbNJS2b6593xDrPS9a4HbdhNgp.png
MATERIALS USED
- Rubber sole
- Mickey mouse leather material
- Black Linning
- Marco size 4
- OCI gum
- Buckle
- Eyelet
https://files.peakd.com/file/peakd-hive/vickoly/23x1abcXk2RqBSvQFCTSyjYUtnF9iuT4h69CRd45vXCLbNJS2b6593xDrPS9a4HbdhNgp.png
MAKING PROCESSES
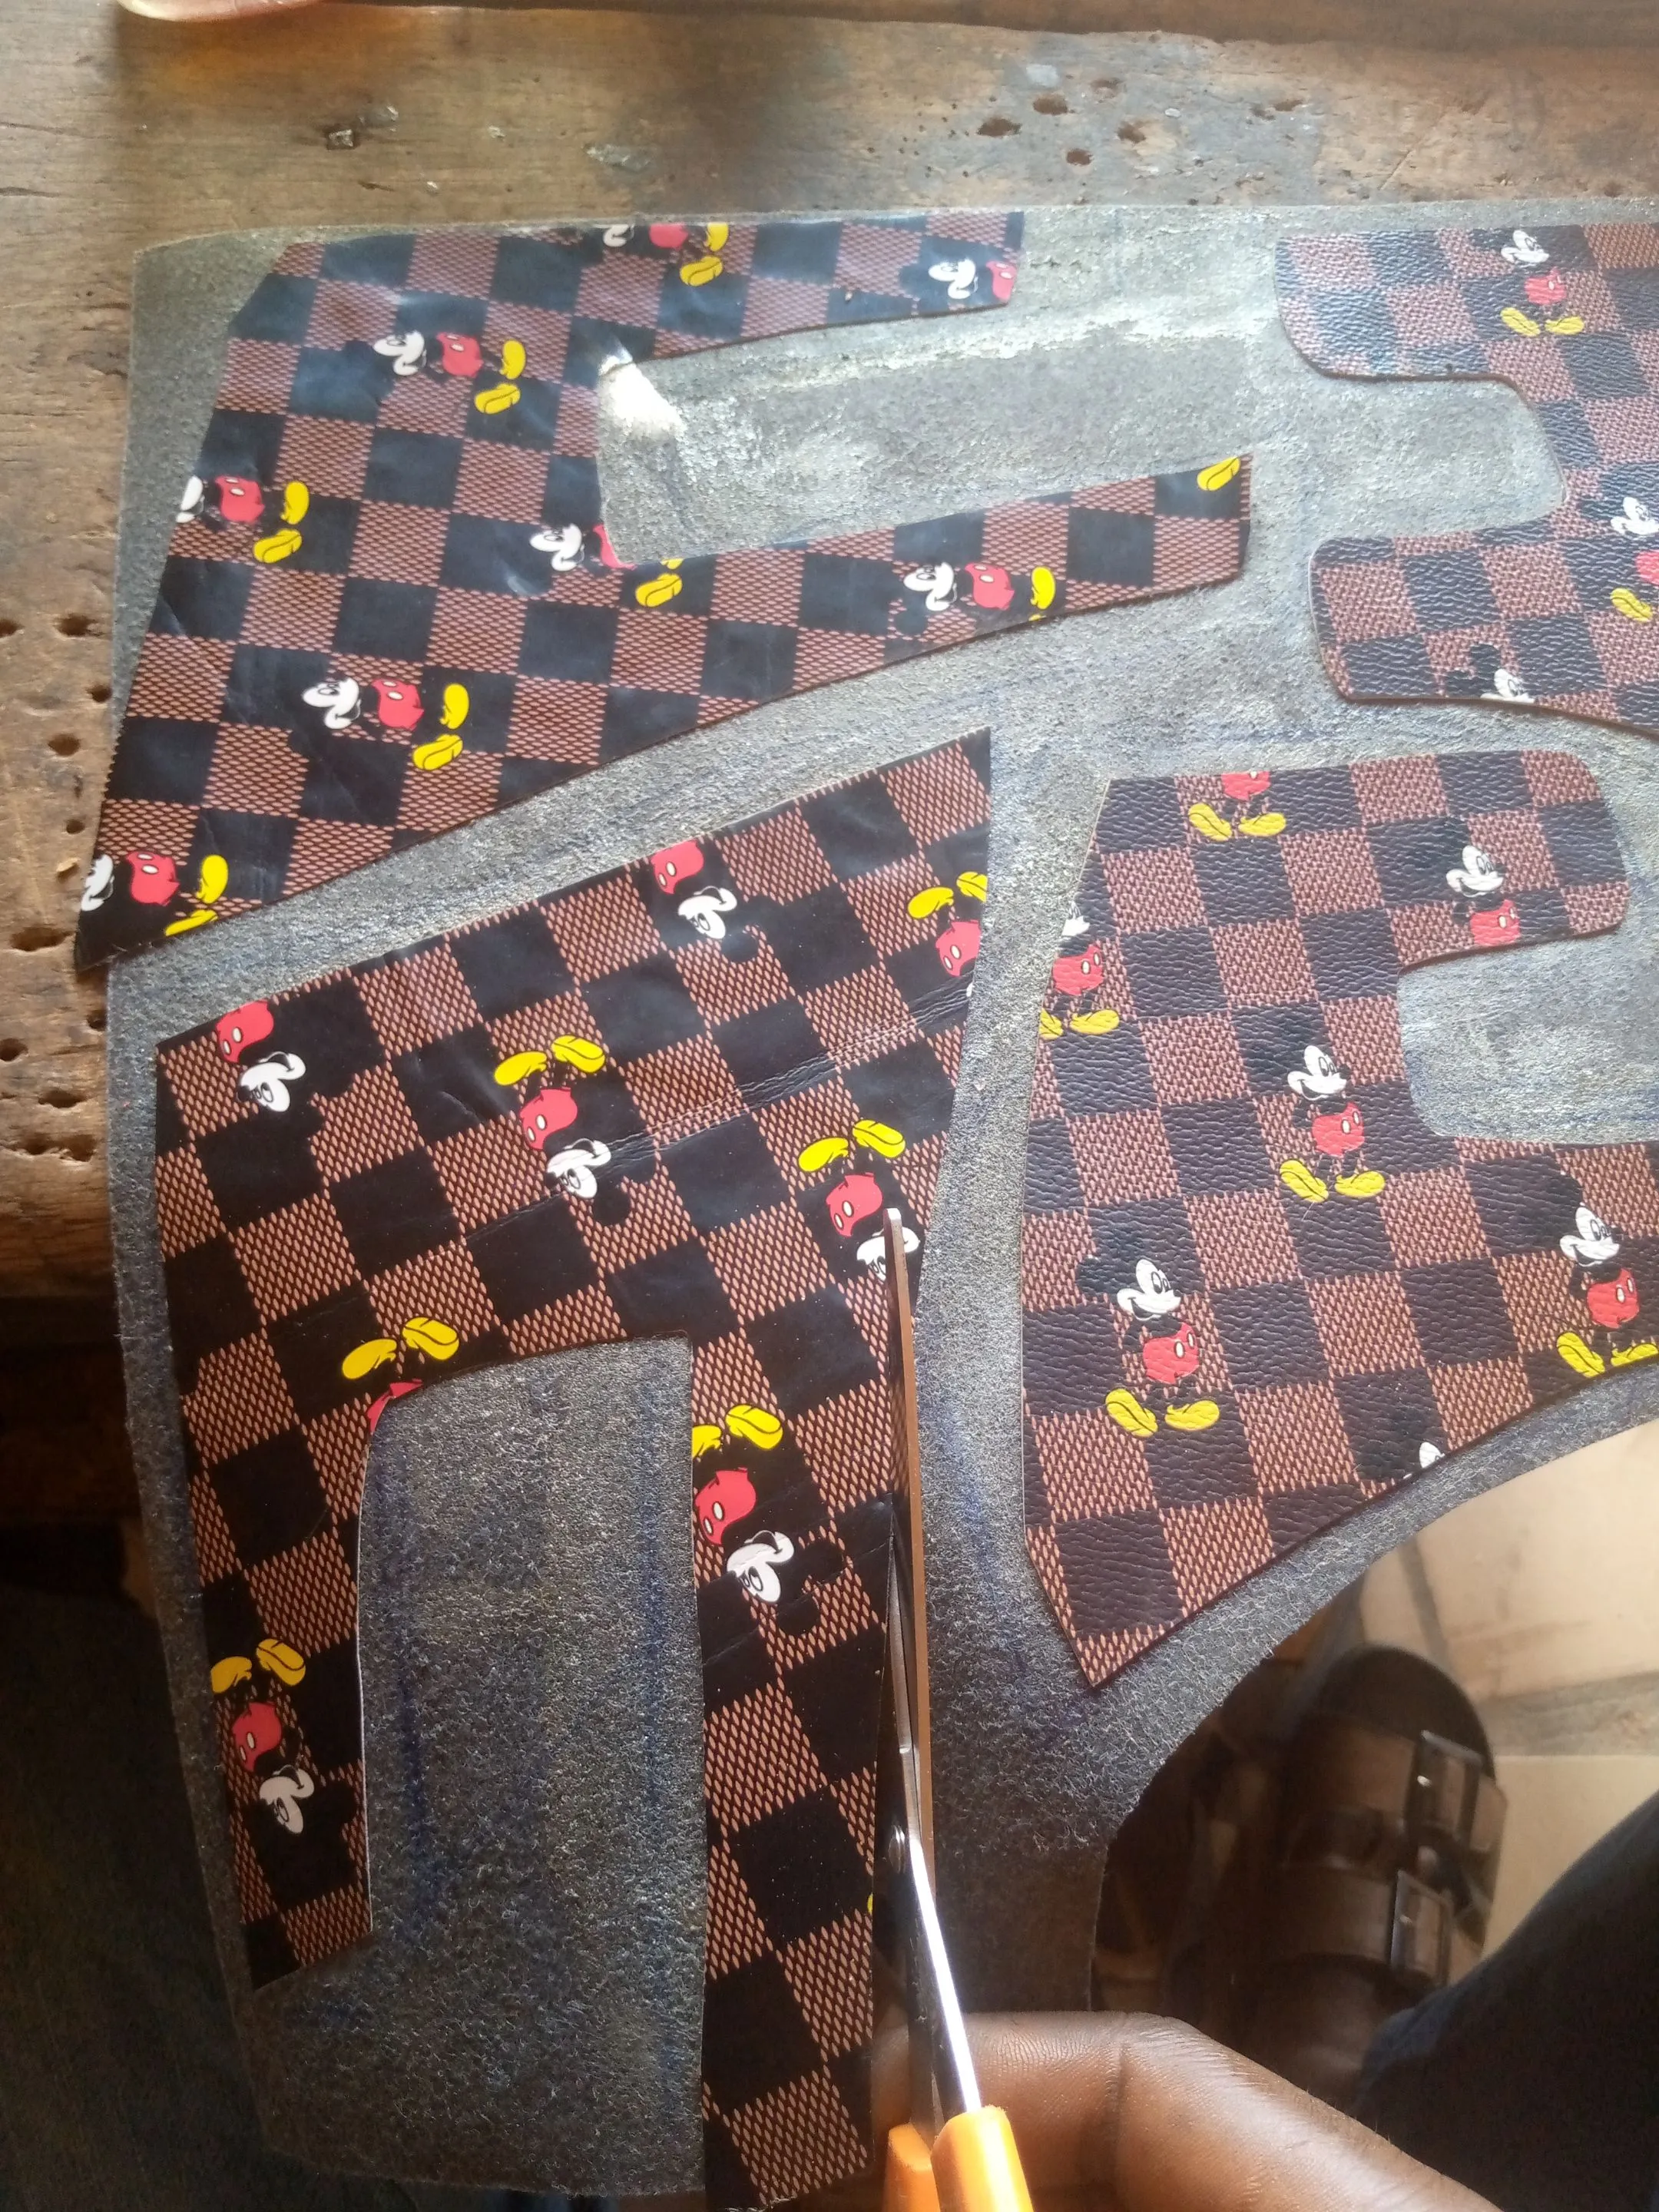
- After getting all the required materials, I started cutting the design of the footwear he want for his palm Slippers, and after that I rub gum on the black linning and join the Mickey mouse leather I cut for the upper on it, press it with hammer before cutting out the shape.

- After that I punch holes on the Mickey mouse leather on the part where the bucket will be attached, after which I cut some straight Mickey mouse leather and wrap it around the bucket, I then joined them to the upper design with the aid of a eyelets pin.
| Punching holes | Setting buckle |
|---|---|
| https://files.peakd.com/file/peakd-hive/vickoly/23ynZ26DfBsGACadvypznrVTEaGt9urR1QqNzyACUZxVTCo9KVkD2embEBECb1de2hkMv.jpg | https://files.peakd.com/file/peakd-hive/vickoly/243BgaFe14xeMQMk9P9SwmkRfF1qQk26DTW9bfGzwKaLaXL44oHCVkAQp2zNQN86hVrAB.jpg |
- Once that is achieved, I wrap the black linning on the Marko material after applying gum on both, then I joined(last) the upper design to it and took it to the filling machine for filling of the edges to be rough.
| Lasing | filing |
|---|---|
| https://files.peakd.com/file/peakd-hive/vickoly/23wqnMgdDpkCDZwKq3ryPgEJTULdMLDt6Q2Wn1TRjdHqP4ipAbMDVdZ9hMm1MJfGVfsvP.jpg | https://files.peakd.com/file/peakd-hive/vickoly/23wMcP4xnJRYd1EdNRyXZ8zwFHWLDT51PNmFnYNiZMasSaKUM6B7R695F3dsfiFu7TqGU.jpg |
- Finally I also filing the rubber sole and then apply gum on it and the back of the Marko, after that I joined the both together and hit with an hammer 🔨 in all areas so it can still together perfectly.
| Outsole | Applying Gum | Lasing |
|---|---|---|
| https://files.peakd.com/file/peakd-hive/vickoly/23yd5wFZjpdsRkf2GiunT7xWuA48LcLA5vf3SfZCi1cuhbSJdt2JkarroUKNgnRgVto1e.jpg | https://files.peakd.com/file/peakd-hive/vickoly/242DJSeCWaZpAMwoz5izA9UQPKbMg1MXXcsSzwTje8kT1tYLGFqT6WaH7Utq8UJC3eFpB.jpg | https://files.peakd.com/file/peakd-hive/vickoly/23zGc6VCZP4eNDK8x2QxVndEbhKnuRZQEjzVEPWfPjhUd1De4VvNYmAujqzBtzww1tbyv.jpg |
https://files.peakd.com/file/peakd-hive/vickoly/23x1abcXk2RqBSvQFCTSyjYUtnF9iuT4h69CRd45vXCLbNJS2b6593xDrPS9a4HbdhNgp.png
That's about all on how I made these palm Slippers with a mickey mouse leather for my customer, which was done few months ago, I hope you had a great time while going through my DIY guide and found it valuable, have a blessed day.
Thanks for staying with me till this point, I look forward to seeing you thought, opinion, suggestions, helpful criticism in the comments section, have a productive months ahead.
Return from CREATIVE SUNDAY || STEP BY STEP TUTORIAL ON HOW I MADE THESE MICKEY MOUSE LEATHER FOOTWEAR to vickoly's Web3 Blog

