HELLO HIVE
We've continue work on the water tank stand project, which we are building in a bid to store and have more water in reserve, before the drought that follows dry season comes upon us, and here I share the process of how the wood for the decking was built and how we fill it up with concrete cement mixed with granite and sand.
https://files.peakd.com/file/peakd-hive/vickoly/23yd81geLza5a33NyGnt7jxCyWbBrhr7qDoYaqVbhsf7XxRJB3hHvuyFTHuN8ncGnMmwv.jpg
In the last post where I shared how we built the water tank stand, I talked extensively on how much it cost to build these and how we arrived at the previous point we stopped last time.
So today's post captures how we embark on the carpenter work off arranging the wood on the stand and how we build stands to hold and brace the wood placed on the stand, and it also shows the process of how the decking was filled with the concrete.
Below are some of the process of how these was achieve.
- To buy the decking, I had to borrow some wood from some of my neighbors who are not making use of theirs, so we can use and return after the decking is done, below are some of the wood we borrowed.
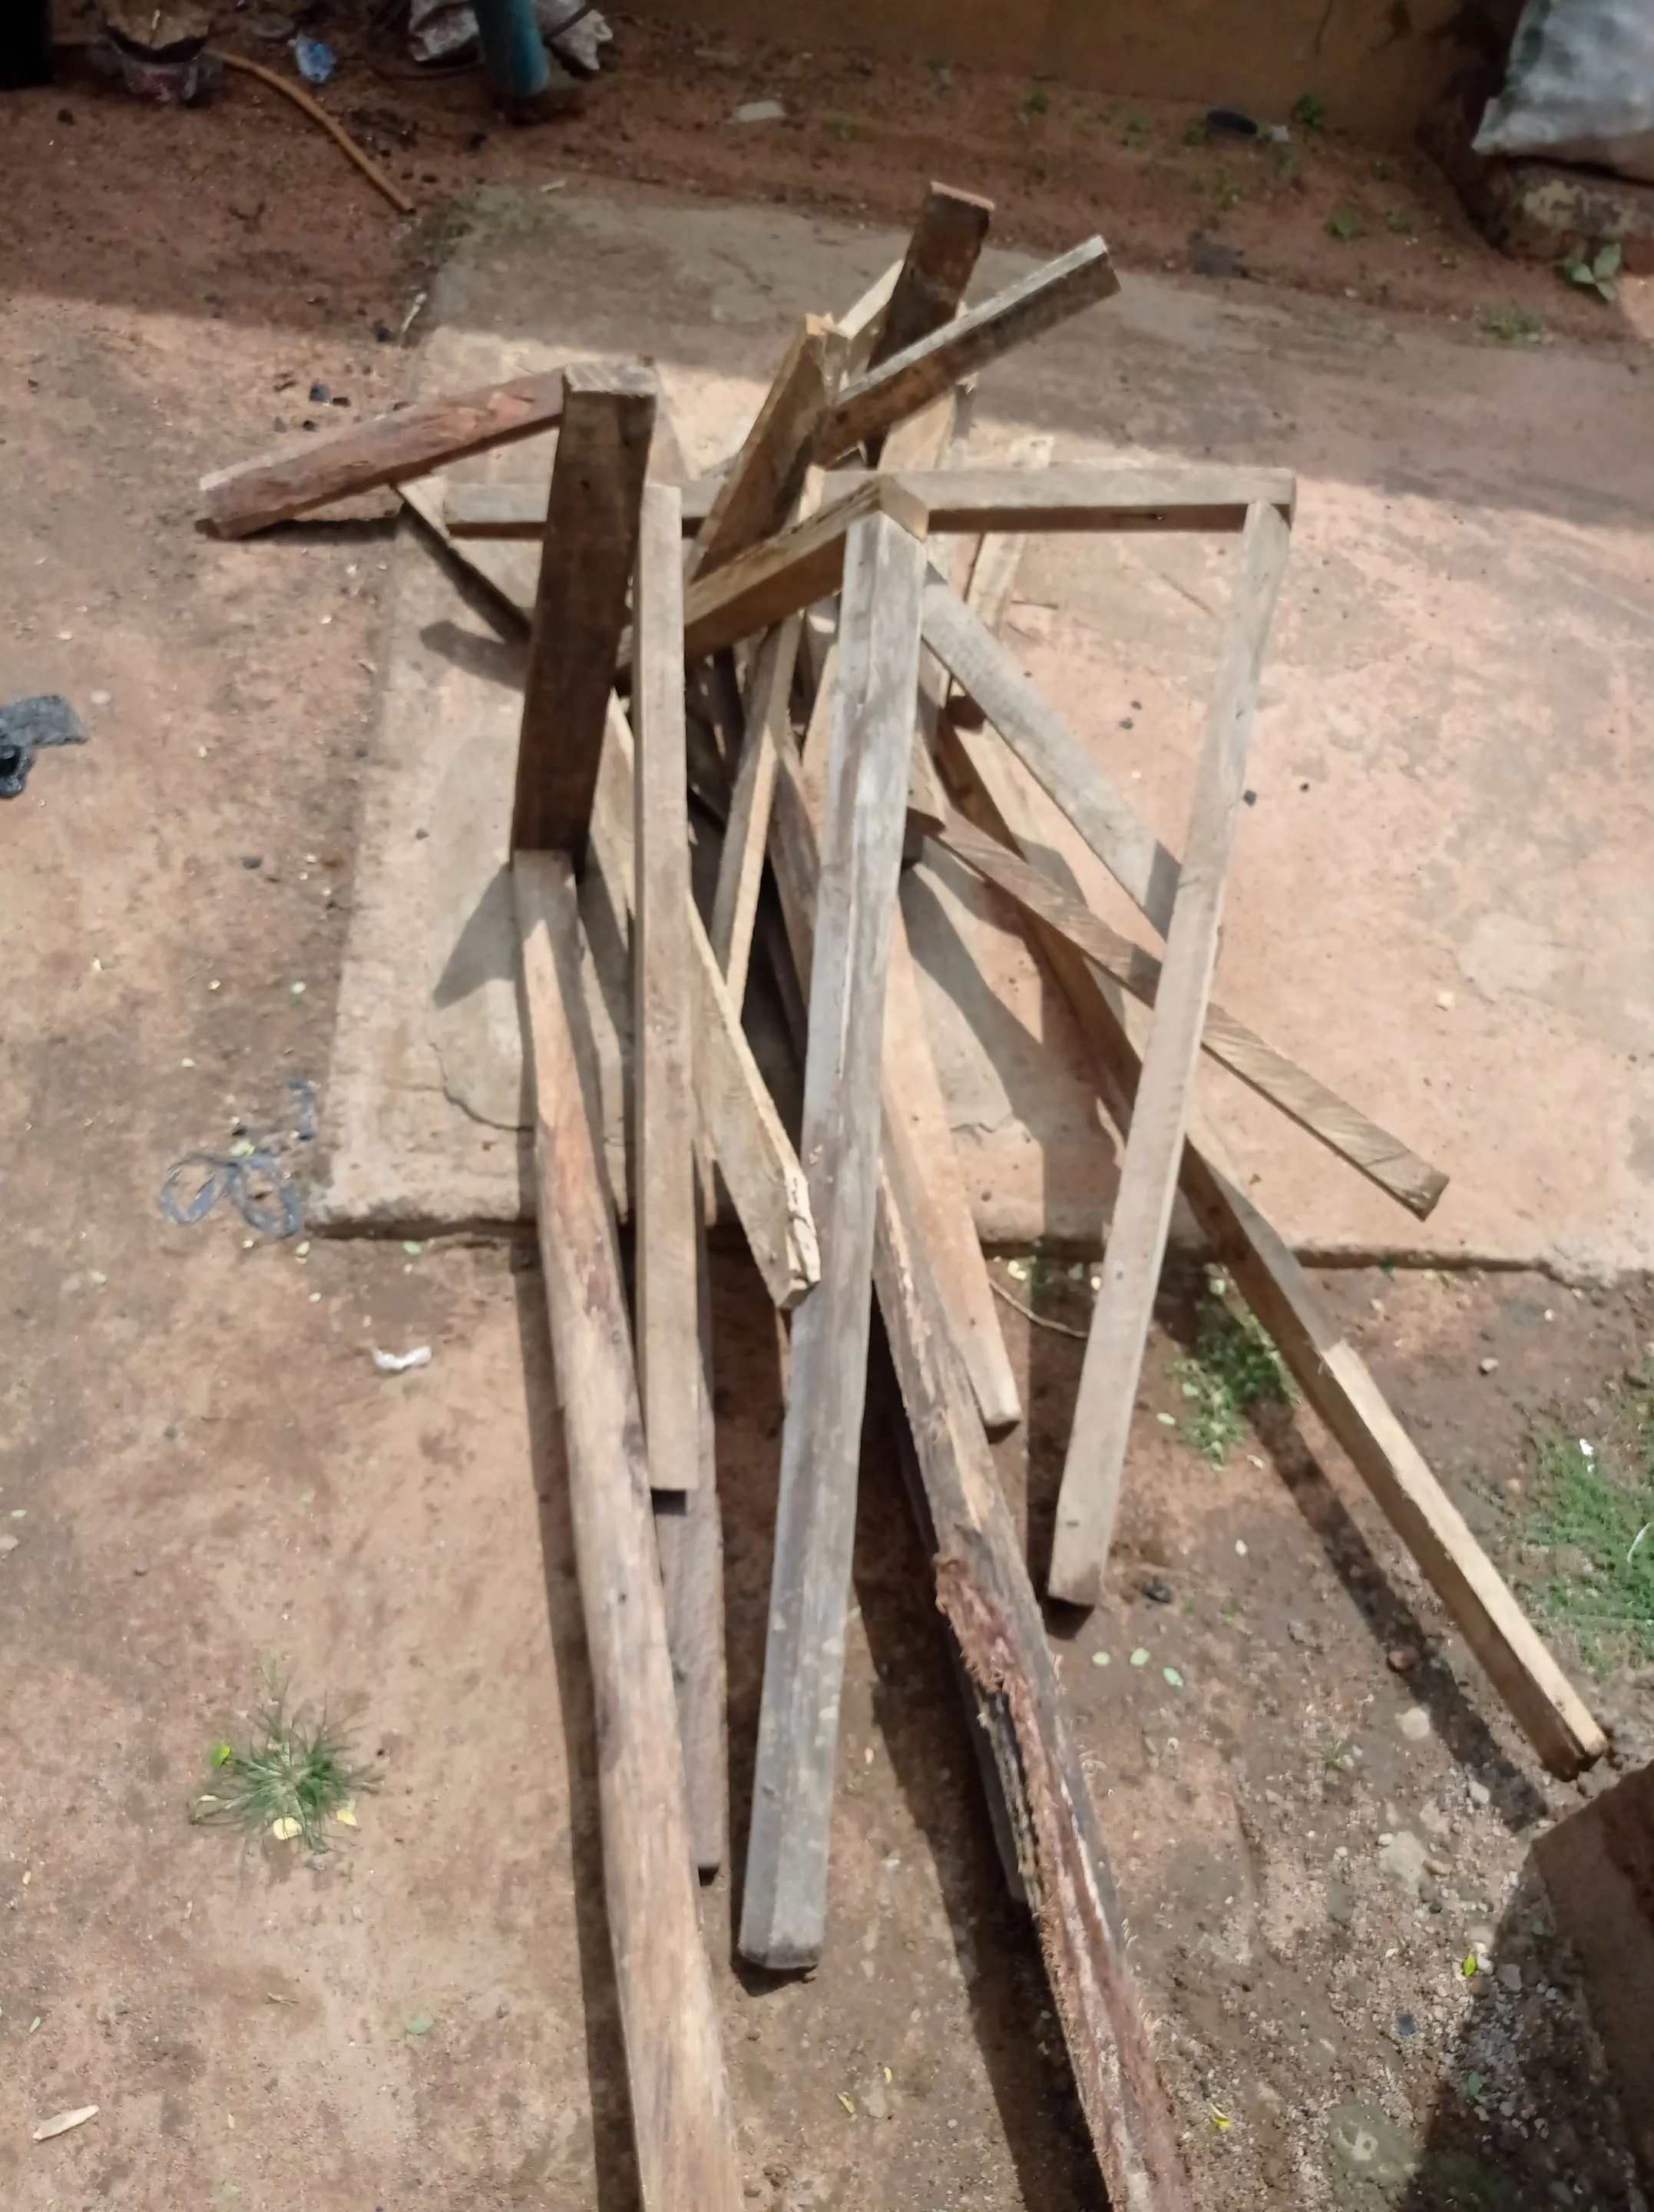
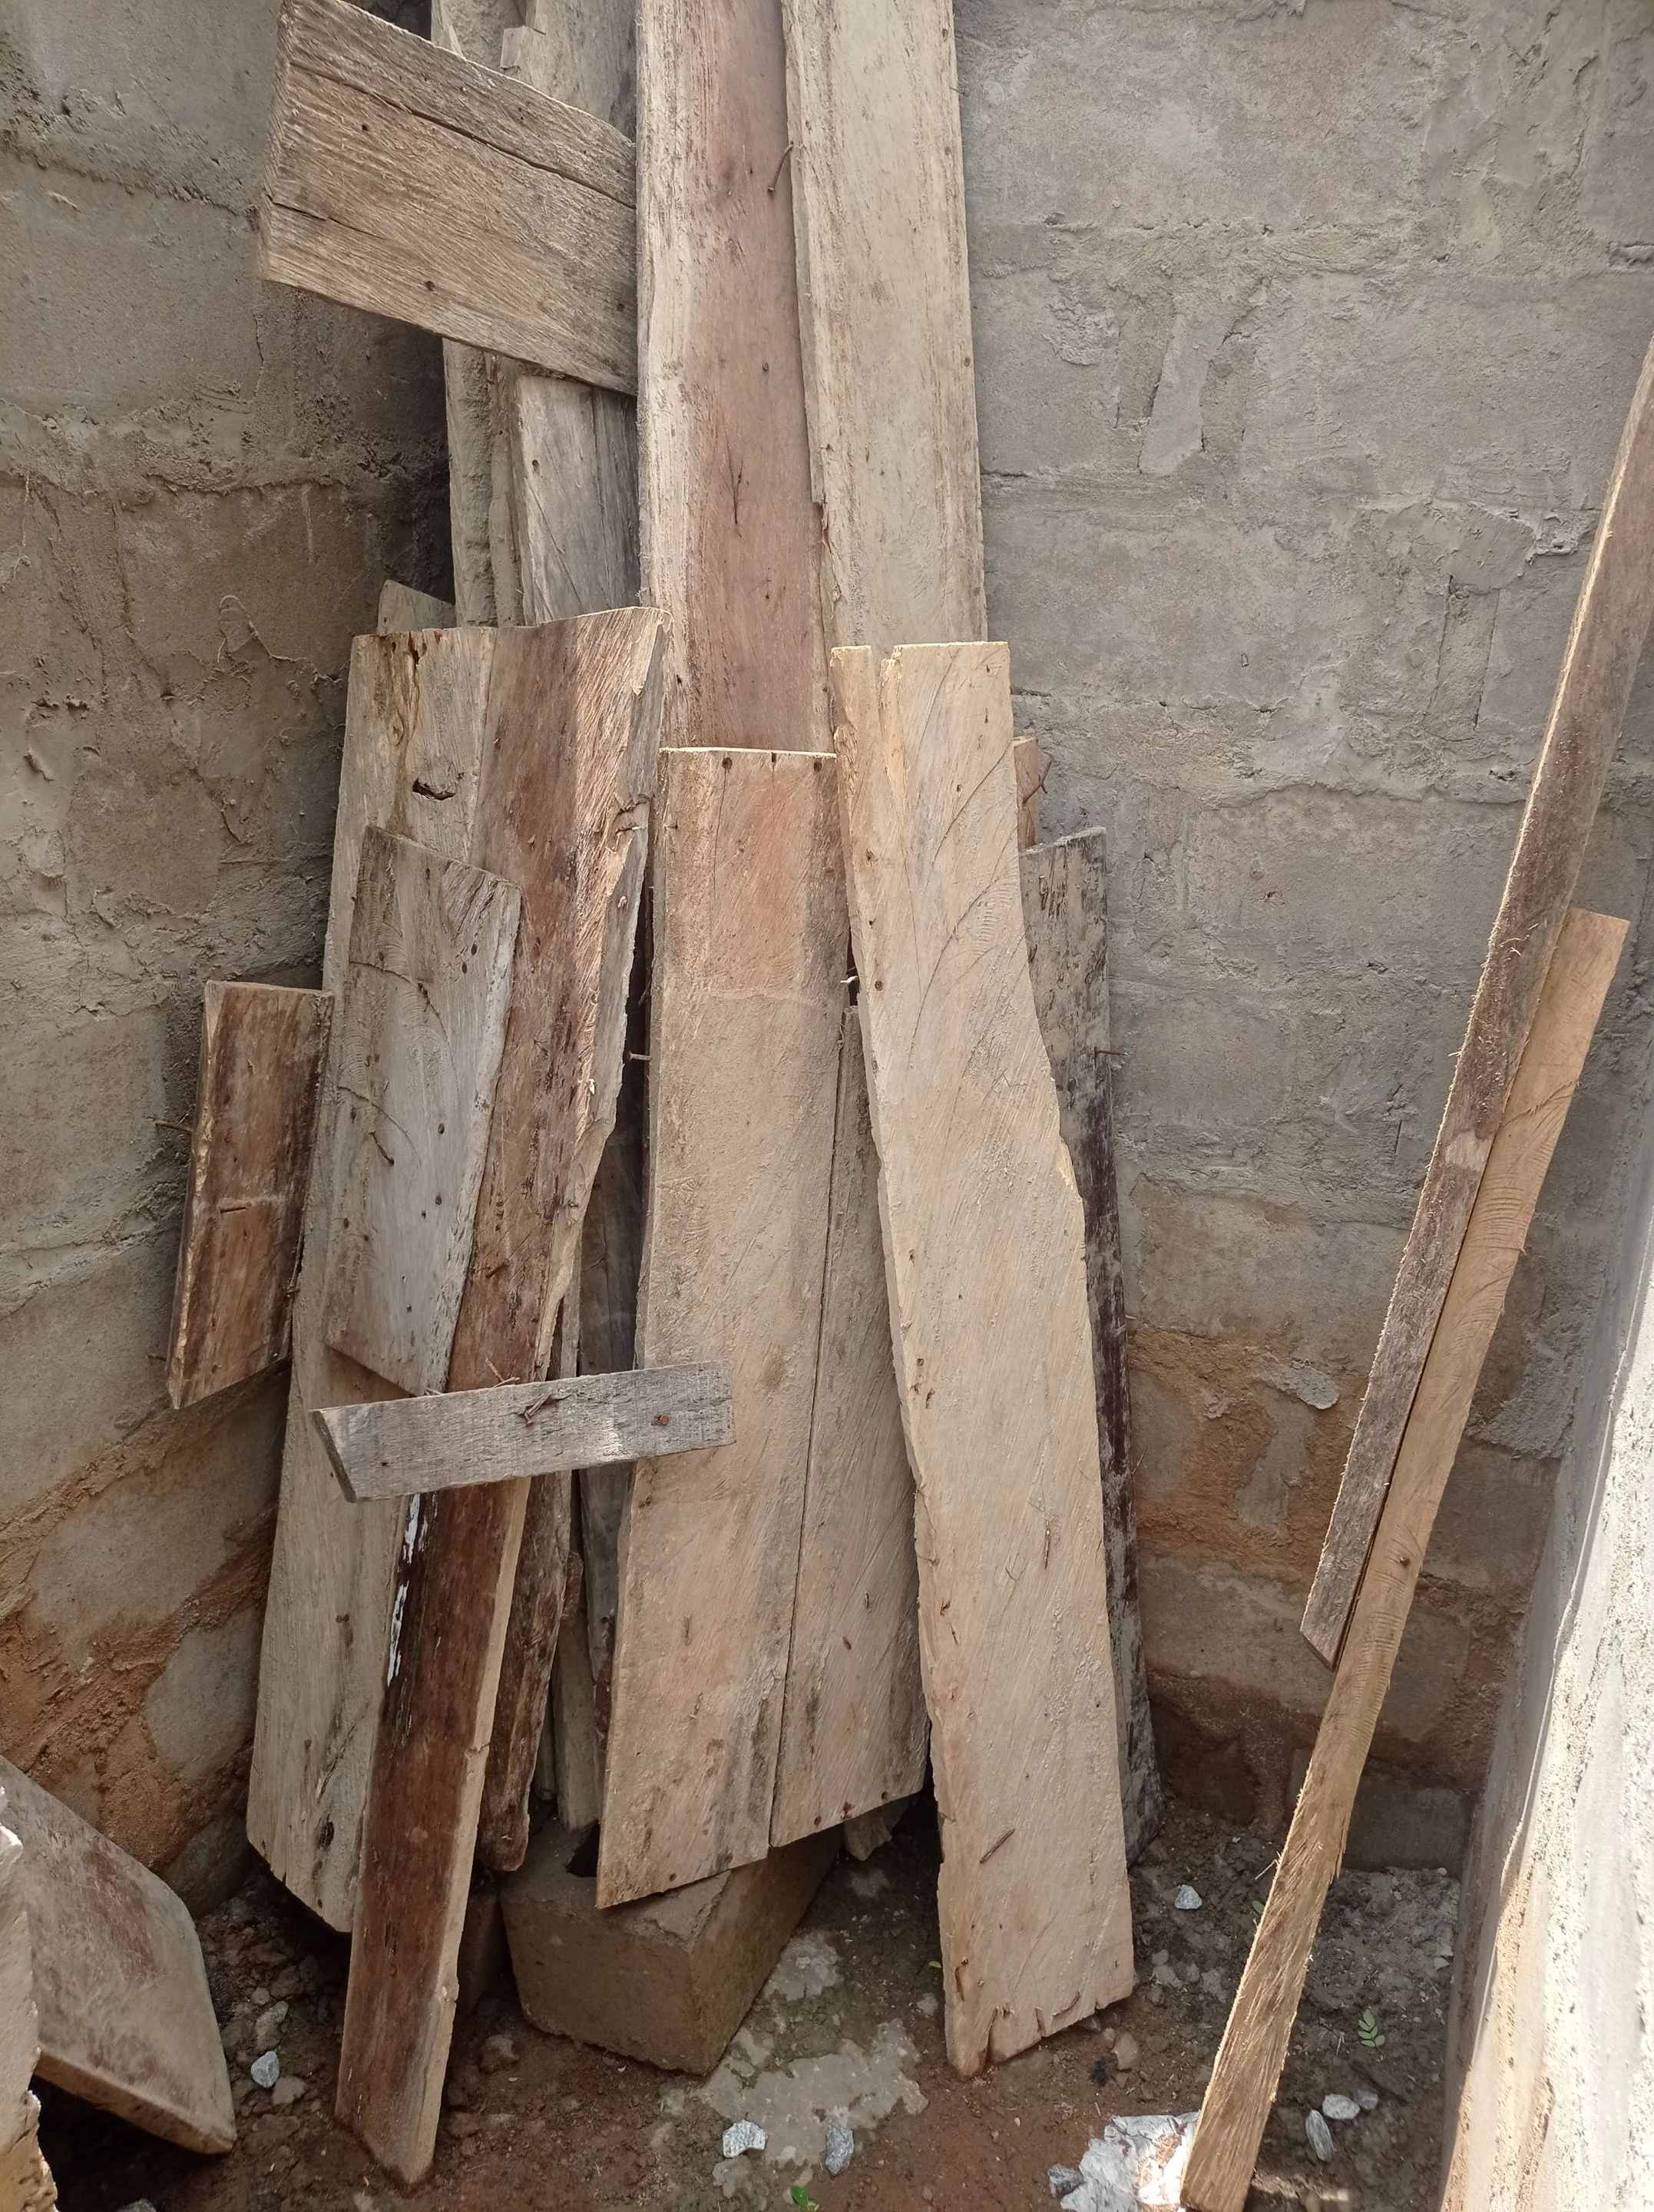
- After getting the wood, I called and assisted assister my male cousin who is a carpenter to help me built and nail the planks.
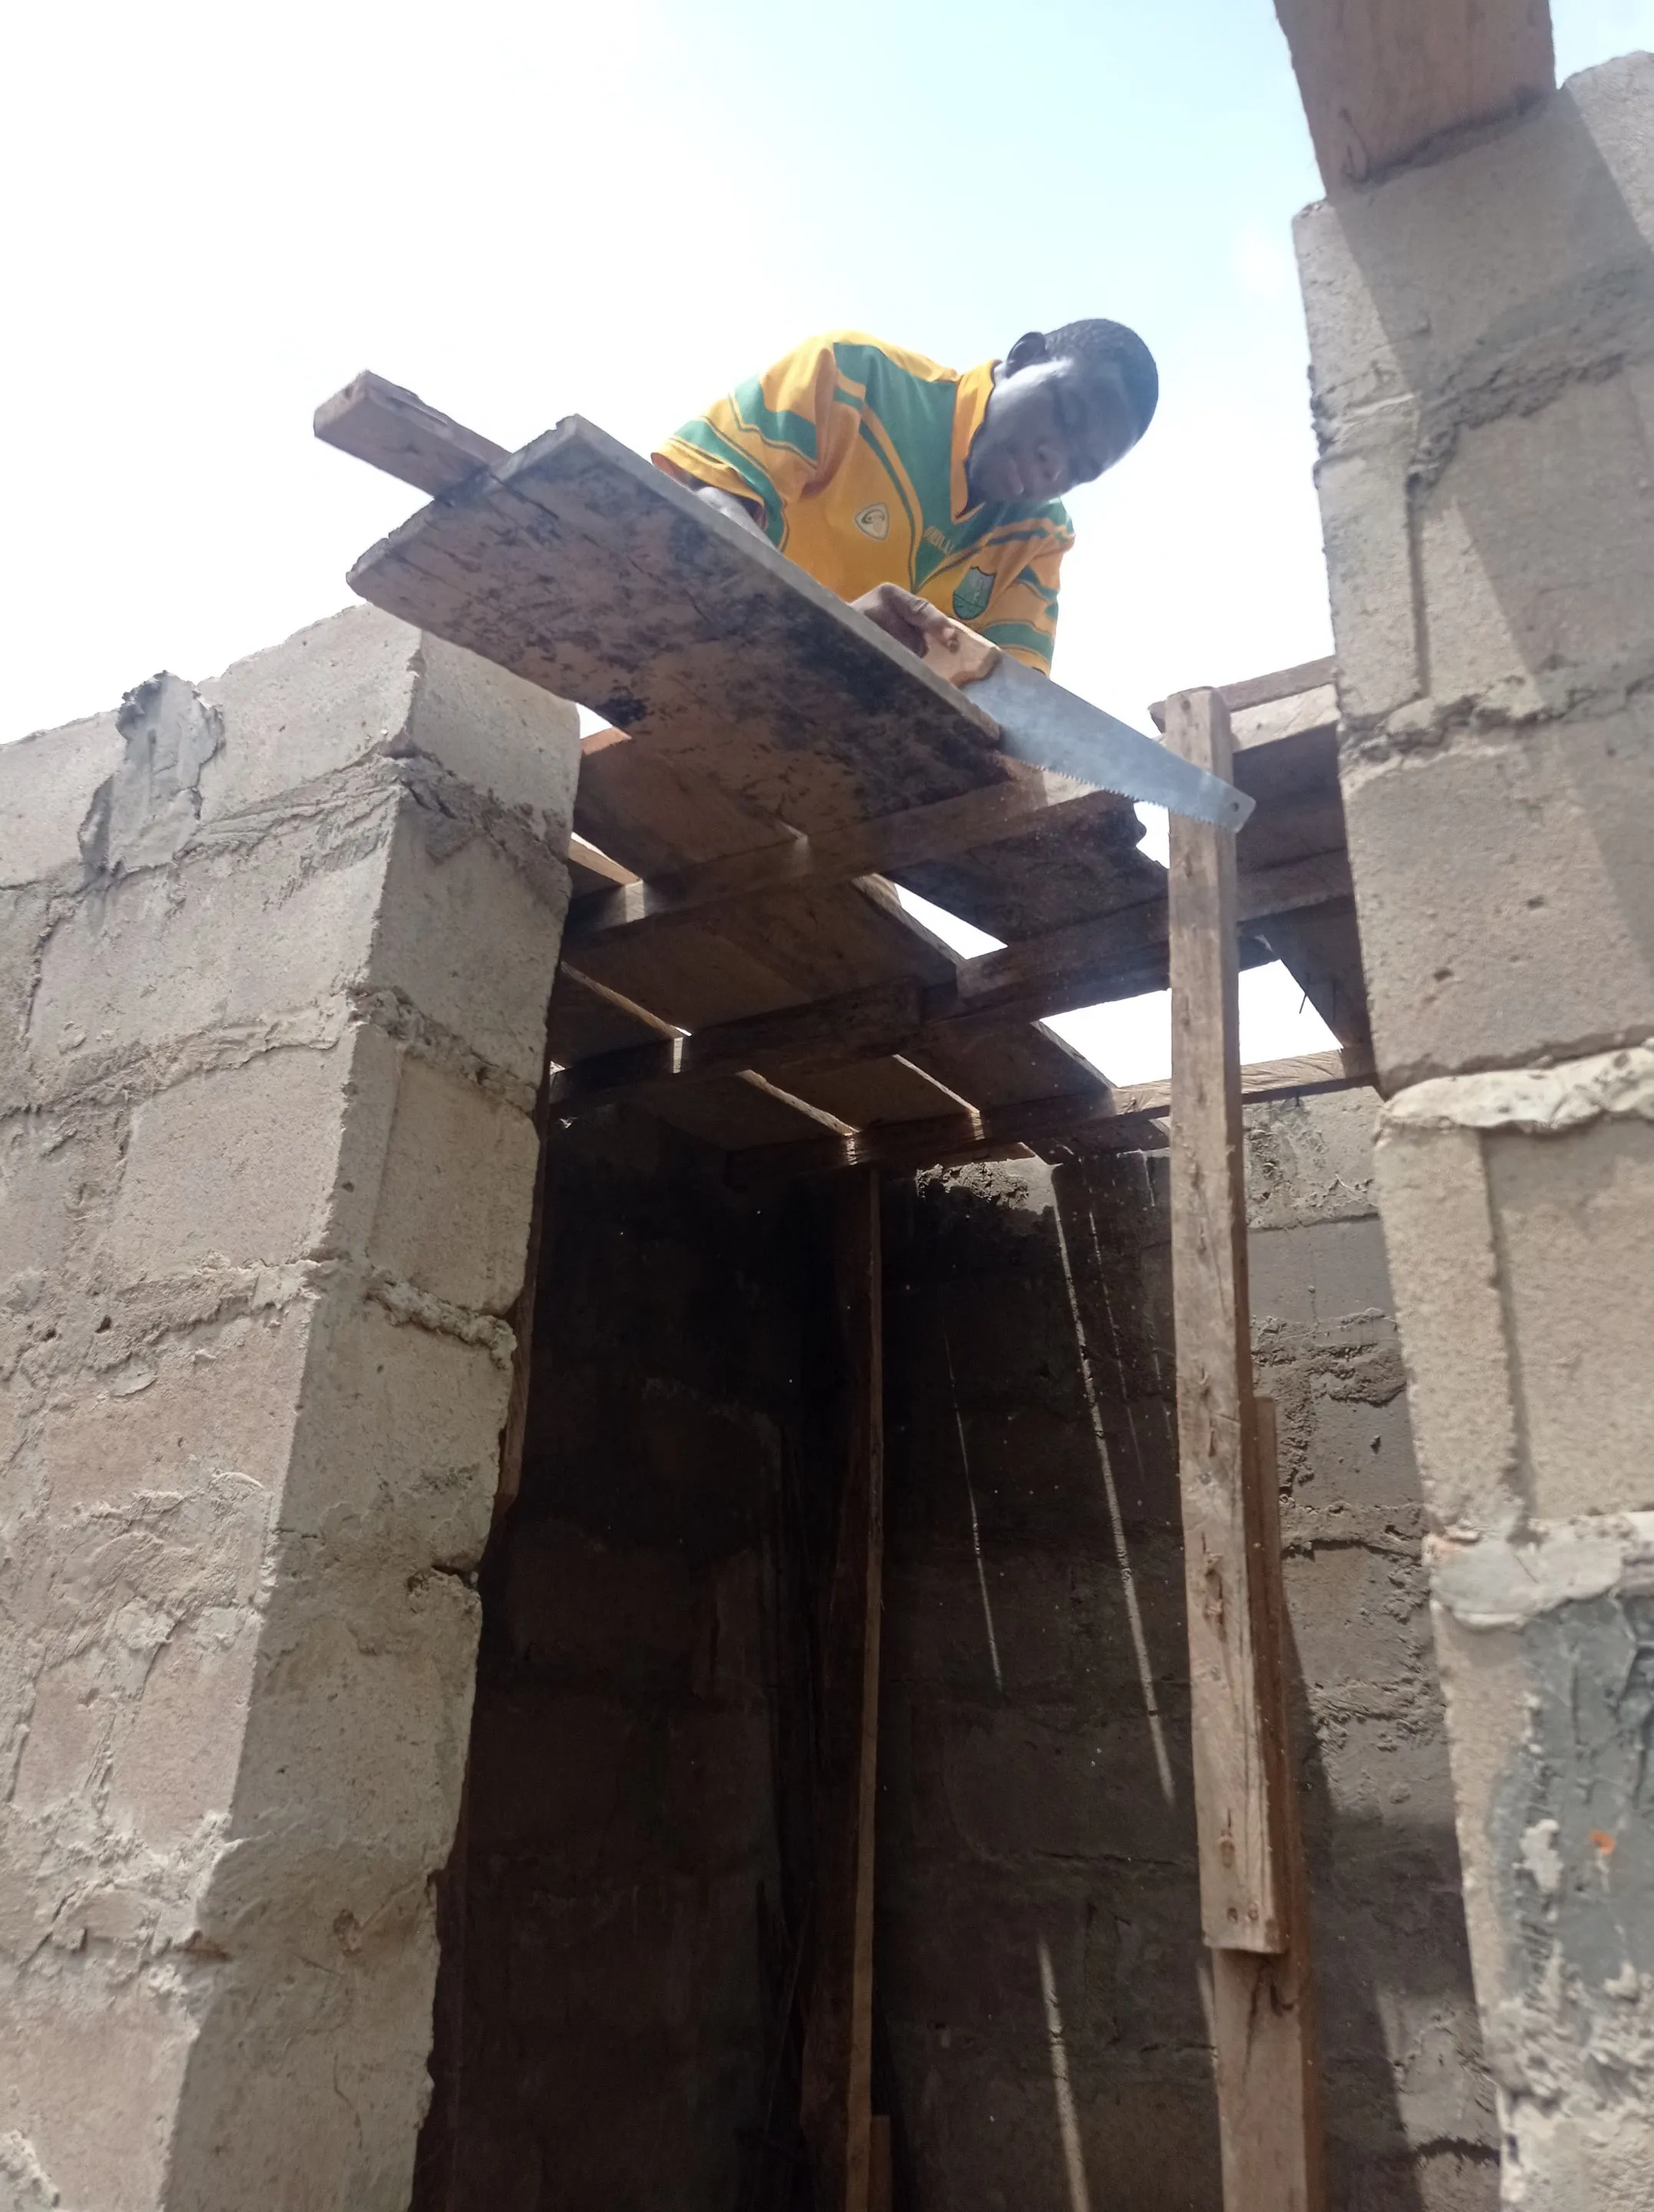
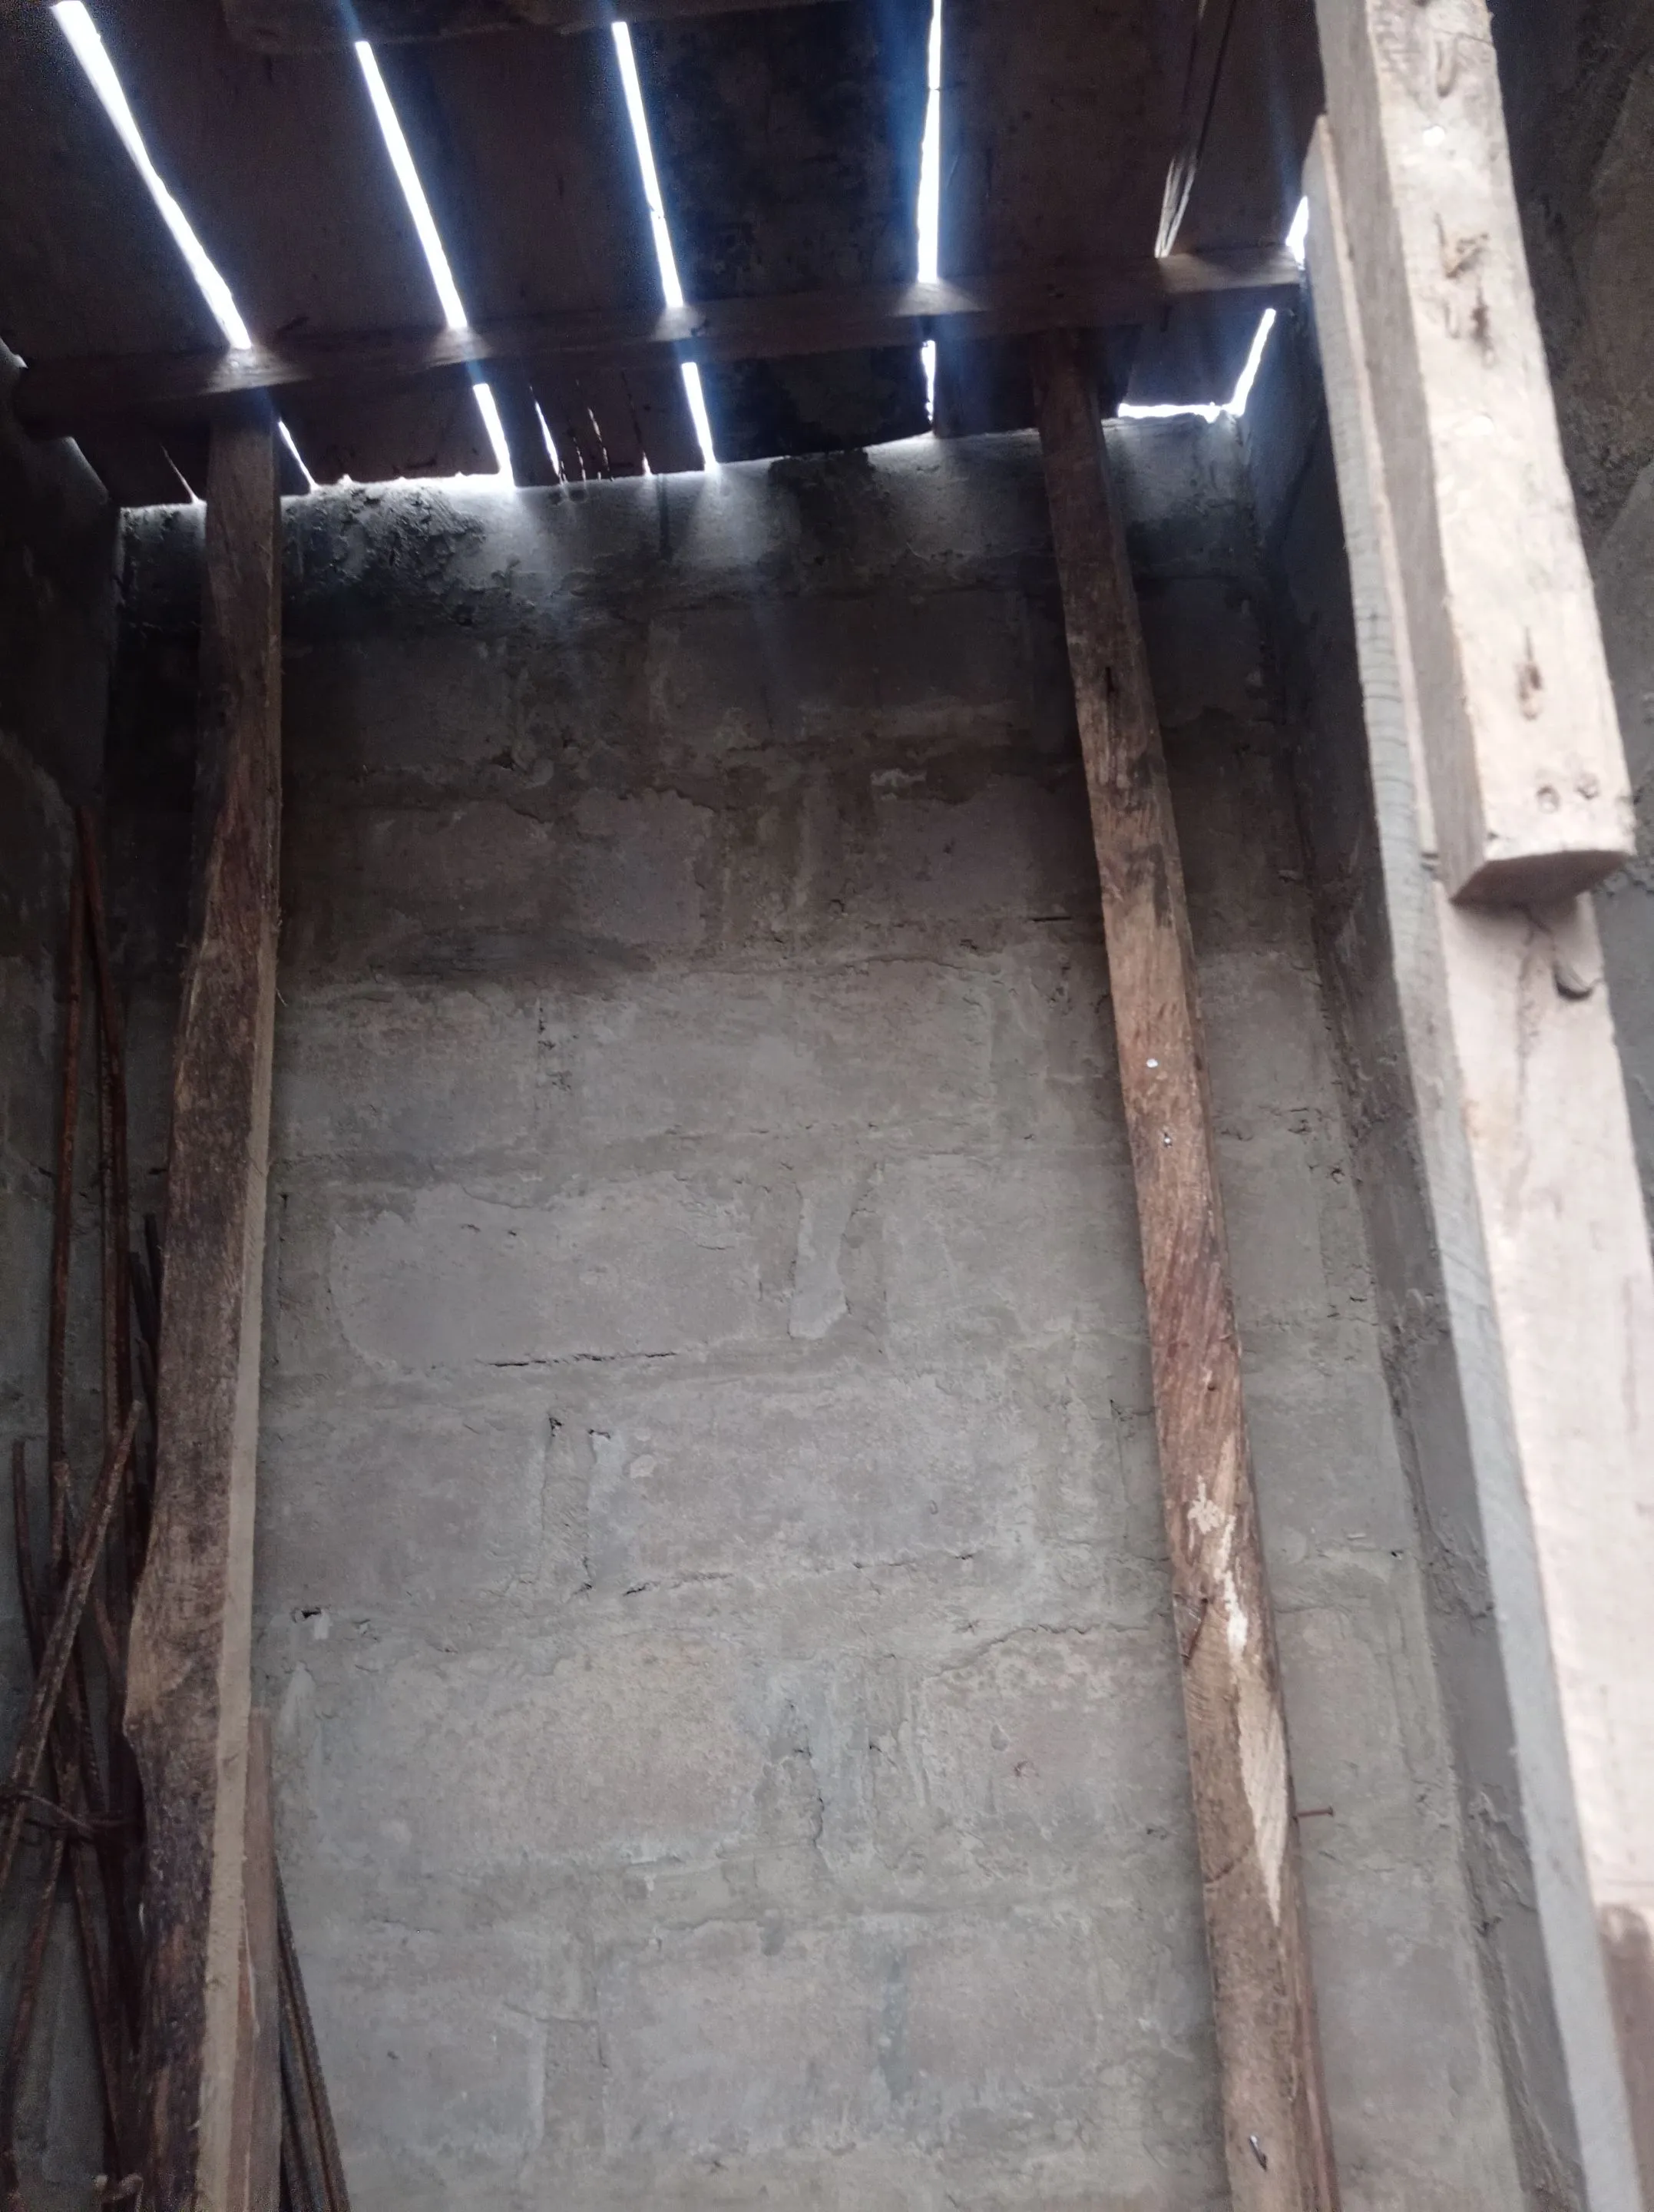
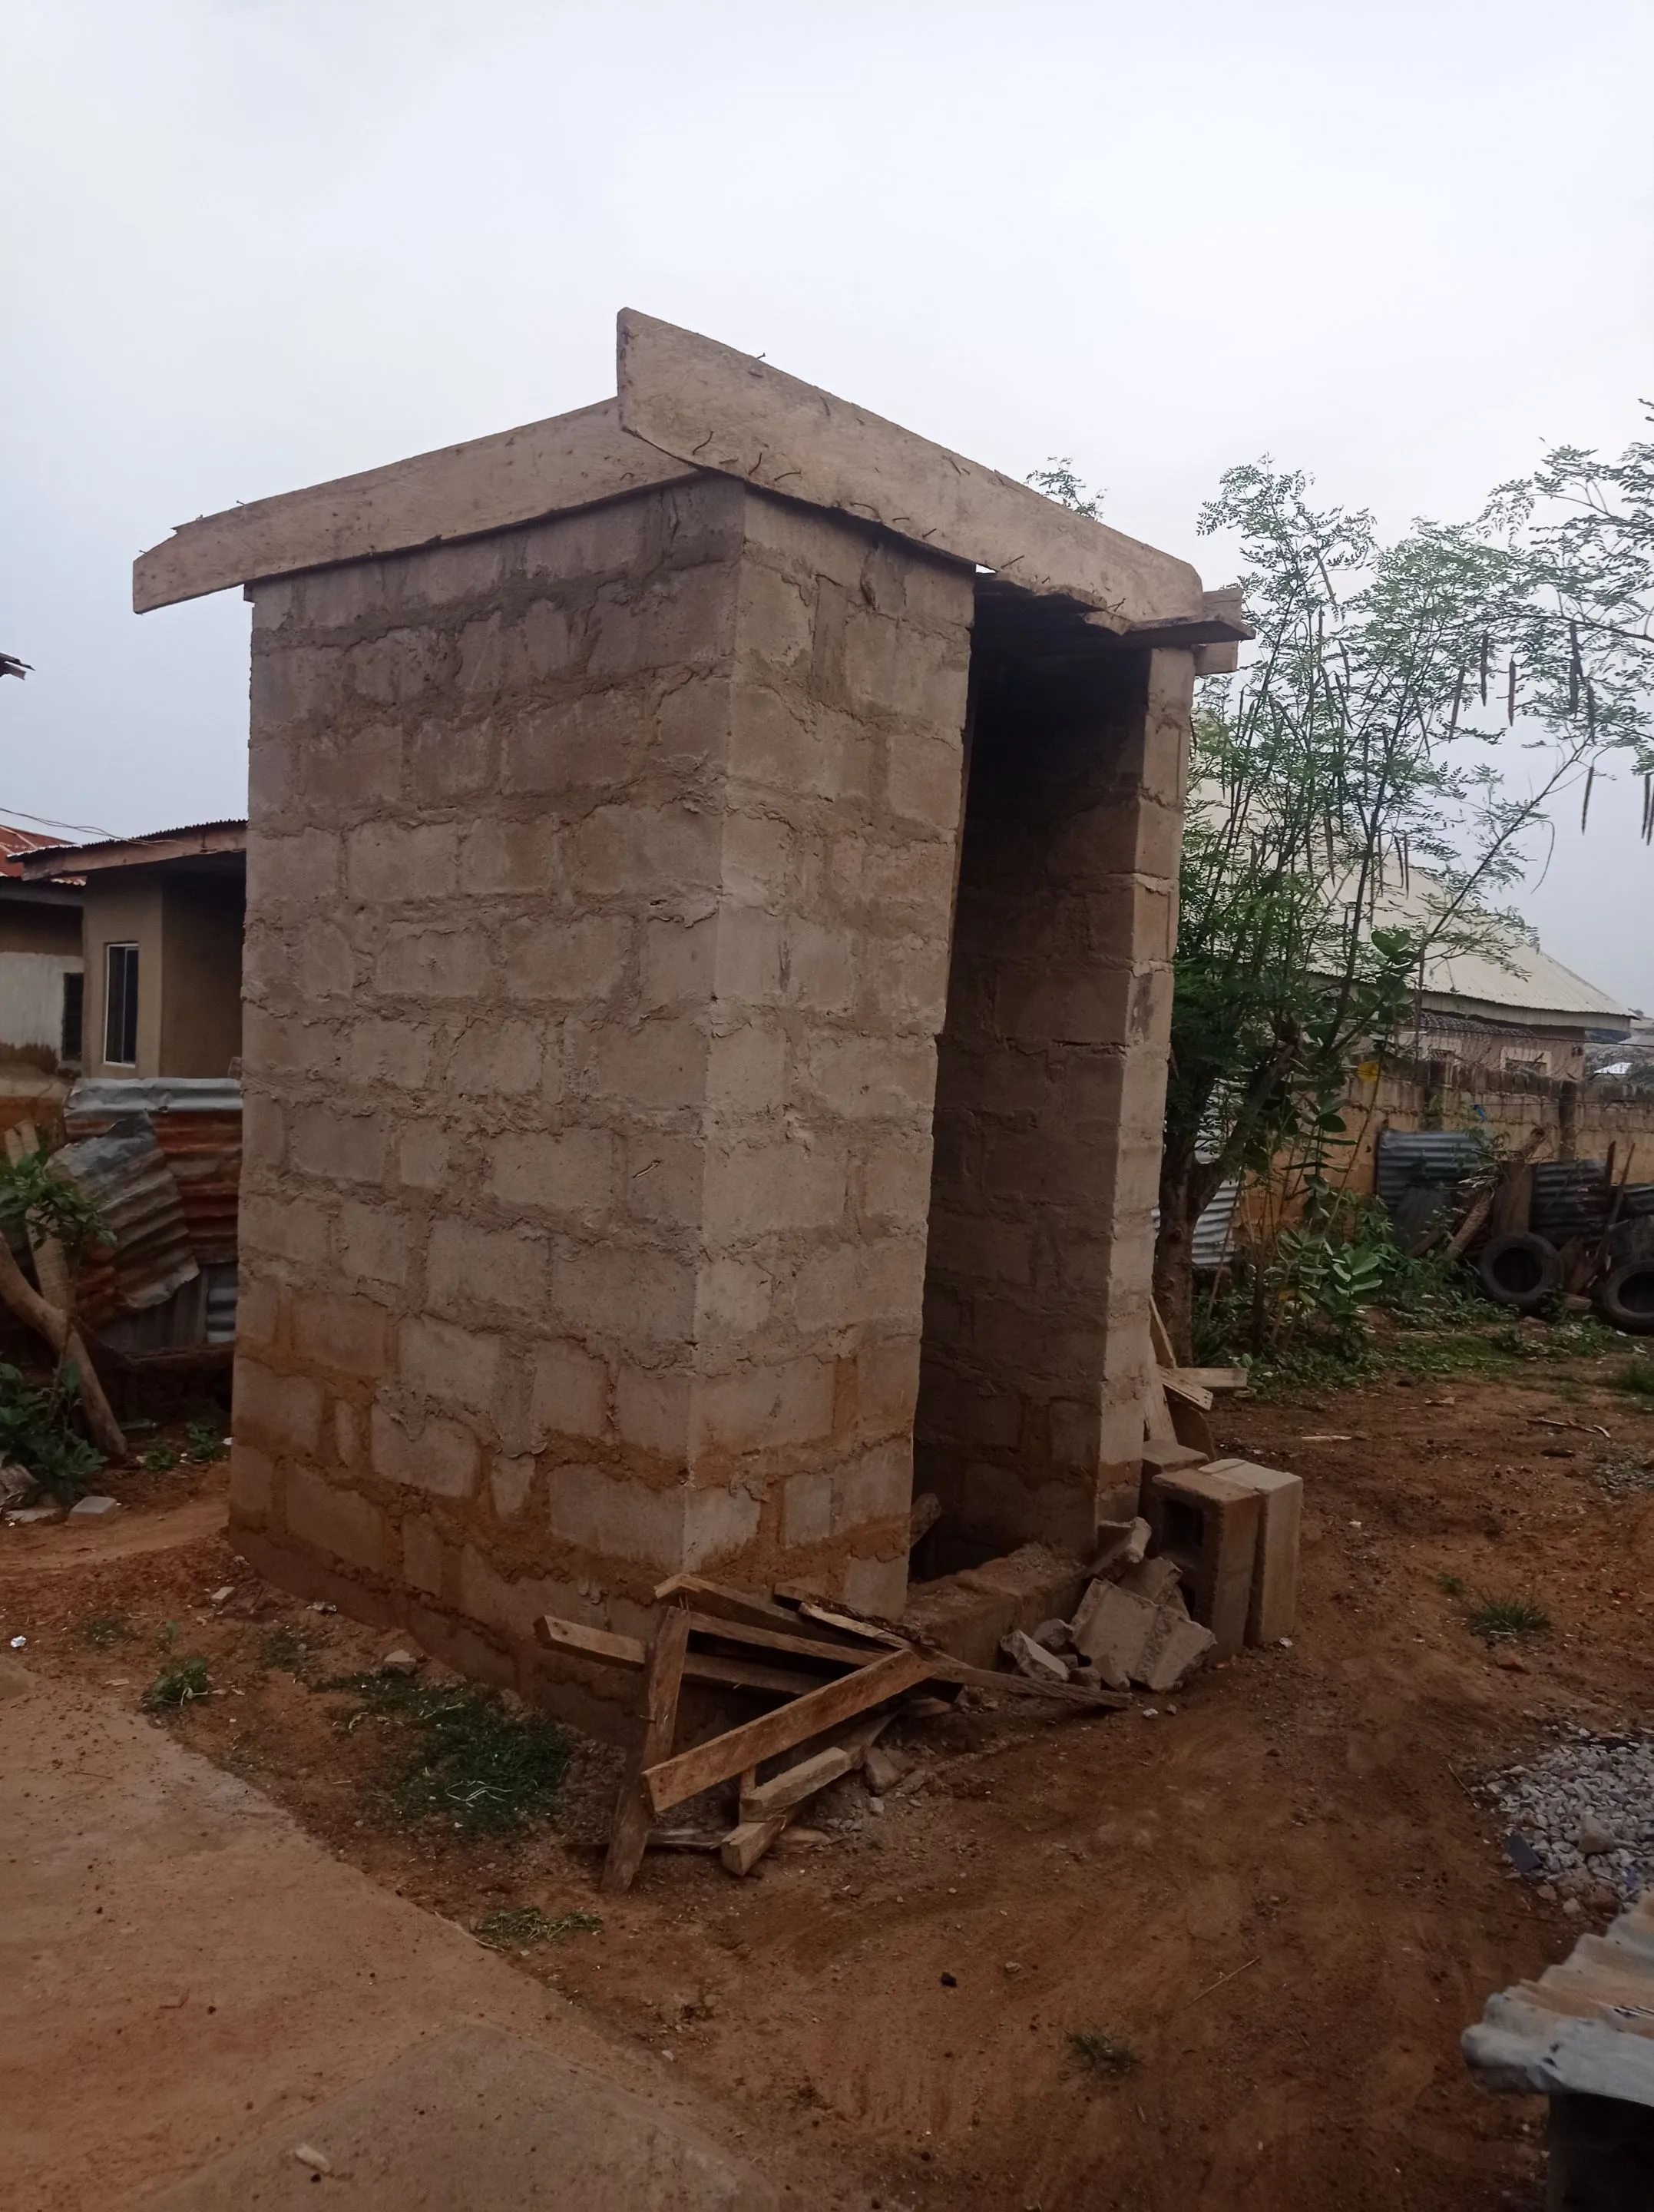
- When he got done with the arrangement and build up the planks meant for the decking, we arrange some iron rod Strategically on the built plank, then start mixing the cement, sands and granite together with water, after which we start filling the upper parts of the water stand with it.
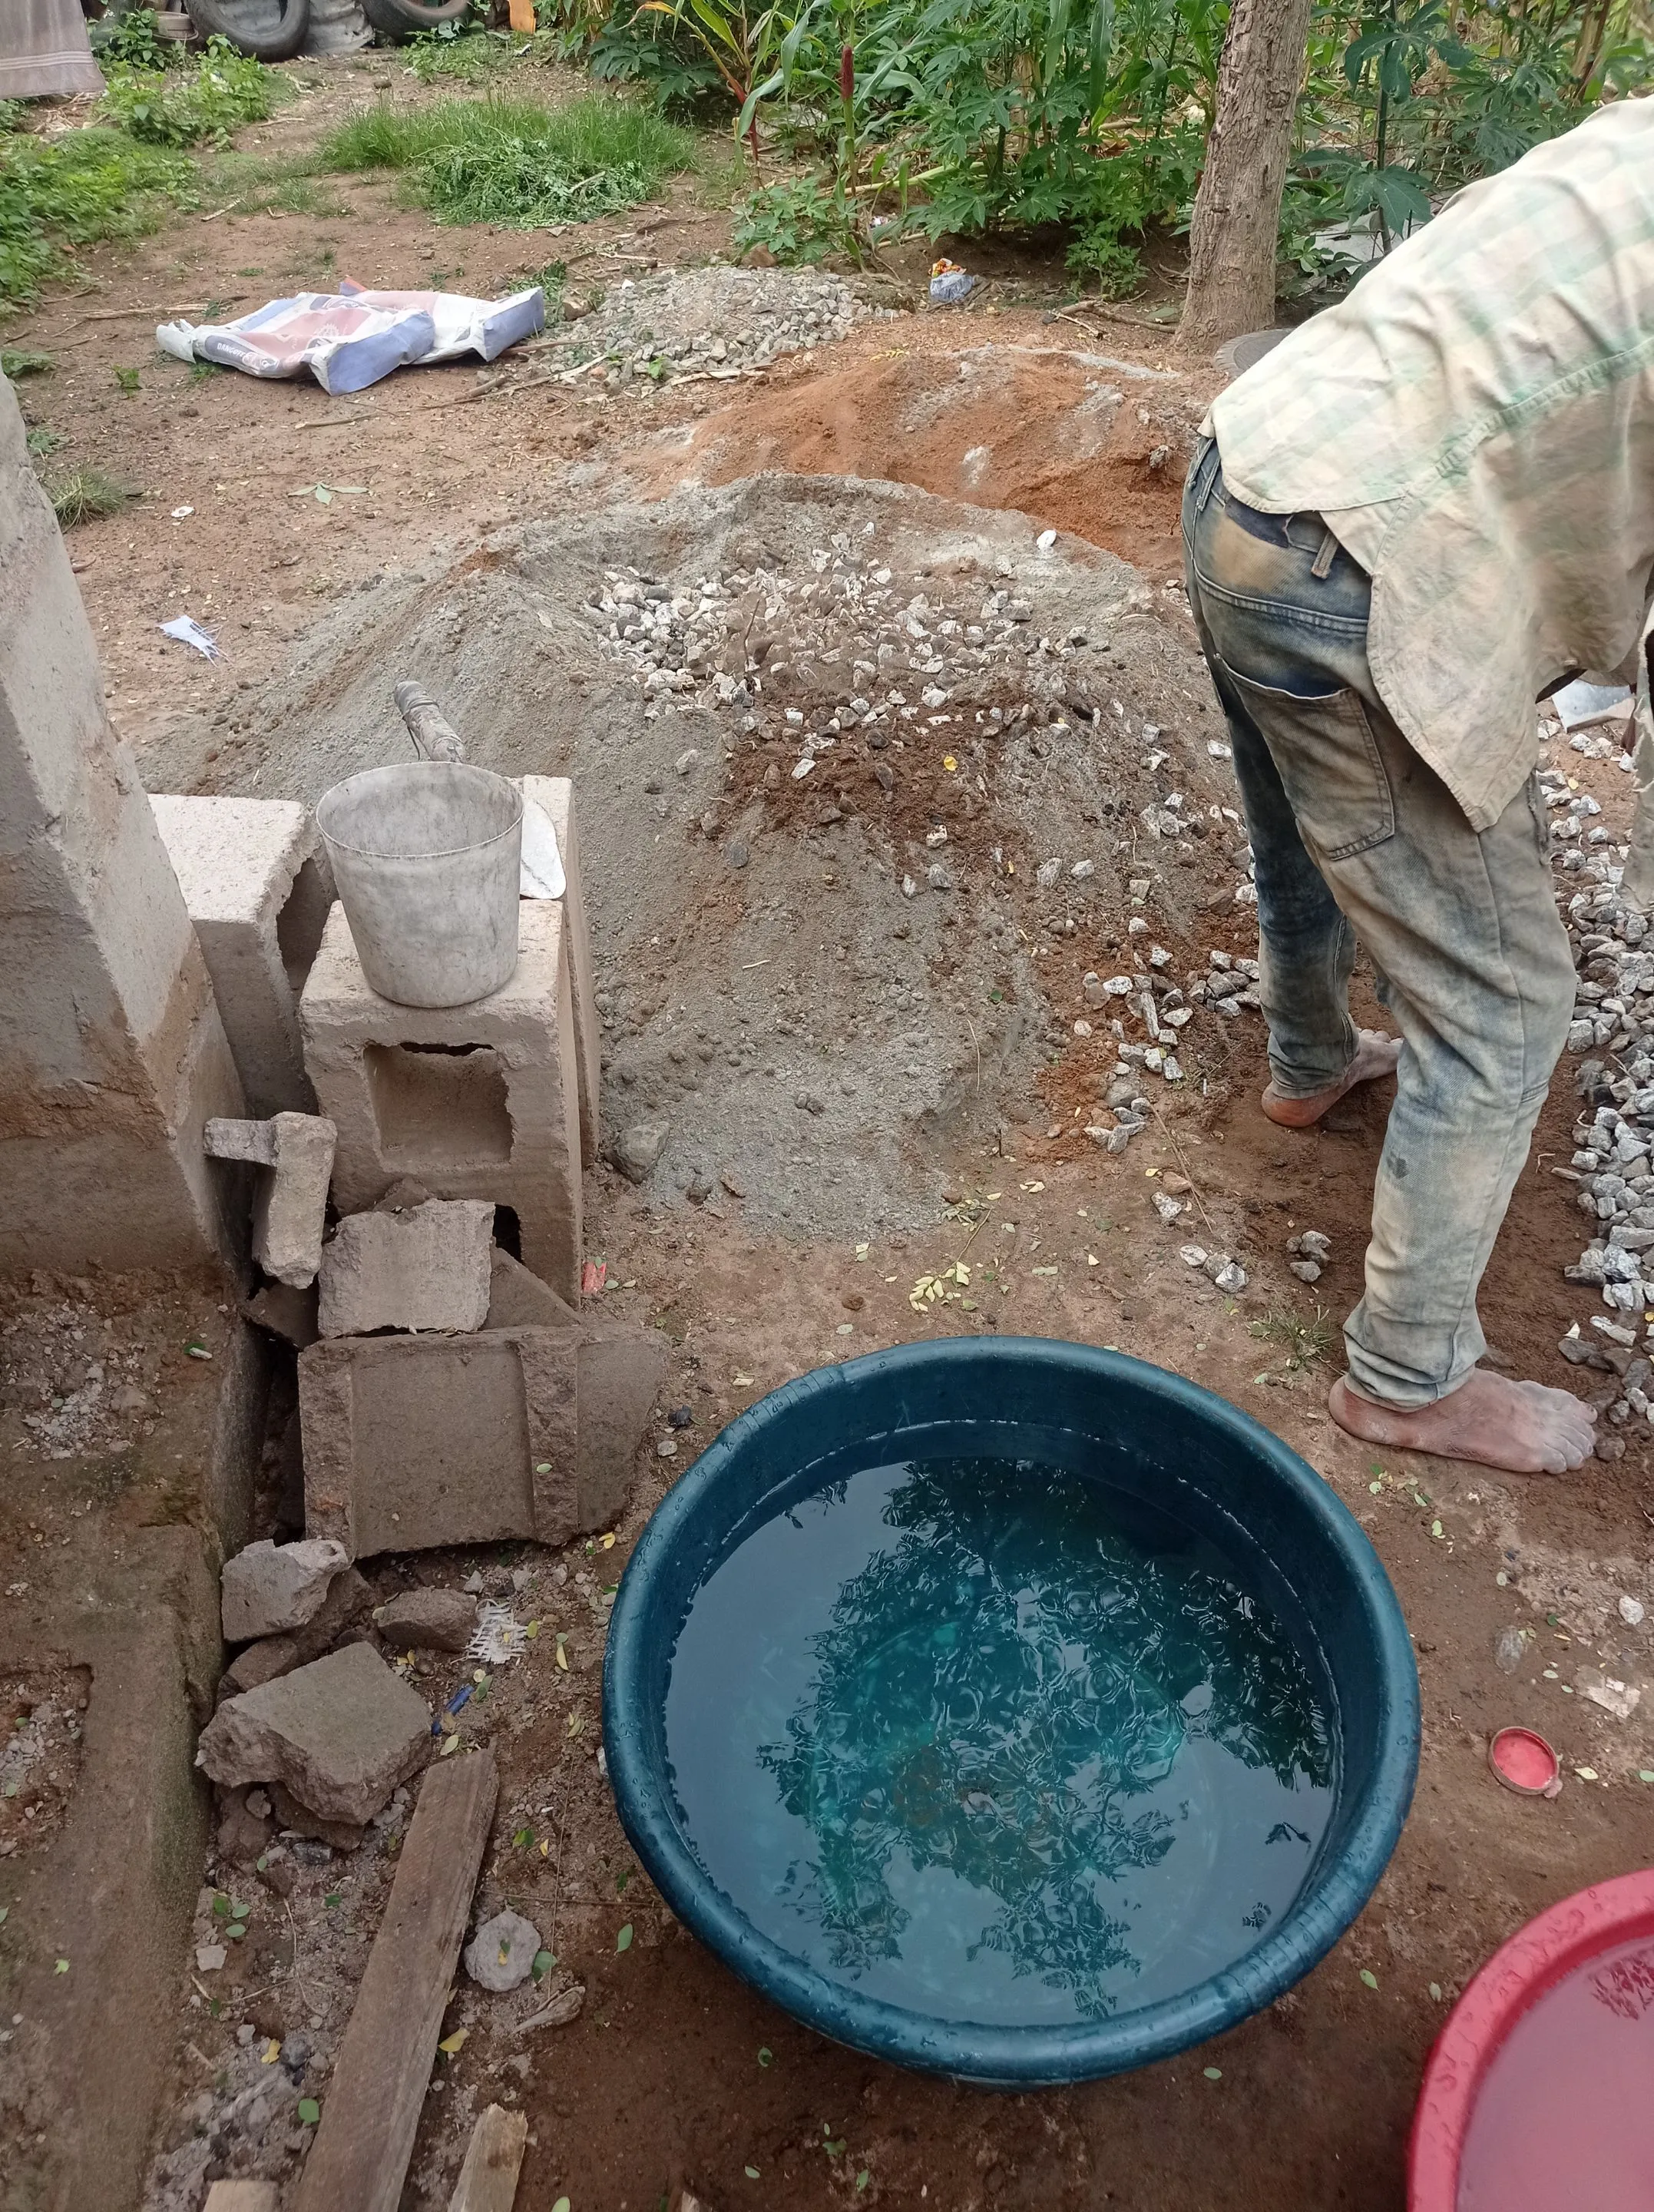
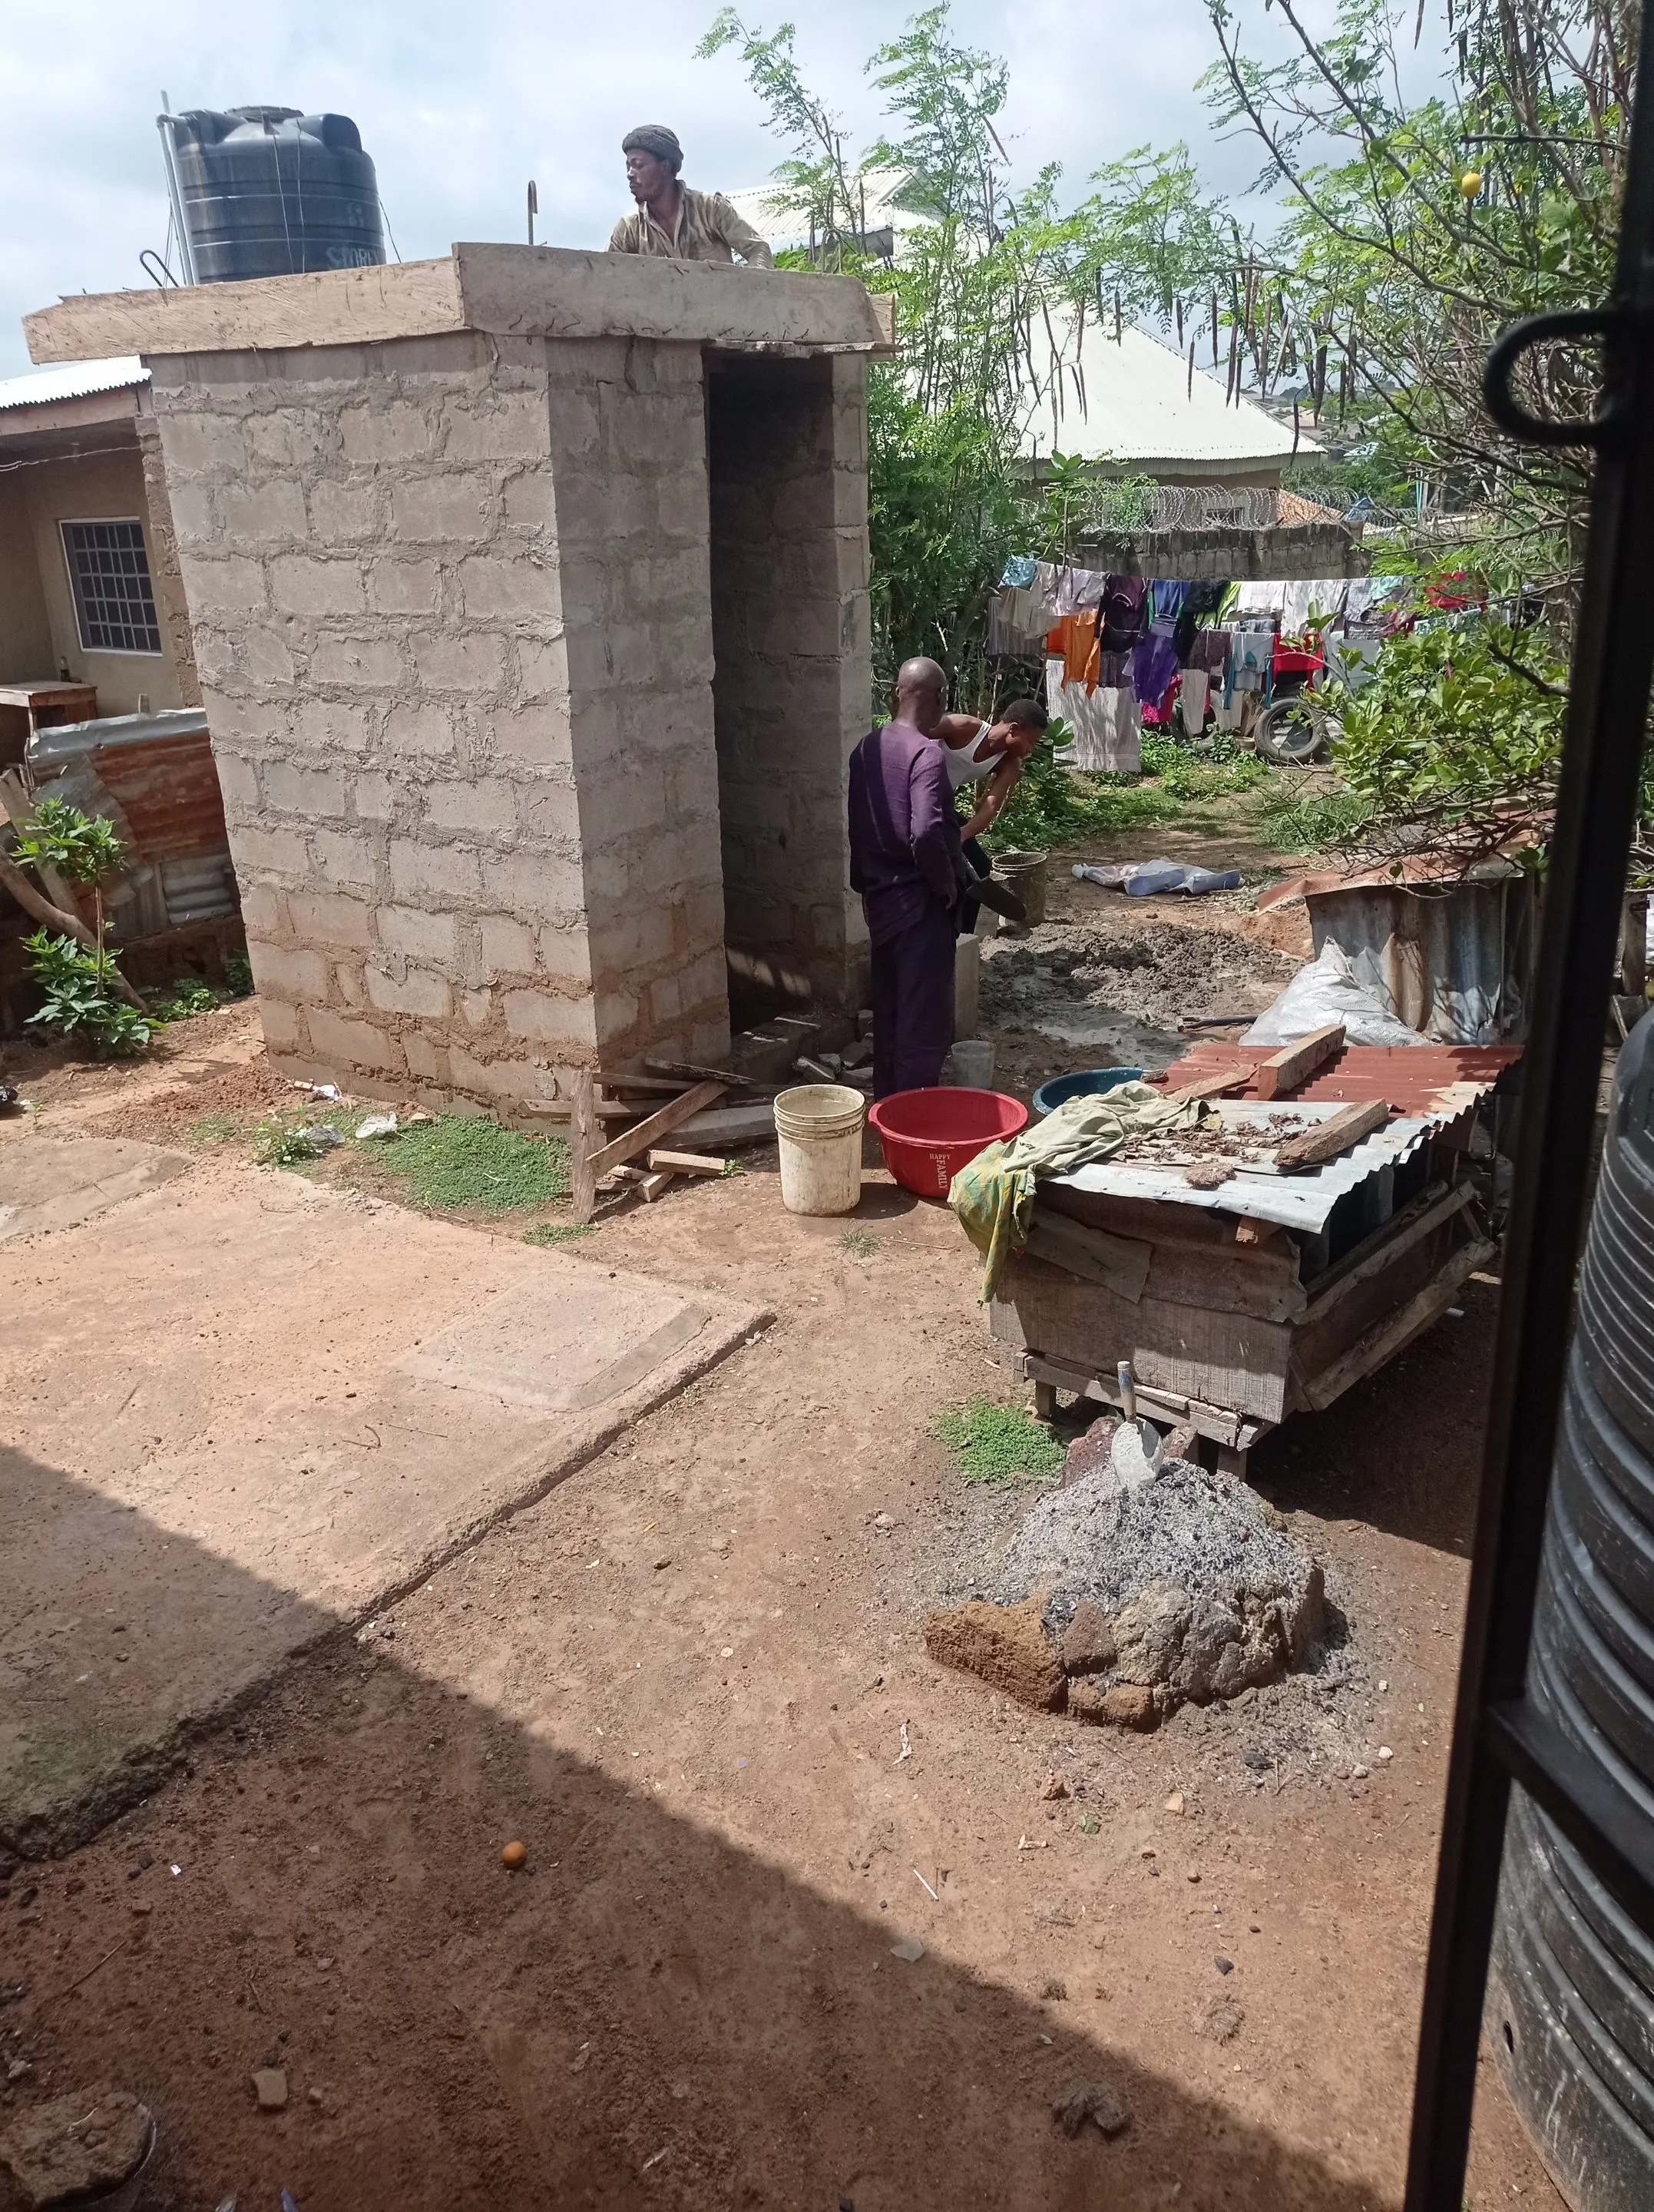
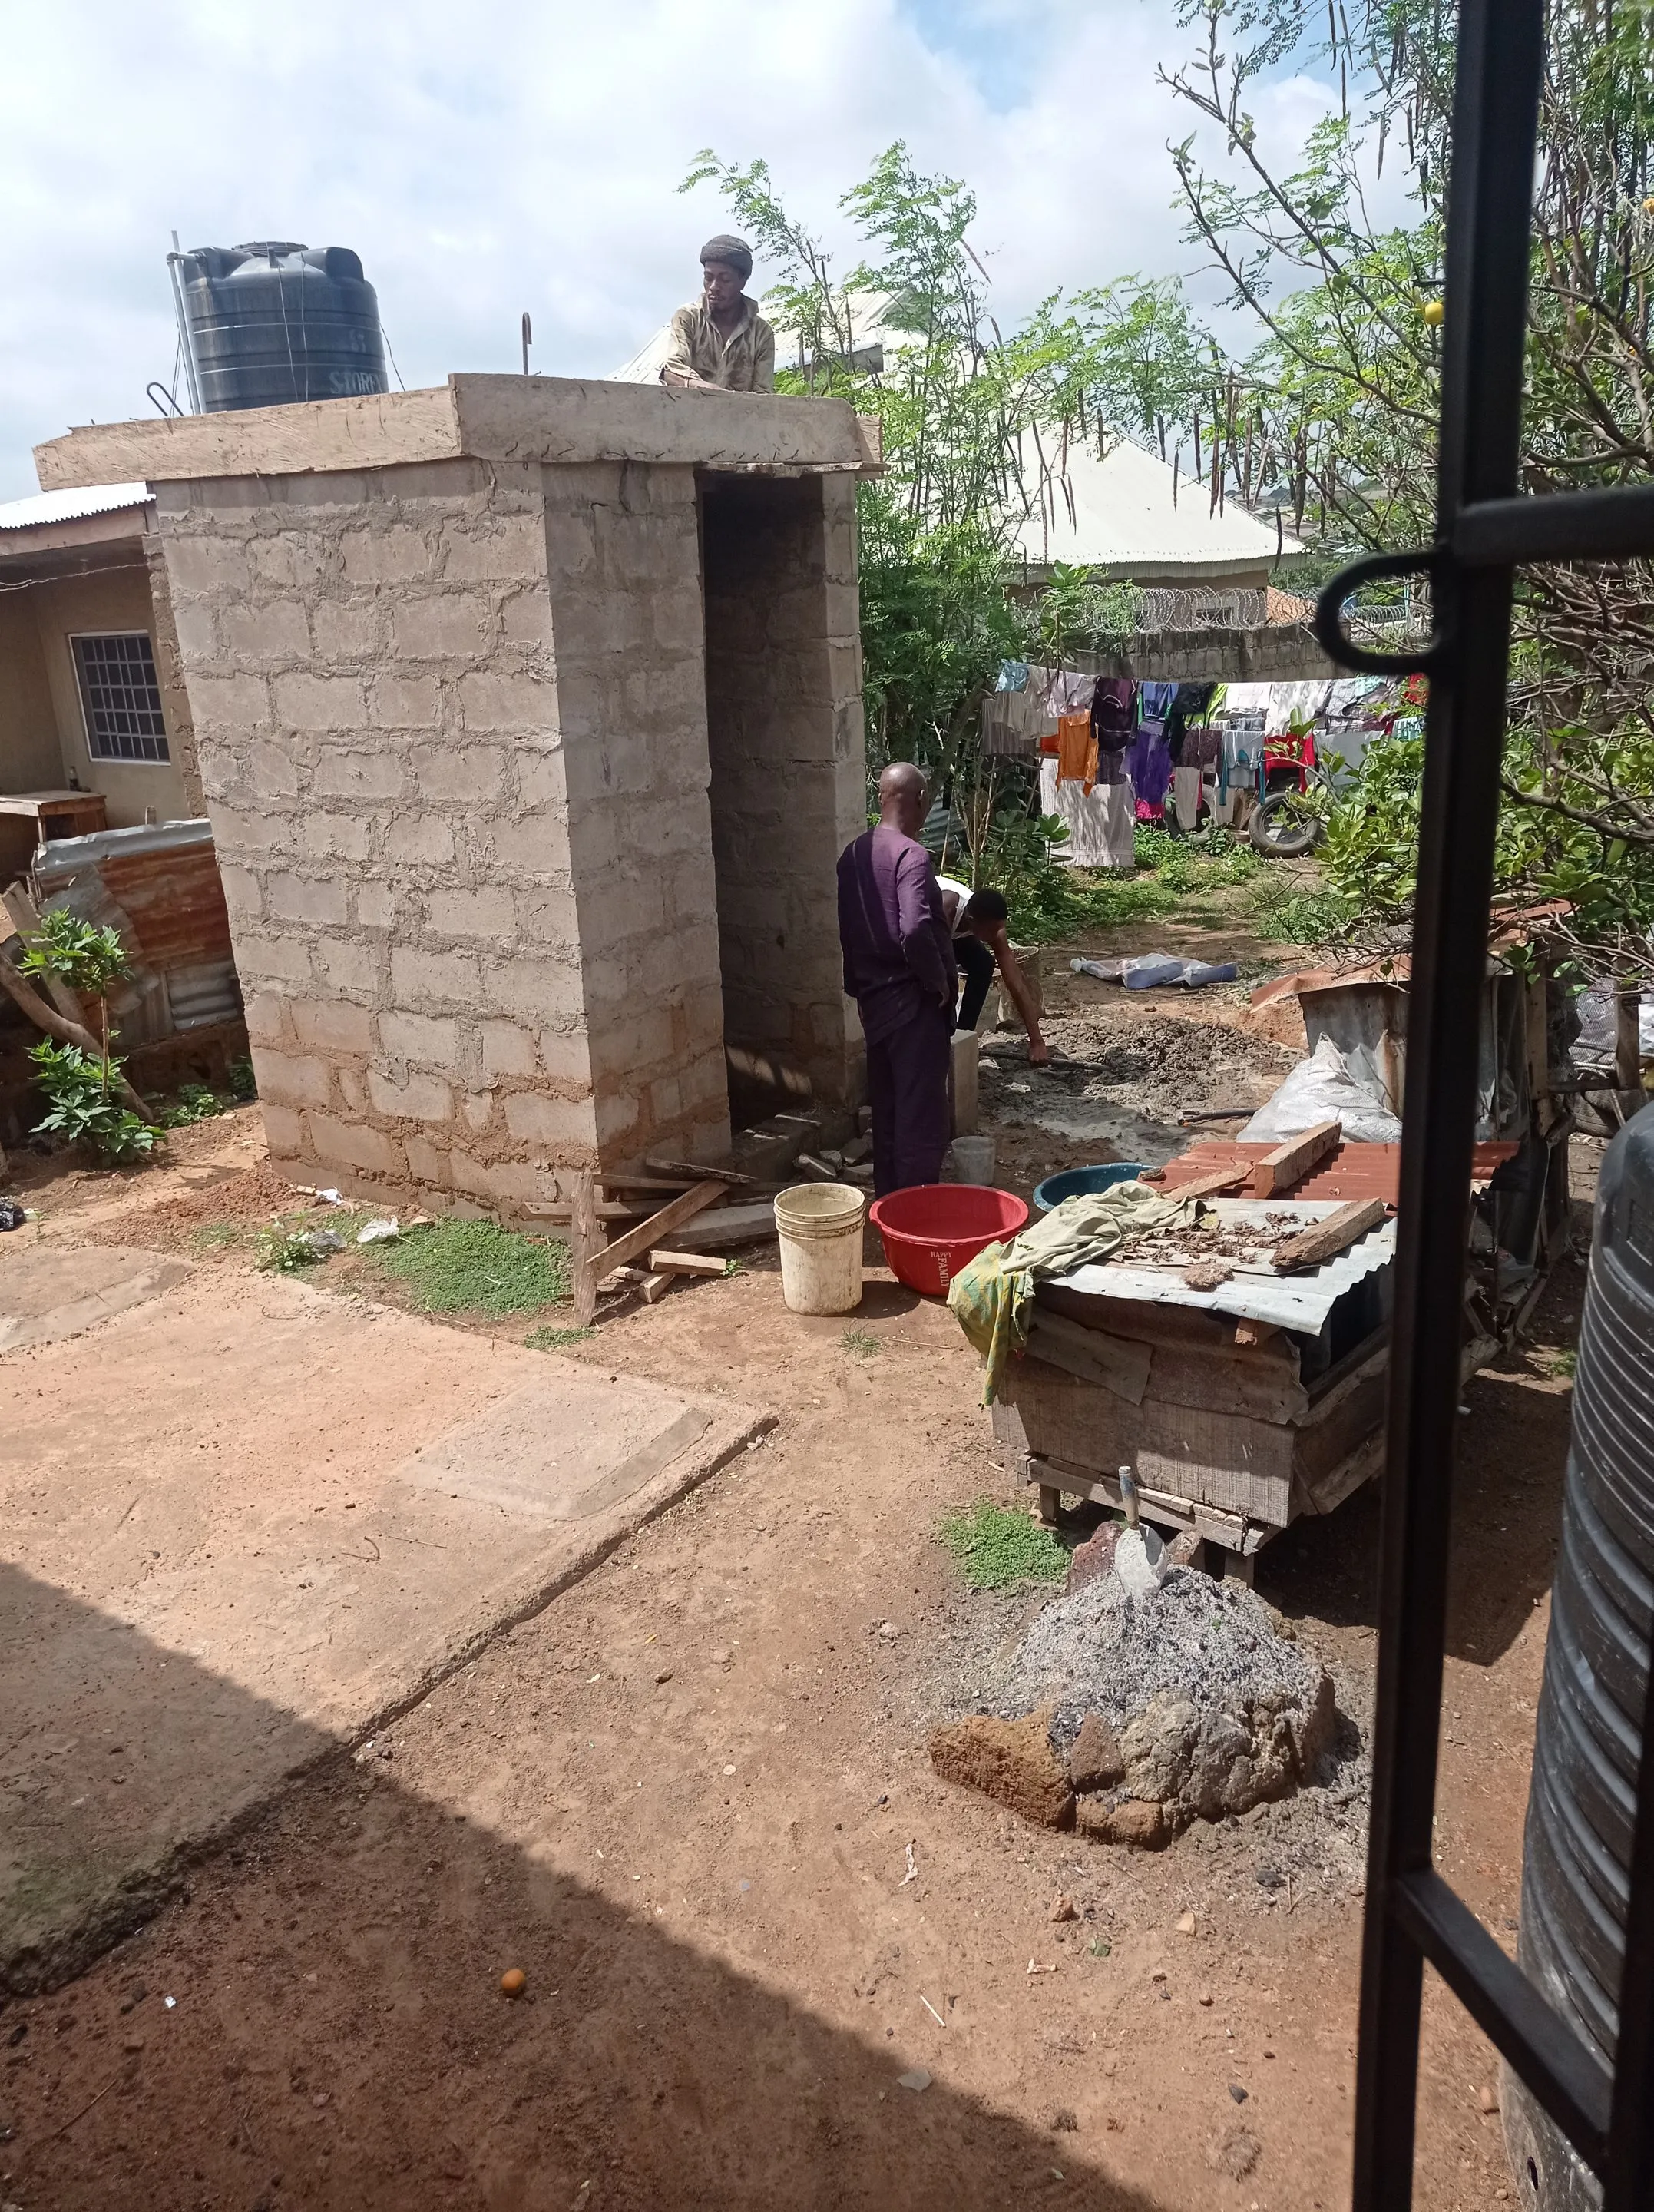
- Here is how the surface of the water tank stand look when we were done with the work, but then, in other to be on a safer side during storm, we fix some strong iron rod at the four corners of the stand, which will later tie a rope to, yo hold the tank firmly, when it's been placed on it.
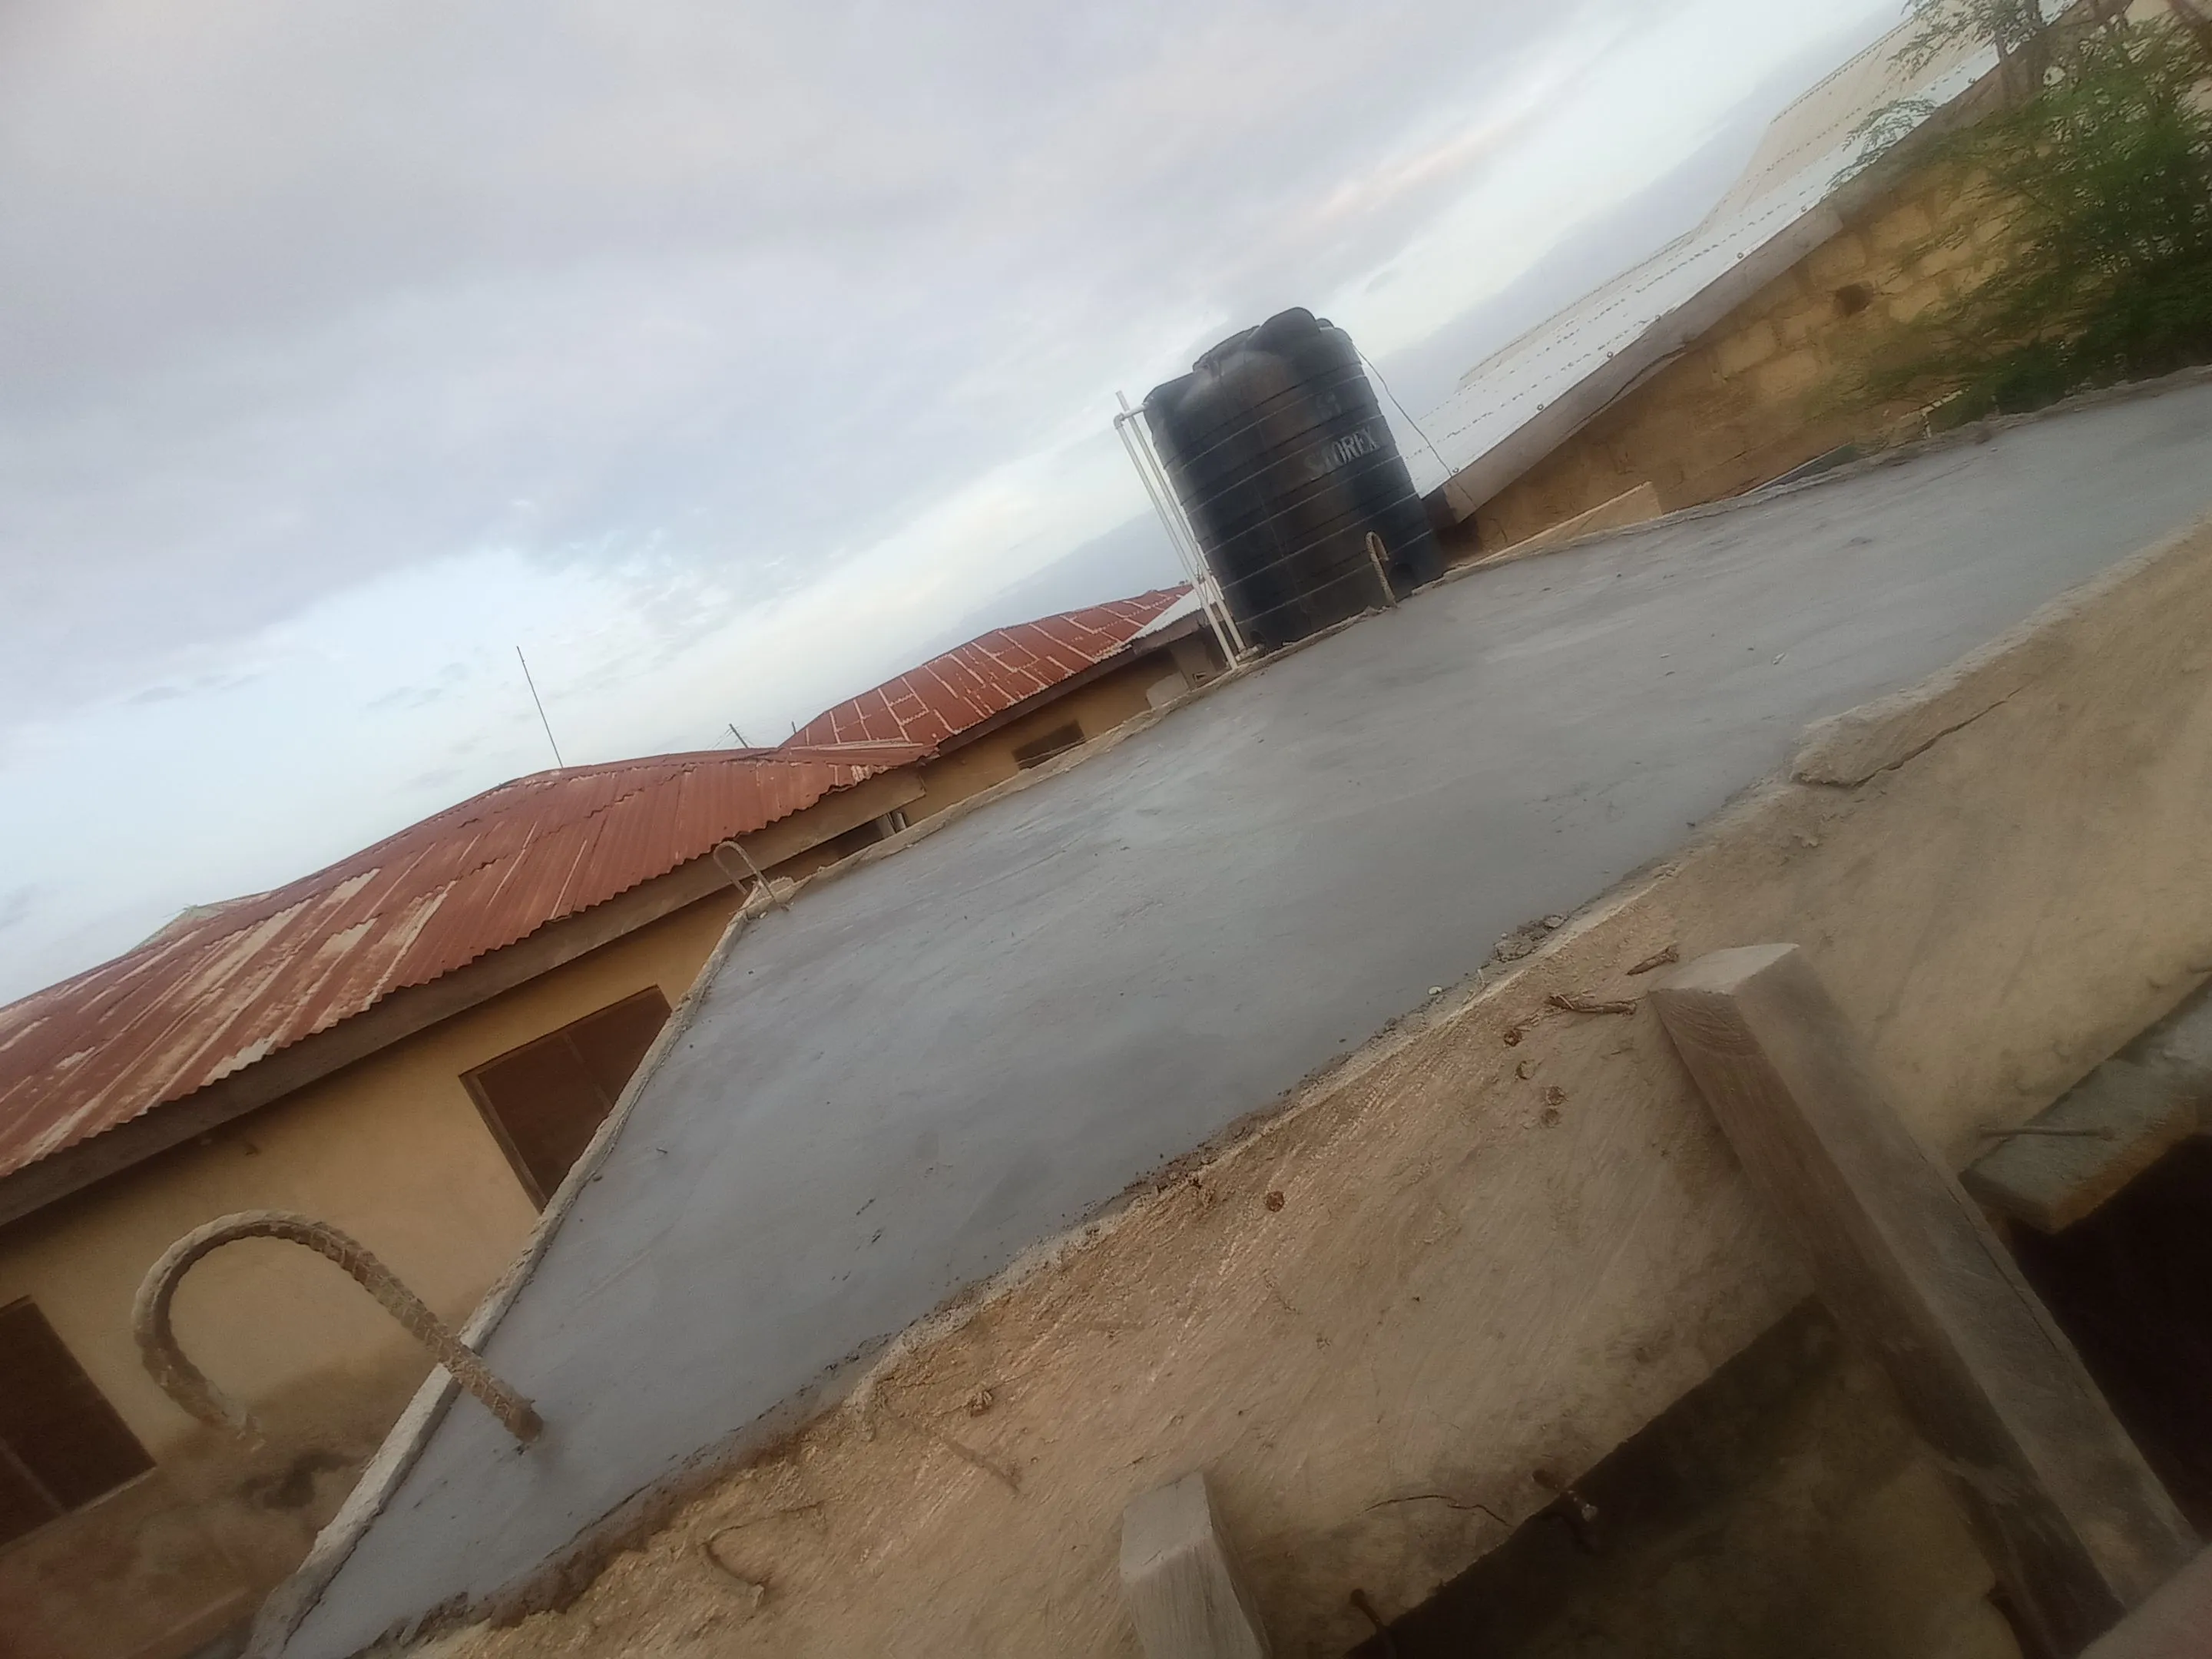
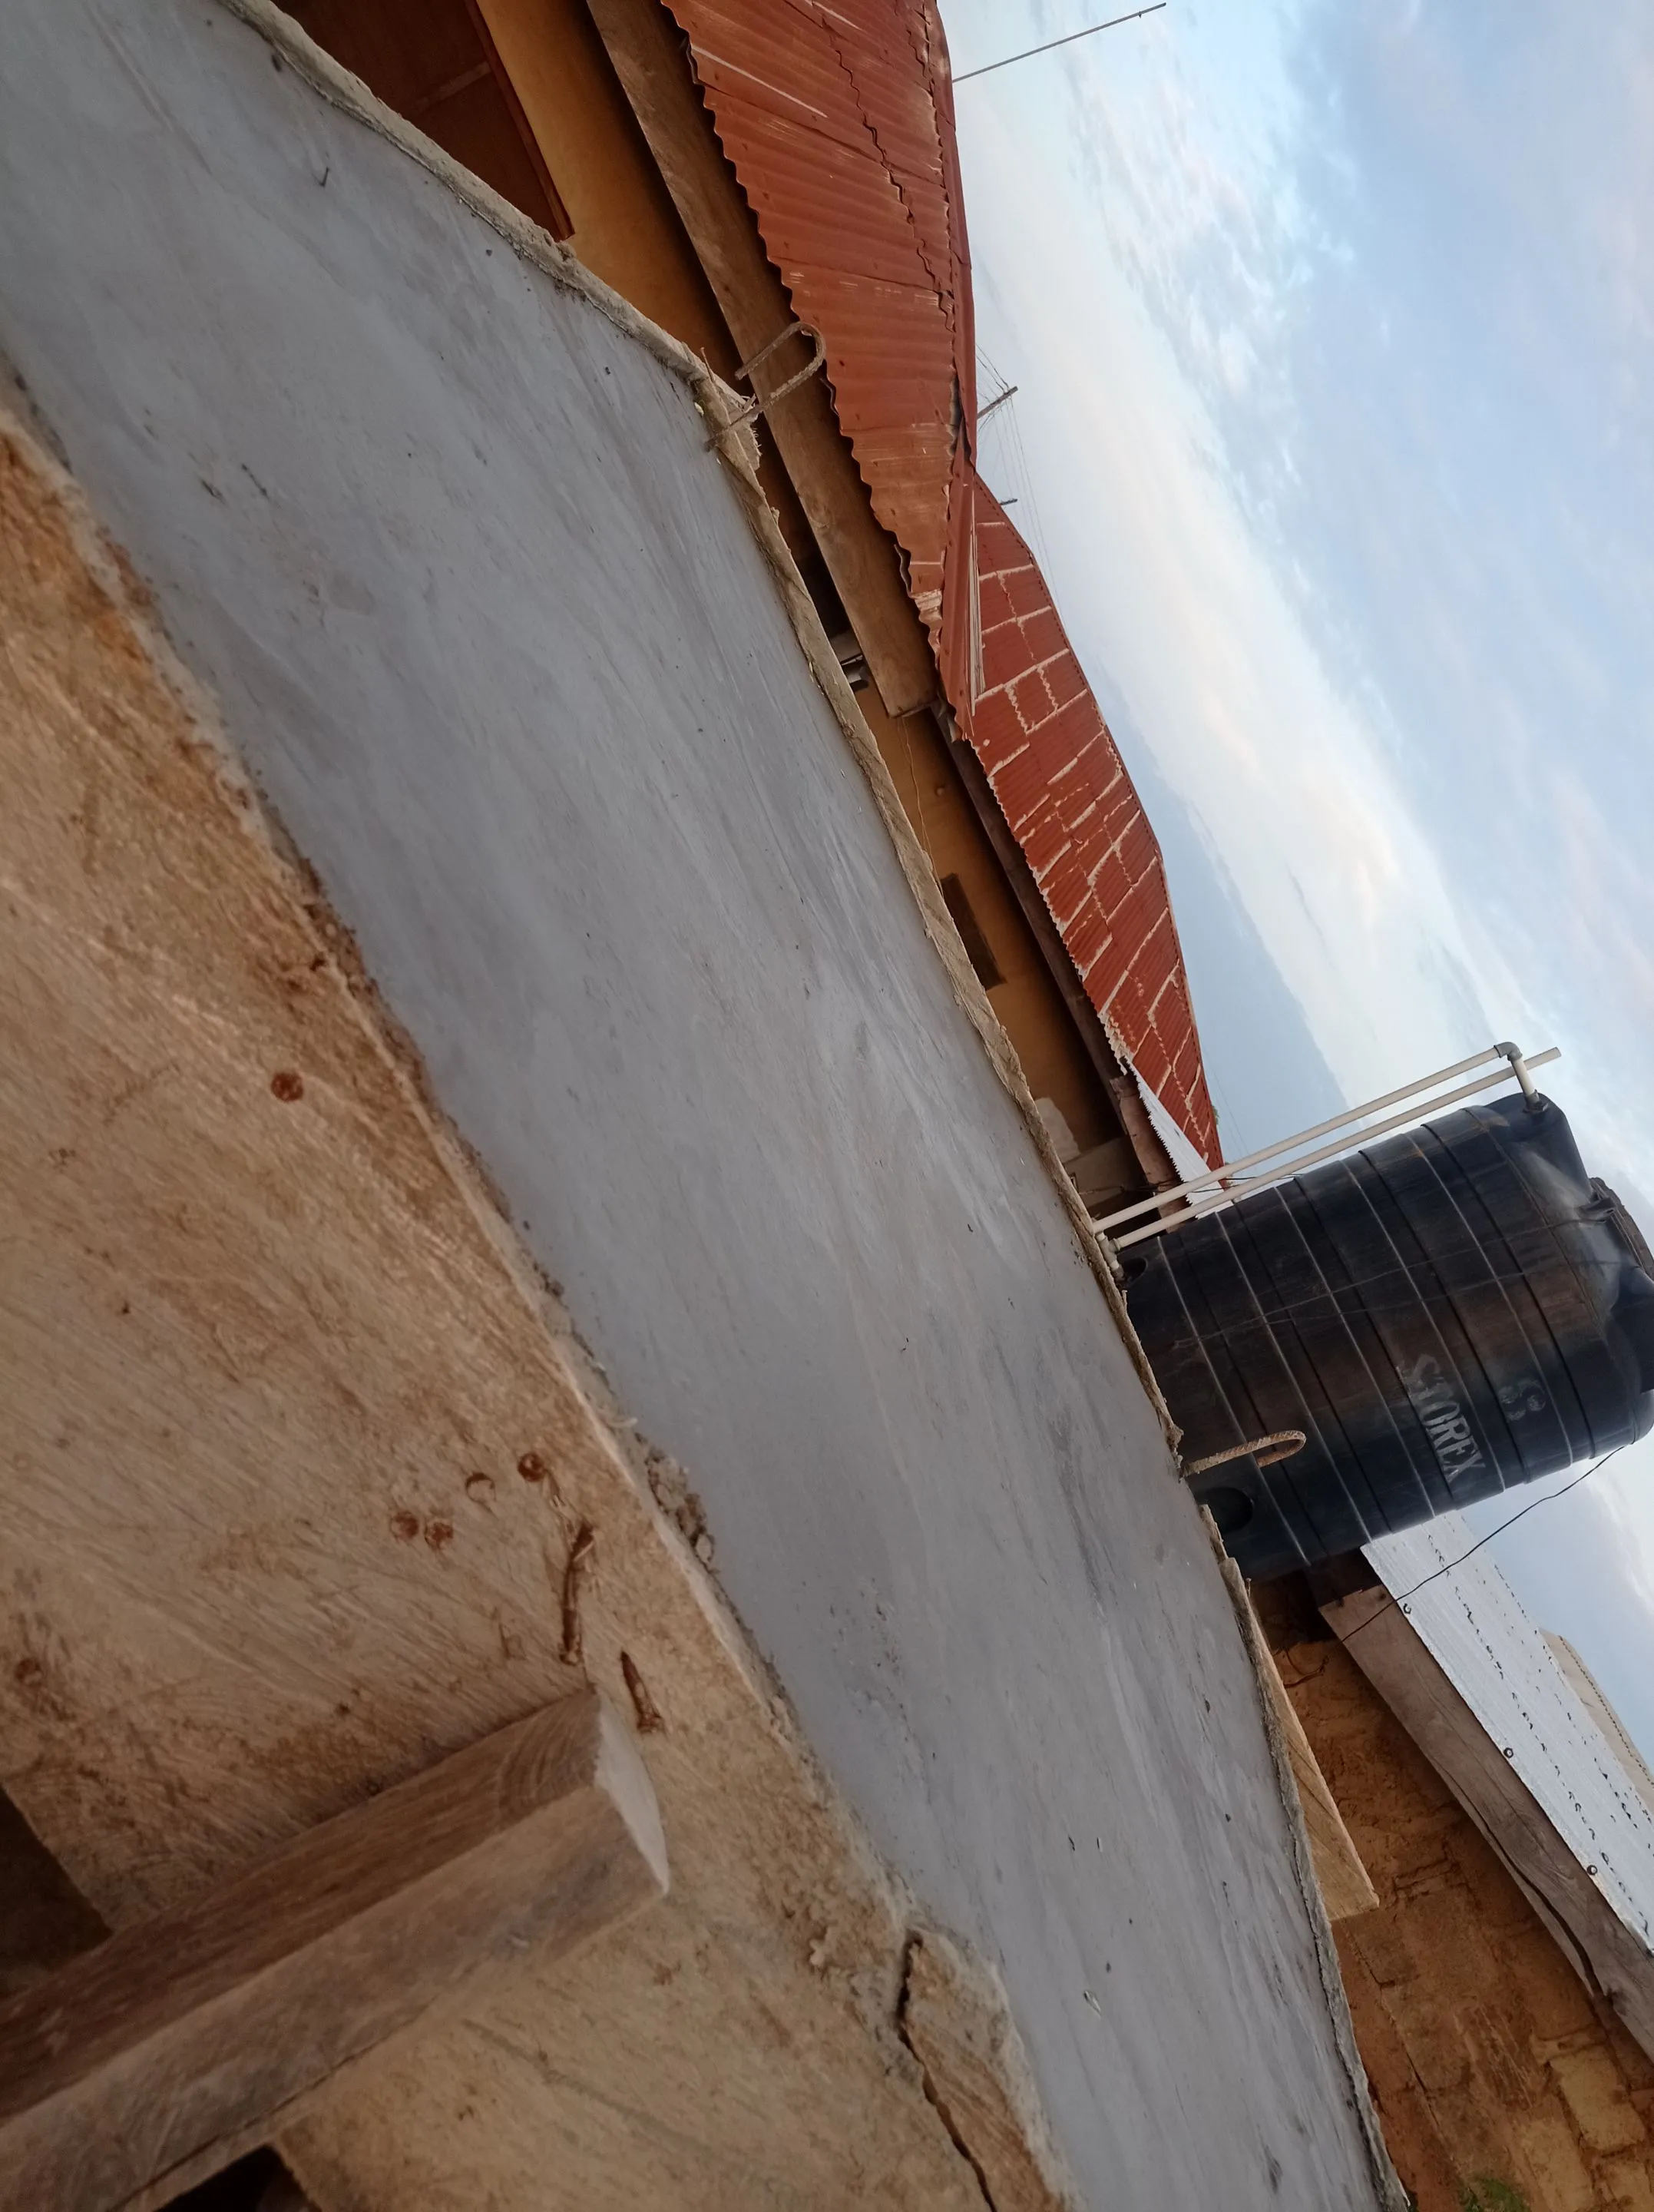
The surface will be left to dry up for at least one week, Before we will place the tank on it, but for now, we might need to stop work on the project till I get me salary to purchase more necessary materials.
Thanks for checking out my blog post, I wish you all the best in all your dealings, have a pleasant day ahead.
Return from Continuation of work on our water tank stand to vickoly's Web3 Blog

